wildcard week
may 16 - may 23
● The goal for this week assignment is to
Design and produce something with a digital fabrication process
(incorporating computer-aided design and manufacturing) not covered
in another assignment, documenting the requirements that your
assignment meets, and including everything necessary to reproduce
it. Possibilities include (but are not limited to) composites, textiles,
biotechnology, robotics, and cooking.
● A refreshing week for me to get an opportunity and work on something which I haven't worked on ever before and also during the Fab Academy so far.
● I am eagerly waiting to design something really interesting and try my hands on the super high tech embroidery machine, here at the lab.
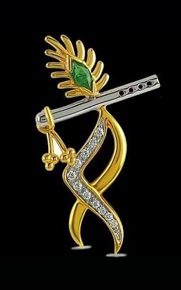
● Thanks to my uncle, auntie and specially my cousin who have been by my side, taking utmost care of me and supporting through the intense journey of Fab Academy. So, I wish to design something for my auntie where I have been staying away from home, but still feel at home. We worship Lord Krishna so I thought of doing something on the same.
getting started
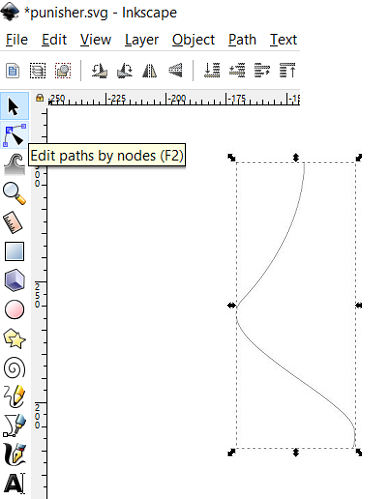
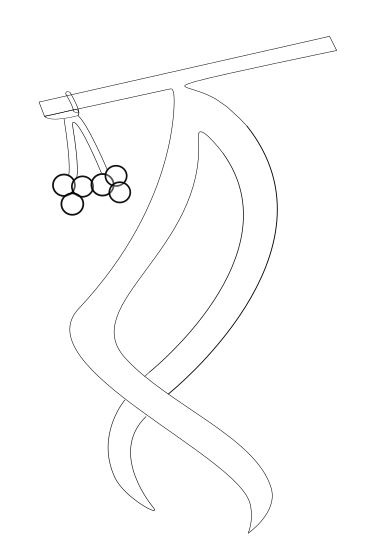
My idea was to create somewhat really close to the original design. As I know I am really getting good at 2D Design on Inkscape n using the very basic commands of Bezier curve, Edit nodes, Group objects and Copy Pasting the similar curves to achieve the design as per requirement.
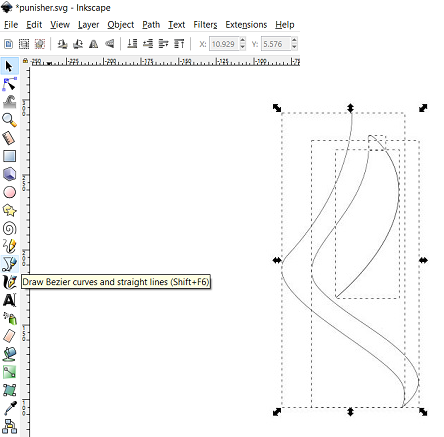
As you can see, I progressed at a good pace, honestly it wasn't that challenging for me now, but I really wanted to design it make it attractive once the embroidery machine has been used to produce the design on some fabric.
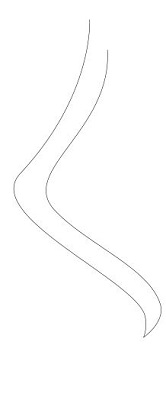
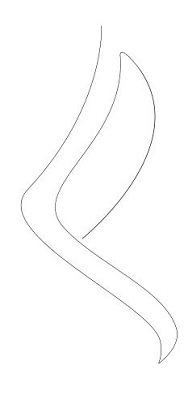
The only challenge in this particular design were the curves of the body and I put all my effort in the same.
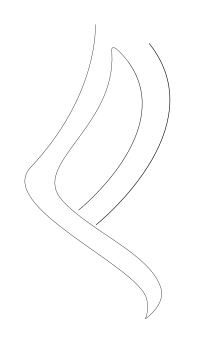
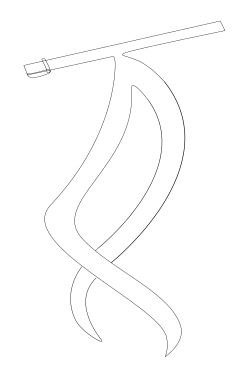
Moving on to create the flute, connected to the body as one design in itself.


These circles look like grapes hanging of a branch but it is some kind of a prop connected to the flute.
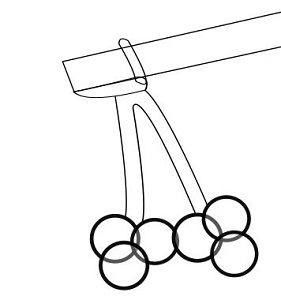
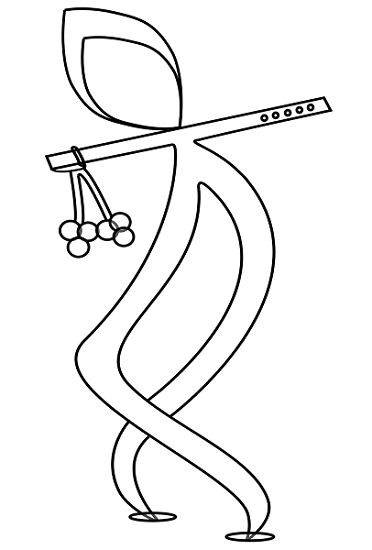
And looks really similar now, just need to get the face of the body and group all the objects together as one.

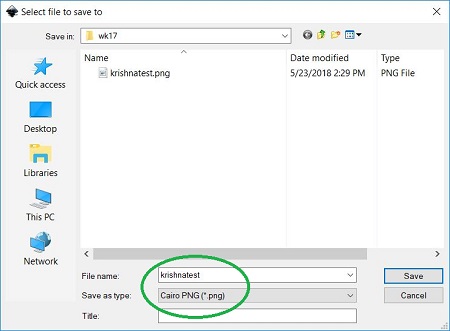
The file had to be saved in a type of image extension such as (.png) or (.jpg), so I saved the file in (.png) so the machine software could recognize the same.
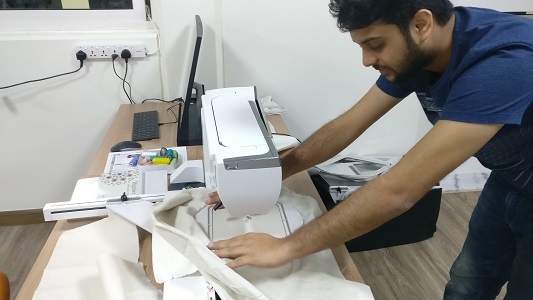
The Janome Memory Craft 15000
I always wanted to work on this machine, it is genuinely a super high tech embroidery machine, and I have never seen something like this ever before. It is definitely something new for me to learn as well. This week teaches me a new aspect of fabrication using the Janome Memory Craft. I was really excited to work on the Janome and wait for the results.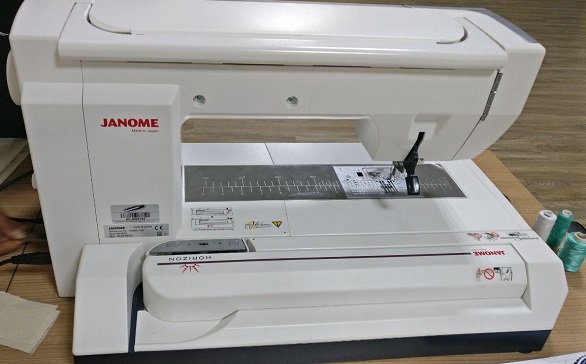
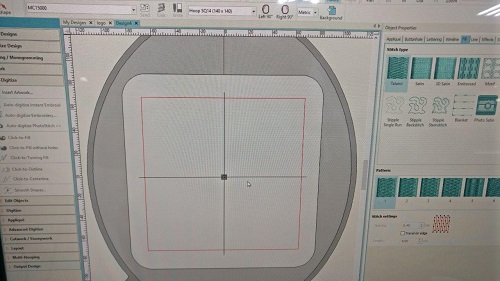
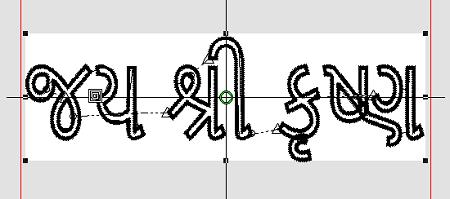
I pasted the (.png) file on the machine software and scaled it according to the marker shown in the red color.
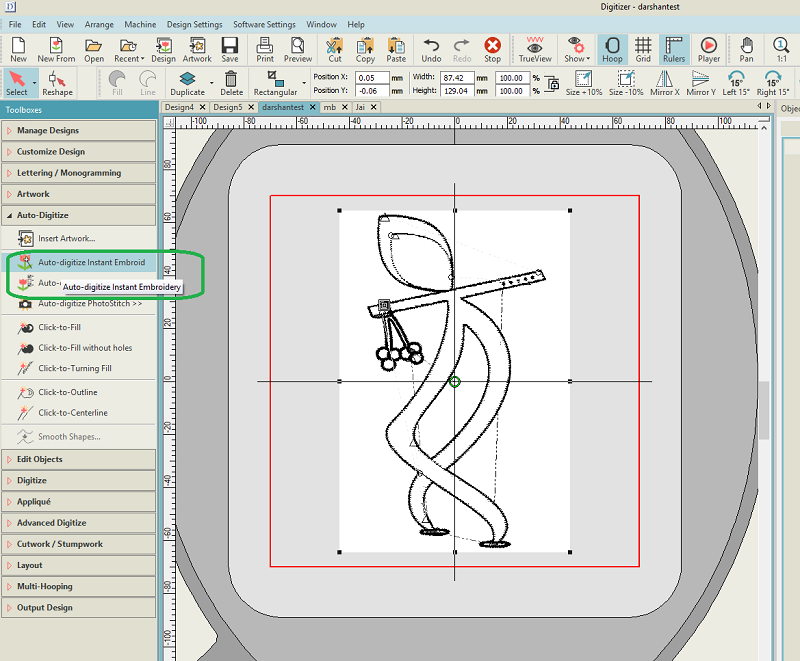
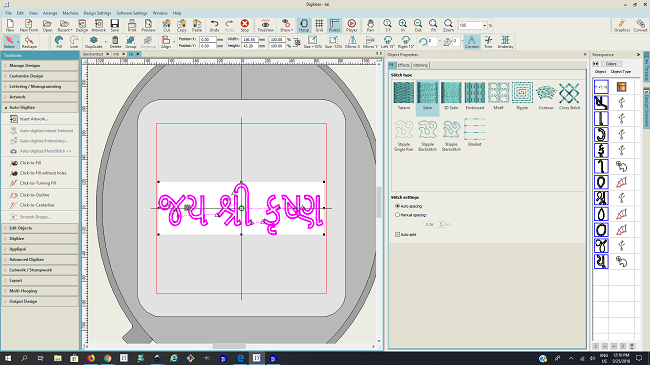
Then I used the Auto Digitize Instan Embroidery tool as shown in the image below to proceed with the process of filling the design with specific pattern in the selected areas.
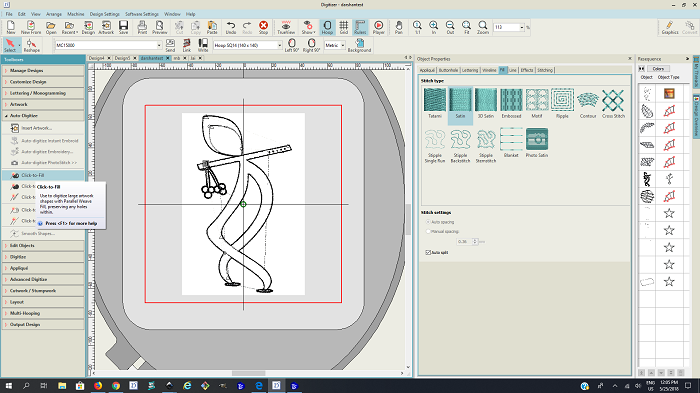
To fill a certain area, I used the tool CLick to-Fill, which also allowed me to select a stitch type and a pattern of embroidery from the right side of the software.
Moving on, I selected the face first and finalized a stitch type and pattern for the same.
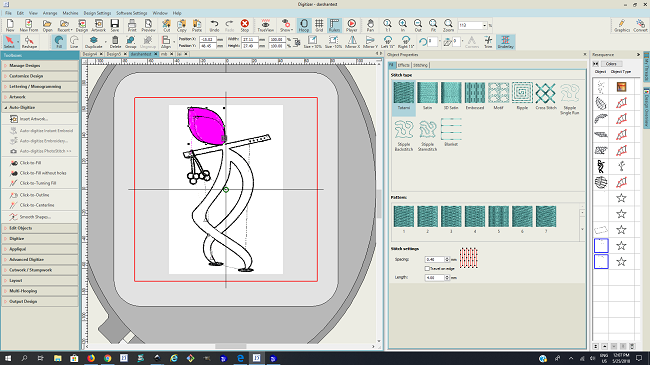
For the rest of the body, I used an embossed stitch type and an Oval 3 pattern.
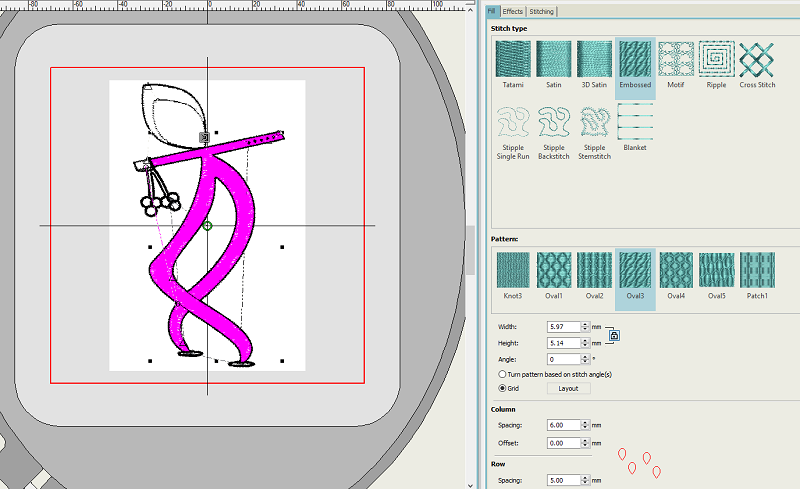
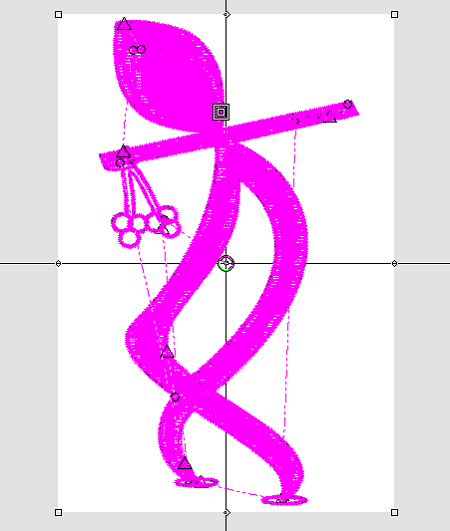
The below image shows the entire design which has been finalized using a certain stitch type along with a pattern for each specified area.
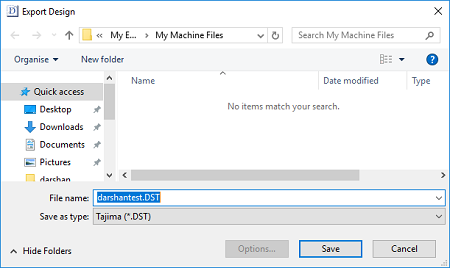
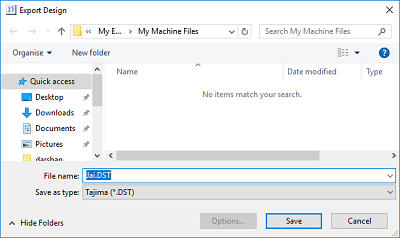
I had to save the file in the form of (.DST) for the Janome machine to recognize with the help of a flash drive.
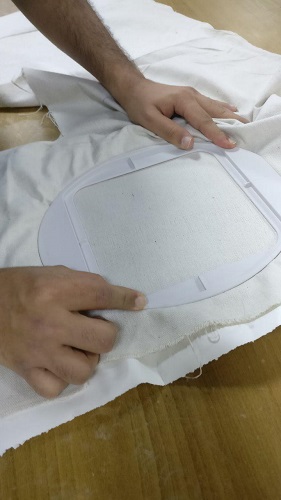
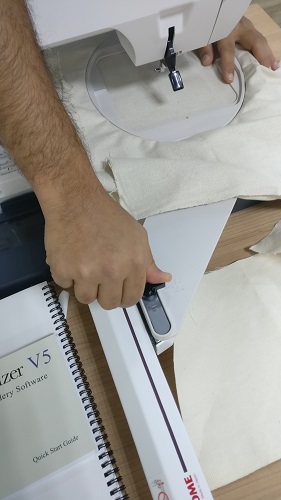
Next step was to work on the material set up for the machine using the hoop provided. There were different sizes of hoop available, but as per the hoop used on the software, I had selected the 140x140 mm size, which was mentioned on the hoop, and the process of stitching will start right at the center of the hoop as shown on the software. So, I started the procedure for fixing the Linen material which is quite strong, on to the hoop, and to support the linen from beneath I used a chart paper as well. It was important to ensure that the material is fitted well without any crease on the part where the machine will work. So I keep it pretty tight enough from all the sides and as shown in the image below there is a locking system which ensures the hoop is fixed and then I tighten the screws provided on the hoop with the chart paper below the linen material.
Moving on further, I had to connect the hoop on the machine as shown in the image below. There is locking mechanism provided on the machine to lock the hoop onto it. And to unlock the hoop, I turn the lock as per the instruction provided on the part. Once the hoop is connected and everything is in place. I switched over to the most interesting part of the machine.
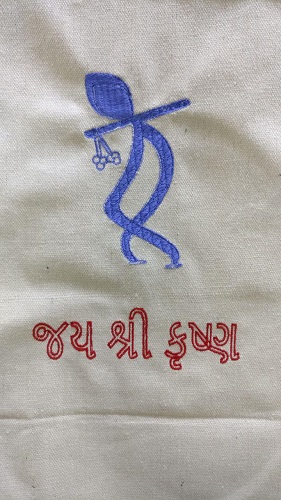
I ensured the material was tight enough and in place as per instructed by the machine. I selected bluish color thread which will be used for the main body of the design. The machine had a touch screen display panel to setup the operation, modify various setting parameters, shows error if any and select the file from the flash drive attached to it.
Below is a small videos showing me working on selecting the files from the flash drive to be worked on.
The result was indeed MIND BLOWING and I was literally glued to the machine when it carried out the entire operation.
Video of the stitching operation
Then I selected to add some text to the design which says "victorious LORD KRISHNA" which is the statement my family uses when we greet one another.
I followed the same process to auto digitize and also fill the outline of the text using a satin stitch type.
And also saved the same in (.DST) format.
A video for the text operation
final product- hero shot
learning outcomes
Download the (.png) and (.svg) for lord krishna file HERE
● One of the most interesting week's so far, and I feel so happy about this week as well. I made sure to design the lord krishna model by myself on Inkscape and then using the machine software and hardware.● The chance to know the machine and to work on it was a great deal of learning curve in a totally new direction and I wish to use the same in near future as well.
● I honestly was very satisfied and happy with my effort. My auntie, along with my family members are proud of me and super happy that I reach this level. All thanks to Fab Academy and the Fab Lab UAE.