3D Scanning and Printing
What is the assignment ?
Well in this week as previous we have two assignment one is with the group and another individual. The group assignment is to do multiple tests to see our 3d printer like what is the best settings. the individual assignment is to design and print any shape that I can make it subtractively, also to 3d-scan any object and print it.
The goals
My goal is to print an object that have object inside it like two object inside each other. also I want to scan the same object and print it again.
In this Page you will find:-
Group assignment
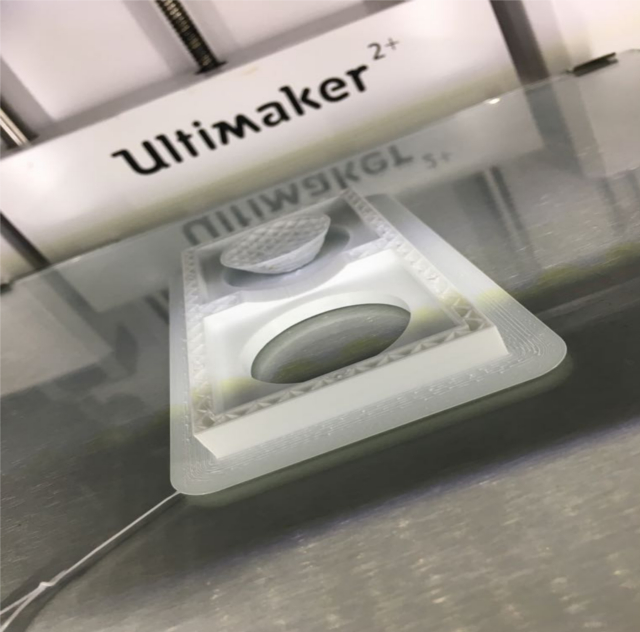
In this week we have to test the 3D printers. Since my team already finish the test since week 1. I, Alzubair, and abdulla still didn’t finish it. Because of the maiker fair, we all were busy but we managed to do it this week. Darshan explains to us the test and what we should test. Since the didn’t try ultimacker 2+ so we must do it with the same sitting to see if it will work with different versions because they did it in ulltimacker 3 extended the first try wasn’t that good because we thought that we can choose the speed then Wendy told me to keep the same setting as them. So we did it again with 35speed anf laer haight 0.2 .
You can find our group assignment here.
Individual assignment
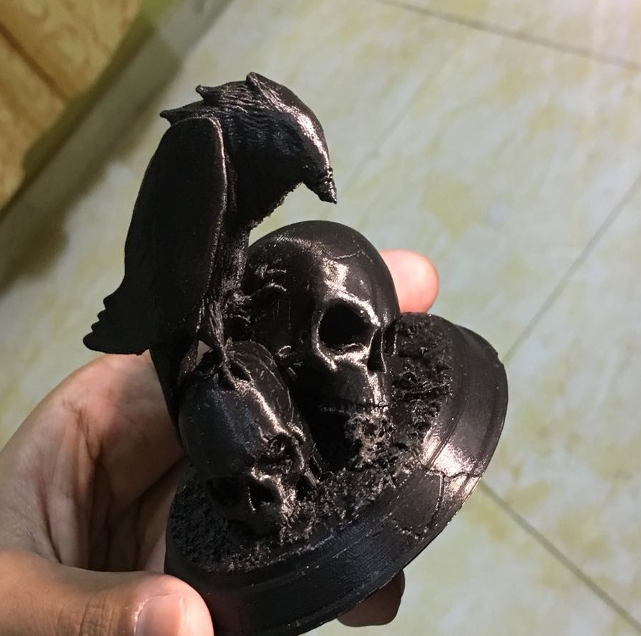
Finally, we reach to 3d printing week I’m super excited to print my own design. I already print one from thingiverse which is this.
Before the group assignment, I didn’t know anything about settings just the location of speed and the support from Ahmed he told me. But after the group assignment I learned for example in accuracy formlab form2 is better then Ultimaker. Also about the settings in Ultimaker the more speed, you add the less accuracy you will get. Also the more infill you increase the more strength you will get and more time to make it.
In this week, I design a shape in fusion360 I always wanted to make it which is a sphere inside a cube. I know its popular but I wanted to design it and since they say its hard to make because I saw a lot of videos like this which is a cube inside a cube and this and they used wood and then used hot water to and then push the small cube inside which mean its not easy. Also, some videos like this that show to you they used complicated machines and CNC with many axes just to make this design. So I decided to make the same but I will make a sphere inside a cube so I did the first one but I didn’t like it because when I put the sphere inside I notes there will be no big movement for the sphere.
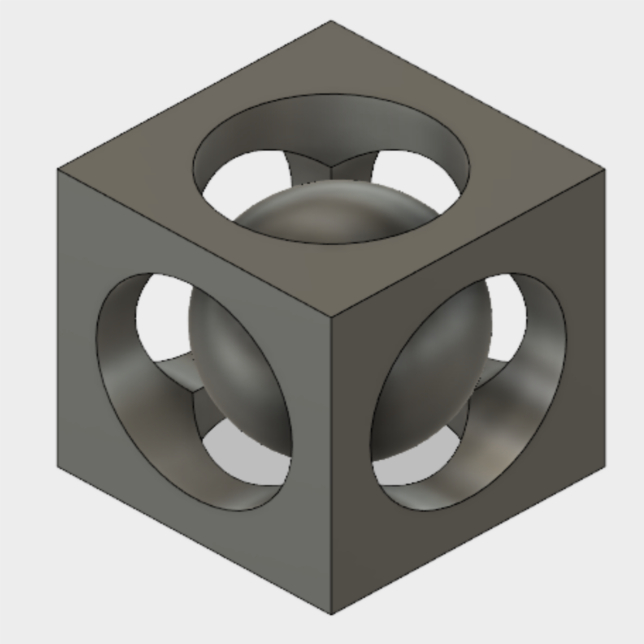
I make it again six walls that have a hole in each one.
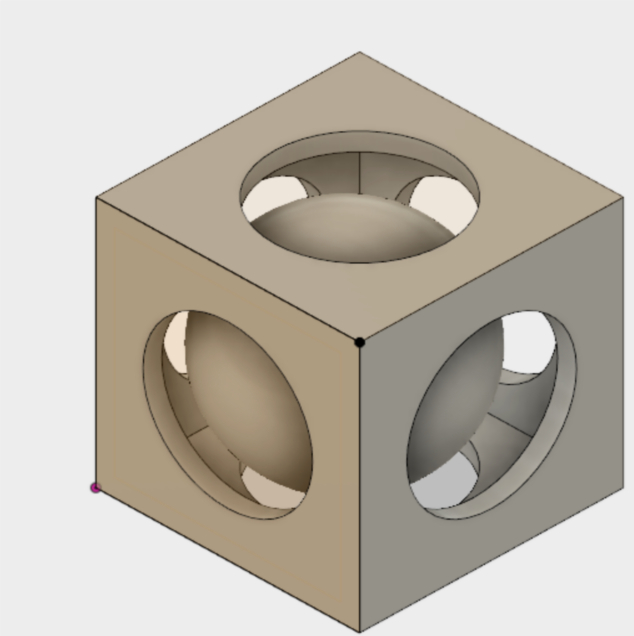
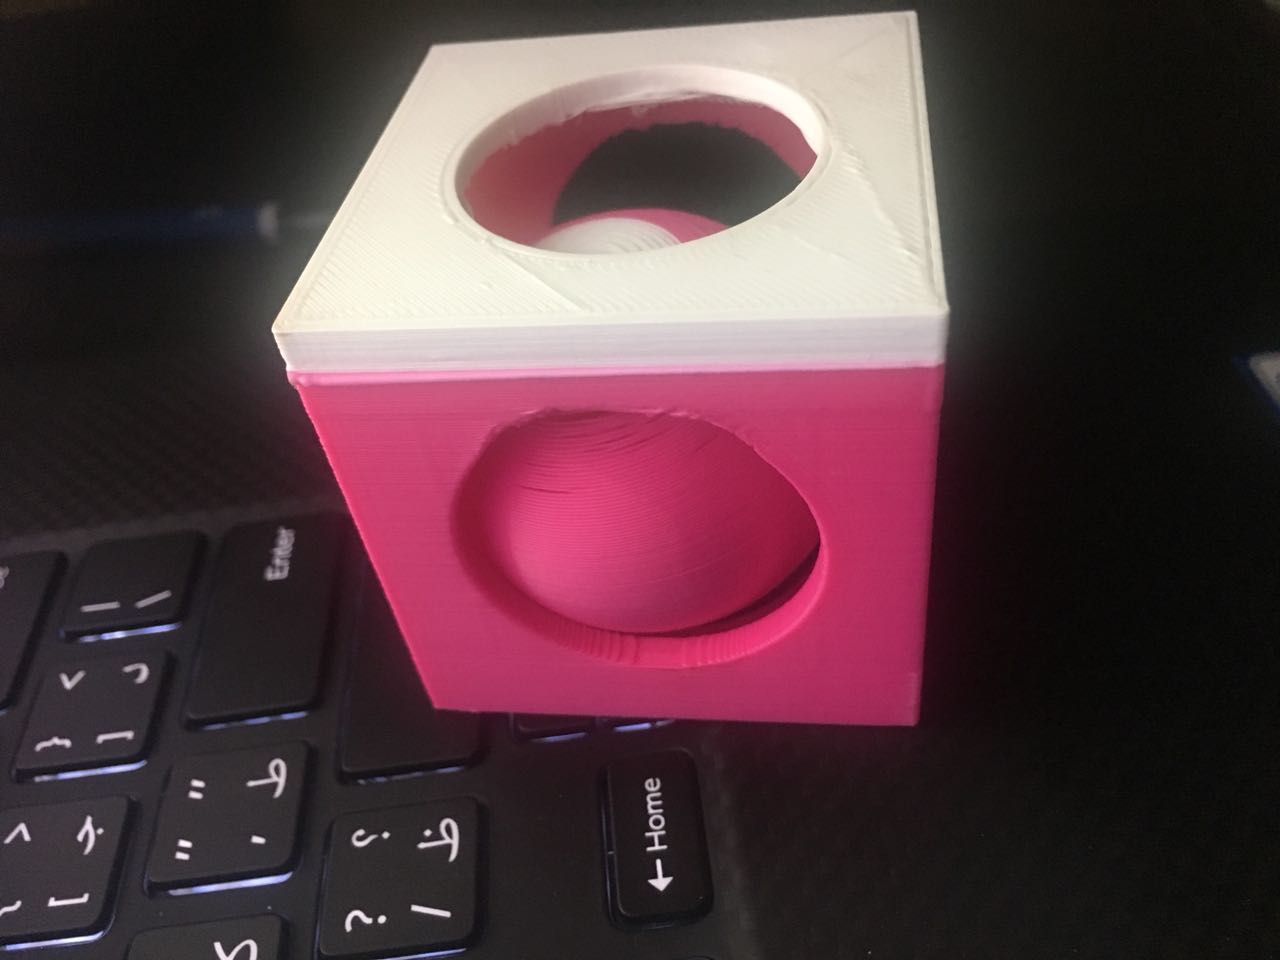
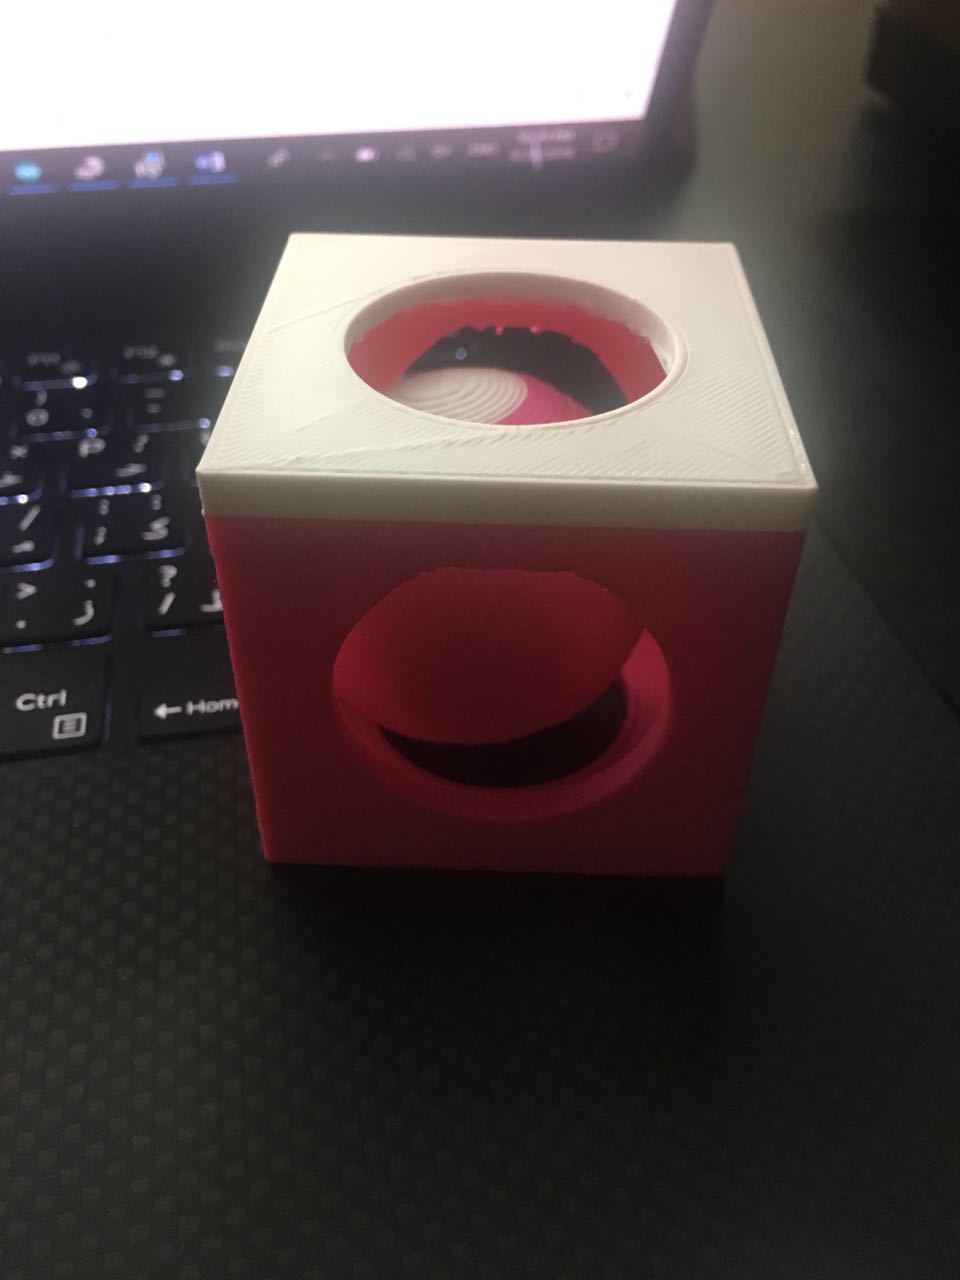
Then I showed Wendy she ask me to make it more complicated to be honest I think the same. Then she teaches me how to change the color of the object while it’s printing.
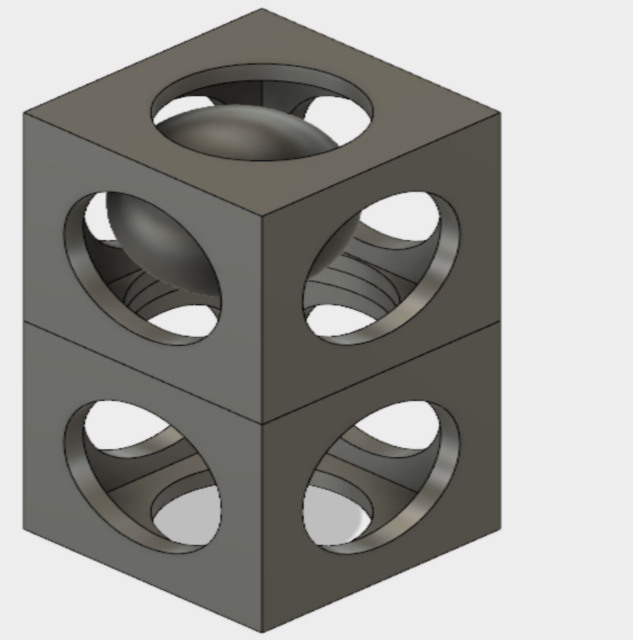
I did my first design which is two cube connected with one sphere inside. but I printed it without support so sphere did not fix to the plate, also the speed was 70 and it was too fast for sphere. So it failed.
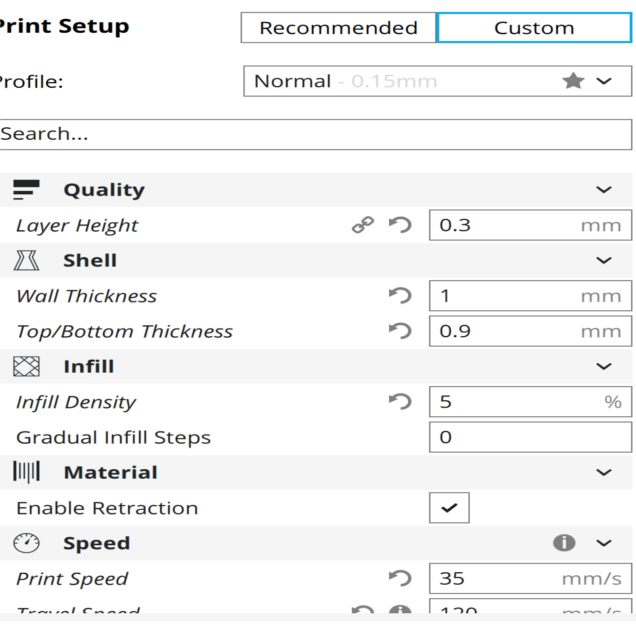
The second try I make it quickly I also forget to put the support then Wendy told me that its waste of time you should cancel it and start again also because the sphere was in mid-air so there is no chance it will work. So I canceled it and did it the third time. The old one which is one cube with sphere inside it and Wendy thought of changing the color will be good. It works, Below you can see the setting of the three tries. In the third time, I put three layers on the top and bottom layer because I put in the layer hight 0.3 because it works in the group assignment, so multiply the layer height by 3 to get 0.9. In cover also I put the infill 5% to not consume too much plastic. Also, the speed was 35mm/s I make it slower than in the group assignment which was 50mm/s. I get this important advice from Wendy. (Note: all the test in this week was using PLA)
Yes also to change the material follow this steps:
- stop the process(printing).
- Click on change material.
- It will heat it to remove it
- Click ready and take out the material.
- Insert the new color until you can see it.
must be the same material
- Choose the material you put.
- Click ready.
- Then it will ask if the material is heated.
when you see the material coming out of the nozzle. - click ok.
- Click Resume.
This is how you change the material.
This is the file(f3d)
This is the file(stl)
3D Scan
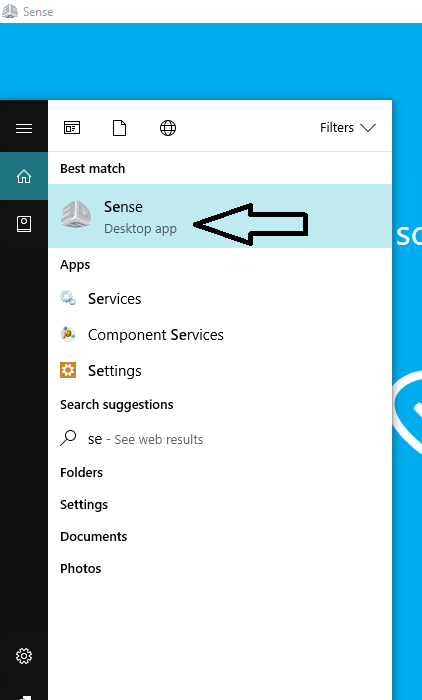
In this task, We didn't know what to scan so we decided to scan some sweets. We all try the feeling of scanning. We used Sense scanner to scan,
We all set together and scanned some sweet for me I scanned a small cake that has a strawberry on the top of it. After that, I scanned different shape. The software is very simple and direct so like I said we used since scanner. When I opened the software I found two choices one is object and the other is Person. I chose object because I don't want to scan my face or my body.

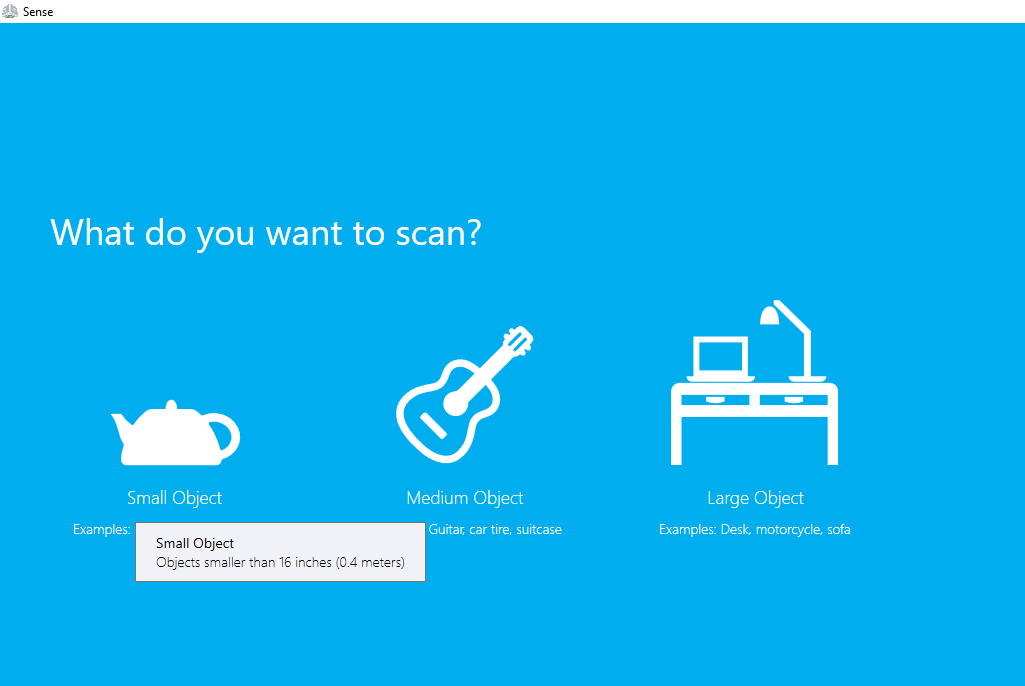
So after choosing
Object, there were three choices regarding the size of the object. The software tells you when an object considers small or medium or large for example the software consider objects less than 0.4m small.
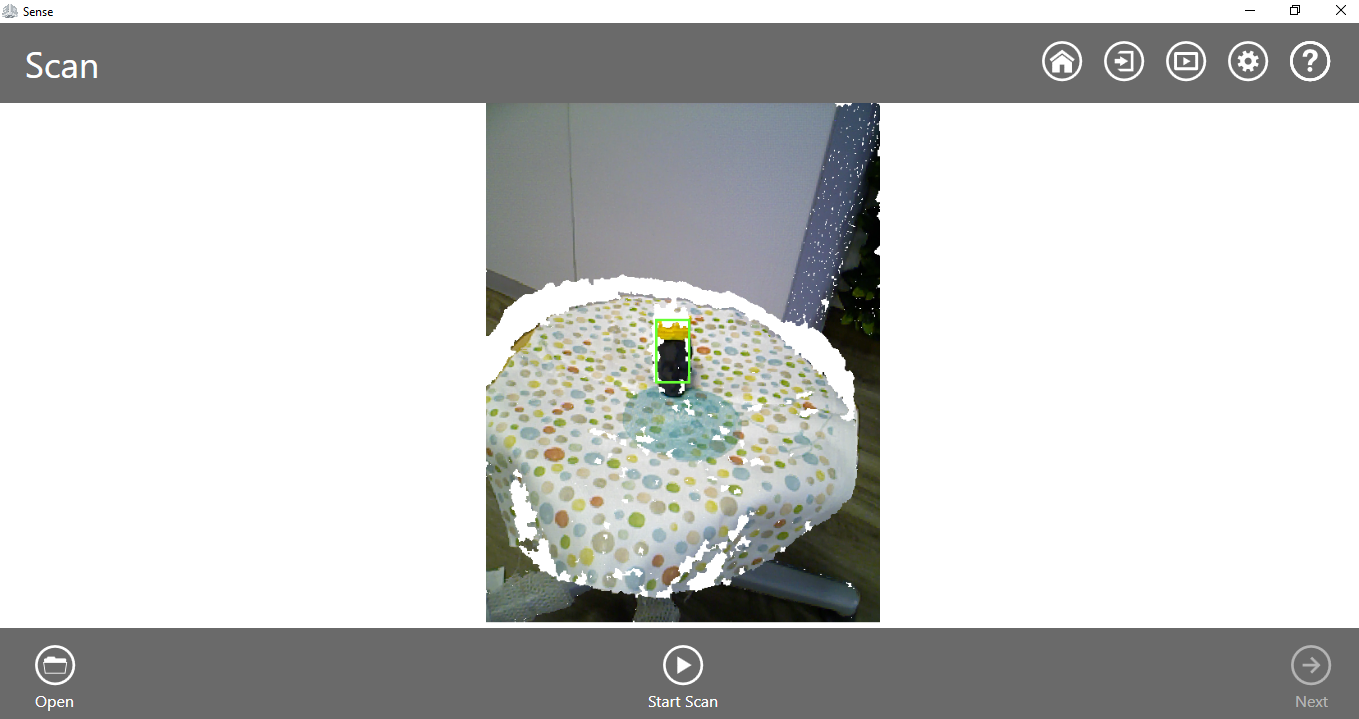
Then when I chose the size I pointed to the object. I tried to make the scanner detect my object by making the green square be on it. I took so much time for that and finally I succeed. The image below I choose it to show that it detect small objects.
I rotate the chair and the scanner scan all sides of the shape then I clicked Next. In edit page, you can close the holed by clicking on solidifying and erase and crop.
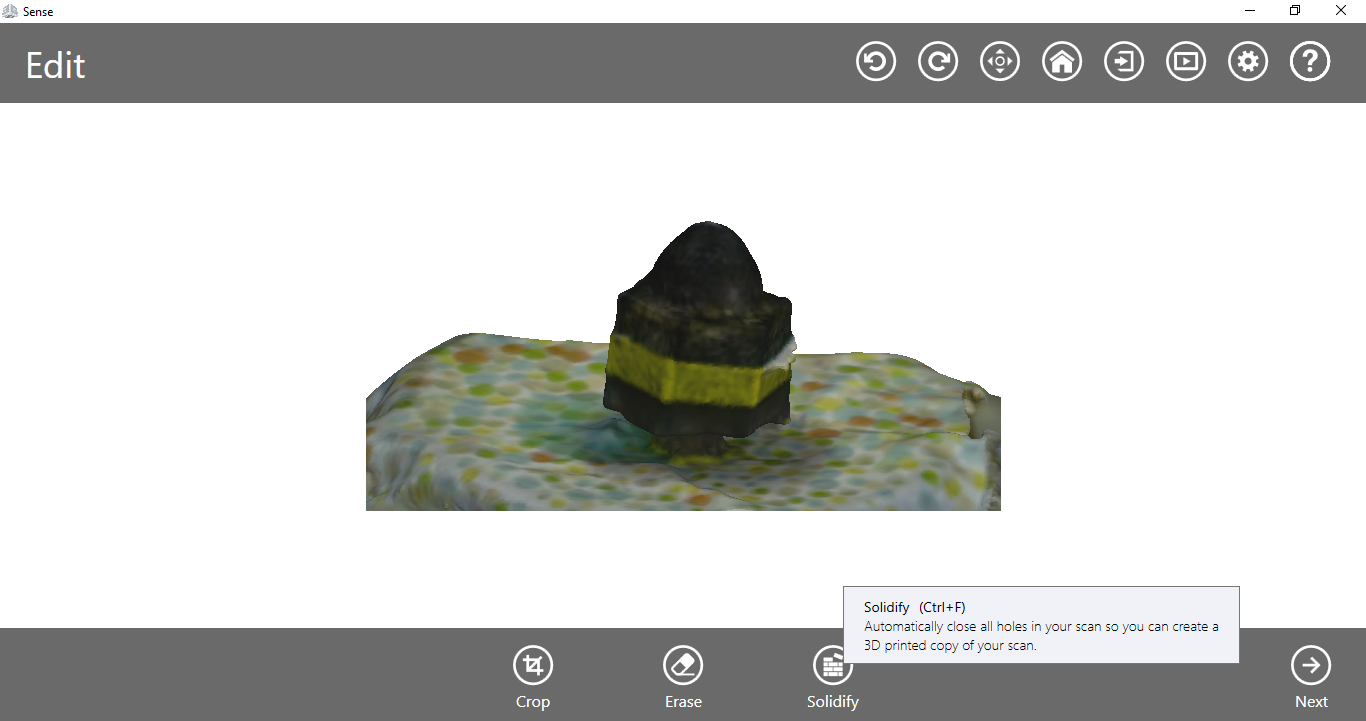
After editing there is enhance which allow you to trim( I trimmed the object later) unnecessary part or make the scan better in case you didn't like the result. The the last page is share which allows you to download your scanned object.

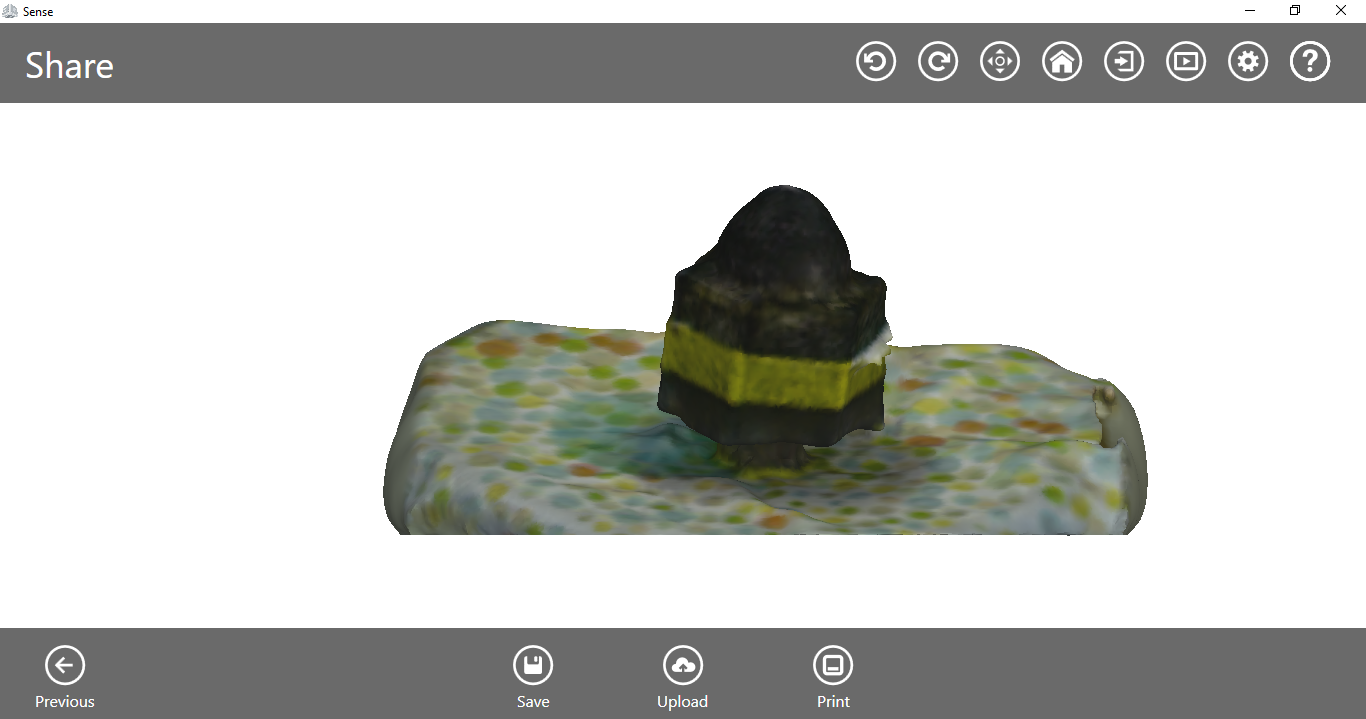
This is the file(stl)
This is the sweet(stl)
My experince
This week was a very busy week we learned a lot from it not just 3D printing and scanning. I managed my time and succeeded in designing the shape that I want. Yes, I faced problems and two attempts failed but I learned from It a lot. I learned that accuracy and excellence in 3D printers require more time. my future plan is to print in formlab2 also to get experience with it since my college purchased two formlab2. 3D scanning was really amazing I didn't know that we have such tools that can scan objects. I will try to scan a physical object to copy it in cad software.