Menu
HomePrinciples and Practices
Project Management
Computer-aided Design
Computer-controlled Cutting
Electronics Production
3D Scanning and Printing
Electronics Design
Computer-controlled Machining
Embedded Programming
Molding and Casting
Input Devices
Output Devices
Interface and Application Programming
Networking and Communications
Mechanical Design
Machine Design
Wildcard
Applications and Implications
Invention, Intellectual Property, and Income
Project Development
Final Project
Week 4
Computer-controlled Cutting
Vinyl cutter
MACHINE: Roland GS-24
MATERIAL: Orange vinyl
Software: Inkscape
This is not the first time I used a vinyl machine. I have curio silhouette I use it for my business. I did a huge mistake, I found a picture on Google image. I toked the image without clicking on the link. then I realized that they are selling this picture. I mentioned that so the others don't do what I did.
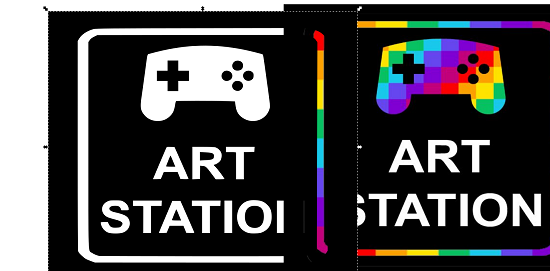
Anyway, I used my business logo to do finish this assignment. I have my logo for the last year so I don't have the design documented. I logo in PNG format I had to convert it to Vector and I did that in Inkscape software.
I tried to use Trace Bitmap tool but it didn't work.
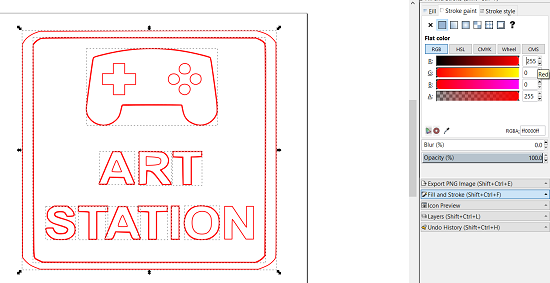
I felt that I stocked. I start to play around with Inkscape. I used the fill tool and I don't know how did this work. Whatever, its work. Its create a red line around the design.Then I moved the original image and I had the vector separated from the original image. I did all these steps again so I can have screenshots.
I select red color 255 RGB
I faced an issue with CorelDraw when I opened the file in SVG format. I had to save my file as a DXF format.
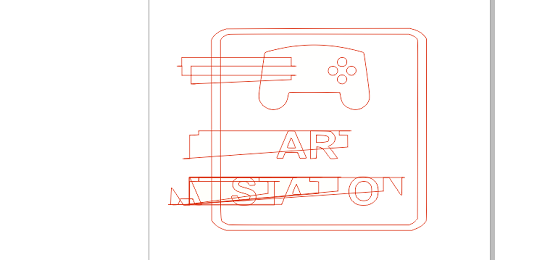
I usually used silhouette studio that converts images to vector but I never used Inkscape. Then I used CorelDraw in FabAcademy laptop ( the laptop that has all the setups for the machines and software that we need for this course its been setup it up by Wendy).
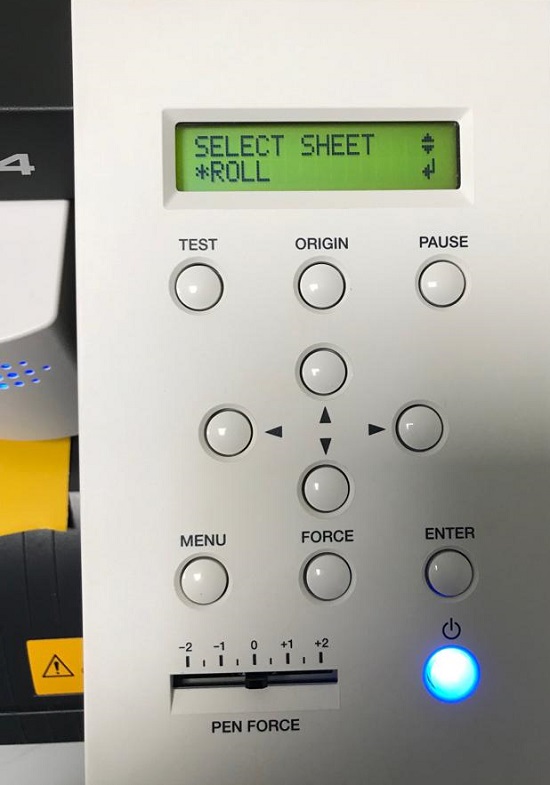
Anyway, I select roll in the Roland
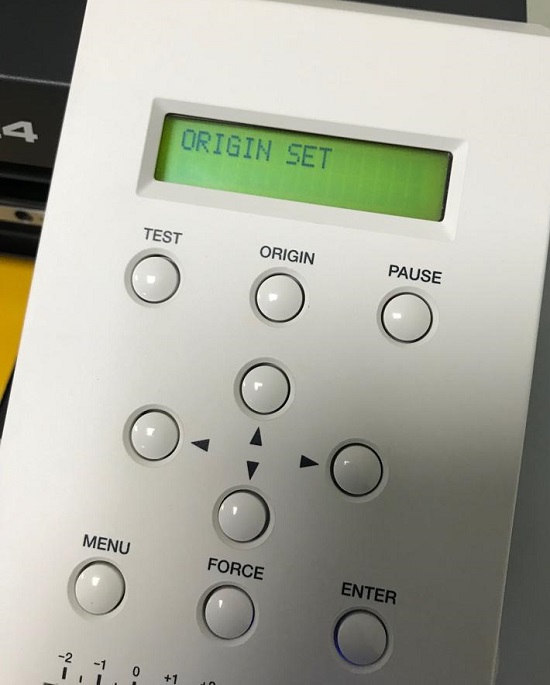
then I set the origin in the machine by moving the blades in the desired place then press origin button in the Roland.
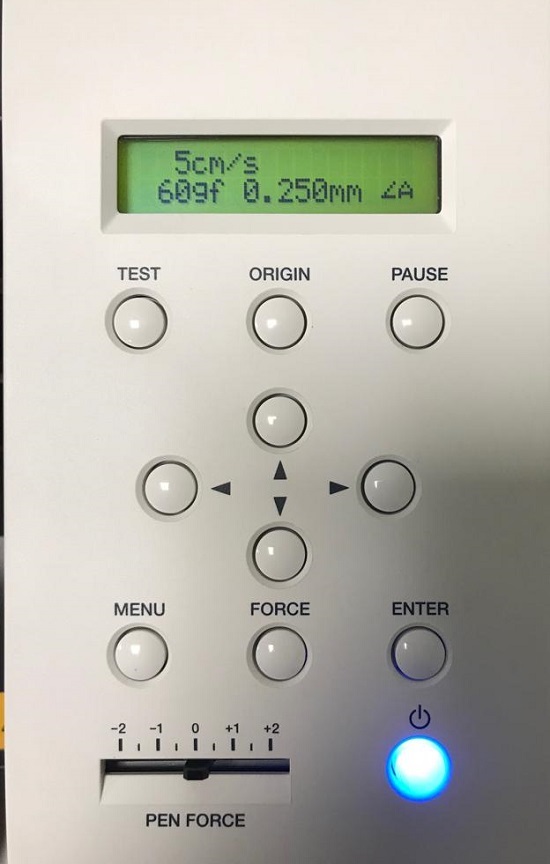
Here are the settings for the force. It is 60 gram force
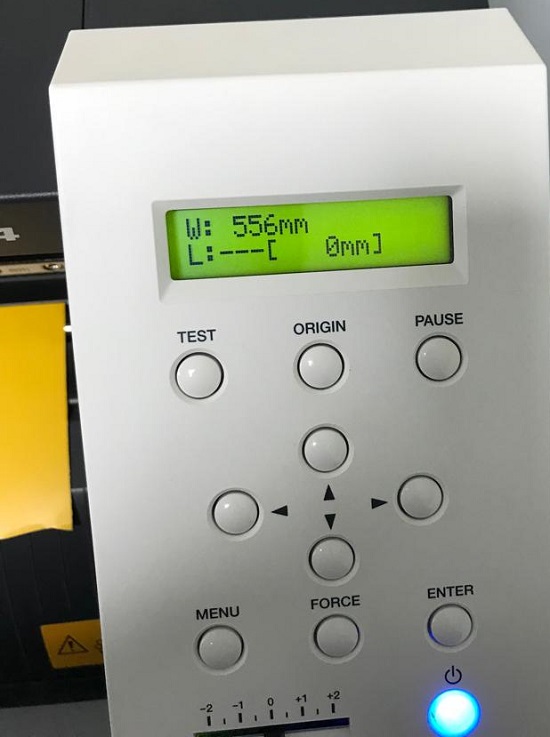
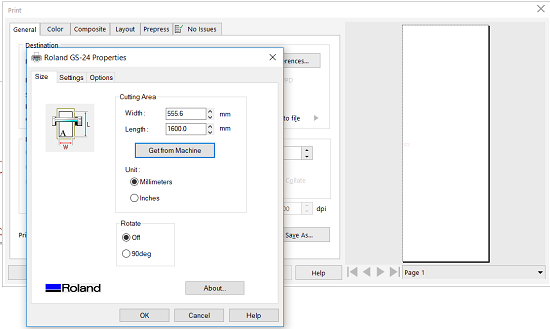
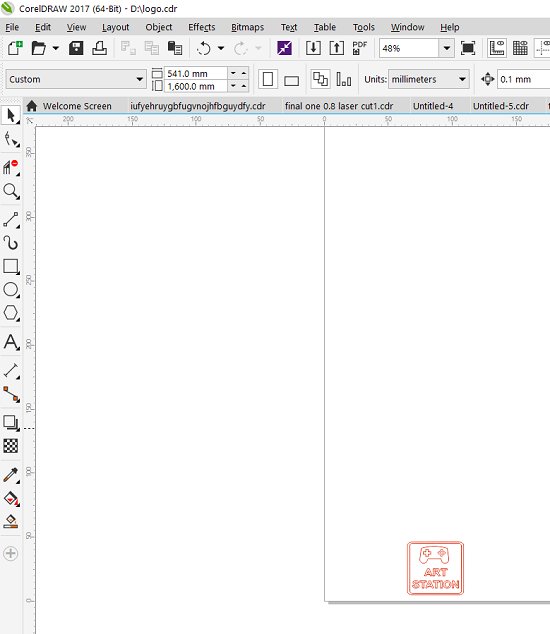
Then opened CorelDraw and I get the size from the properties of the machine. Then I create a new document and I set the width and height similar to what I got from the properties.
Then I add my vector in the bottom and I have a print order.
I sticked the mask sticker to my sticker. then I transfer my sticker and I put it on my playstation. I used a tweezer tool takeoff the unneeded appendages.

File
DXF FileLaser Cutting
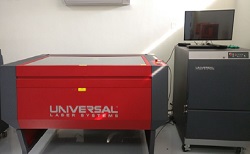
MACHINE: CO2 Laser from Universal system
MATERIAL: Cardboard
Software: Fusion 360 and CorelDraw
We did it as group to find the kerf and here is the link for the assignment.
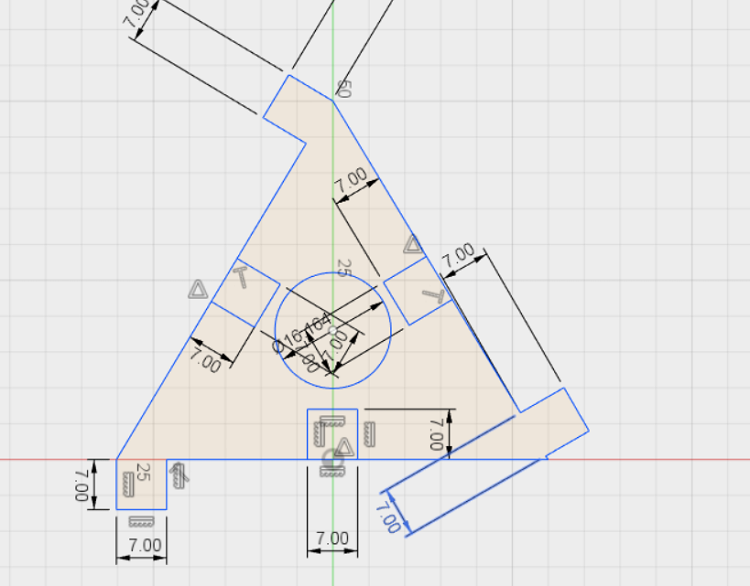
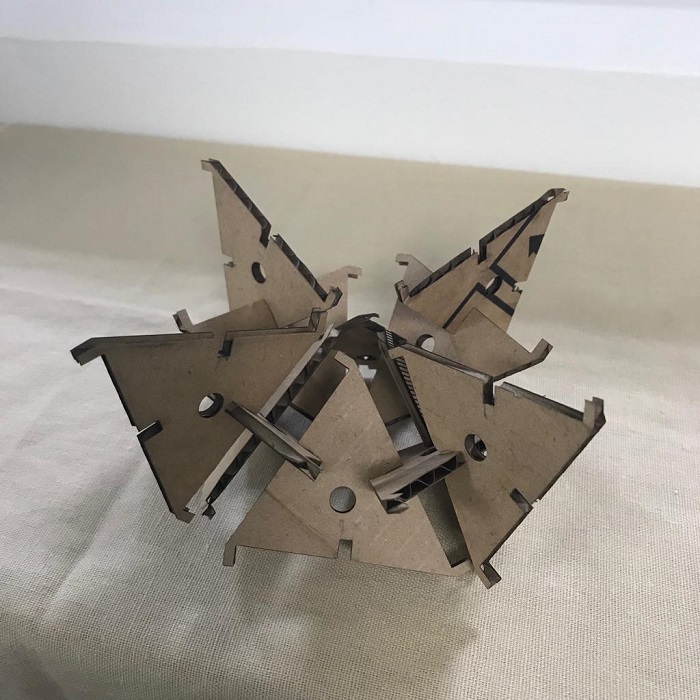
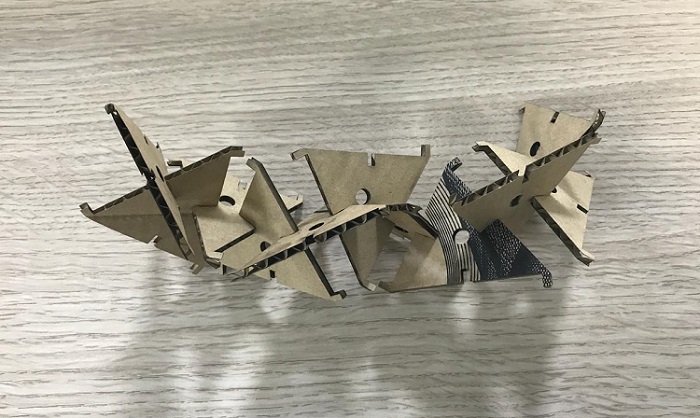
I had to do press-fit construction kit and because I like playing games I decide to make triangle shape that look like the Genji weapon one of characters in Overwatch game.

Im not really good in Fusion 360 but I tried to make nearly same as Genji weapon and this is what I did.
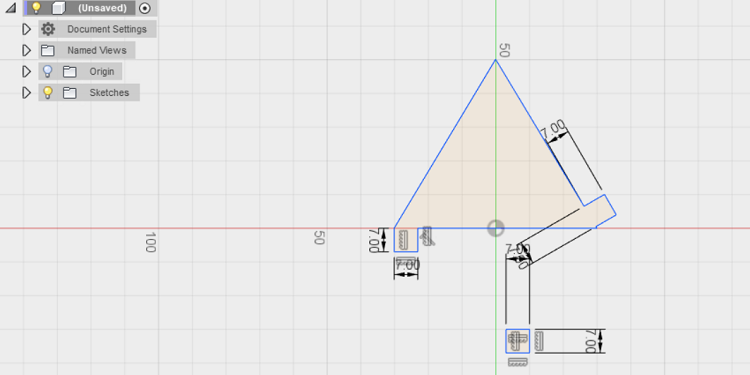
I started by creating an easy geometric shapes triangle and square.
I did square then I Stick them to the triangle.
I should make sure that they are in the same line.
I removed the triangle line and one side line of the square shape.
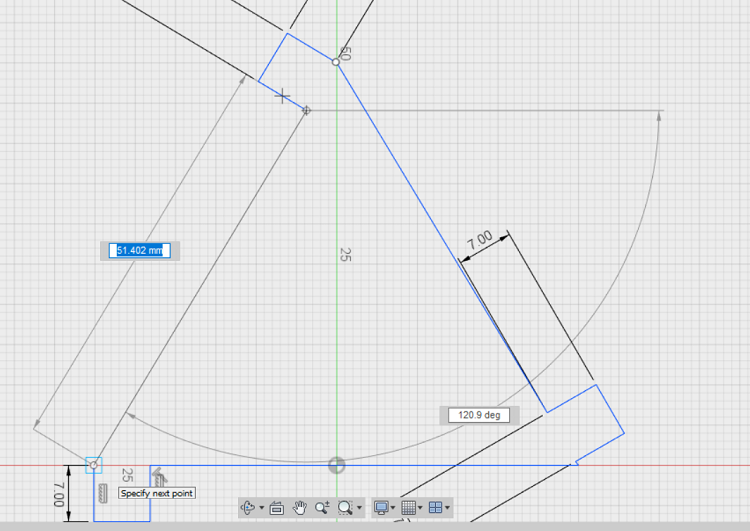
After that, I create a new line to connect the open edge with the other square edge, so I get my new shape with all edges connected. Later I create circle only for design.
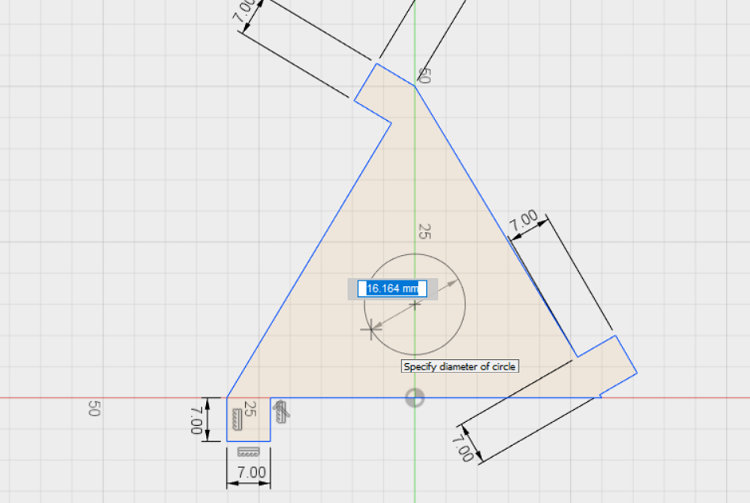
Then I create squares wholes.
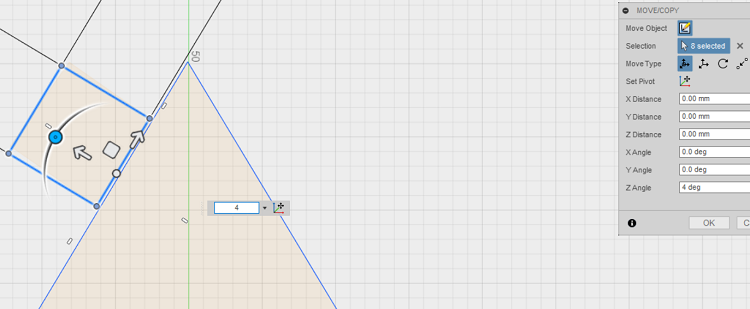
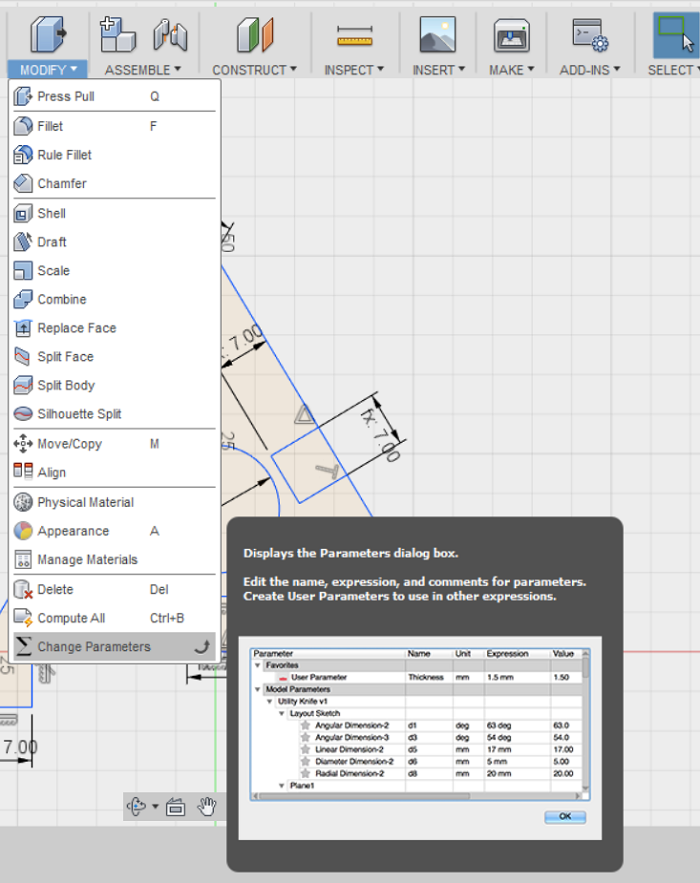
I forget to make my press-fit in parametric. the first thing I have to do now is to create parametric values. Go to MODIFY > Change Parameters.
This window will open I called my variable width and the value for it 7mm.
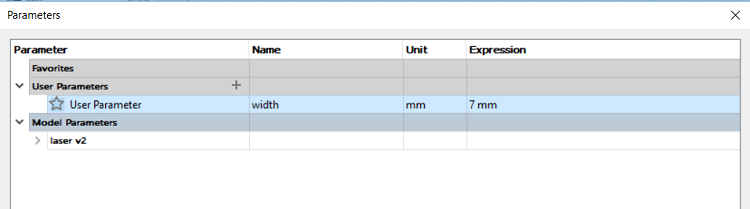
This window will open I called my variable width and the value for it 7mm.
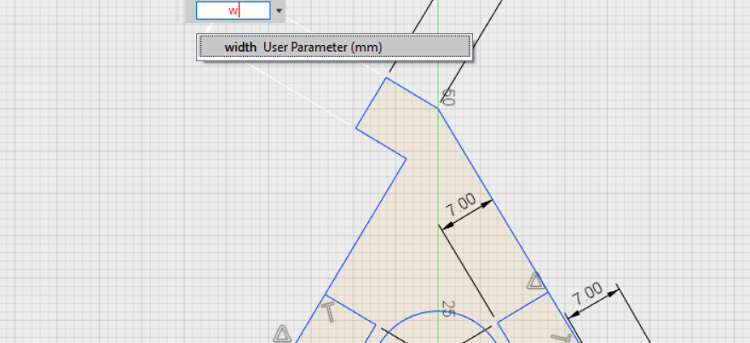
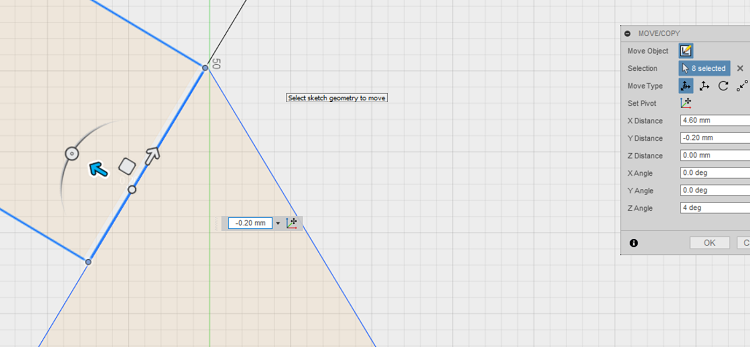
This is how it looks when you add parameters.
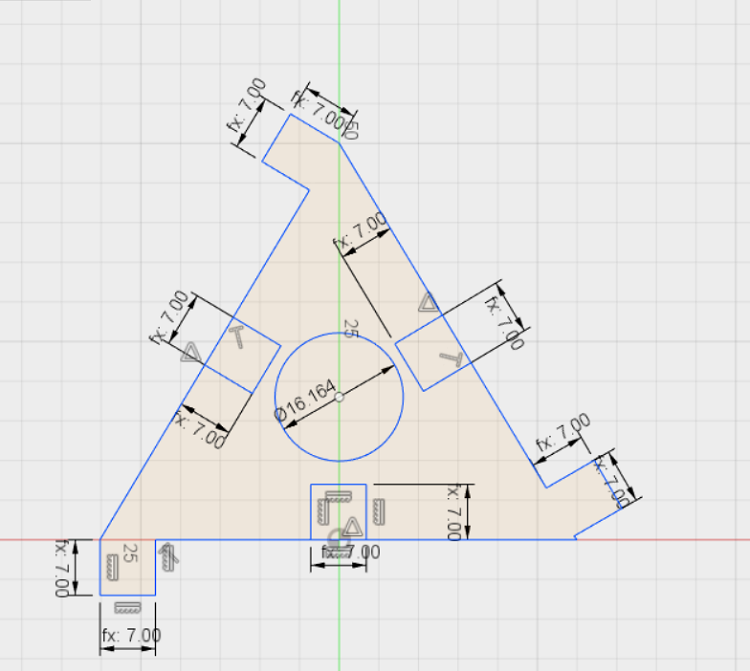
I changed the diameters for the design. Keep more space between the holes and the circle. Because it can rip the cardboard.
This is my settings in the laser machine.
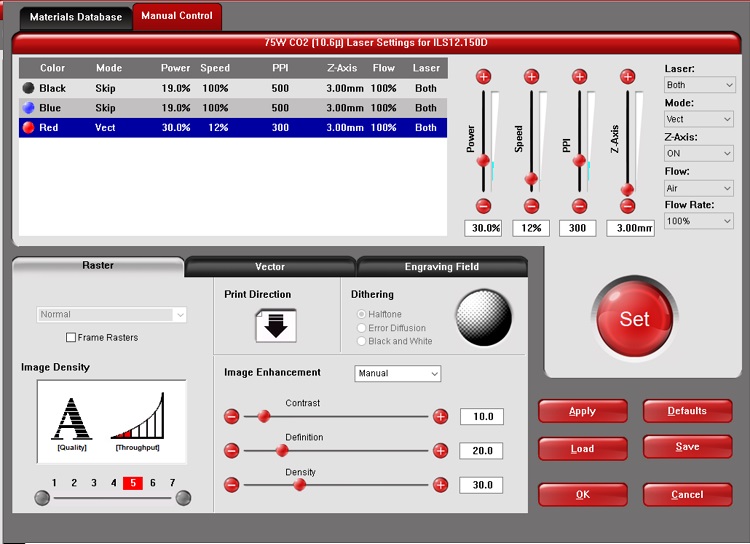
From the group assignment, I was able to know the laser settings and the kerf and I was 0.2 mm. according to this, I changed the holes size to 6.8 mm. the kerf gets changed according to materials and machine.
Another configuration for my press-fit kit.
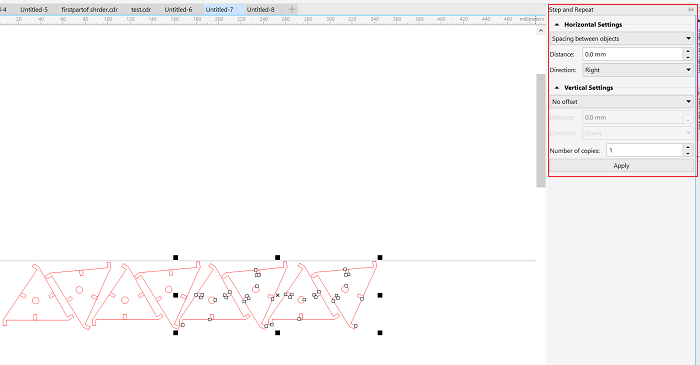
Hashim showed me a way to duplicate the press-fit in CorelDRAW
I select my image then I go to Edit - Step and Repeat
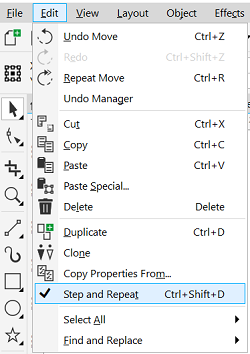
I have to select if I want to duplicate in horizontal or vertical from the side tool options.
File
Fusion 360 FileDXF File