This week I had several ideas I wanted to try out, and since it was Wildcard week, I decided to give them a go and experiment with different techniques.
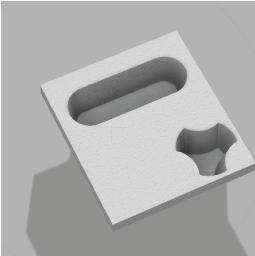
My first idea was to replicate the coffe holders Starbucks uses, in order to make one for myself. I started replicating the dessing using Fusion 360.
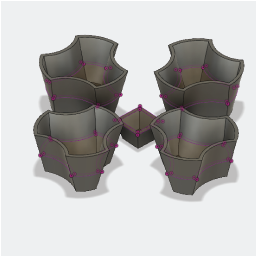
I decided it was a rather complex design, so I simplified it and included a sandwich and a cookie compartment, thus turning it into a lunch tray, more than a coffee holder.
I made both the positive and the negative pieces, so that I could generate the pressure when mixing the fabric and the epoxy resin.

Unfortunately, I could not complete this idea because I did not have the necessary tool, nor did I have the material in order to make my tray. This made me move towards Idea number two.
Because of Fabricademy, I had some experience working woth textiles and digital manufacturing, so I decided to try to apply these techniques. My idea was to create a bracelet using fabric and borax crystals. I started designing the bracelet in grasshopper.
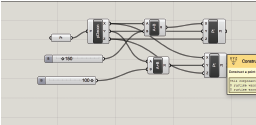
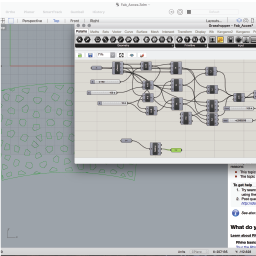
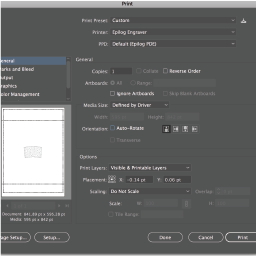
Afterwards, I exported the design as a DXF file and opened it in illustrator, so that I could send it to the Epilog printing environment.
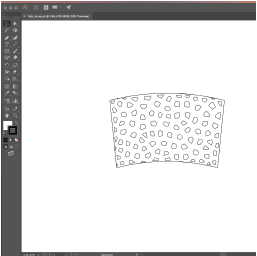
In order for the Laser cutter to operate properly, the stroke weight must be 0.00025. Anything other than that and the Laser cutter will either ignore or engrave the design.
After cutting, this was the result. The parameters I used were: Power (80%), Speed (20%), Frequency (100%).
Now, I wanted to crystalize on top of the fabric. I used borax crystals because borax is quite easy to obtain and its unharmful to work with. Sugar and salt are also viable choices. The first step when crystalizing is boiling water.
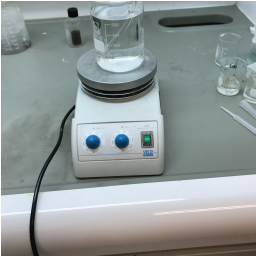
Once the water reached its boiling point, I added the salt. It's important the the soultion is an over-saturated one, or else there's a high risk crystals might not form. I used 50 grams of borax and half a liter of water.
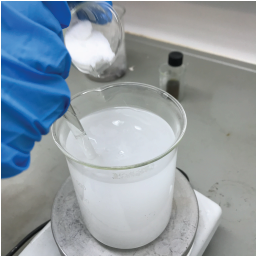
I then proceeded to place my textile deep within the solution and let it rest so that the crystals form. This takes about 8 hours, but I left it untouched during the weekend, jus to see the effect.
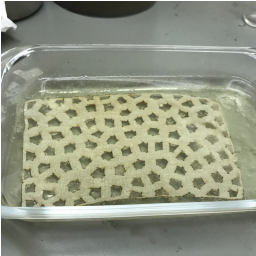
After 3 days, I had the following results.
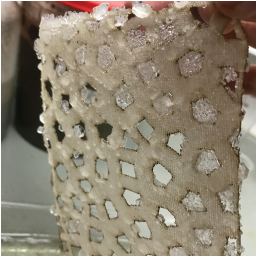
What I really like about crystals, is that it's impossible to get an even result. Two processes will never be the same, and every product will be unique.

I really enjoyed crystalizing, but I felt that the bracelet lacked stability and structure, which led to idea number 3...
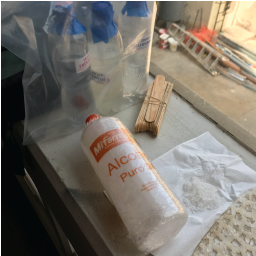
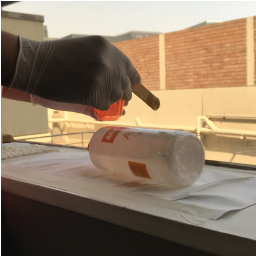
On monday, I received some Epoxy resine, so I thought i might give it a go at making a composite after all. So i thought: "If my bracelet lacks structure, I might as well just cover it with resine and make it more stable, while also securing the crystals to the fabric". Well, I do not recomend that you follow this procedure, but I'll still document it. You've been warned. I used an old alcohol bottle as a mold, which i wrapped in plastic paper, just in case.
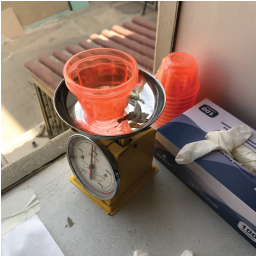
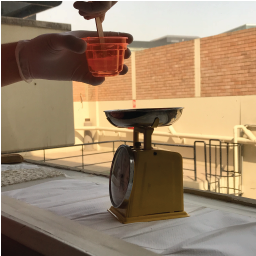
Ther first step was weighing the components. I used two parts component A, and one part cathalyzer (component B).
Mixing....
I added shoe-shiner on top of the bottle to prevent the fabric from sticking to the plastic wrap.
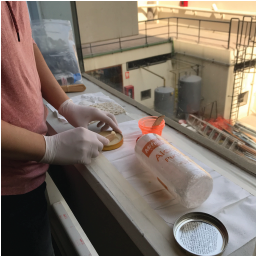
Adding some resin
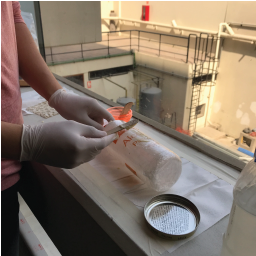
Placing the fabric and adding the resin. I did this slowly, to prevent damaging the crystals in any way. I also taped paper towels underneath the bottle to protect the wall from suffering any damage from the resin.
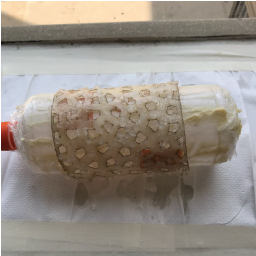
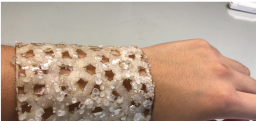
After about a day or so, this is what I accomplished. It is harder than expected, and the shape does not adapt properly to that of an arm, but all in all, the crystals are firmly attached to the fabric. I think with a proper molding surface the result would have been better.
Also, I should have added extra paper towels, because I sort of burnt the wall...
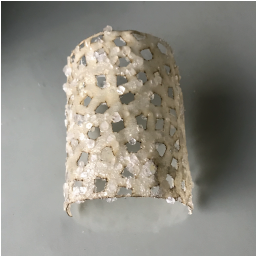
Here's the bracelet on my arm. I'm not thrilled with the result, but i'm not unhappy either.
Just so that I could have something to feel proud of, I decided to go for idea number 4.
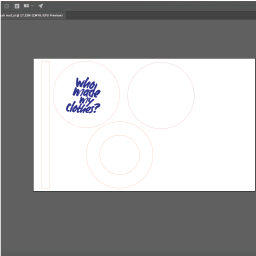
During the fashion revolution week, I helped a friend and former fabacademy Student Alexandra Roldan host an event at a FabLab, where we recycled Denim and made some clothes. I had the idea to make a Beret with the denim. I generated the patterns in illustrator, and I added the fashion revolution motto: "who made my clothes?" I then used the same procedure as earlier to send the files to the Epilog print environment, and changed the parameters:
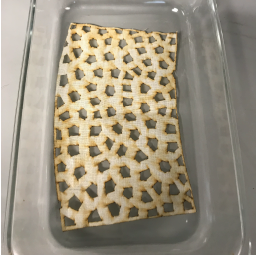
After cutting and sewing, these are the results:
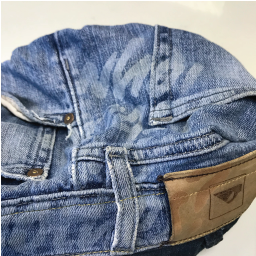
I actually am hapopy with the results.
You can download my files from these links: