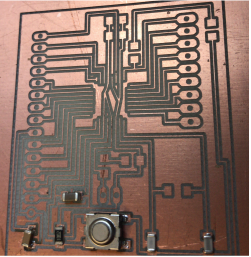
This week's assignment was to program a board which I had already manufactured. I decided to use my modified "Echo-Hello World Board" from Electronics Design and my FabISP from Electronics Production.
It turns out, that my hello board had some problems, so I had to remake it and resolder everything. In order to make it properly, I checked the DataSheet, available here.
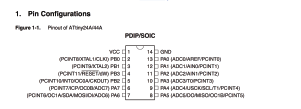
The most important thing to consider, is which pins can be used as digital inputs and outputs, and which can be used as analog inputs and outputs. Also, the fact that the pins are numbered differently in the Attiny and the Programming environment.
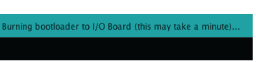
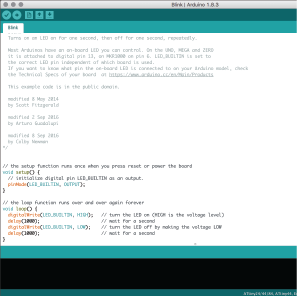
Anyway, back to programming my Hello Board. I used the Arduino IDE, because I had previously worked with it at work. I realize that I could have done it differently, but I did not have much time this week, so I took the easy path. Within the Arduino IDE, I followed these steps in order to burn the bootloader to my Microcontroller, and allow it to understand the language.
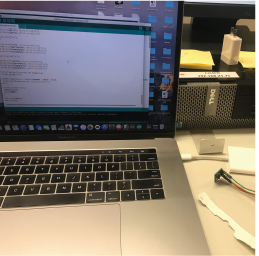
Finally, upload the code. I decided to use the Blink example to test whether or not the Led on my Hello Board worked. And it did!
Basically the code has two parts:
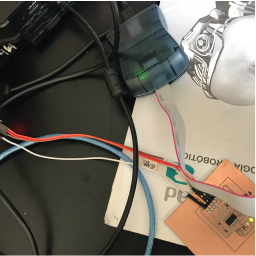
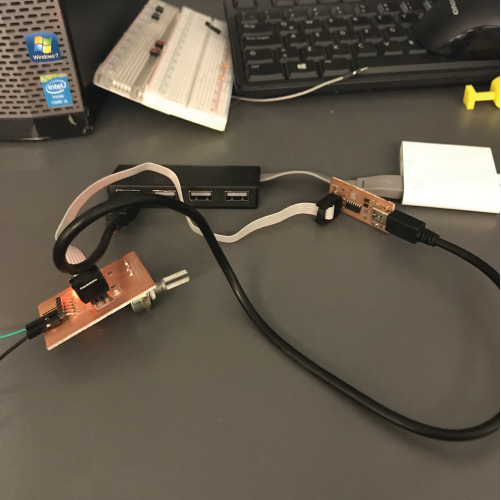
I wanted to try some different things, so I decided to program the board with some code of my own. It's not very original, but the idea is that the LED lights up only when the button is beign pressed. Here's an image and a video of how it works.
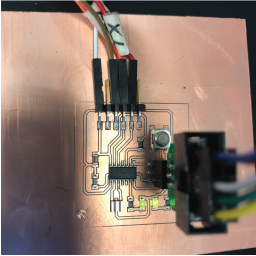
The code can be found here.
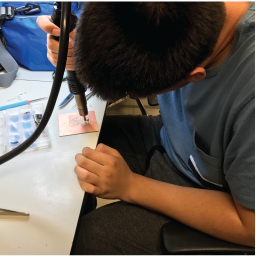
After my feedback, I was asked to program my board with at least another programming language. Nicolas had the same issue, so we decided to work on it together. We both set out to try and program our boards with C/C++ because it is what the Arduino language, with which we are both familiar, is based on. I looked at this page from a previous fab-academy student and tried to learn what he had done. So, Nicolas and I wrote our C code and tested that it compiled within the Arduino IDE.
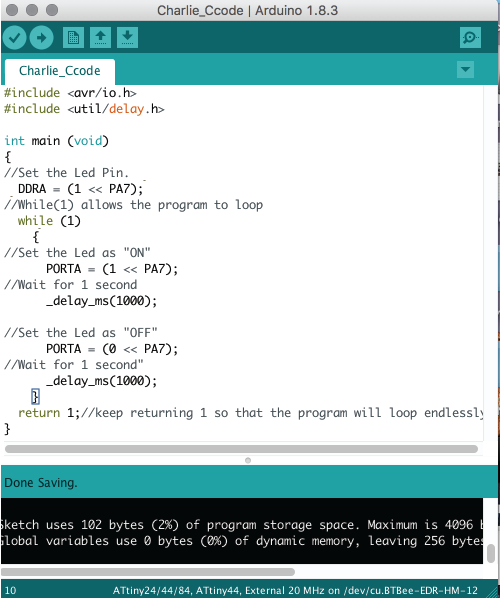
So what the code does is basically define the pin where the LED is stationed and then turn it on and off continiously for 1 second, looping endlessly. The "While(1)" and "Return(1)" statements allow for an endless loop. All in all, C programming wasn't as hard as I had expected. Here's a link to my code
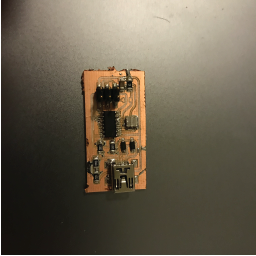
I could not find my original Hello Board, so I programmed my Input devices board.
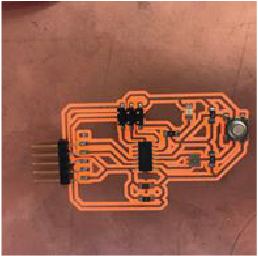
I also wanted to try programming a more complex board, so I checked the Satsha Kit and tried to replicate it. I modified it a little bit, by changing the crystal component and removing a couple of capacitors, I also redrew the board, using thicker traces (0.6), so as to avoid problems during cutting, in the end, I did not test its functioning, but i'll keep the board just in case.