TASK TO DO:
- Model objects/part of a possible project in 2D and 3D software
- Show how you did it with words/images/screenshots
- Include your original design files
- Learn 2D software and evaluate them 1. RASTER - Photoshop and GIMP
- Learn 3D software - Google sktechup, soild works, fusion 360
WHAT I HAVE DONE:
2. VECTOR - Illustrator and CorelDraw
we have to fix up software from 2D and 3D which we will using throughout the academy. For this purpose we have to try at least 2-3 software and then finalize any one.
This week we learned a lot about 2D and 3D tools.
2D designing Software
2D is two-dimensional design or flat drawing. Line, shape, texture, color, etc. are the elements of the 2D design or art. There are two types of 2D designing software such as Raster designing and vector designing.
Raster-
Raster graphics such as gif or jpeg are composed of pixel which together form image.
I tried GIMP and PHOTOSHOP. In the both software I tried to make same thing i.e photo editing. I try to find which is easy and comfortable.
Adobe Photoshop
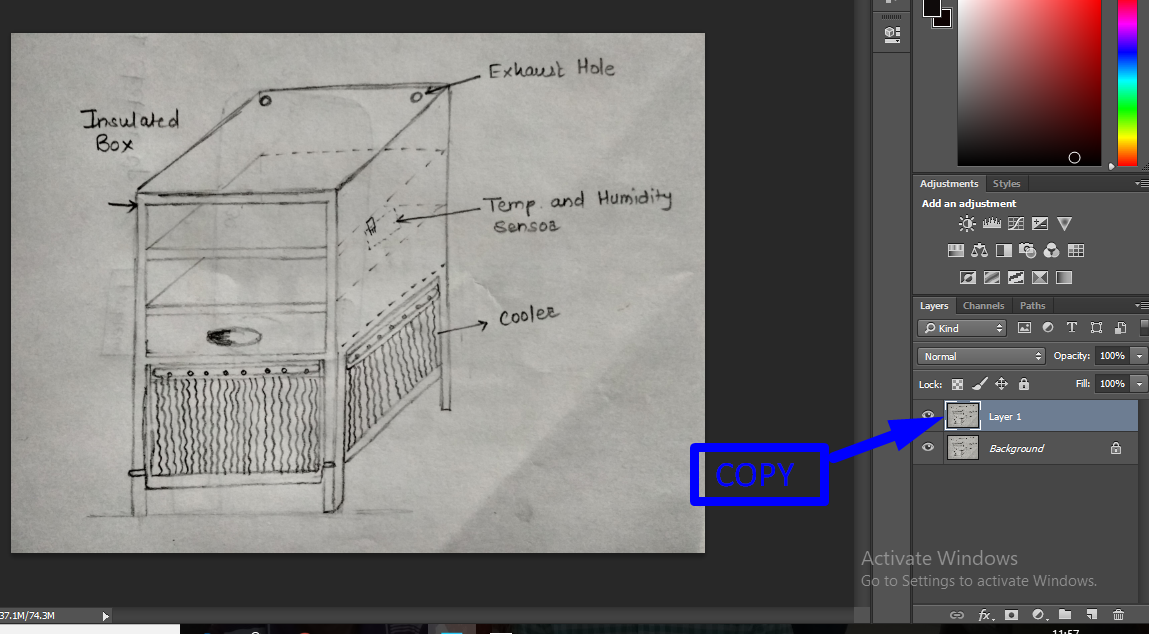
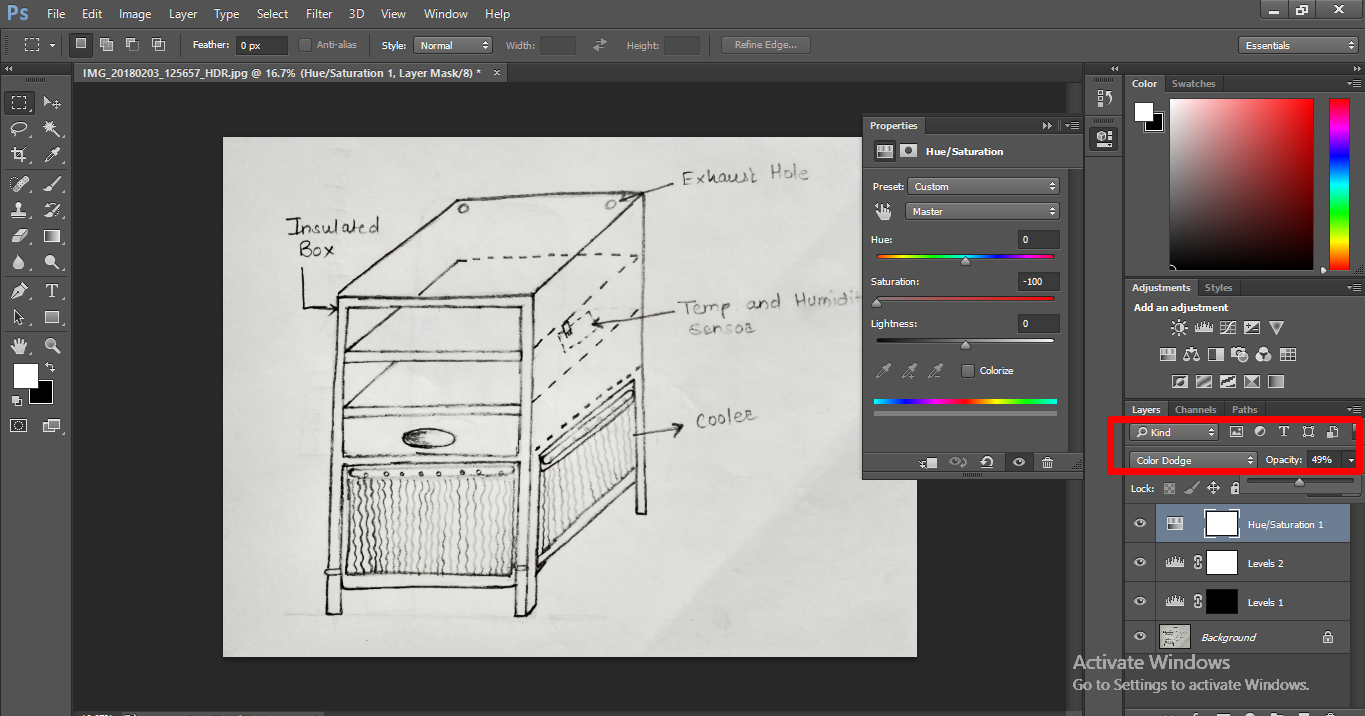
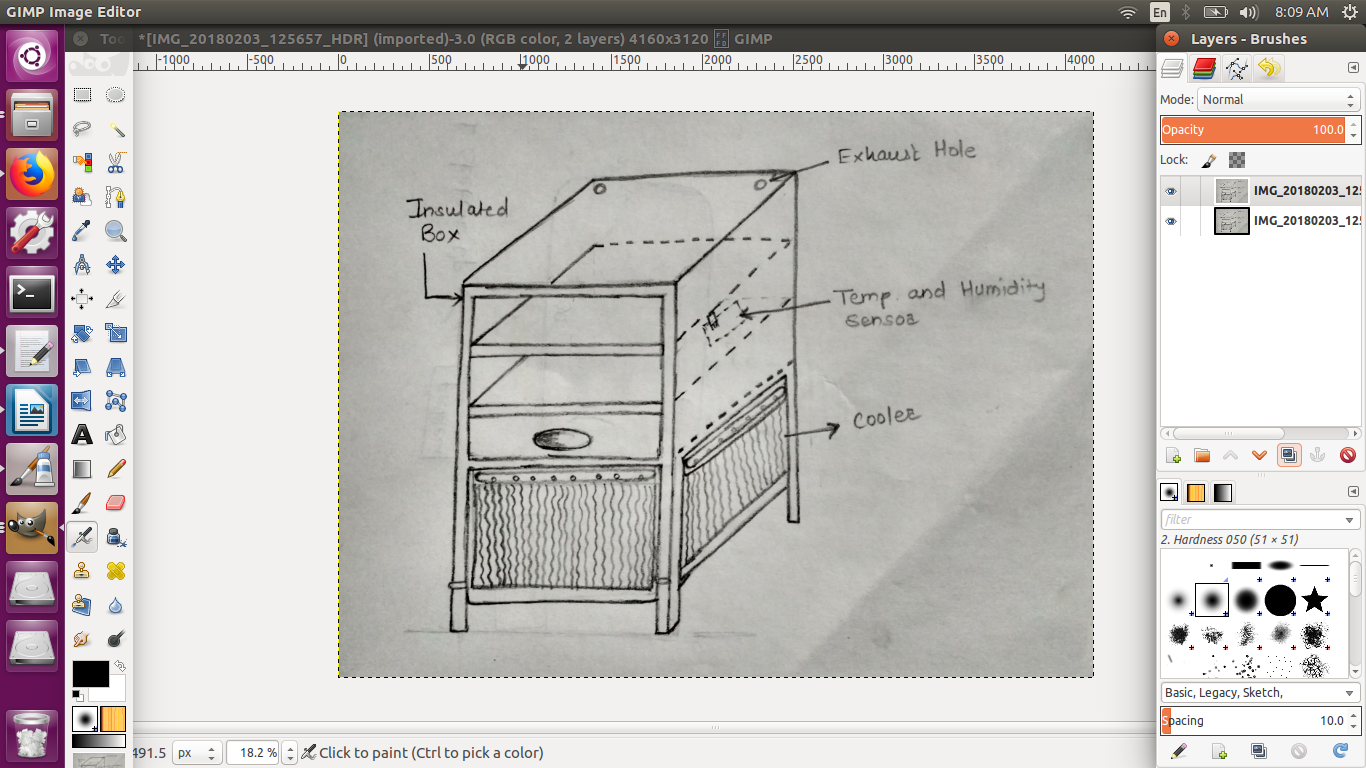
I have done many sketches for my final project and In photoshop I'm going to edit them.
I did the following steps:
1. Open the image - For this you can directly drag and drop image or press file-click on new and select your file.
2. Make multiple layer - press Ctrl+J
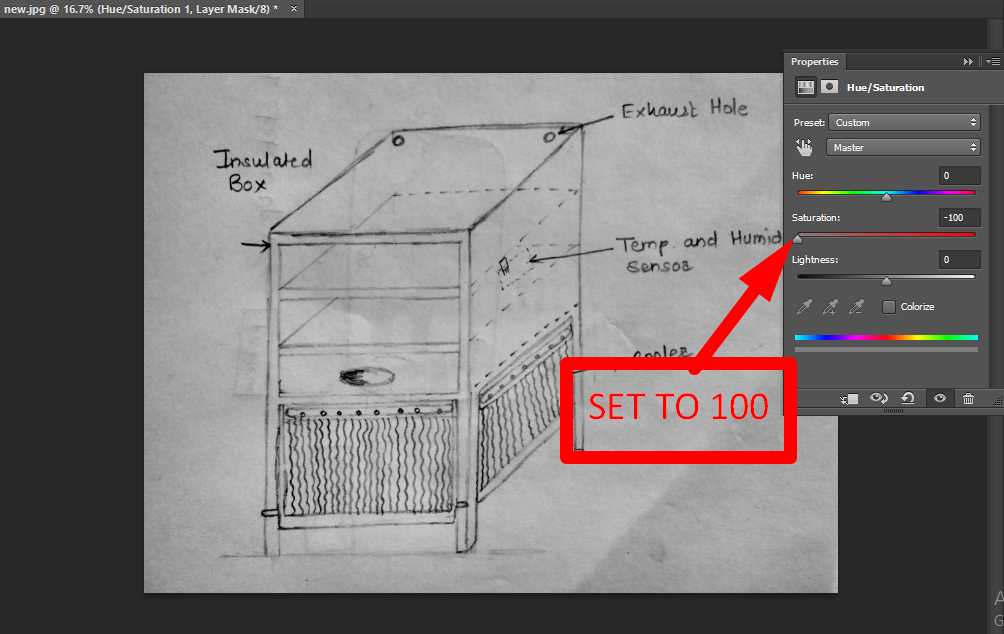
3. Reduce the hue saturation- click he globe icon on the bottom right corner and reduce the hue saturation to -100, the picture will start to look black and white this time.
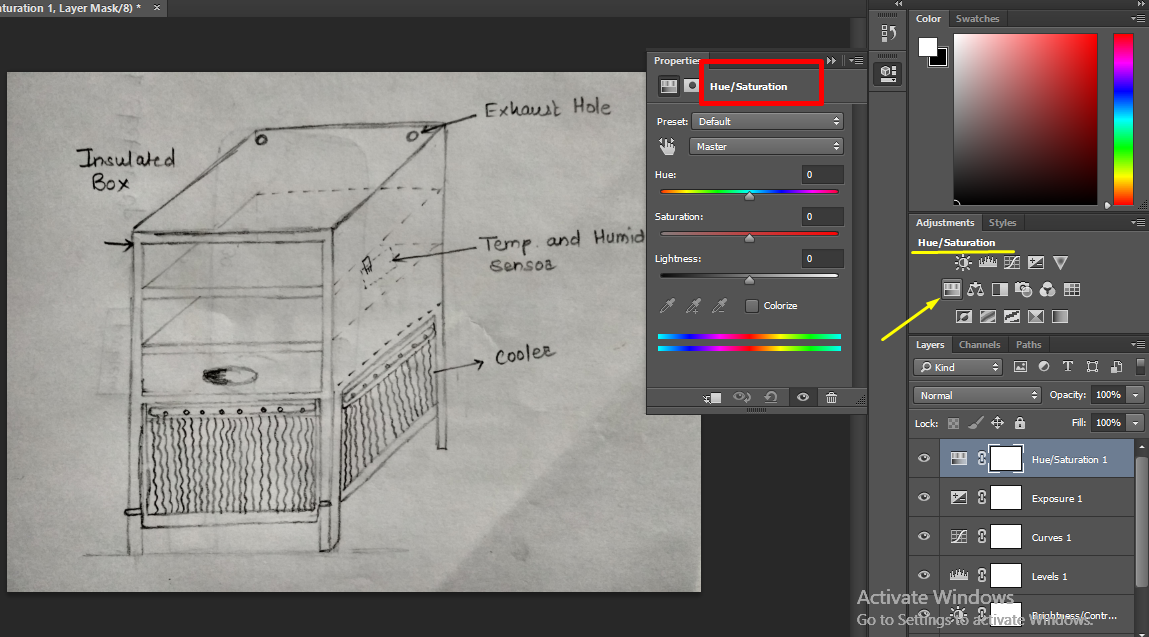
4. Change the mode to color dodge- to make the image as the active layer and not the hue/saturation level.
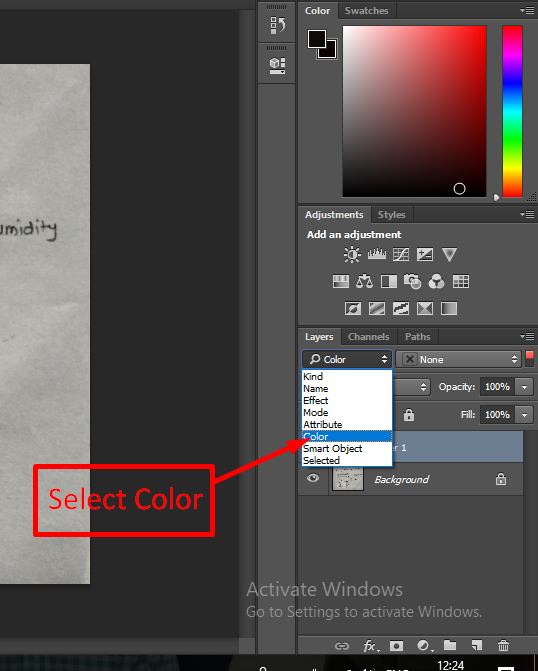
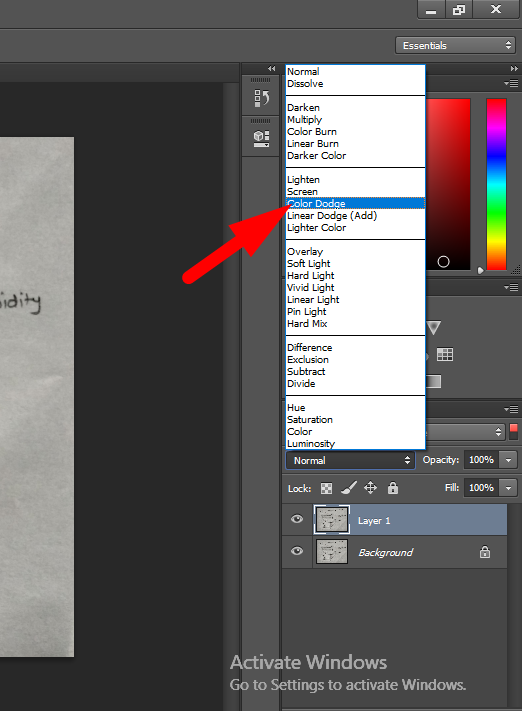
U can tweak the slider(opacity) till according to the choice.
You can download original file from here.
GIMP
GIMP is an free, open software and available on all operating system.
So, First of all I downloaded the GIMP software.
When I opened the GIMP I'm little bit confused because their is no any tool box or any other docks. Then I tried to search the docks and I easily got them.
Actually it has two window mode i.e Single window mode and Multi window mode.
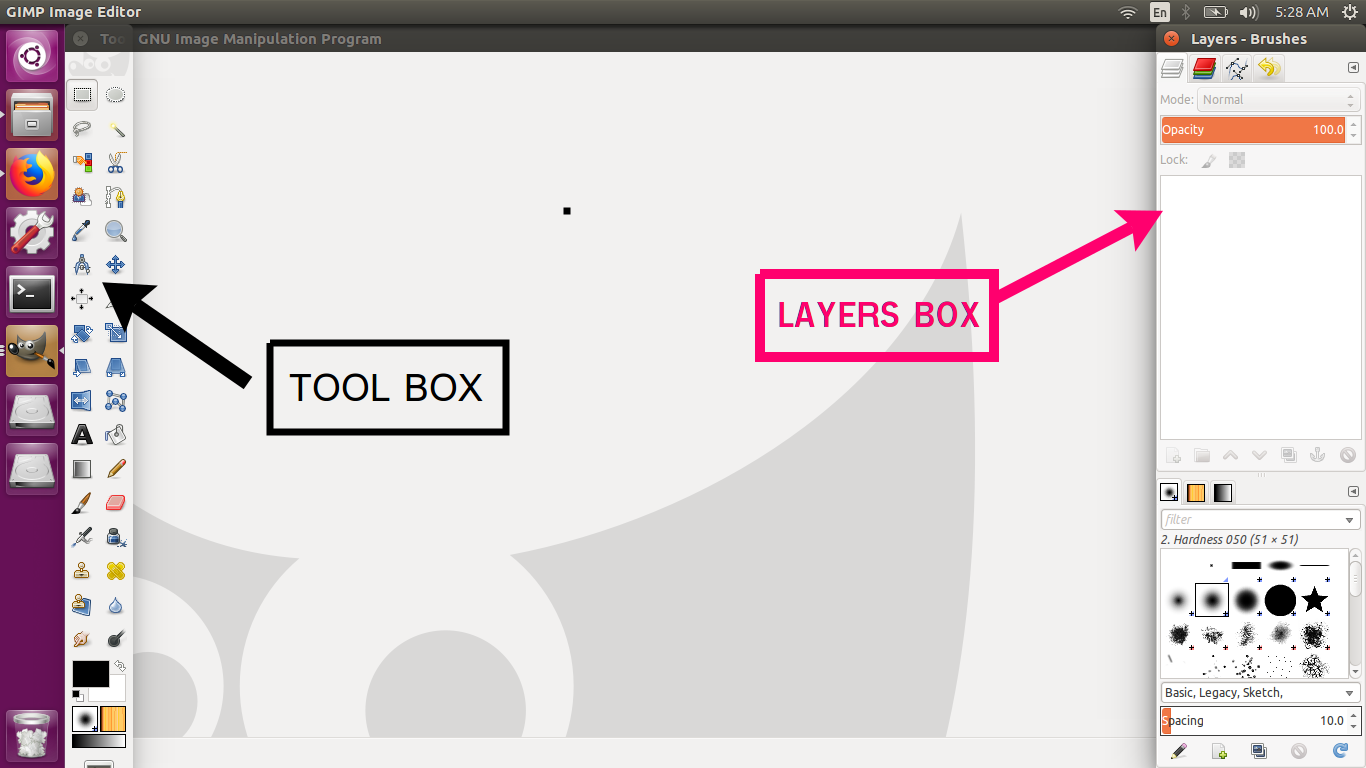
In this Toolbox, Layer box at the left and right side resp. Image window in the middle.
Step 1: Get toolbox and Docks - just right click. Press windows and then select the docks and tool box. After this Both are appeared on screen.
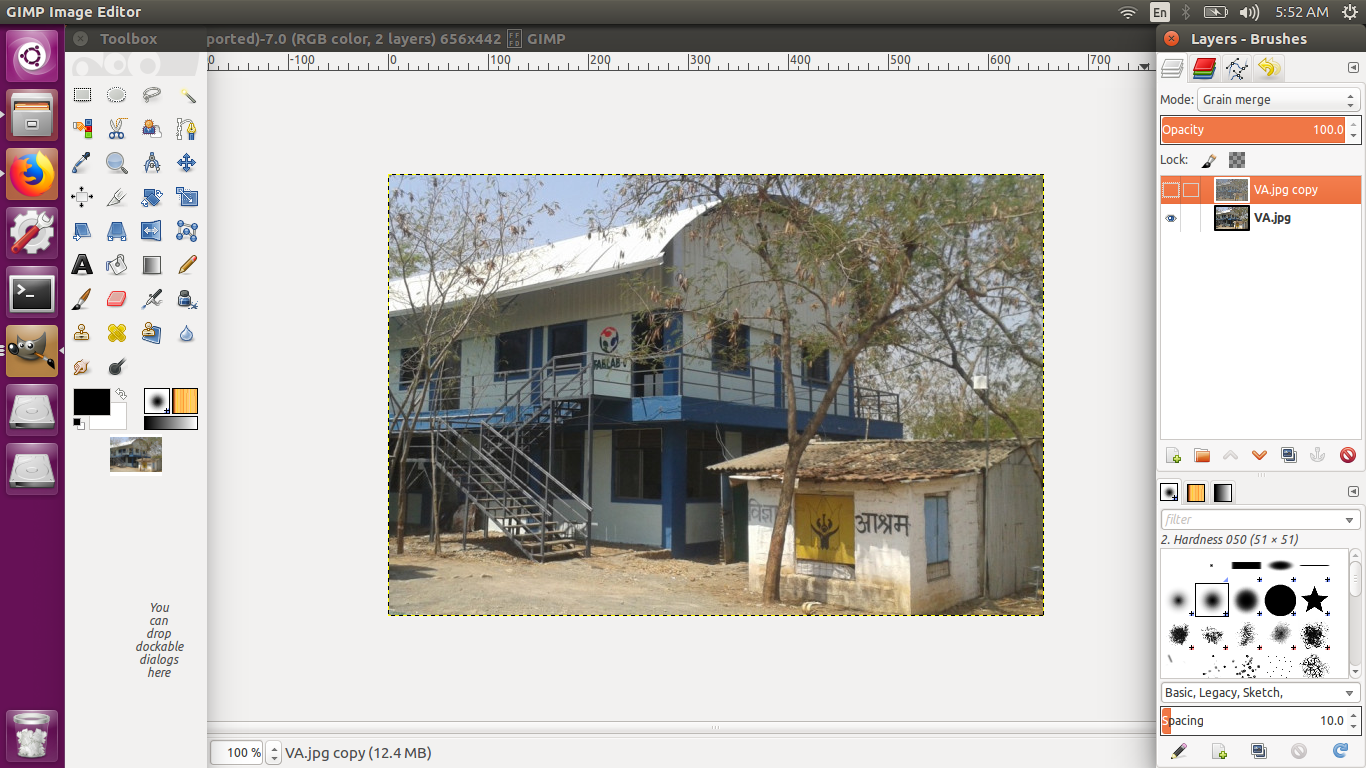
Step 2: Import image. For this press file and go to open.
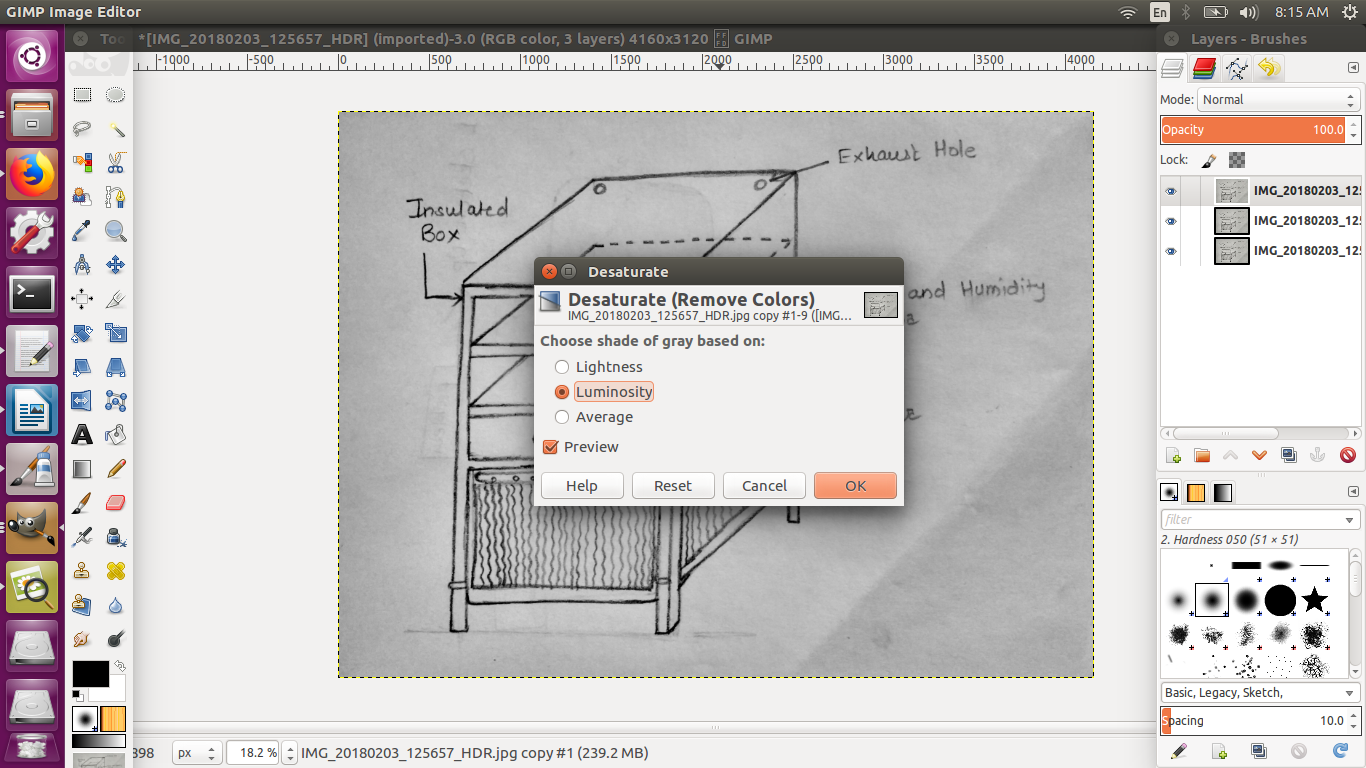
step 3: Desaturate - This tool can turn color into shades of grey. For this, press color-select desaturate and then click on luminosity.
Step 4: Invert it- click on color-invert. It just invert the color.
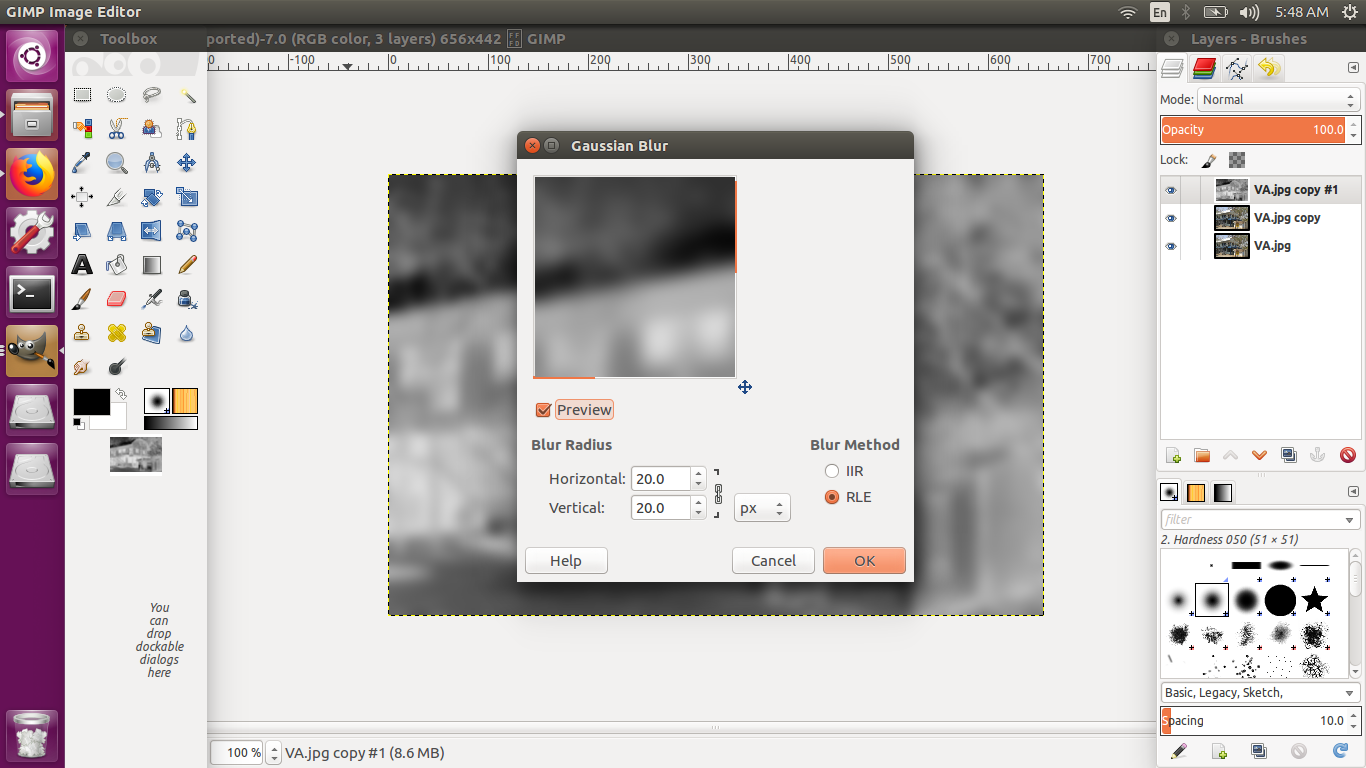
Step 5: Blurr it- click on filter-blur- gaussian blur. Select as per your photo. After this change or reduce OPASITY and experimented with photo.
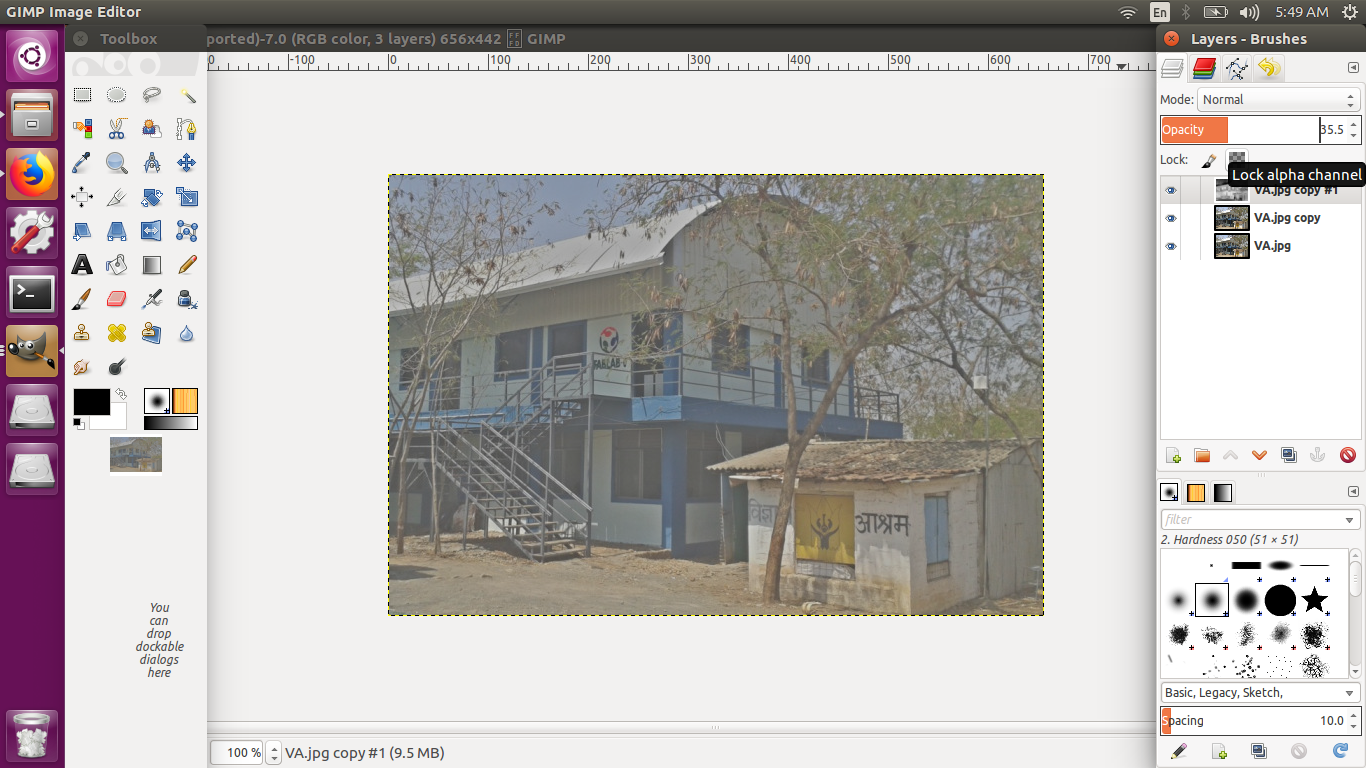
Step 6: Merge down- click on layer- select merge down. It merge down the layer with a first visible layer.
step 7: Change the mode - Select the grain merge mode or see the effect after selecting diiferent modes.
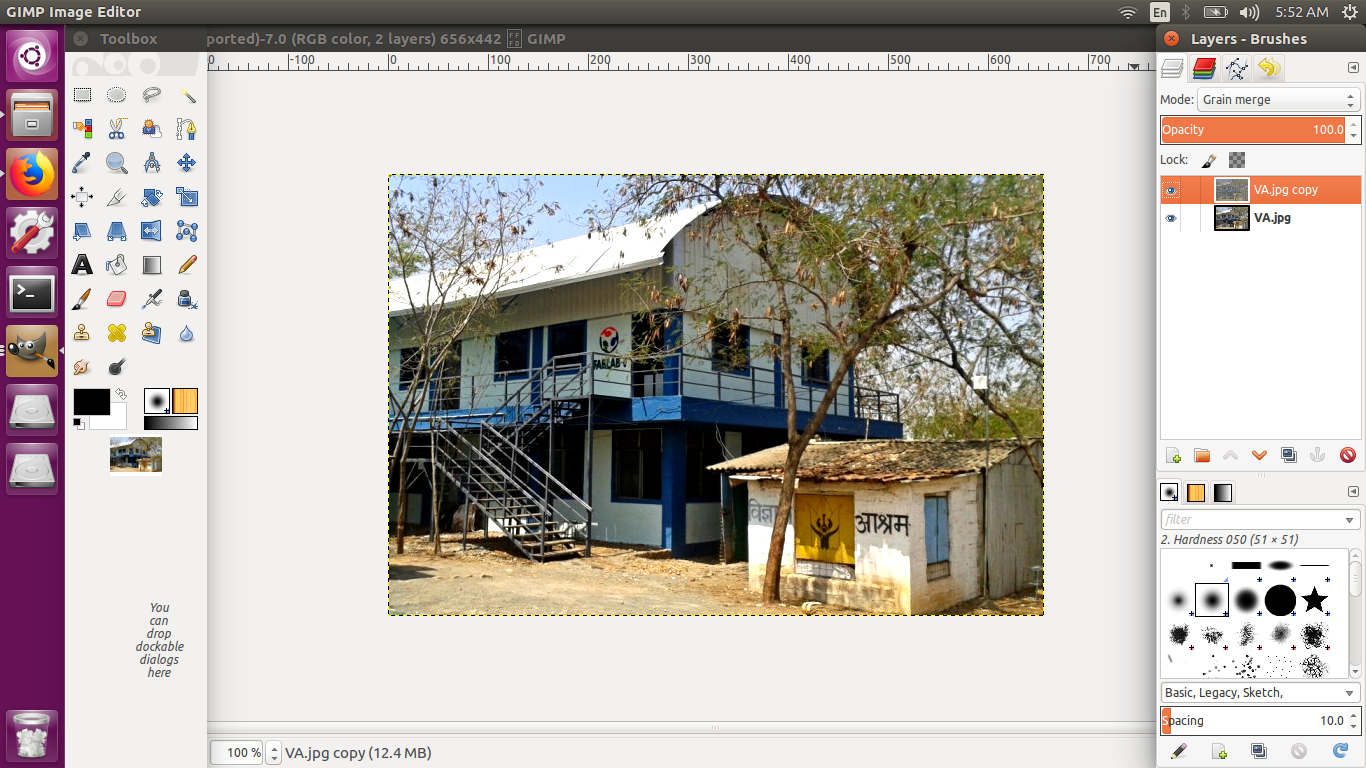
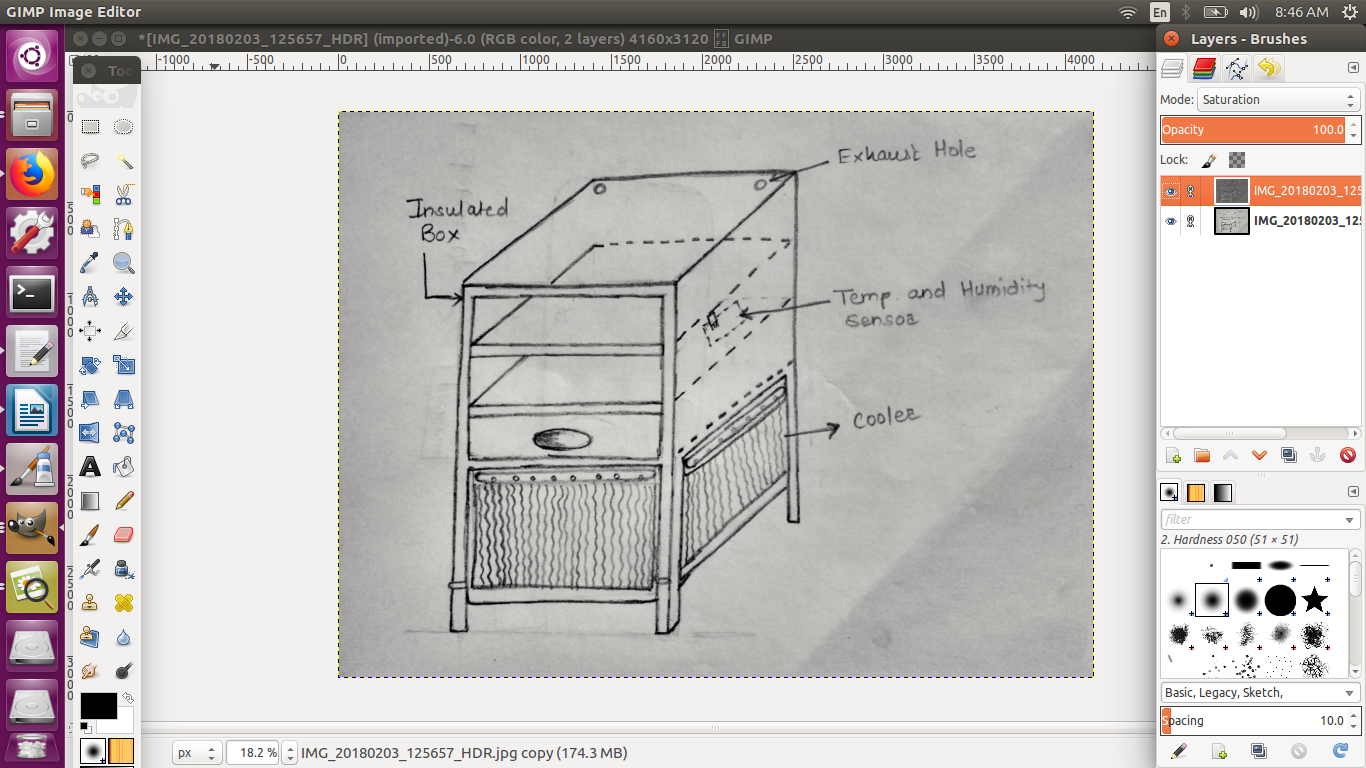
We can see the before and after effect of the pictures.
MY EXPERIENCE
GIMP is easy to learn. GIMP for those who just want to improve the quality of their photos without spending any money on software. Its installer size is smaller than photoshop. Photoshop is proprietary and cost a lot money to purchase. It is great software but expensive.
VECTOR-
Vector graphics are having equations or are composed of paths.
I tried Illustrator, corel-draw. Both are new for me. I just want to learn these software.
Corel-draw and illustrator serves as the two most sophisticated graphic design software widely used in the graphic design industry. Both are vector-based illustration software, developed to deliver fast results and to meet the demands of our graphic designing professionals and graphic artist.
Illustrator
step 1 : Firstly I take new document and make changes as per requirement.
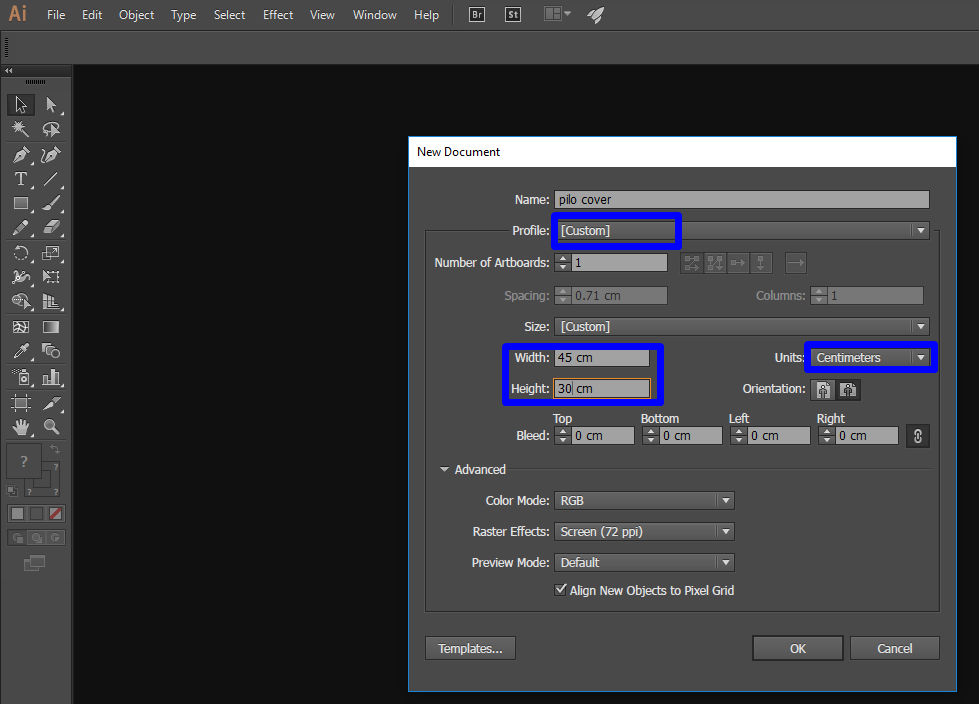
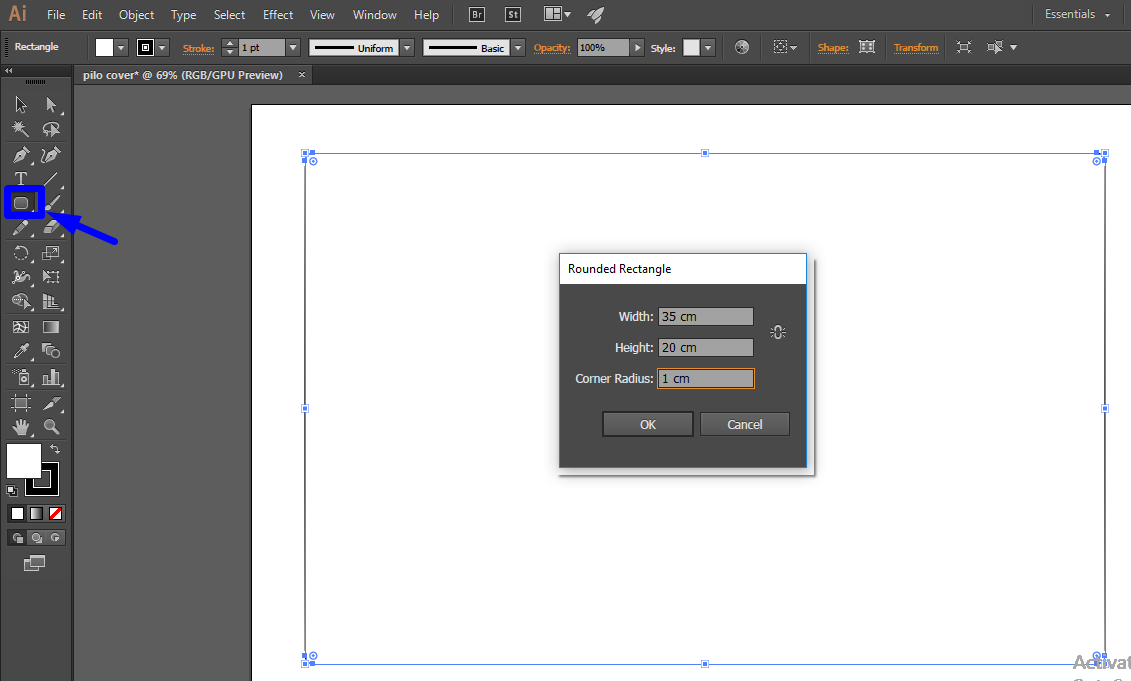
step 2 : Took a rounded rectangle and gave dimension. (For giving dimension we have to take shape first then again click on the same shape and give the dimension. After this one shape with given dimension appeared on the screen. Delete your first dimensionless shape.)
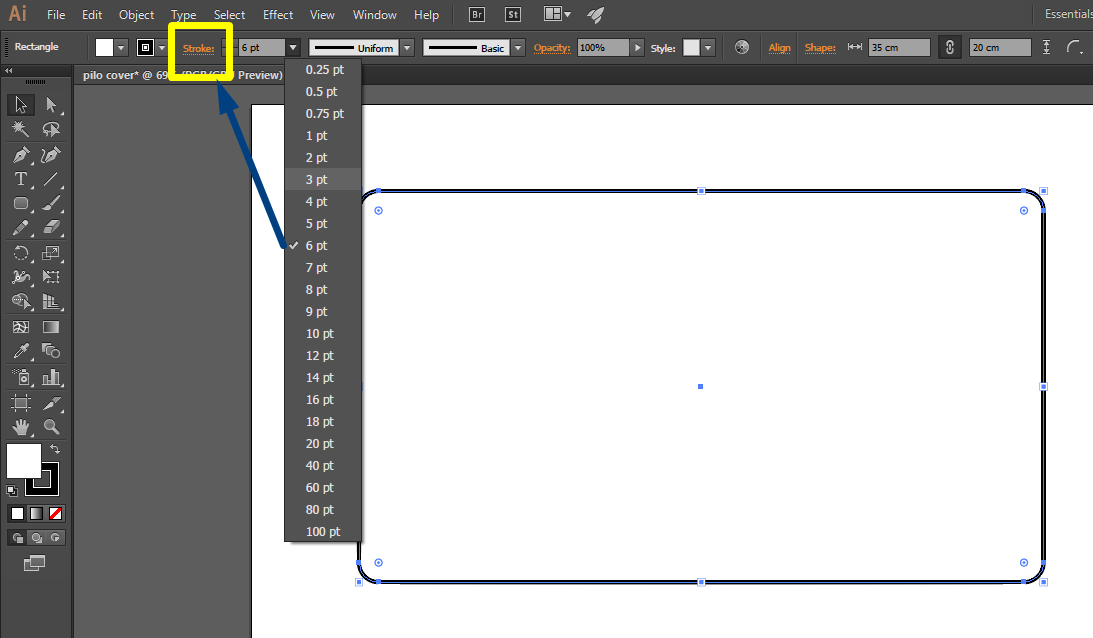
step 3 : You can change the border line color, thickness as given below:
step 5 : Then I go to pattern and select brushes-border brushes-decorative borders.
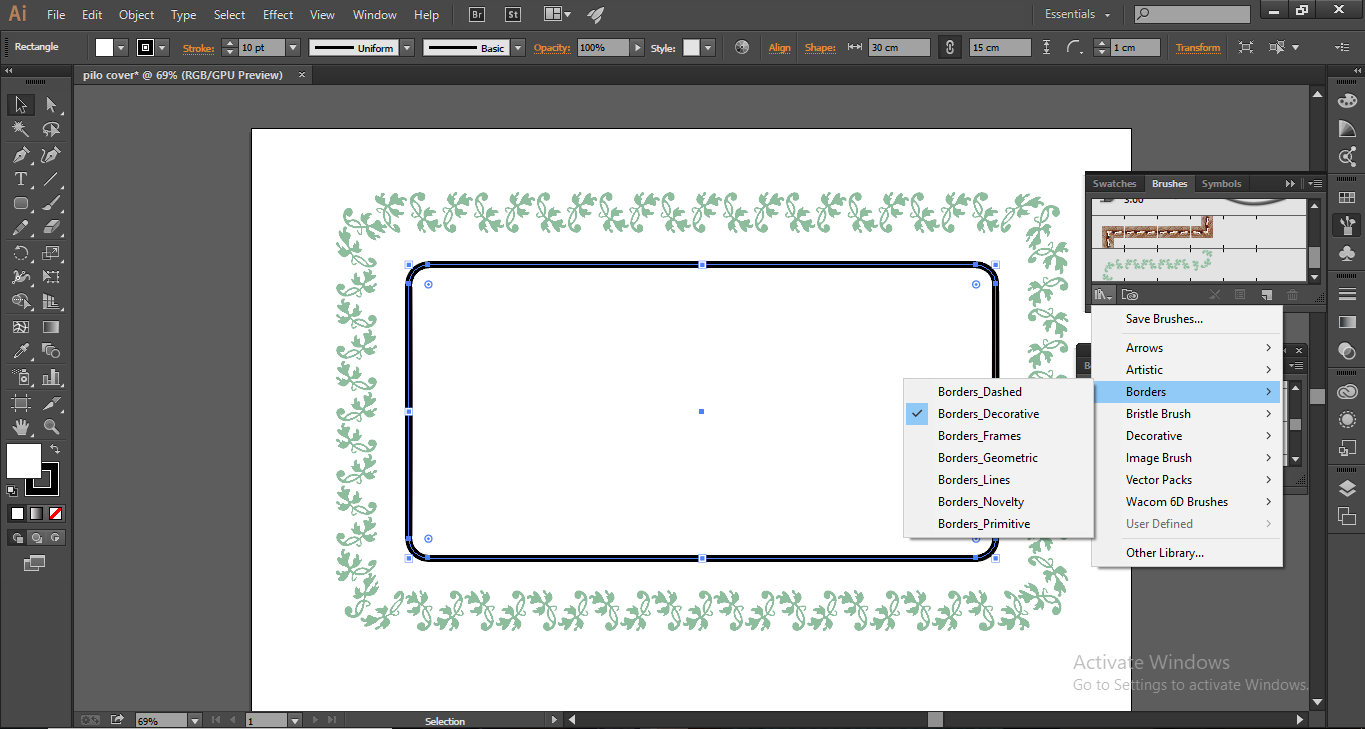
step 6 : We can make duplicate shape by pressing "Alt" button and "shift" for moving object.
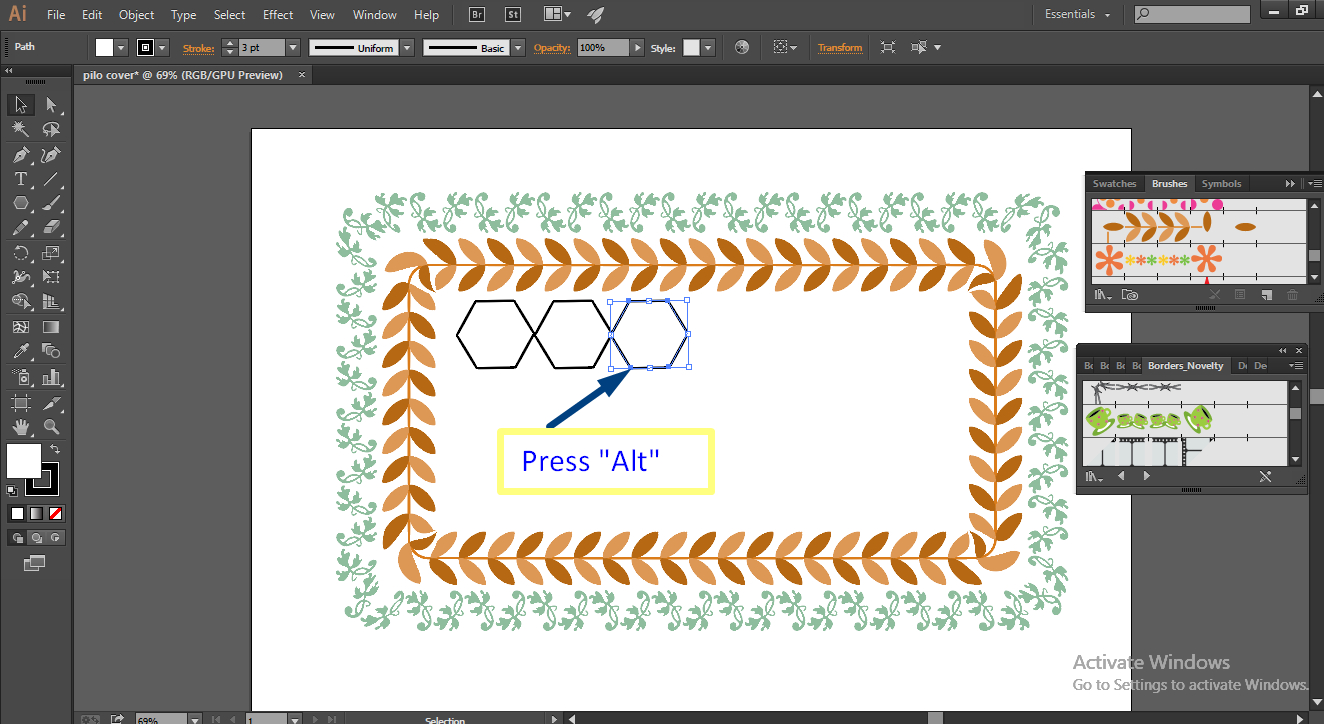
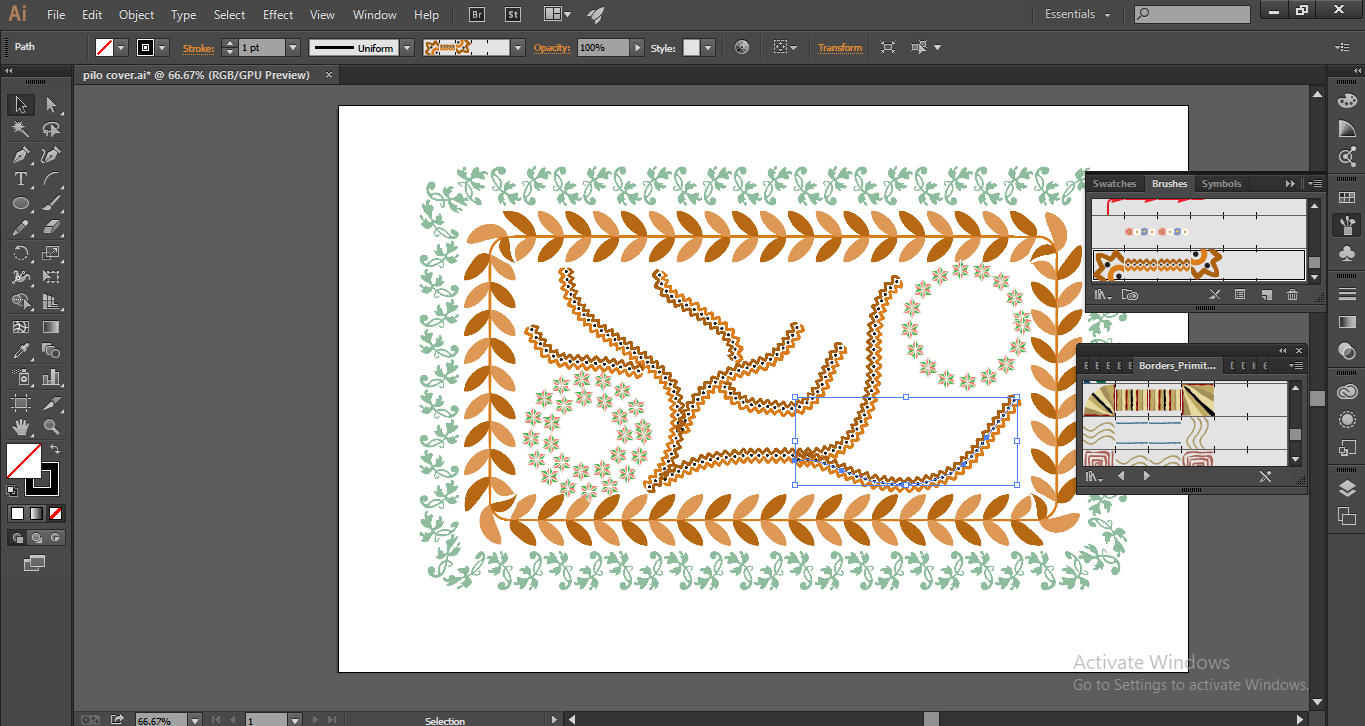
I have made design as per below and save as .jpeg file:

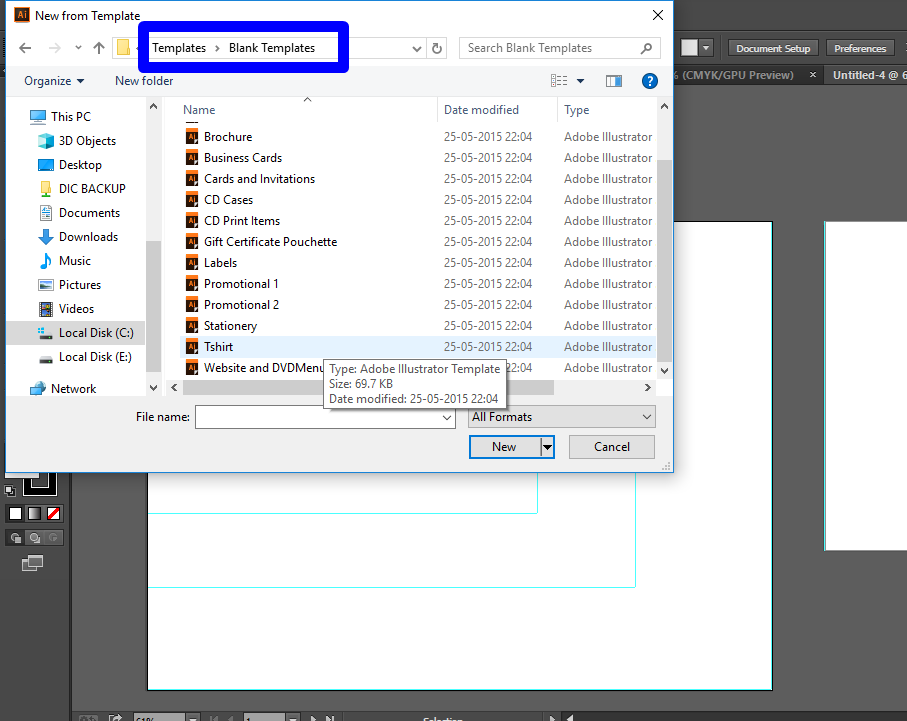
There are many In-bulit templates which are used for new user who wants to make brouchers, logos, business cards,etc.
You can download original files from here.
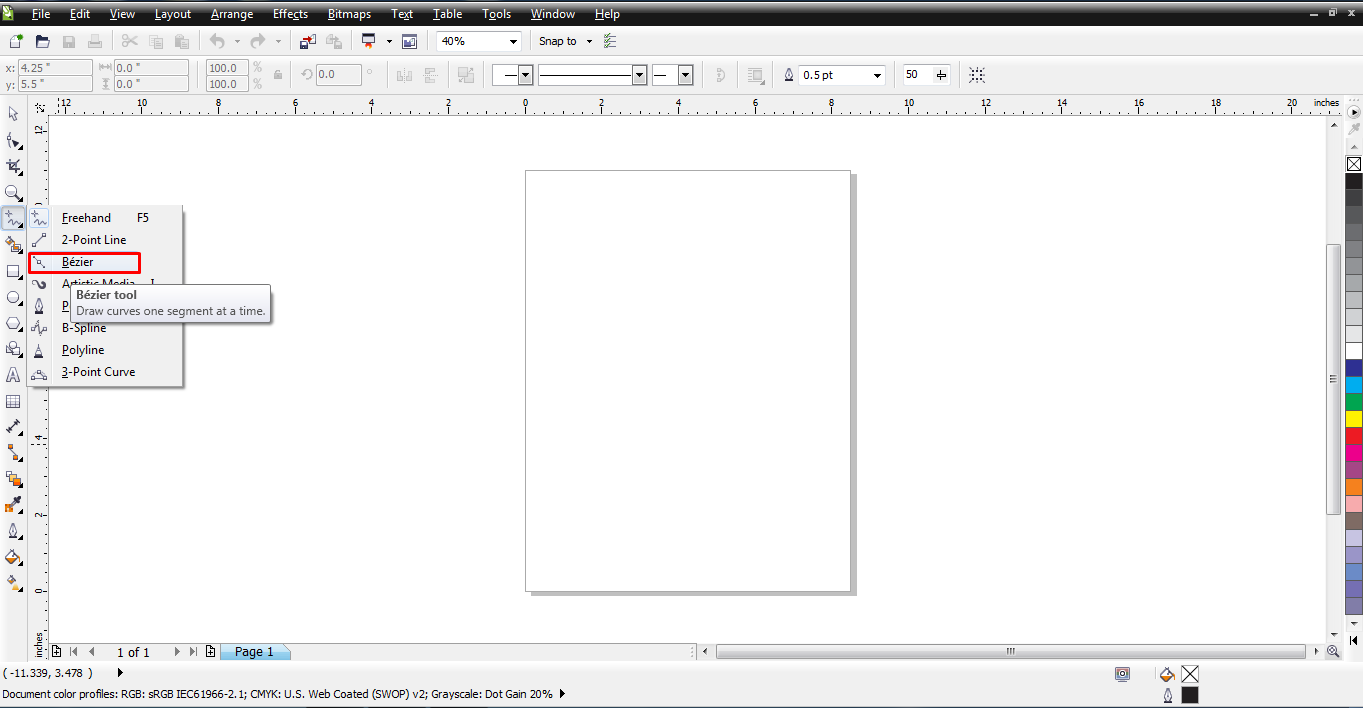
COREL-DRAW:
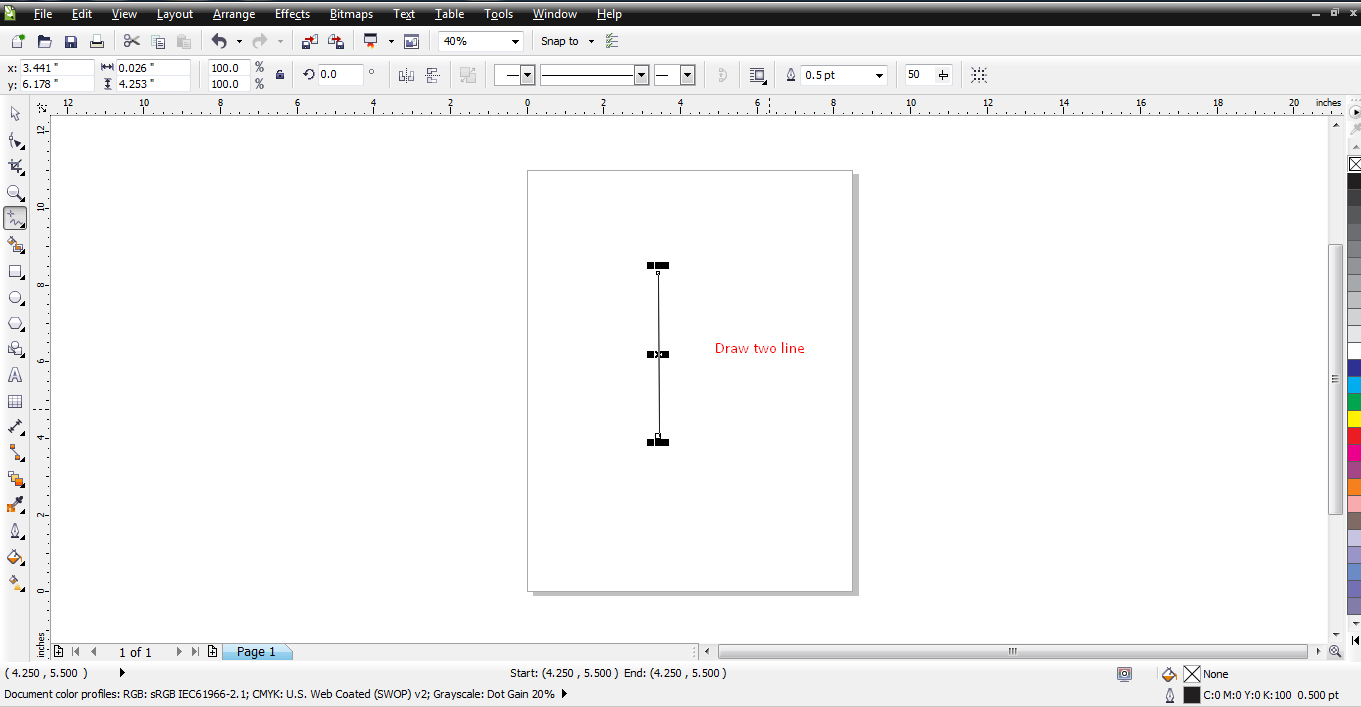
Step 1: This window appeared when we open the software. Then click on BEZIER option for draw the curve or line. Draw the two lines.
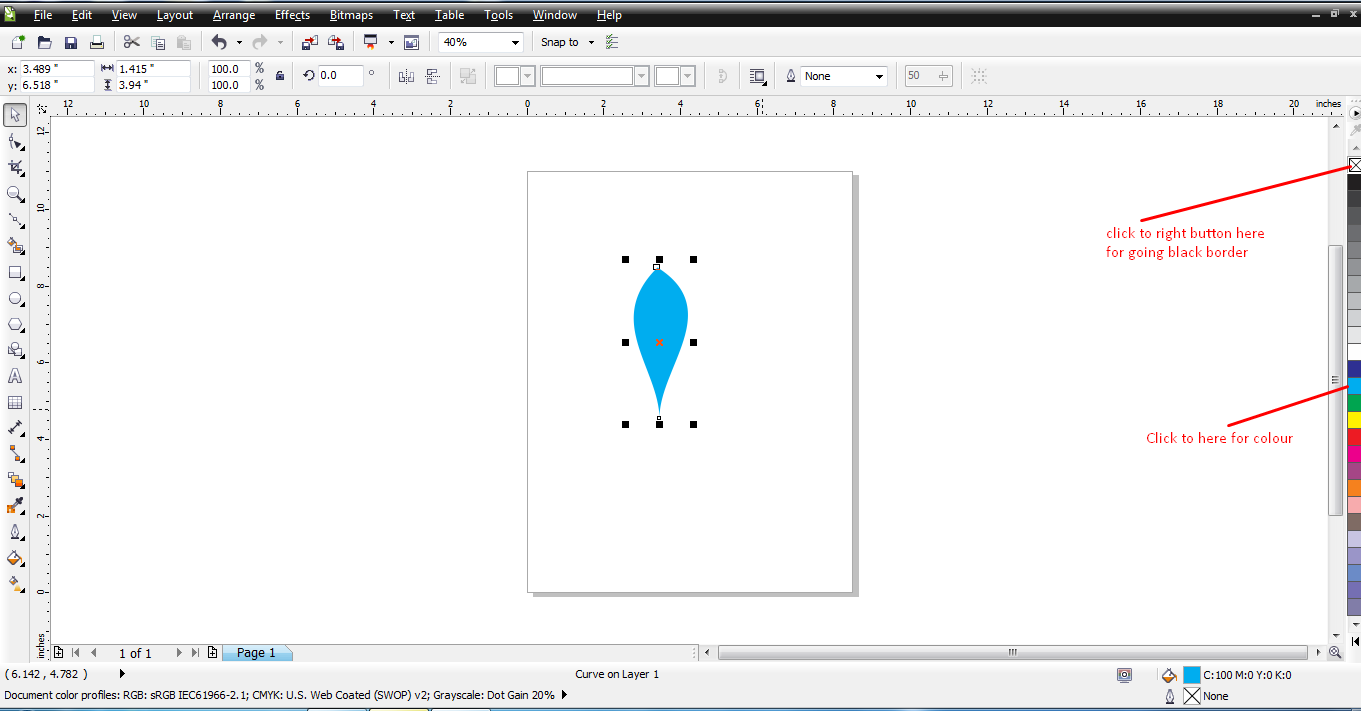
Step 2: Then convert these lines into curves. Then make shape of petal.

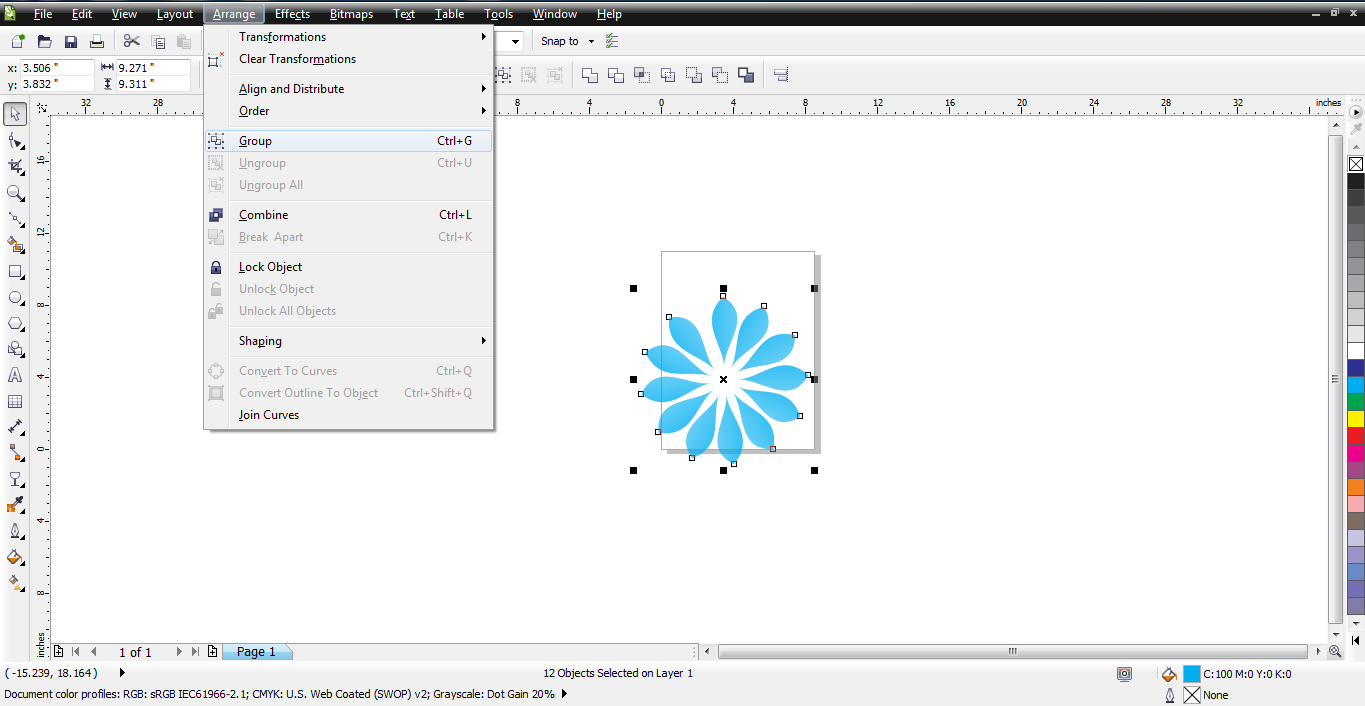
Step 3: Select and fill the color in the shape. Then Double clicked on the shape and press the ctrl+D for multiple shape.
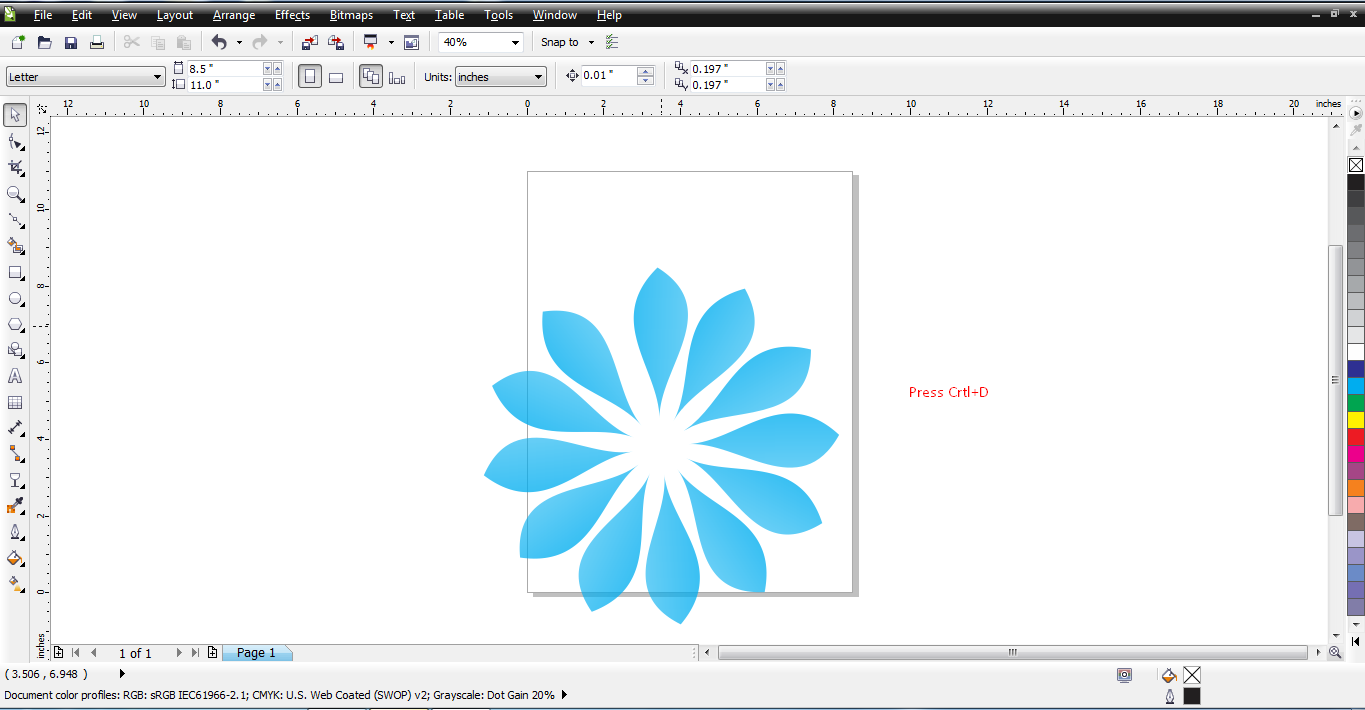
Step 4: Make group of the object. Then copy the full object and change the color.

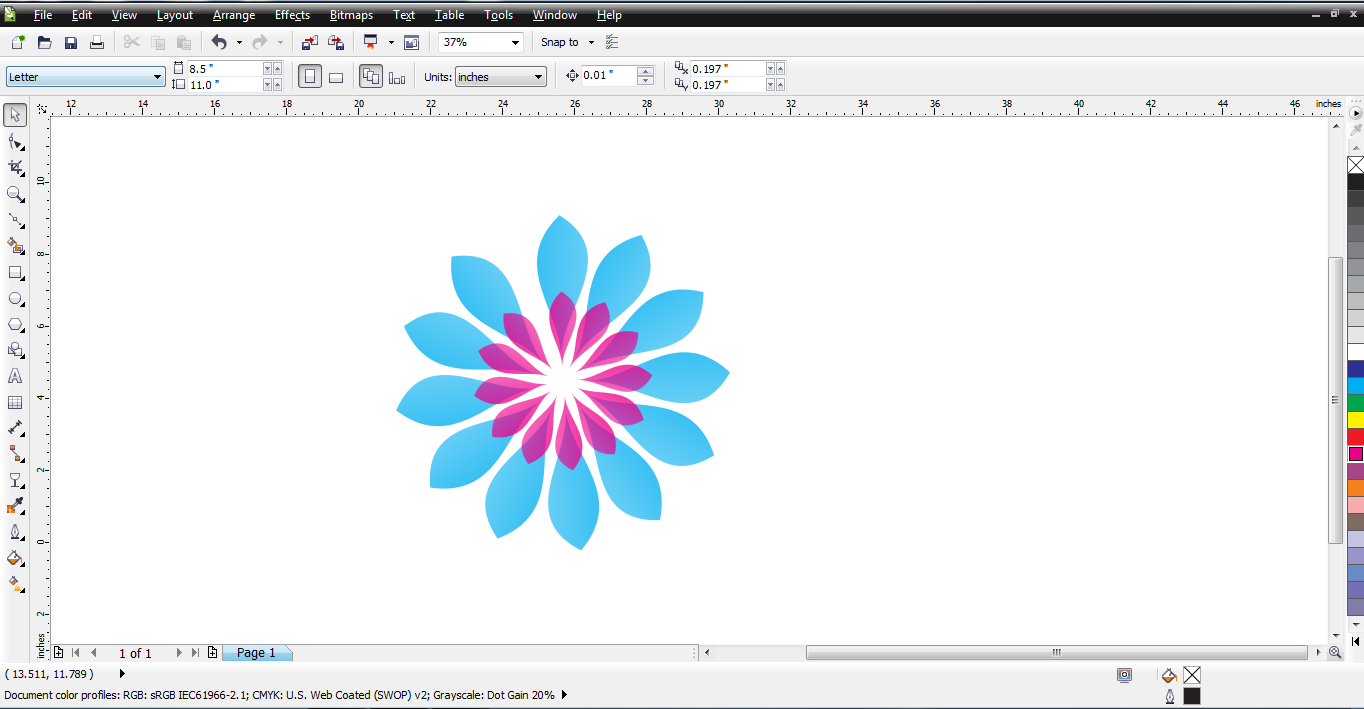
Step 5: This is the final object i.e Flower.
You can download original files from here.
My experience
If anyone have to make brochures or visiting card for their personal or office illustrator is good option. Its one click make drawing easier. Illustrator used for designing logos, drawing, etc. Both are user-friendly. Can be learned even from tutorial. Both are really very nice for drawing.
3D design-
A. Sketchup-
It is SketchUp is used primarily for building design and construction in the AEC (Architecture, Engineering and Construction) industry. It is also widely used in the Entertainment industry and throughout the diverse long tail of "Maker" communities (Woodworkers, Artists, Inventors, etc.).[From Google]
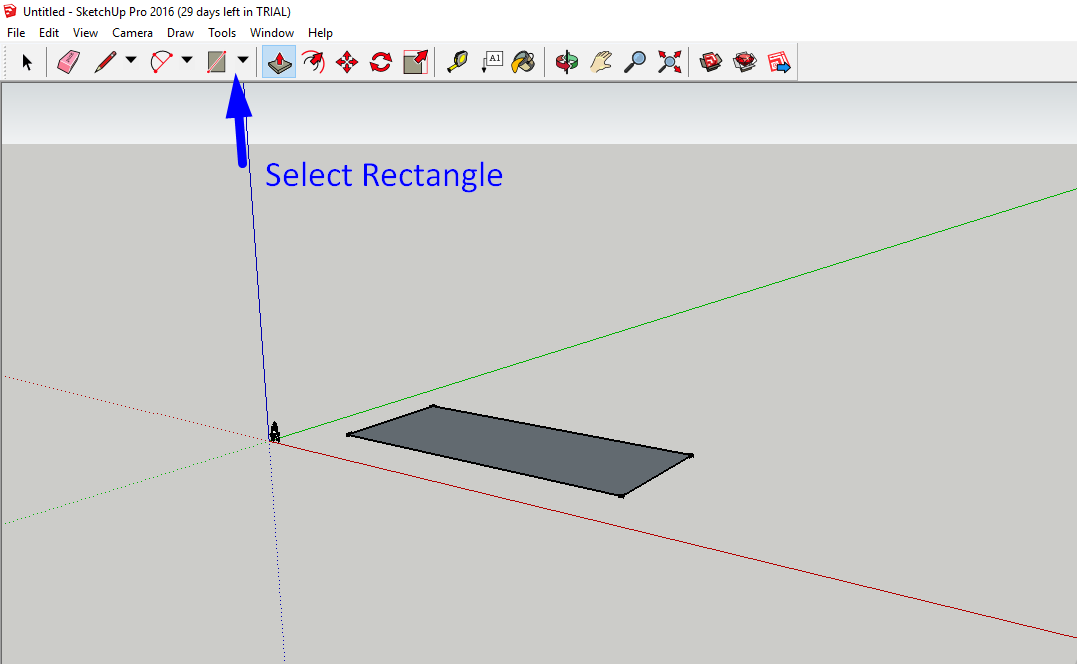
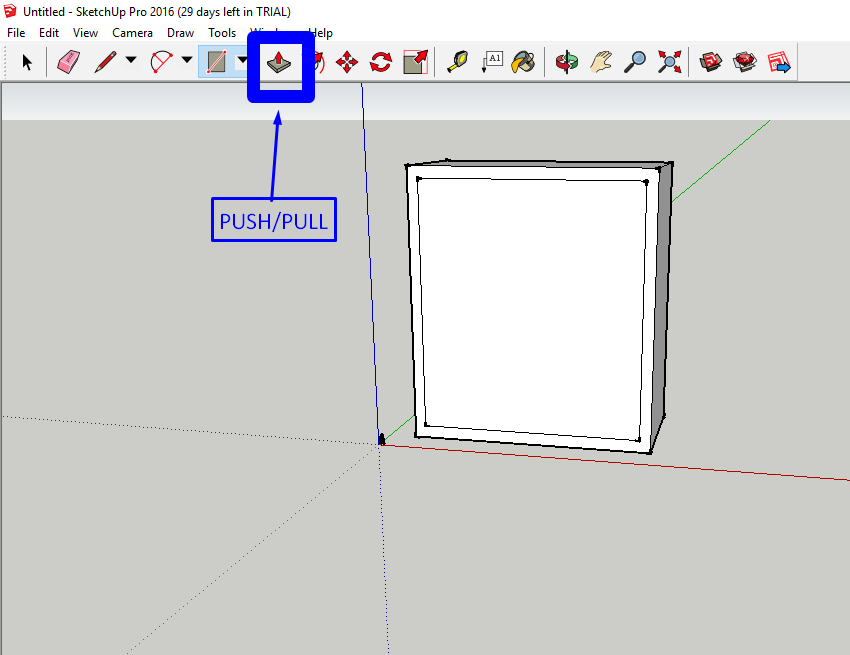
Open the google sketchup and here you can see various options like move, rotate and you can also select the shapes as per your requirement.
Step 1: Select rectangle
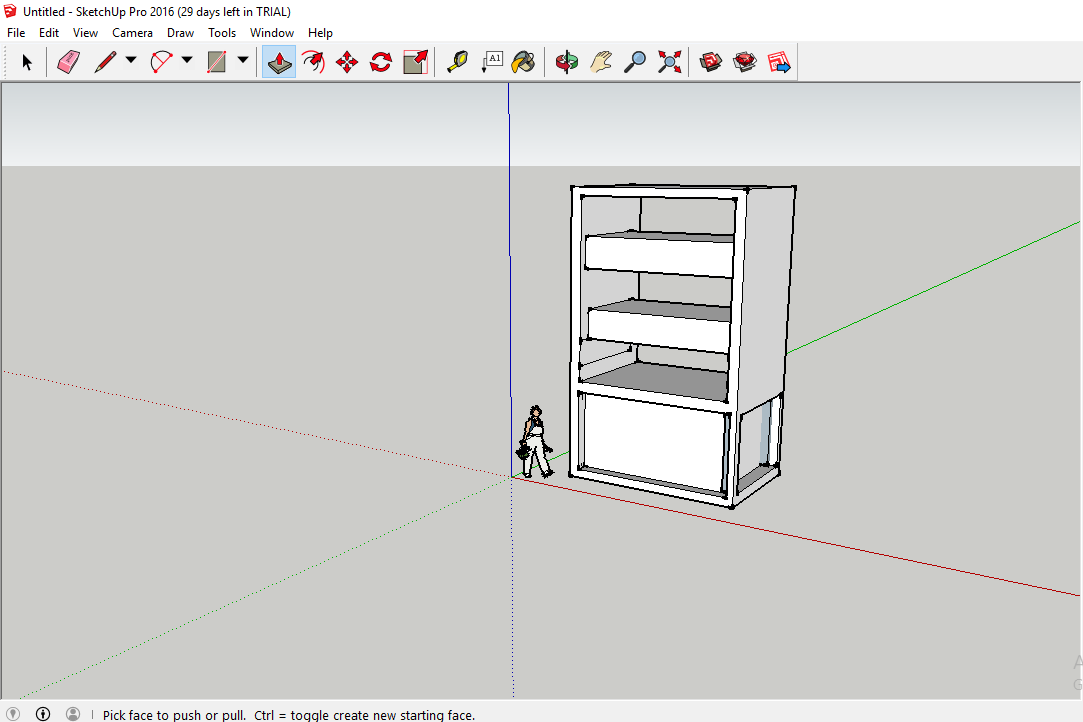
Step 2. push/pull
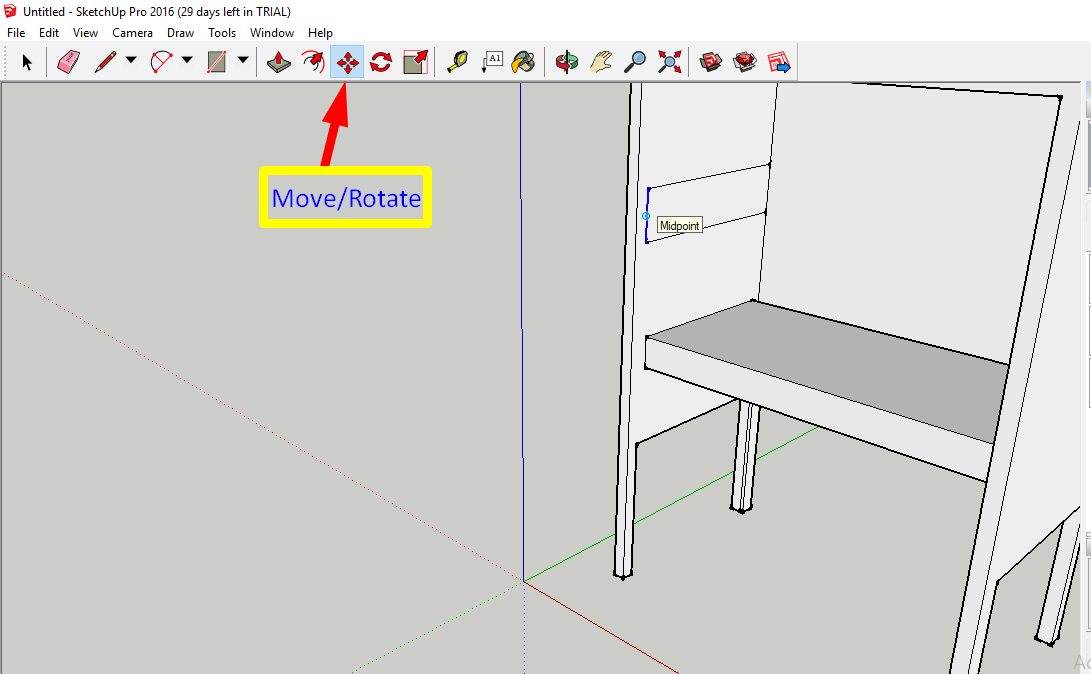
Step 3: move/rotate
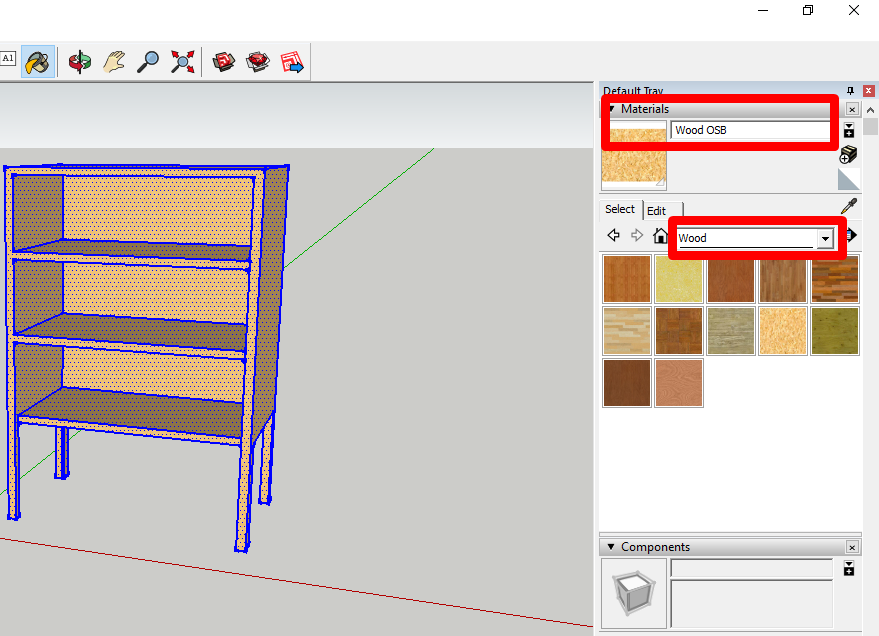
Step 4: We can choose material or color.
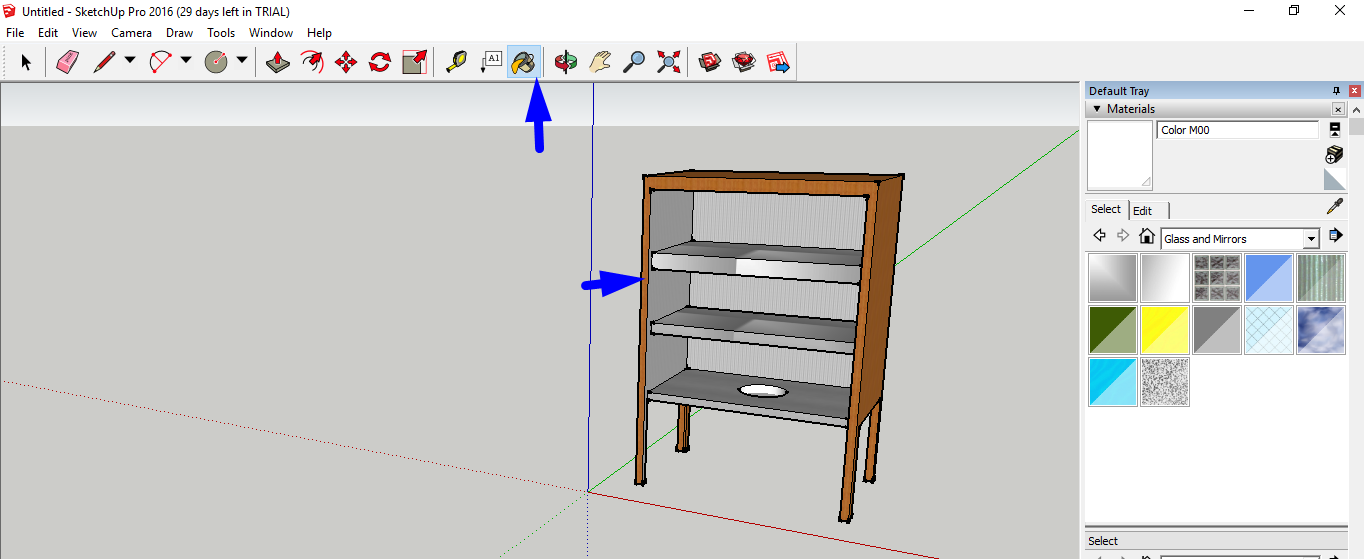
You can download original files from here.
My Experience
It is open software and easy to download. This software is very helpful for 3D design beginners because its easy to understand.
B. Solid works-
SolidWorks is a solid modeling computer-aided design (CAD) and computer-aided engineering (CAE) computer program that runs on Microsoft Windows. SOLIDWORKS user interface to speed your design process and make you instantly productive.[From Google]
My 3D designing practice started with google sketup and 123D design and then solid works. Solid works is easy to learn. We have to do just practice on it.
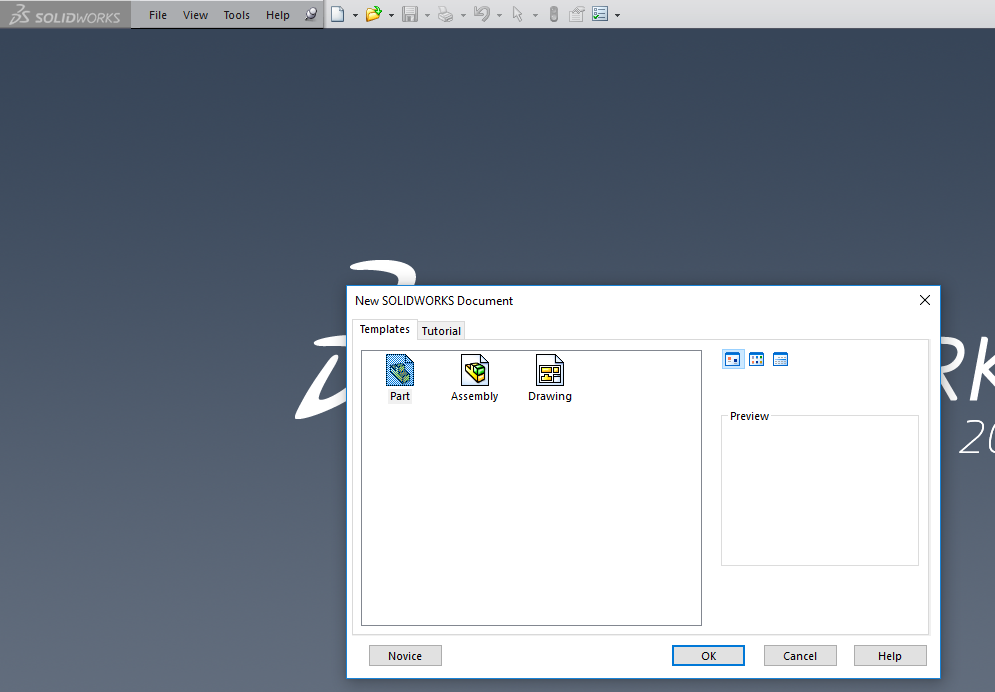
Open the software and choose new option from file or ctrl+N and double click part icon.

Then select the plane from right menu. Right click on it and make normal to sktech plane.
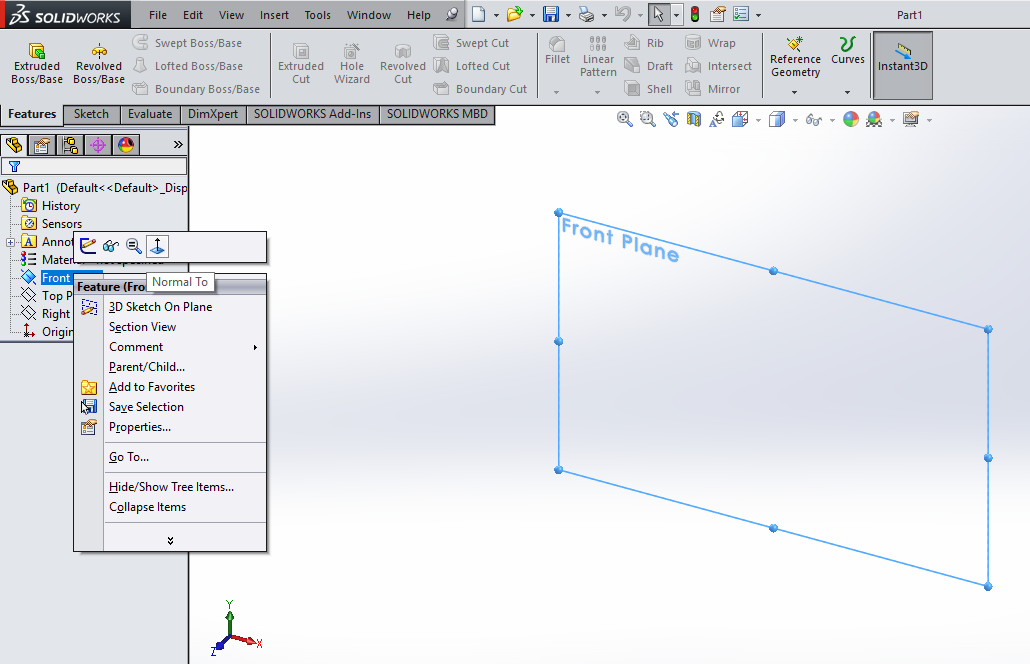
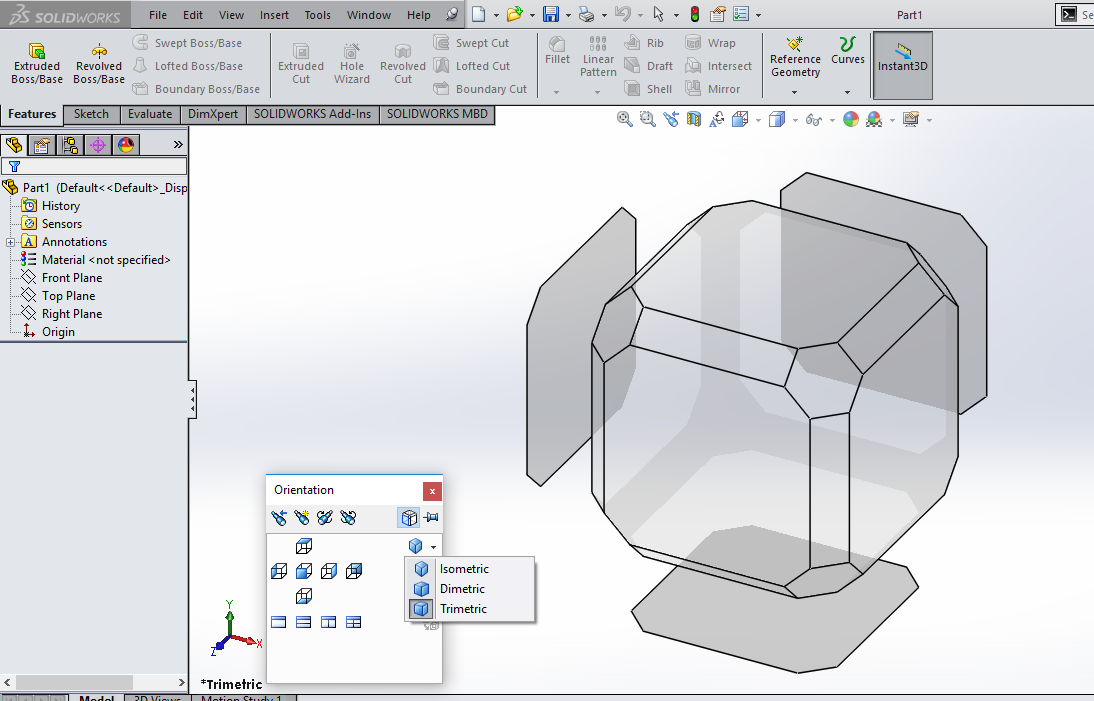
When you click on the space button of the keyboard then you can see the orientation of the object.
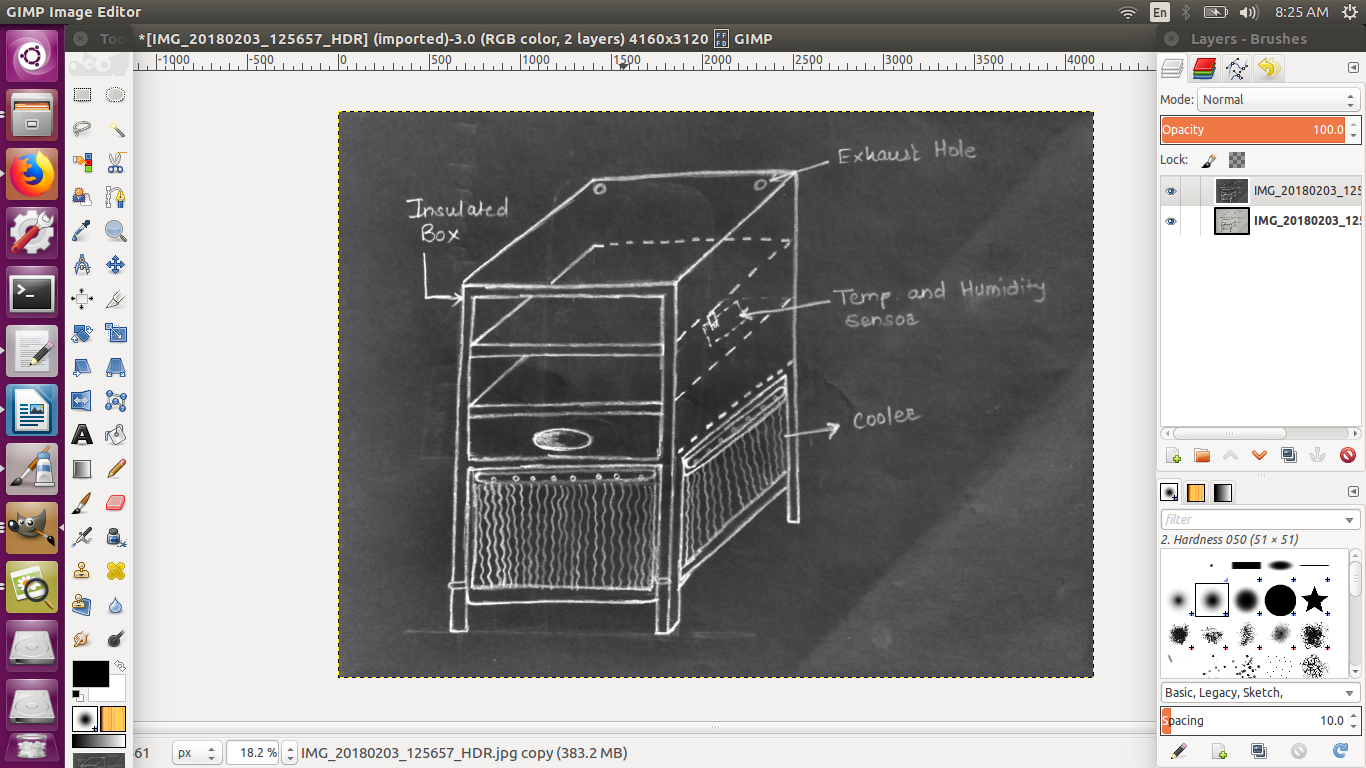
Here I am trying to make two things i.e. Toothpaste Dispenser and Key holder.
Key Holder
For this I started with skteching and dimensioning. It is simplest design.
Then I do only command "Extrude".
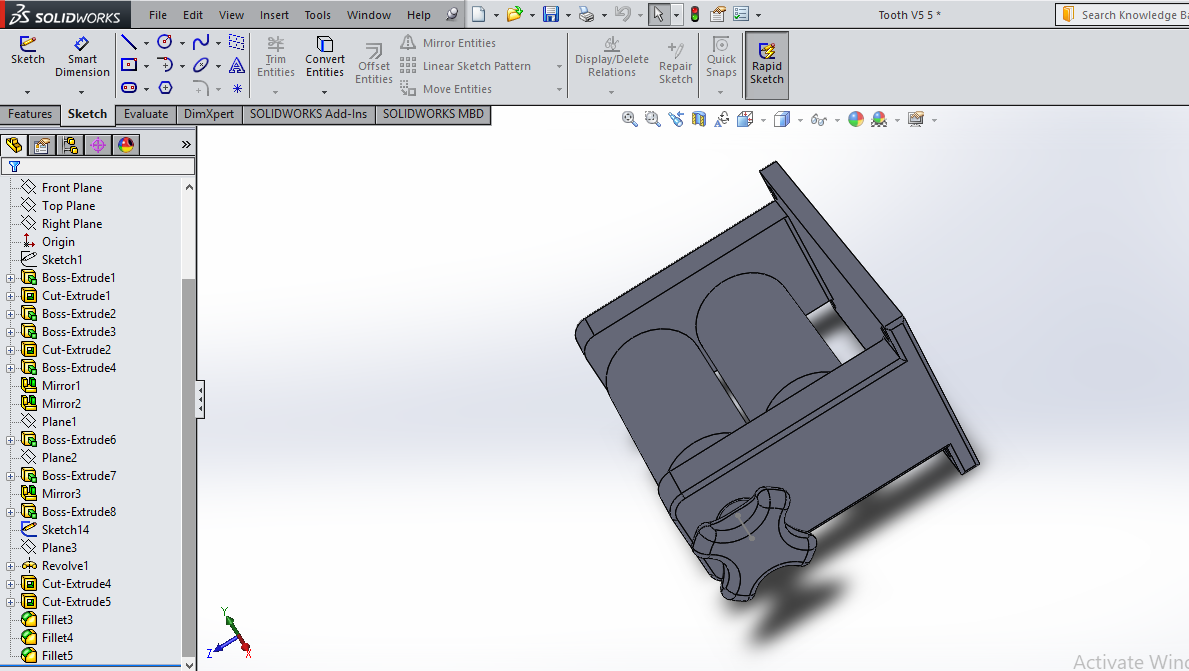
Toothpaste Dispenser
First of all I draw sktech in one plane by constructional lines. I'm trying to make whole assembly in one part.
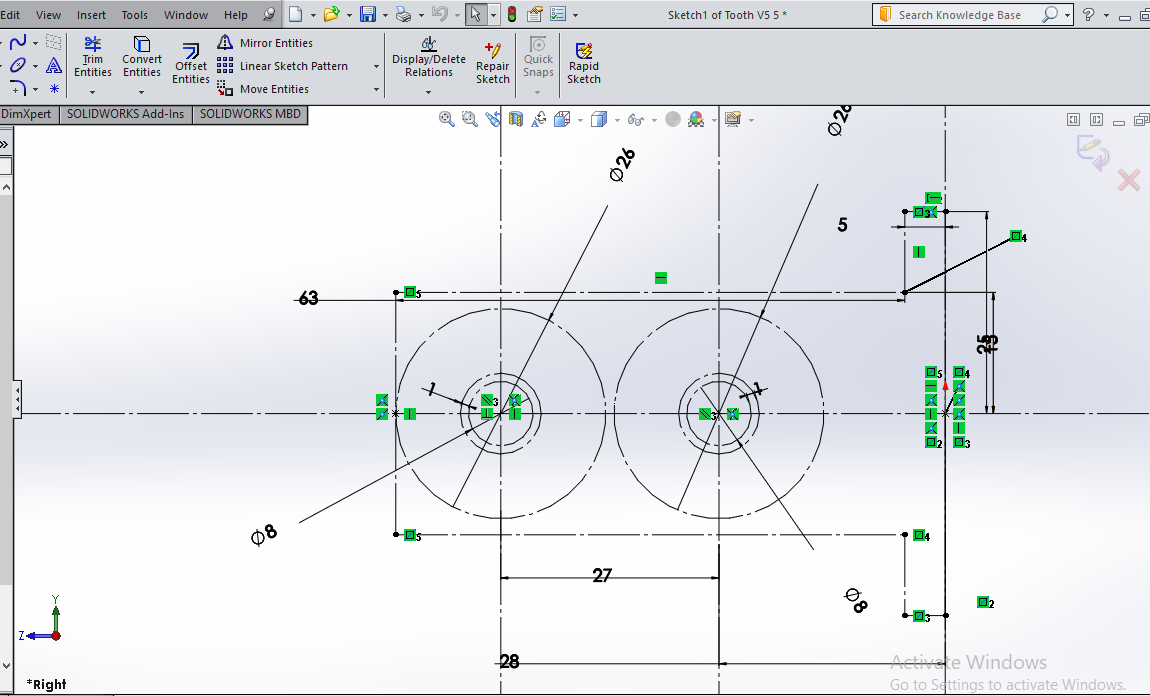
Then I do extrude and cut command and make two shaft with support.
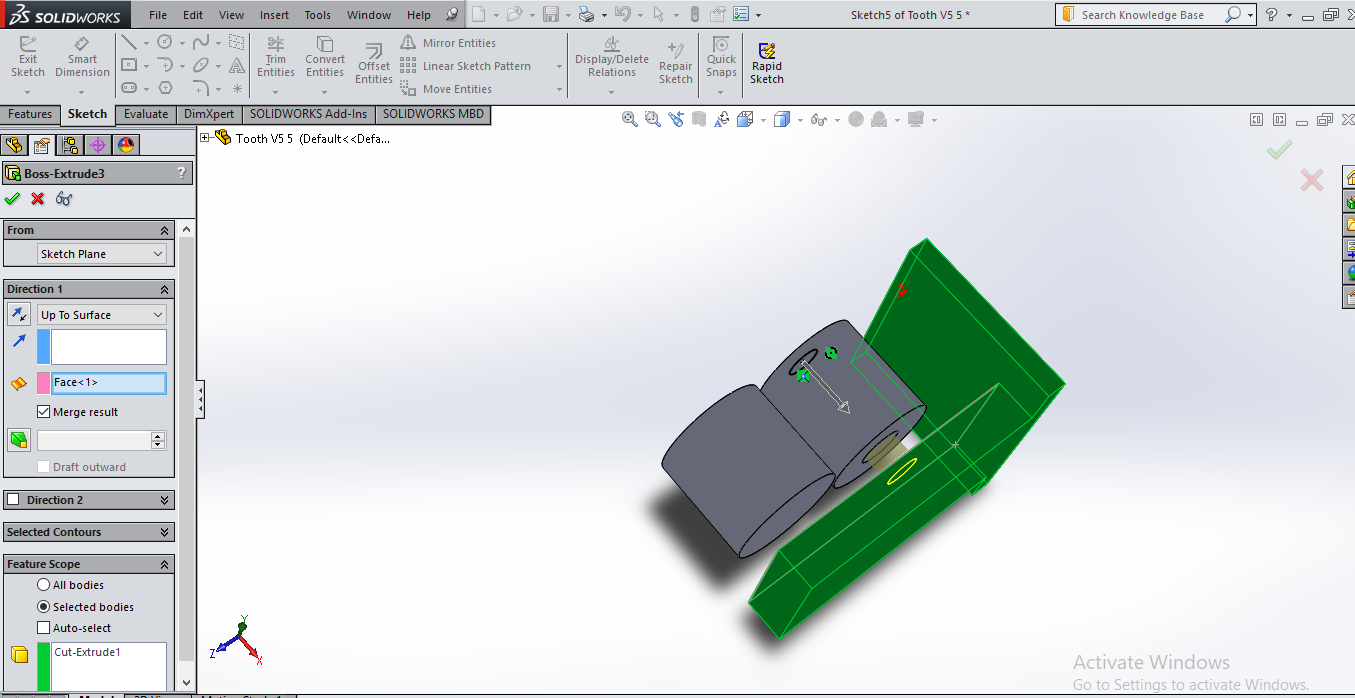
Mirror the inside rod and their stopper plates which are skteched on plane.
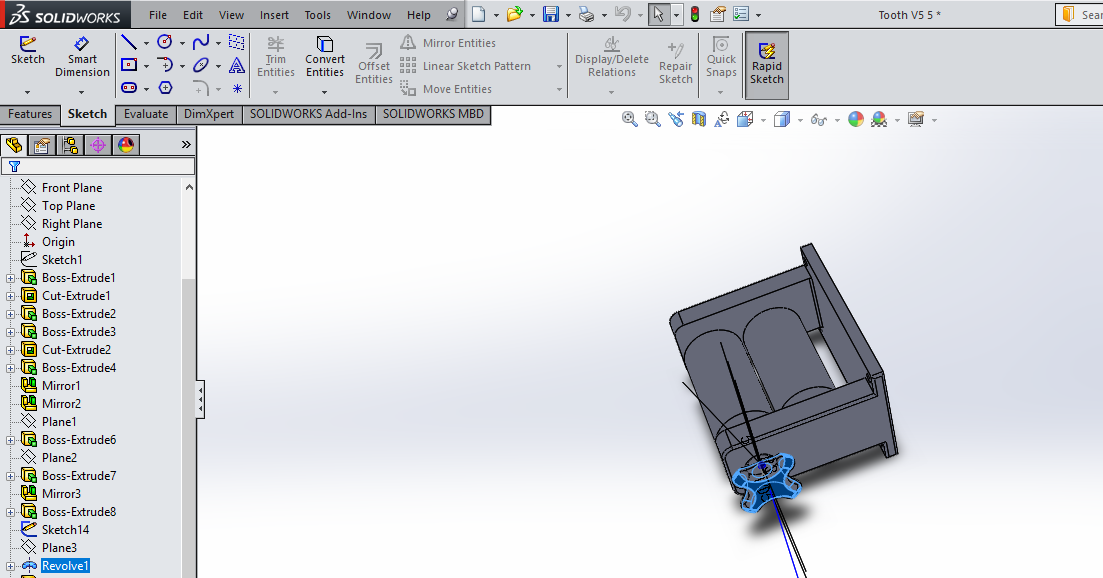
For making knob, I take one circle and extrude it and gave fillet to object. Assembly is ready.

You can download original files from here.
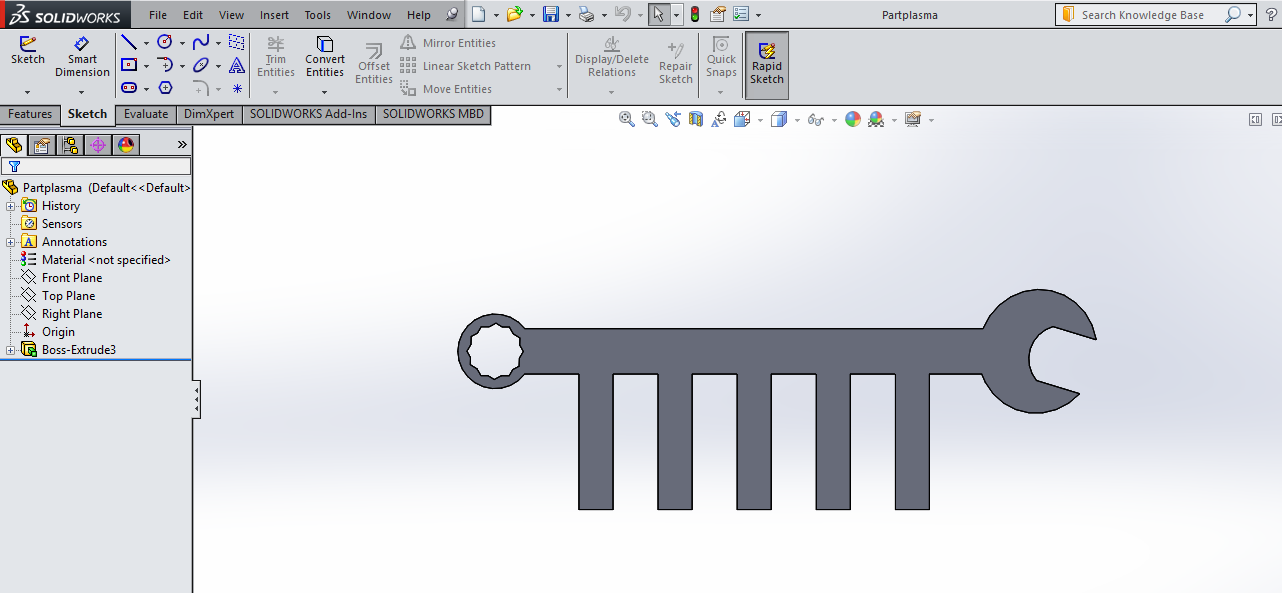
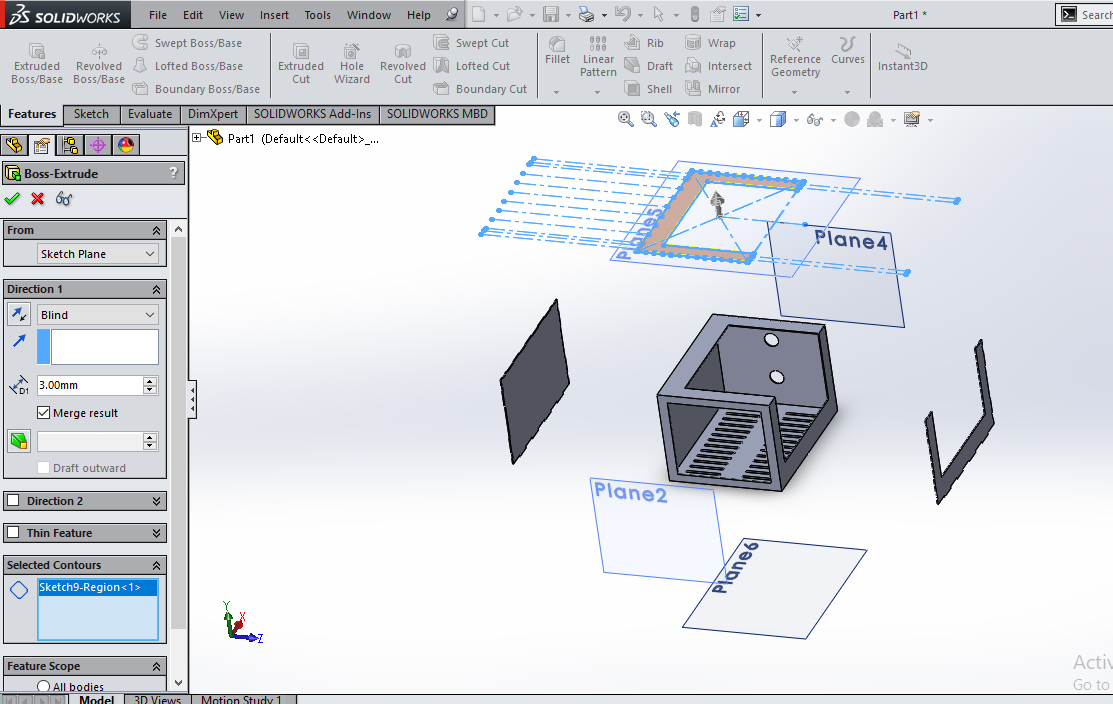
Design the final project
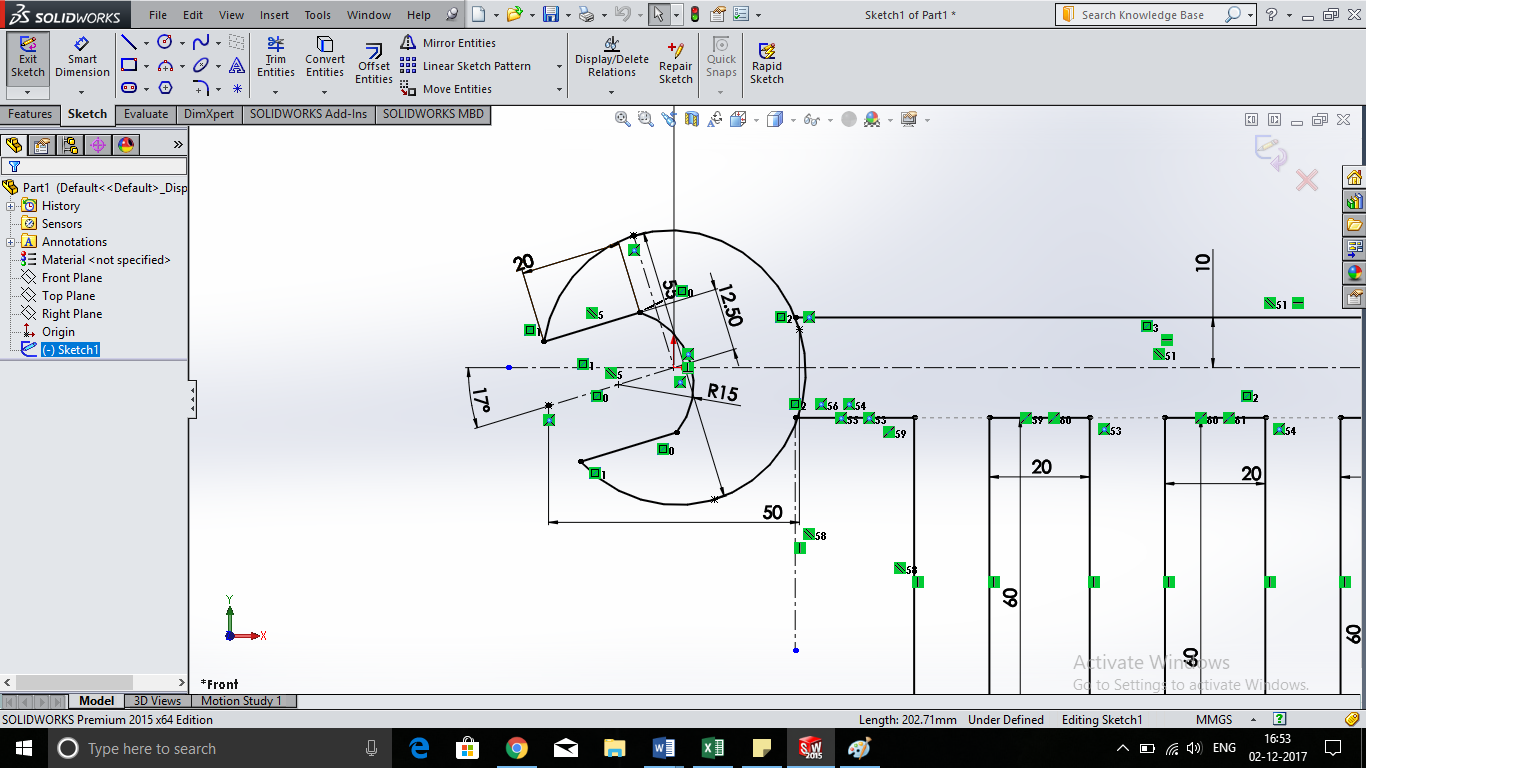
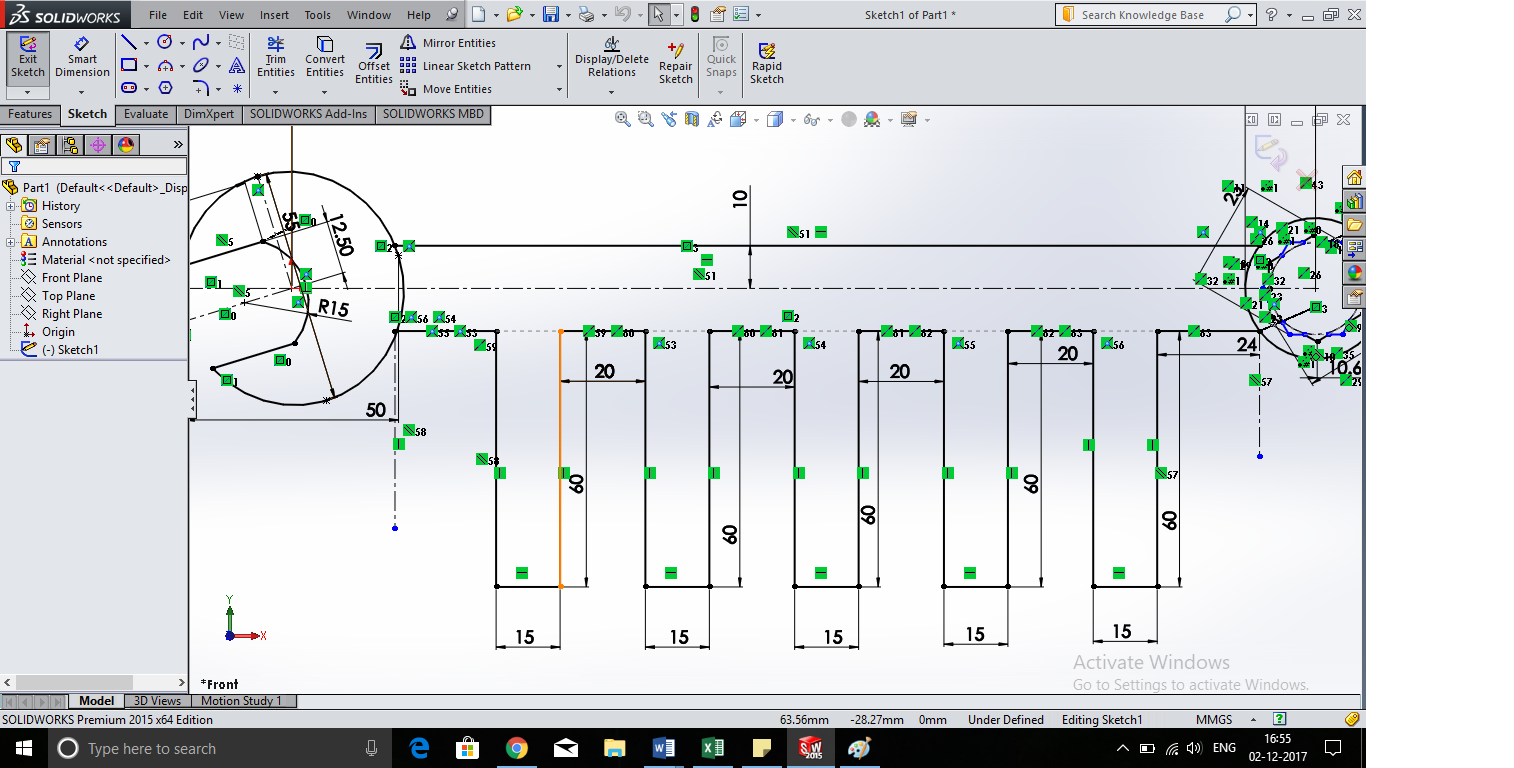
For my final project, I made design in solidworks. So, here I started my designing part.
Here I learn different method of designing which is new for me but I tried it.
Firstly we have to sketch a parent sketch and then we can design different parts in that sketch only.
So, I draw parent sketch on front plane and then I took reference plane. On the reference plane,
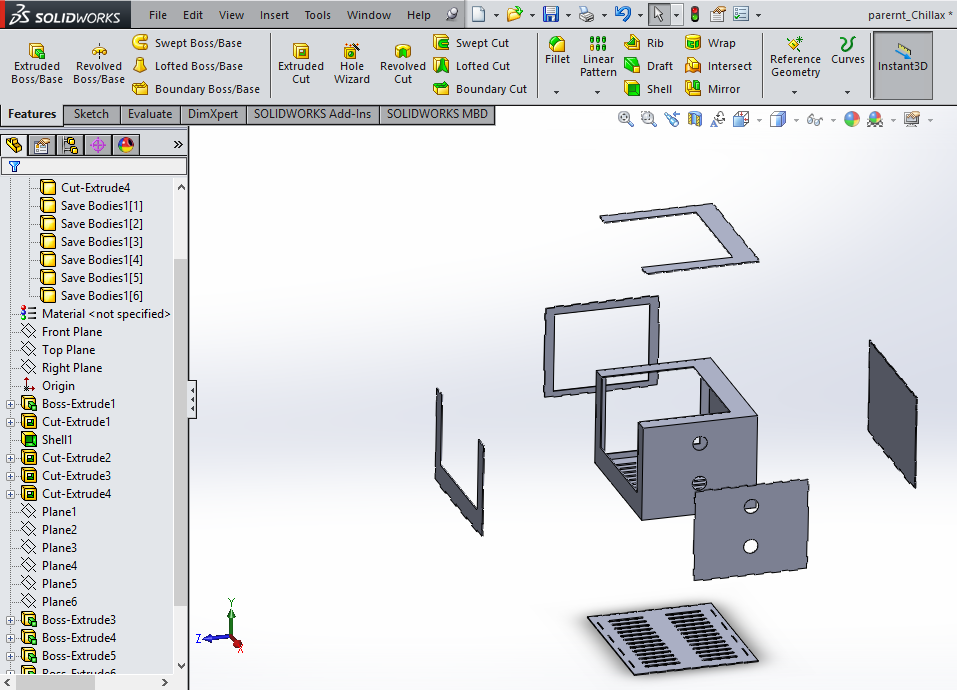
You can download original files from here.
Learning Outcomes -
In 2d designing photoshop is very important for me. I can edit the image and also use to reduce the file size. Solidworks is great software. It has parametric that means if you edit measurement of object in a parts it will automatically update in the assembly file. Also, the files made in solidworks can be converted to any format which require for 3D printing and laser cutting also. So, I will use solidworks for 3D designing and photoshop or GIMP for 2D designing in fab journey.