TASK TO DO:
- Design, make and document a parametric press-fit construction kit, accounting for the lasercutter kerf, which can be assembled in multiple ways.
- Cut something on the vinylcutter.
a. Explained how you drew your files.
b. Shown how you made your vinyl project
- Included your design files and photos of your finished project
- Group assignment:
Characterize your lasercutter, making lasercutter test part(s), making test part(s) that vary cutting settings and dimensions. - Learn Laser Cutter and Vinyl Cutter
- Studied our laser and calculate the Kerf for different materials.
- Made press-fit and parametric design in solid works and cut it on laser cutter.
- Made sticker in vinyl cutting machine
- Laser cutter is the dangerous machine in Fablab and we have to take care of machine as well as ourself as a operator.
- In vigyan Ashram, Laser cutter runs on three phase supply and it also has power backup because here frequent power cuts.
- Our laser cutter has Stabilizer, Isolated Transformer and air Compressor. The machine has Exhaust(duct) to remove the dangerous gases.
- Machine has Chiller to maintain the temperature of the tube.
WHAT I HAVE DONE:
About Machine
Laser Cutter
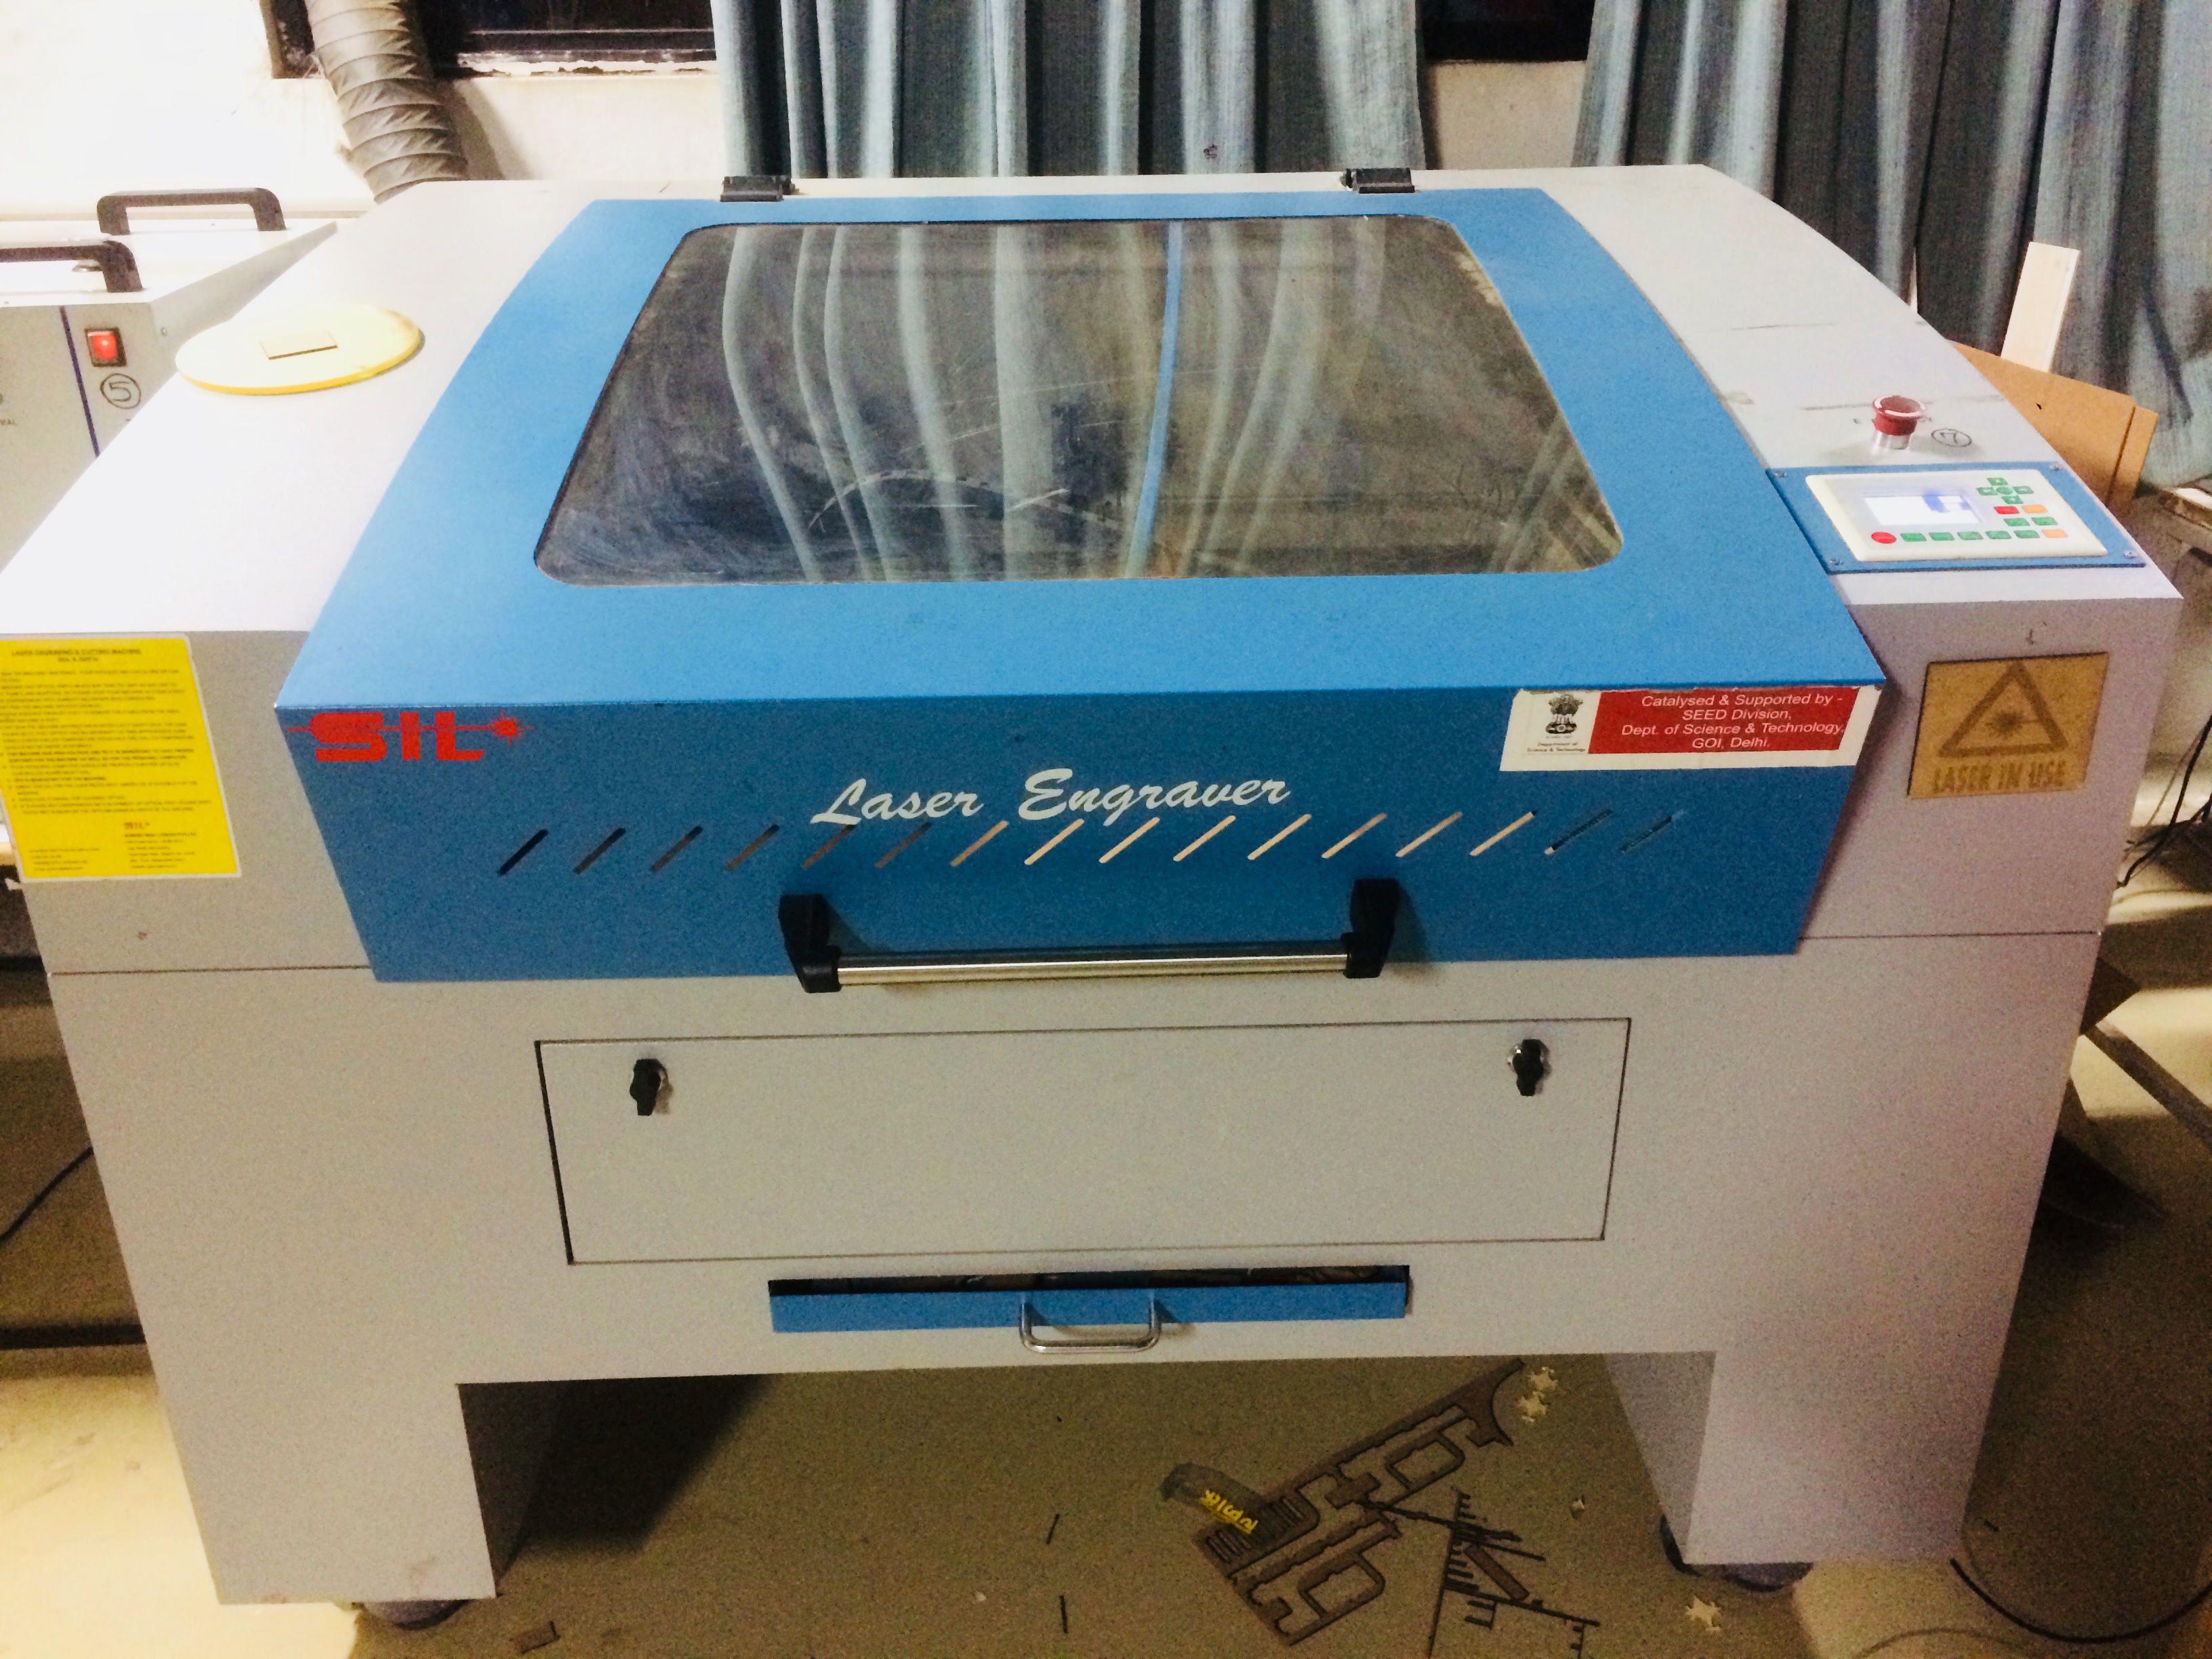
In Vigyan ashram we have two types of laser cutter i.e SIL laser cutter and epilog laser cutter. Generally we are using SIL laser or CO2 laser cutter which having 600*900mm bed area and can cut material upto 6mm.
SIL Laser Cutter
Settings and kerf calculation-
We are using RDworks as a machine software. In this software we can adjust the spacing between the cutting object for minimum wastage of the material.
KERF- Laser burns away the portion of the material when it cuts through is known as Laser kerf. We have to consider kerf everytime if we want perfect dimension or press fit object.
Group Assignment
We decided to spilt up into two groups one for epilog and another for SIL laser. I'm in a SIL laser cutter group. I used this laser lot of time but never calculate the kerf. So, we decided to check kerf for different material with different power and speed.
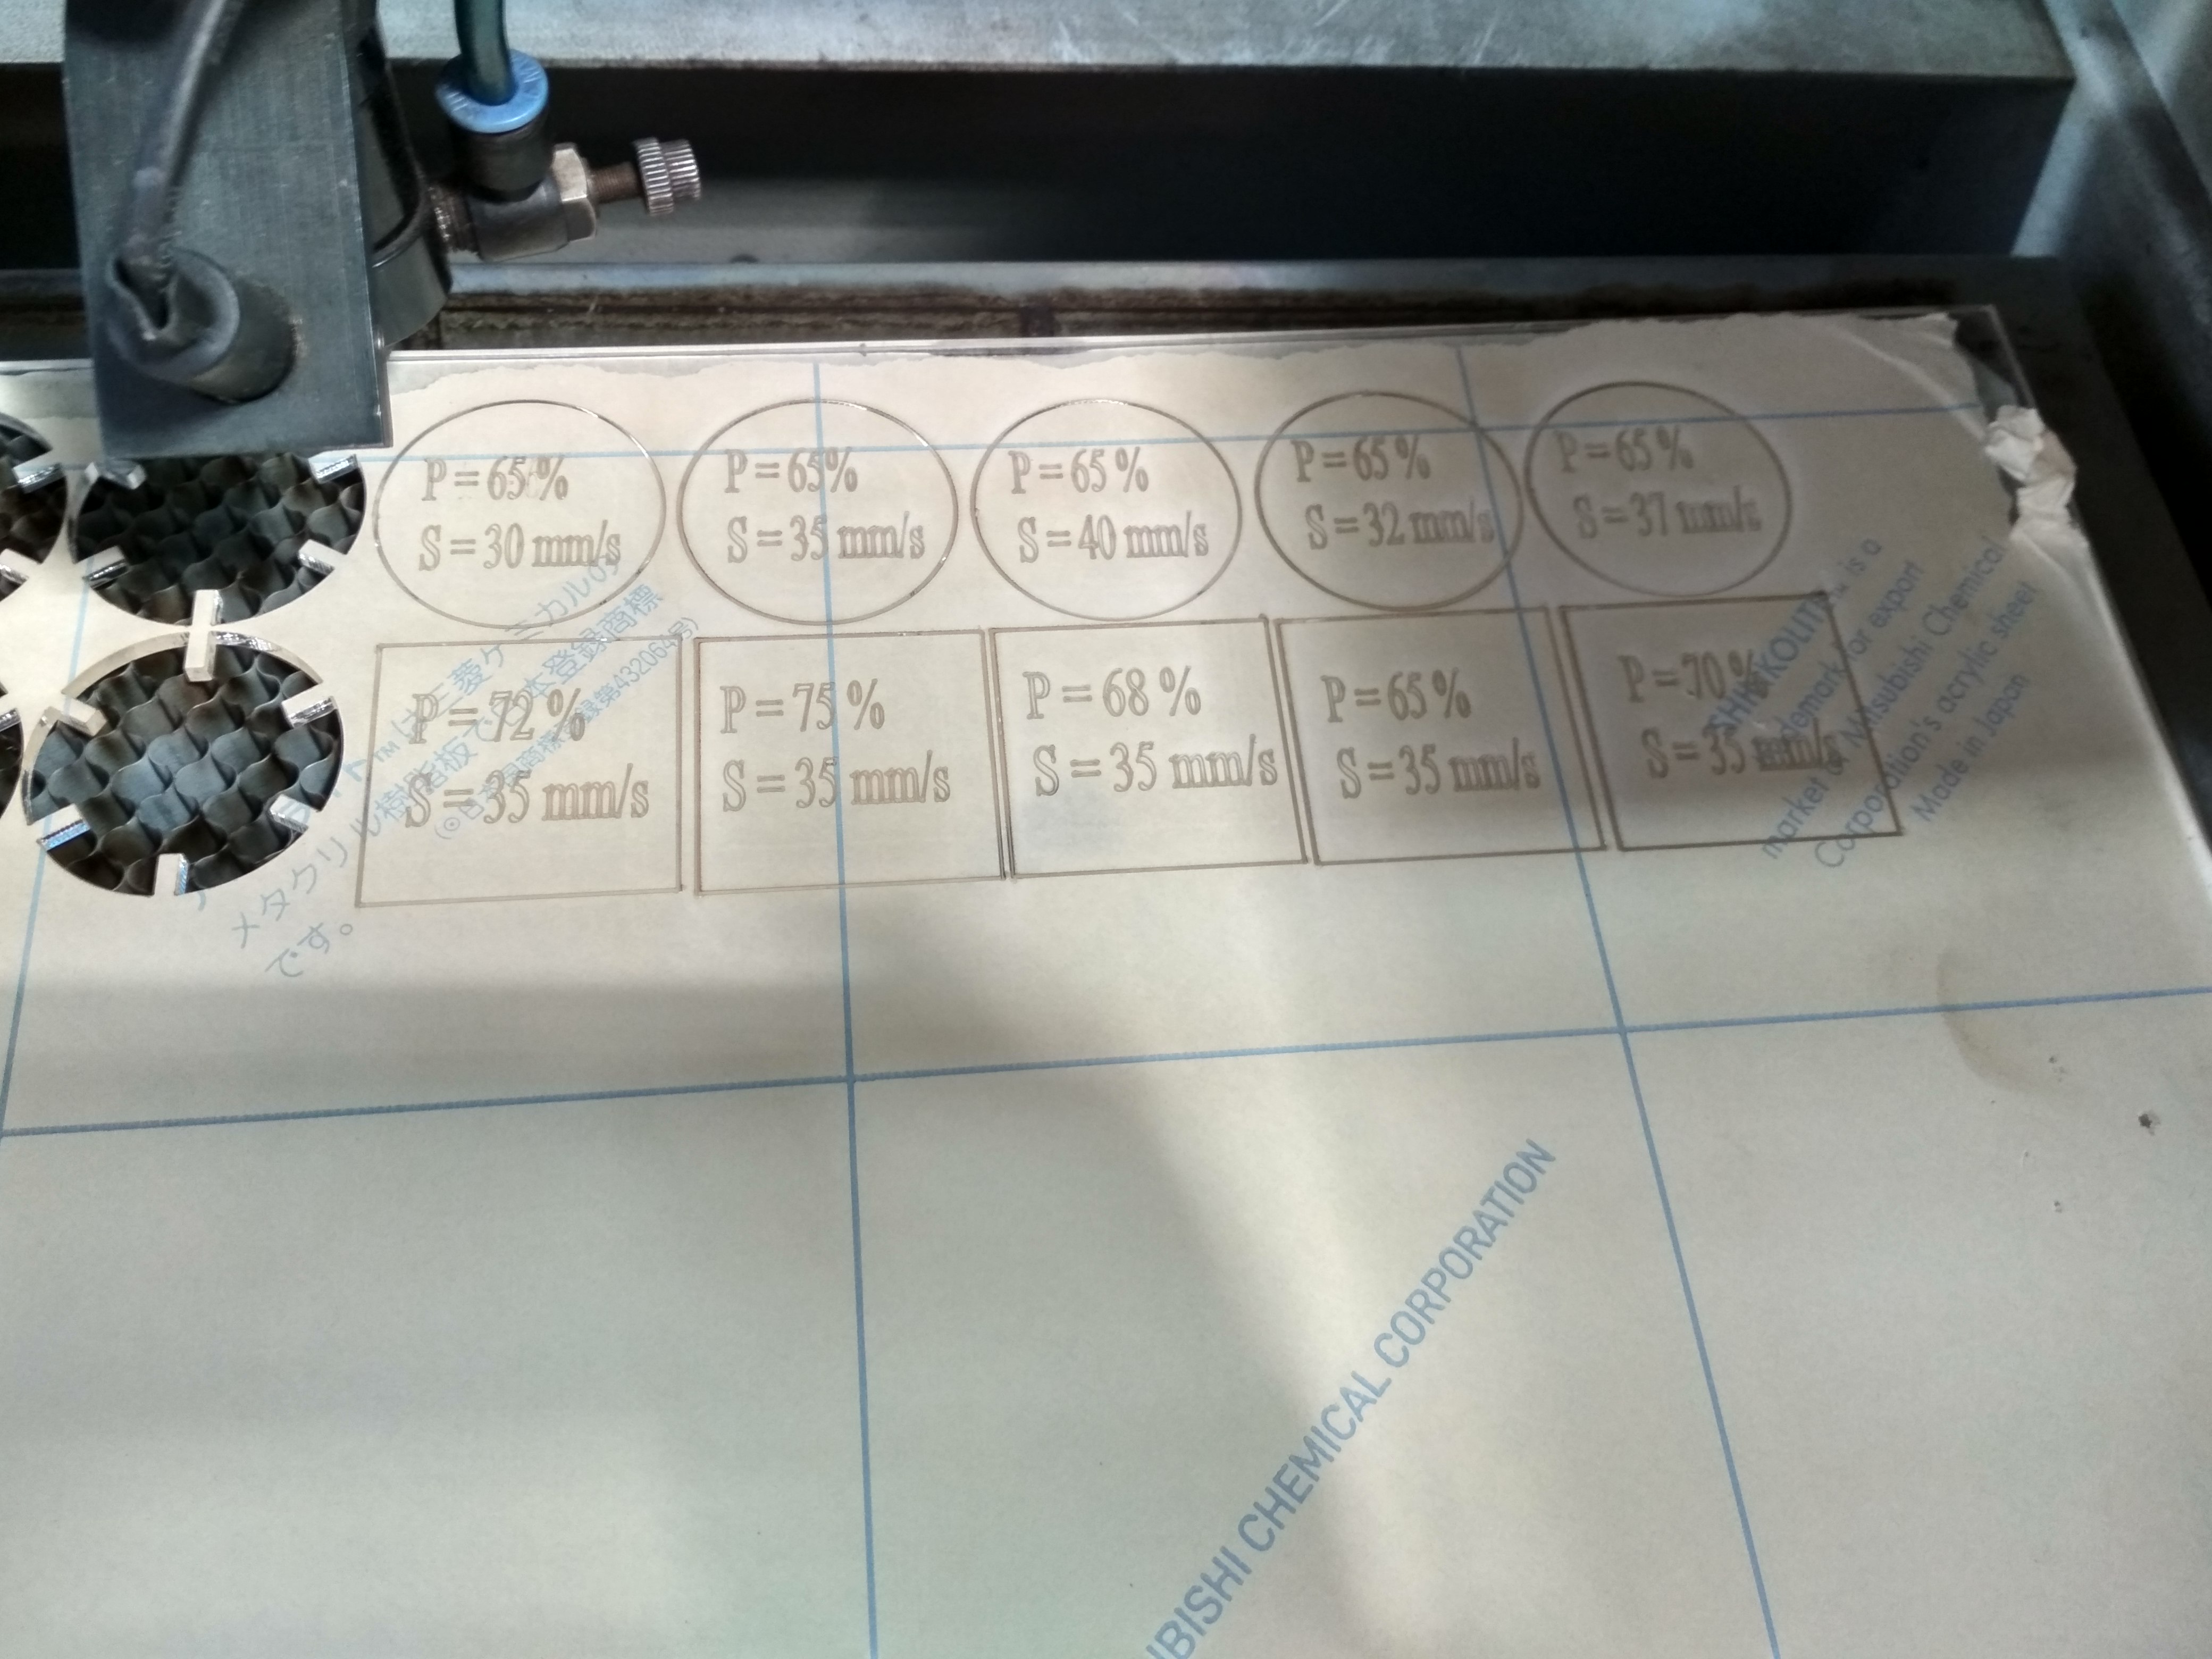
So, here I started my first trail for checking the kerf. I designed a 40*40mm shape in solid works and try to cut with diferent power and speed. I calculated the kerf for MDF material(3mm) and Acrylic material(6mm).
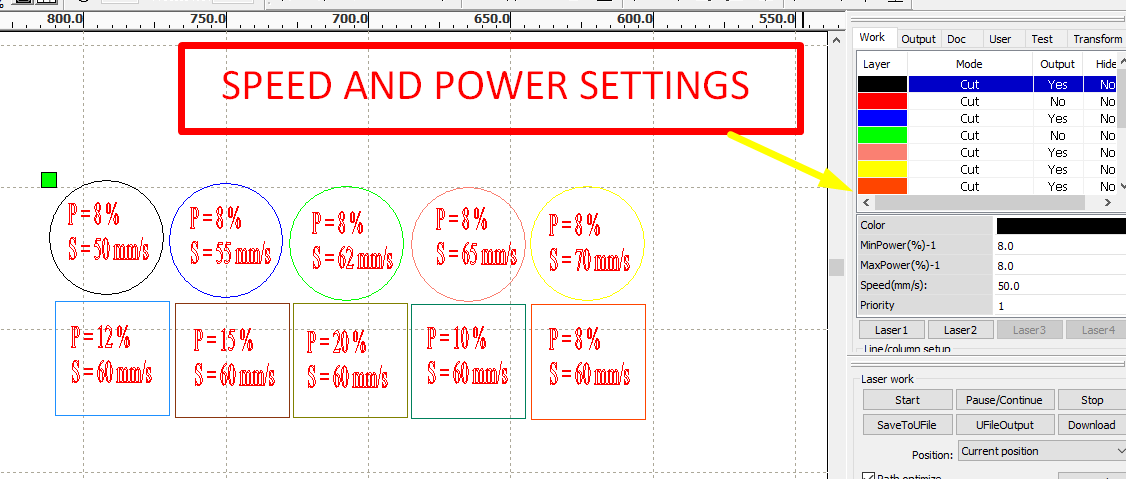
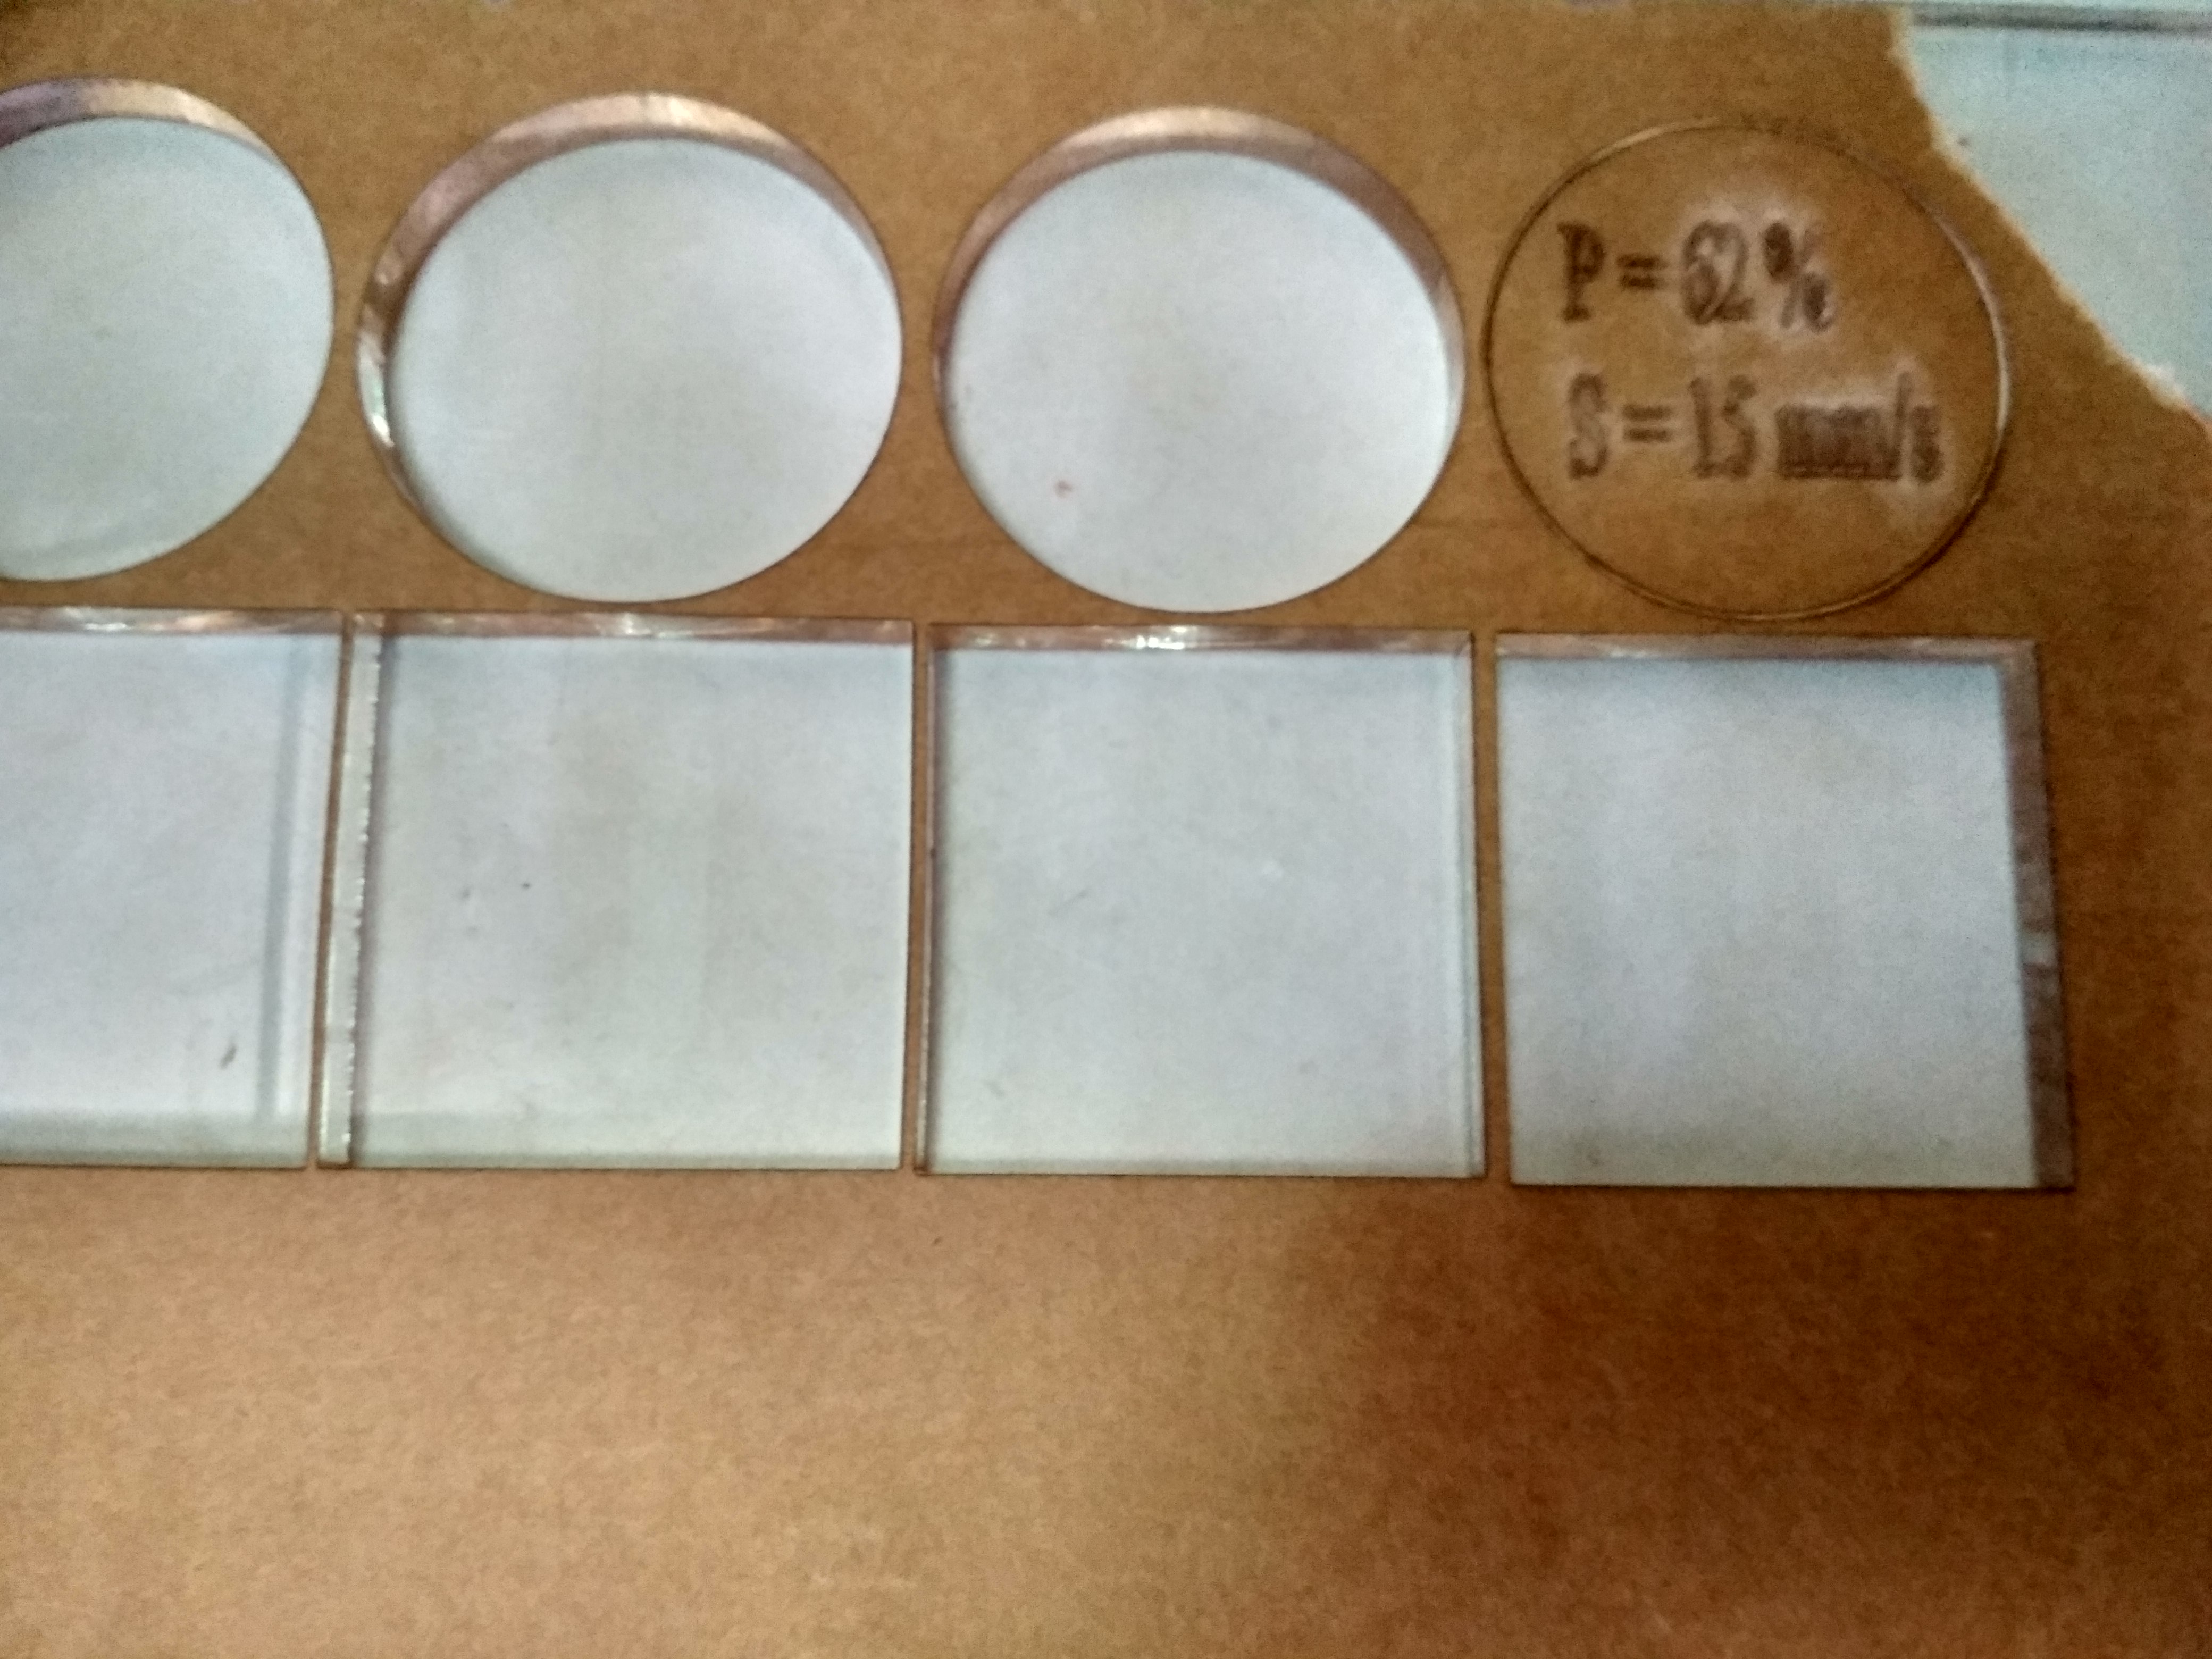
For circular shape I kept the power same at 62% and vary speed from 4-15mm/s and for rectangular shapes I kept the speed same at 8mm/s and vary power from 55-70%.
Steps for cutting the object:
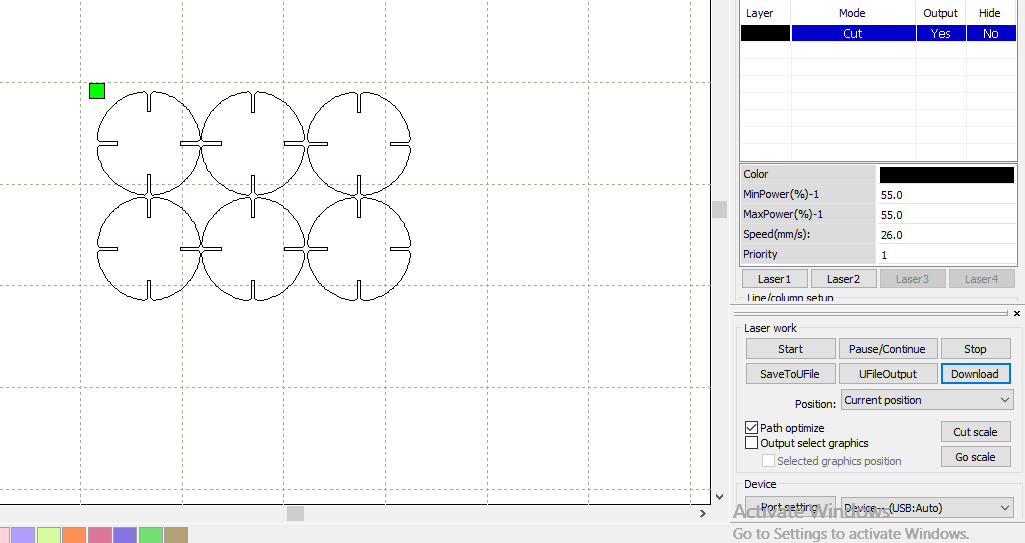
1. Make object in any software and save as ".dxf" file.
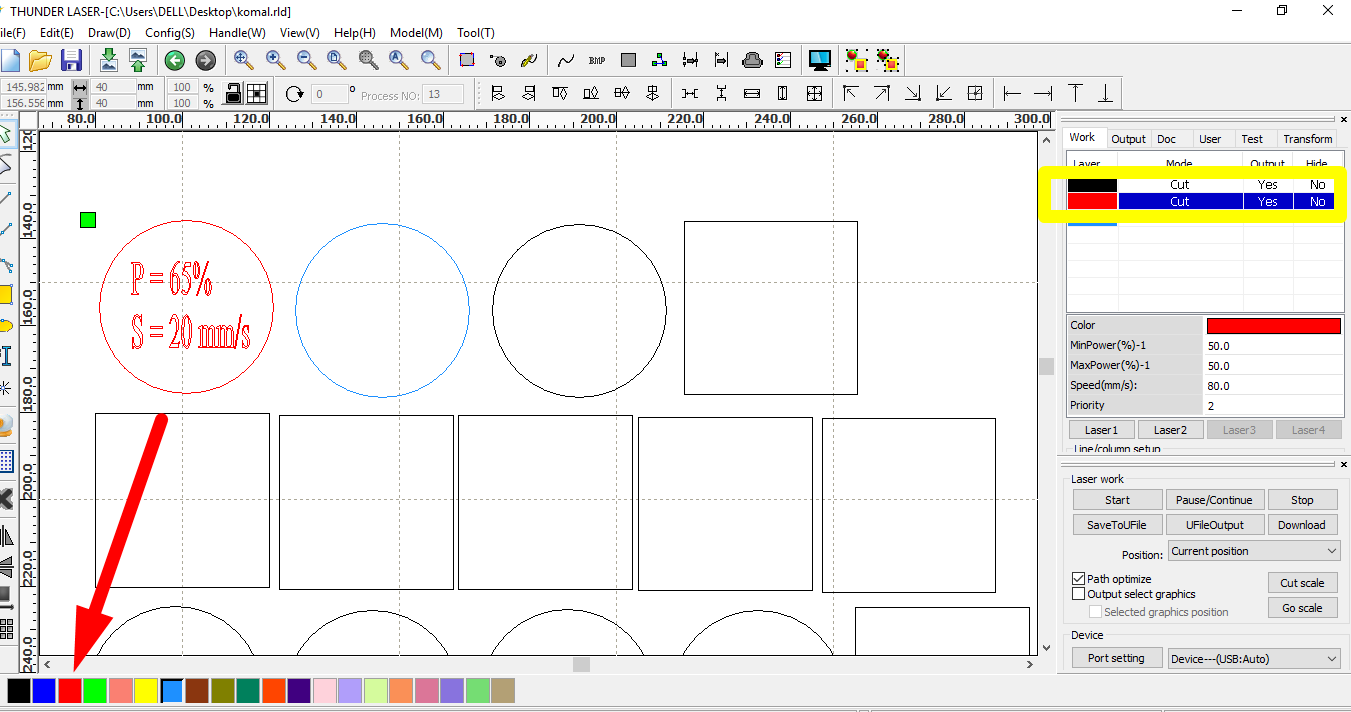
2. Import design file i.e. ".dxf" file in RDworks software and adjust the object for minimum wastage of material. We can set different power and speed for different object by using different color.
3. Specify the Power and speed according to material.

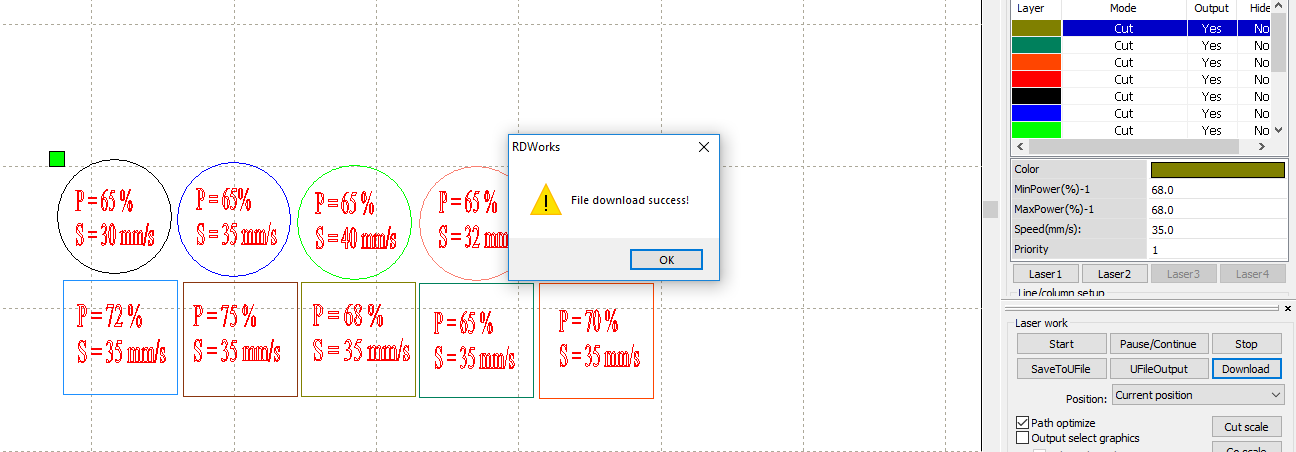
4. Connect the laptop to laser cutter and download the file.
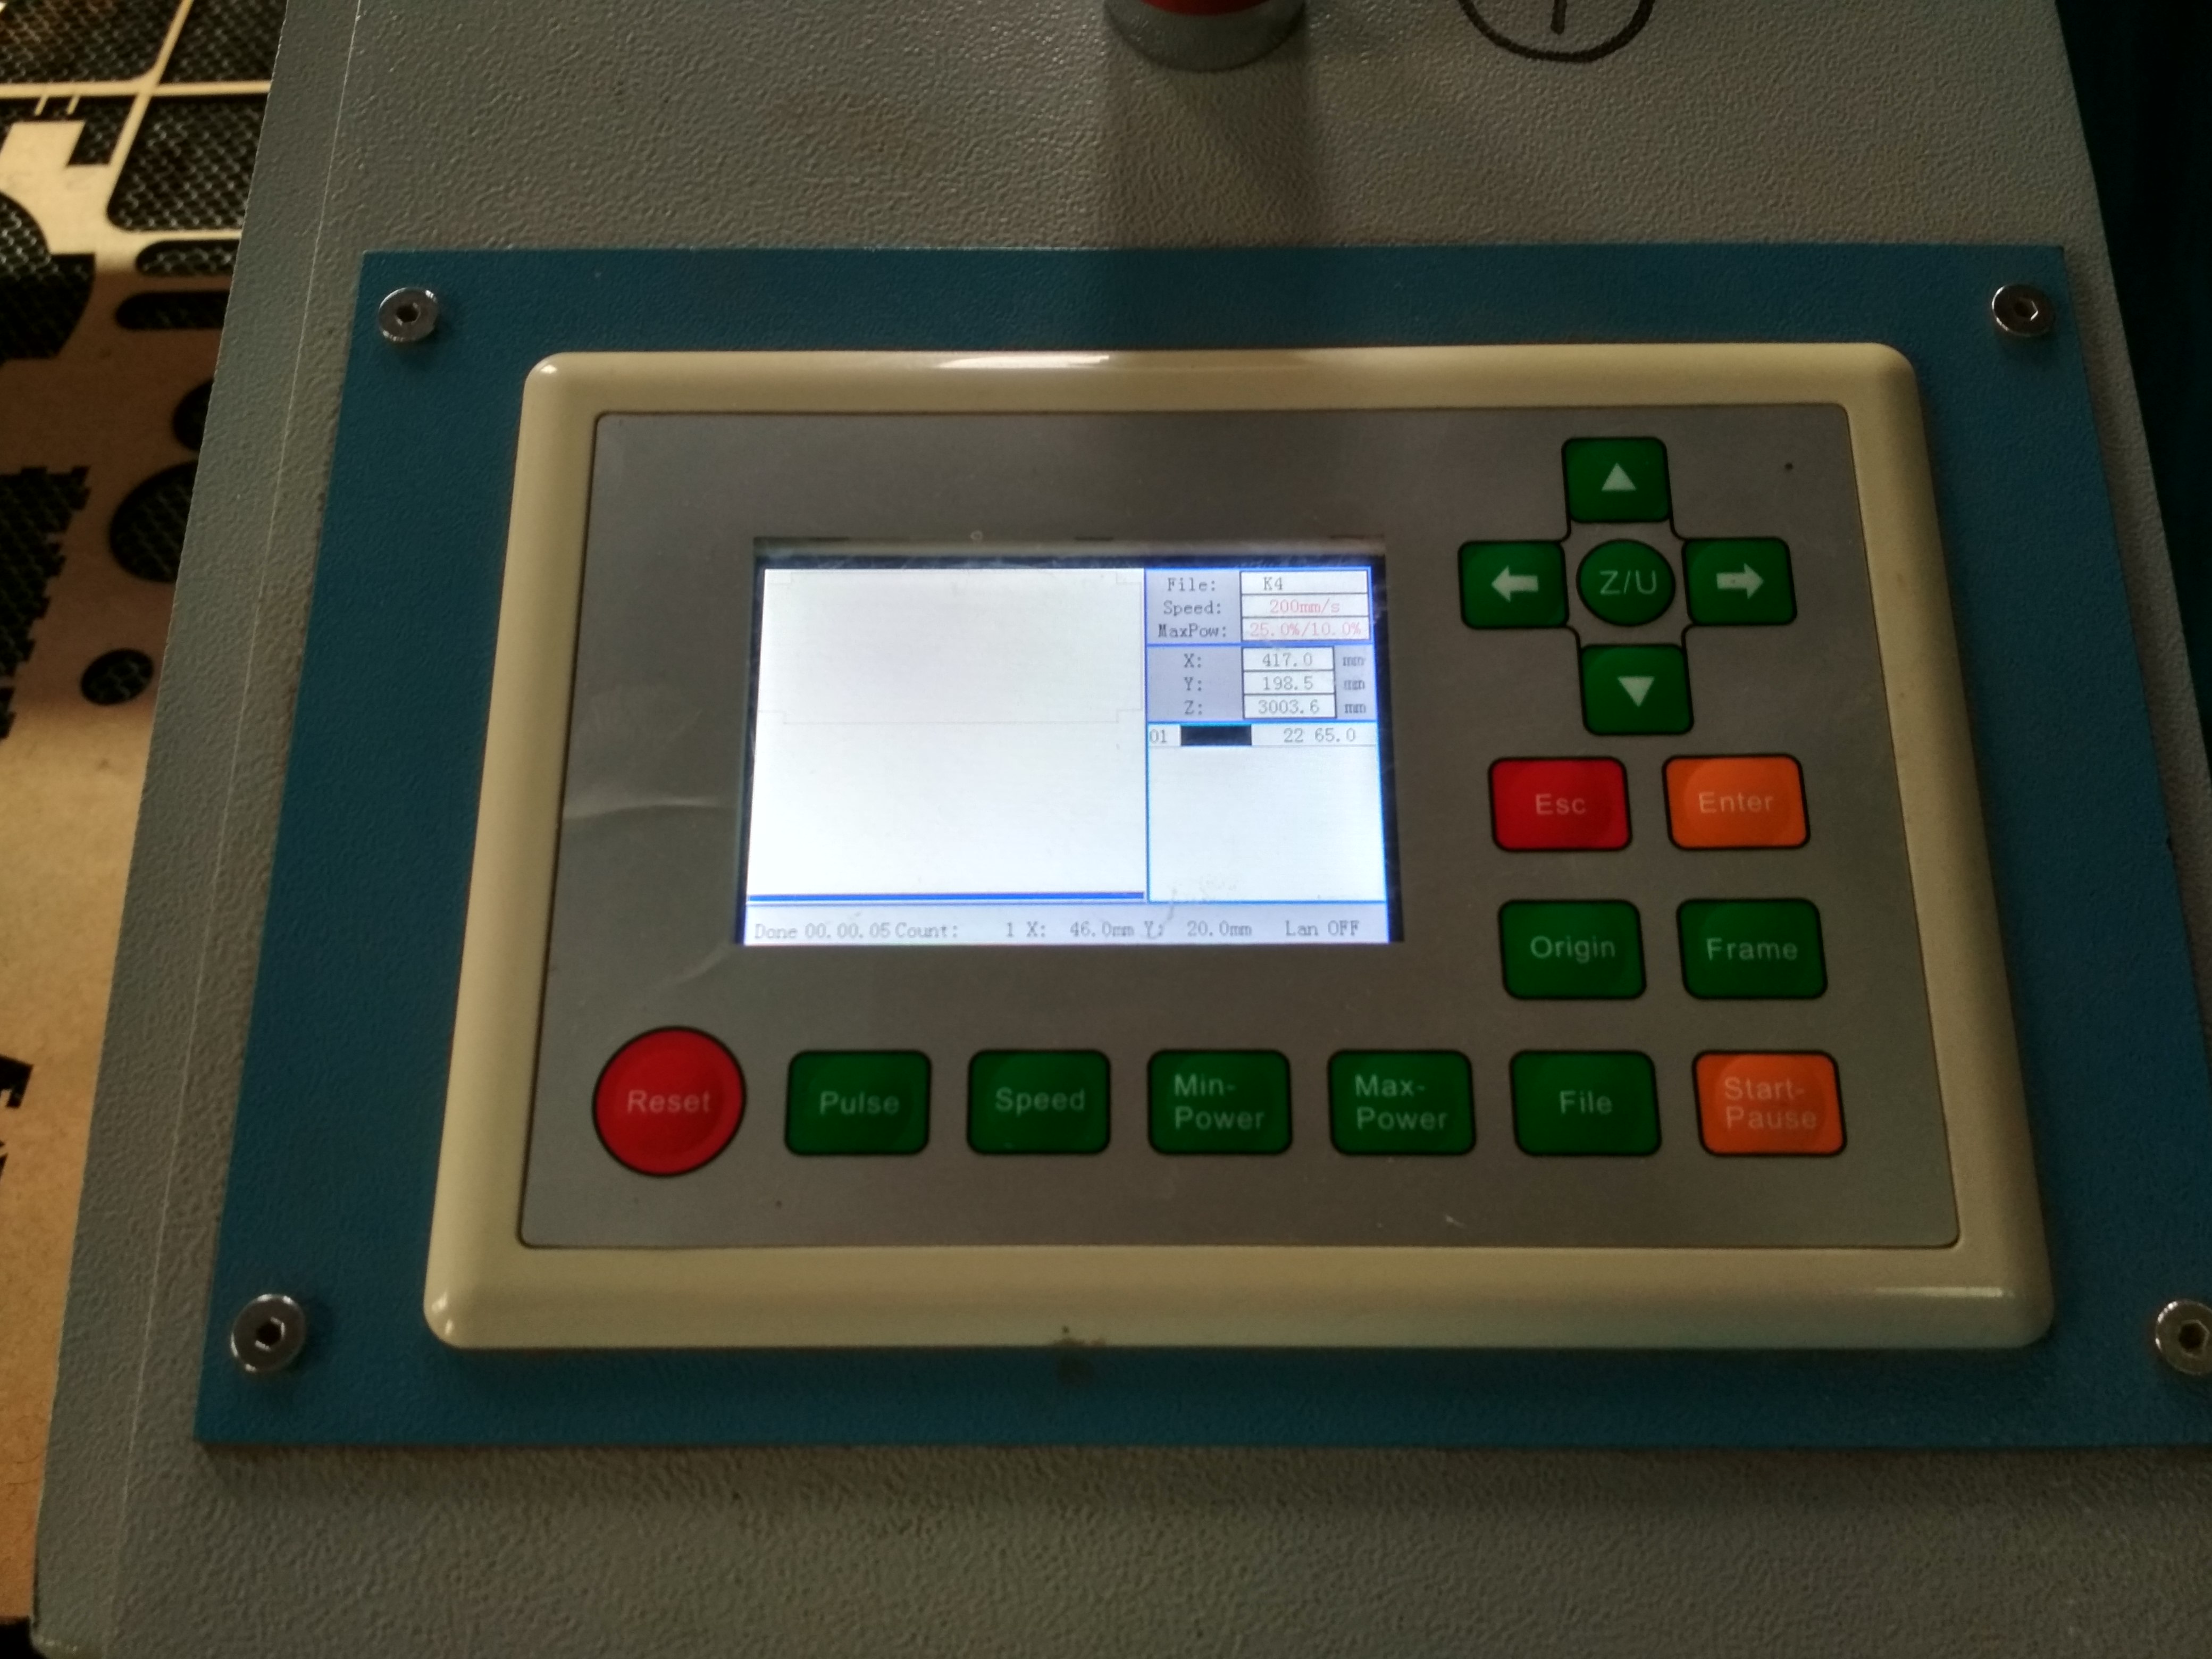
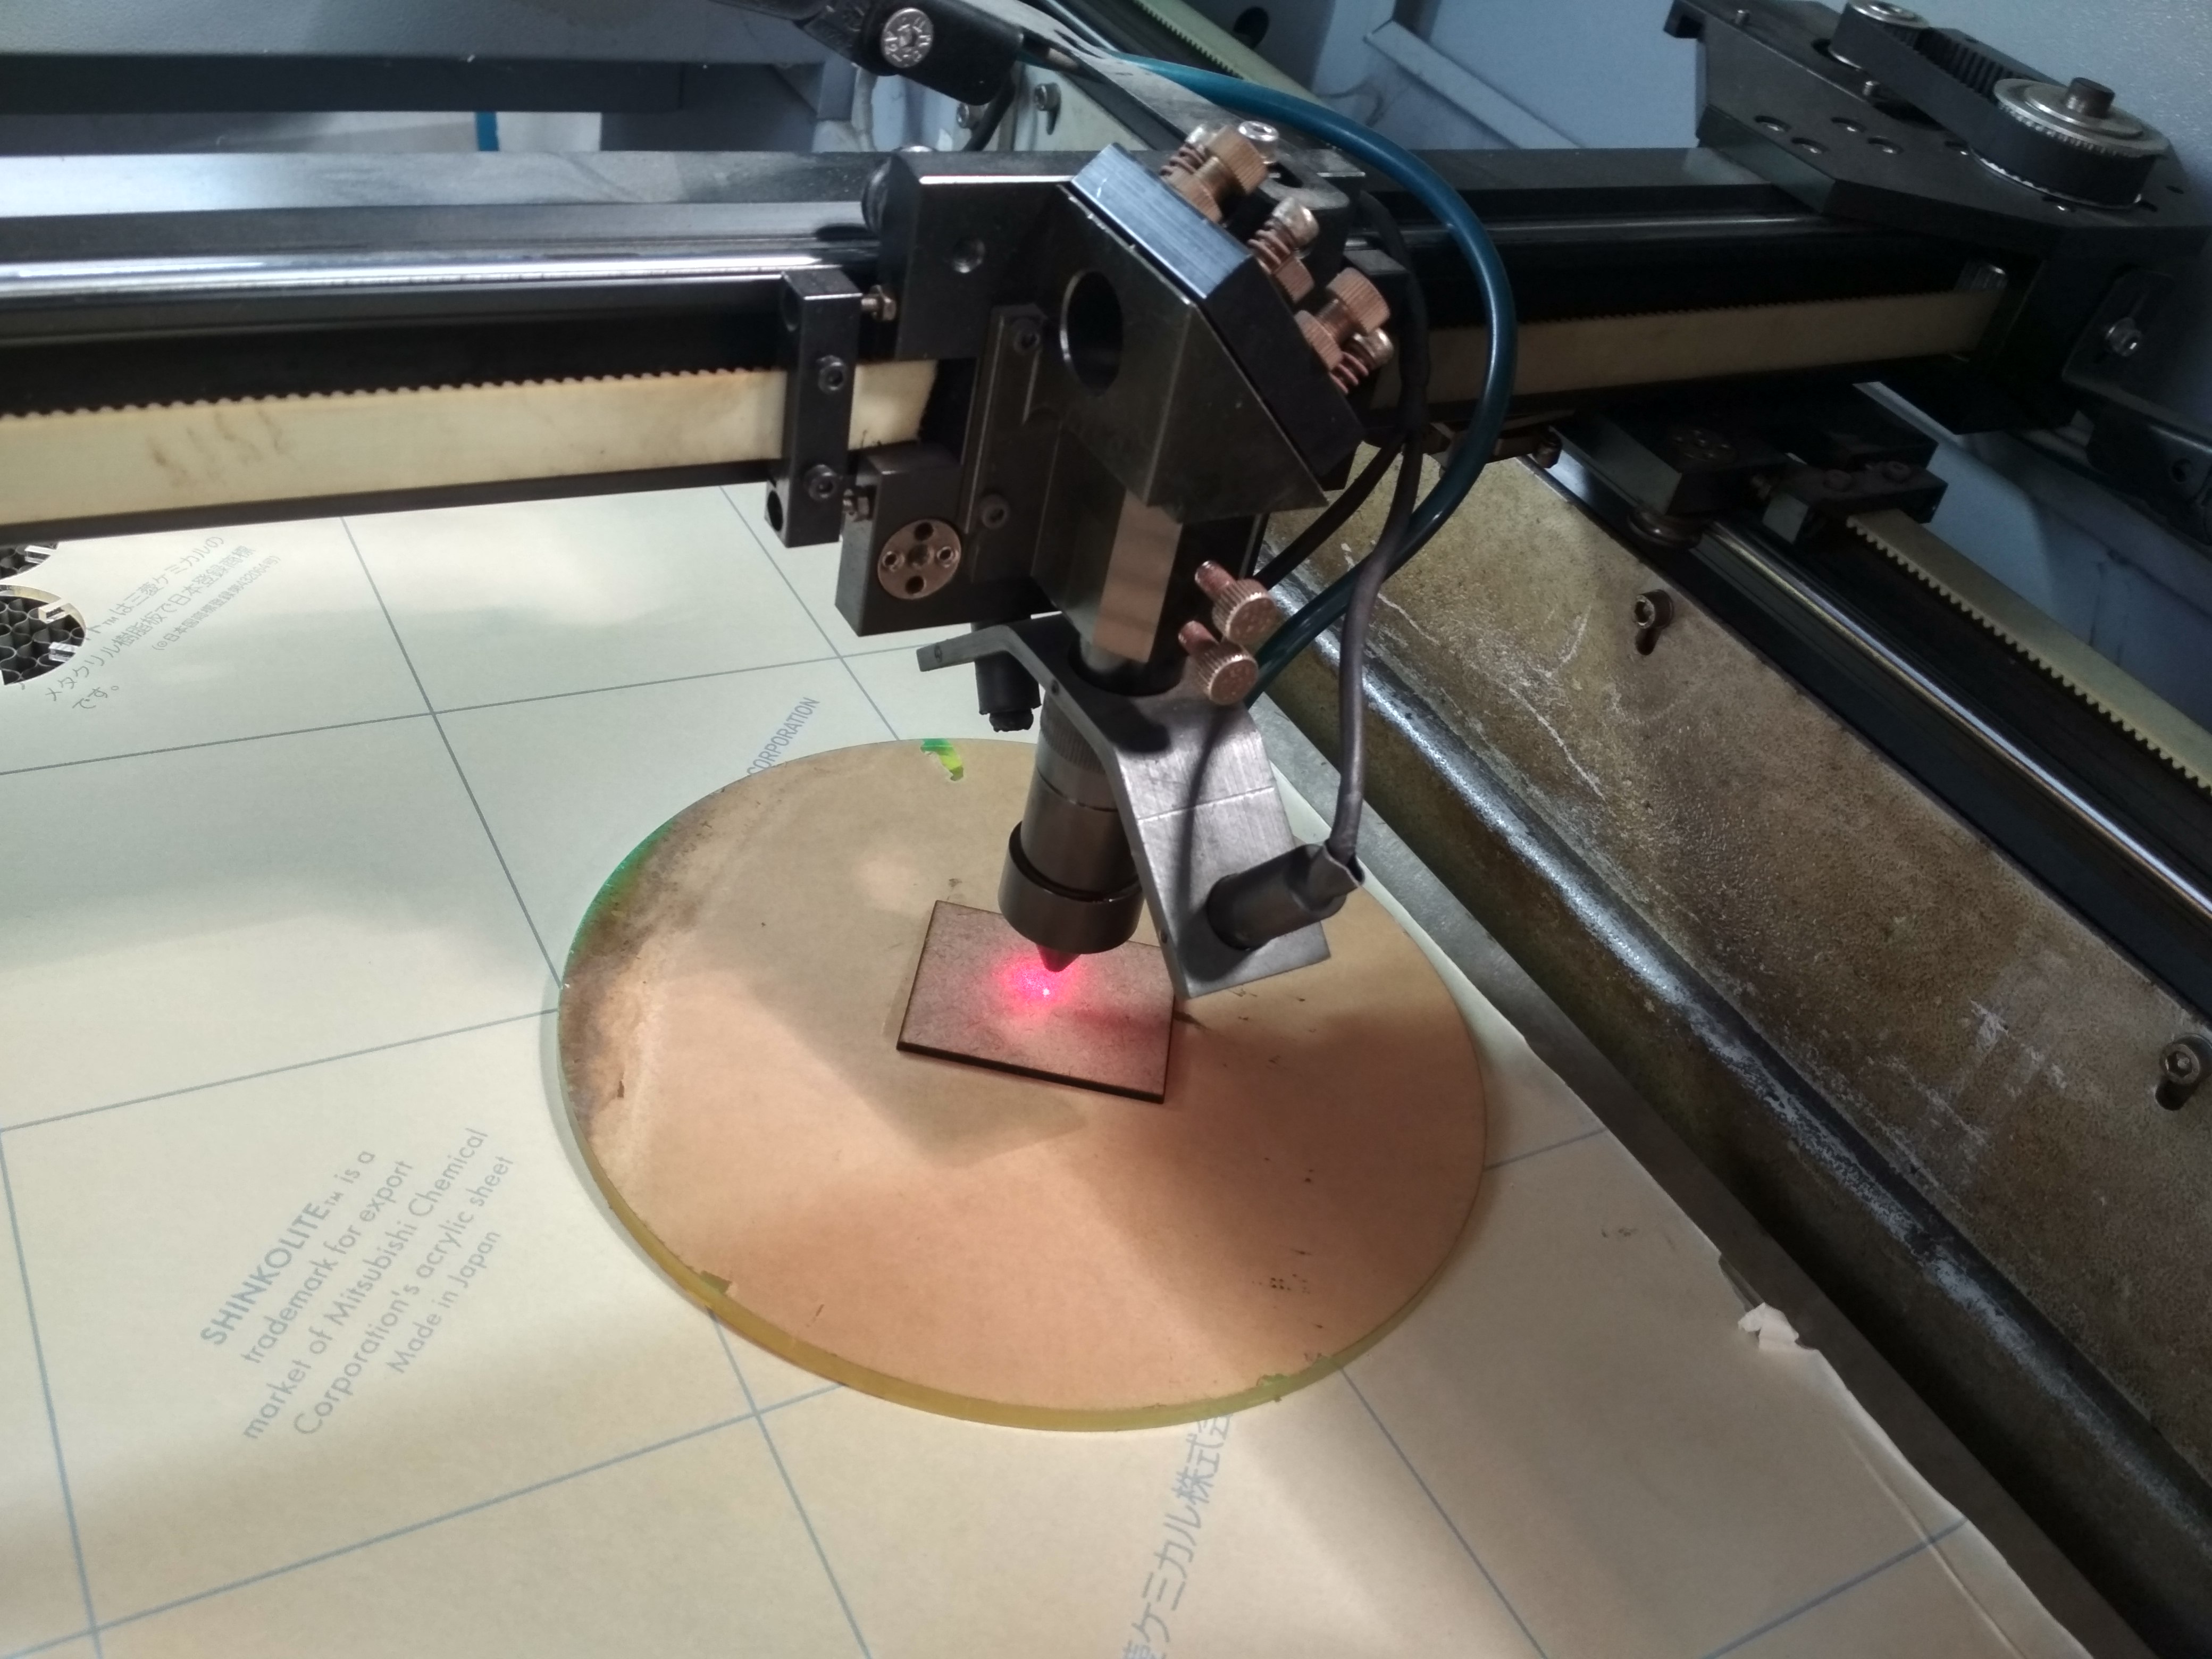
5. Adjust the focus for minimize the kerf and good cutting. This laser has manual focus adjustment. We want 8.5mm focus so we pasted 2.5mm MDF square shape on 6mm acrylic sheet.
6. Downloaded file or recent file is on the top. Select your file press the file and then enter.
7. Set the origin, check the frame(Total area of your object) and give "START" command for cutting.
As you see here the part was not cut having power=62% and speed=15mm/s.
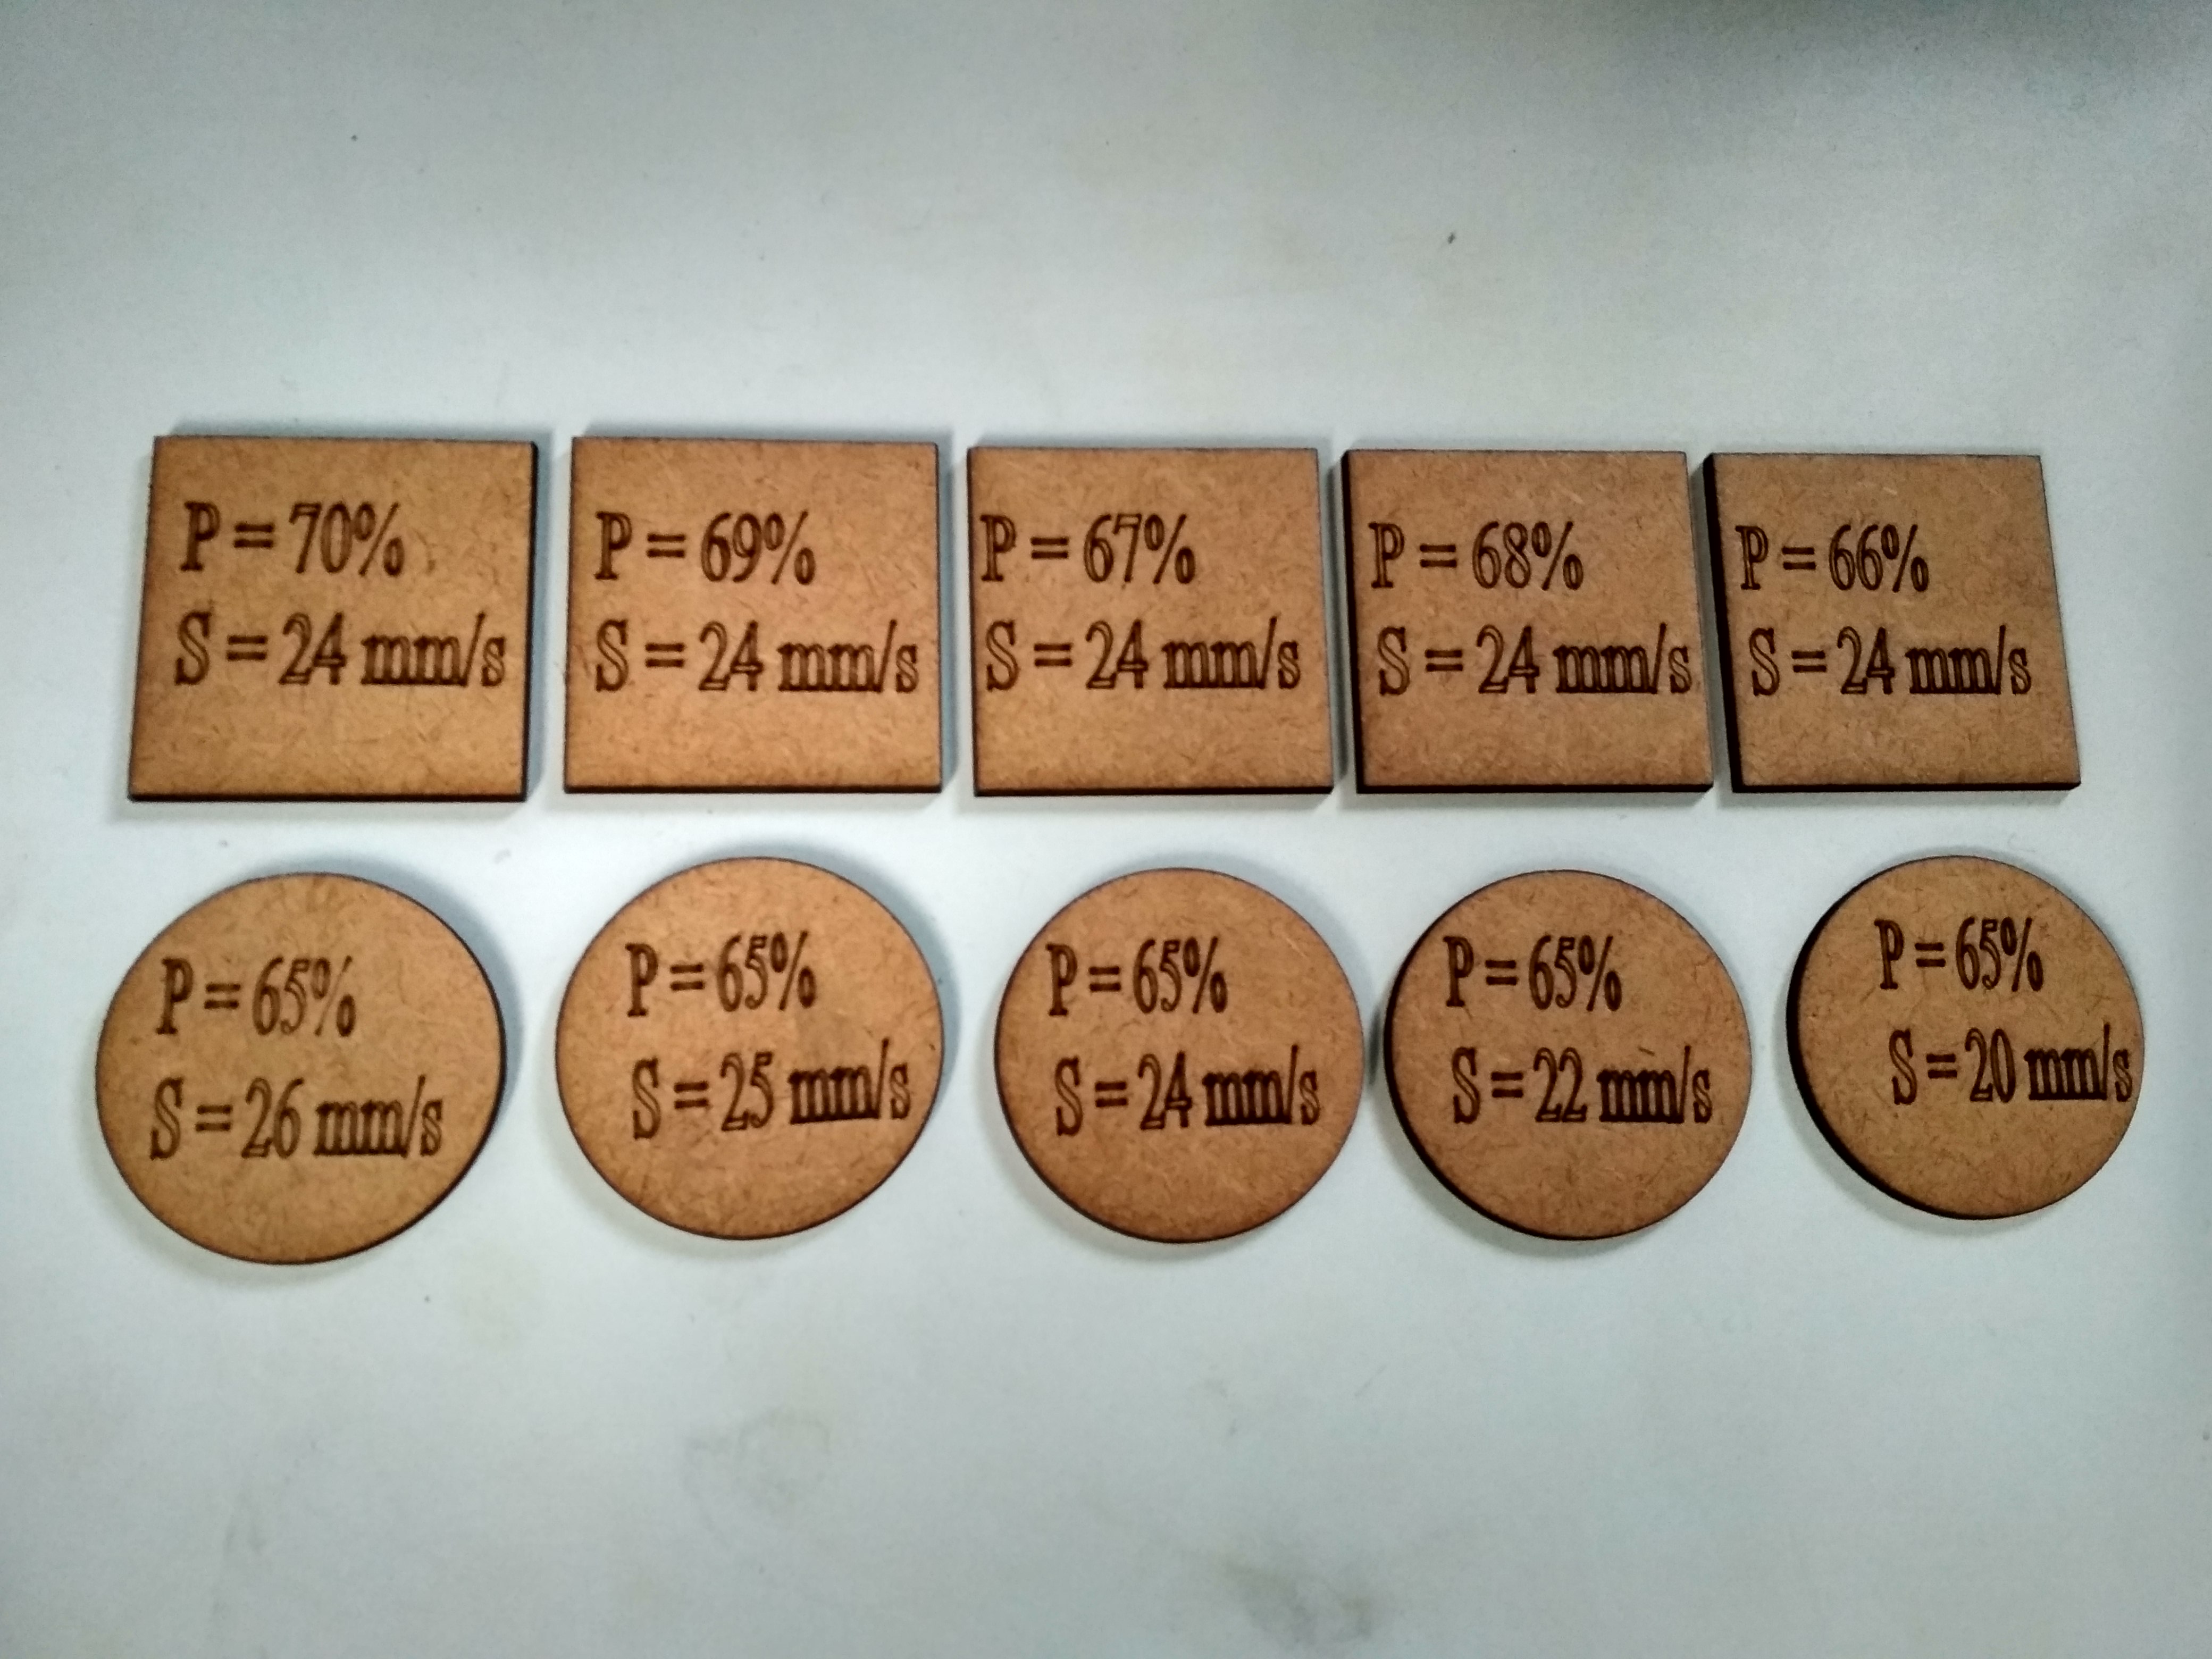
8. I checked the kerf of each part.
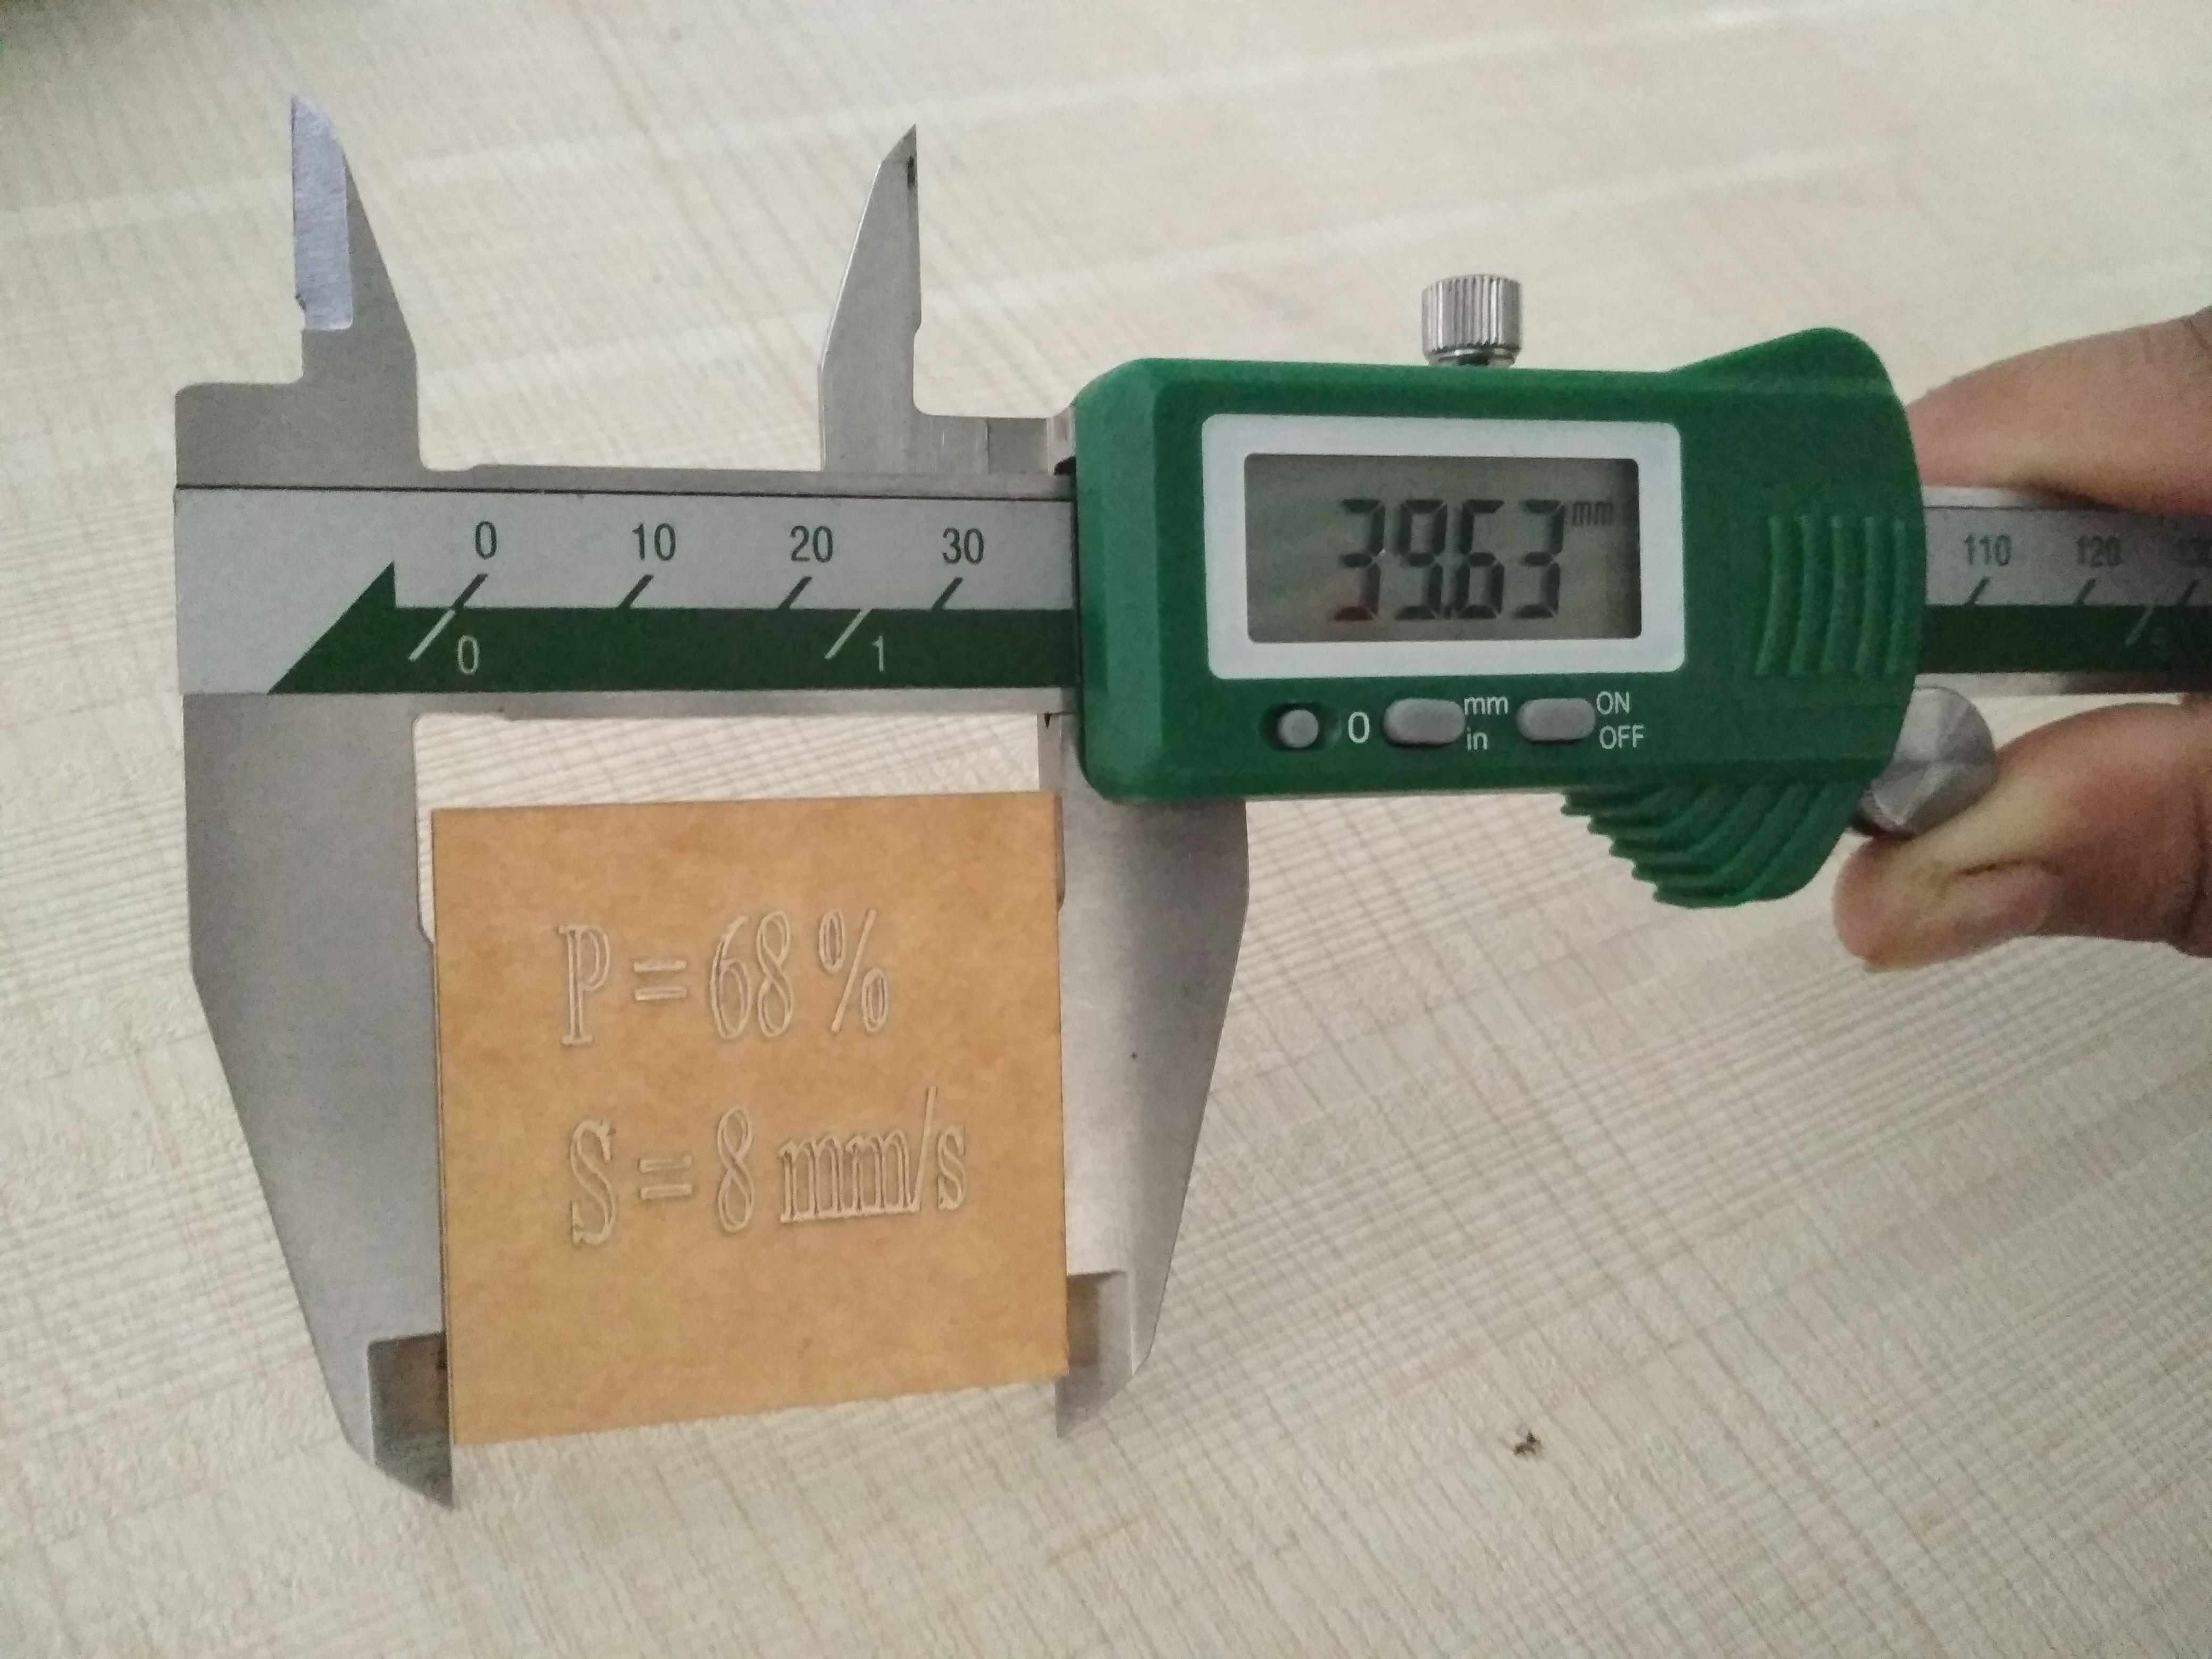
The minimum kerf is 40.00-39.63mm = 0.37mm for 6mm acrylic sheet( power= 68% and speed= 8 mm/s) and for MDF sheet it is 40-39.8 = 0.2mm(power= 59% and speed= 22mm/s).
Press-fit Parametric design
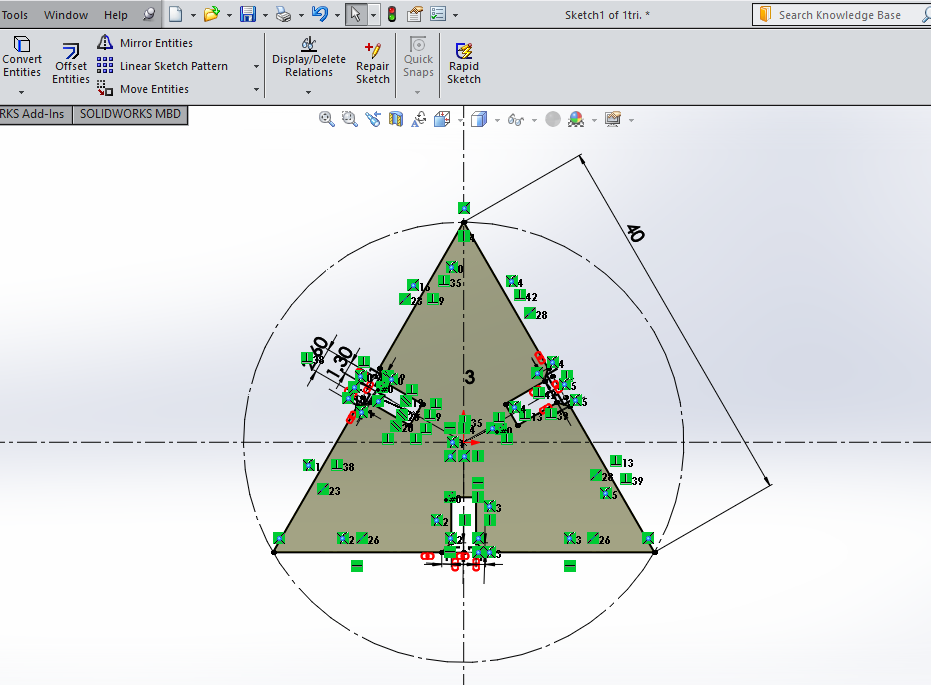
For press-fit kit I decided to make triangular, Square and circular shape in solidworks.
I used very simple method i.e when I change one dimension automatically other dimensions will change. For this, I opened the solid works and select the front plane. I draw circle on this plane and gave dimension i.e 100mm diameter.
Then I want notch on the circle. So, by using line option I draw notch and gave dimension.
While giving length of the notch used the fixed dimension i.e diameter dimension (100/5 mm).
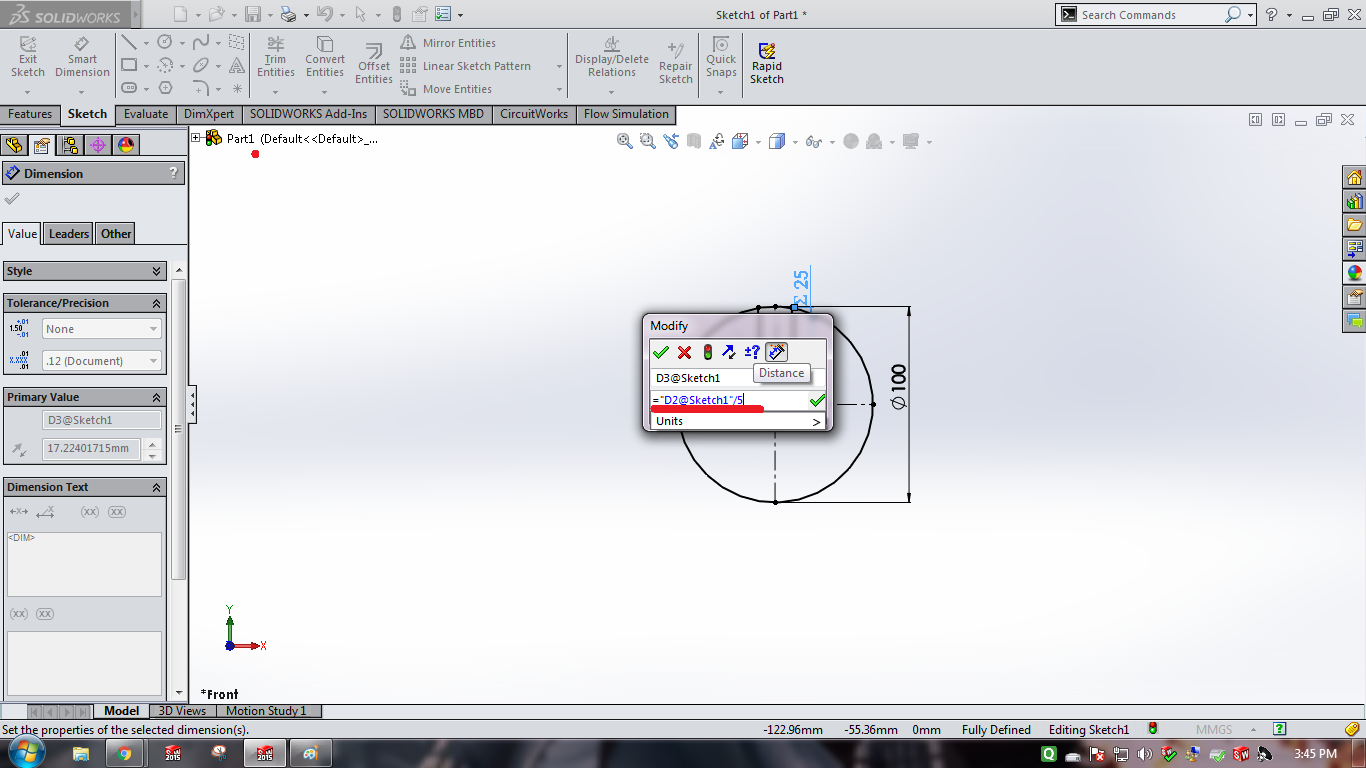
Like this I gave dimension to the length and width of notches.

Then I used linear pattern command and make same notch four times on circular shape.
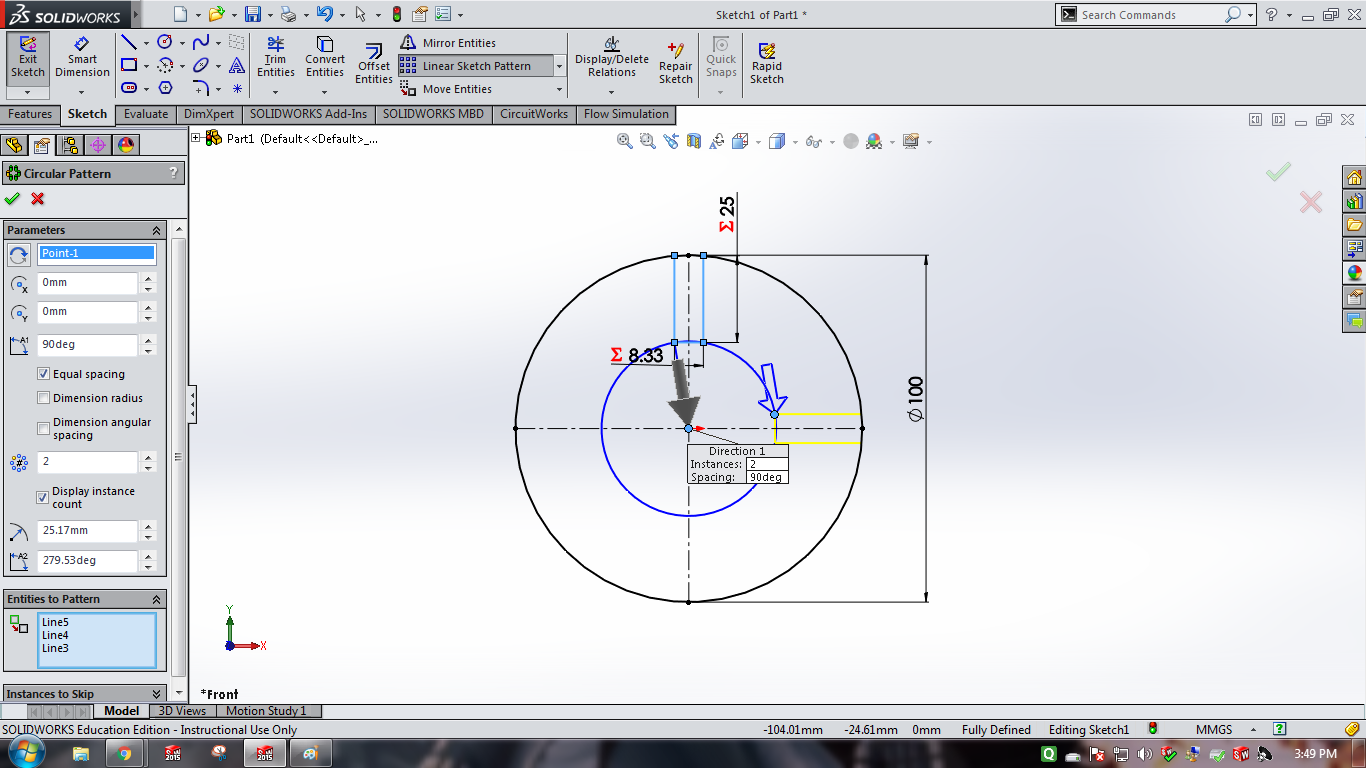
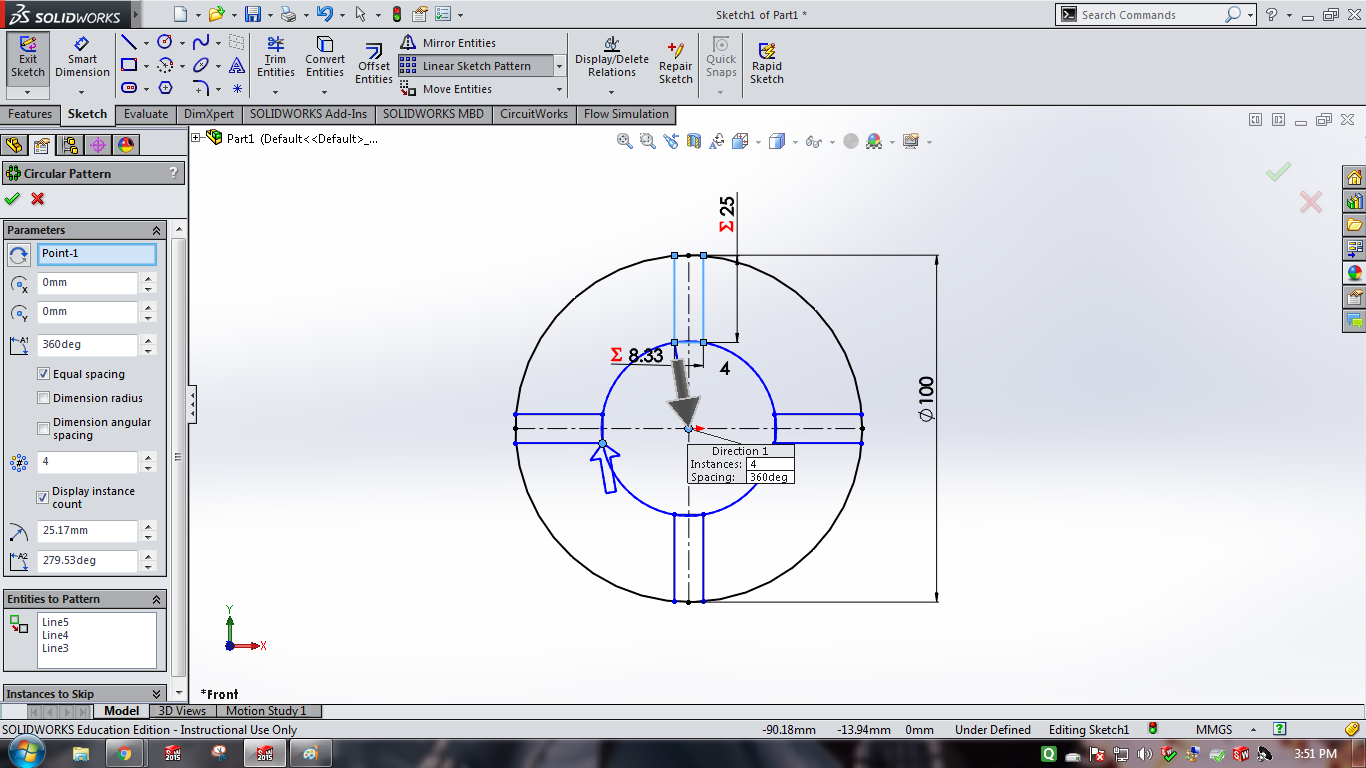
So, when I want to bigger or smaller circle then I will change only diameter of the circle.

Here you can see the changes in the dimension. we can make different design by changing one dimension.
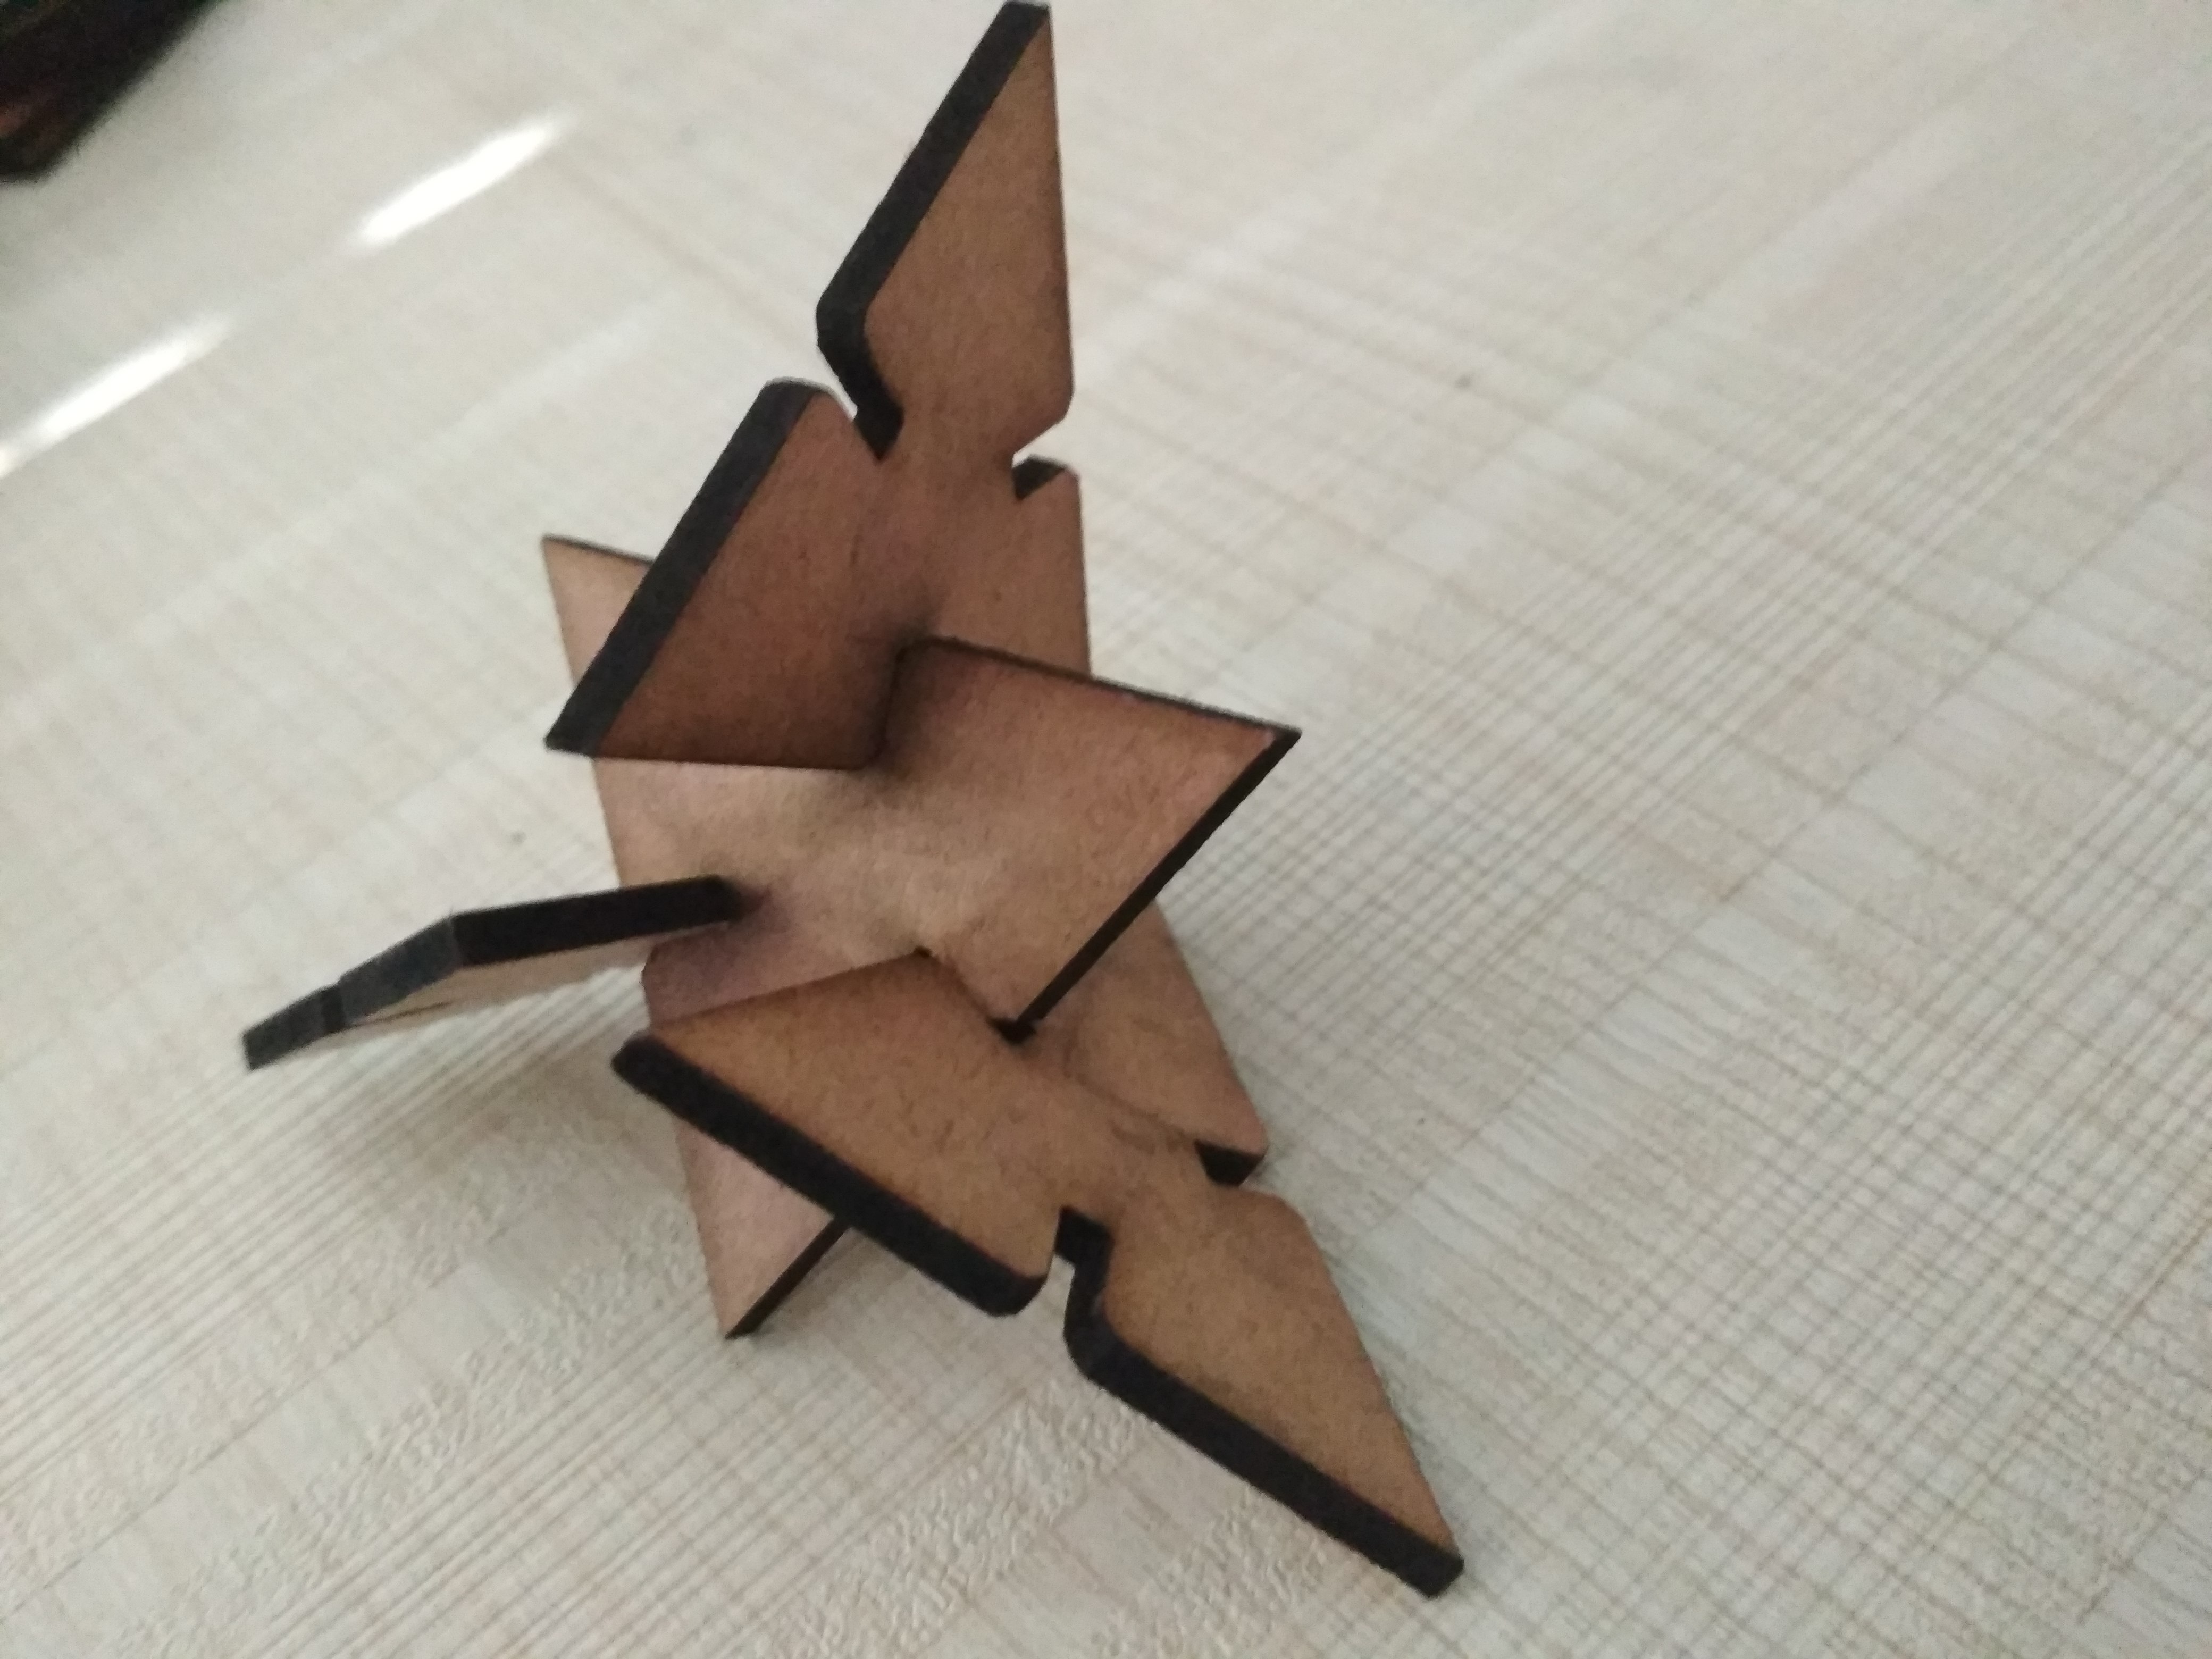
Considering kerf I changed the slot width(2.3mm) for 2.5mm MDF sheet.
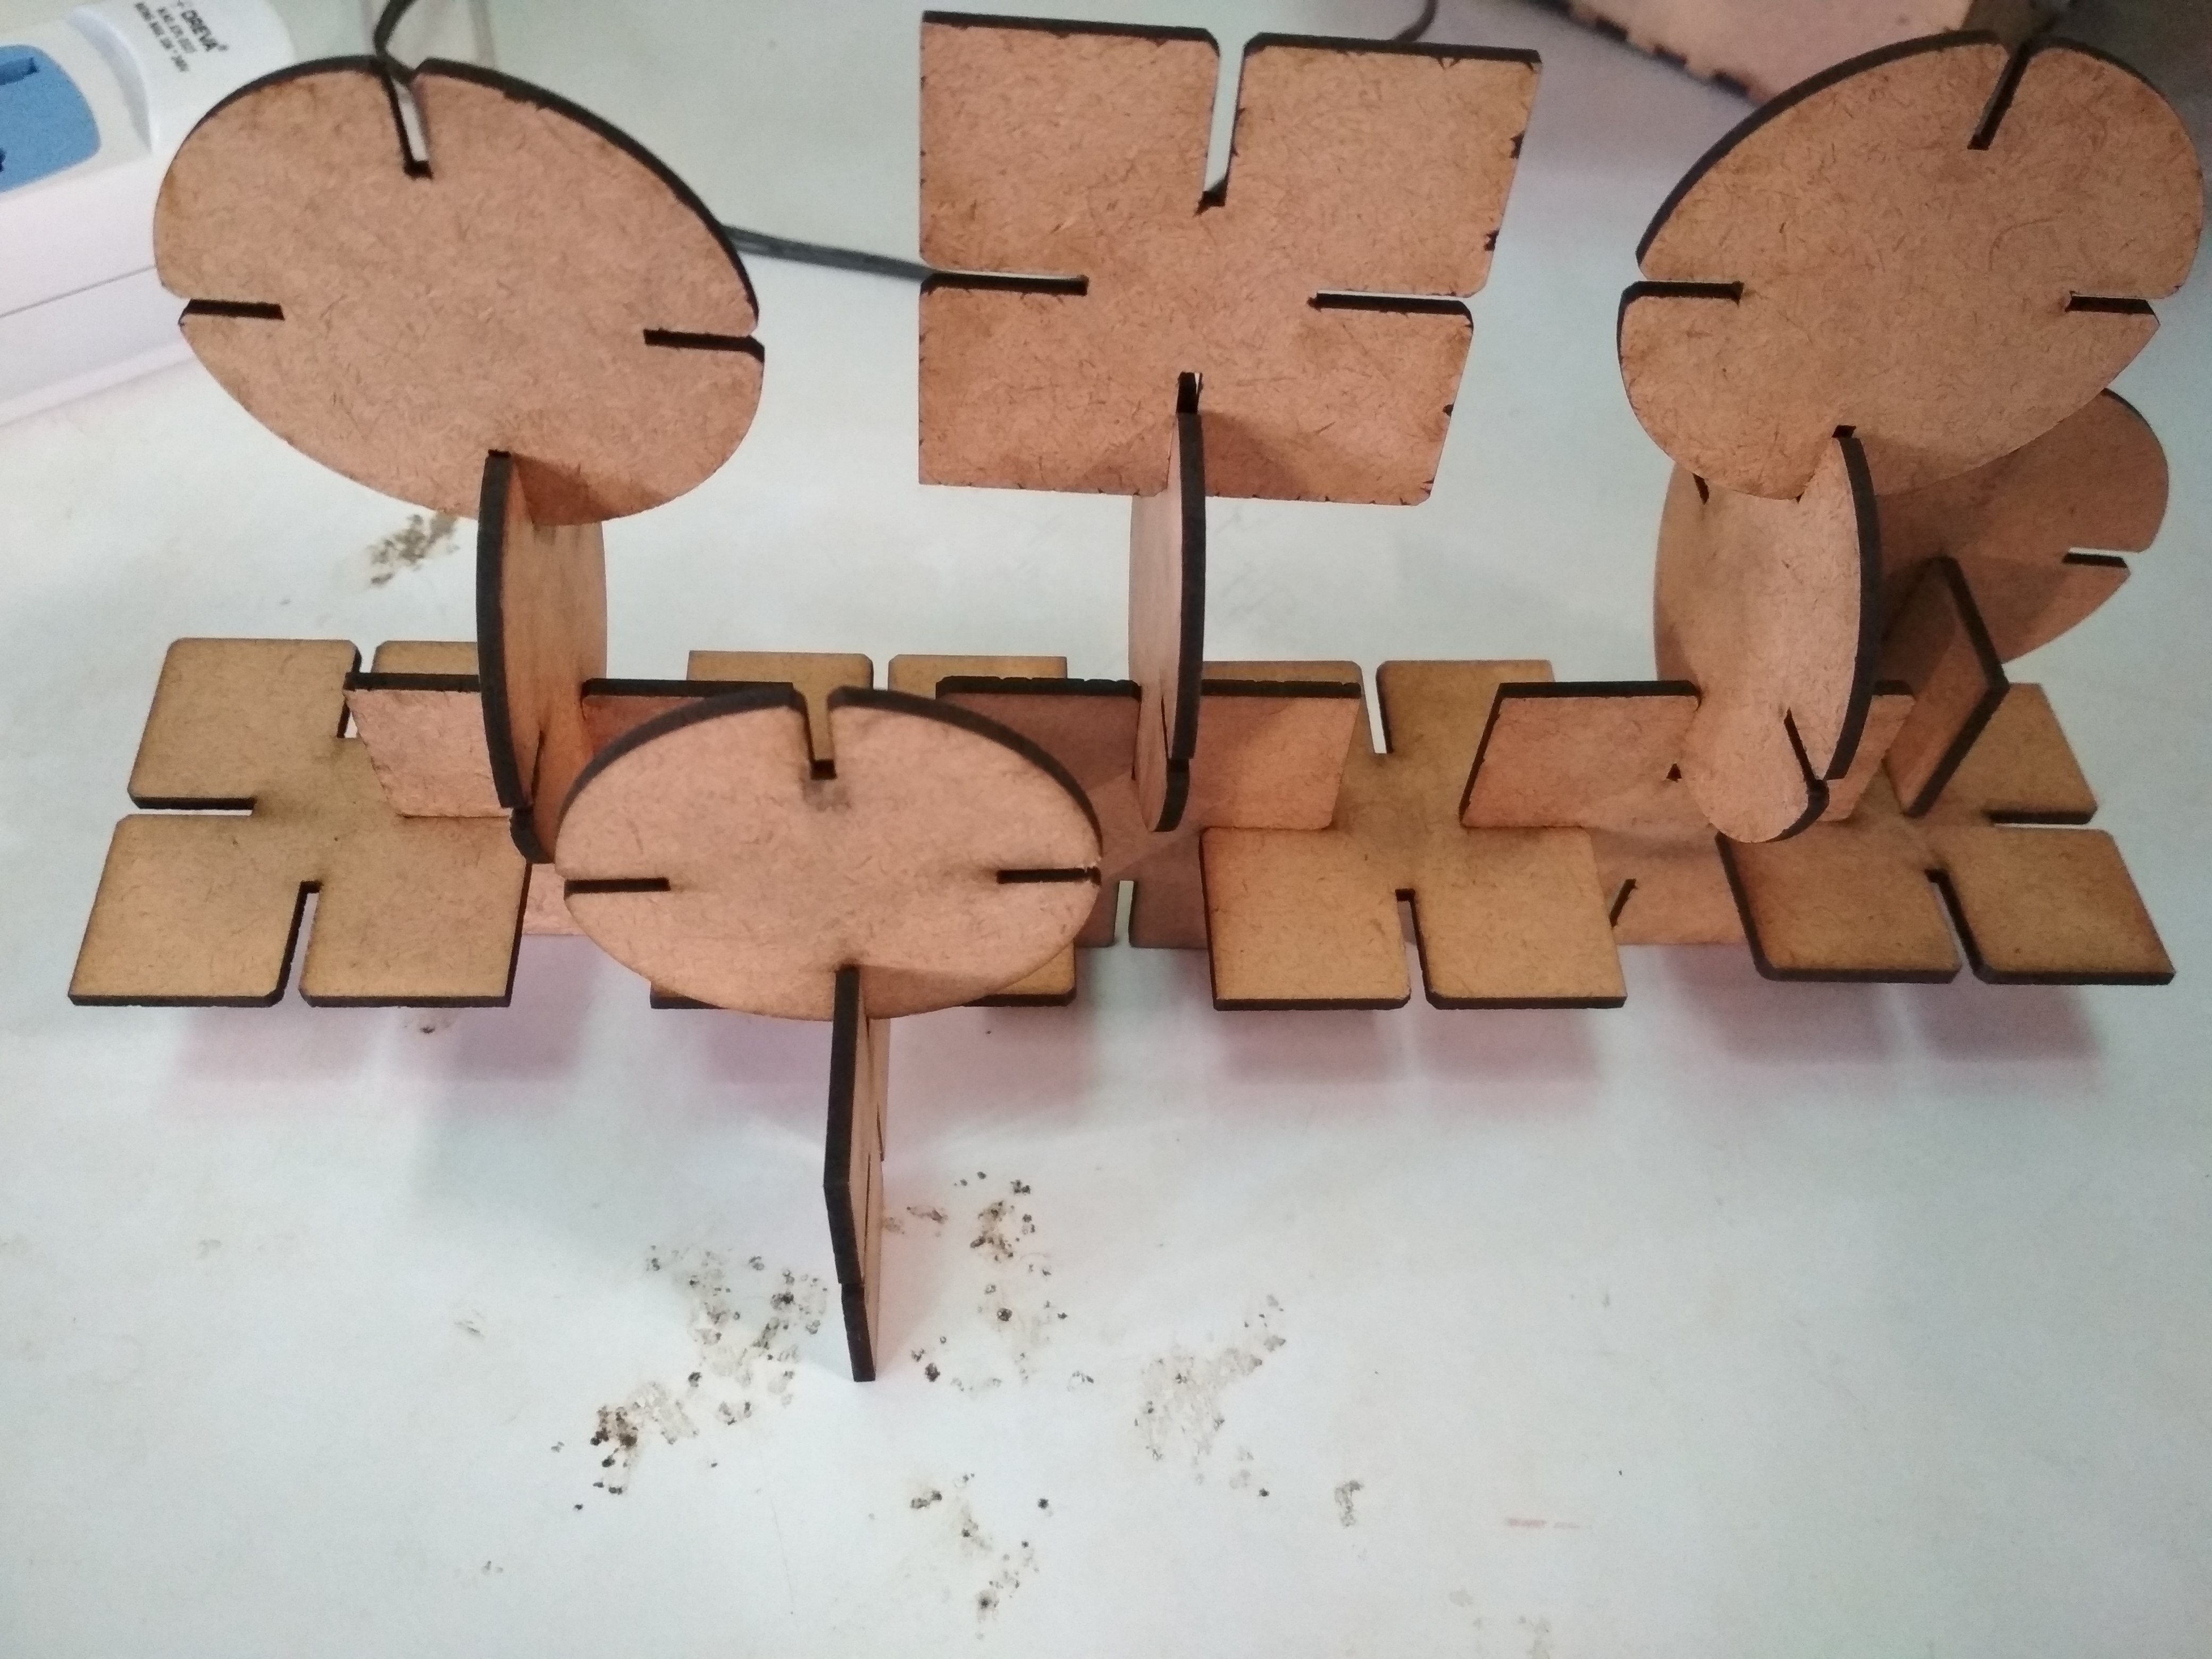
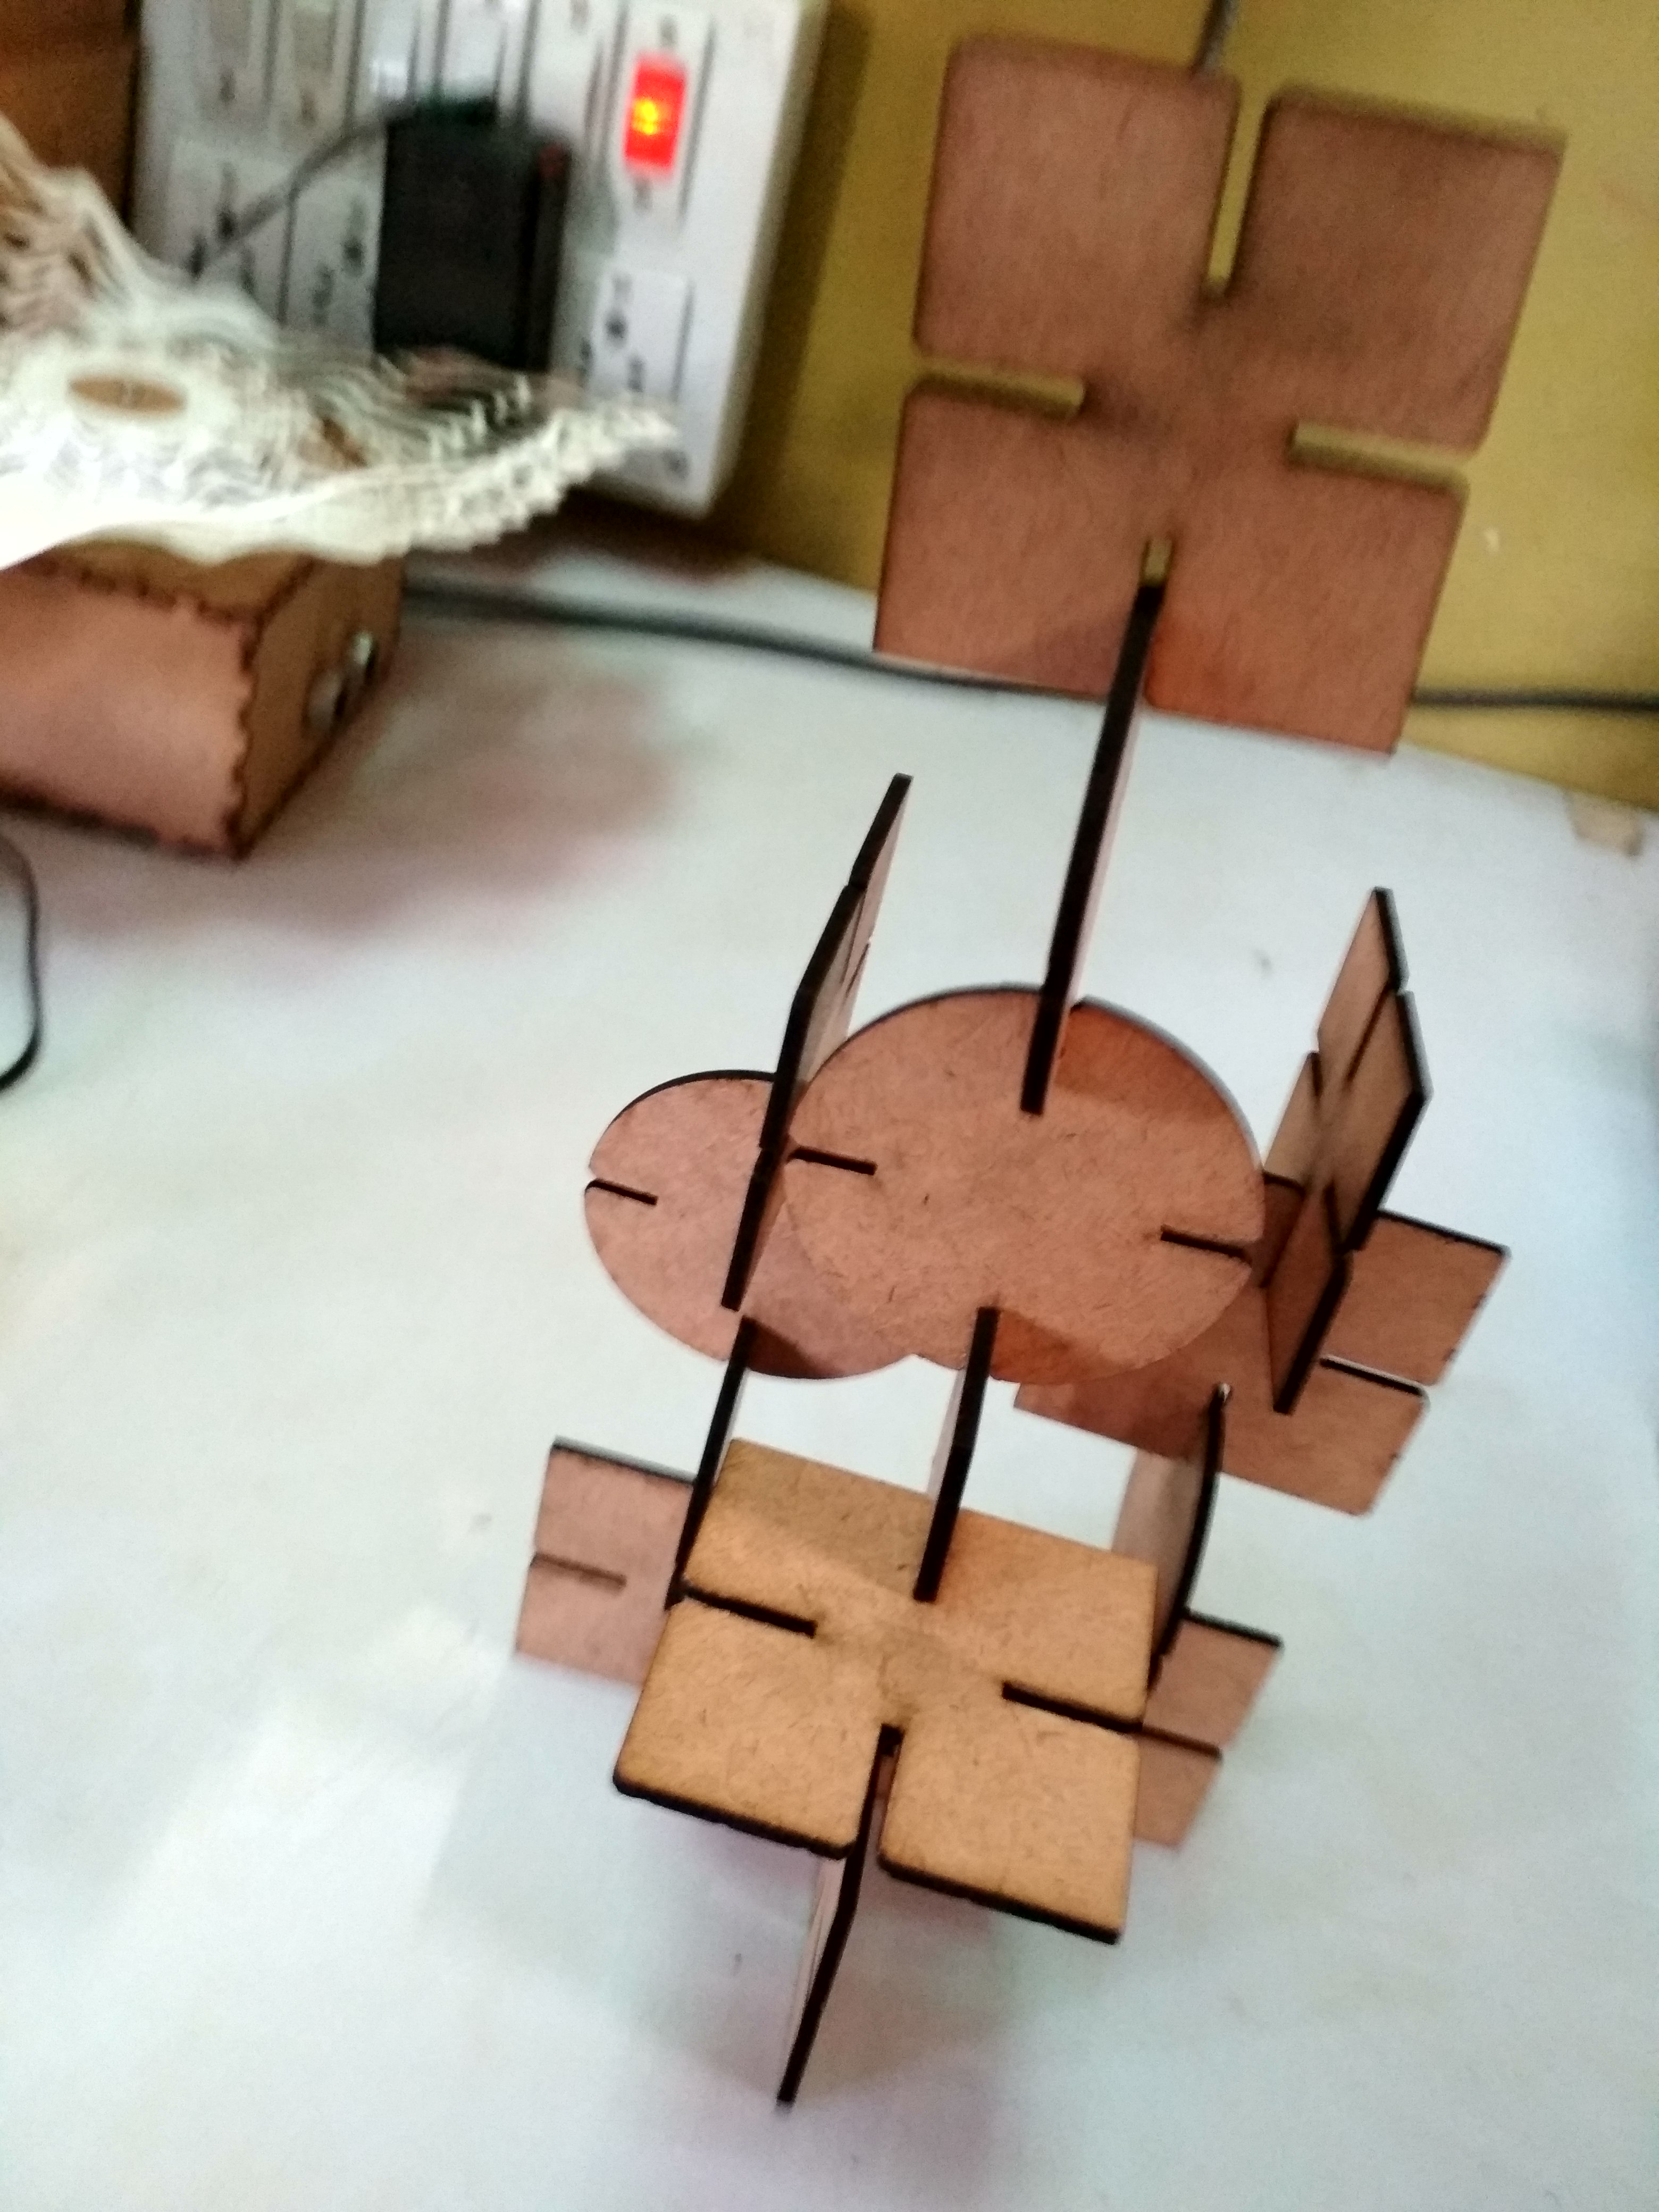
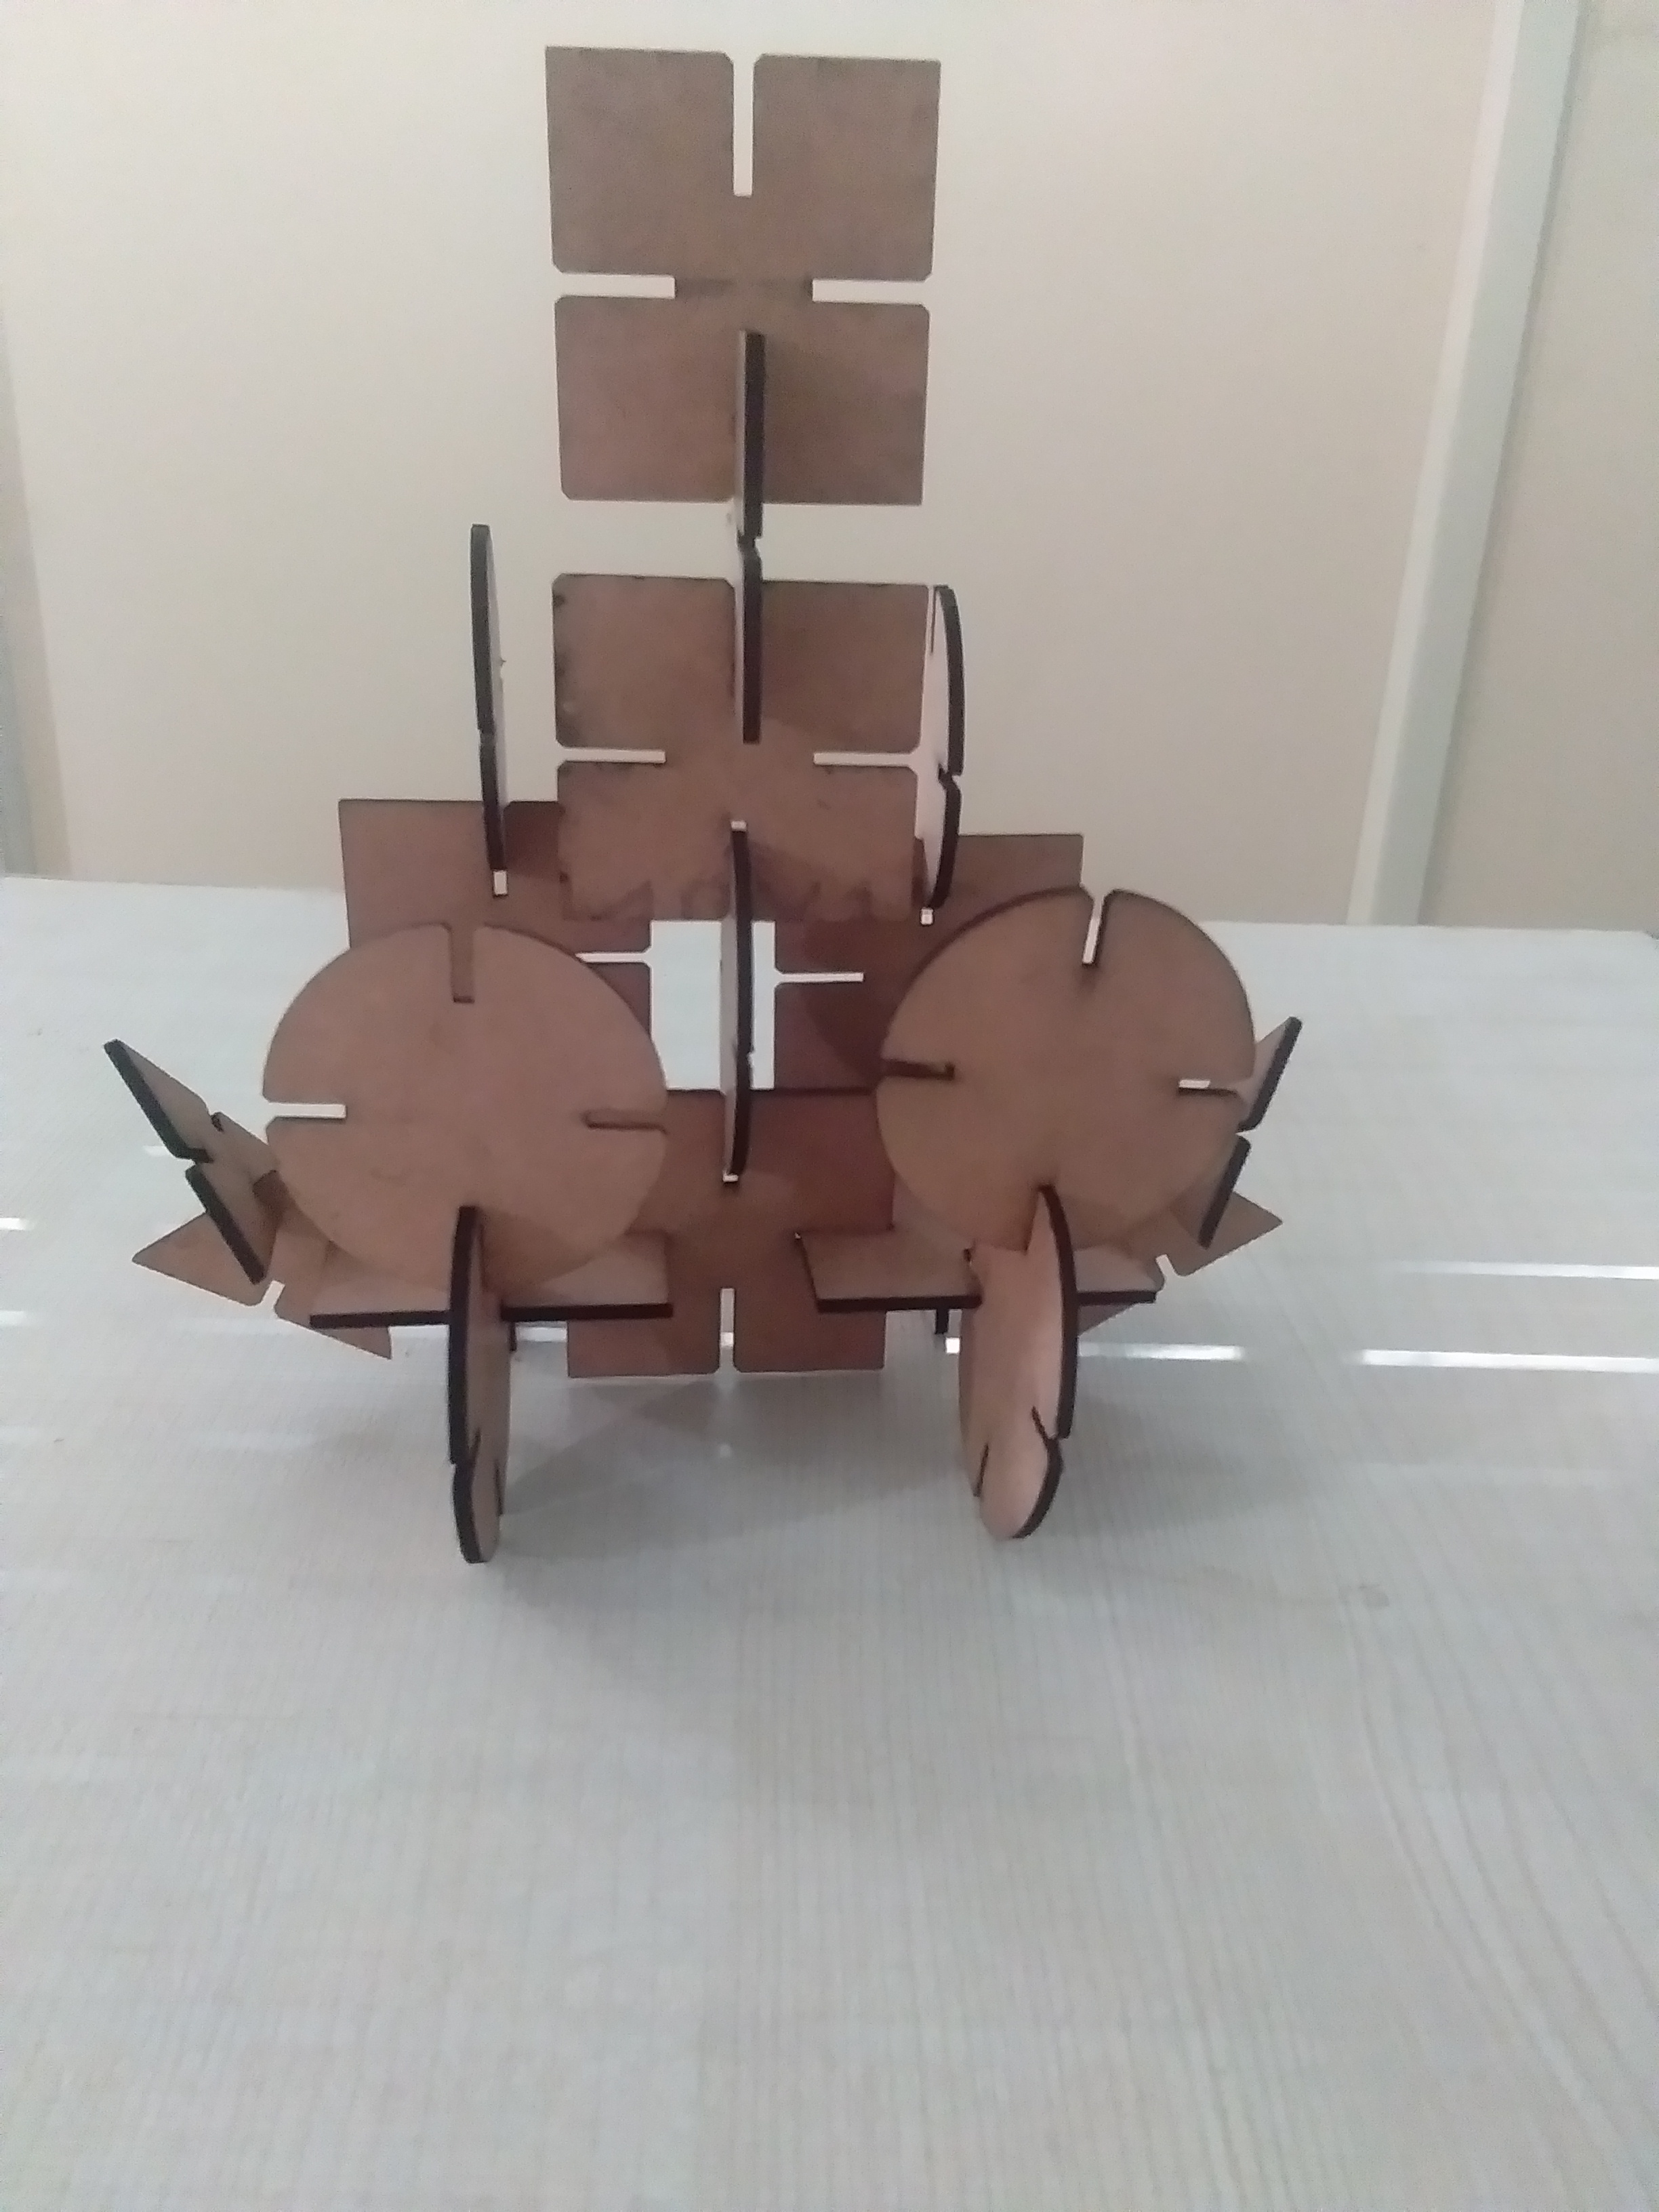
The parts are fitted.....
Precaution
Vinyl Cutting Machine
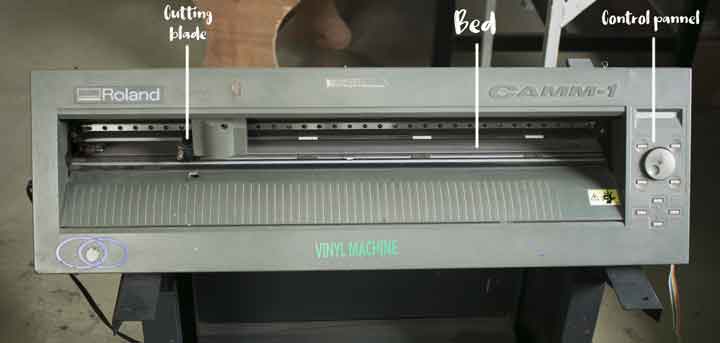
It is Computer-Controlled machine having blade to cut out shapes designed using vector graphics. We have Roland Vinyl Cutter having sharp blade for cutting. The machine has 450mm bed area. The shapes and letters can cut by blade.
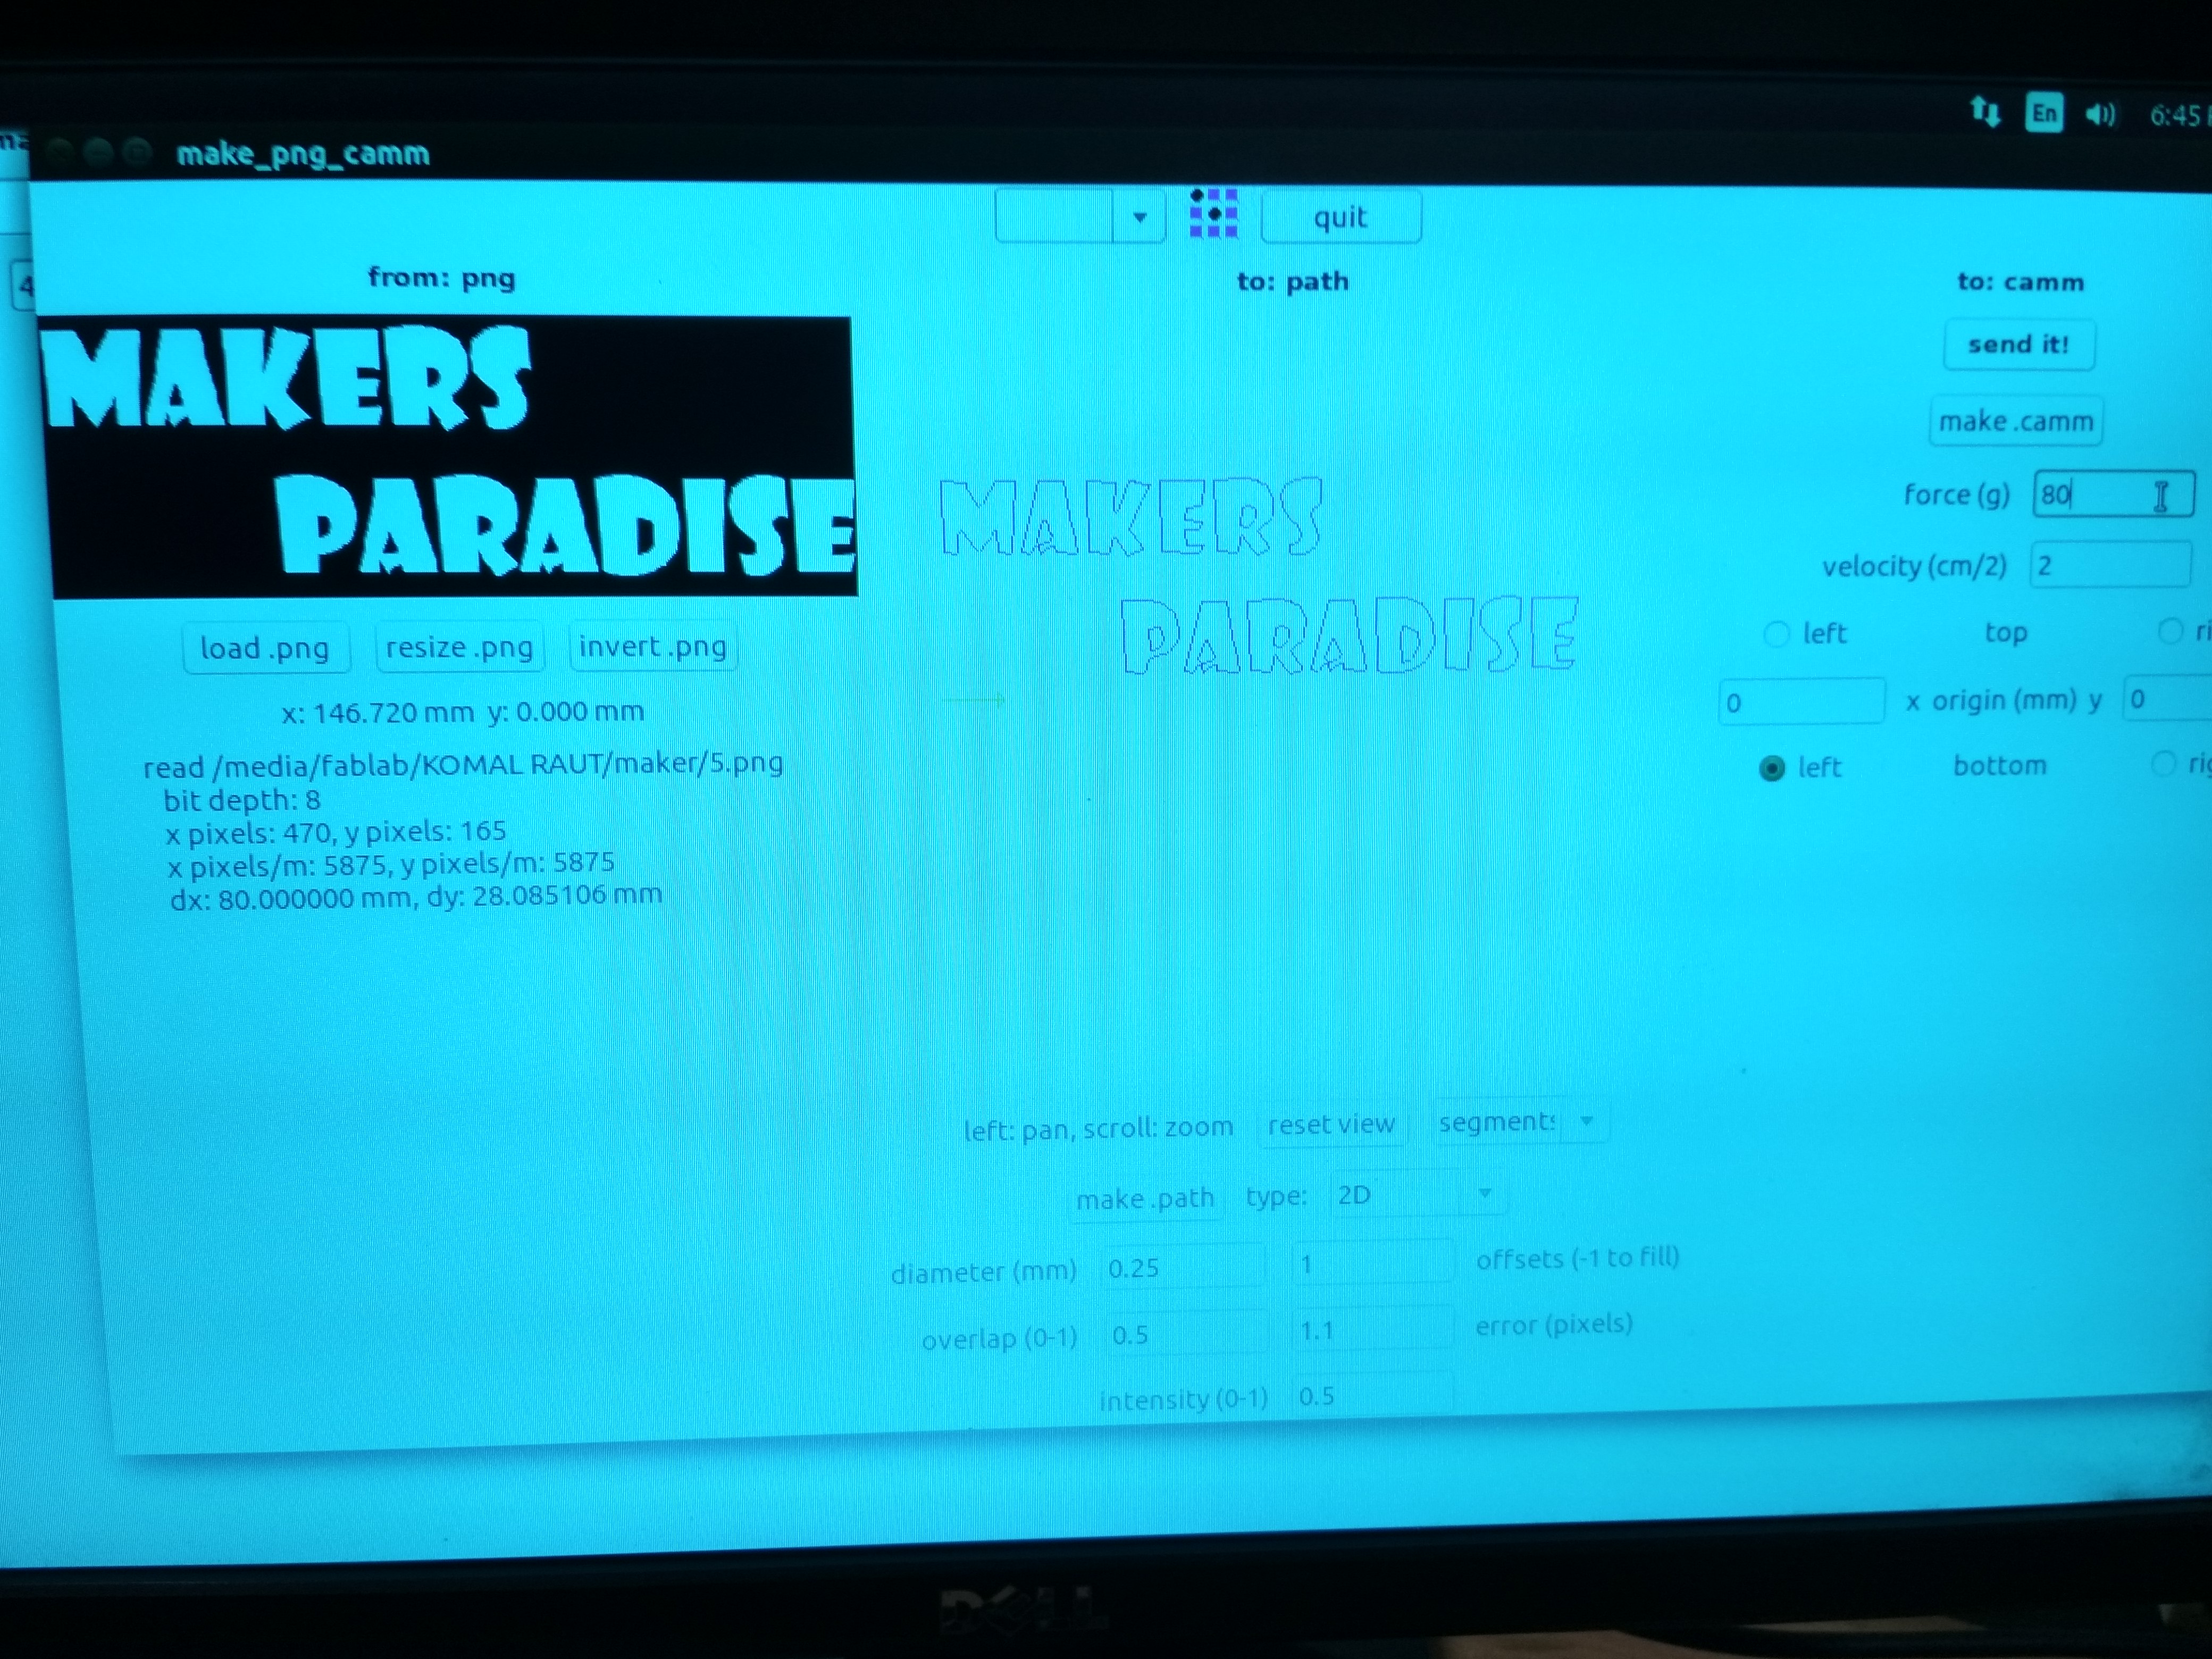
We can make stickers and copper circuits with the help of this machine. In this machine I tried letter sticker. I used illustrator for making office Name sticker.
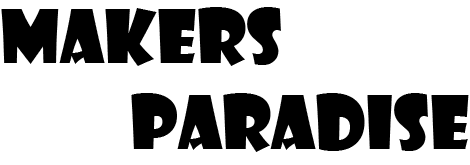
Loading Vinyl-
1. We have to select the roll of vinyl and place it on the rollers behind the machine. Place the lever in the down position and load the vinyl.
2. The vinyl side is facing up as I feed it through the rollers into the vinyl cutter.
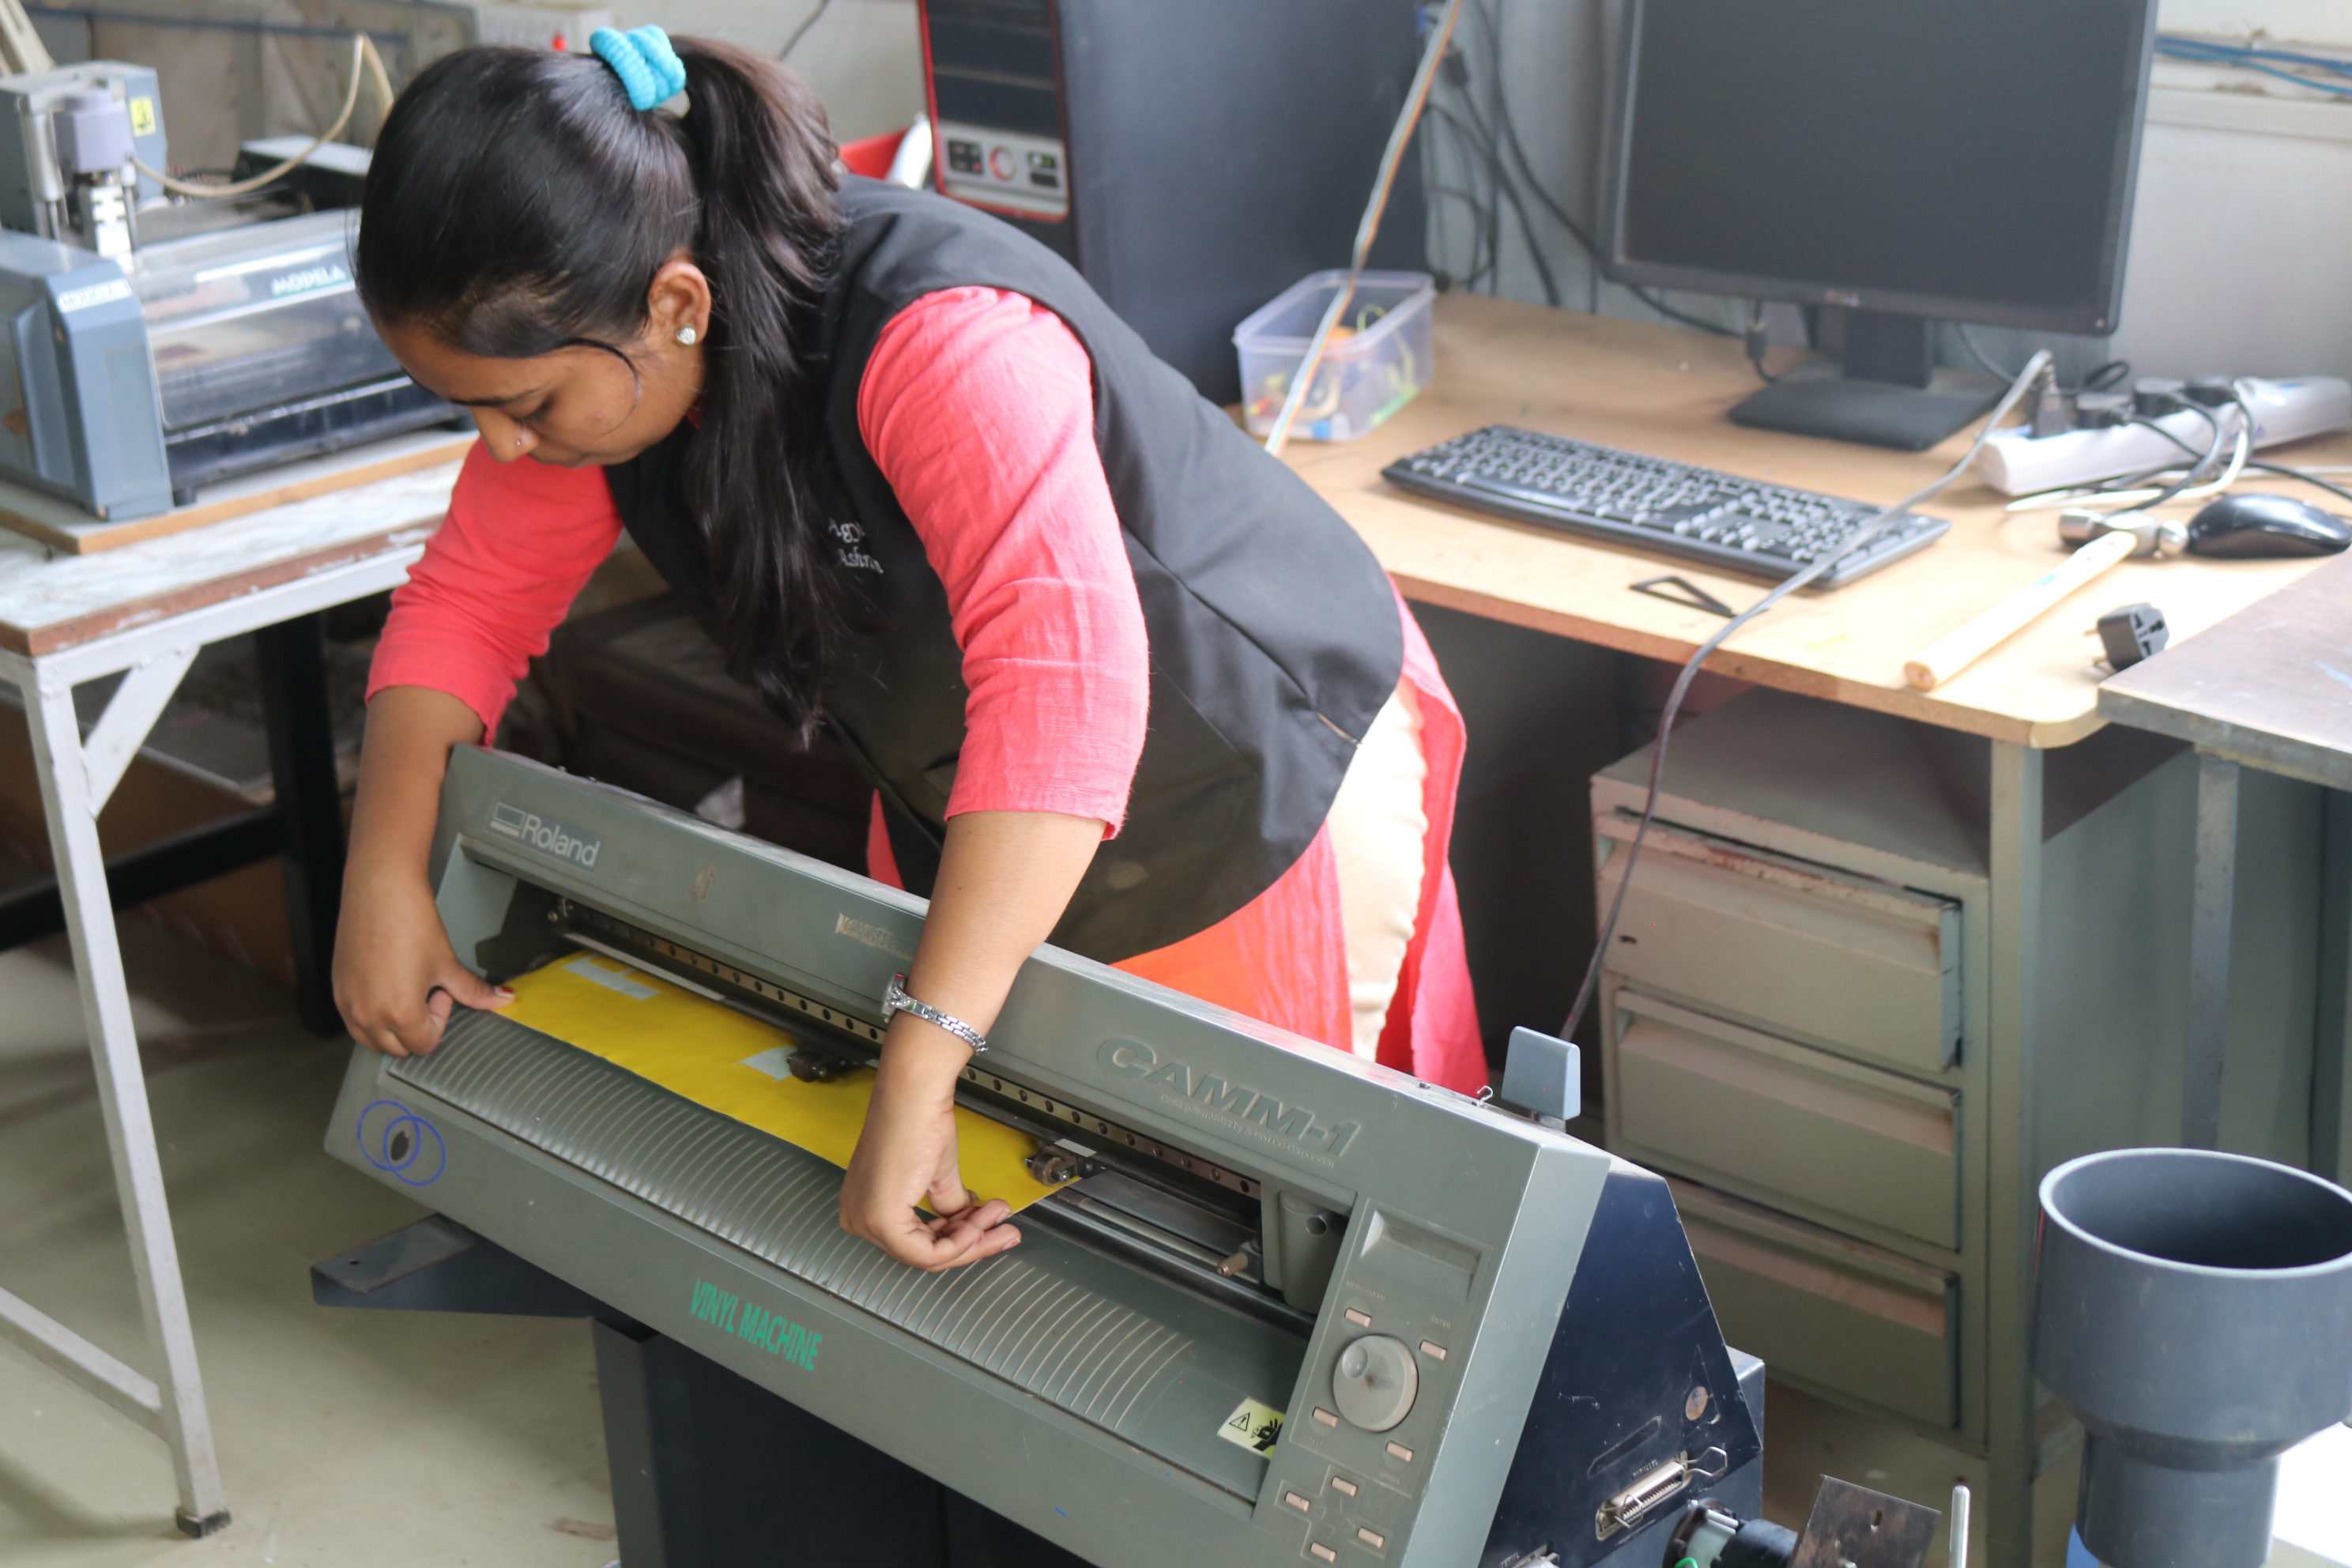
3. I can see the rubber wheels and under the rubber wheels there is a white sticker indicator.
We have to ensure that the vinyl is aligned properly under the rubber wheels.
There are two rubber wheels. The left wheel must always be under the wide white sticker on the left. The right rubber wheel must be under any one of the three white stickers on the right, depending on the width of your vinyl.

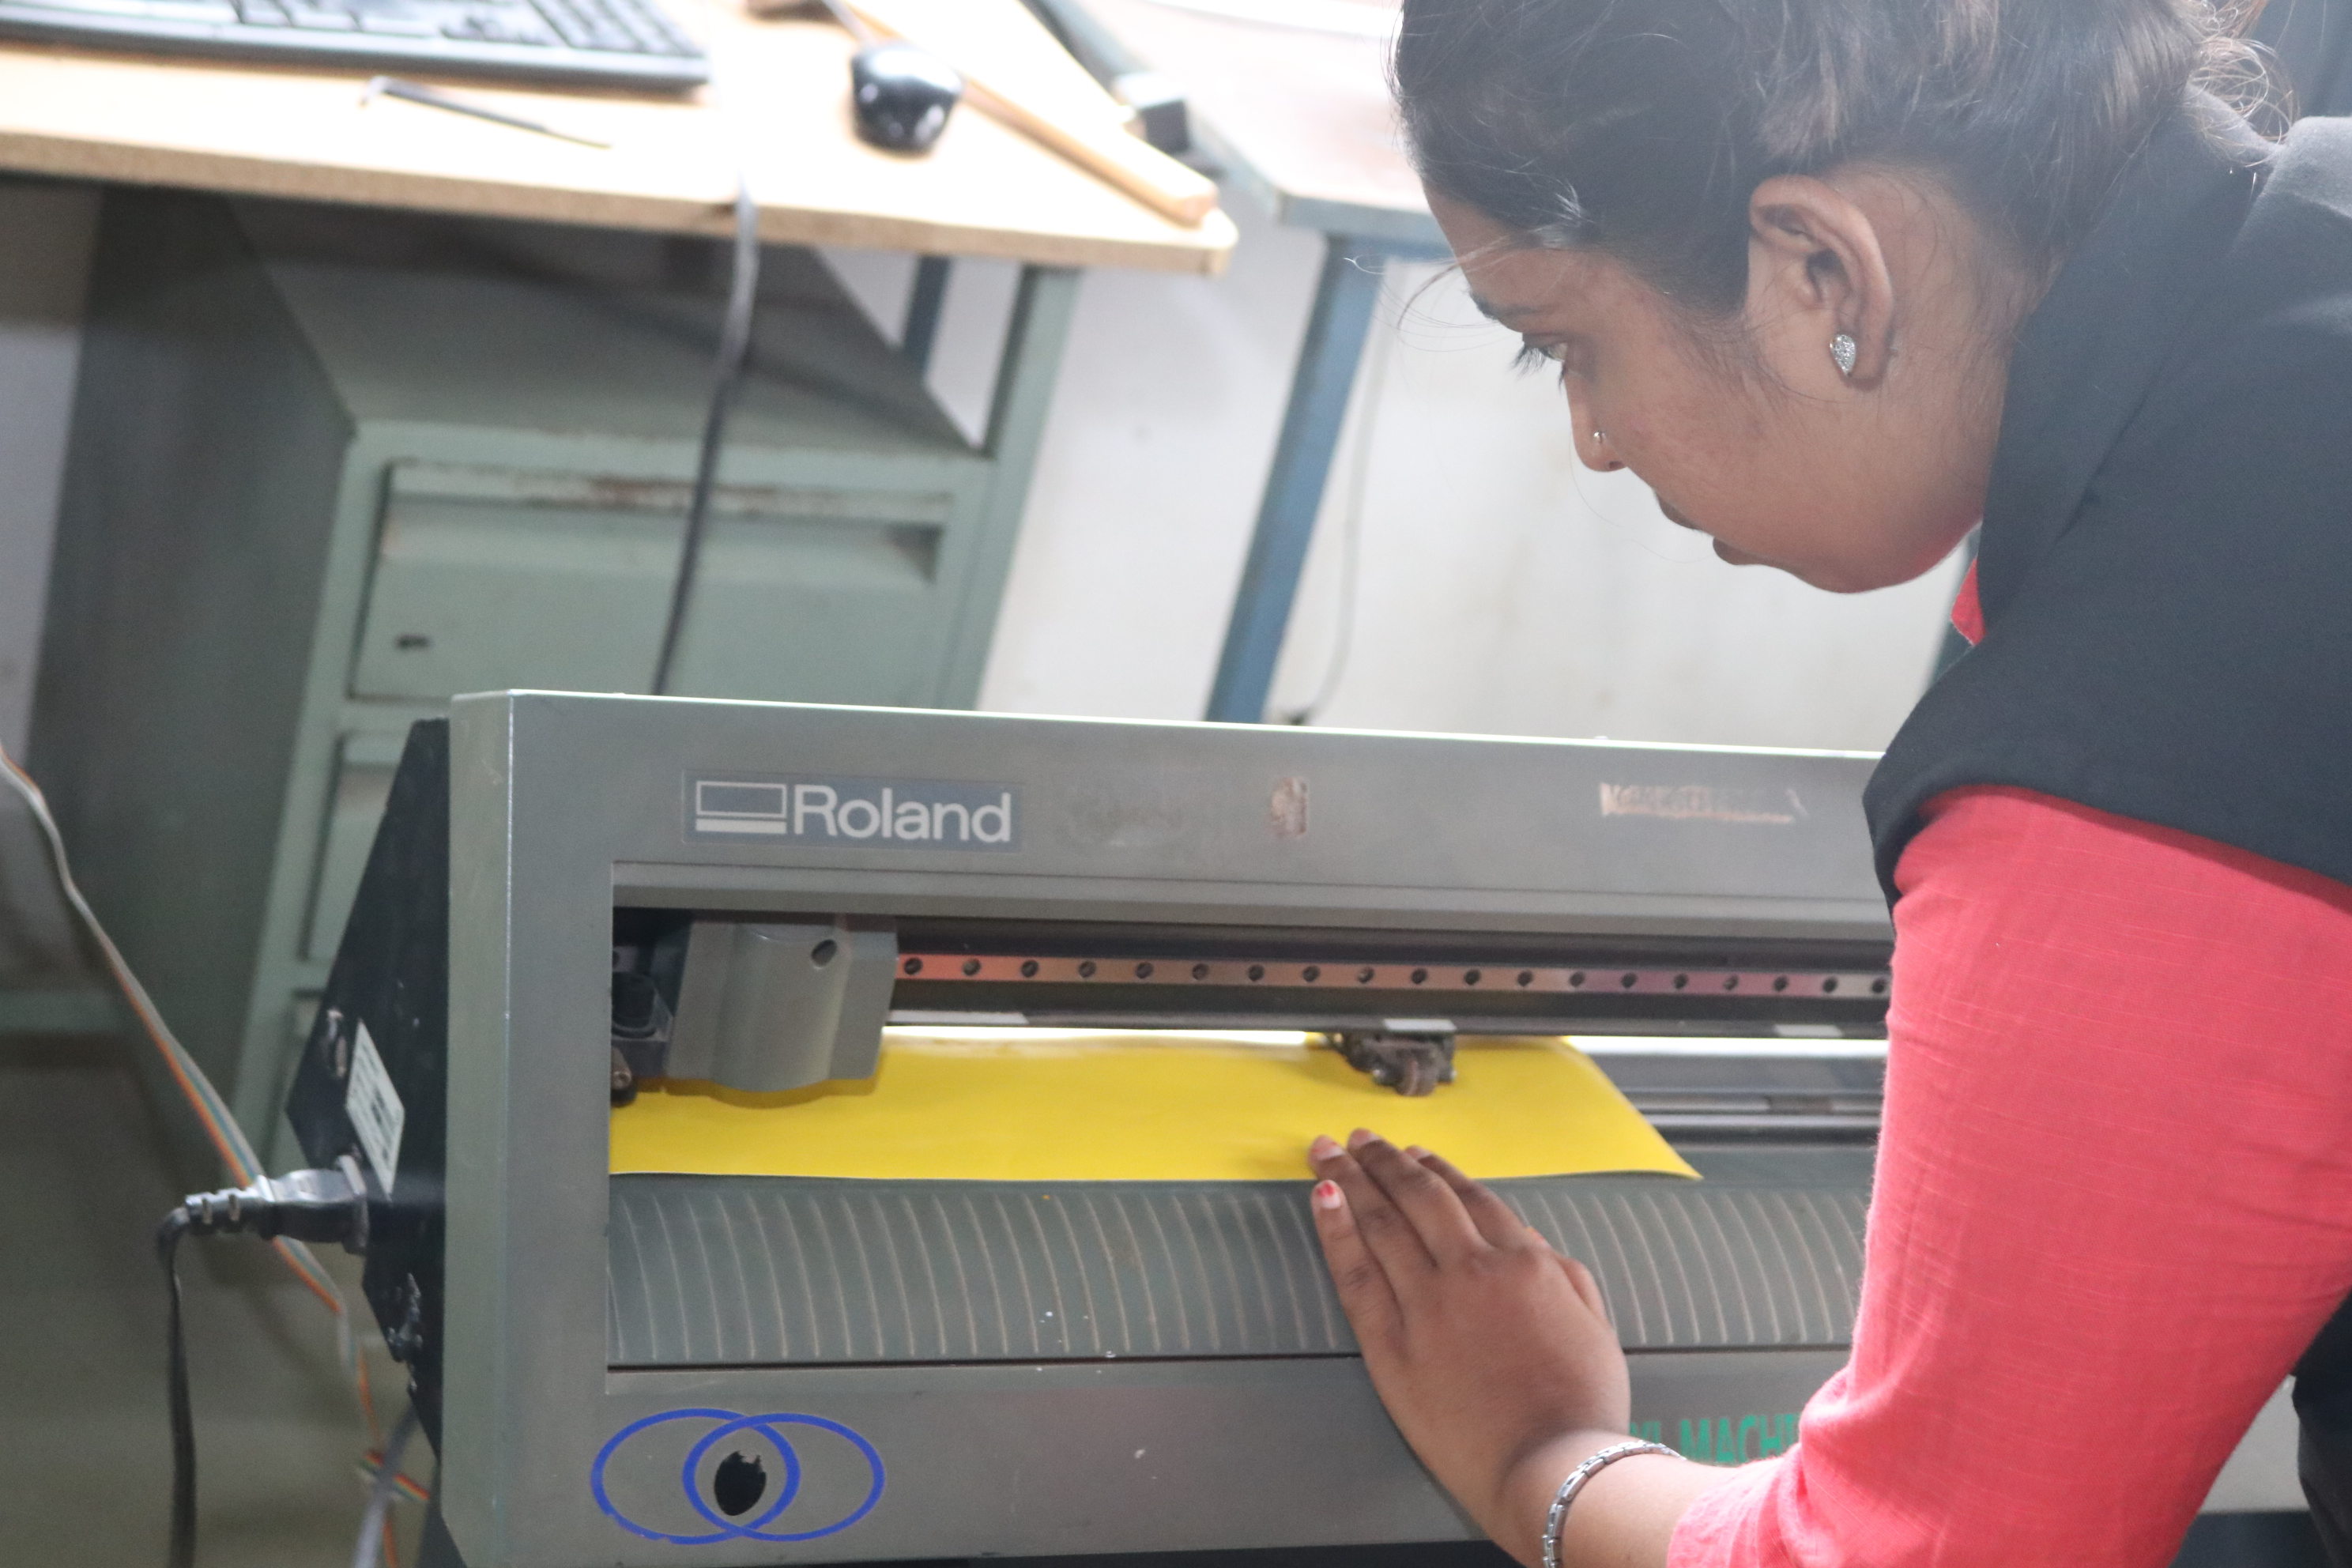
4. Turn ON the vinyl cutter. Then set the origin by pressing the "Origin" button on the control panel.
In vinyl cutting machine itself has some settings like origin setting, force, speed of cutting,etc. The machine operated through fab module. In fab module we control the cutting parameters.
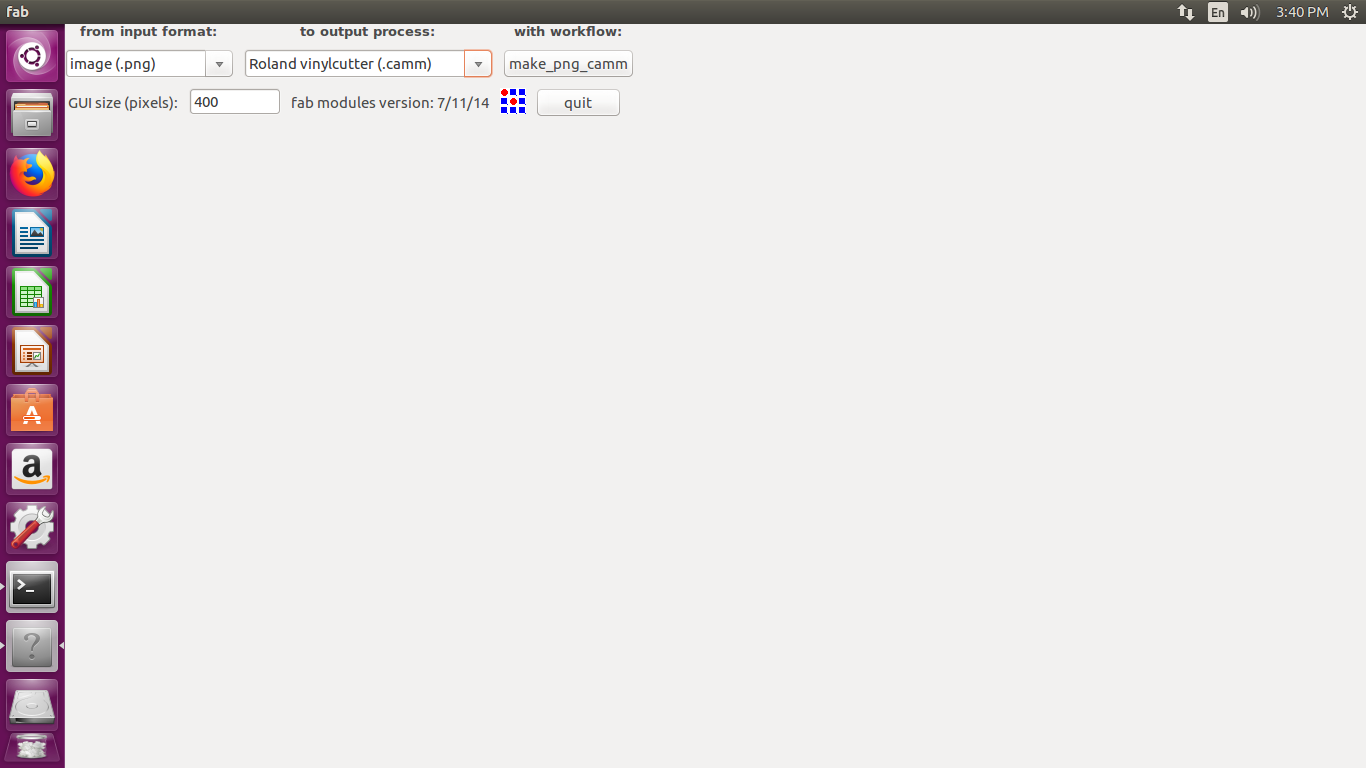
1. Open the .png file in fab module. select the roland vinyl cutter and make camm file.
2. Send it to the machine for printing with the force and speed settings. (Force = 80gf and speed = 2cm/s).
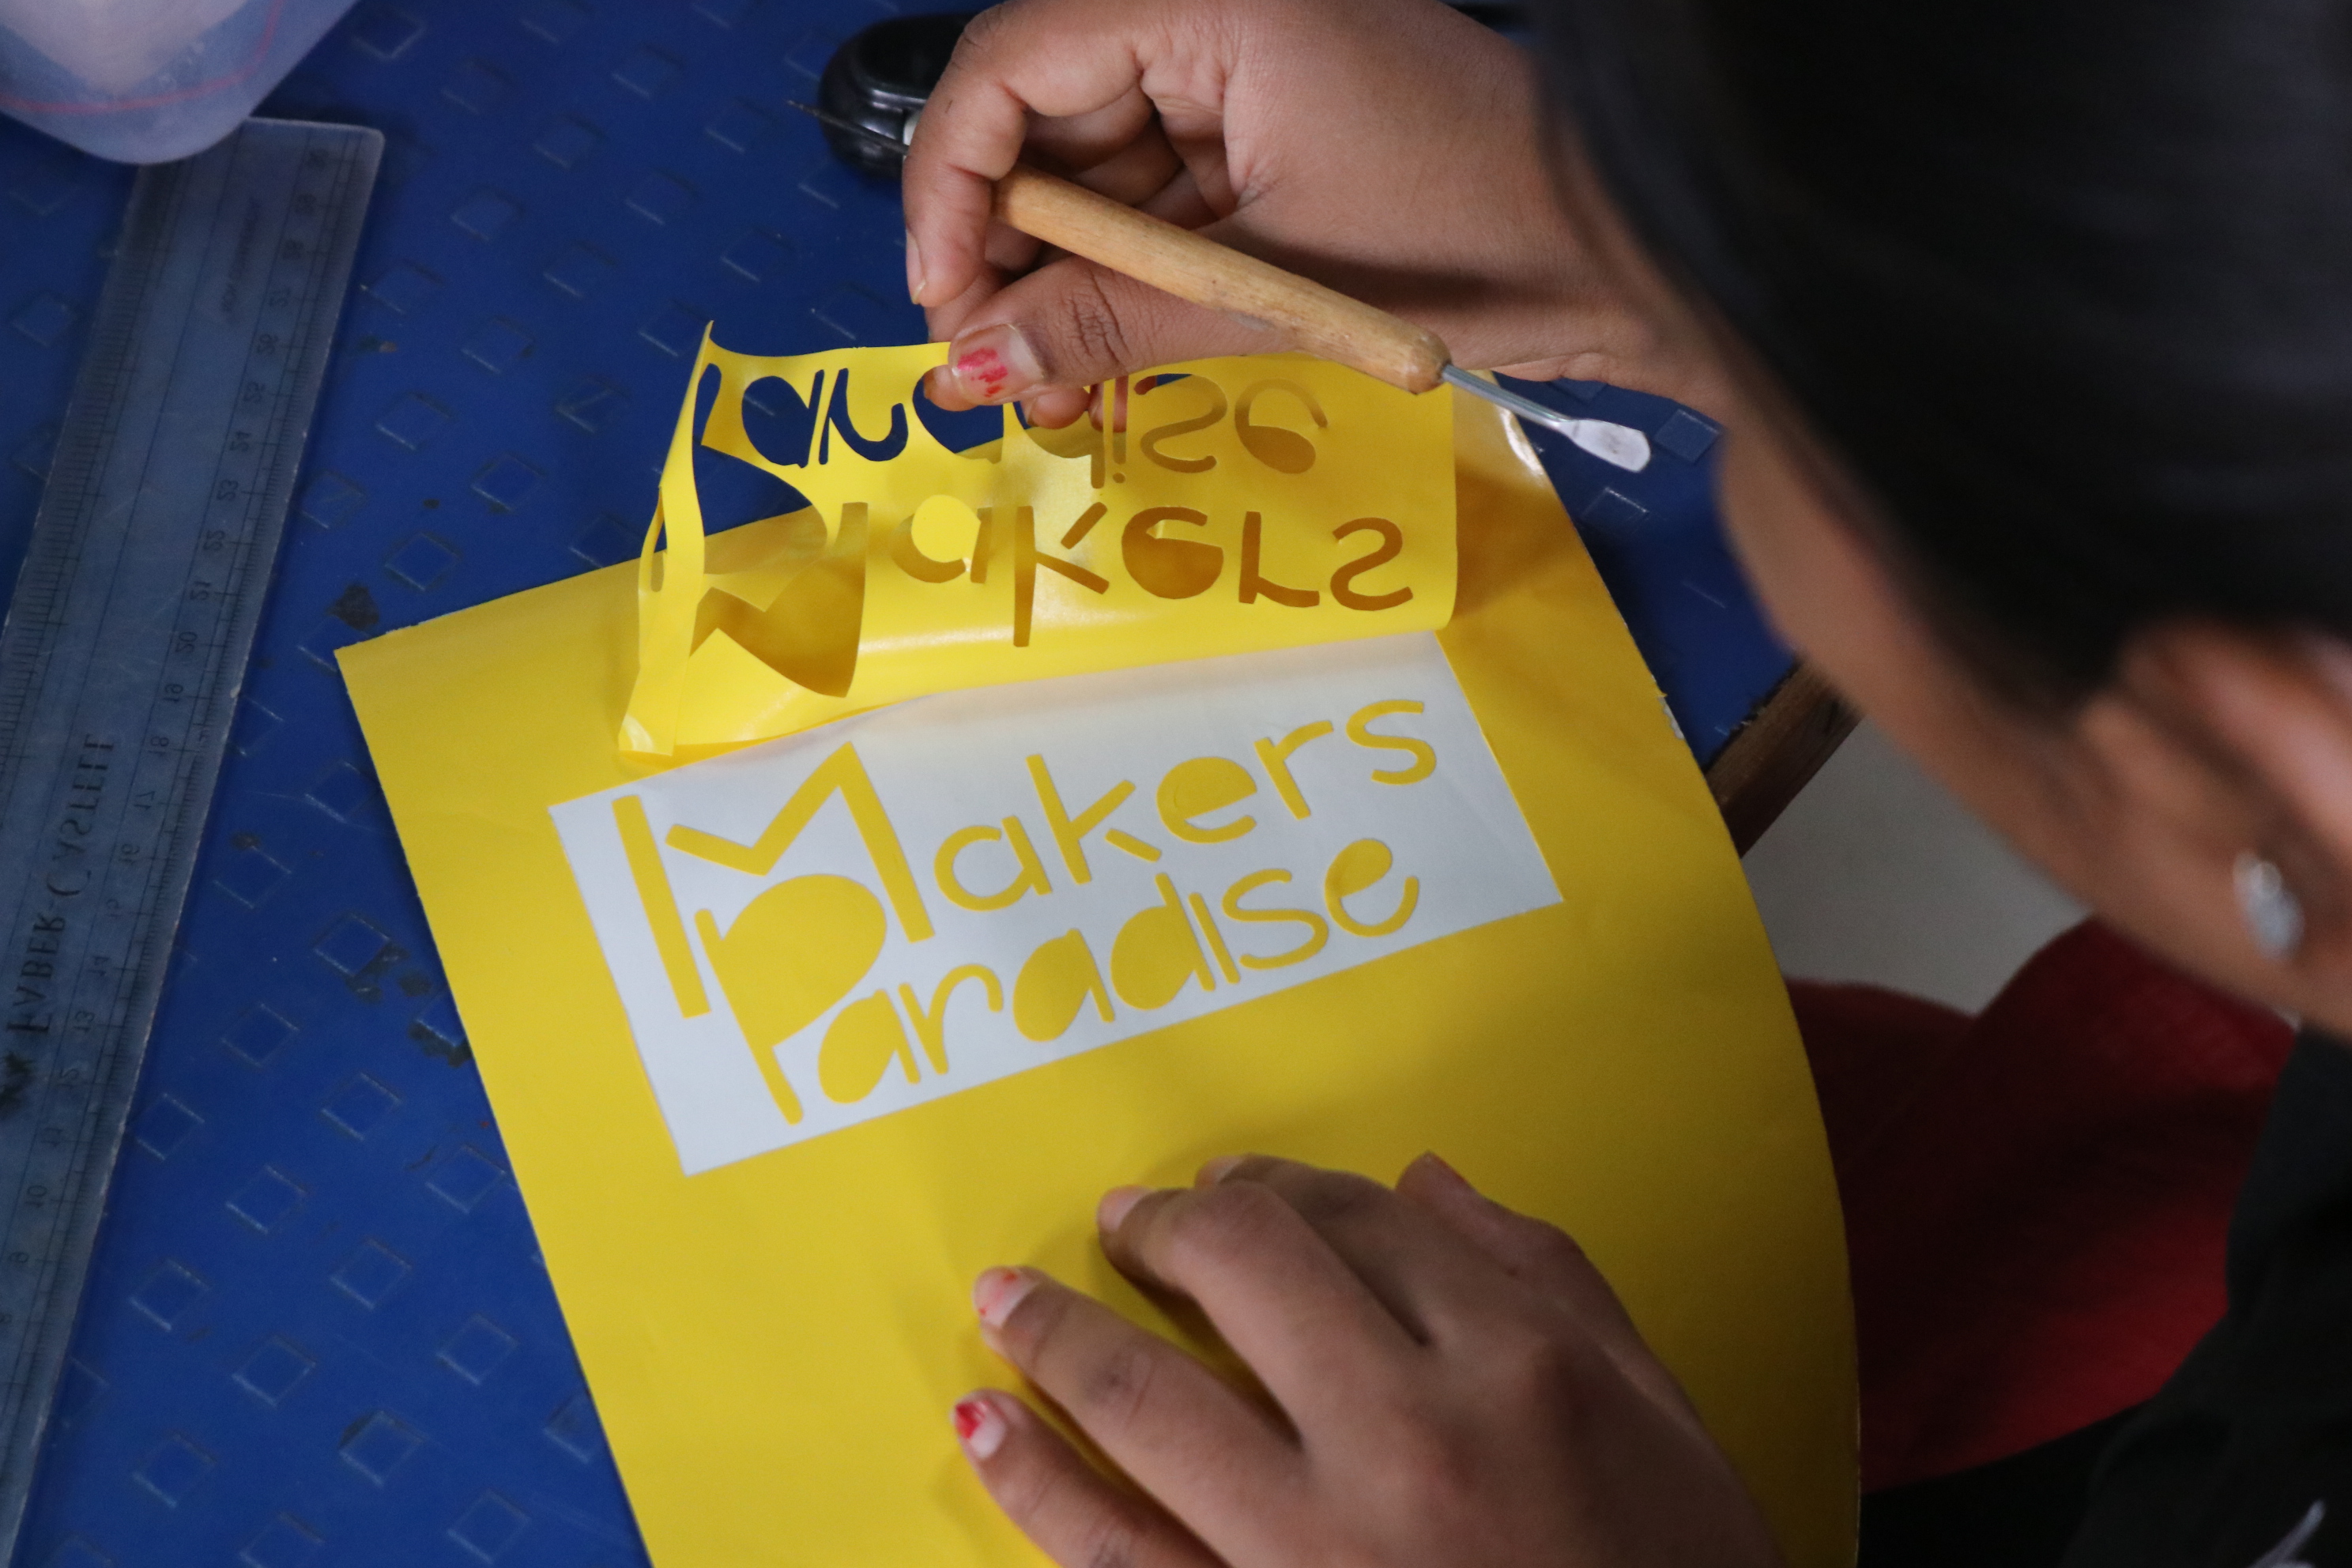
The first design failed to cut, It suppose to have continuous lines. Thus I cut only the words and made the stickers.
Then I removed the unwanted part.
I took masking tape and stick on the cut letters. Then stick it on respected place and removed the masking tape.
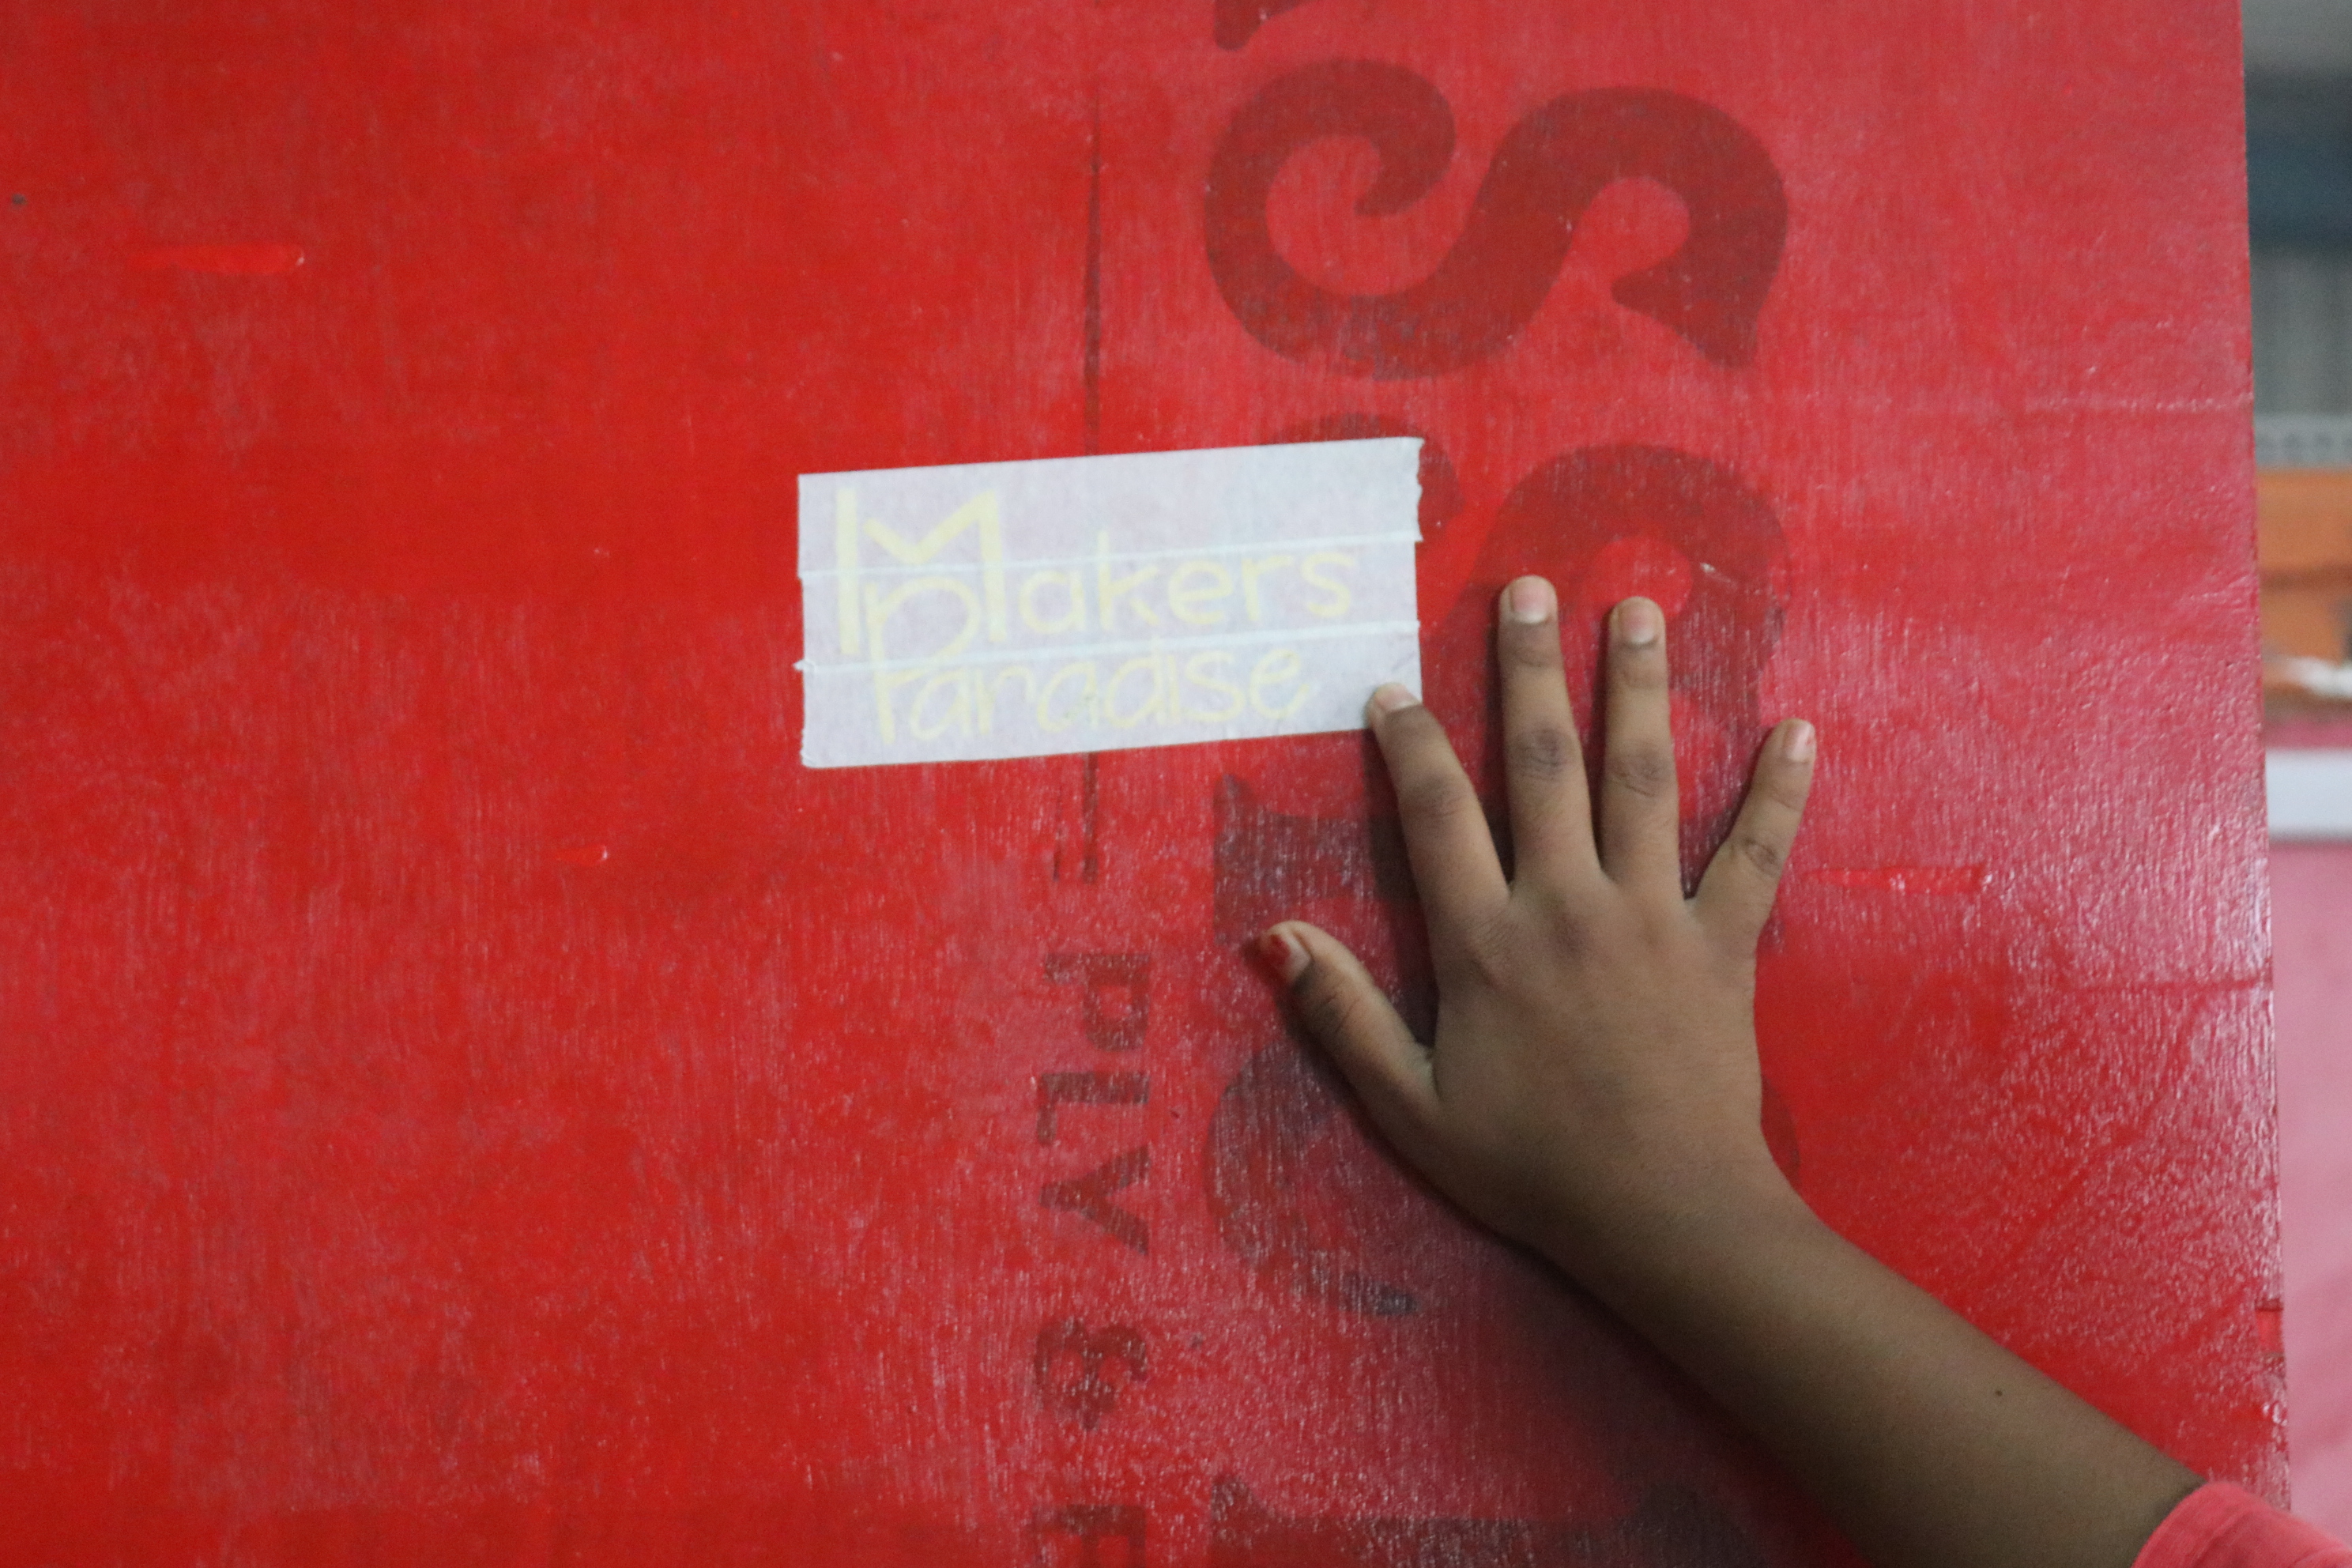
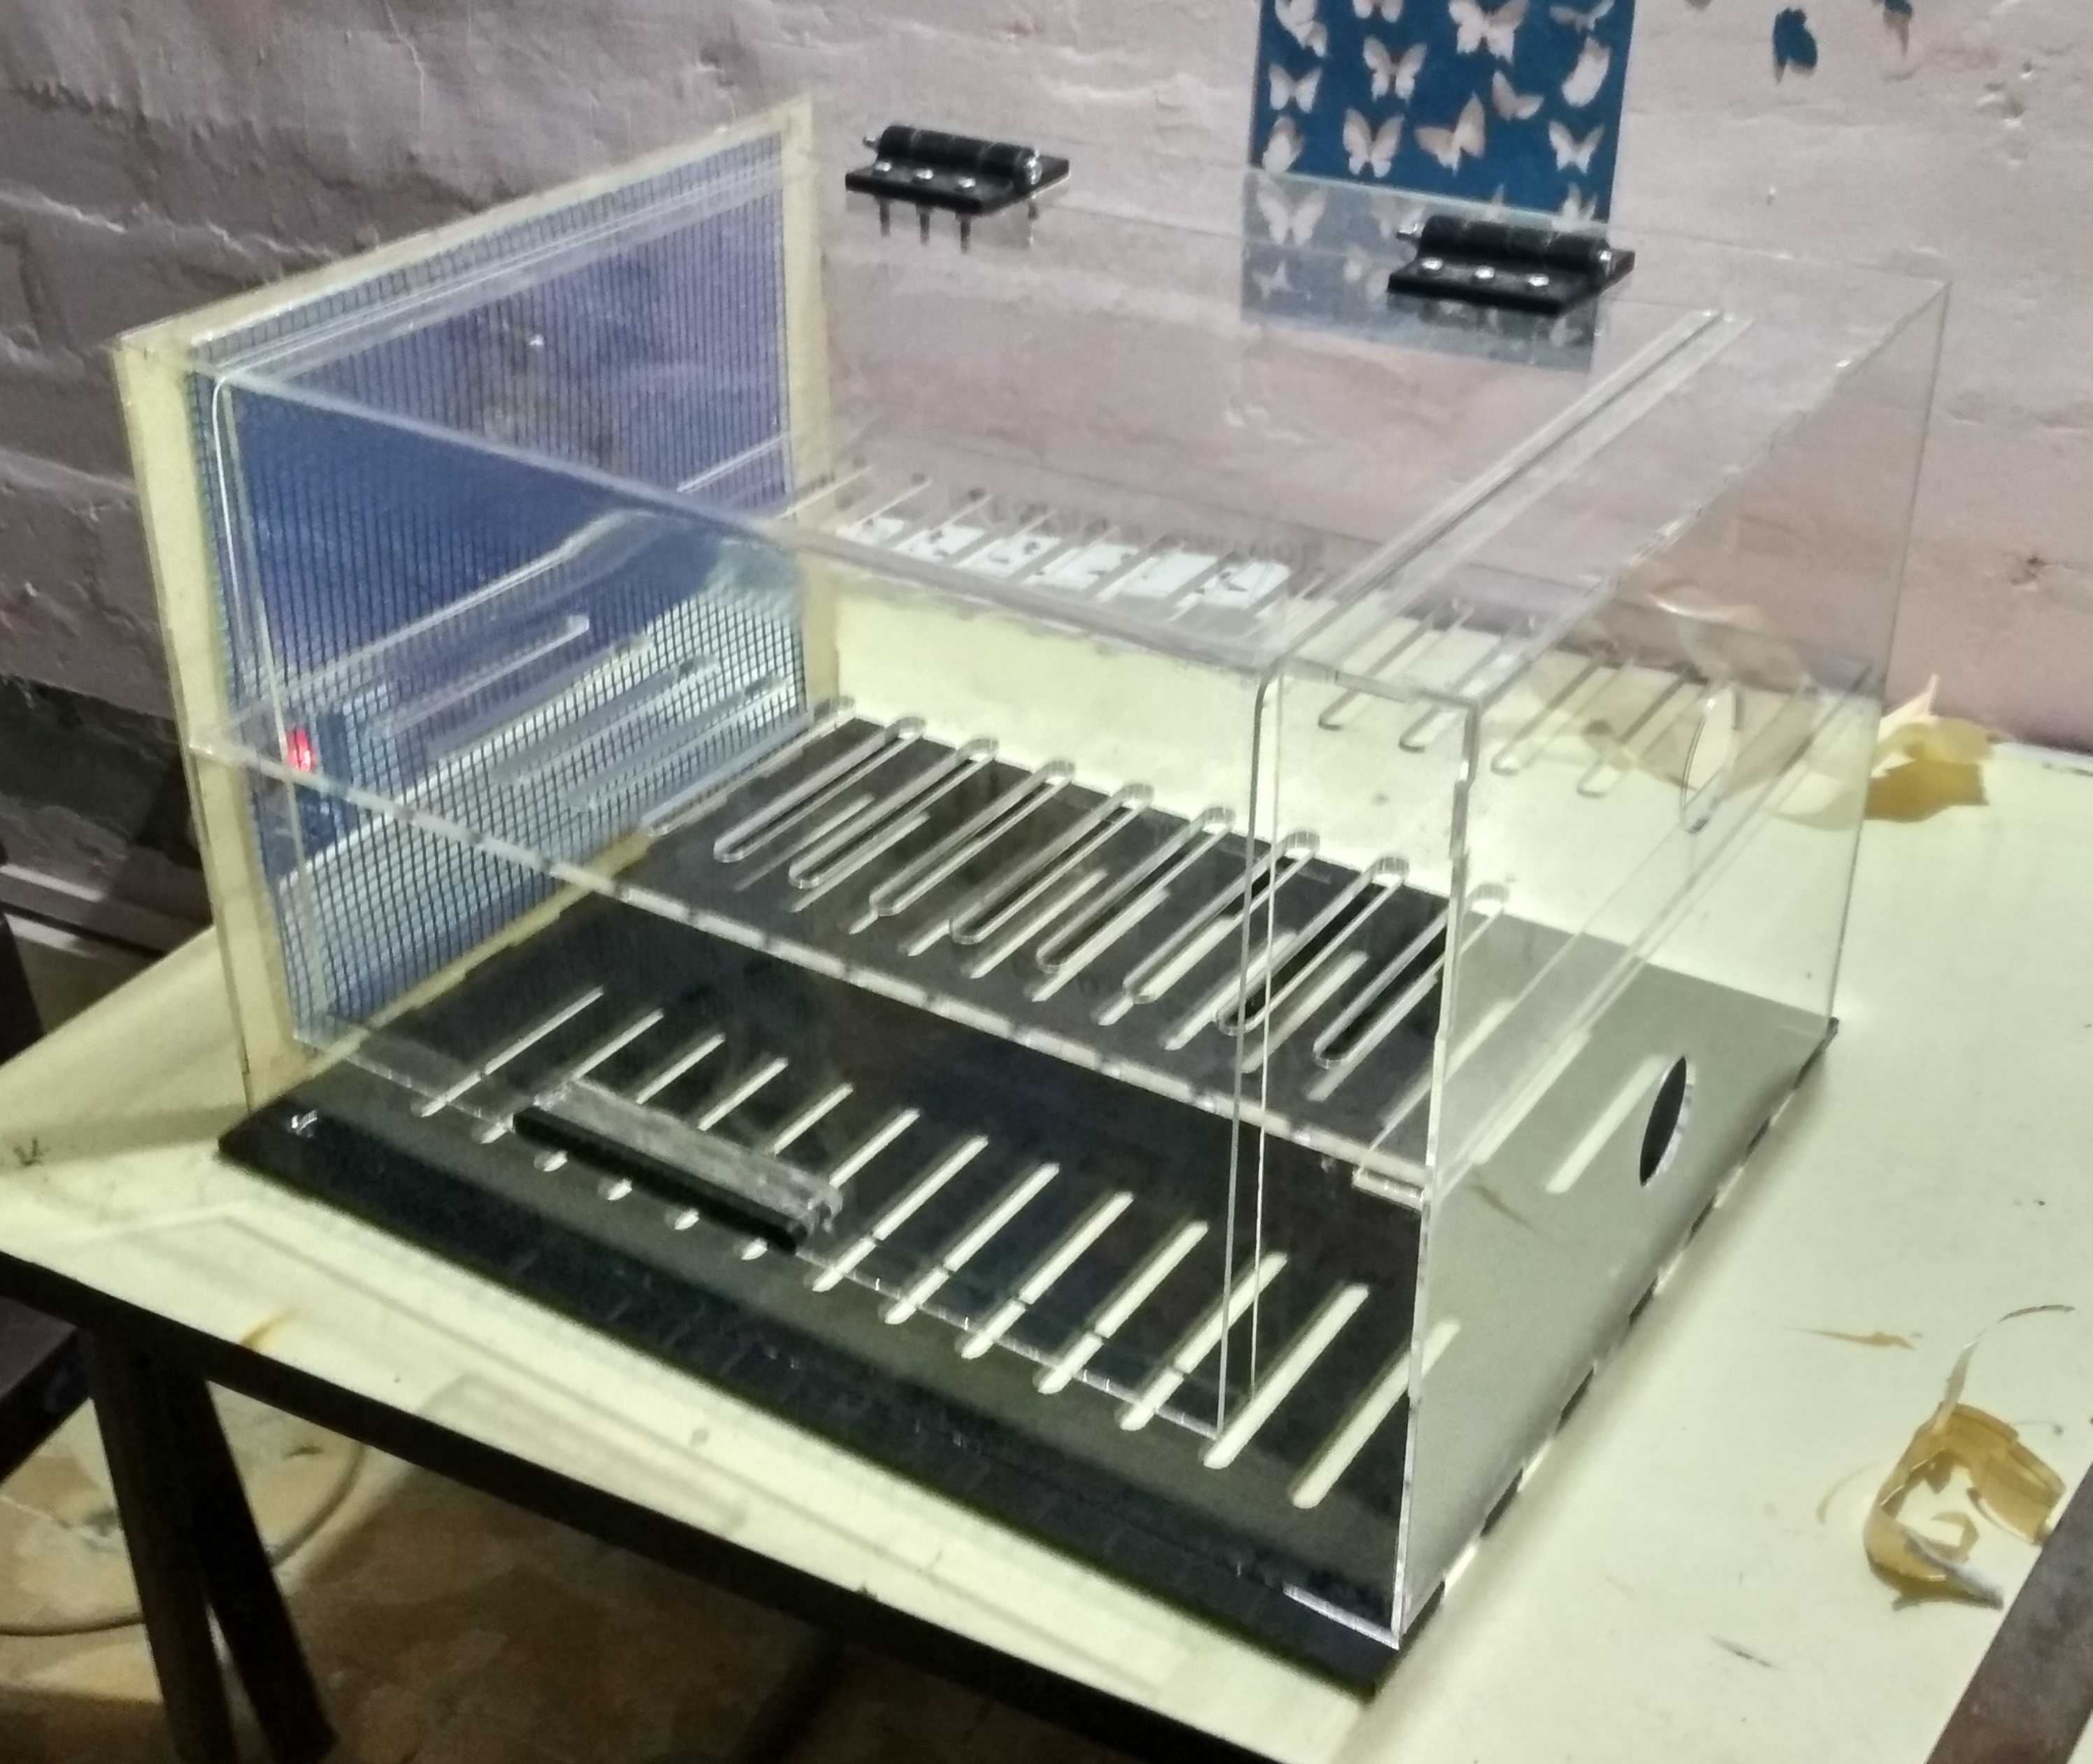
It looks like this...
You can download original file from here.
Project Part:
In previous week I made design part of my project. In this week I cut all the parts in SIL laser cut.
You can download .dxf files from here.
Learning Outcomes
In this assignment I learned about parametric design which is really best for experiment the same design with varying dimension. Good experience in group work.