I helped to conduct a workshop on DIY drones at the DIY Lab (Vigyan Ashram) in Pune. The workshop was on the same drone made by the good people at droana aviation.
Luckily this time I was helping to conduct the workshop with my little experience. At first I was going to do it for free, but Mr. Yogesh asked me to barter for something useful (Instead of asking for money). Finally we settled on a few hours of the 3D printer and 1 Drone KIT for 2 weeks.
The workshop was a awesome.
Unlike my expectation, I was there only to help the kids if they didn't understand or couldn't keep up the pace with the instructor.
The age group of demographic was from 10yrs to 35yrs, the median being 14yrs.
I interacted with various people, specially people from India First Robotics and Heramb Maker lab.
At first, I my plan was to make the assignment as a part of this weeks' wildcard.
The drone is partly opensource, ie. the frame design files are available to download.
I wanted to make the complete drone in composite material.
After reading and further researching on it, I can came to the conclusion that this could not be done in 2 days time.
Hence I dropped it.
Next thing I find interesting in the schedule page was BIOTECHNOLOGY
Until now I have worked with electronics circuits, mechanical components, but never with biological life(?).
I consulted with DIC intern Sonal who handles the Microbiology lab.
I wanted to grow something, make something. She suggested I do Serial Dilution
It is used to reduce the concentration of microscopic organisms or cells in a sample. As, for instance, the number and size of bacterial colonies that grow on an agar plate in a given time is concentration-dependent, and since many other diagnostic techniques involve physically counting the number of micro-organisms or cells on specials printed with grids (for comparing concentrations of two organisms or cell types in the sample) or wells of a given volume (for absolute concentrations), dilution can be useful for getting more manageable results. Serial dilution is also a cheaper and simpler method for preparing cultures from a single cell than optical tweezers and micromanipulators.
She suggested for starters I do with Yeast, as it is easy for beginner.
Its' like my own yeast colony.!!
This could be the tamagotchi I never got when I was a child.
Sonal has already performed the YPD seial dilution before, with her help I was able to write down the process I was going to employ.
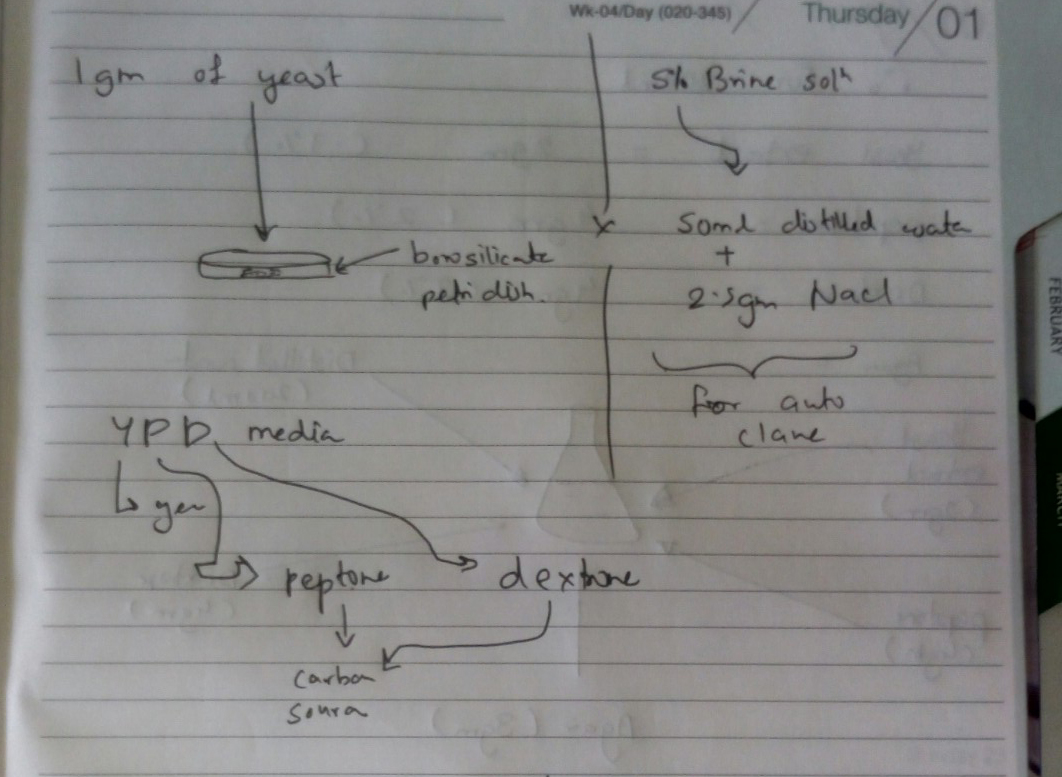
AS you can see I have outlined the following steps:
Create YPD media
Y=Yeast, P=Peptone, D=D-Glucose.
Clean and prepare testubes, petri dishes, etc for sterilization
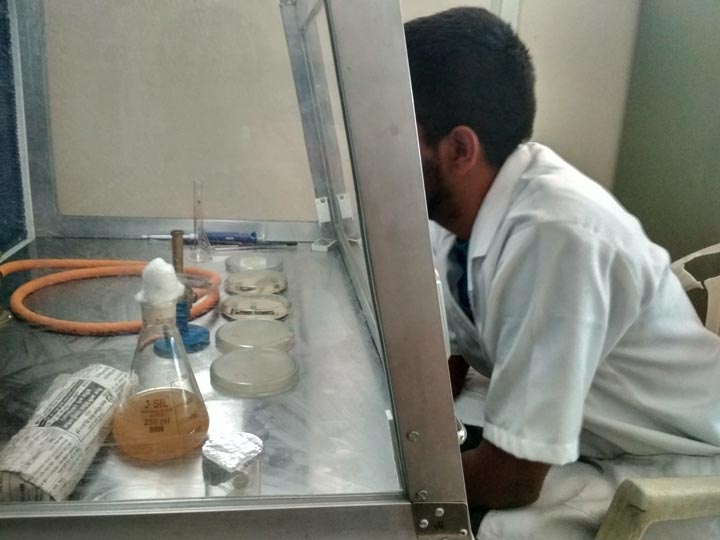
Use the Laminar flow apparatus to grow the culture.
Wait patiently
Enjoy the beautiful patterns.
Maybe count the colonies.
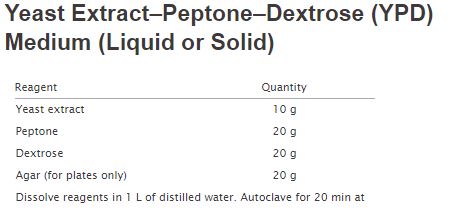
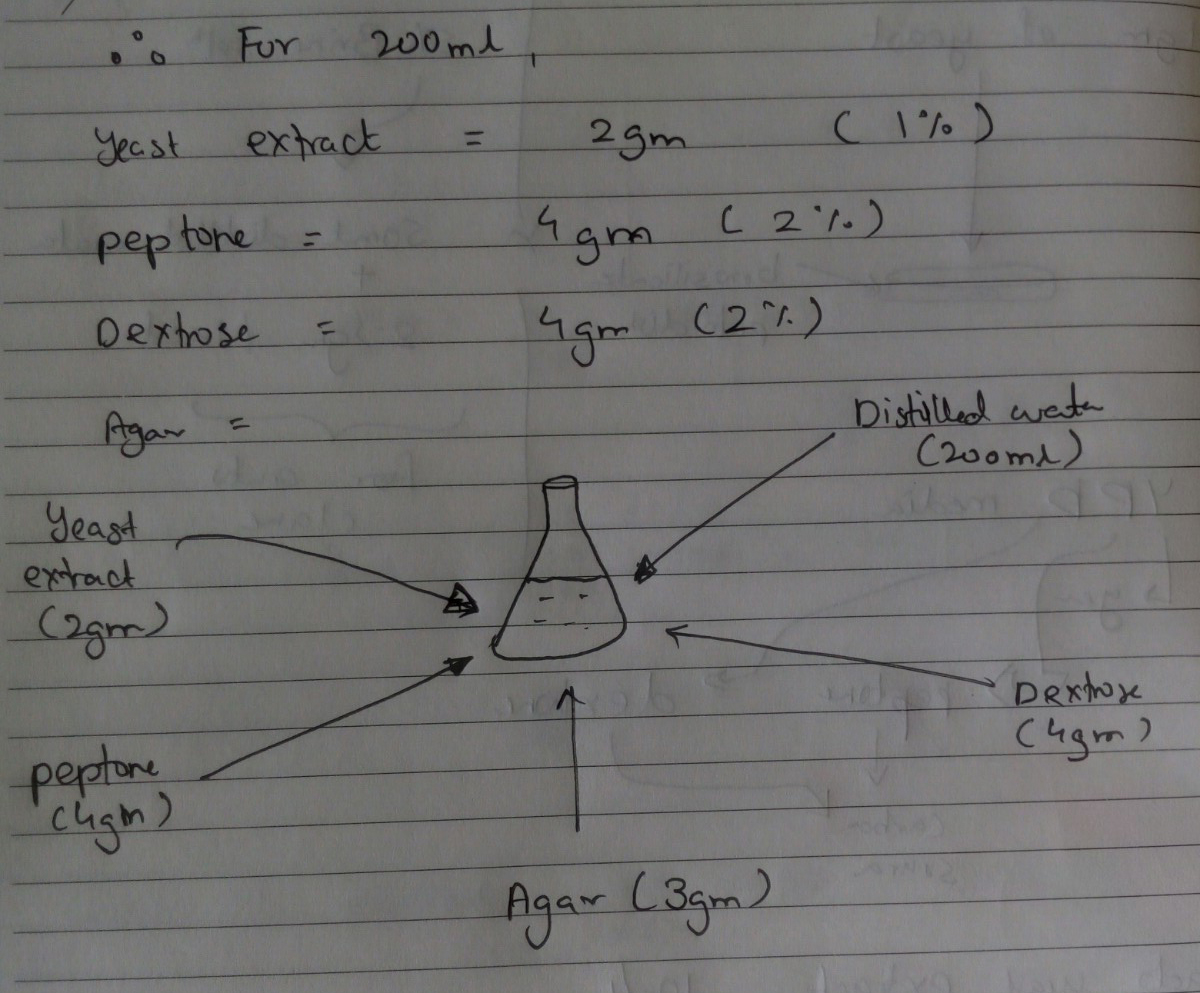
To prepare the YPD MEDIA, the following were the are the concentrations.
The given values were for 1 litre of water. I only need 200ml. So I modified the values as given below and created the solution.
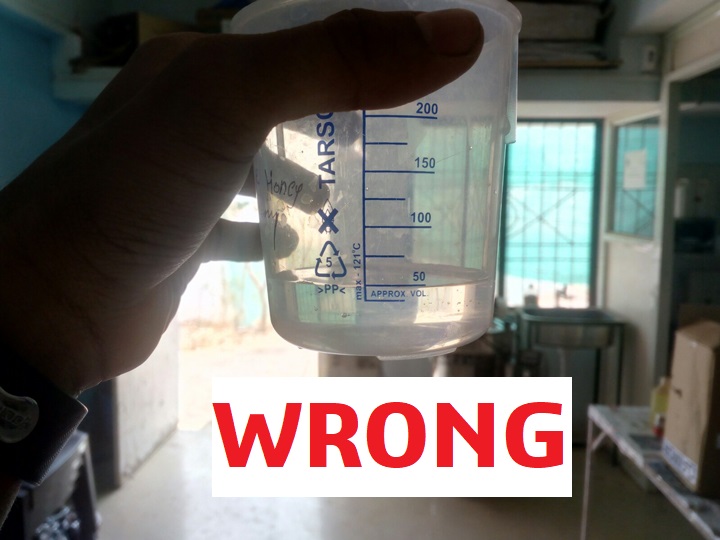
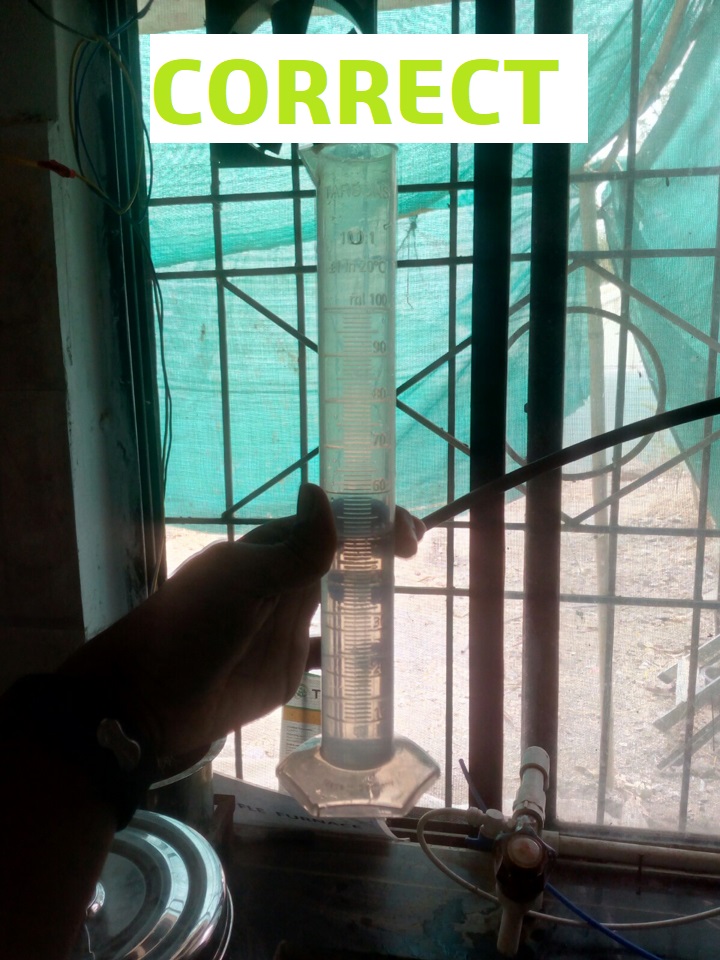
Beakers are not used for measuring water. Use measuring cylinder instead
Checking for any undissolved particles.
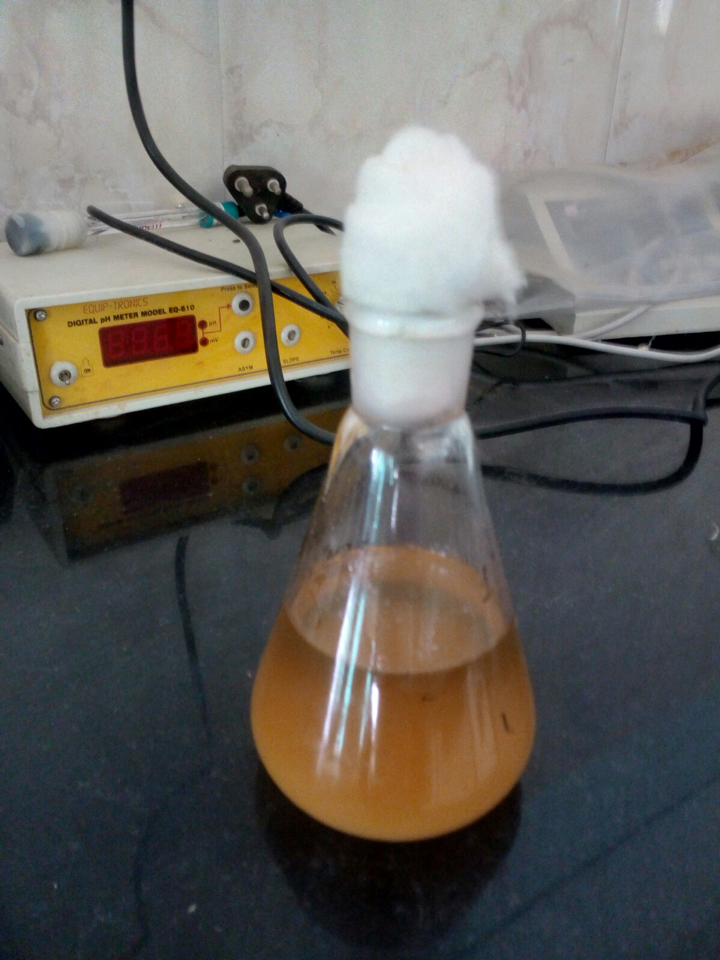
The solution is finally is ready!
The making the cotton plug is one of the toughest thing. It took me 3-4 tries and still I'm mediocre at best.
Special thanks to Sonal for helping with it.
The course being Digital Fabrication, I wanted to add something digital into twist to the ye olde Serial Dilution.
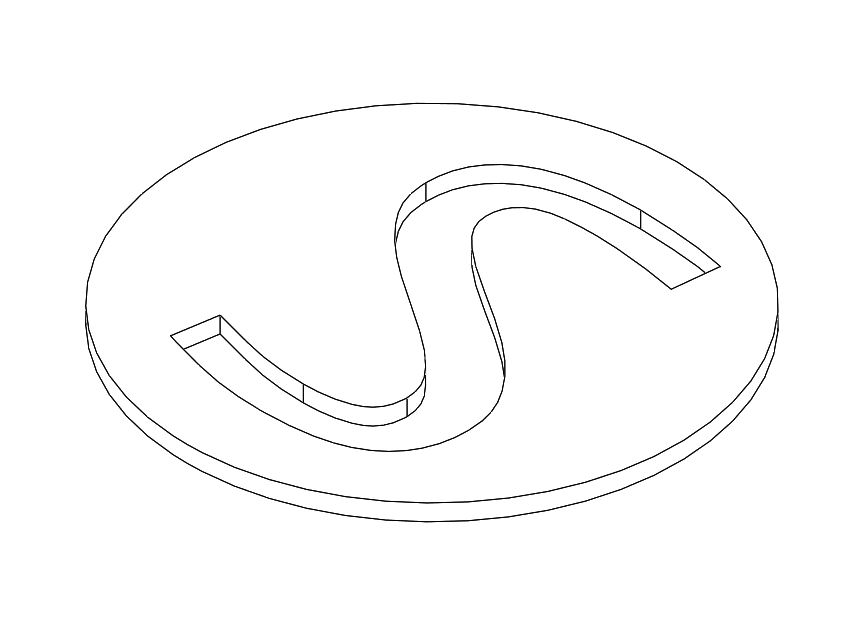
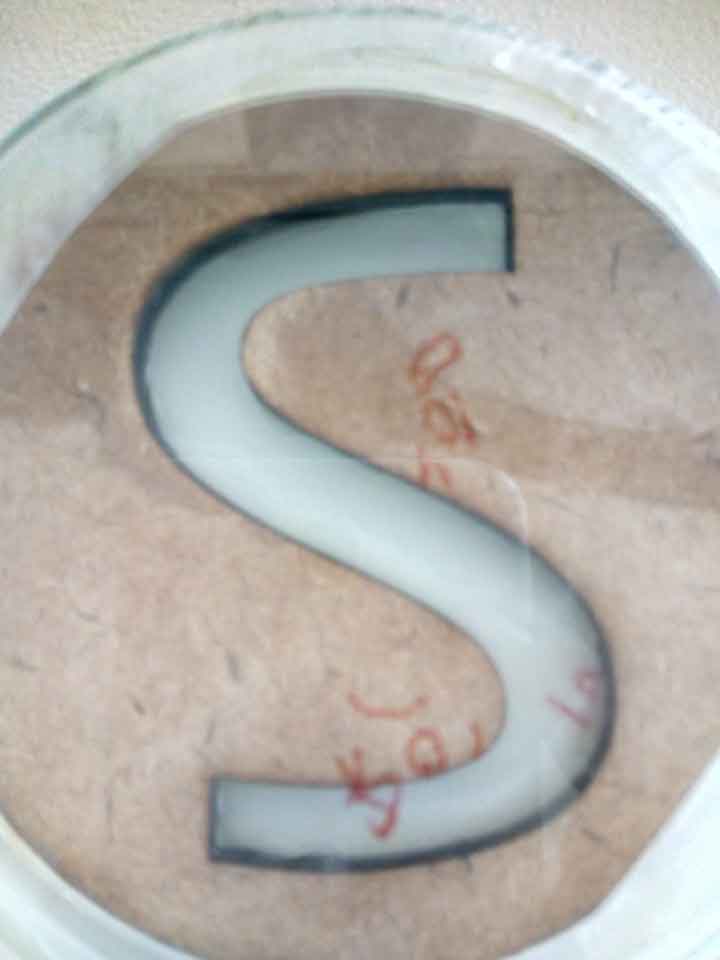
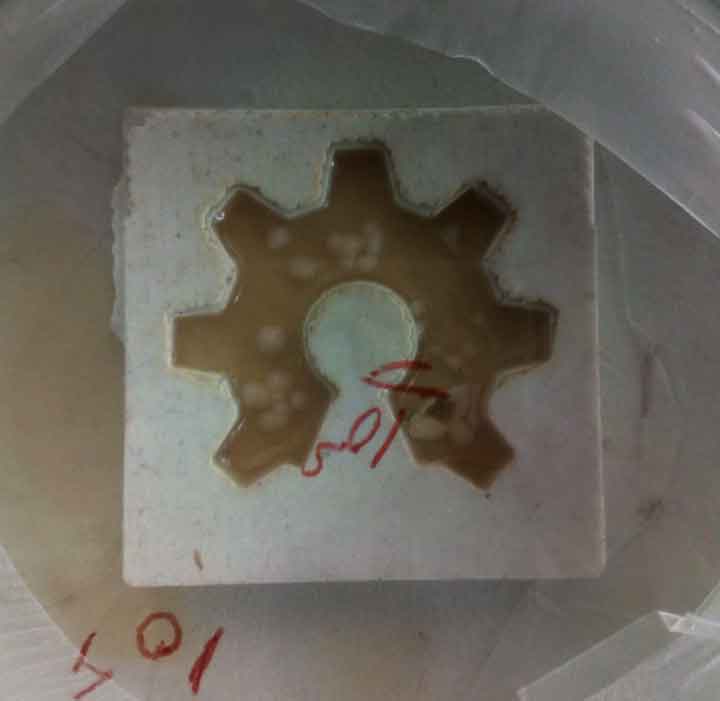
Circular petri dishes are .. well circular, nothing unique about them. I decided to make in different shapes.
To do this, I make negative of the parts in solidworks and cut them on the epilog laser.
As seen above, I have made two of laser cut parts.
The files are available to download here and here, the DXF files are here and here.
I plan these over the agar-agar so create beautiful patterns.
My original idea was to create a stencil based on the golden ratio for the (almost) perfect placement of the colonies.
This cannot be achieved as I am short on time, literary starting the assignment on Tuesday!.
I also plan to use the molds I created in molding and casting week and try to cast agar-agar
I just hope I have time to do everything
The microbio lab didn't have power for almost all the day. And the backup power is only available for FAblab
So we had to wait.
All labs close by ~9. Till then I couldn't get the parts cut (The exhaust of epilog doesn't run on backup). Now that I have cut the parts that I need, The MicroBio lab is closed.
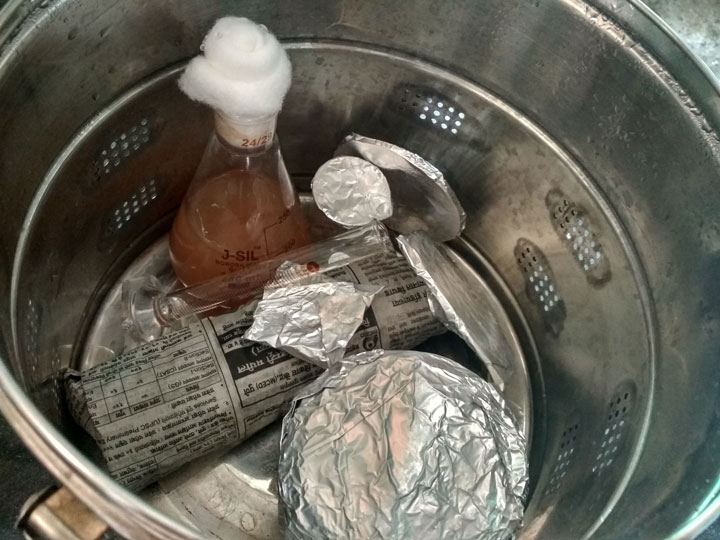
I'll have to wait until tomorrow to set the autoclave.
Today could very well be one of the most productive day.
With the help of Sonal, I set the autoclave.
The next step was pour the agar into the petri dishes and casts I had made.
MDF casts that I had made, increased in size and diameter.
Now we wait for the agar to set.
The next step is more important-
For serial dilution we add 1ml of yeast solution to 10ml brine solution. Which was also later boiled.
After this, we sealed the petri dishes with paraffin wax tape.
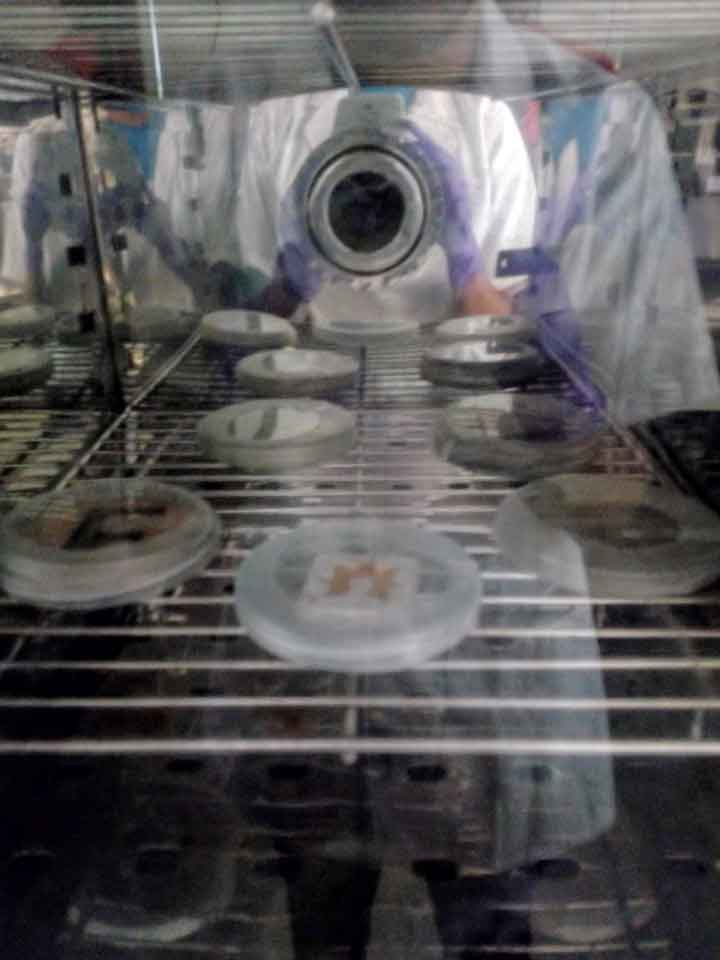
and then kept into the incubator (33C). Actually, even keeping them outside will work, but we are having extreme climate here. 42C (High) and 27C low. The optimum temperature is 33C.
Lets see the updates after 3-4 days!
Update!
So a few days have passed!
I had kept the both the plates in the incubator.
For yeast the recommended temperature is 25°C to 32°C. The average temperature in Pabal these few weeks is 41°C.
Also the incubators here don't have compressor so the temperature was around ~35°C. Which is not very good for bacteria growth
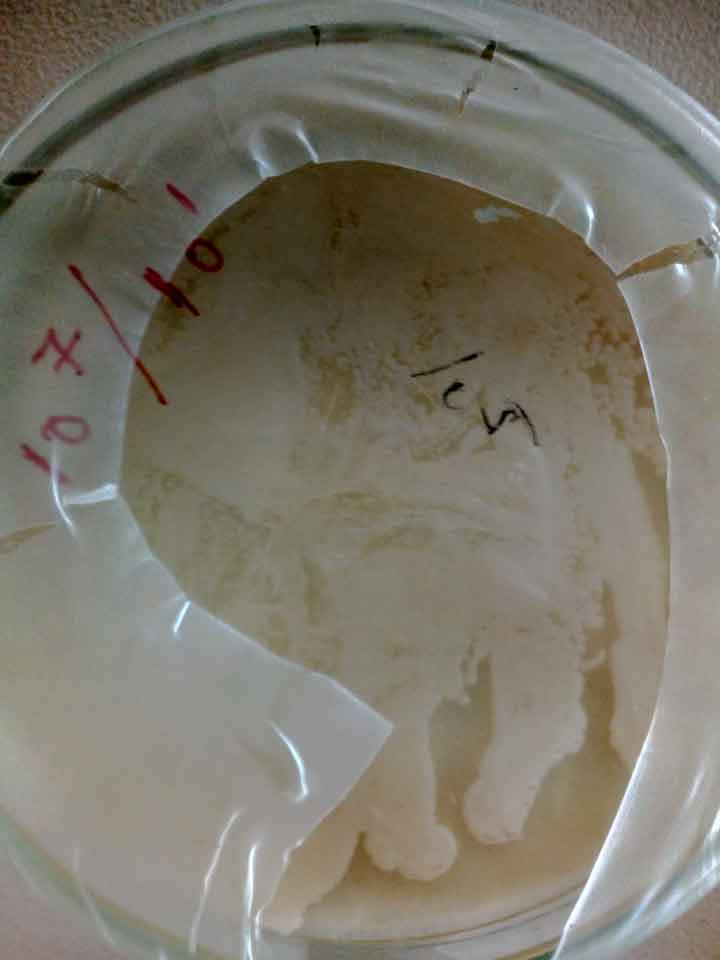
I check a few plates and I don't see very good growth.
So I decided to wait a few more days
Update 2!
I was very nervous the past week
I was worried that If the they don't grow I might need to do something else for this assignment
But all my doubt was wiped
It is not very clear in the image, but in the above image there small growth along the curves of the letter 'S'
There are at least 25 visible clusters
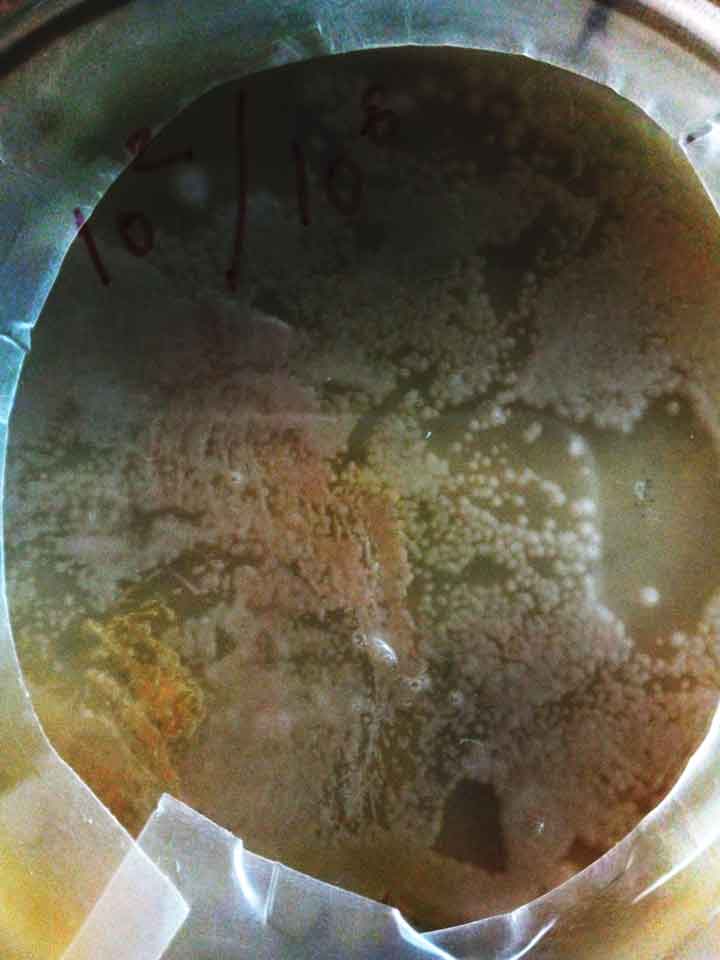
The one with the high concentration of the culture showed lots of growth
I was lucky enough to view them under them microscope, I have tried to get a picture of them with a camera on the microscope eyepiece.