Tasks of this week:
The weekly assignment started with the simple tasks:
1. To learn how to design in Vector/2D software.
2. To learn how to design in 3D software.
Vector vs Raster
Vector images are mathematical calculations from one point to another that form lines and shapes. Raster images are made of pixels. A pixel is a single point or the smallest single element in a display device. If you zoom in to a raster image you may start to see a lot of little tiny squares.

Vector/2D Design.
A 2d design draws 2-dimensional, or flat, images used in mechanical drawings, electrical engineering projects, video games, animation, clothing construction and architecture. 2d design use a combination of drawing skills and computer-aided drafting technology to create images for plans, brochures, websites and other products.
For 2D designing there many softwares to use. like CorelDraw, inkscape, Adobe Illustrator. I normally use Adobe Illustrator CS6 to make designs. I have started learning Illustrator few months back. I found it very easy to use other than corelDraw and inkscape. Becouse the The interface is quiet user friendly and attractive.
Adobe Illustrator
To start with the Adobe Illustrator I decided to make Olympic Rings.
I created new New document from File.

Then after that I stared drawing with the Ellipse tool.
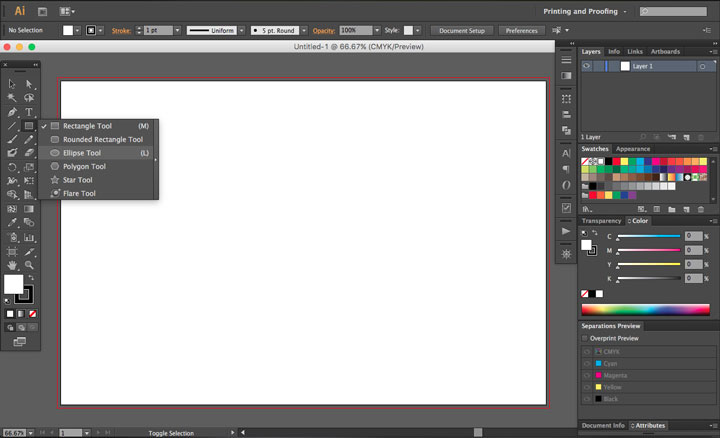
Pressing Shift key I drew a Circle.
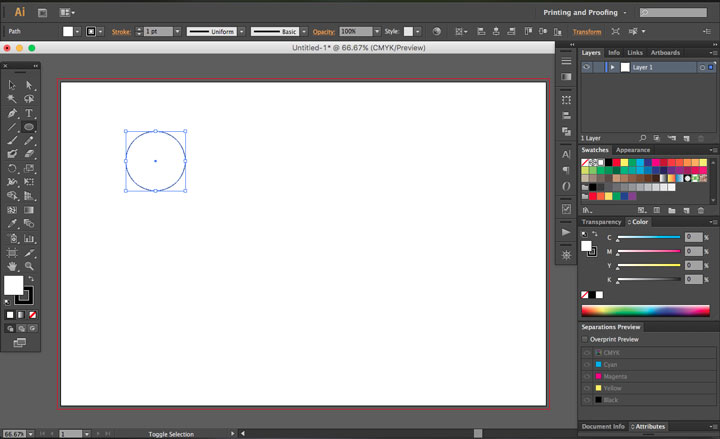
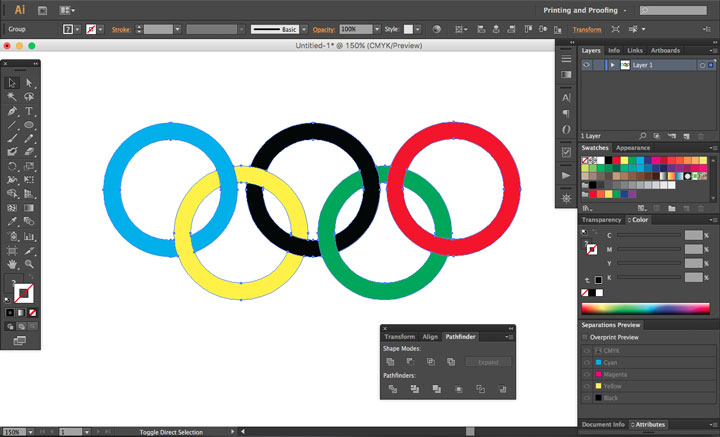
After that I copied the same circle by scaling it down to 75%. After scaling it down I selected both of the circle and want to the pathfinder tab. In the pathfinder tab I selected Minus front option to make the one object out of the two circles. Now to copy it I pressed ‘Option+mouse Left click’ (I am using MacOs, For window its Alt+Mouse Left Click) and moved it. I made five ring of it.
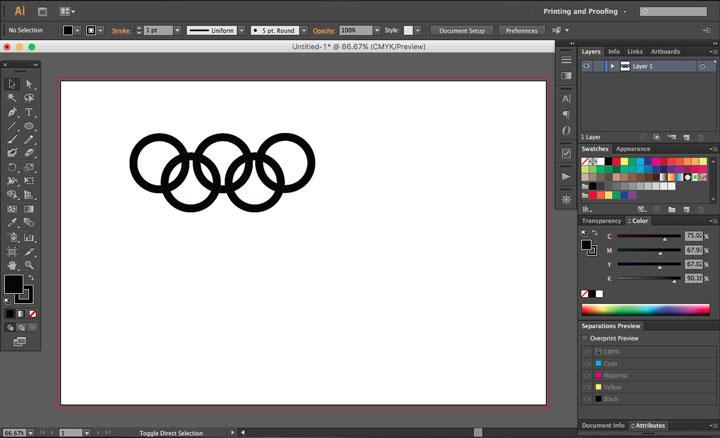
I changed the color of the rings to understand.
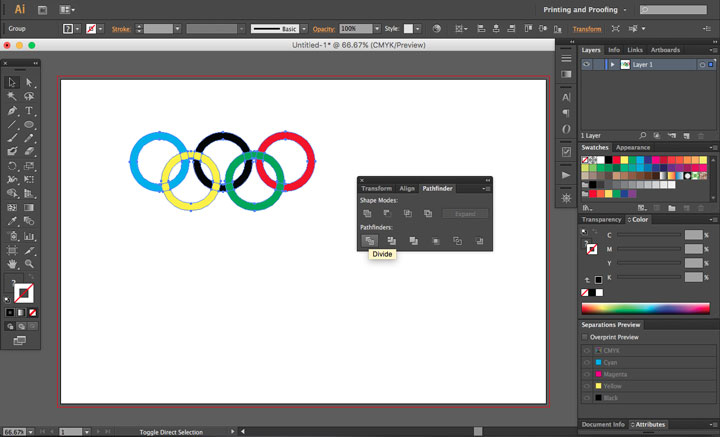
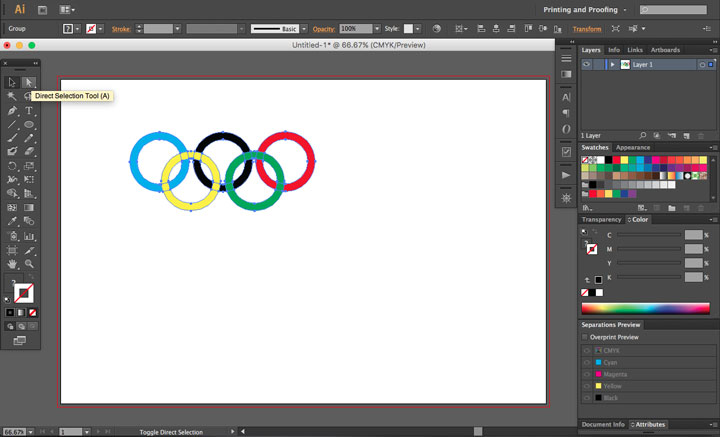
After Changing the color I selected all of them by pressing ‘Command+A’. and pathfinder again and choose ‘Divid’ Option to divid them. After dividing them I selected ‘Direct Selection Tool’. And I selected the overlapping part in the object And changed the color of the rings by selecting eyedropper tool.
After filling the color I want back to pathfinder again and choose ‘merge’ option to merge them.
The Olympic Rings are Ready.
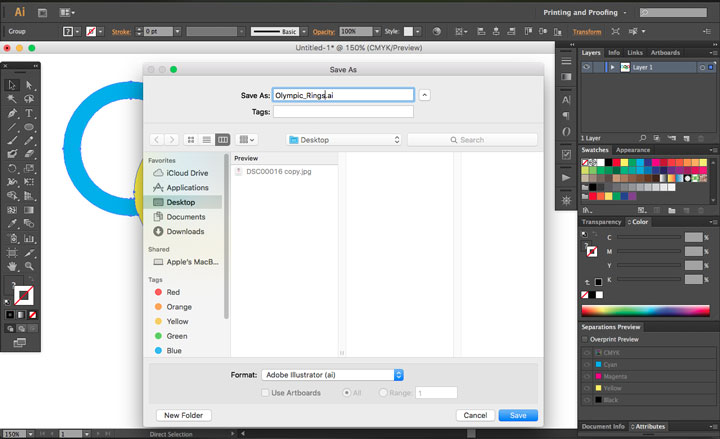
I saved them by Pressing ‘Comand+s’.
Adobe Photoshop:
Adobe Photoshop is a raster graphics editor developed and published by Adobe Systems for macOS and Windows. You can edit, manupalate, change your things like background, foreground, color, temprature, shadow in pictures. The advantage of this software is you can creat your own artwork by playing with pictures that you have took or you have. and the disadvantage is the software is too costly to purchese.
I assume that you know bit of photoshop. If you don't know you can learn basics here.
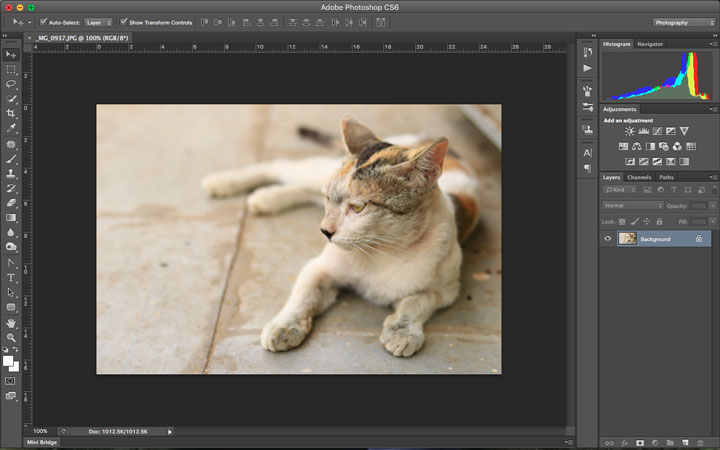
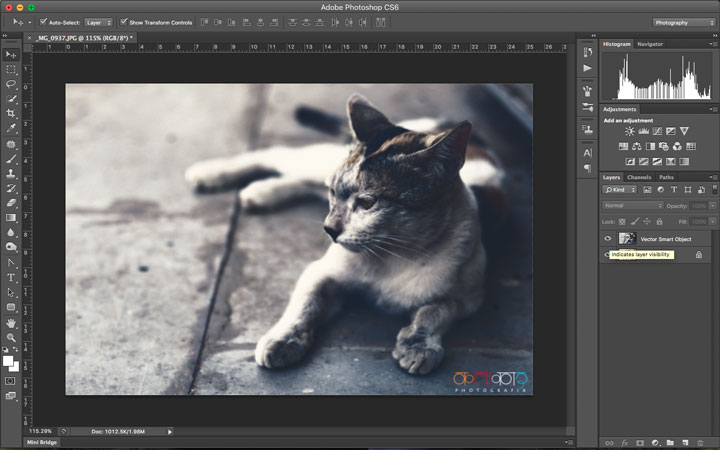
As I am doing photography I had to learn this software. Before photoshop I used to use adobe lightroom. but in that software you can adjust the light, color, contras etc. but you can not replace and make background and perticular things. here I am going to edit one picture which I have taken from my DSLR camera.
now here I want to adjust the tone, contras and color. so I went to image and selected the Auto tone to adjust tone. for adjust contras I again went to image and Auto contras. Finally to adjust the color I selected auto color. you can see the changes bellow.
Now I wanted to give some effects to this image so I selected the adjustment layer and selected the color lookup to give effects. There are lots of options are available you can select whichever you want. (mostly it will depend on your image). You can see how things are changing. after applying the effects I selected all of the layers and I merged them to make a single layer. at the end I have placed my logo on the picture.

Bingo!! here you are done with the editing. you can see the diffrence between the orignal and edited pictures.
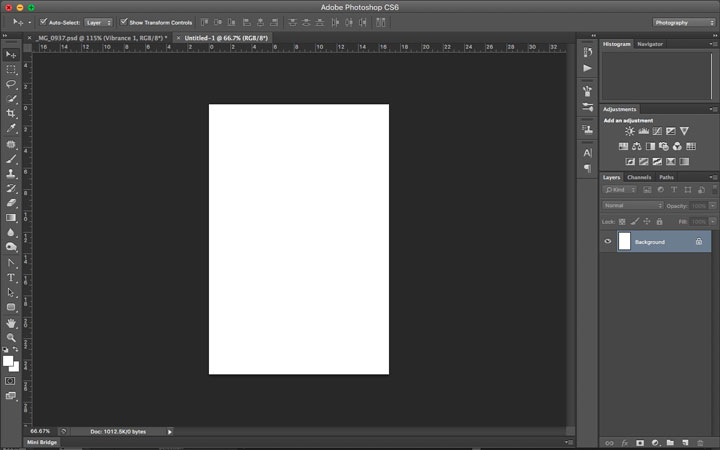
This is a orignal picture.
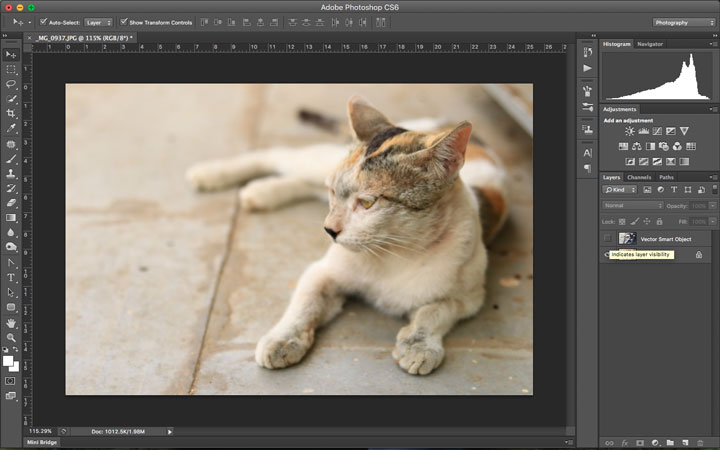
And this is a photoshop edited picture.
3D Design
3D Design is the process of developing a mathematical representation of any surface of an object (either inanimate or living) in three dimensions via specialized software.
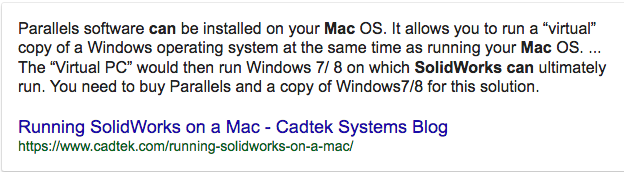
I was familiar with the solidworks from a long time. But after purchasing the MacBook Pro I came to know that I could’t install the Solidworks in Mac Os. I googled how to installed solidworks on mac os and I got the result.
So I decided to go with Fusion 360. Fusion 360 is a CAD program that is free for students, makers and small companies. It comes with a very powerful CAM suite. I started learning it from Youtube. I found it very easy and comfortable.
Getting start with Fusion 360 I thought to make a simple box in fusion 360 to get to know the basic tools.
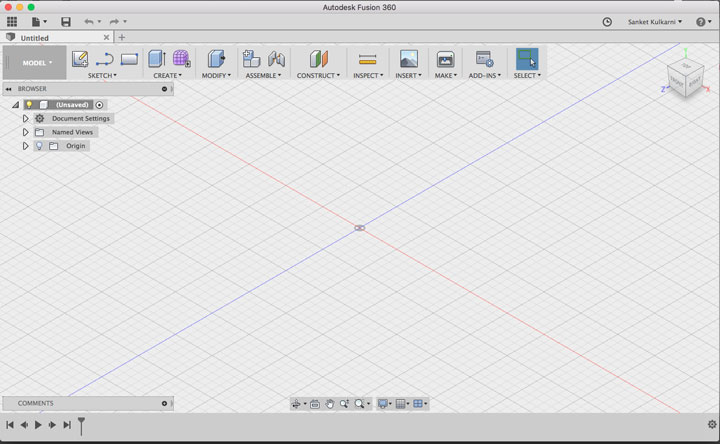
This is the interface of the fusion 360.
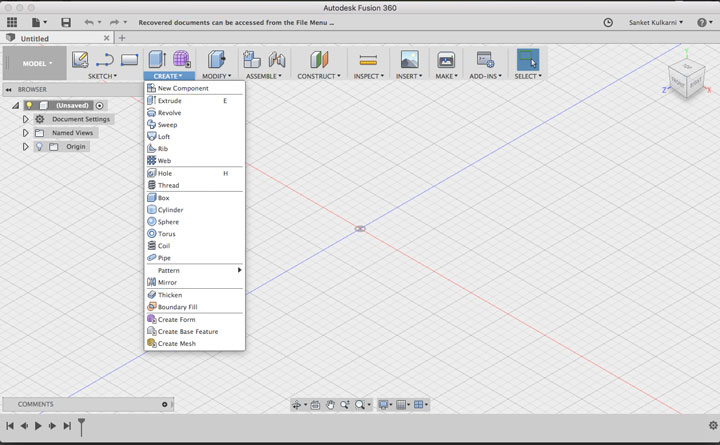
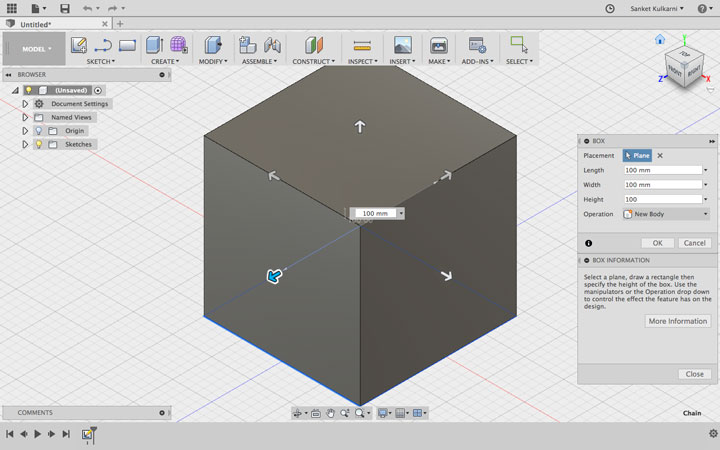
I Clicked on the Select option and in that I selected Box.
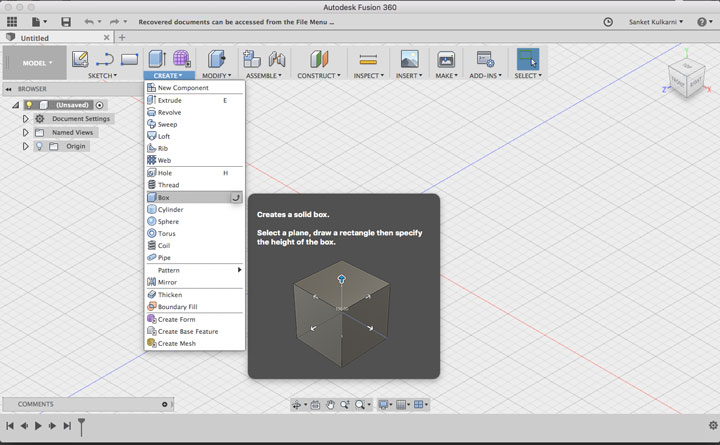
Fusion asked me to choose the plan.
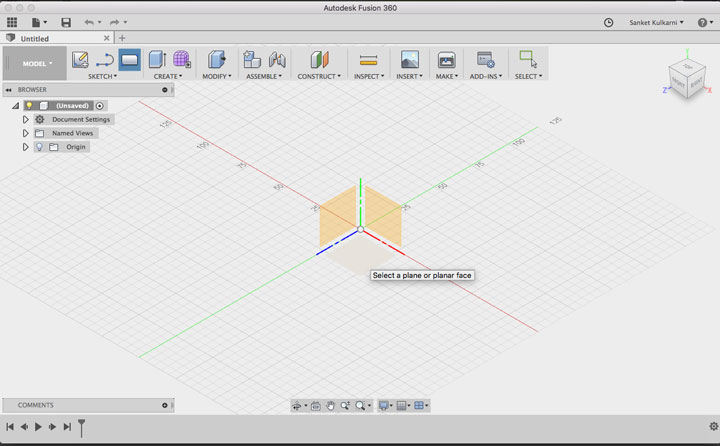
selected the bottom one.

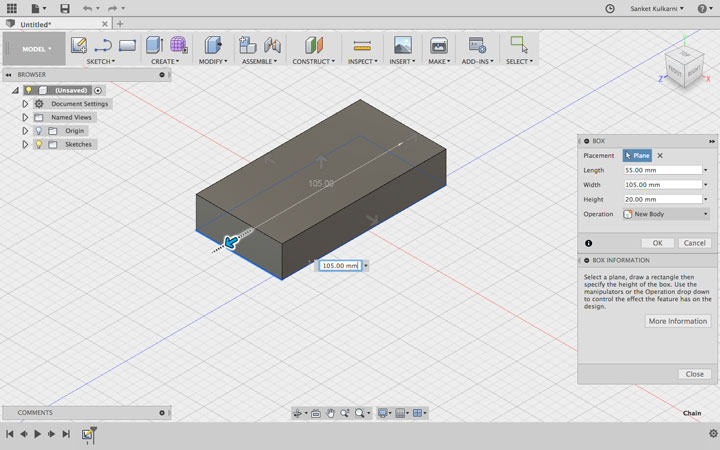
After that I drew a box.

ou can make the box bigger, smaller, taller by selecting the arrows.
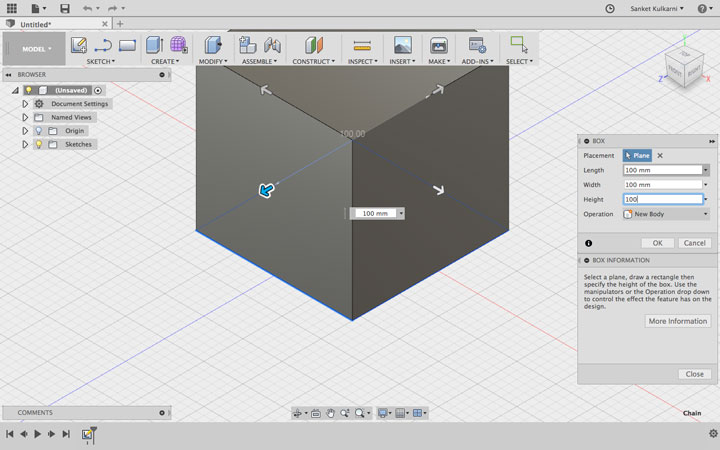
To see the Isometric view you can just click to the home button.
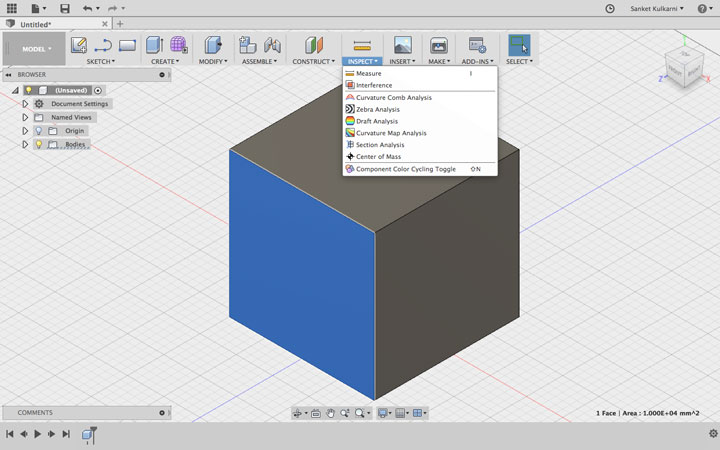
To measure the Length, Height and Weigh of any object you can go to ‘Inspect and Select Measure’.
And I saved as ‘Simple_Box_1’
Simulation Analysis in fusion 360
I tried to installed Solidworks in mac OS but I could not intalled in my laptop. So I decided to go for fusion 360. As I already have installed. IN my last assignment I learnt basics things about fusion 360. I am trying to be good in it. This time I will explore the Simulation Analysis in fusion 360. I went through many tutorials which are available on youtube. At the start it was very boaring for me. Though I had to learn it so I started doing it myself. I had some problems with it. Thankfully one of my friend helped me out to do it.
Here I started doing things.
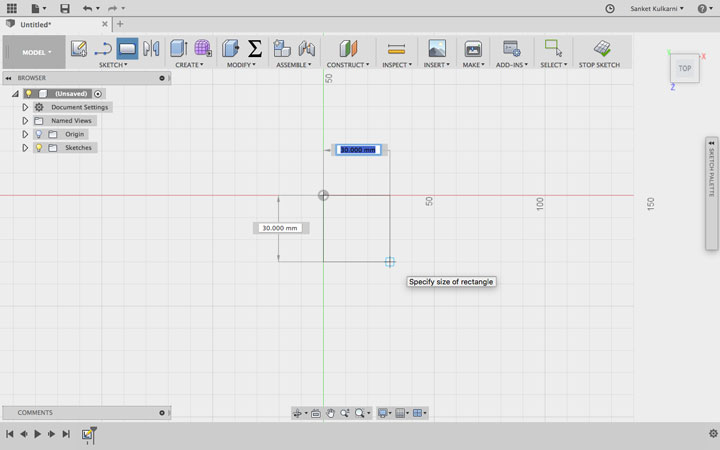
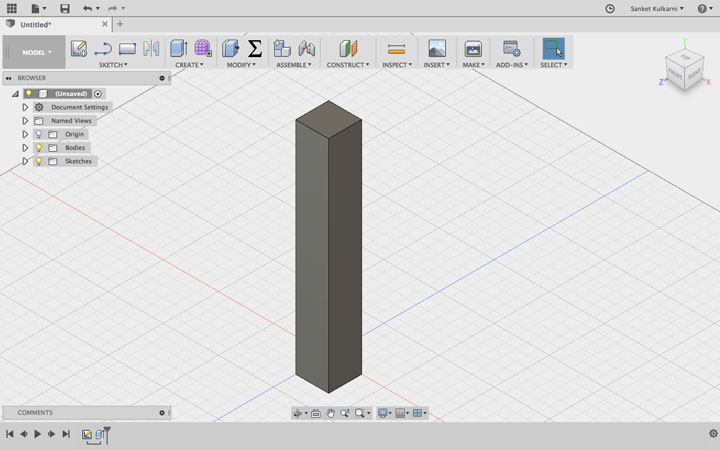
I drew a box of 30x30mm and extruded it to some point where it can sustain the weight. So I can check its limitaions.
I wanted to creat new study so I clicked on it. Went on model and then simulation. In the simulation study there are 8 types.
1. Static Stress
2. Modal Frequancies
3. Thermal
4. Thermal Stress
5. Structural
6. Non liner static stress
7. Event semulation
8. Shape Optimization
.gif)
For this task I diceded to do static stress.
In this analyze the deformation and stress into the model from structural loads and constraints. From the results, you can investigate displacement, stresses, and common failure criteria. The results are calculated based on assumption of linear response to the stress.
I select Acylic as a input model material to study the simulation part. I wanted to check the strength of Acrylic. Here you can see.

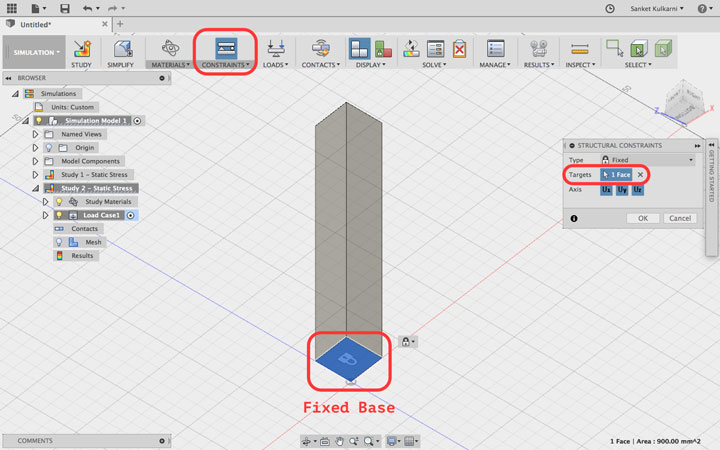
To make fix base I Went in Structural constraints and clicked on target and cliked on
base face to make it fixed.
After making base fixed I clicked on Structural loads to apply some load to the body. Then it asked me to select a face where I want to aply the force. I wanted to apply the force from side of the body. I selected the side face and gave 400 N force to the body. after hitting okay I clicked on solve to start the simulation process.
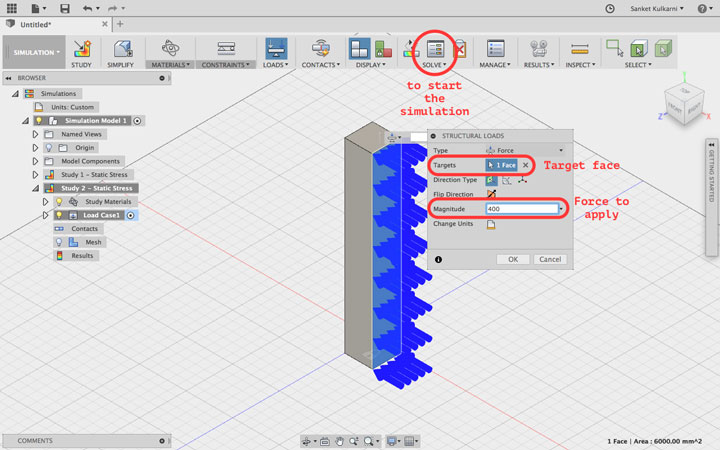
This is how I started the simulation process.
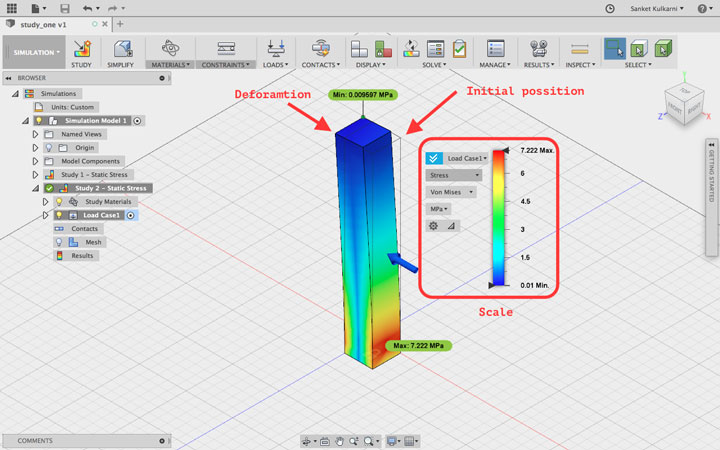
Here I am done with the process of simulation. In the bellow picture you can see the diffrence. How the acrylic has bend. The rectanguler frame is showing the previous fixred body and you can see the blue part have moved from its initial position.
Learning Outcomes
I learnt how to use simulation tool in fusion 360. Which is helpfull to anylize the material strength to the larger scale.You can Download the Files.