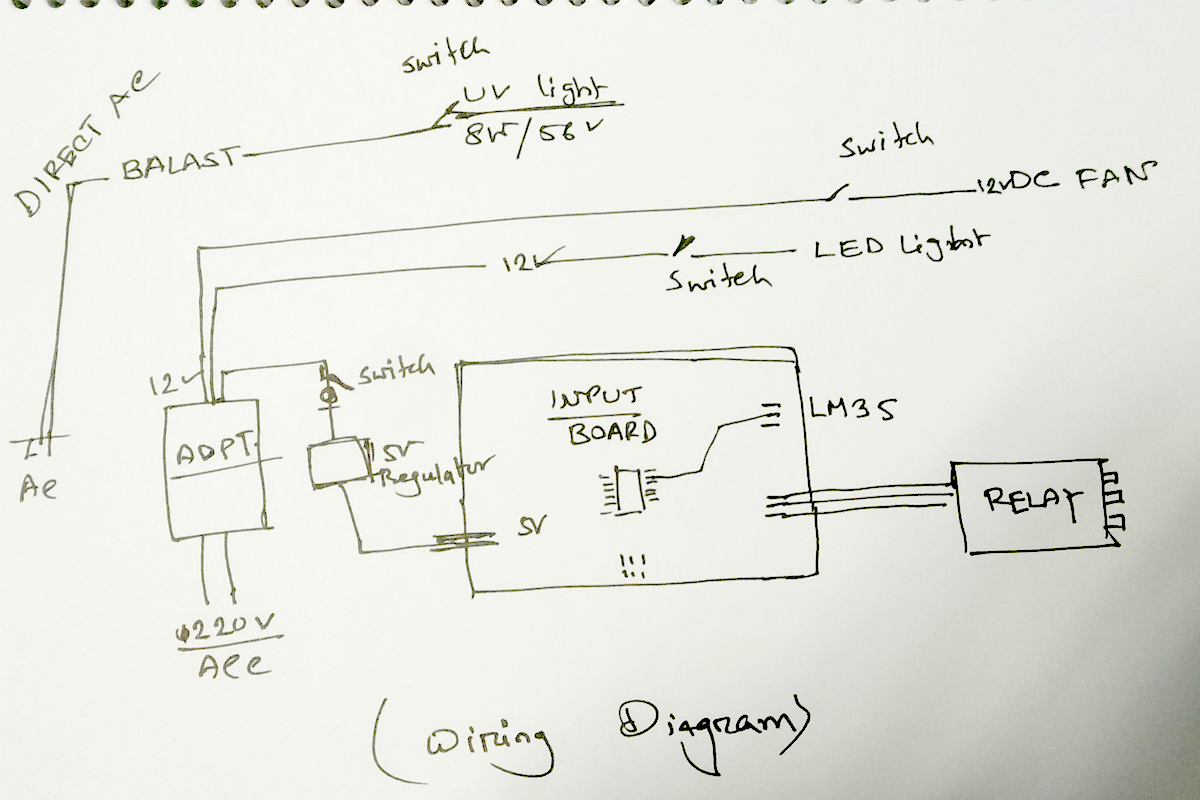
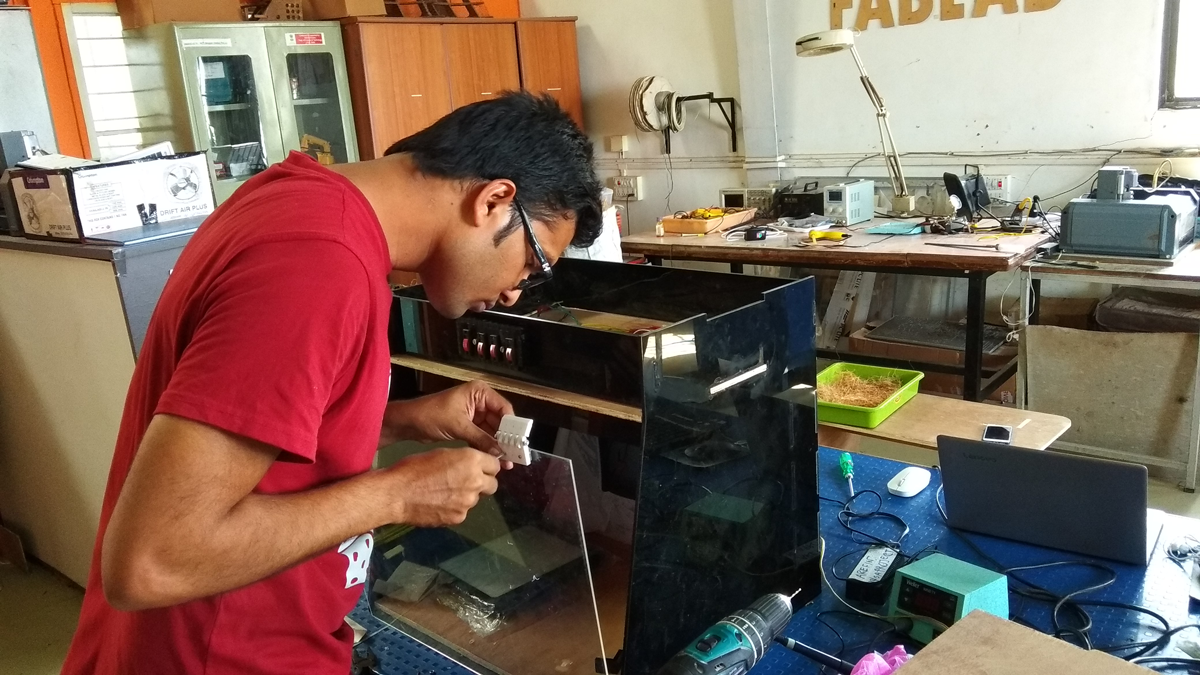
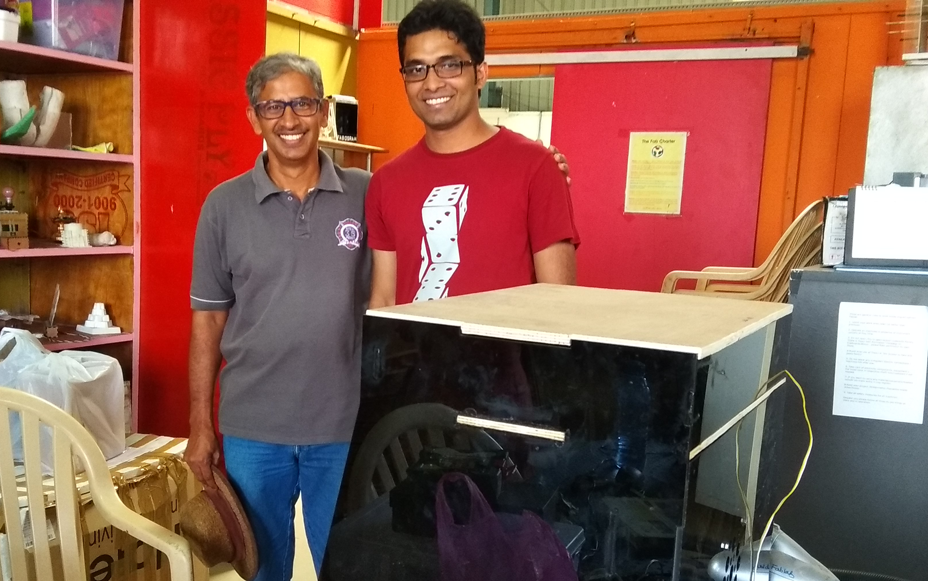
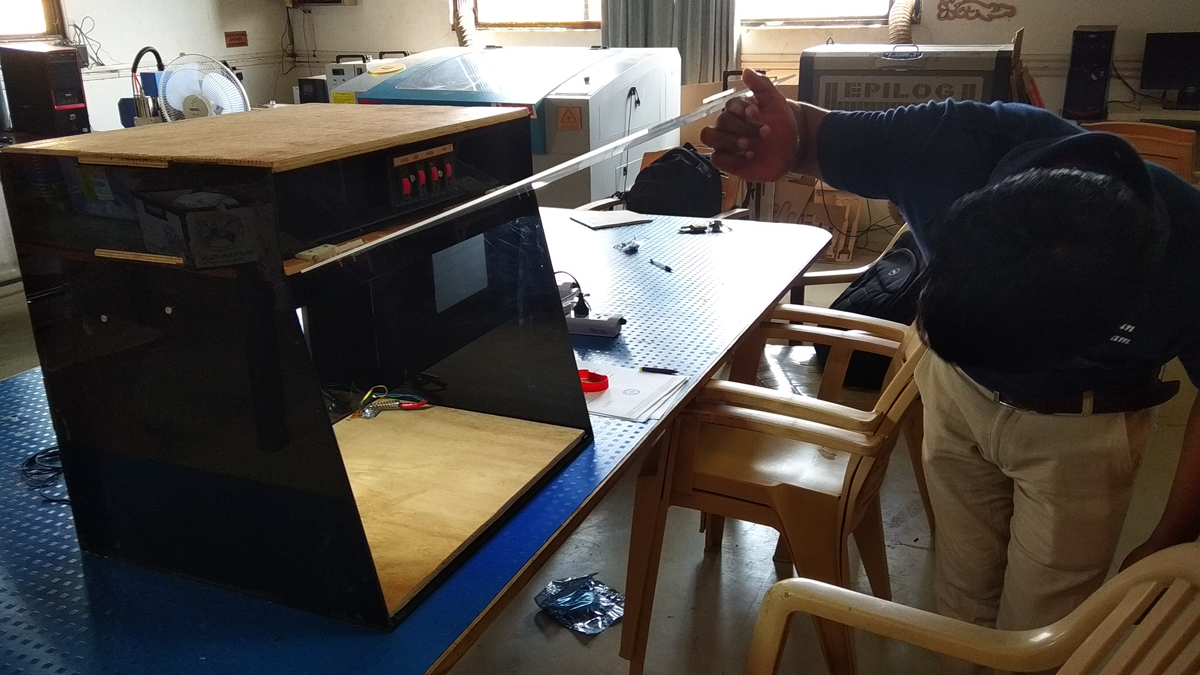
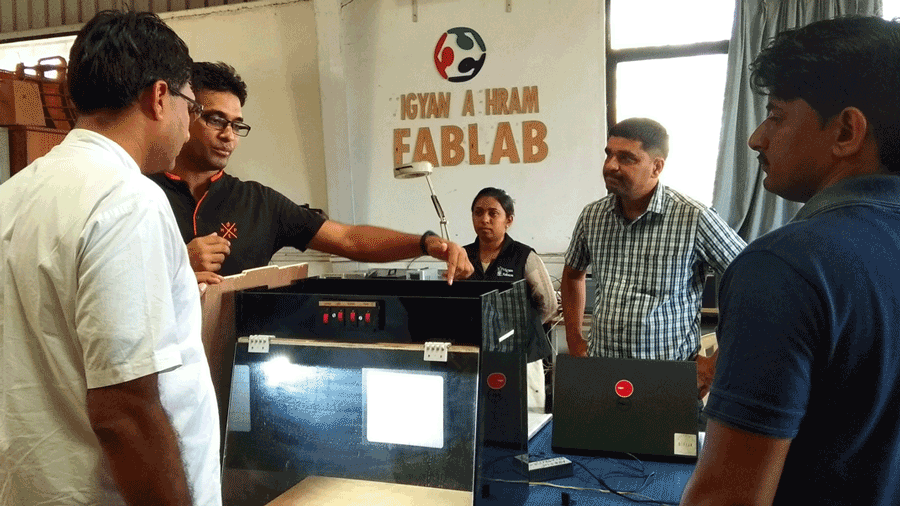
DESKTOP CLEANING CABINET

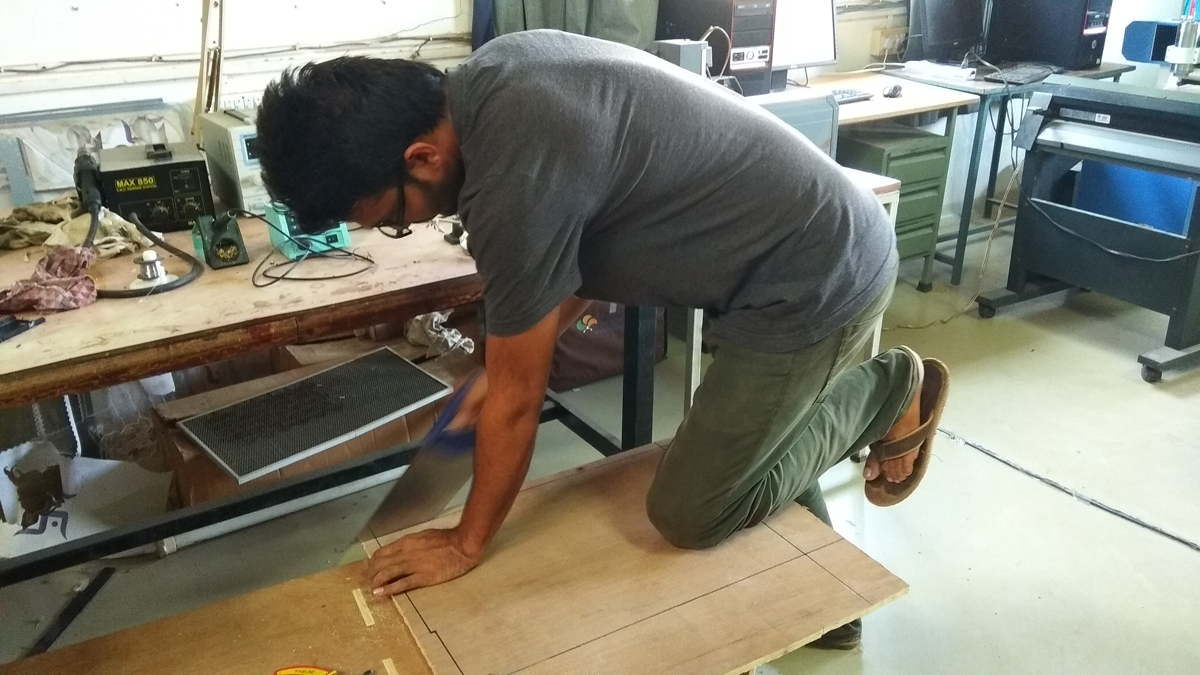
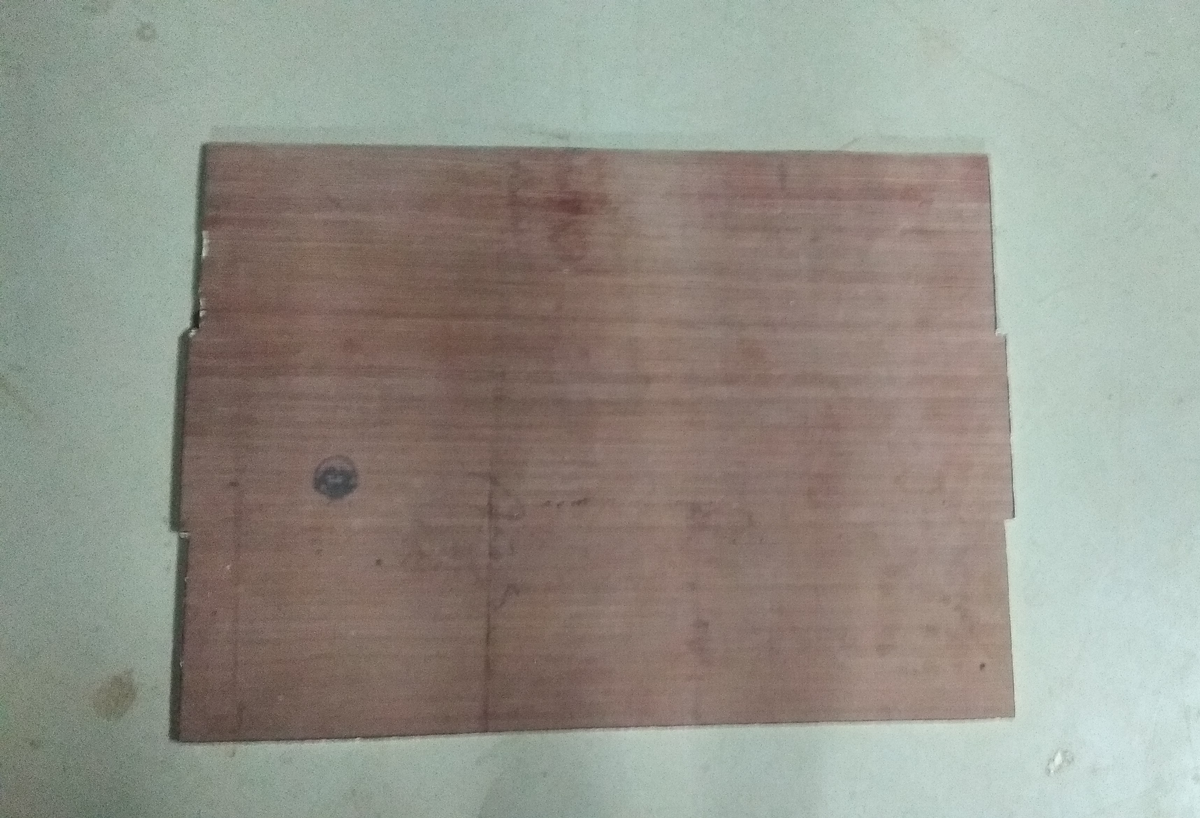
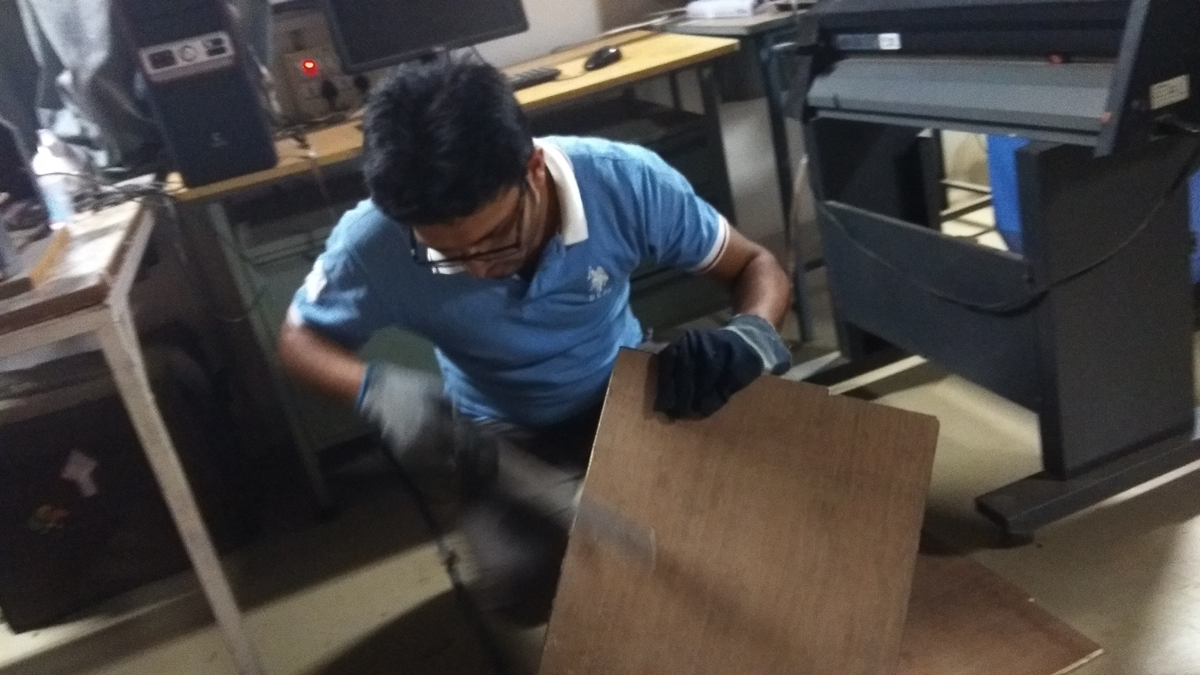
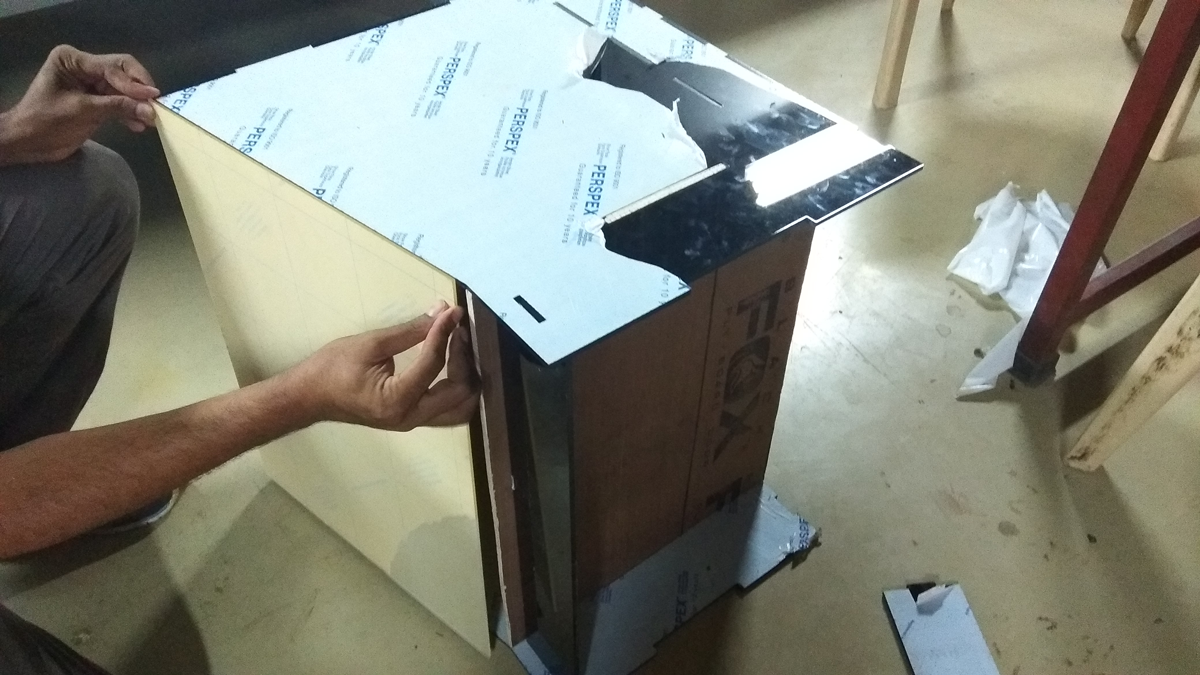
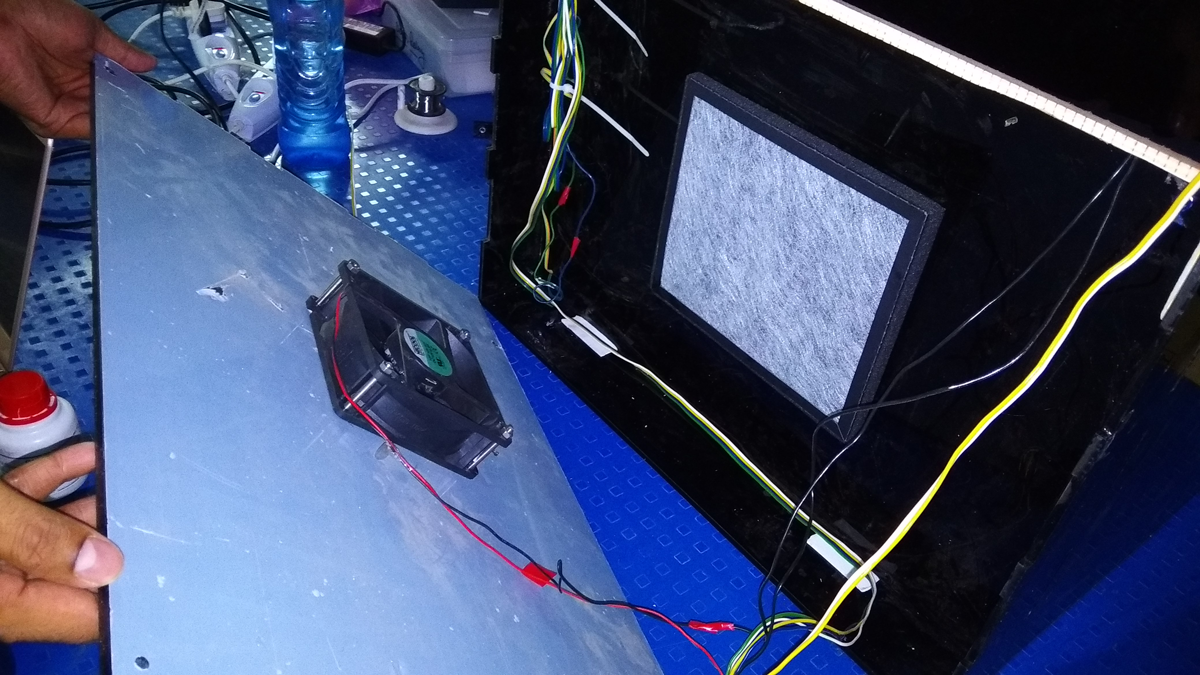
Keeping mold spores, bacteria, and other nastiness out of your any culture media is a constant fight for the cultivator. You could use a glove box with a pretty high rate of success, but anyone who wants to get serious about growing any culture about mushroom/Plant tissue/ needs to consider using a laminar flow bench. Having a clean stream of air to work in is way more comfortable and much easier to use than an awkward glove box. A properly constructed laminar flow bench can allow for ultra clean laboratory conditions even in a not so clean environment such as your kitchen or basement, greatly increasing chances of success for a home cultivator, which is run by using solar power energy.

Problem Statement

  • 1. Big in size so need to install more area
  • 2. High Cost to purchase
  • 3. Manually Operated
  • 4. Used direct flame for sterilization of apparatus
  • 5. Hard to move one place to another place

Features I want to add in project

  • 1. Heating coil controlled by sensor
  • 2. UV-C germicidal Light
  • 3.User friendly Control
  • 4. Light weight easy to transport anywhere

Brainstorming and Hand Sketch

Here I'm trying to understand everybody that, I'm going to developed this apparatus for laboratory. This powered by solar and AC connectivity also have, for further choice of bearer

Inventory List for Final Projects

Working plan of my final project

1. Making 3D design of box and convert into 2D for laser cut

1. As similar as of my sketches, I was follow to make my project base outline, Here I used 45 inch/near 55 inch/45 inch. I try to make it Pressfit design, but I'm going to use two different types of materials, like side/front/back/and inner all are acrylic but inner top and outer top is plyboard, I did not cut it properly. Now I design it in 3d and save the DXF file and send it for laser cutting.

2. This is the DXF file for laser cutting, Here I cut the 6mm acrylic for base, side, back and inner part for filter attachment. 3mm for front door

3. Cutting the desired design by laser. I'm cutting 6mm acrylic sheet

4. After cutting all file, here all desired cutting parts of laminar cabinet

After cutting whole acrylic and try out others, laser cutting is so much nice, I need to cut two more pieces of ply board. I cut it manually and filing the edge for In my

1. Top base cutting by hand saw, As fabbers i need to cut it by machine but, here limitation of CNC.

2. After cutting this by hand saw, some where is not properly cut

3. Here I use filing for smoothing the edge of board

After cutting this I'm going to assemble it. I used feviquick glue for fast attachment.

2. Electronics, Soldering and Wiring

I'm following the wire diagram in below, Here I used one 12V adapter which input 220VAC to 12VDC. For Controlling DC Fan, LED Light I need 12V power supply. For UV light I connect it Directly from AC. For controlling Input board and Relay i need 5V. For converting 12V to 5V I used IC7805 Voltage regulator.

1. Here I illustrated the whole wiring diagram at a glance. I think anyone can understand it.

2. The component list or images which i used in this project, most of the inventory are purchase from the local market, The HEPA Filter I brought it from online Amazon.in

3. This is the wiring as diagram and add switch each of the line

4. 12V to 5V regulator for controlling input and relay board by using IC7805.

5. Here I'm adding the heating coil with working place. and it attach with holder.

3. 3D printing parts for assemble with main body

1. For front door joint I made a hinge design and print it by 3D printer

2. 3D printed copy of my hinge

3. Sanding the rough edge of the hinge by sand paper. If I make little bit more gap between teeth after that where don't need to filing, it can be easy assemble

4. Checking the flexible movement.

5. Attaching the hinge on front door, and making opening for front door

6. Using screw in the hinge for attachment with door.

7. For back panel attachment, I'm thinking to how can I troubleshoot further if I fix it, then I made this knob to attach the side panel and use screw to fix with back panel.

8. laser cut Knob

9. Back panel which is fix with screw in the corner knob

4. Programming

Now I'm going to make programmed on by board, actually I programmed by board before installation. Here I use Arduino Board as a programmer and Arduino IDE. The whole process are explain in below:

First i made a relay board and I thought to use this for my project, but this is not work properly, then I decided to use commercial relay board

I follow this wiring system for relay and source

After that i programmed my board, In this it denote the PIN no. and here if LM45 sense that temperature goes up to 95 degree then shutdown the heating coil power. Again if the temperature reduce and come down below 60 then again heating coil start.

Relay board testing on fan and LM35 in same programing code, Just see the video in below:

5. Working trails and Presentation

Materials List and Bill of Materials(BOM)

Completing everything i present my final project to my Mentor Dr. Arun Dixit Sir. He left some comments, life need to clean it and use and seal to any pore in the joint.

Then my instructor and Dr. Yogesh Kulkarni sir, and Dr. Ranjeet sir also visit my project and I gave a brief about how its works

Dr. yogesh Kulkarni Sir inspect by Project and leave his valuable comments on it.

Presenting to all of you: My LAMINAR AIR FLOW CLEANING CABINET

Video about Final Project