
Machine Design
- 1. Make a machine, including the end effector, build the passive parts and operate it by programme
Machine Design
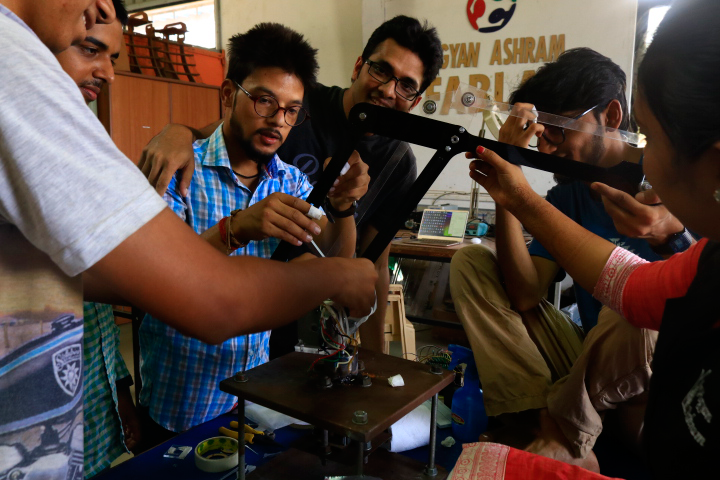
Being mechanical I cannot wholly ignore the electronics part of the arm, as it contains the kinematics. For robots like the 3D arm, kinematics are an integral part. Rohan and Cheitaneya they both of are take care of this mechanism for ARM
Kinematics: Kinematics is a branch of classical mechanics that describes the motion of points, bodies (objects), and systems of bodies (groups of objects) without considering the mass of each or the forces that caused the motion. Kinematics can be further separated into two major parts:
Forward Kinematic, or the easier of the two.... they give the position of the end effector based on the individual relative position of the joints.
Reverse Kinematics, or the harder of the two... they give the relative position of the joints based on the position of the end effector
The robot’s arm must adjust each joint’s angle in order to move its hand over to the position. This is quite the opposite - here, we start with a given position and want to know how to rotate each segment of the arm. It turns out that this is much harder than the forward case. And whenever something is hard to solve, there are usually several different approaches available for solving that problem. For inverse kinematics, there are three of them:
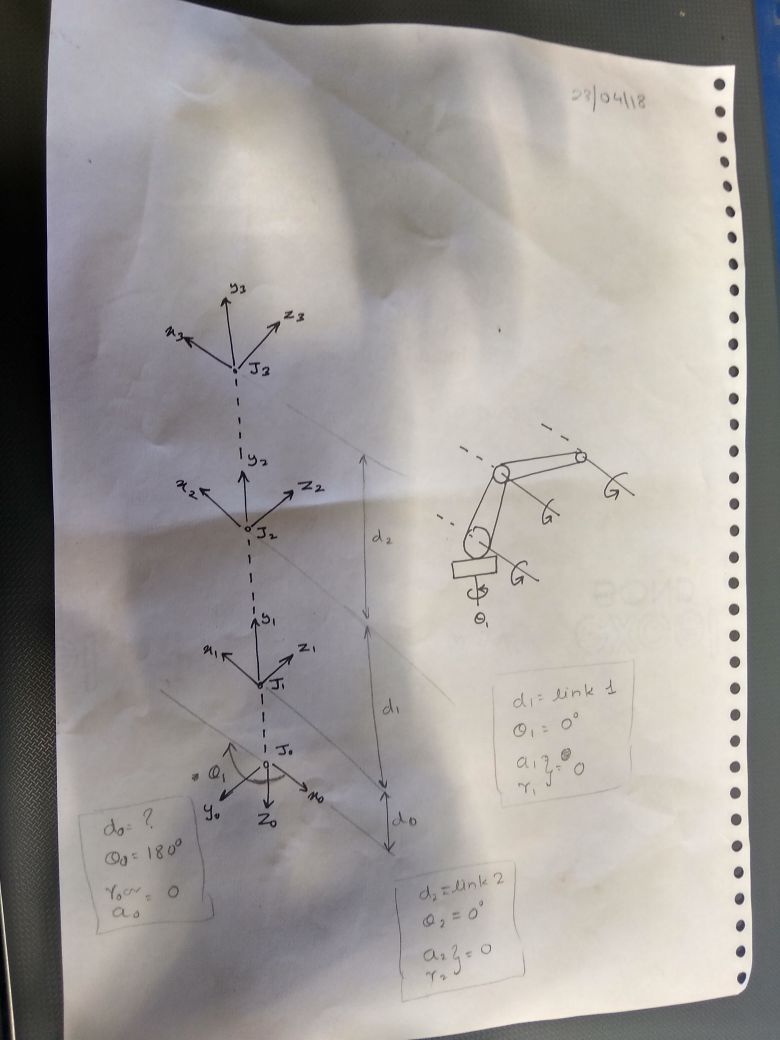
I did a rough calculation of the kinematics, to solve the reverse kinematics we need t=to calculate the D-H parameters, i.e. the Denavit–Hartenberg parameters. I suggest going through this video to get a more clear understanding of the D-H parameters
Below is the D-H parameters reference frame layout of the our arm
For this week assignment we are going to make a machine design for operating the mechanical design assignment part with programmed board or any interfacing protocol. In this week for electronics and interfacing of the arm with computer are responsible to me. I follow some open source robot, how they are interface with PC.
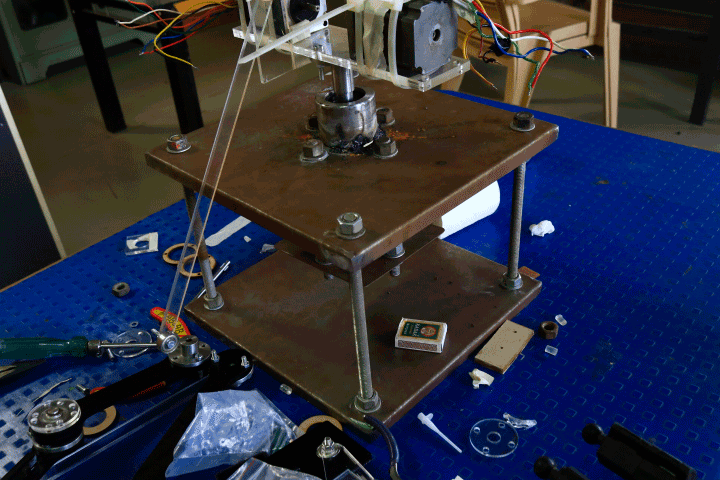
Base of the robotic arm is manufactured by MS sheet with the support of iron bar, during stepper motor operating its make a jerk and need to hold the power for stability, iron bar are holding the all force.
Last week we make a prototype and understand how much measurement we require and which materials are going to used. Then finally we work on our design and cut 6mm acrylic sheet for the arm structure.
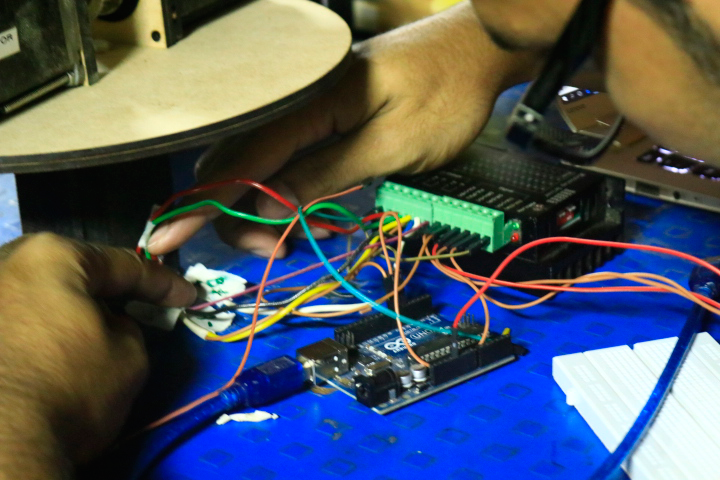
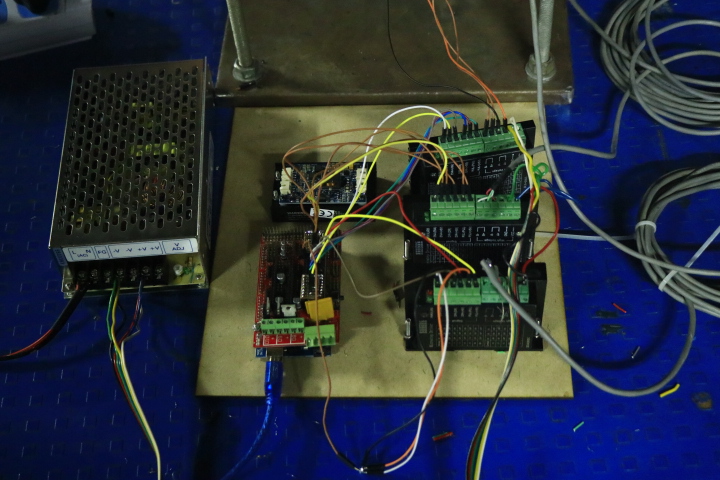
Now we are going to operate it via programming language, Before going to this we are complete the electronics part, Here for movement in X, Y, Z axis we used three stepper motor called NEMA 34. The electronic wiring and motor connection and driver assembly we did together, especially kamlesh, Rutvij, Yogen they all are doing the electronic part. Here used my images, In lab site you find more images. We follow below images diagram for wiring motor with driver.
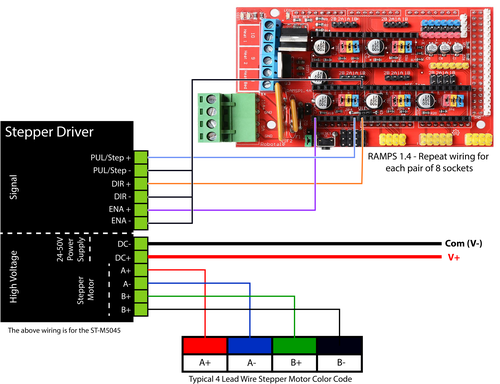
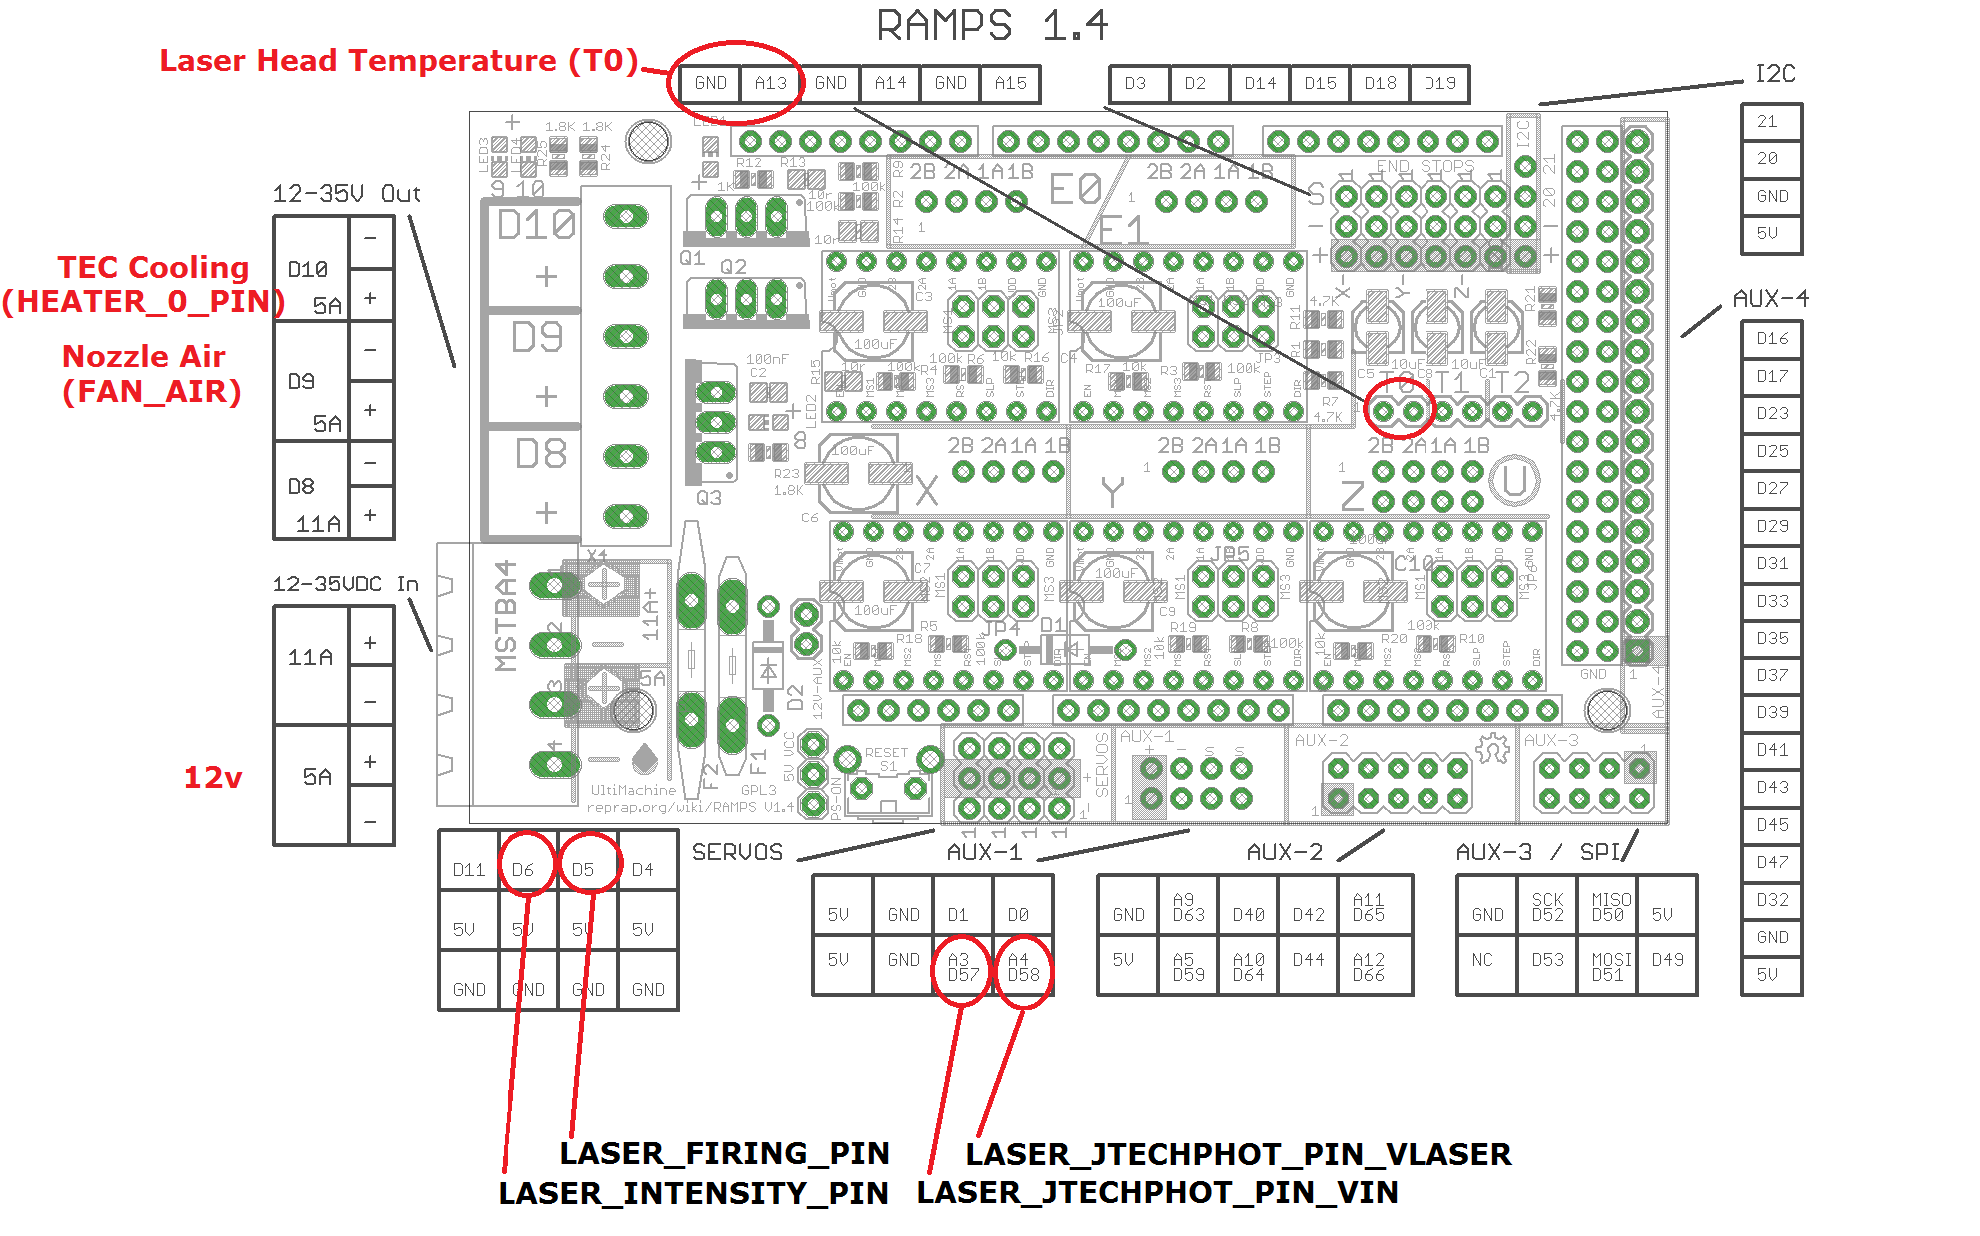
For controlling the motor we used TB6600 stepper driver with RAMPS shield board of Arduino Mega 2560. The finally we use three motor NEMA 34 + TB6600 Driver+ RAMPS 1.4+Arduino Mega 2560
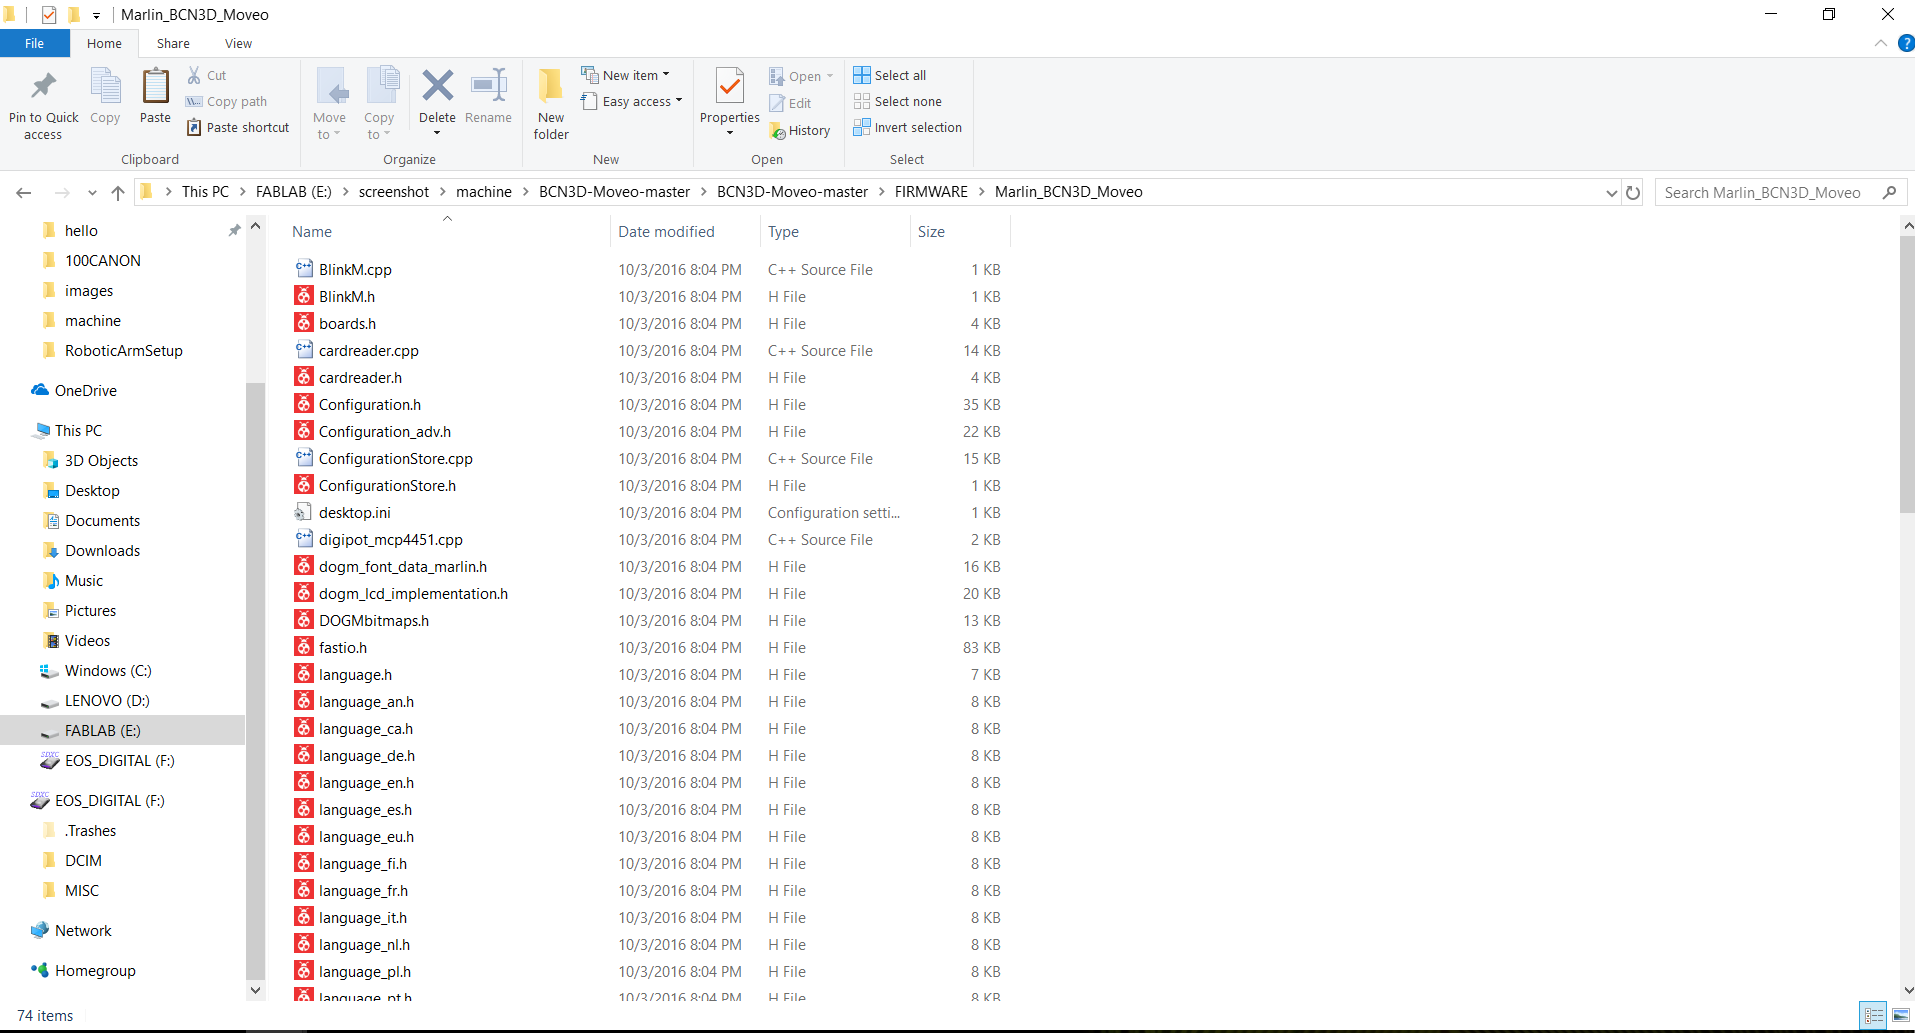
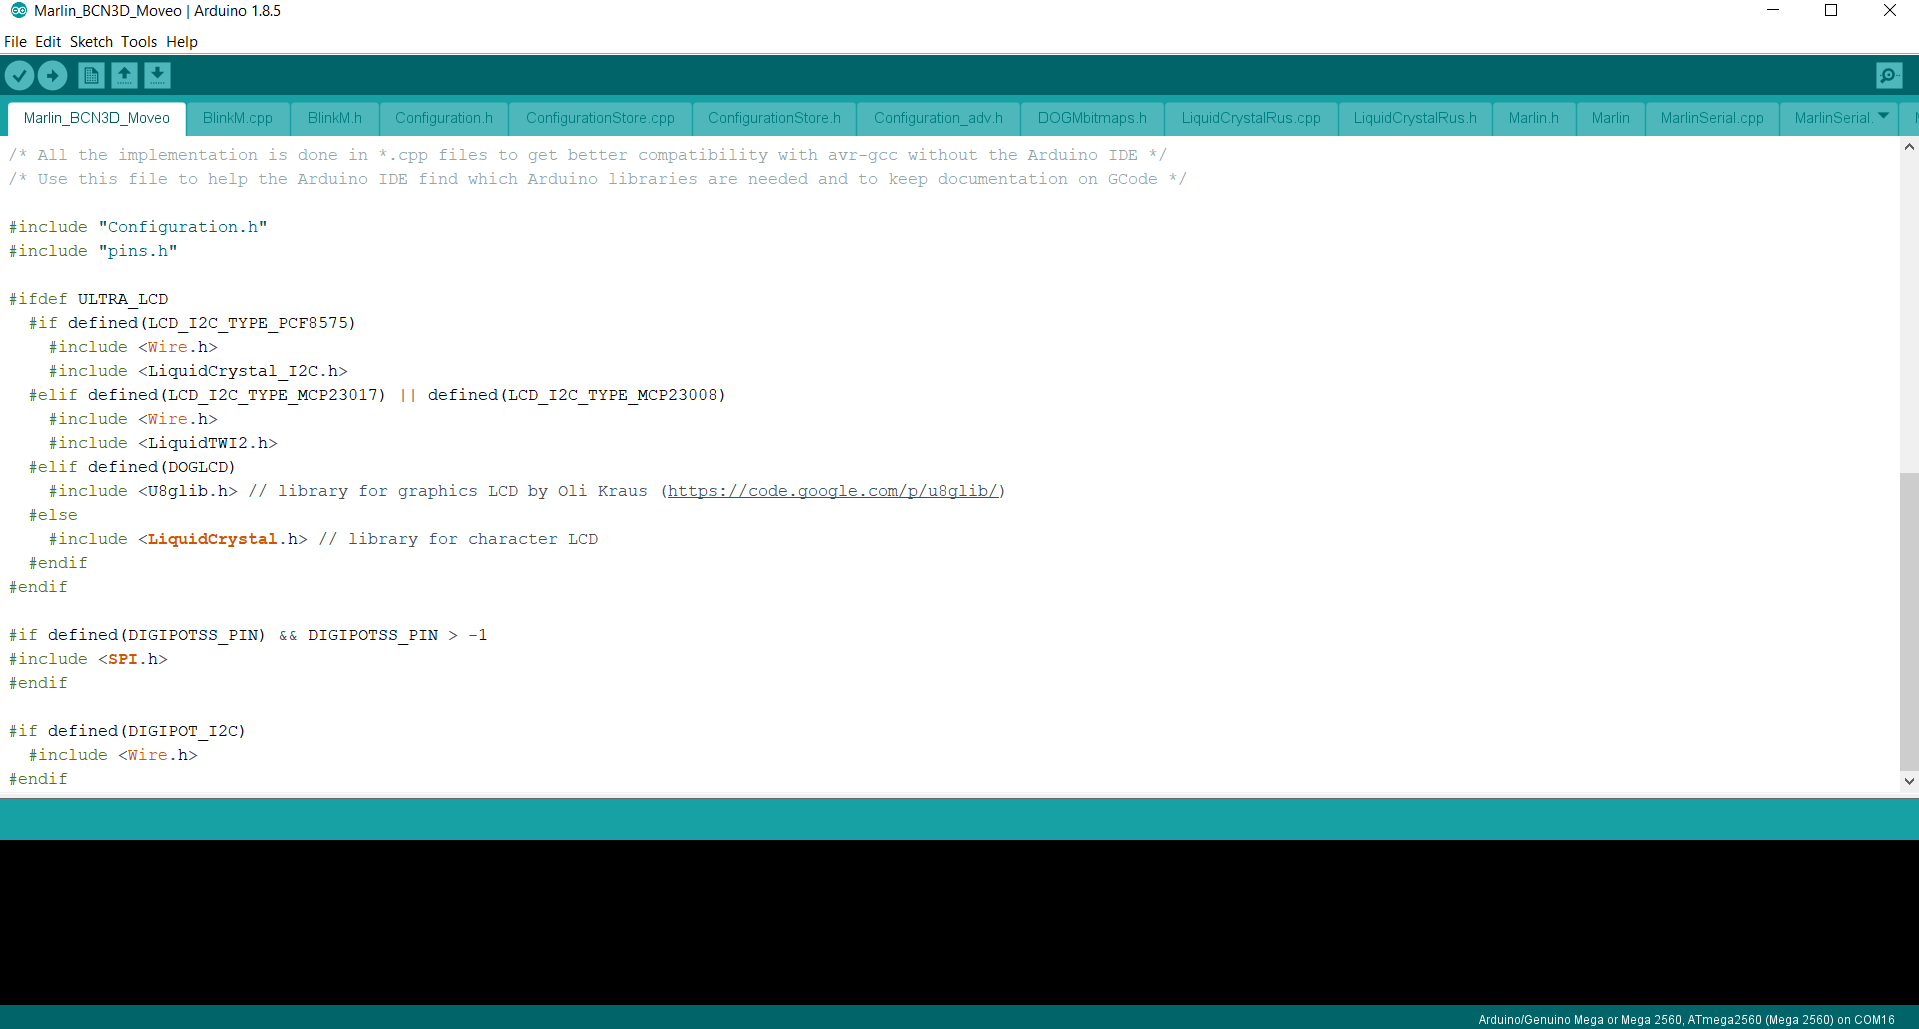
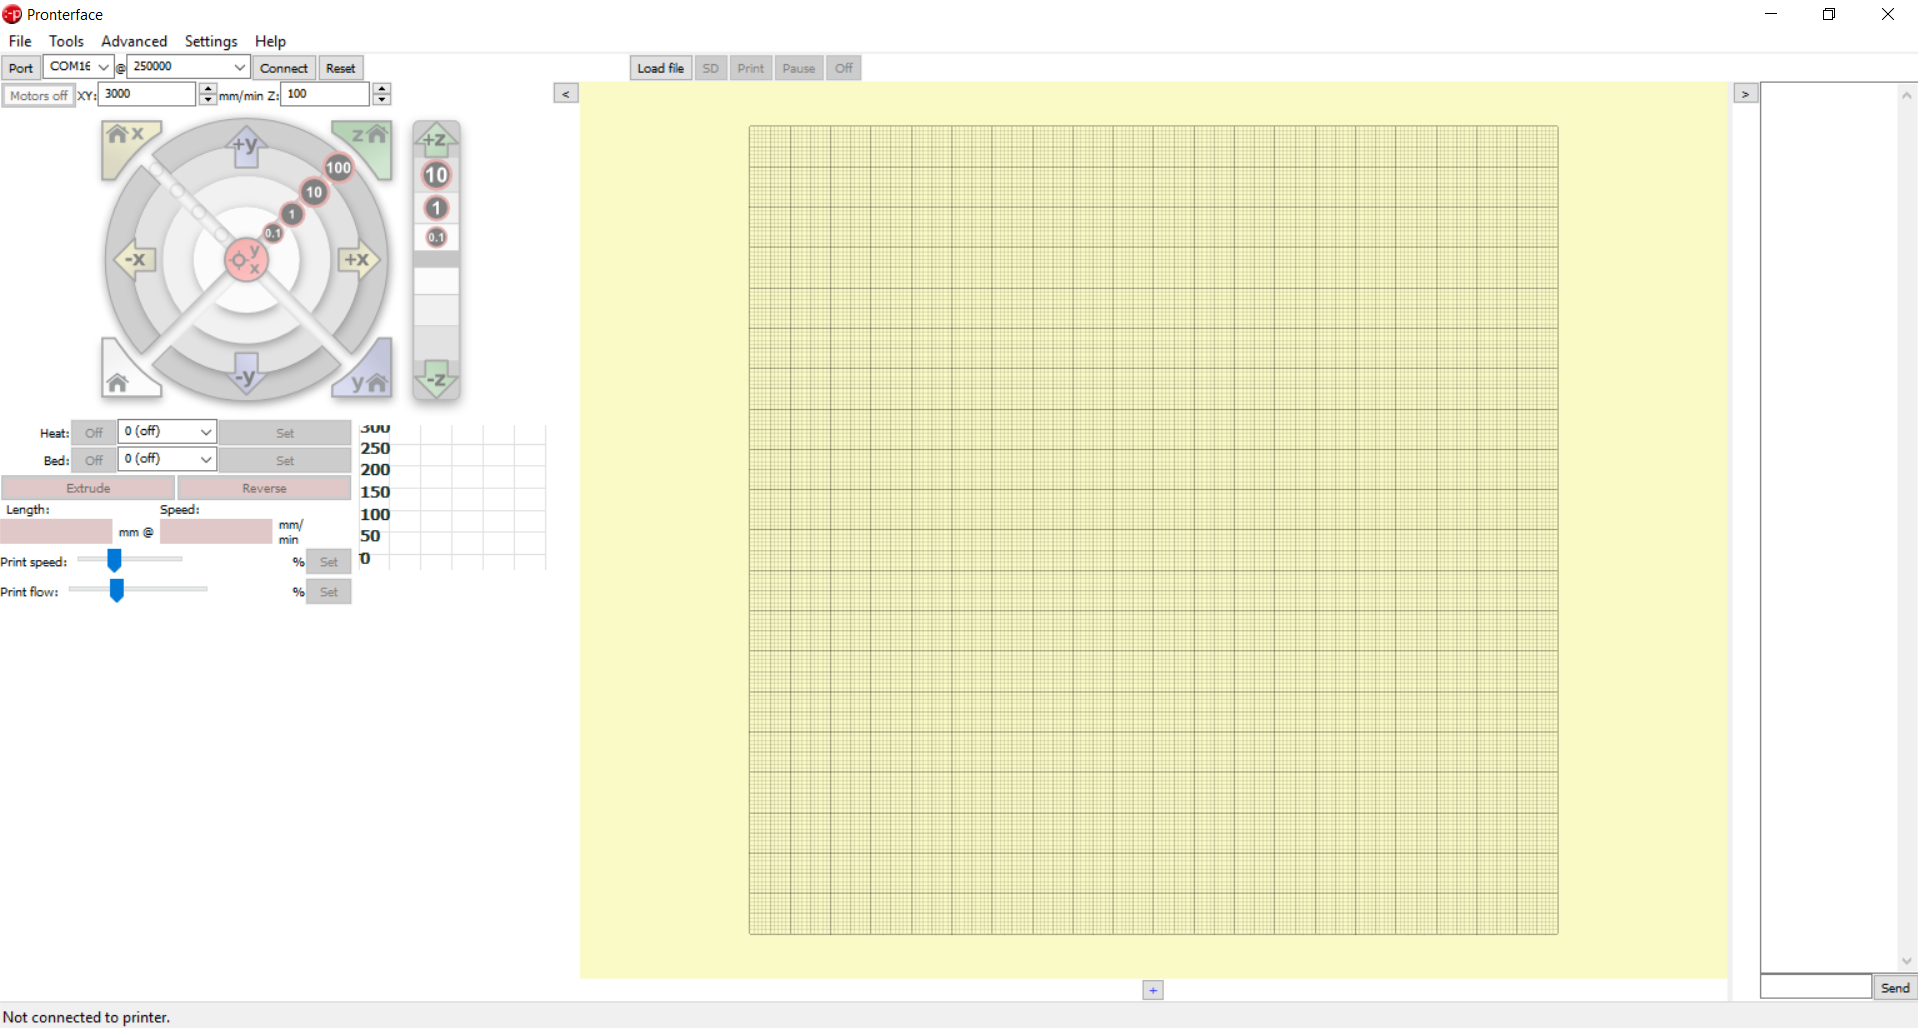
Now come up with software, For controlling the motor, I used Marlin Firmware for controlling the stepper motor as redial degree instead of co-ordinate system. Marlin is working with Python GUI/Processing GUI or JAVA GUI. I used Pronterface (Windows Based) GUI for controlling the Stepper motor.
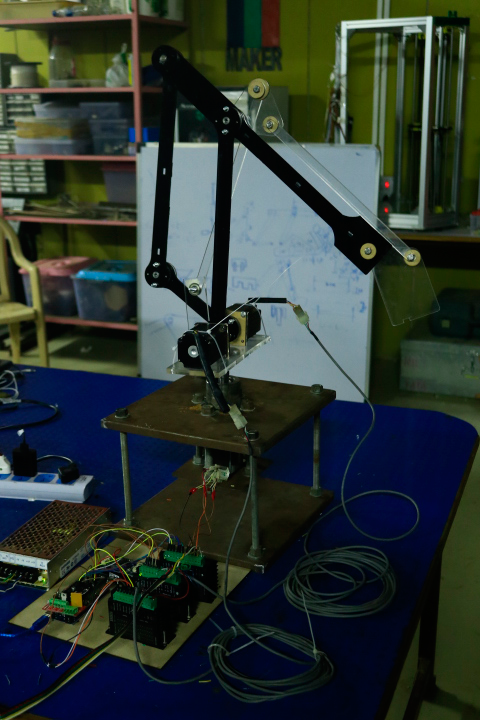
After assembly all part together we make a arm which look like
Visit this site about ROBOTIC ARM "Z(H)ERO"
After all this weeks is group assignments, so in this week i learned something quit interesting like