Week 4 assignments:
Electronics Production:
From Fab Academy 2018 assignments
1. Characterize the specifications of your PCB production process.
2. Make an in-circuit programmer by milling the PCB.
Have:
shows how the board was made and programmed
Explanation of problems and how to solve them
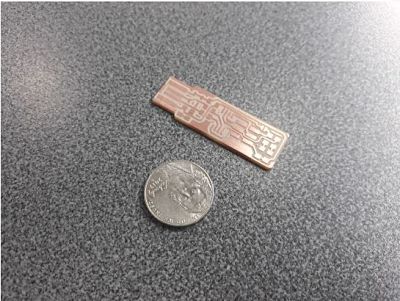
Included a 'hero shot' of the board
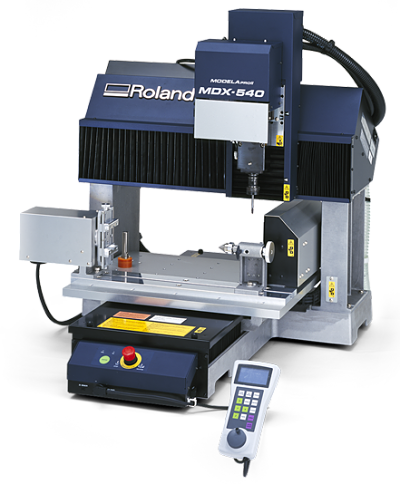
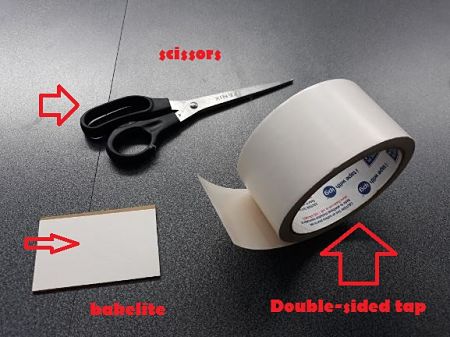
For the assignment of week 4 which is to manufacture a programmer circuit, I fabricate the board by cnc milling.The milling machine allows the creation of 3D prototypes in materials such as plastics, wood, ABS (Acrylonitrile Butadiene Styrene), nylon, acrylics and modeling boards. It also allows the manufacture of printed circuit boards in bakelite for the development of electronic projects. In this case I used a Mdx-540 milling machine with the following characteristics:
- work area: 400 x 400 x 150 mm.
- Cutting material allowed: Plastic, MDF, Acrylic, bakelite
- Speed: 7.5m/s
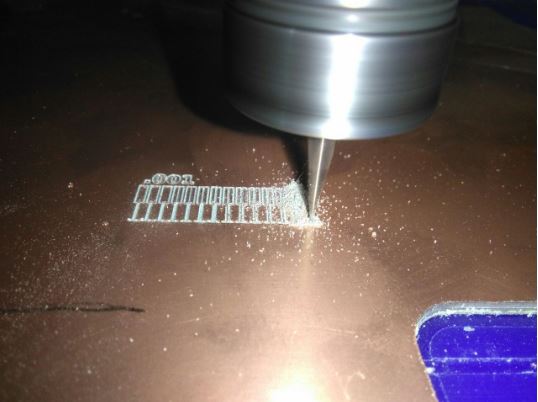
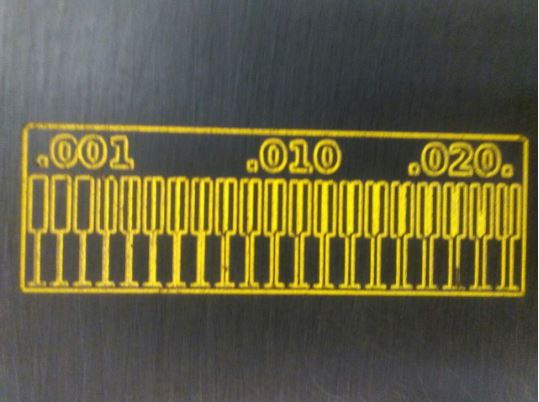
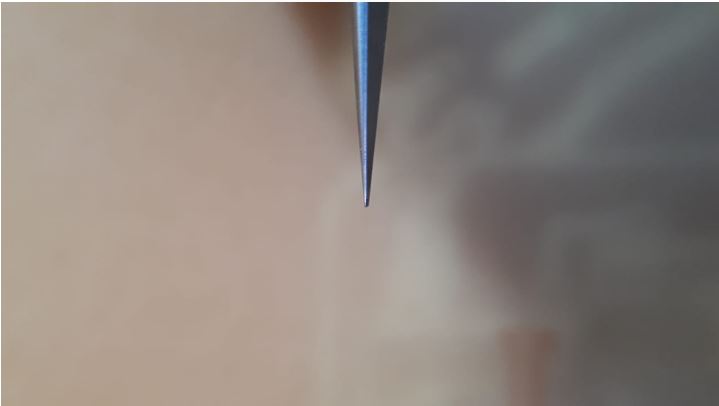
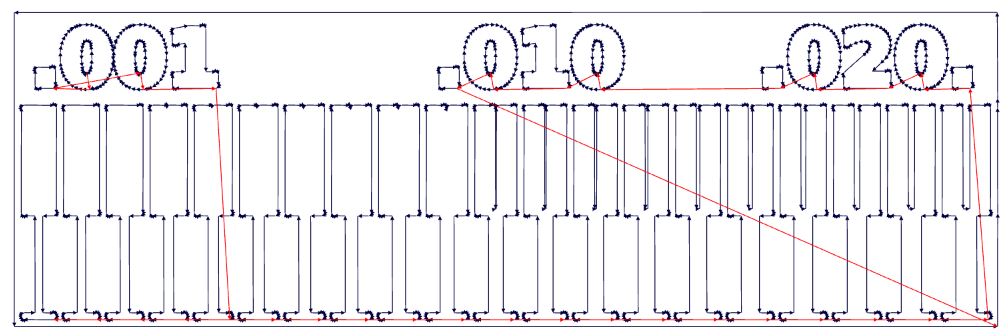
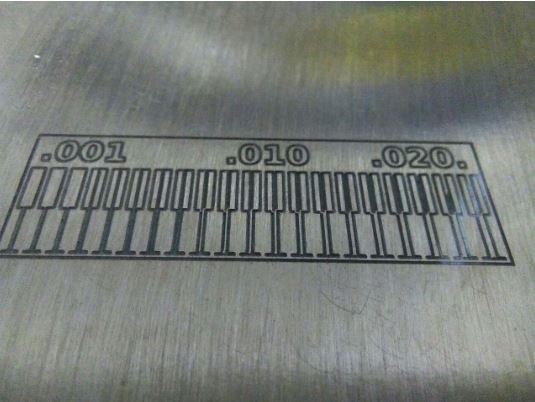
Precision test (group assignment)
For the group assignment we have carried out a precision test of the Roland CNC milling machine.
1. TRACES.PNG.
2. BOARDONLINE.PNG.
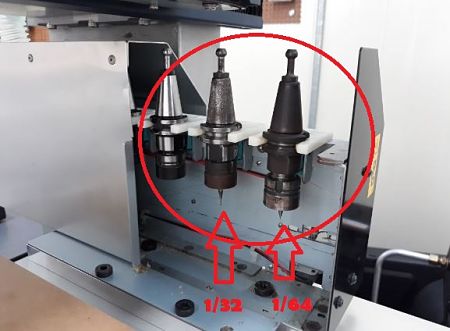
1/64"
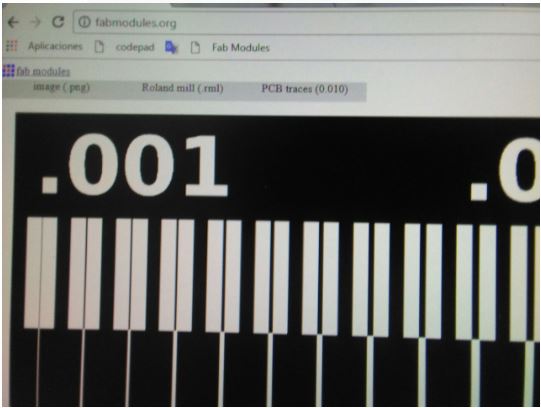

0.001"
For individual assignment I manufacture the FabTinyISP developed by BRIAN who makes an excellent explanation of the manufacturing process.
PCB Fabrication
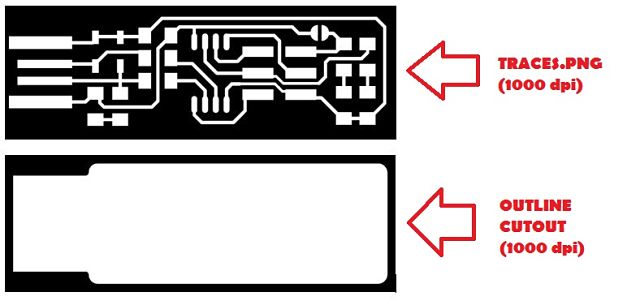
The first thing to do is Download the PNG files for the traces and the board outline:
PCB Fabrication
The first thing to do is Download the PNG files for the traces and the board outline:
1. TRACES.PNG.
2. BOARDONLINE.PNG.
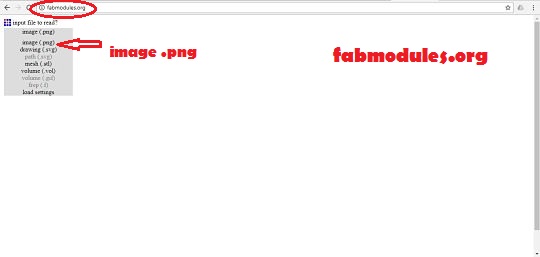
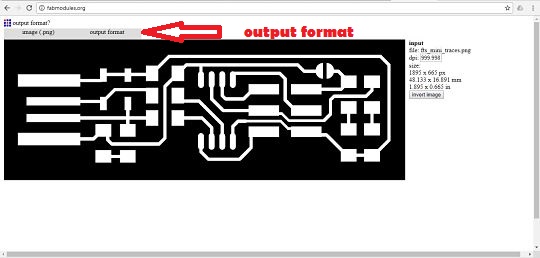
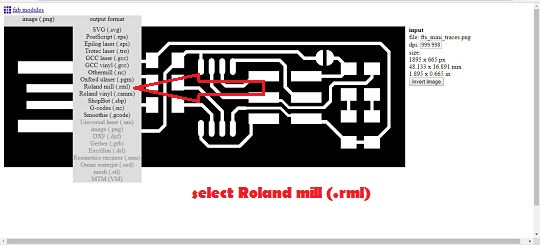
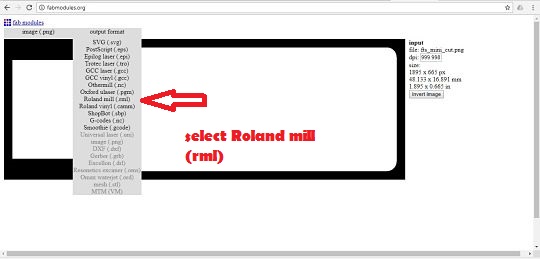
The next step is to generate the machining files, for this I use fabmodules.org, This platform allows generating the routes for milling, following is a detailed description of the steps to follow to generate the traces file and the cutting file.
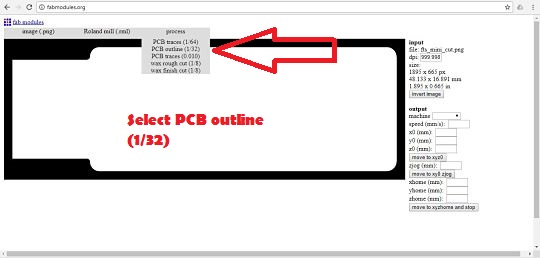
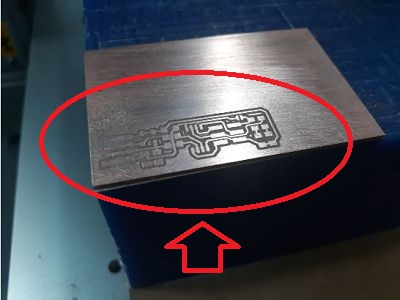
PCB TRACES
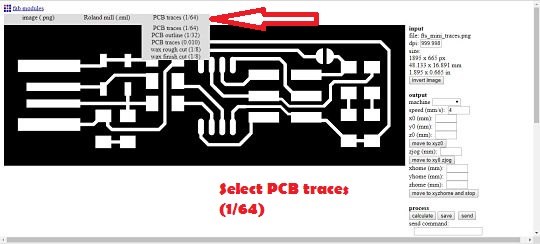

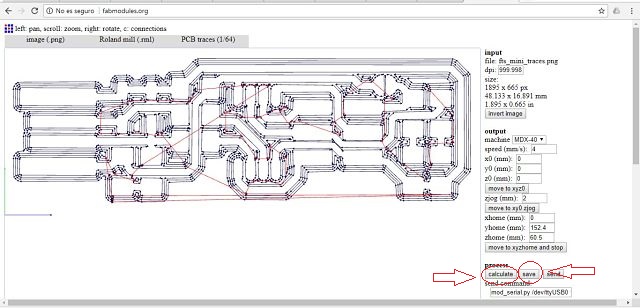
To the PCB Cut I use the similar steps
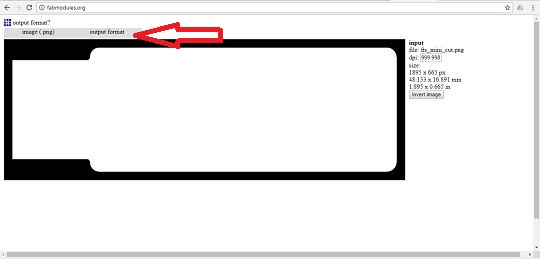
PCB OUTLINE
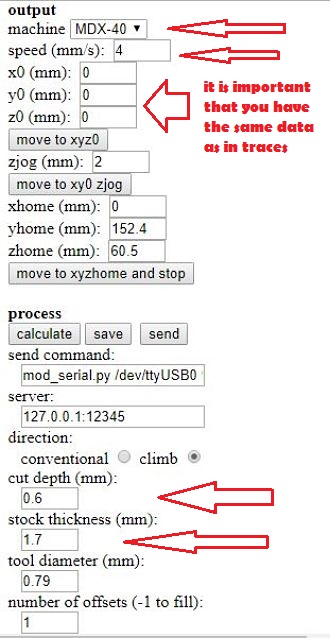
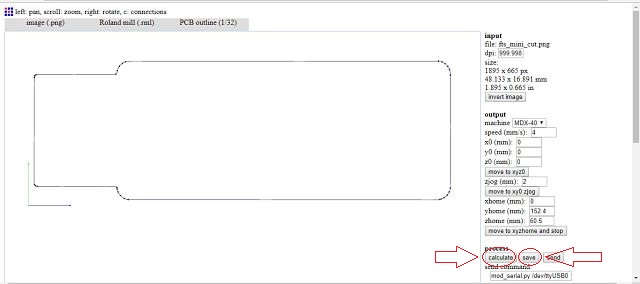
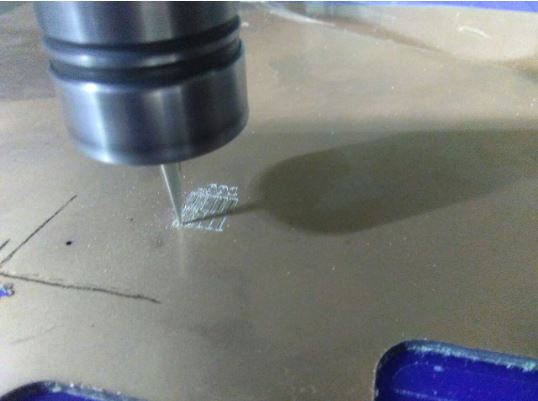
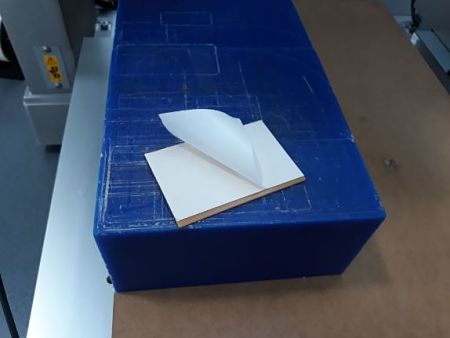
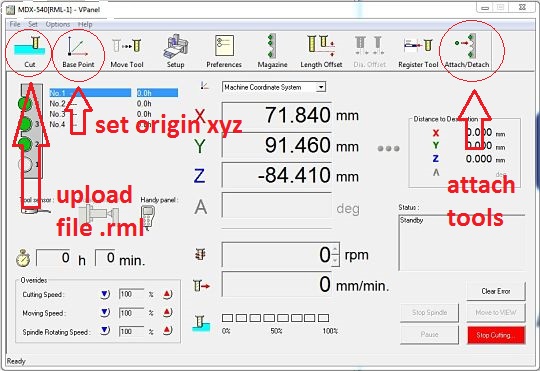
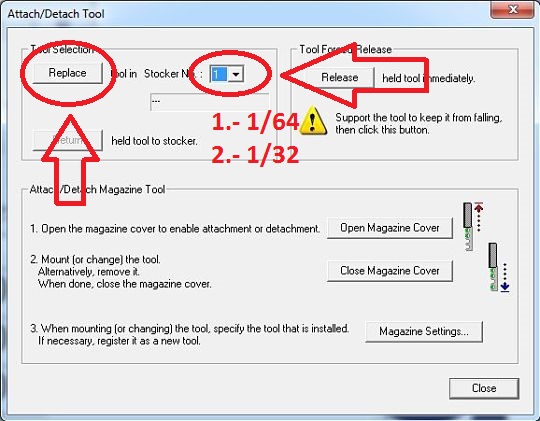
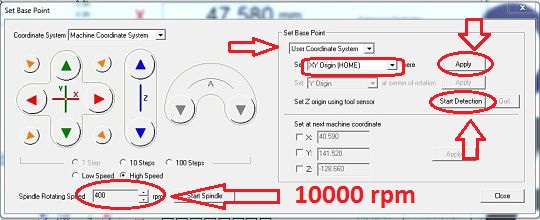
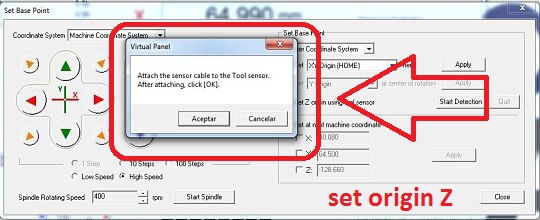
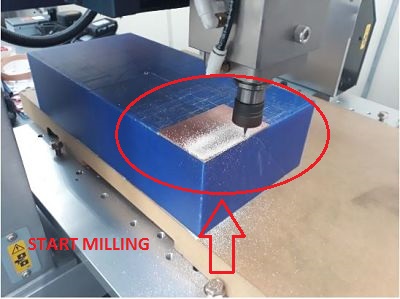
The next step is to configure the milling machine
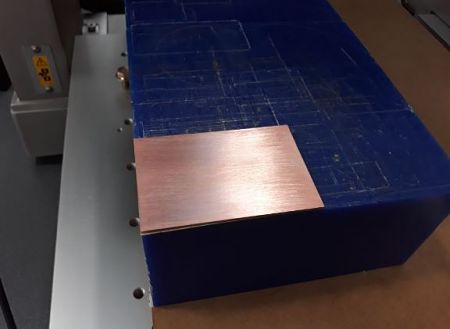


Start milling
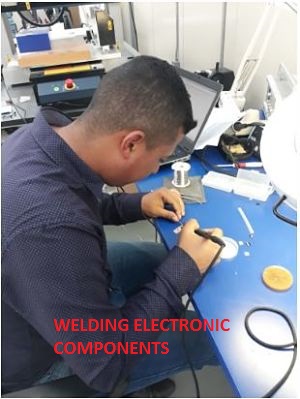
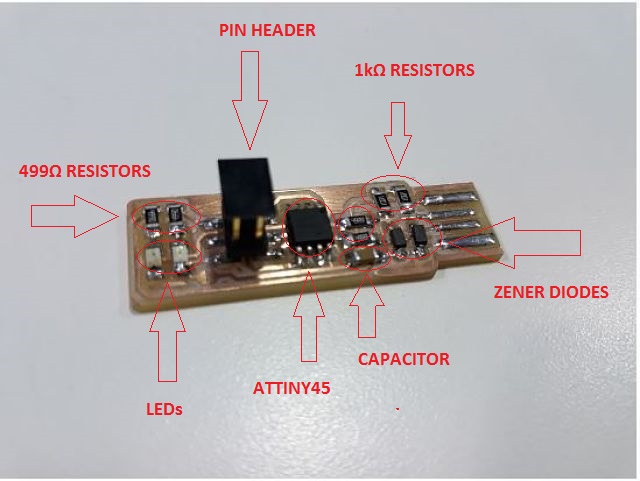
List of electronic components
Software Installation
In this case I am using Windows OS, Is necesary install some drivers and software to upload the firmware to the board. For this I used de Brian tutorial.
1. Install Git Download here
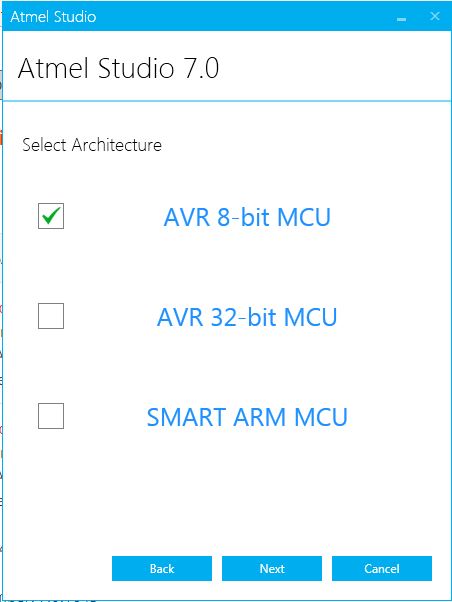
2. Install the Atmel Studio 7 Download here
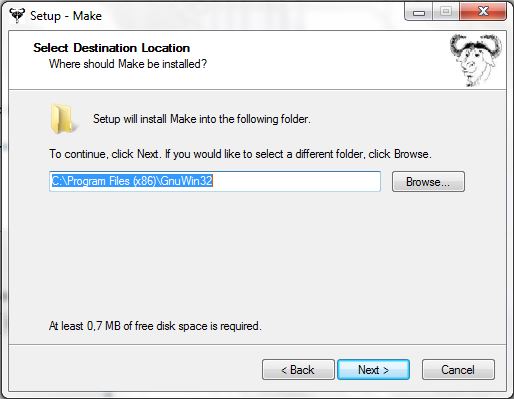
3. Install GNU Make Download here
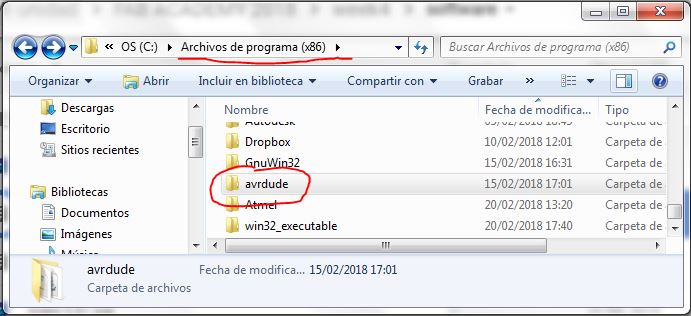
4. Download avrdude, unzip the archive, and copy the archive inside to C:\Program Files. Download here
6.Update PATH Download here
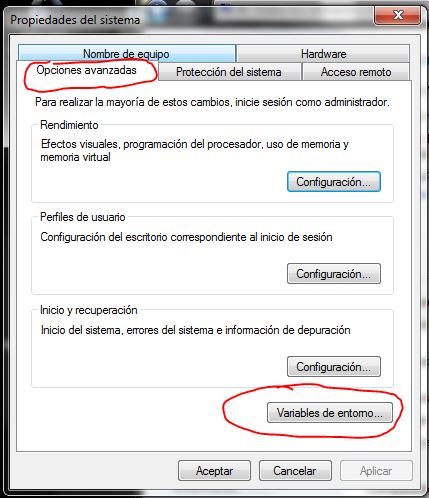
Go to the Start menu and open the Control Panel, then go to System. From the left pane, choose "Advanced System Settings". Under the Advanced tab, click the "Environment Variables" button.
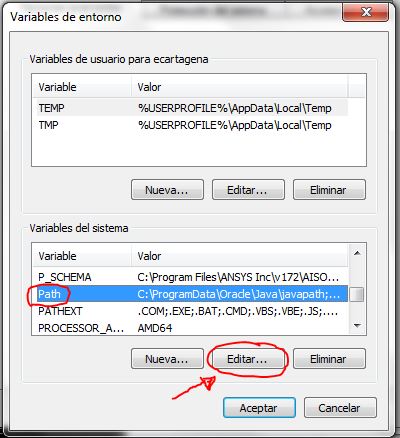
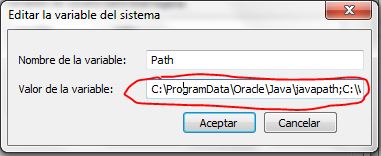
Paste the ubication of the following files: avr8-gnu-toolchain, GnuWin32 and avrdude

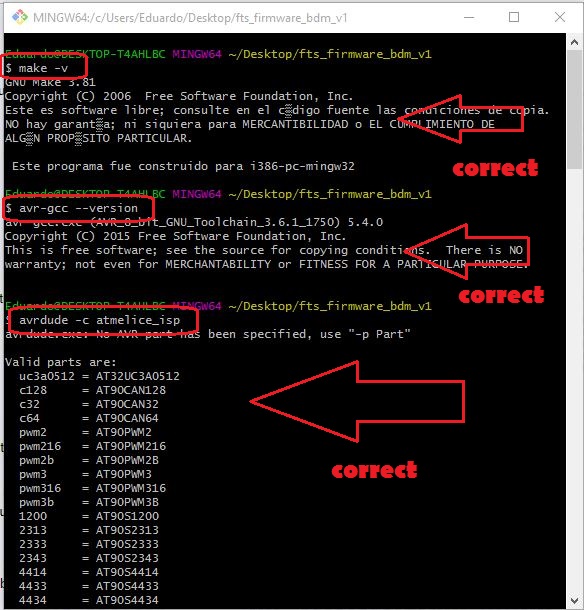
Sanity Check
Download de firmware source code and extract the zip file Download here
Edit Makerfile, open with SublimeText or another text editor
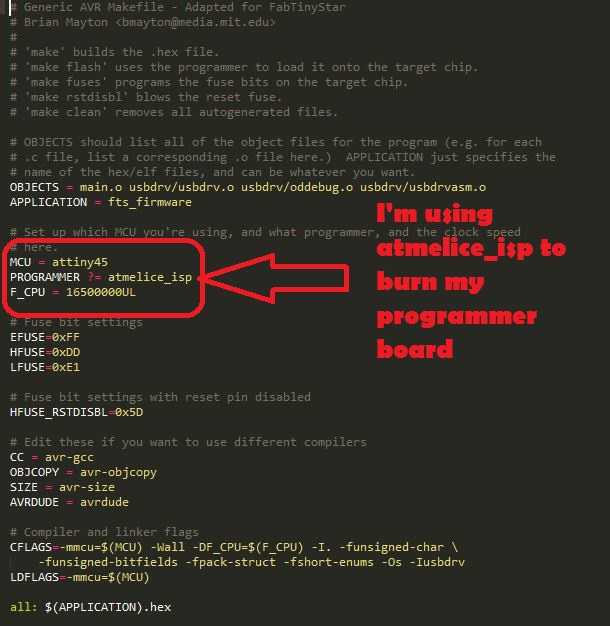
Program the ATtiny45
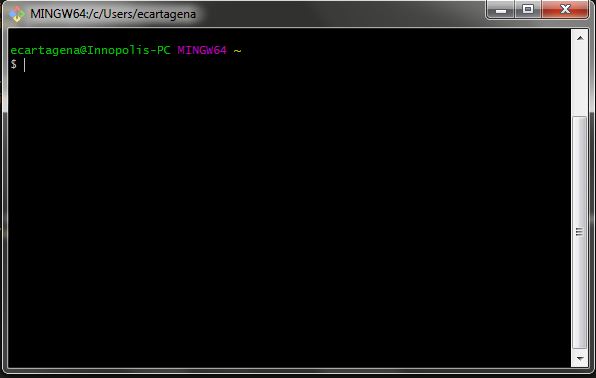
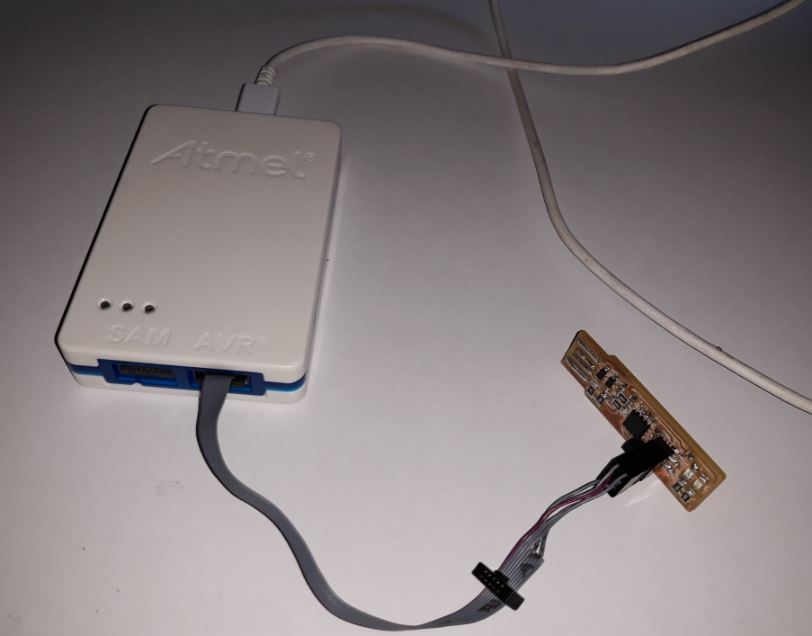
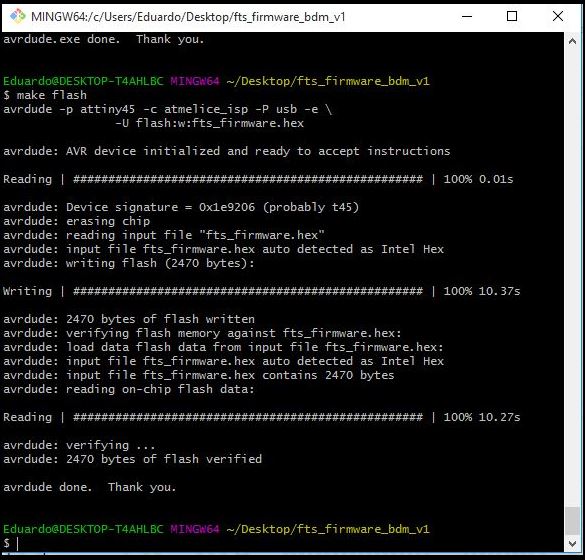
Connect to USB the two devices, open git-bash at the location where the firmware is located and run "make flash"
Next, run "make fuses"

Next, run "make rstdisbl"
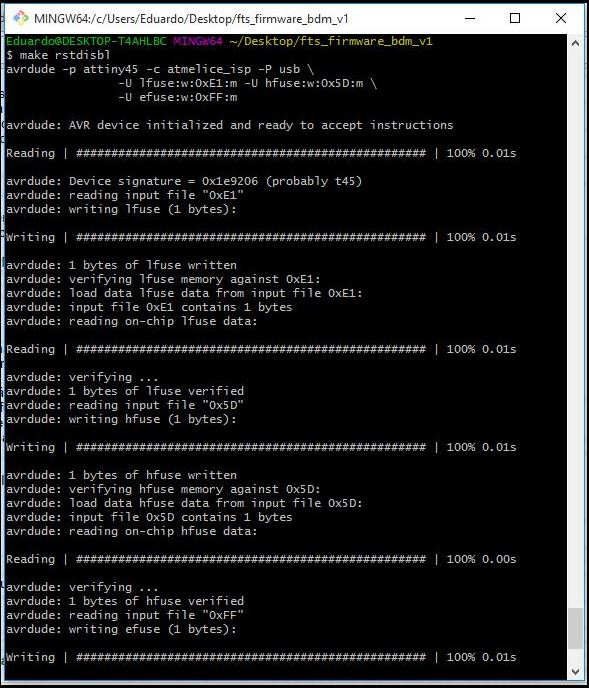
Finally, remove the bridge to turn the board into the programmer rather than the program
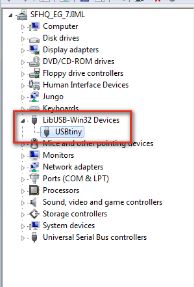
Programmer validation
You can validate the correct installation of the firmware in the devices administrator
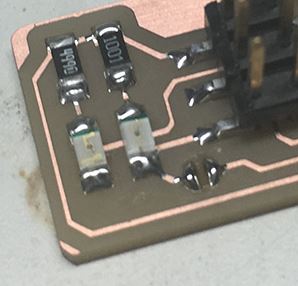
Include a ‘hero shot’ of the board

Issues and remarks
To solve this problem you must use a more updated version of the avrdude, in the following link you can find more information . The version that I use you can download it here


DOWNLOADS
- File 1: Traces and Cutting Files