Week 5 assignments:
3D Scanning and Printing:
From Fab Academy 2018 assignments
1. Test the design rules for your printer(s) (group project).
2. Design and 3D print an object (small, few cm) that could not be made subtractively.
3. 3D scan an object (and optionally print it).
Have:
Described what you learned by testing the 3D printers
Shown how you designed and made your object and explained why it could not be made subtractively
Scanned an object
Outlined problems and how you fixed them
Included your design files and ‘hero shot’ photos of the scan and the final object
Test the design rules for your printer(s) (group project)
3D printers available in the laboratory
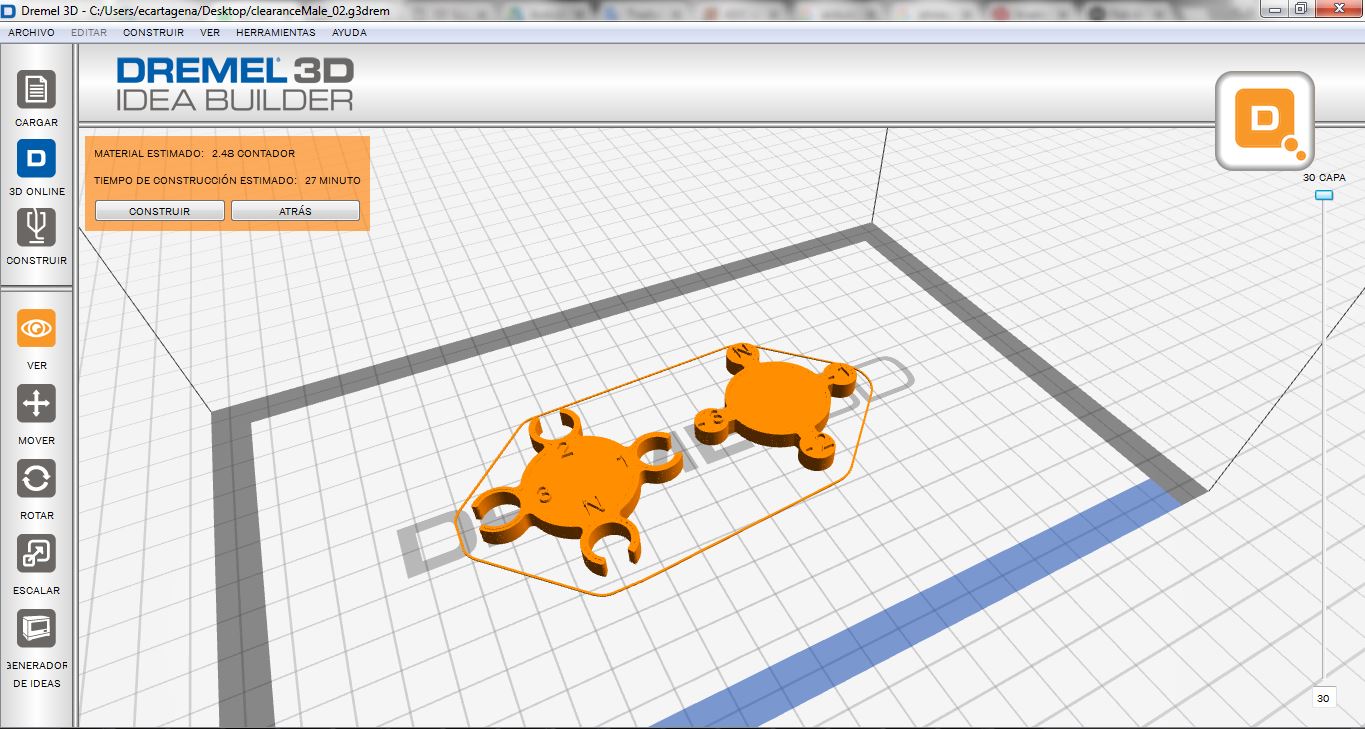
The laboratory has two 3D printers, the Makerbot Z18 printer and the Dremel Idea Builder Printer
3D PRINTER DREMEL IDEA BUILDER
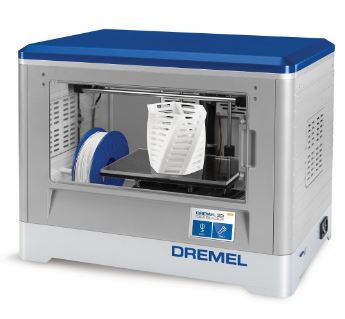
- 100 micron build resolution
- Removable build platform
- Onboard software & Full Color Touchscreen
- Active cooling fan
- Material PLA
- Maximum printing size 230x150x140 mm
3D PRINTER MAKERBOT Z18
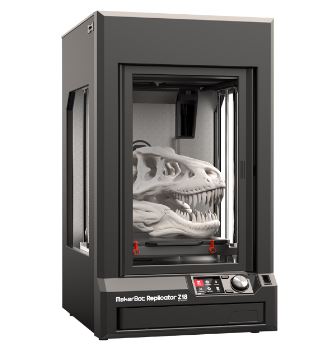
- 100 micron build resolution
- Removable build platform
- Material PLA, ABS
- Maximum printing size 305x305x457mm
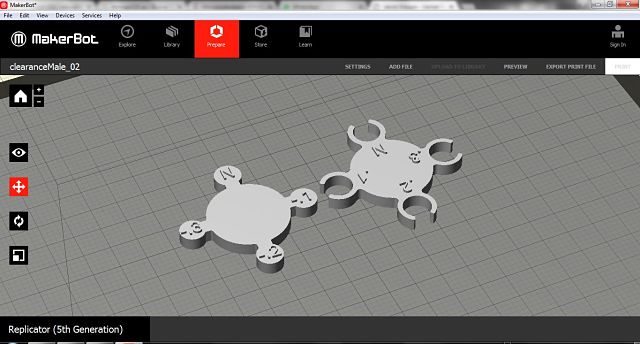
Testing the printers
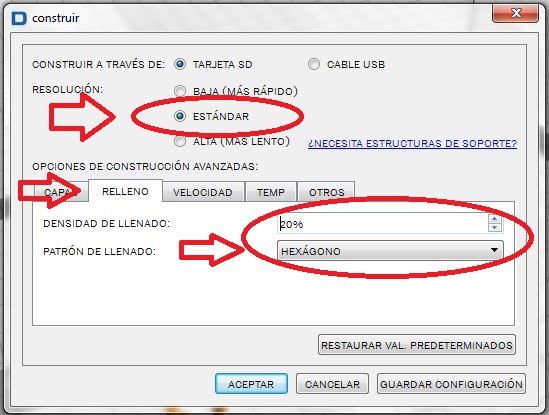
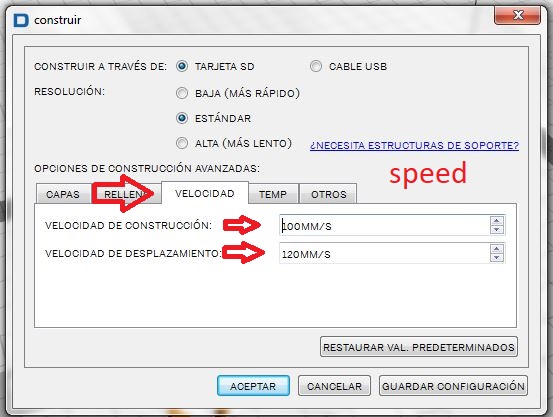
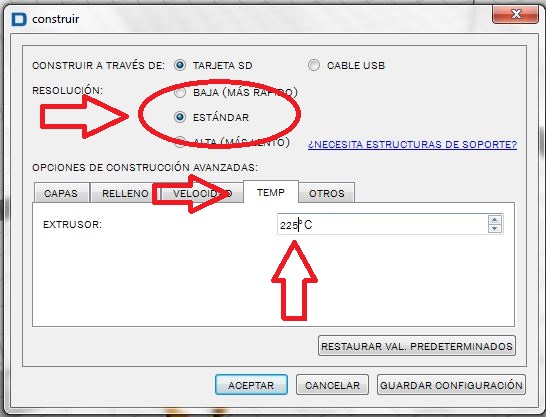
This was assigned as a group exercise. David,Jose and Me discussed it and decided that we will use a design made by David. Then we will try the same impressions in the different printers in the laboratory to see if the results differ.
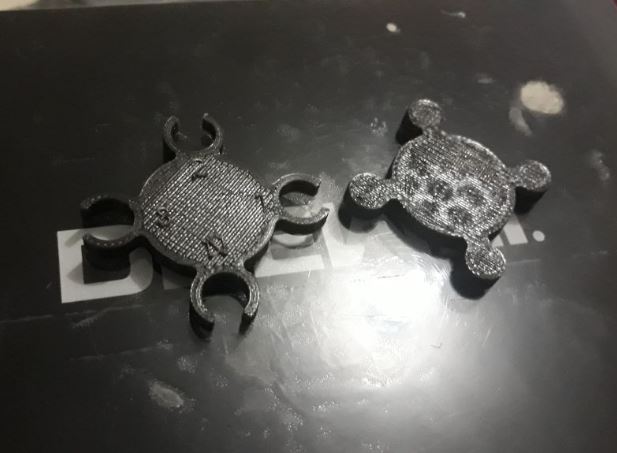
3D PRINTER MAKERBOT Z18
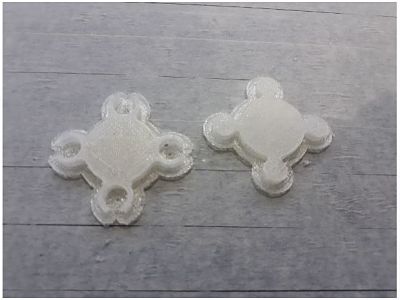
Gap Measurements
N: Theoretical gap 5mm was found to be between 5,2mm - 5,3 mm
1: Theoretical gap 4.9mm was found to be between 5,1 mm - 5,2 mm
2: Theoretical gap 4.8mm was found to be between 5,0 mm - 5,1 mm
3: Theoretical gap 4.7mm was found to be between 4,9 mm - 5 mm
Printed gaps are up to 0.3 mm larger than the theoretical dimension, this is due to the temperature at which the material is extruded.
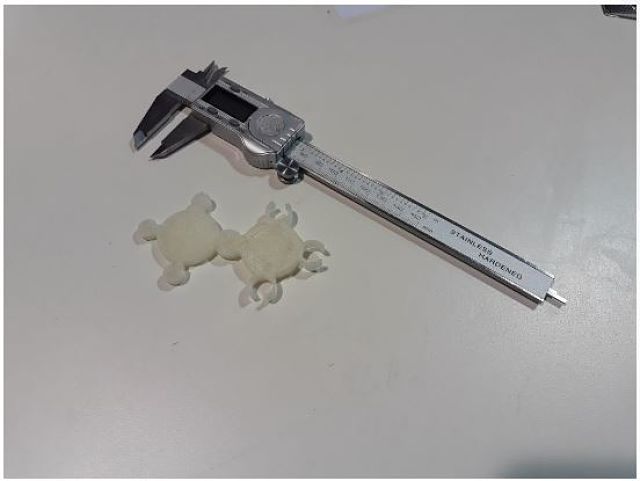
Gap Measurements
N: Theoretical gap 5mm was found to be between 5,1mm - 5,2 mm
1: Theoretical gap 4.9mm was found to be between 5,0 mm - 5,1 mm
2: Theoretical gap 4.8mm was found to be between 4,9 mm - 5 mm
3: Theoretical gap 4.7mm was found to be between 4.8 mm - 4.9 mm
Printed gaps are up to 0.2 mm larger than the theoretical dimension, this is due to the temperature at which the material is extruded.
Design recommendations for 3D printing
- Having the printer correctly calibrated.
- Position correctly the object to be printed, trying to make the part with the largest flat surface should be the base for better adhesion to the tray.
- Make sure that the surface of the object is on the platform.
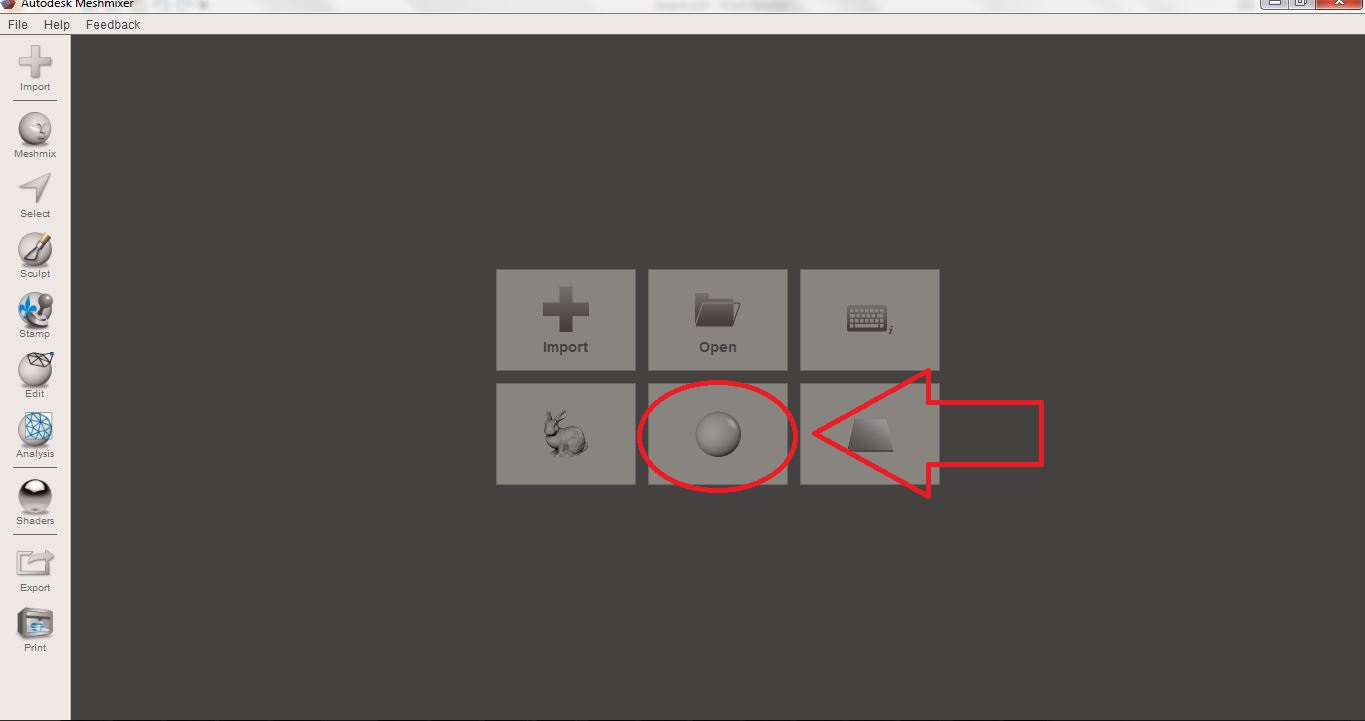
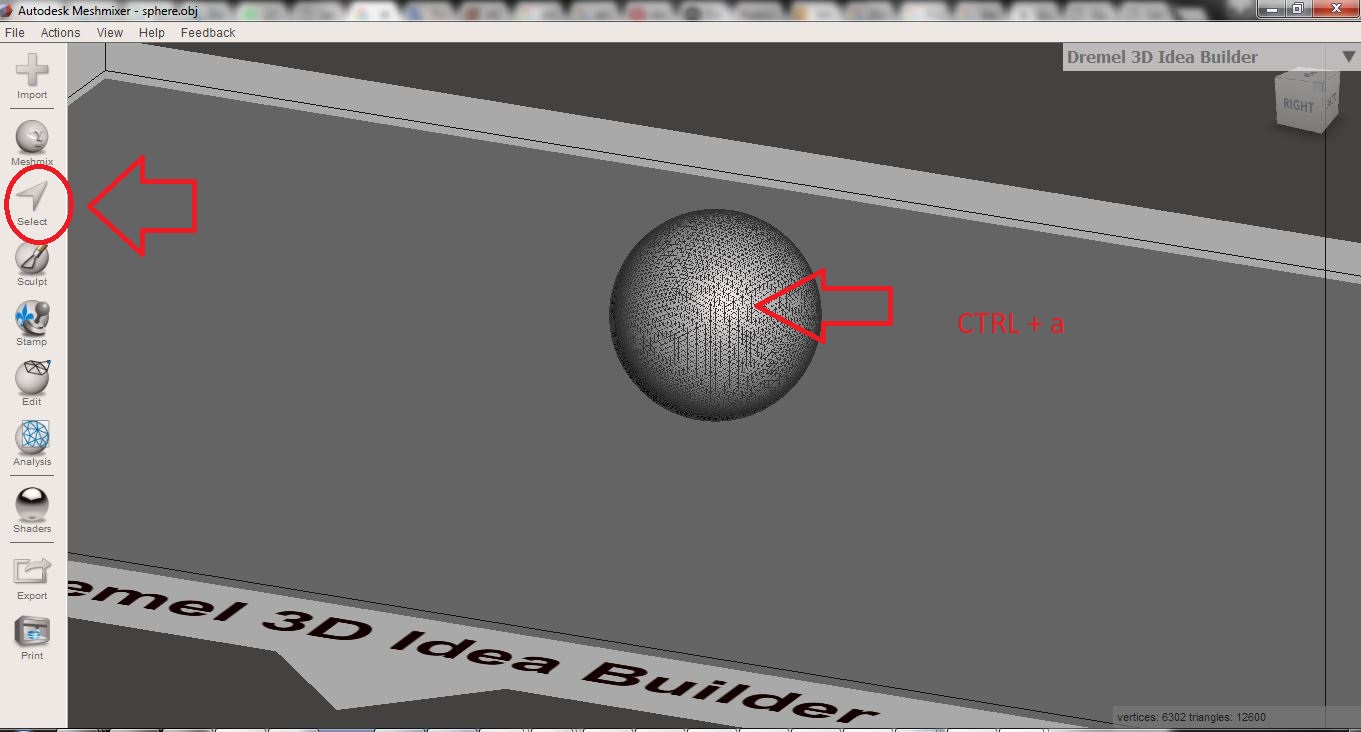
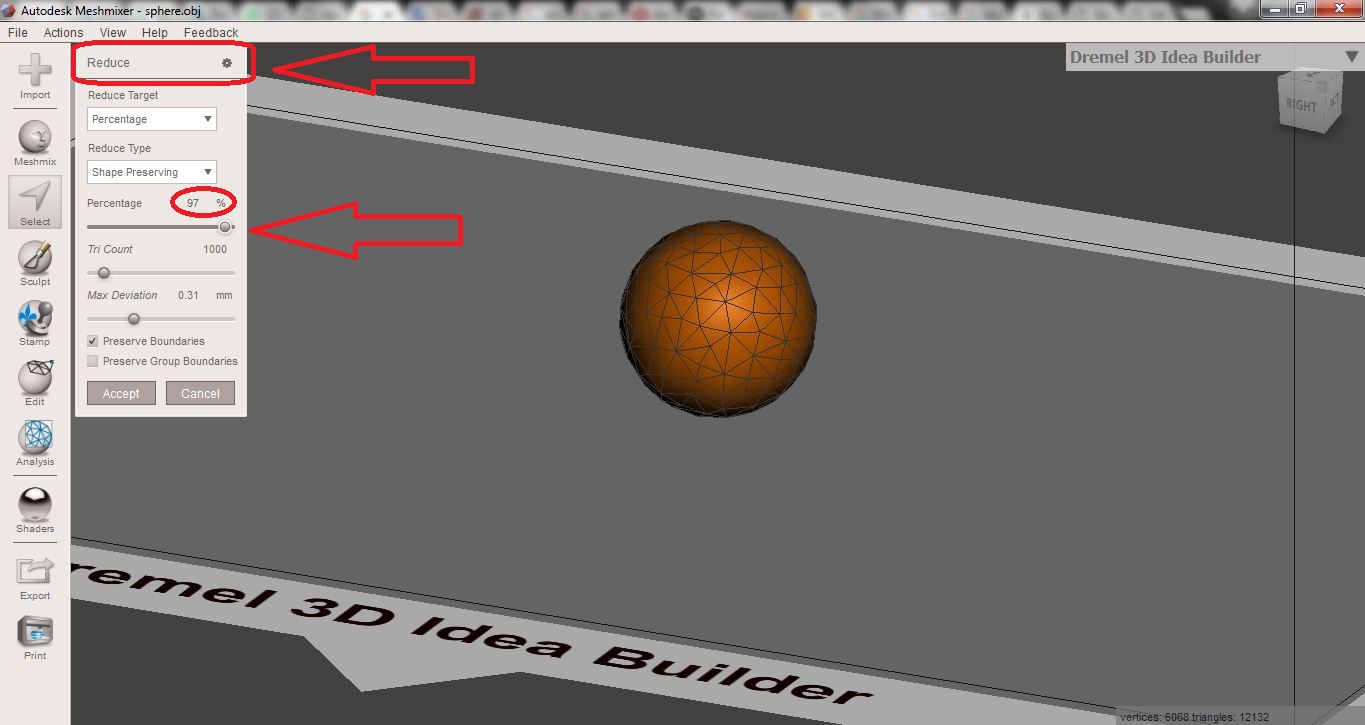
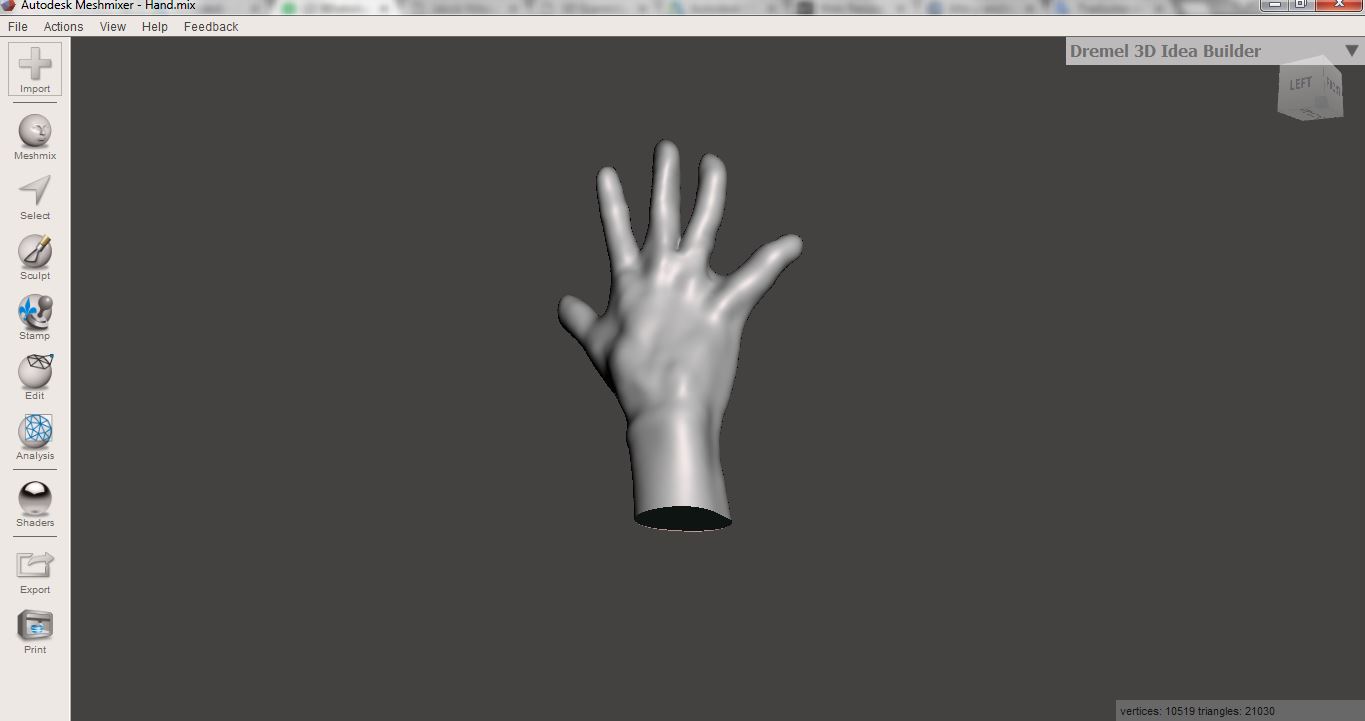
- If your model has pronounced protrusions (greater than 45 degrees). It is possible that supports are needed to build properly. For this you can use the software autodesk meshmixer.
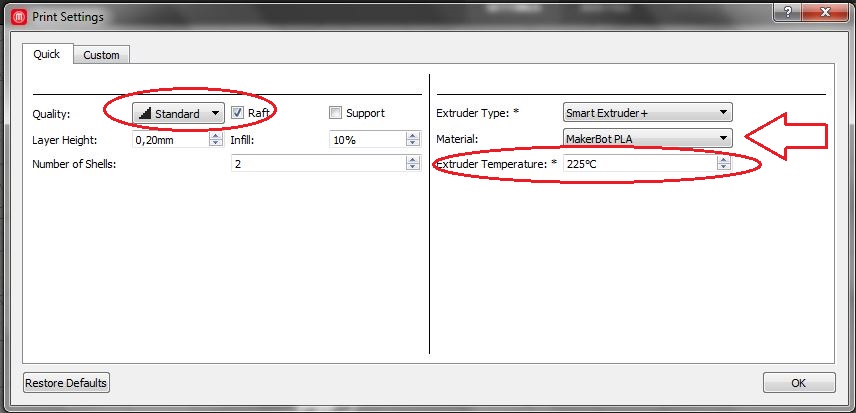
- Identify the technical specifications of the filament to be used to correctly set the working temperature.
- For better adhesion of the object it is recommended to place a layer of glue.
- Both the mechanical parts and the filament itself (due to contraction / expansion) have tolerance values that can affect the size of the final elements. I recommend taking into account a precision of 0.3% (both in contraction and in dilation) of the size of the pieces, with a minimum of 0.3mm. It is more than probable that our processes achieve greater precision, but we can not guarantee them.
- When working with large-sized or reduced-thickness parts, these are susceptible to buckling and warping due to irregular cooling processes of the extruded material. It is recommended the use of ribs and nerves, similar to those that would be used in injection processes, to try to reduce or eliminate this effect.
- The sharp corners are points of accumulation of tension in the pieces. We recommend the use of rounded corners to reduce tensions and improve the final result.
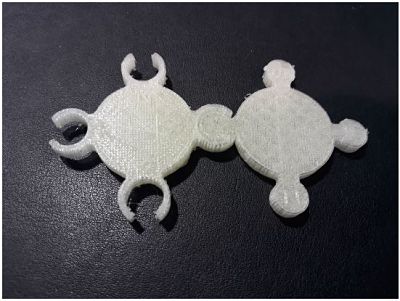
- FMD 3d printing technology allows us to intersect and connect pieces. In this case we have to consider a minimum clearance of 0.4mm for movement fittings. If it is an assembly fitting, we will consider a minimum clearance of 0.3mm between parts
- In engravings and reliefs to guarantee the correct visualization of engravings, it is recommended that the lines have a minimum thickness of 1mm and a minimum depth of between 0.3mm.
- To guarantee the correct visualization of reliefs, it is recommended that the lines have a minimum thickness of 2.5mm and a minimum height of between 0.5mm.
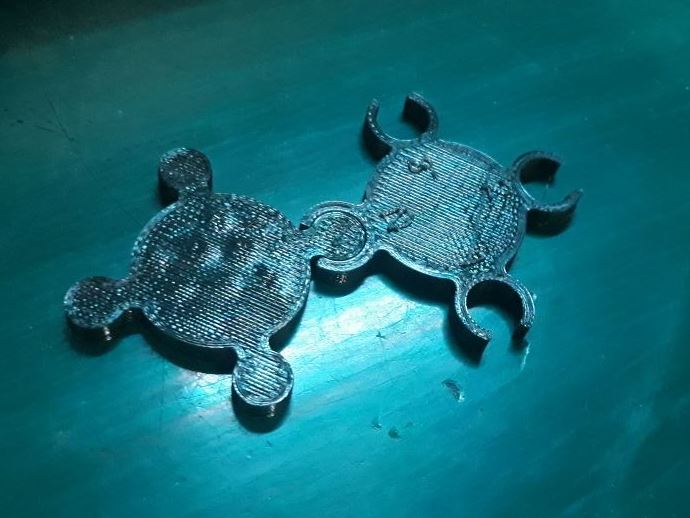
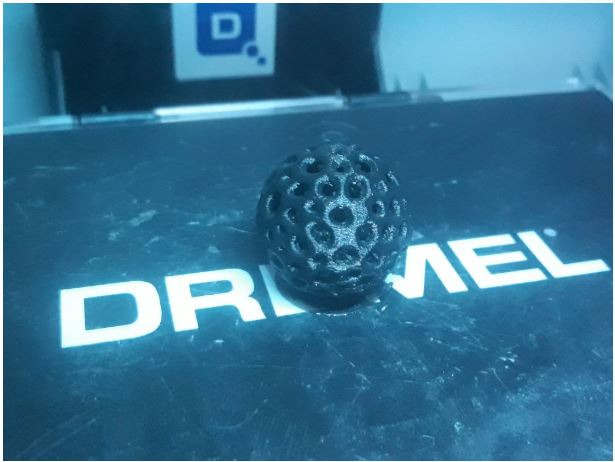
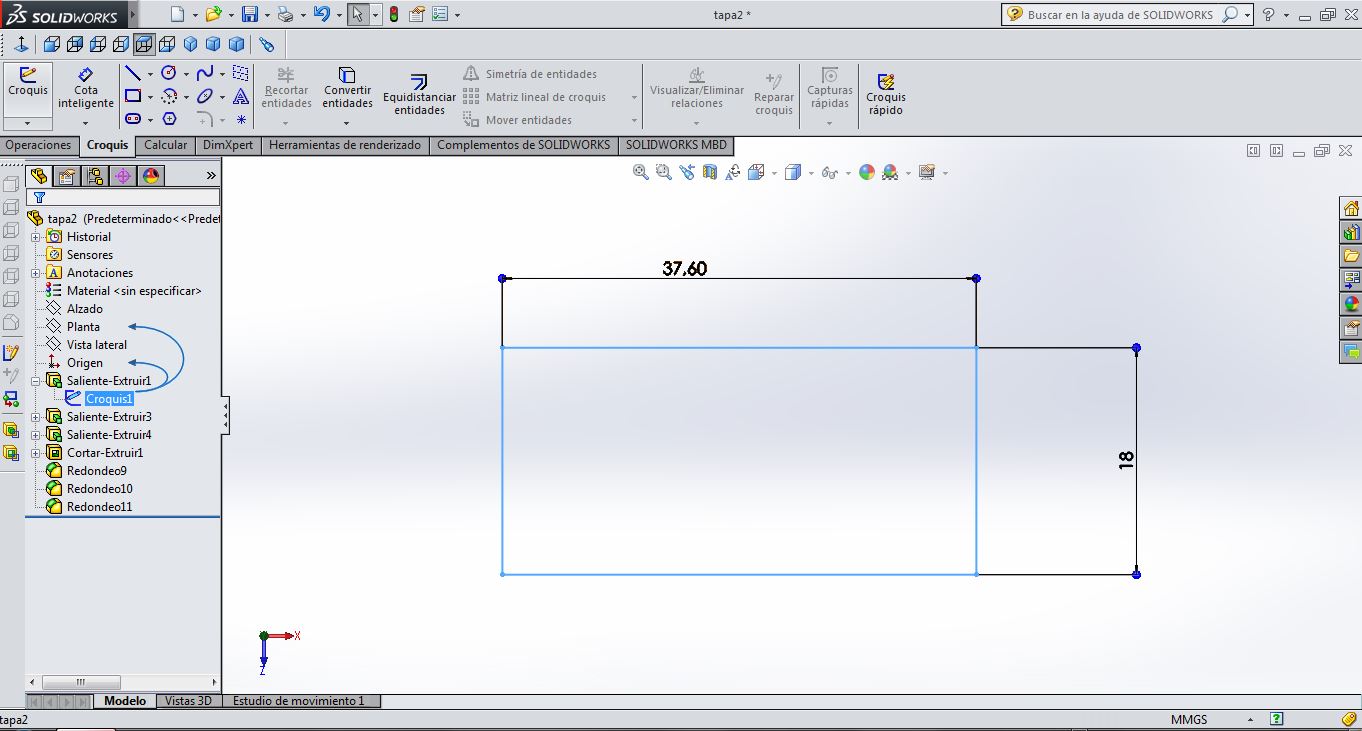
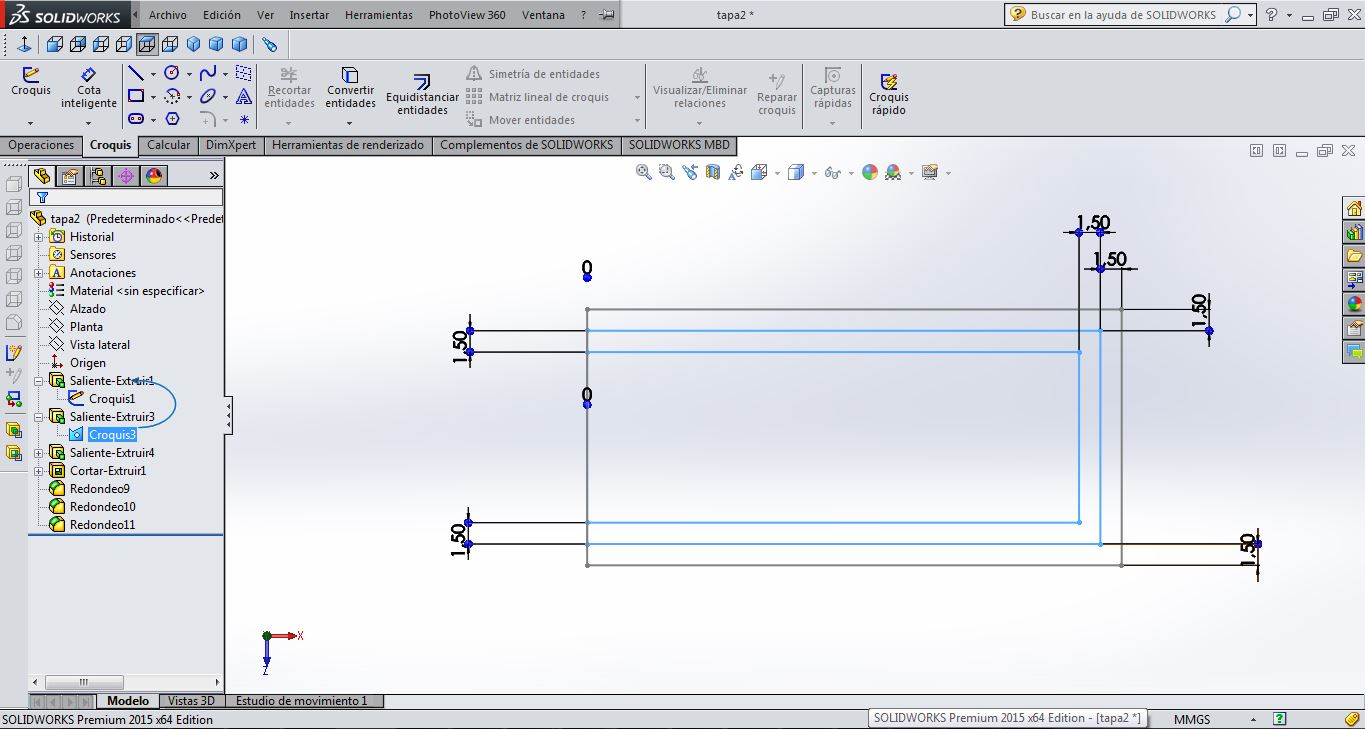
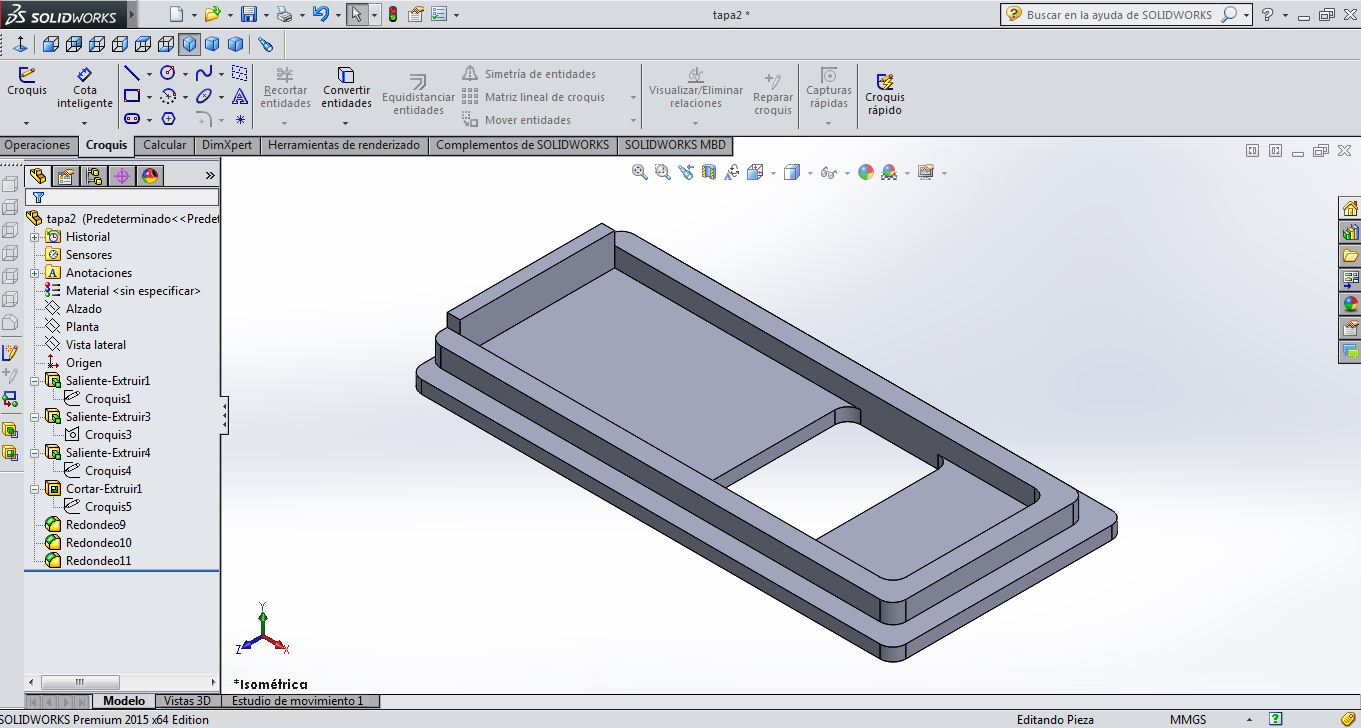
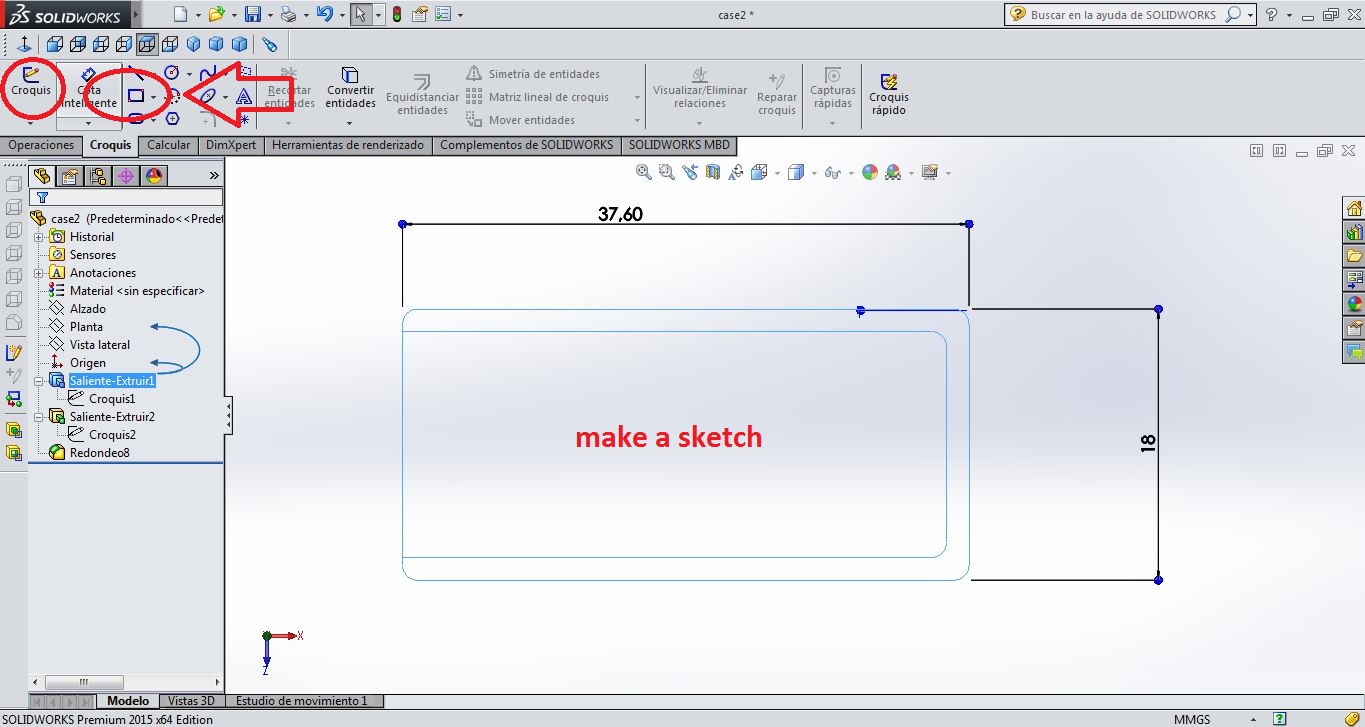
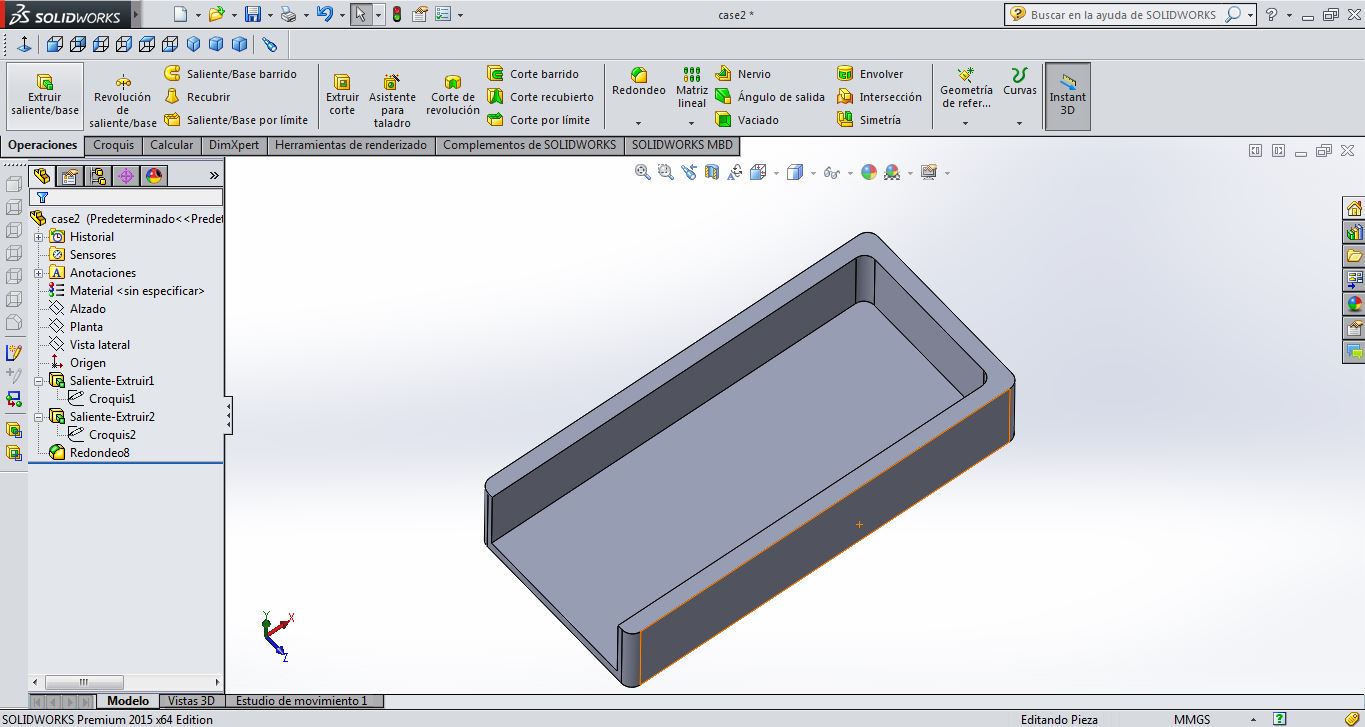
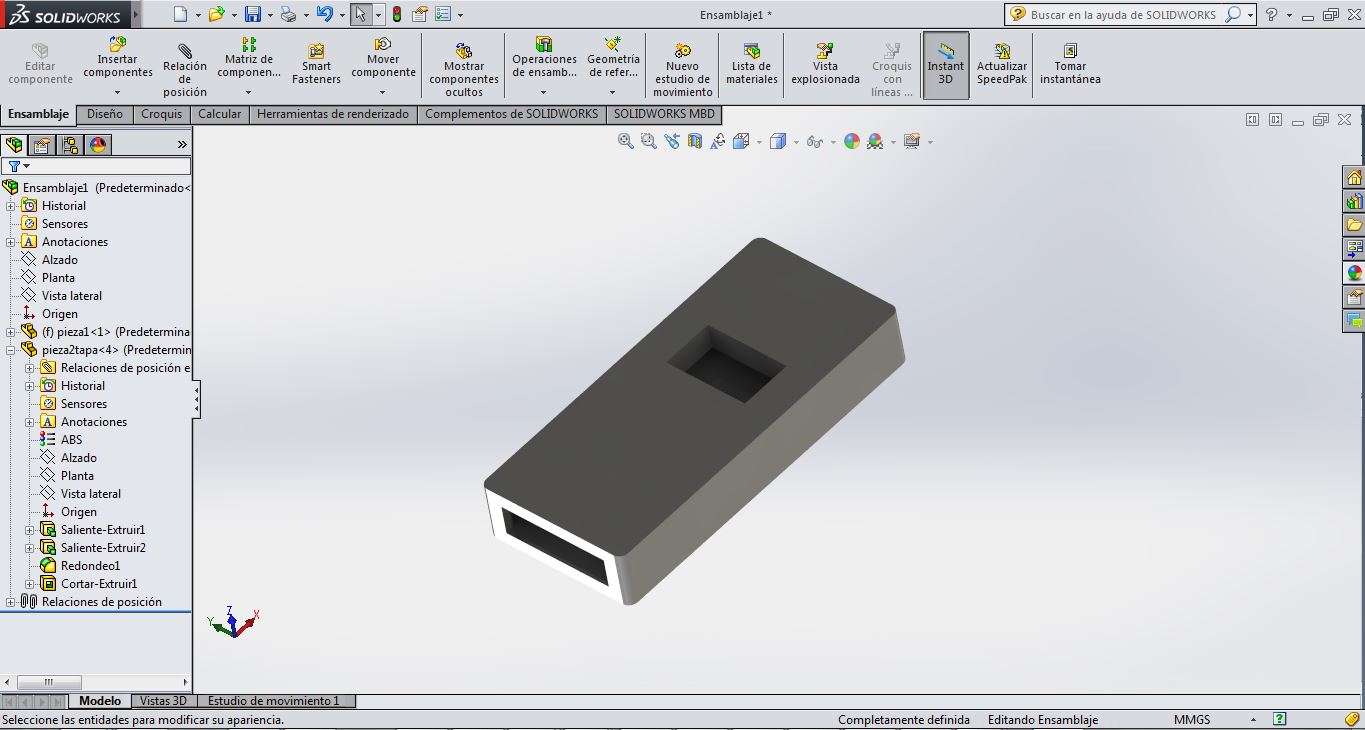
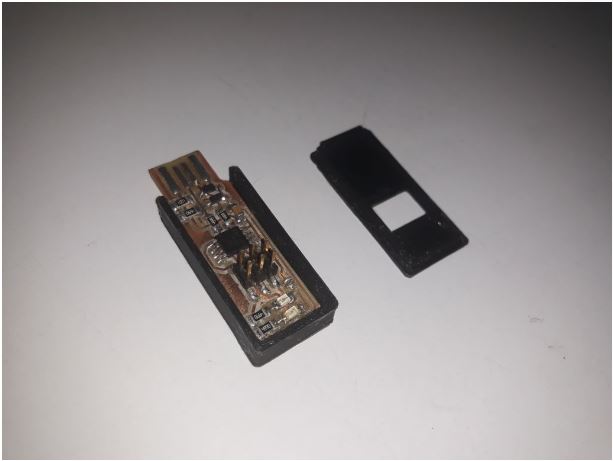
Design and 3D print an object (small, few cm) that could not be made subtractively.
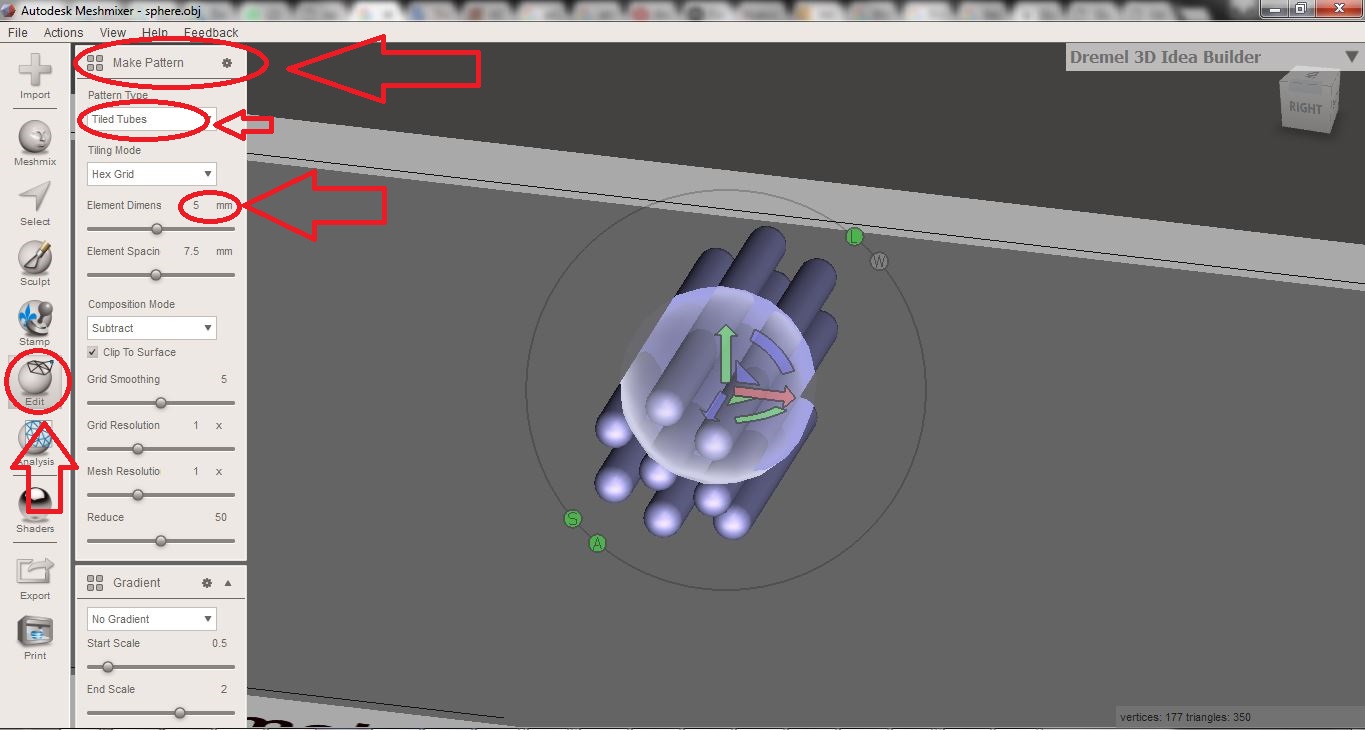
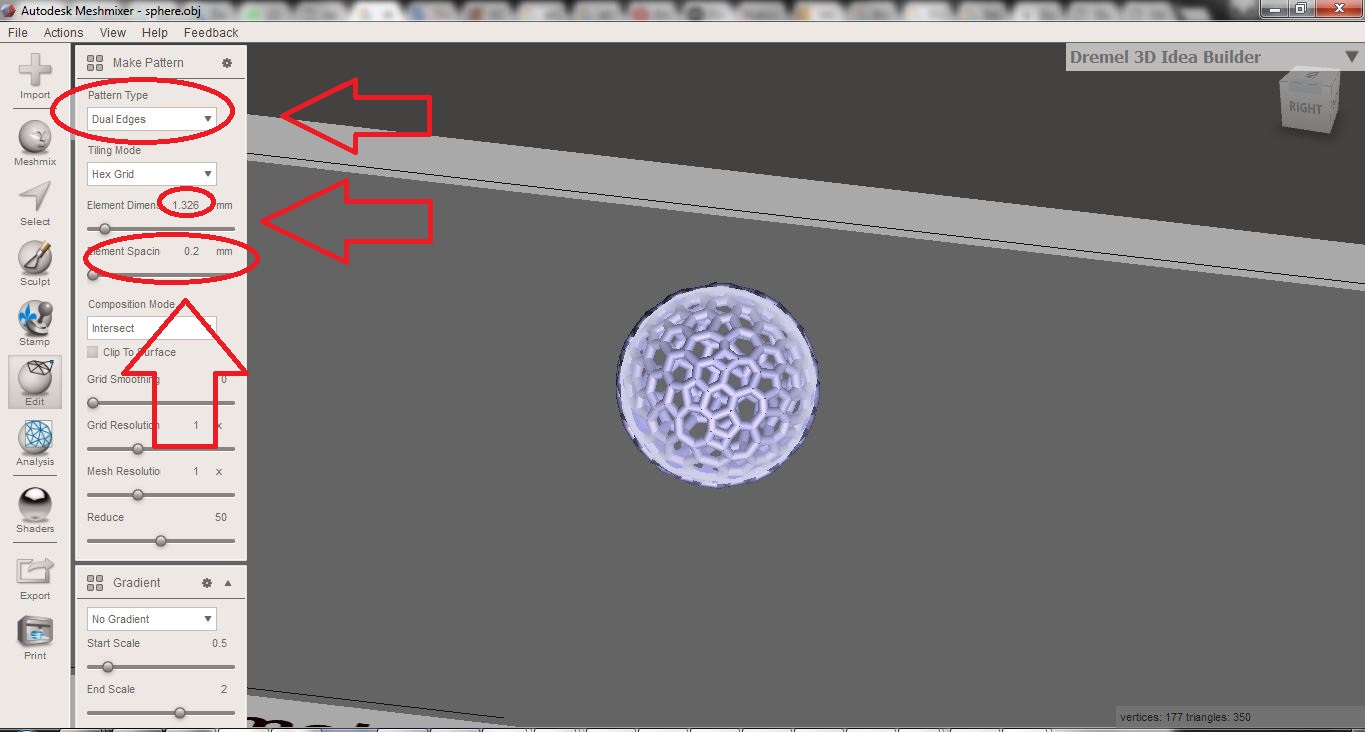
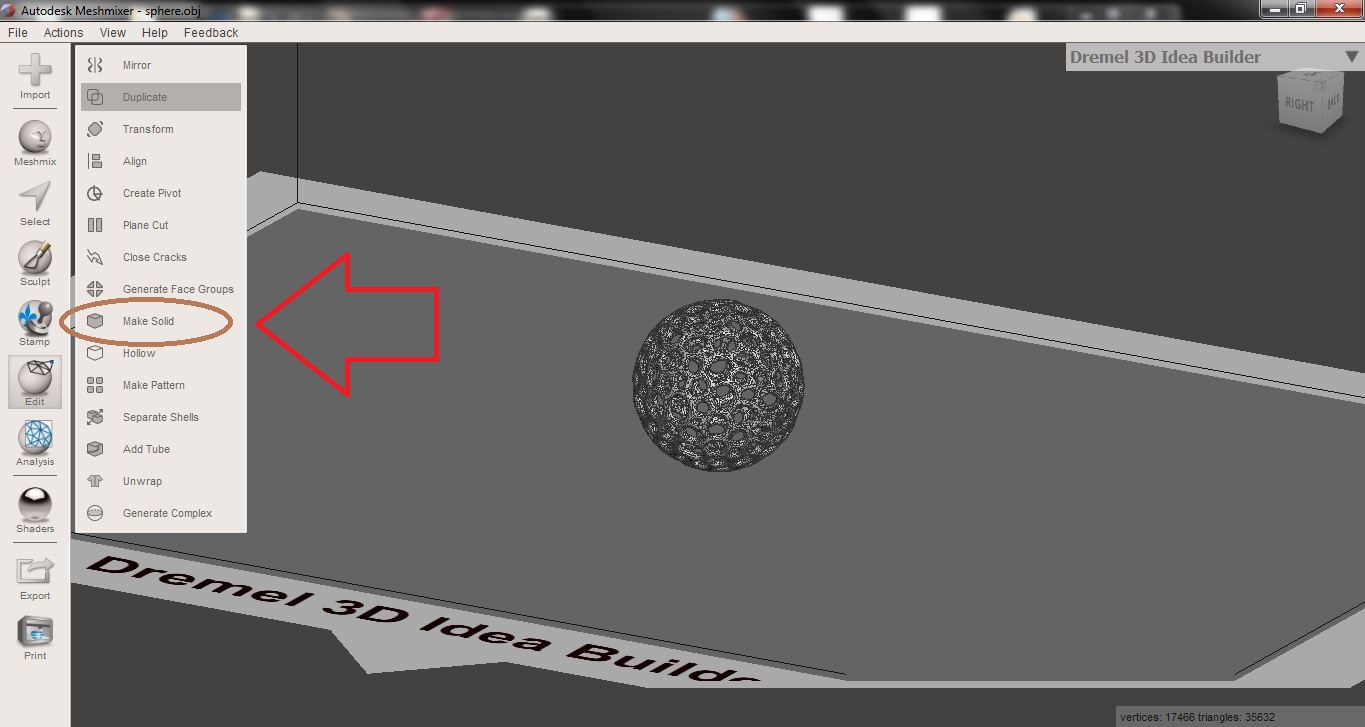
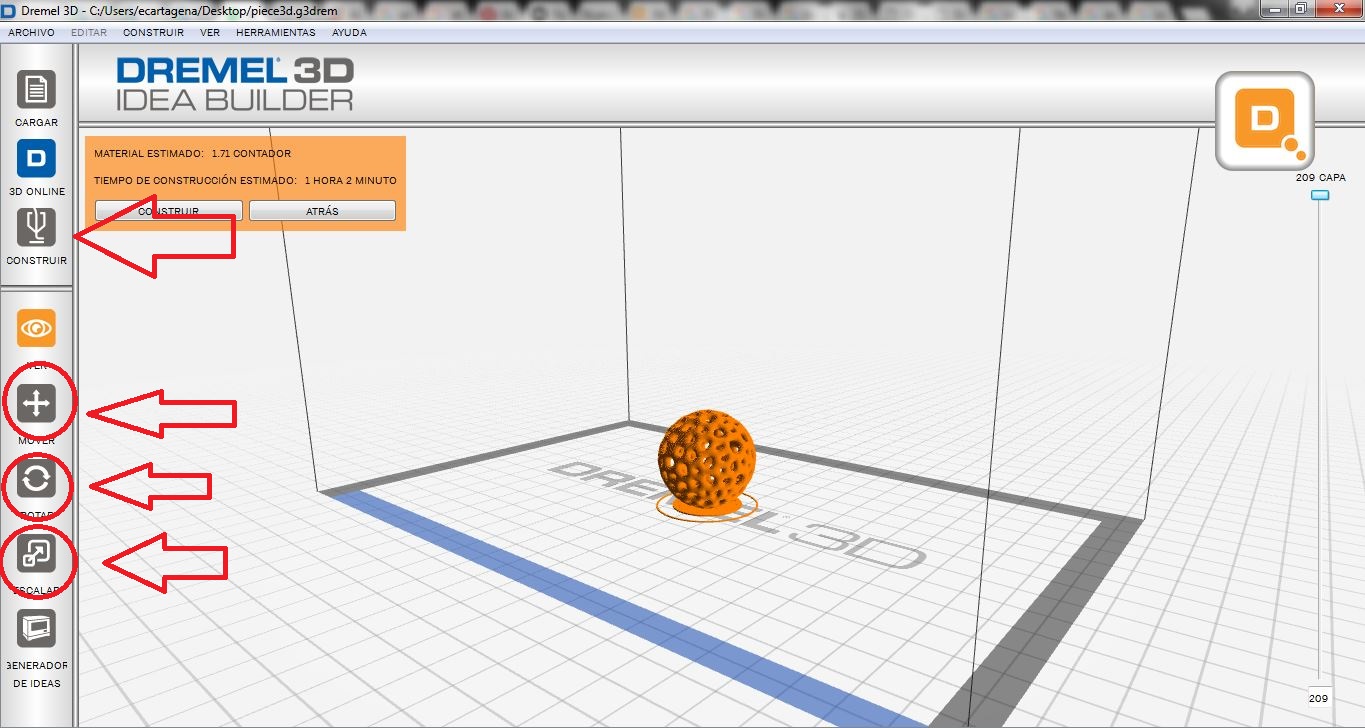
For this activity I made some simple non substractively 3D objects.


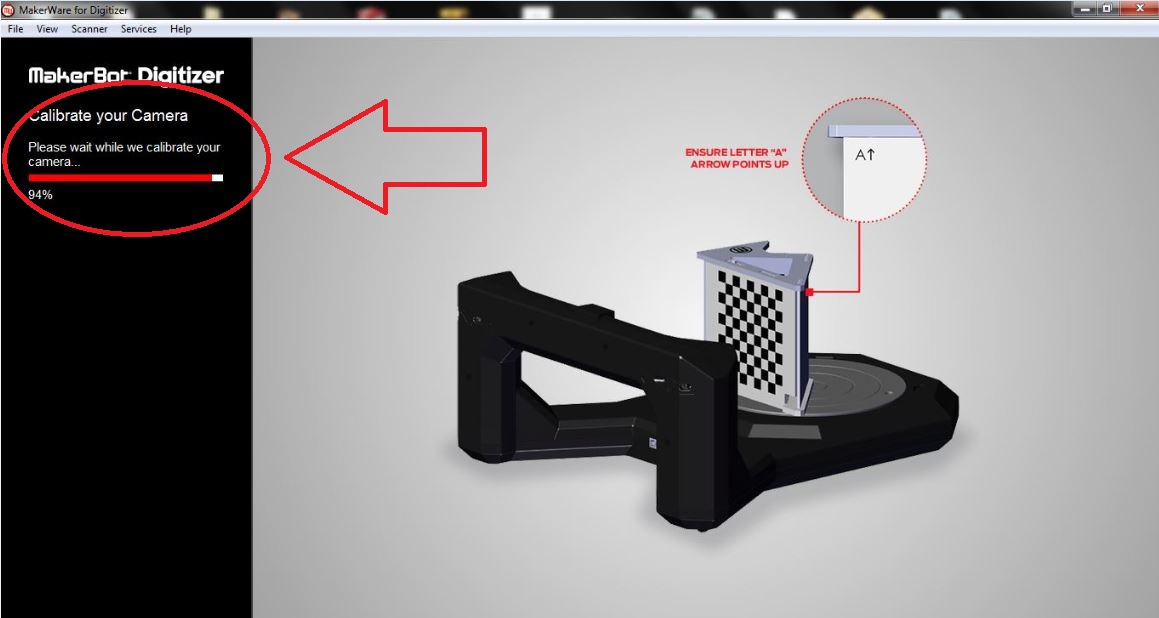
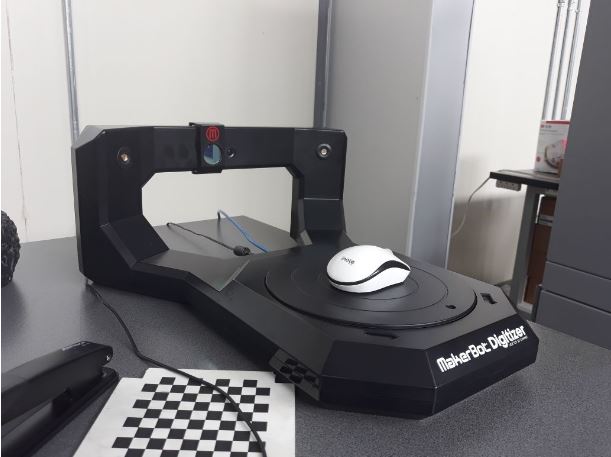
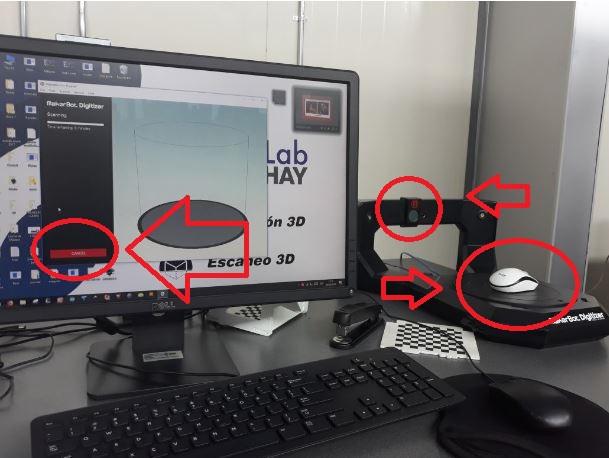
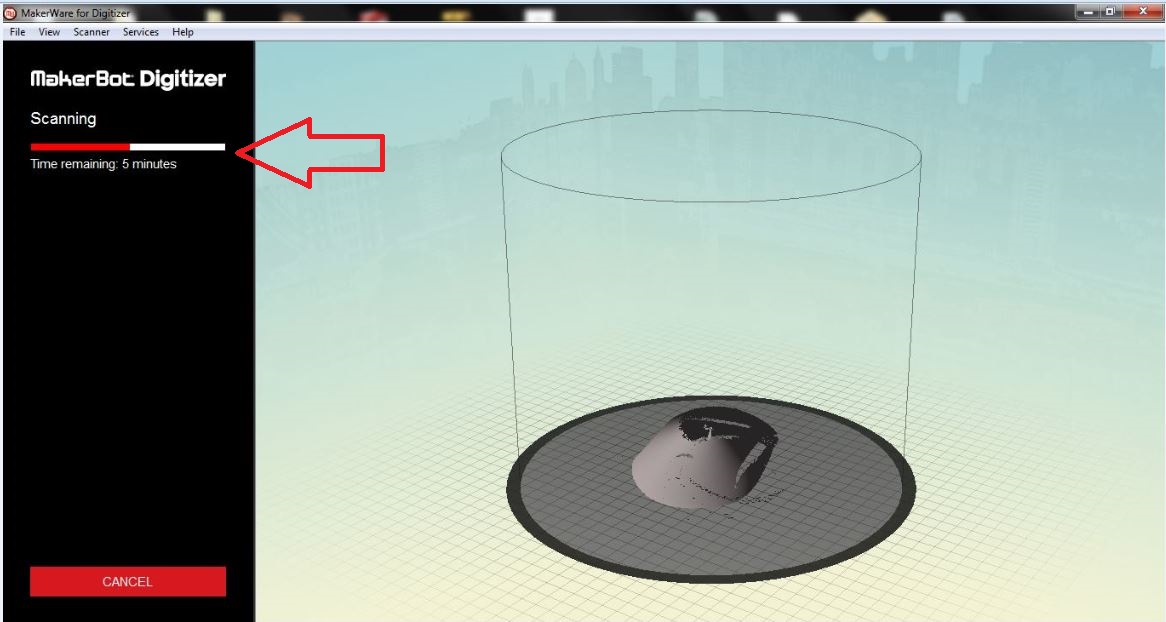
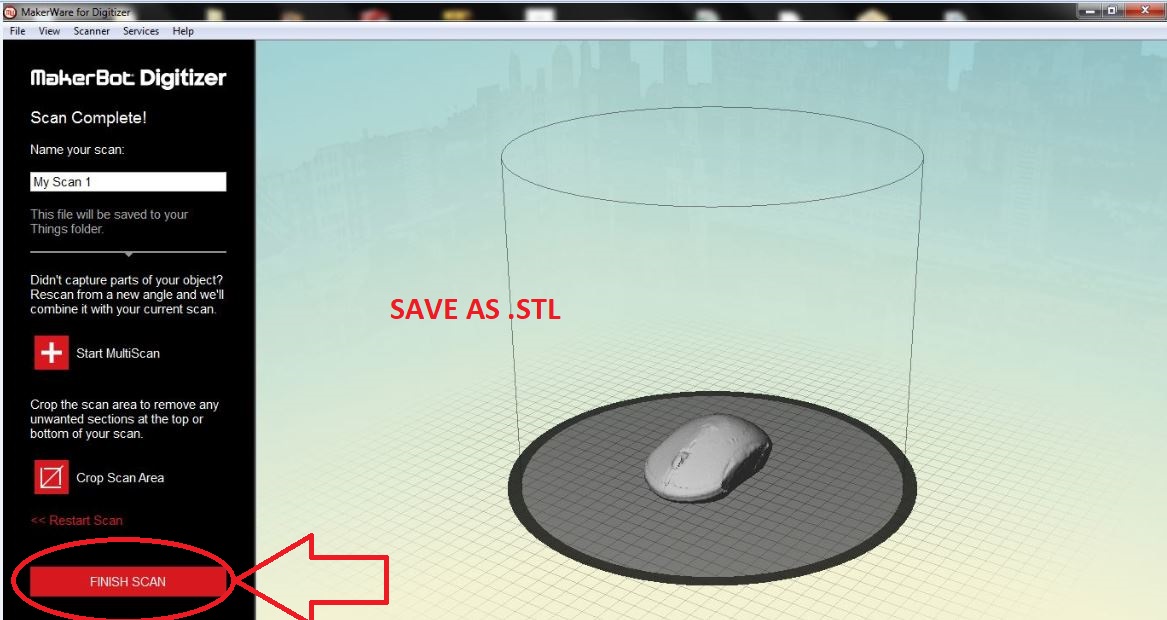
3D SCANNING.
For this activity I used a Makerbot Digitalizer 3D scanner.

EXTRA ACTIVITIES OF 3D SCANNING.
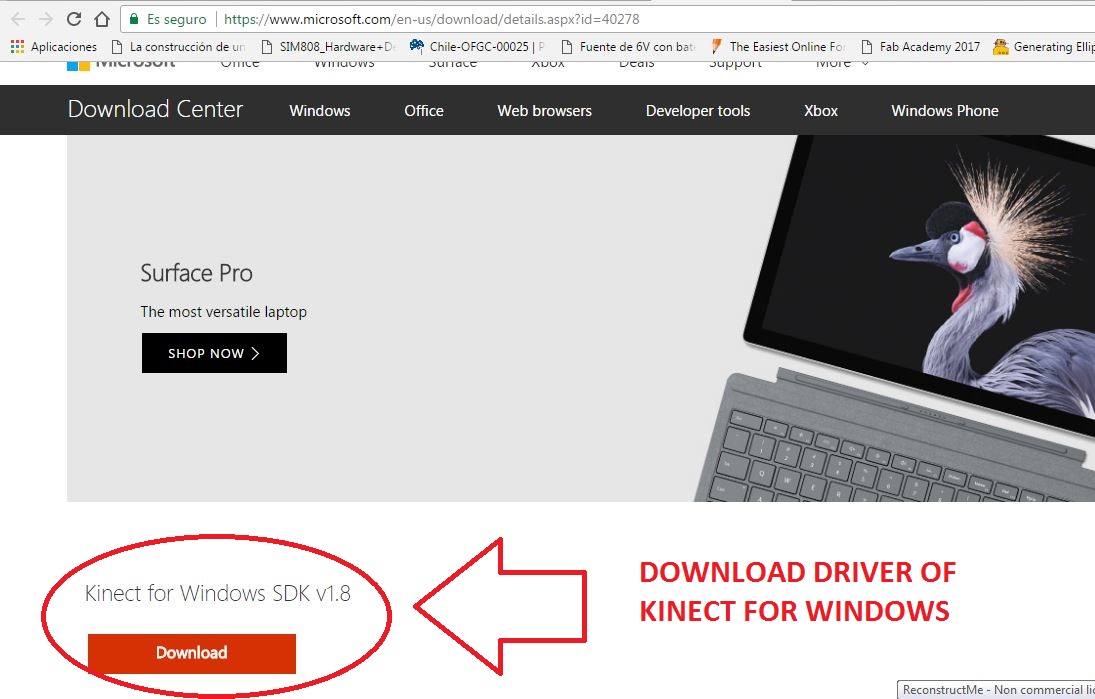
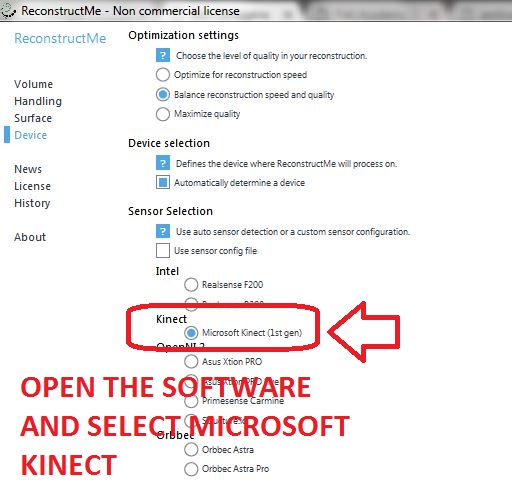
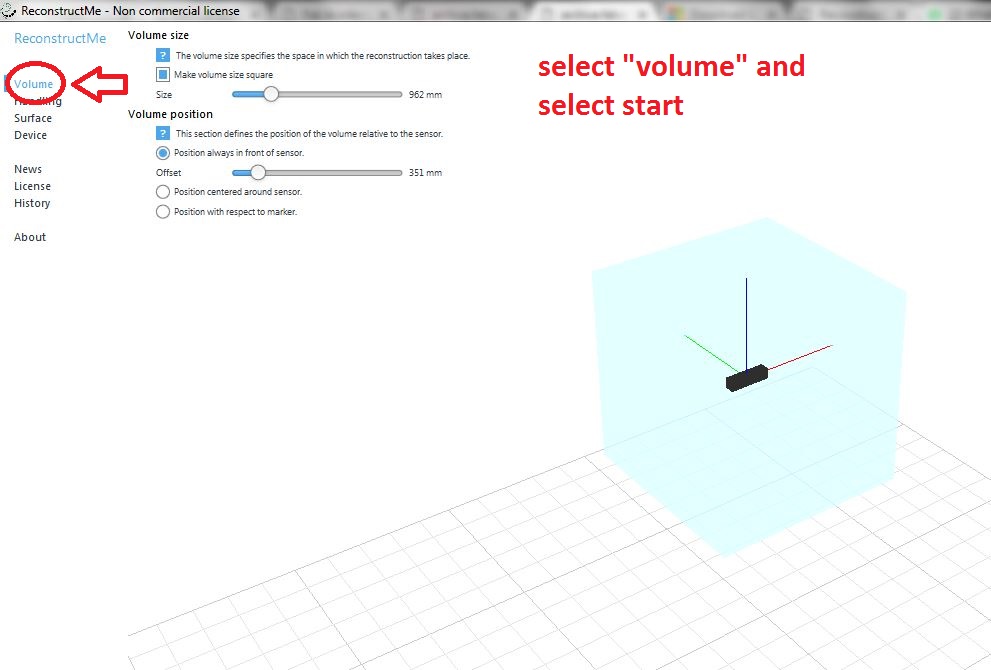
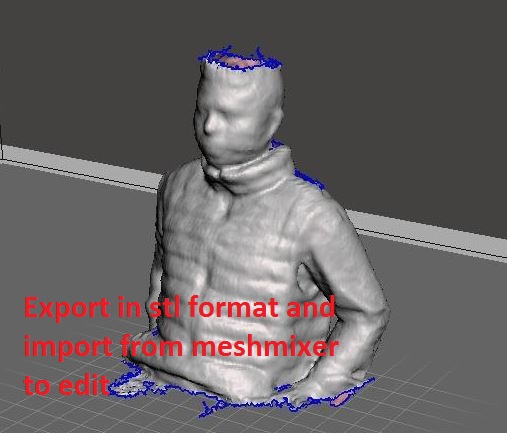
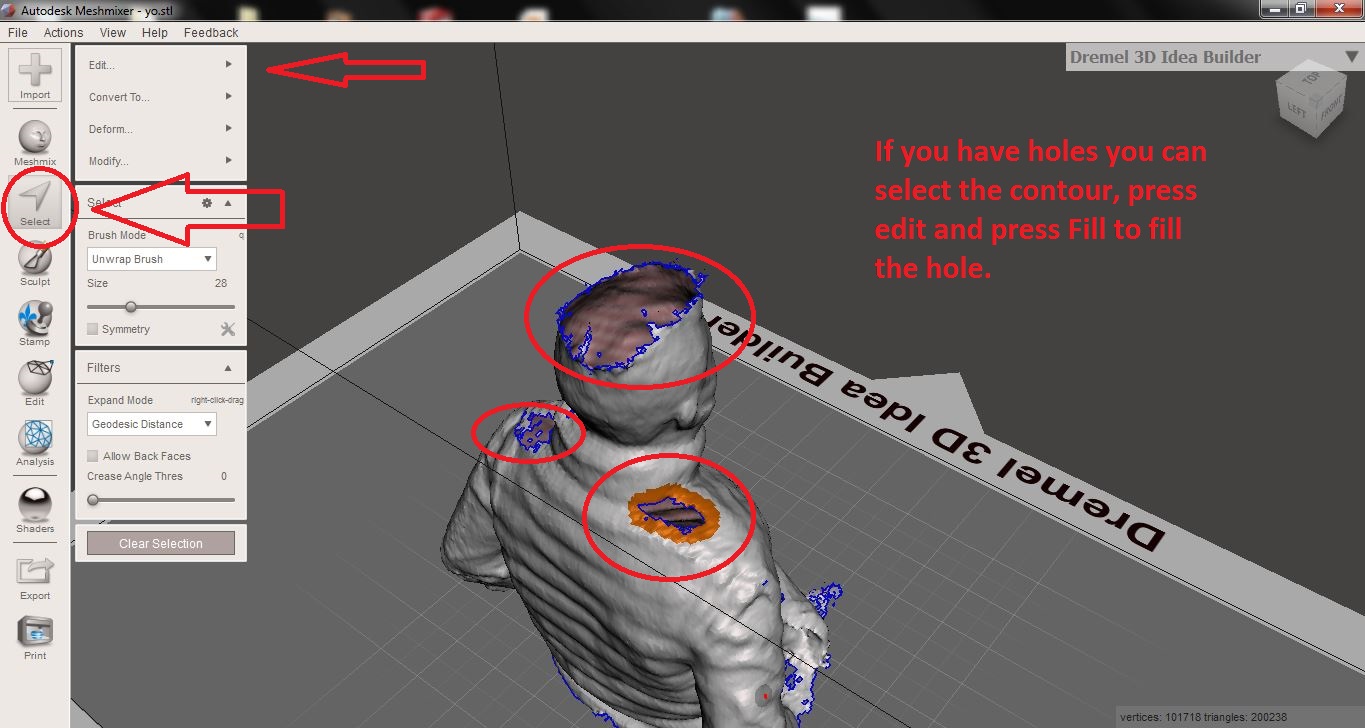
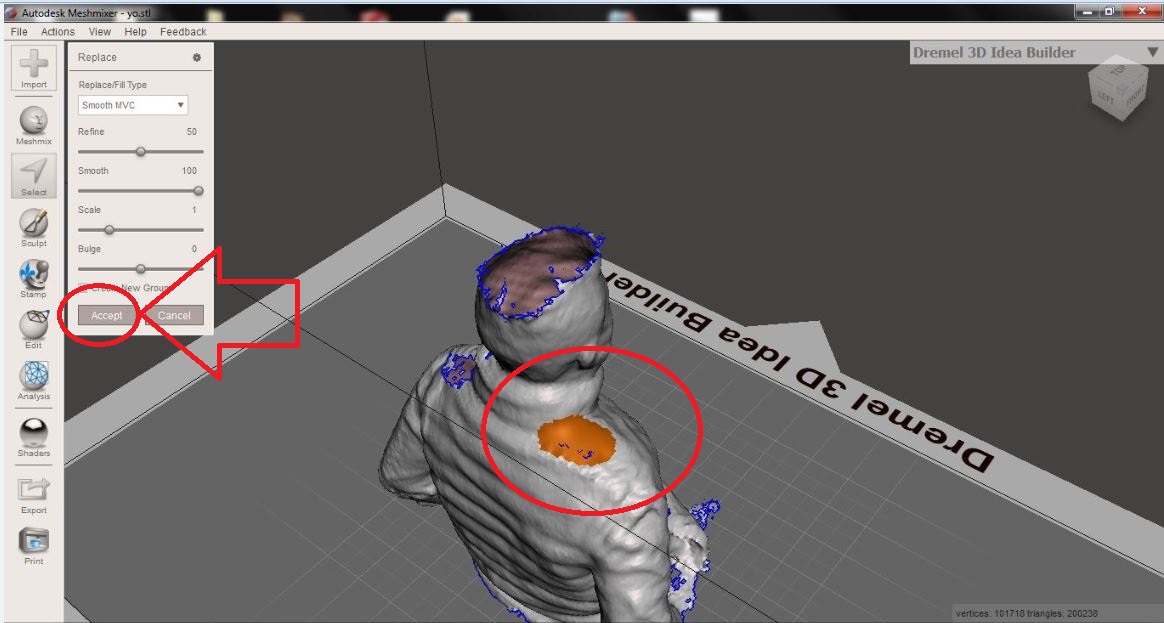
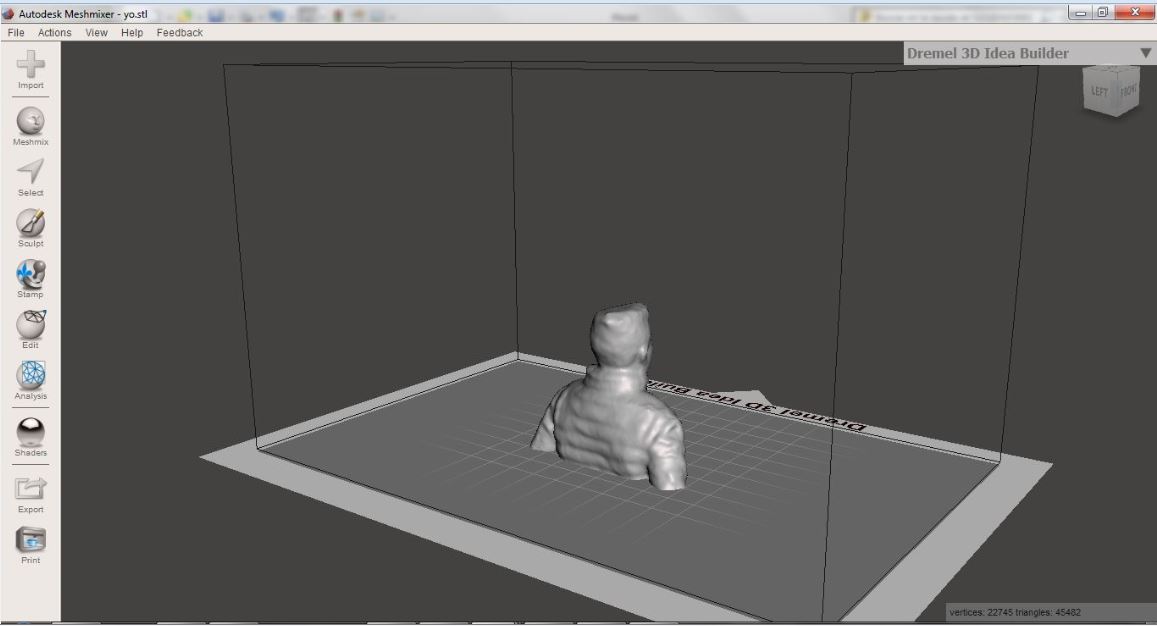
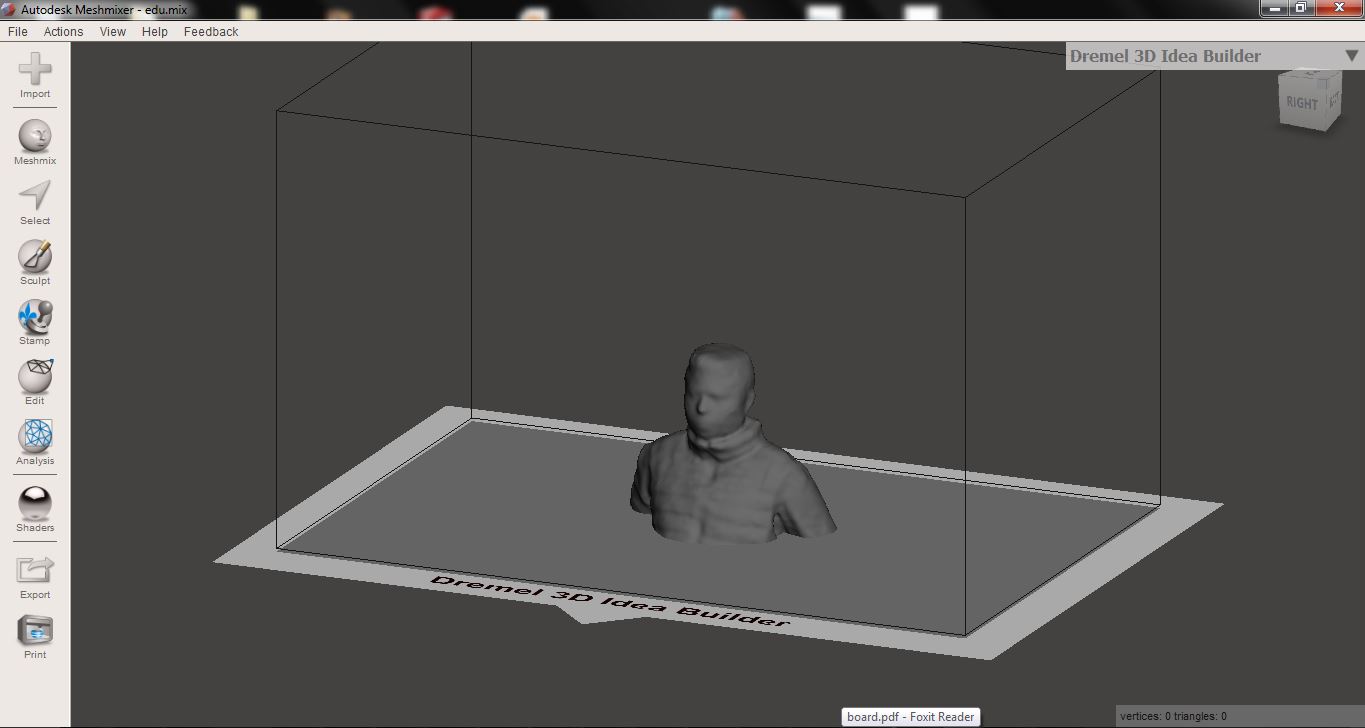
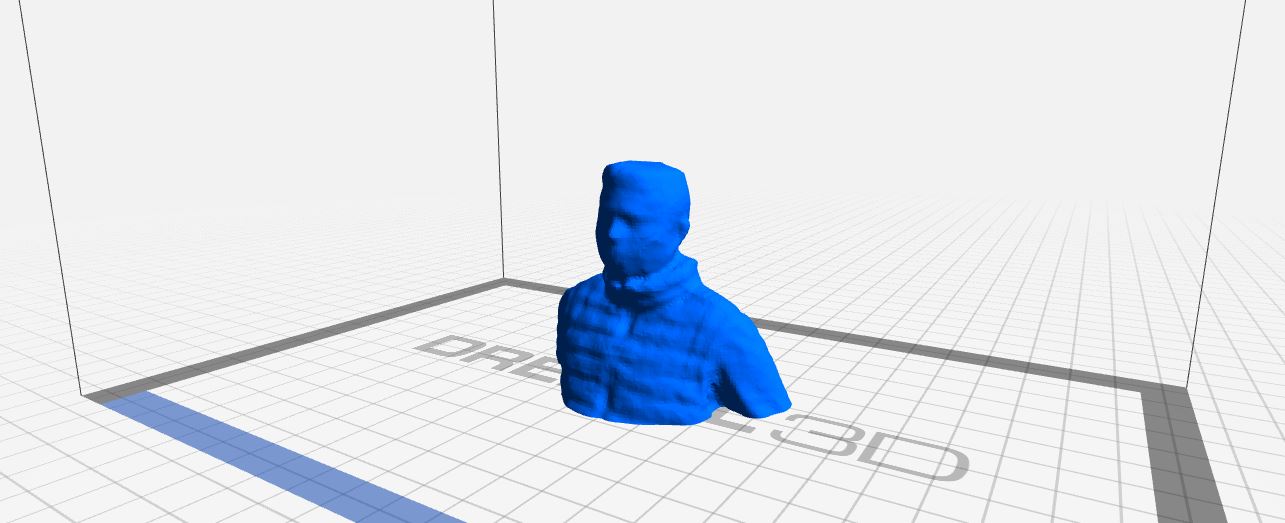
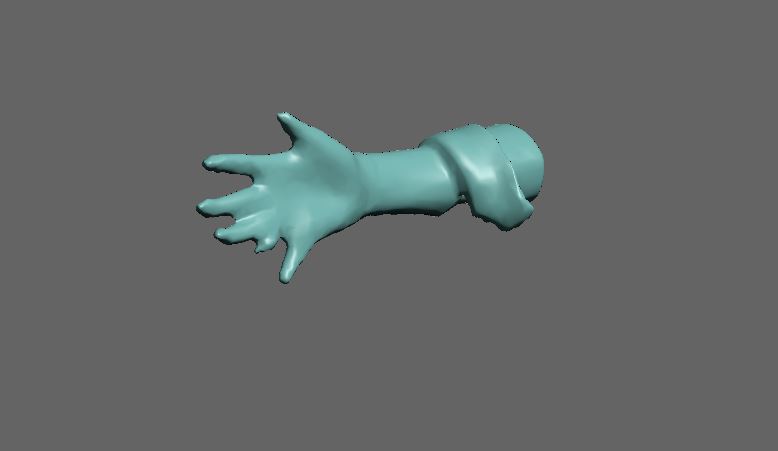
As extra activities I tried to scan myself using the kinect sensor and the Reconstructme software, I also scan a hand with osteoarthritis to apply it in my final project.

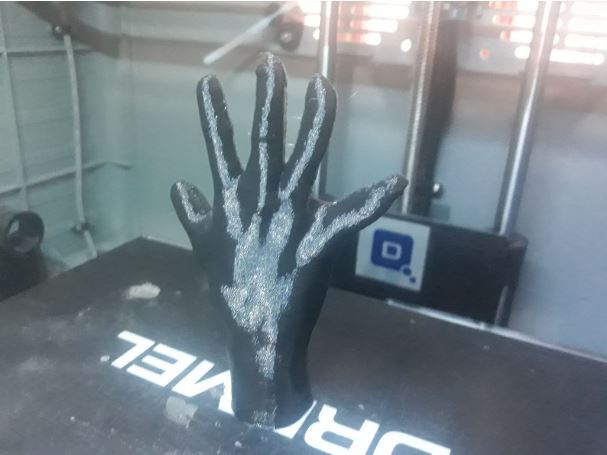
Scanning a hand with osteoarthritis
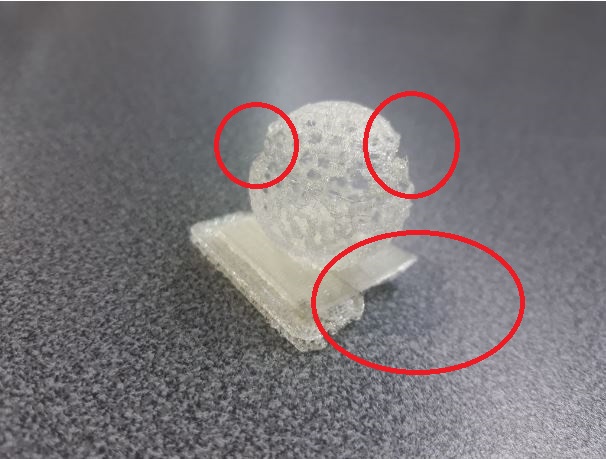
ISSUES AND REMARKS
I only had one problem with one of the impressions, this inconvenience was caused by the thickness of the wall of the sphera which was too thin, to solve this change the design and expand the thickness of the wall of the sphere.
Scanning a hand with osteoarthritis
Advantages and limitations of 3D printing and scanning technology
3D Printing
Advantages
Disadvantages
3D Scanning
Advantages
Disadvantages

DOWNLOADS
- File 1: FabTinyISP Case
- File 2: Edu Scanning
- File 3: Hand Scanning
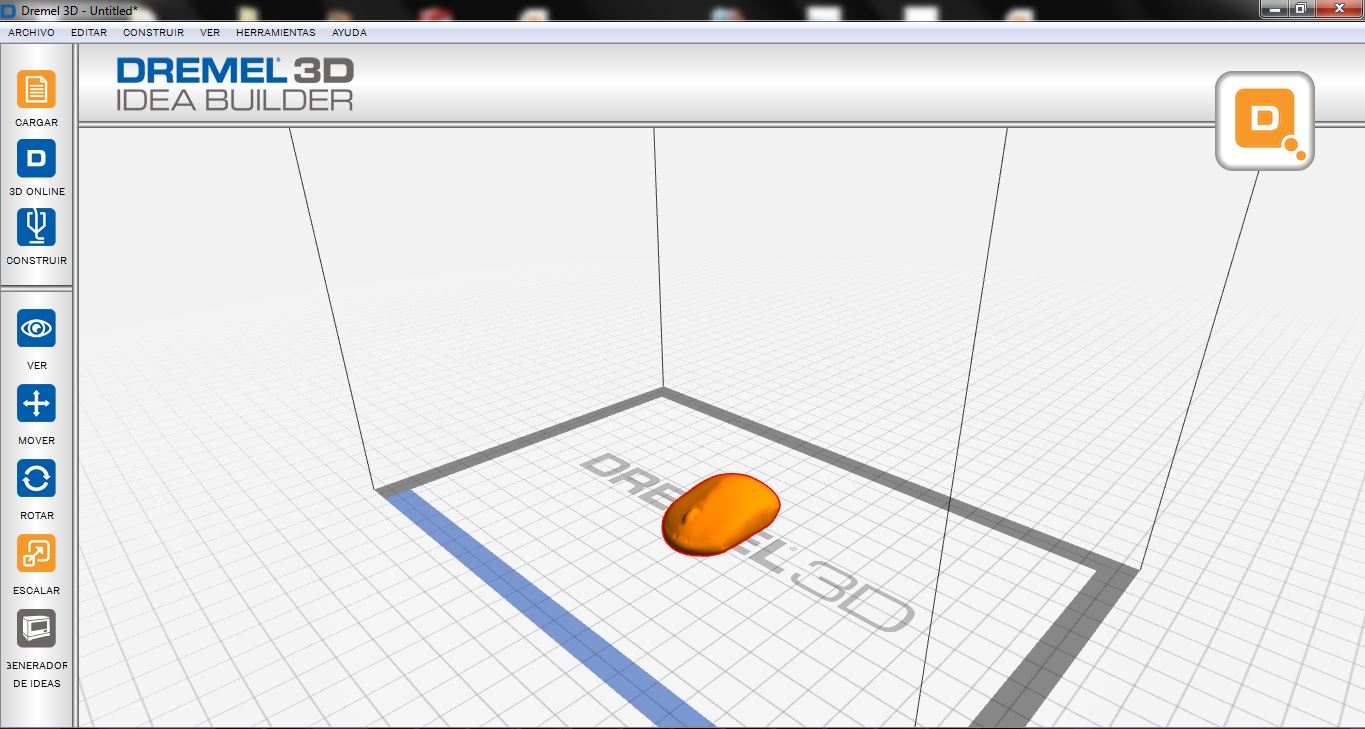
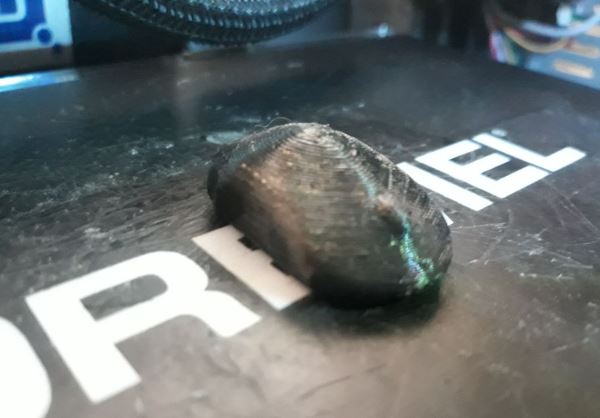
- File 4: Mouse Scanning
- File 5: Voronoi Sphere