Week 9 assignments:
Moulding and Casting:
From Fab Academy 2018 assignments
1. Review the safety data sheets for each of your molding and casting materials, then make and compare test casts with each of them (GROUP PROJECT).
2. Design a 3D mould around the stock and tooling that you'll be using, machine it, and use it to cast parts.(INDIVIDUAL PROJECT)
Have:
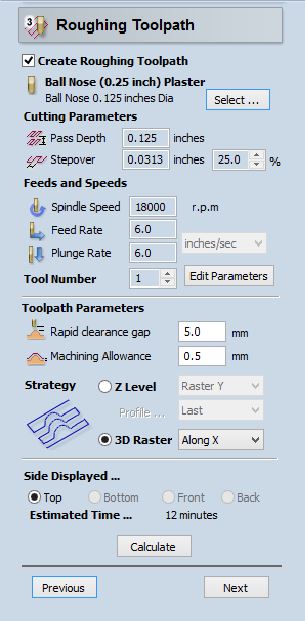
Explained how you designed your 3D mould and created your rough and finish toolpaths for machining.
Shown how you made your mould and cast the parts
Described problems and how you fixed them
Included your design files and ‘hero shot’ photos of the mould and the final object
Designing the mold
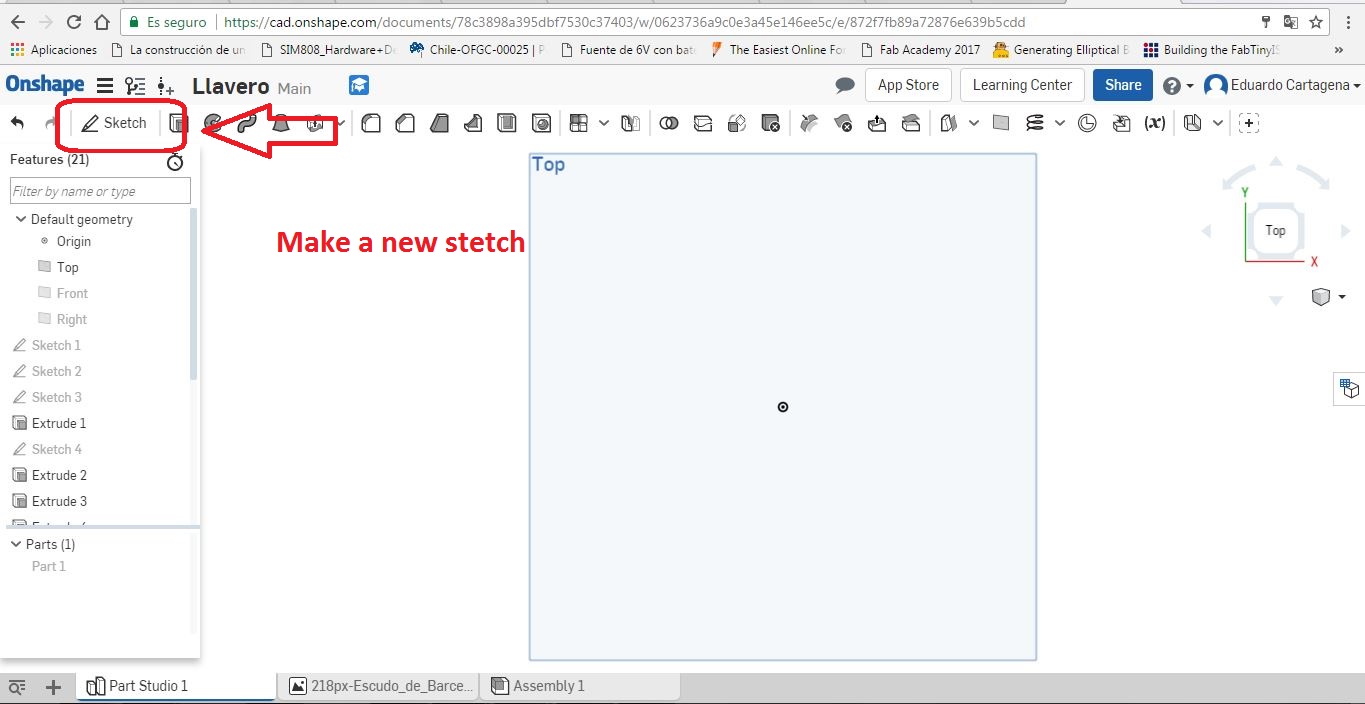
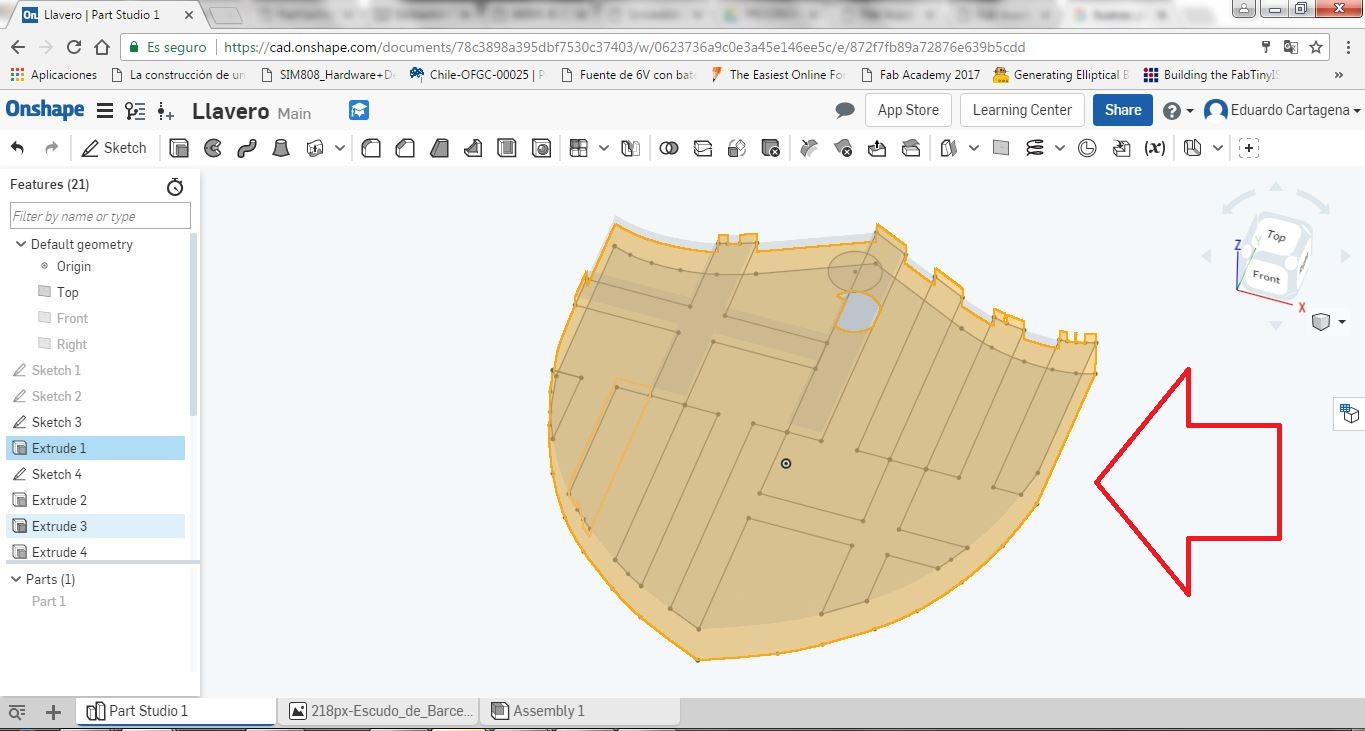
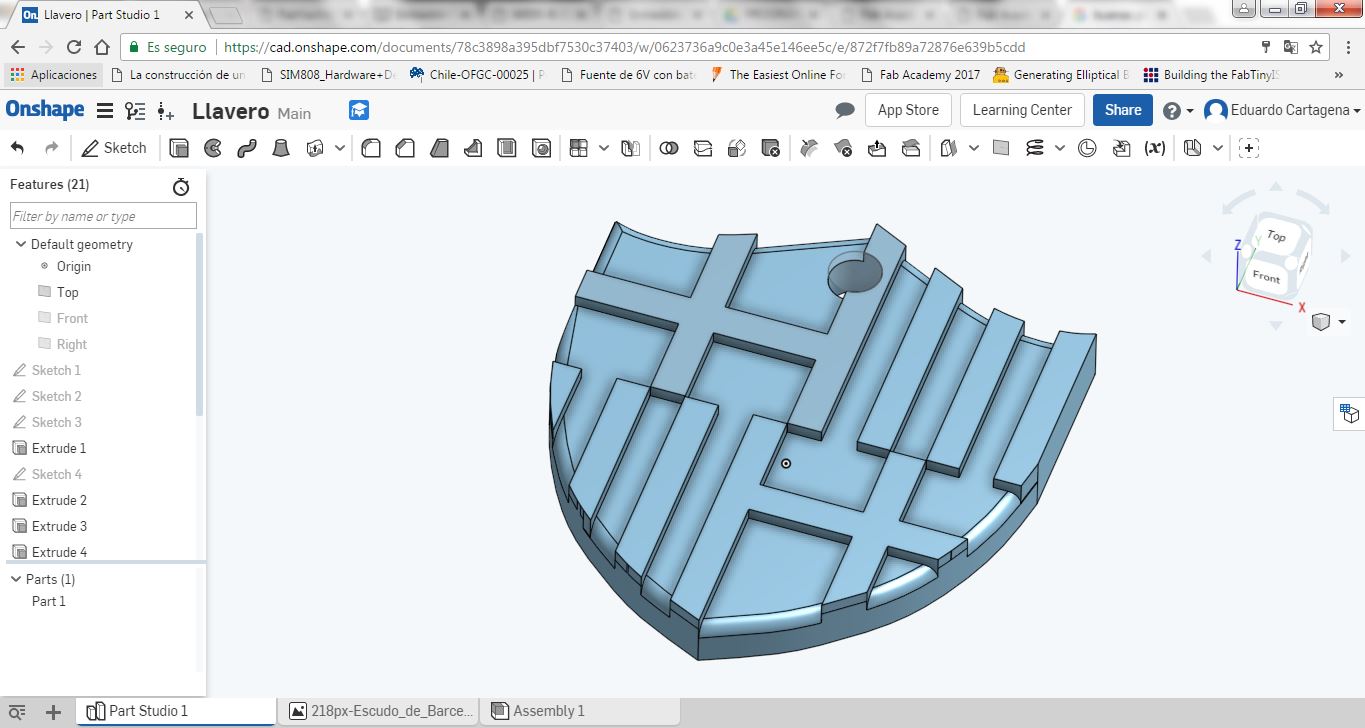
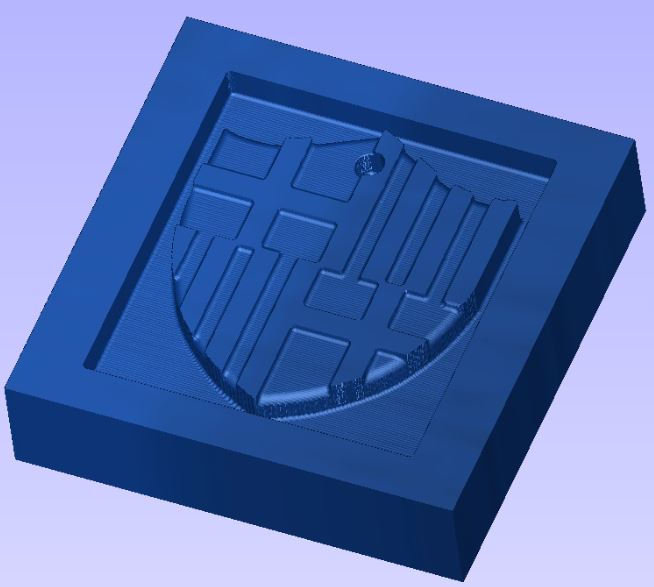
For the practice of the week of molding and casting I decided to create a mold of the logo of my favorite soccer team, for this I used the onshape platform. Next I describe the steps of the logo design and later I will indicate how to design the mold.
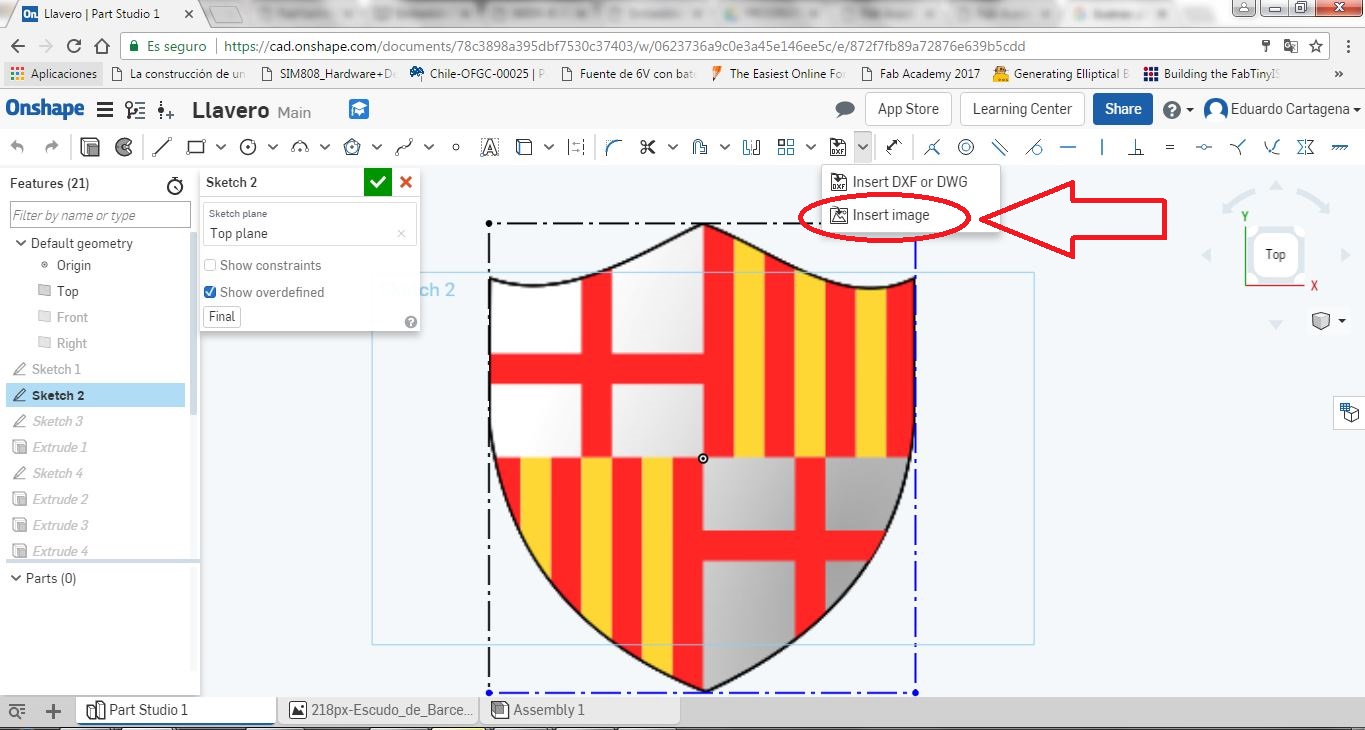
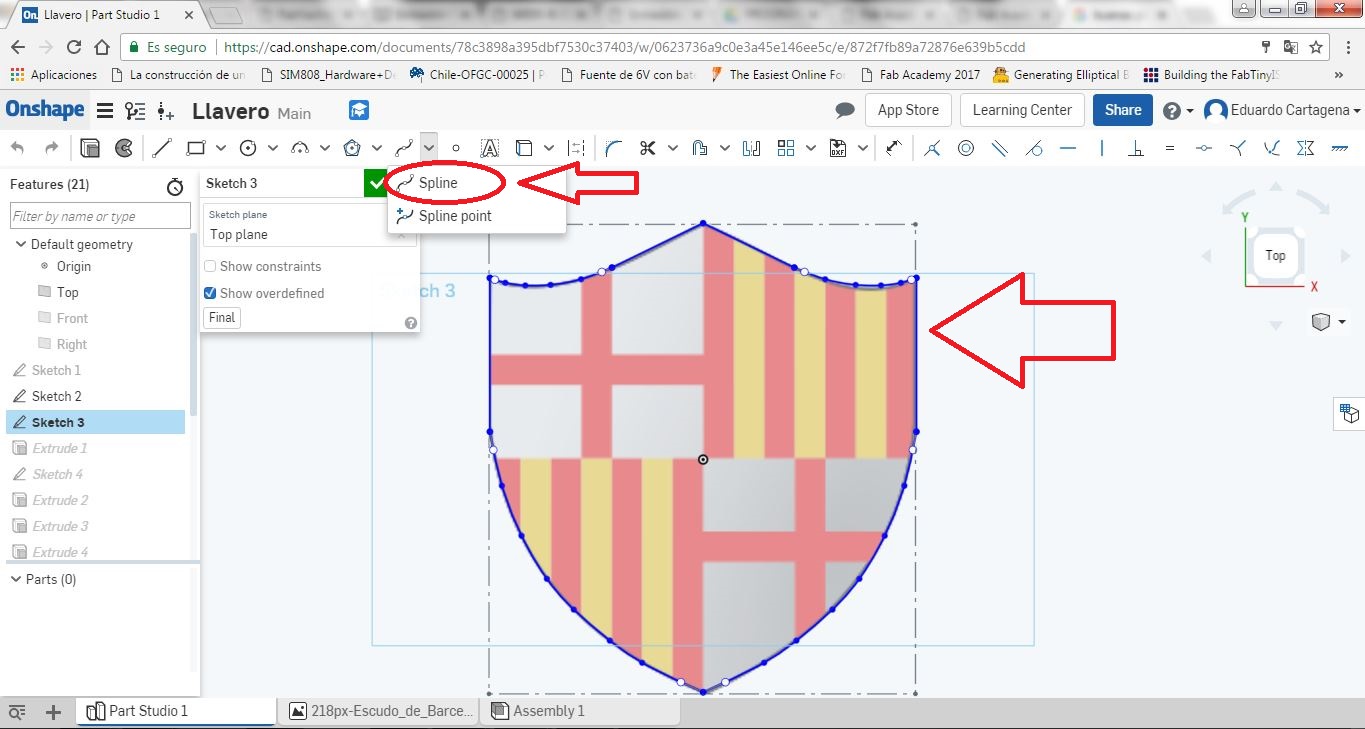
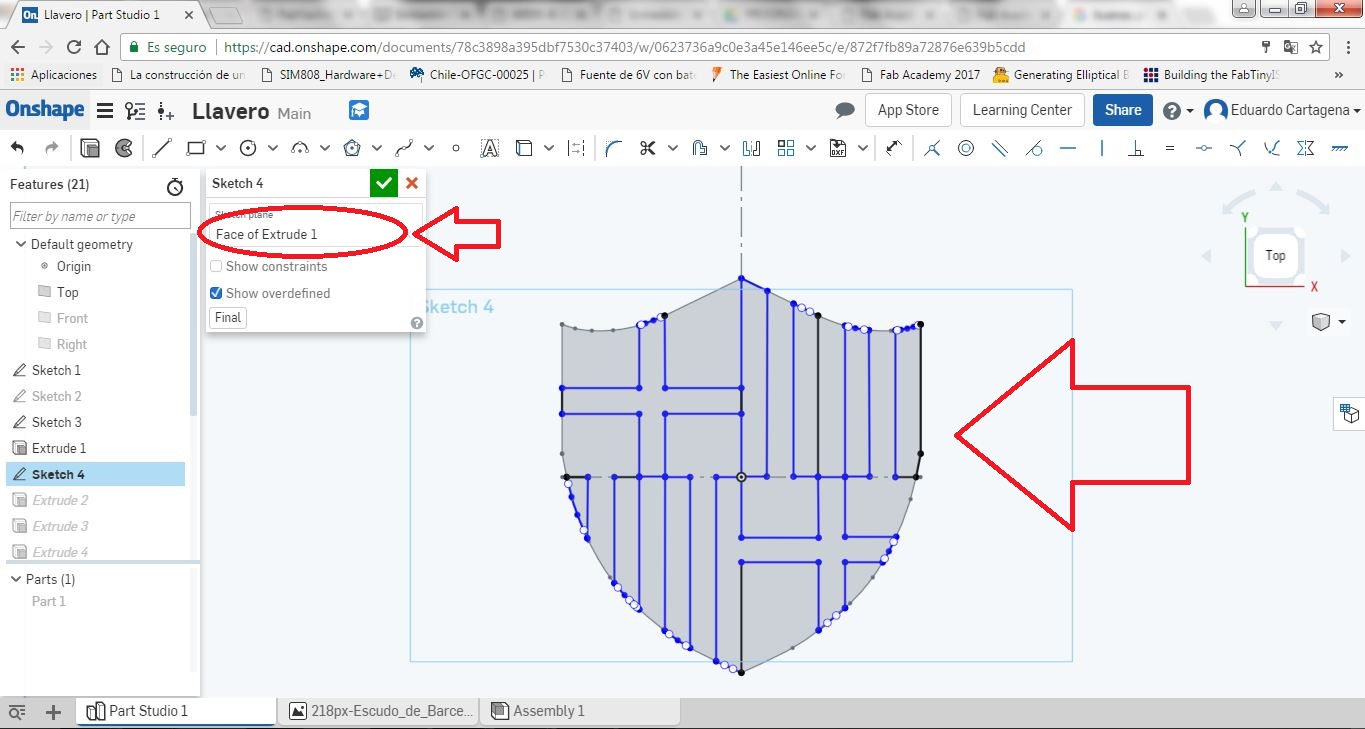
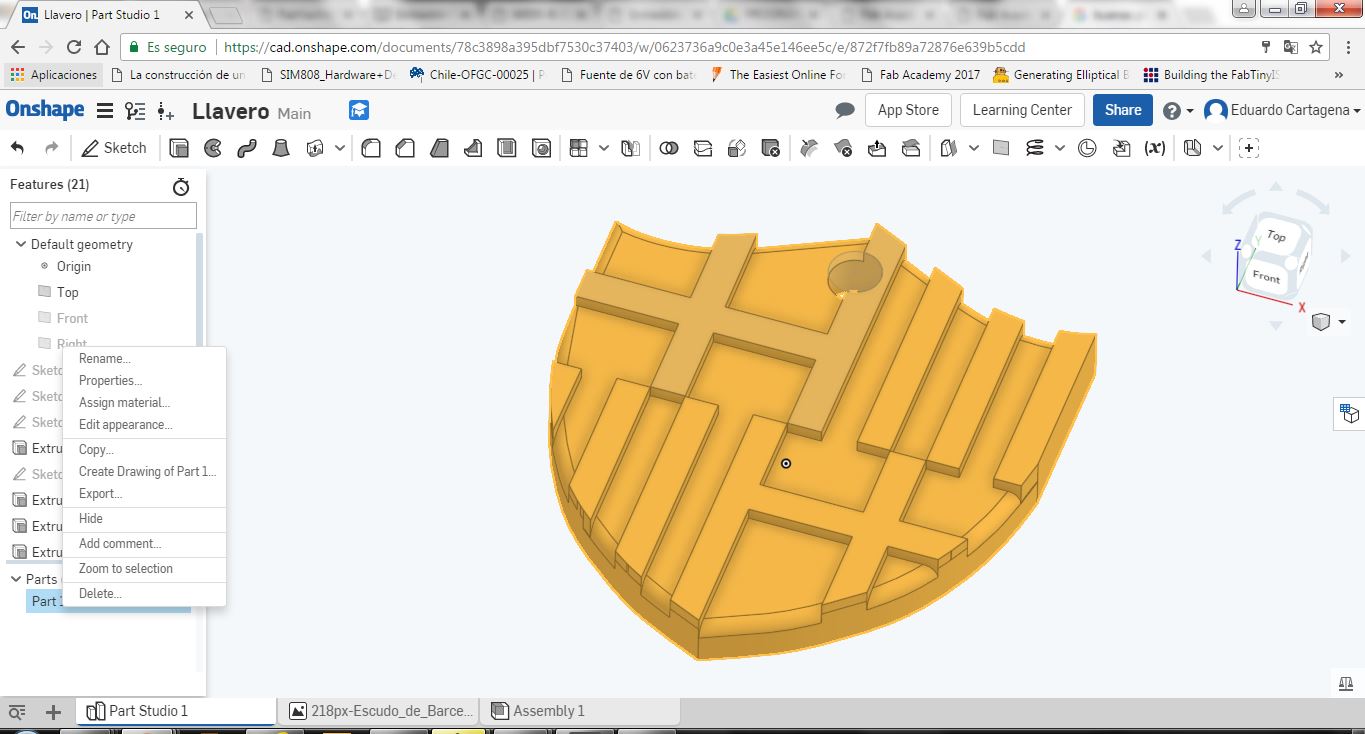
Modeling the logo in ONSHAPE
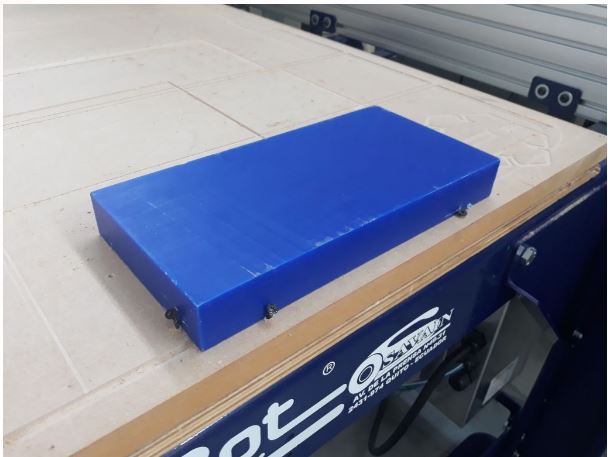
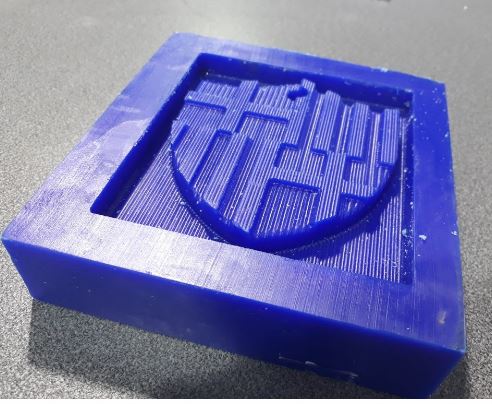
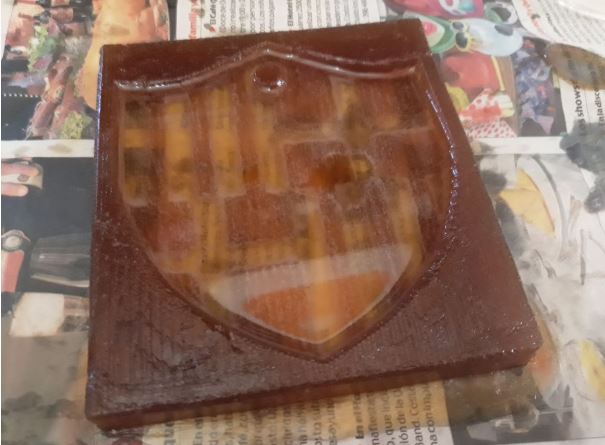
Wax counter mold manufacture
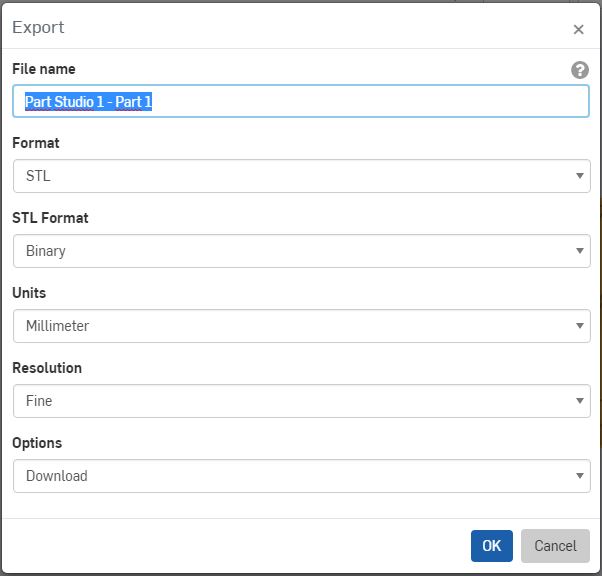
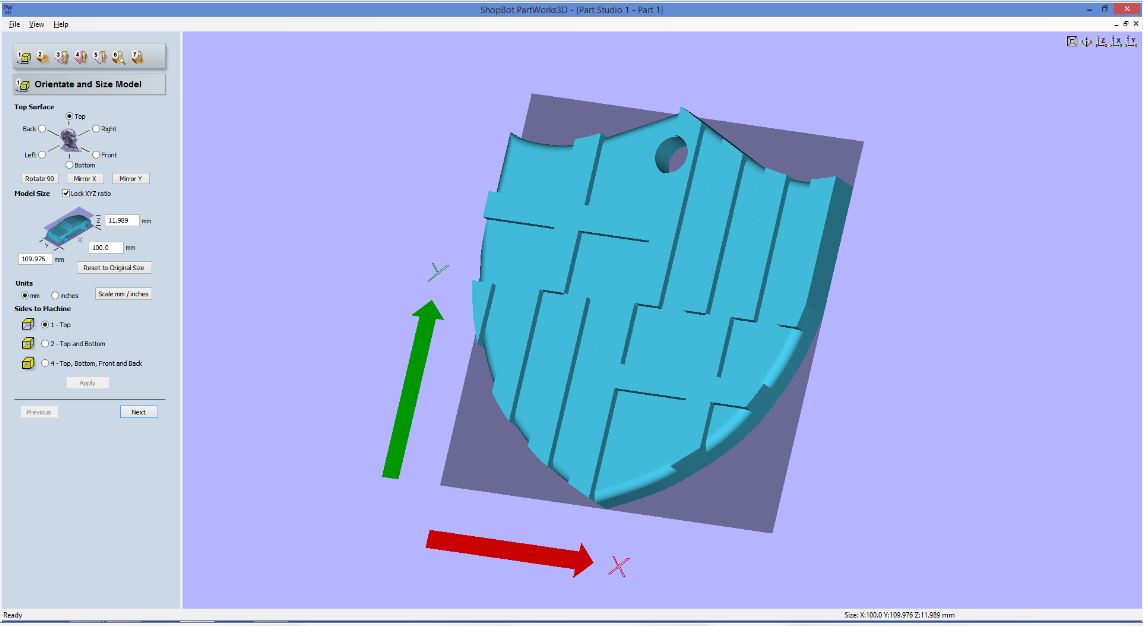
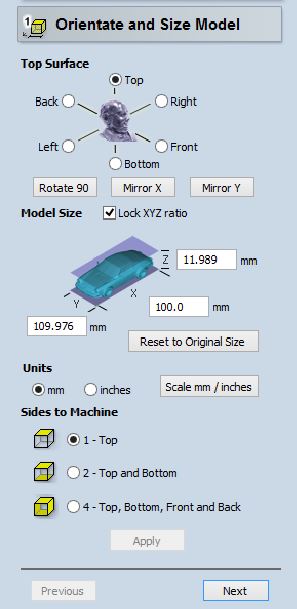
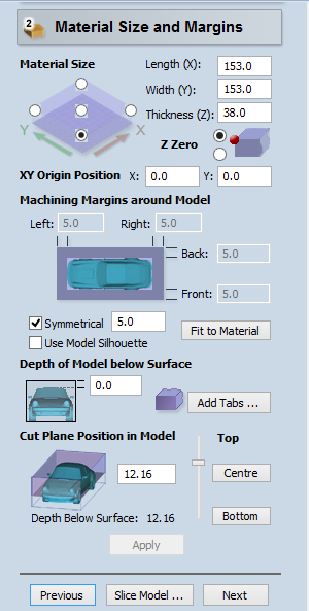
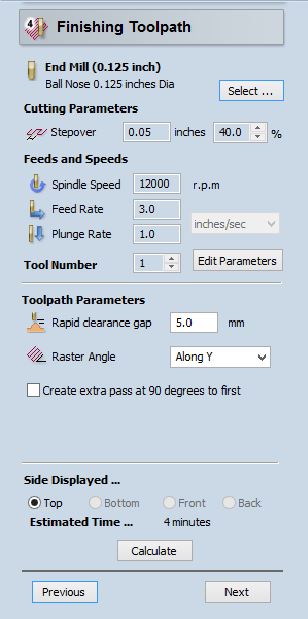
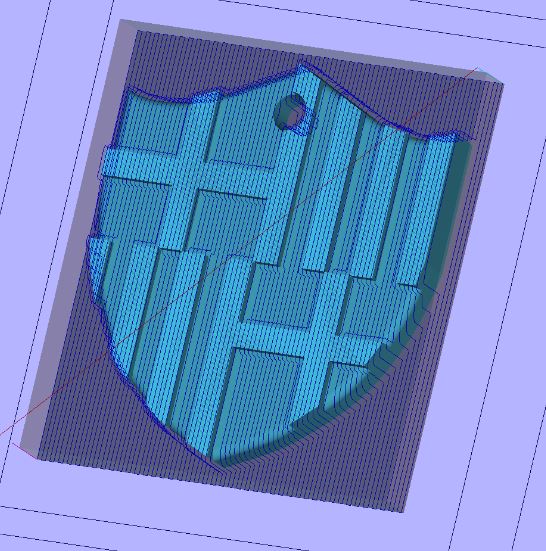
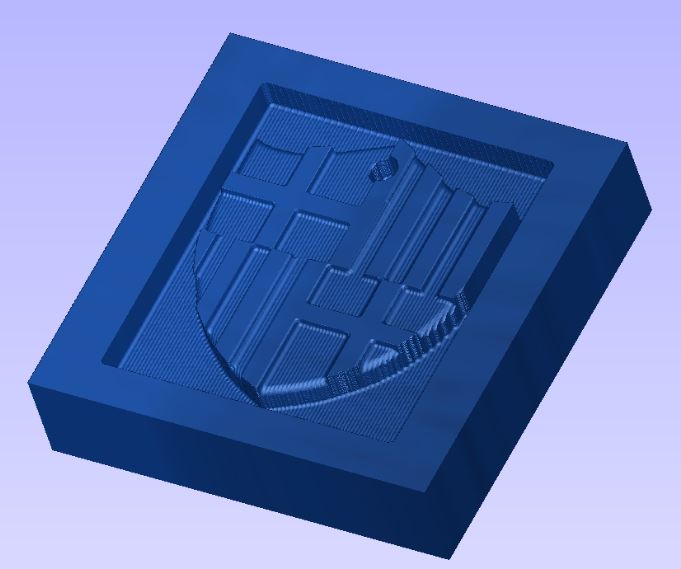
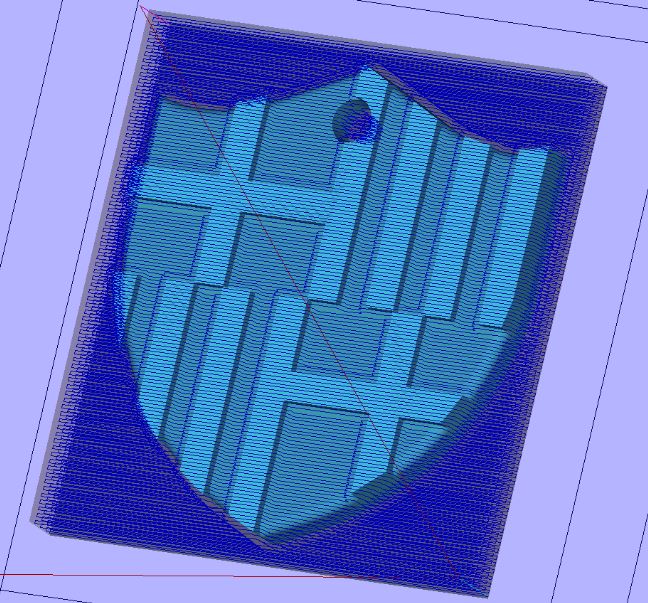
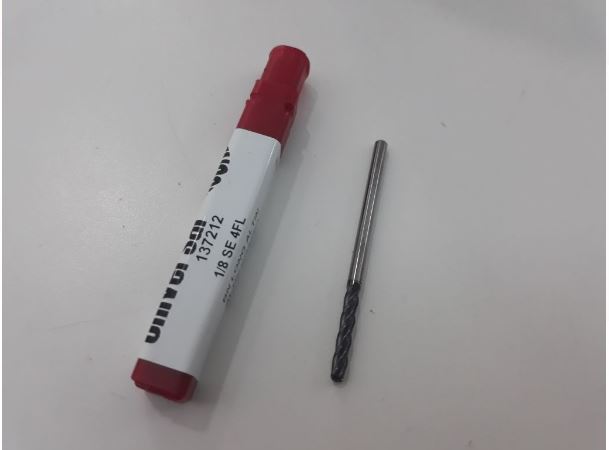
To make the mold in wax, use the software 3d Carving from shopbot to make the CNC machining of the logo in 3D.
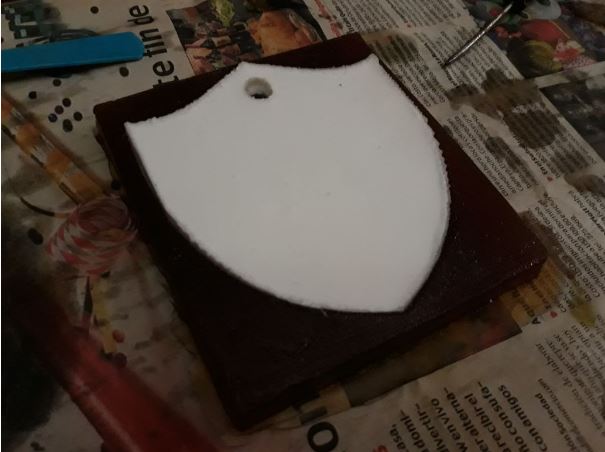
Urethane rubber Mold
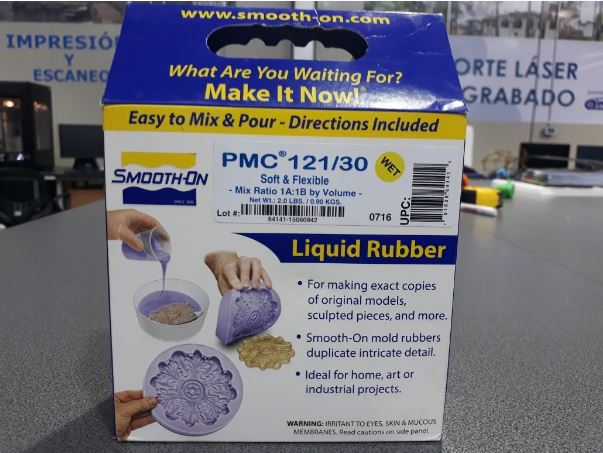
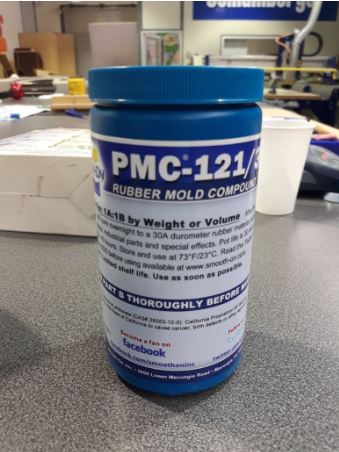
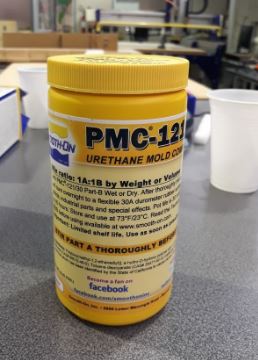
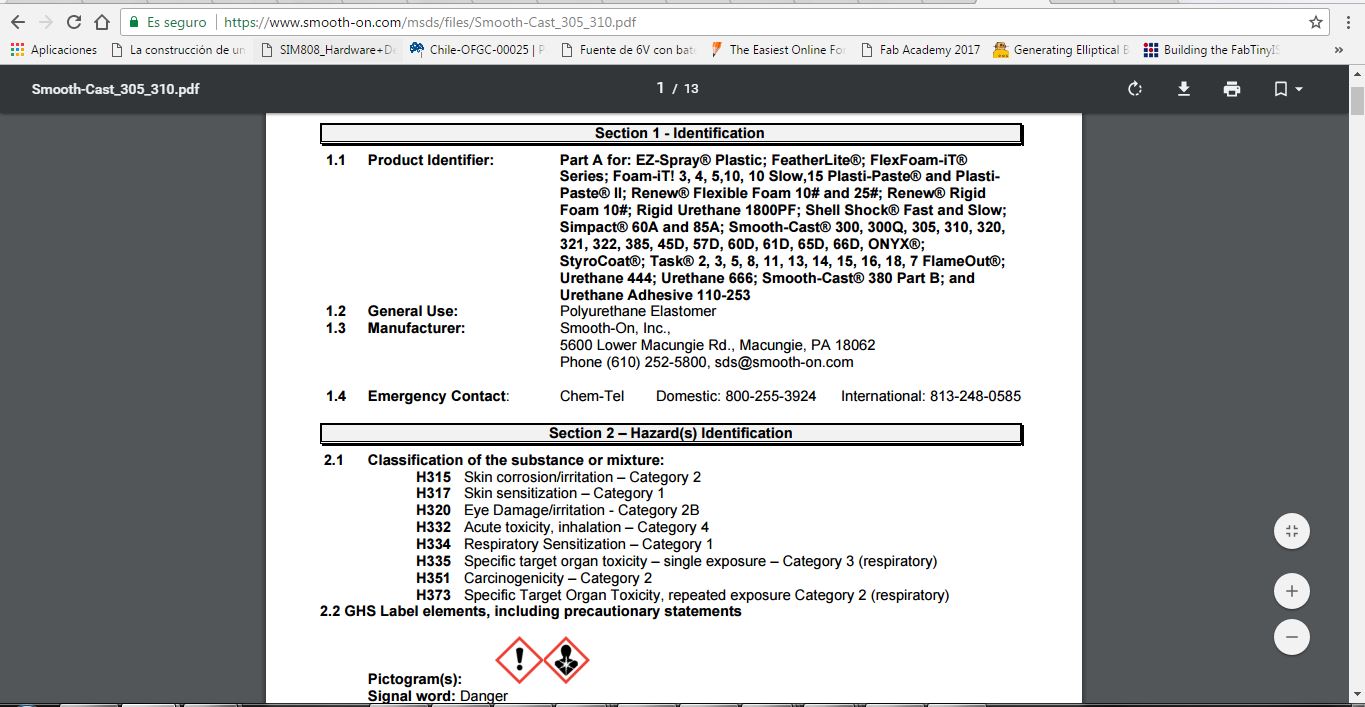
For the mold use The PMC®-121 30 / DRY of Smooth On Series urethane rubbers, but before starting the work it is important to review the Safety Data Sheet of the material. You can download the data sheet here.
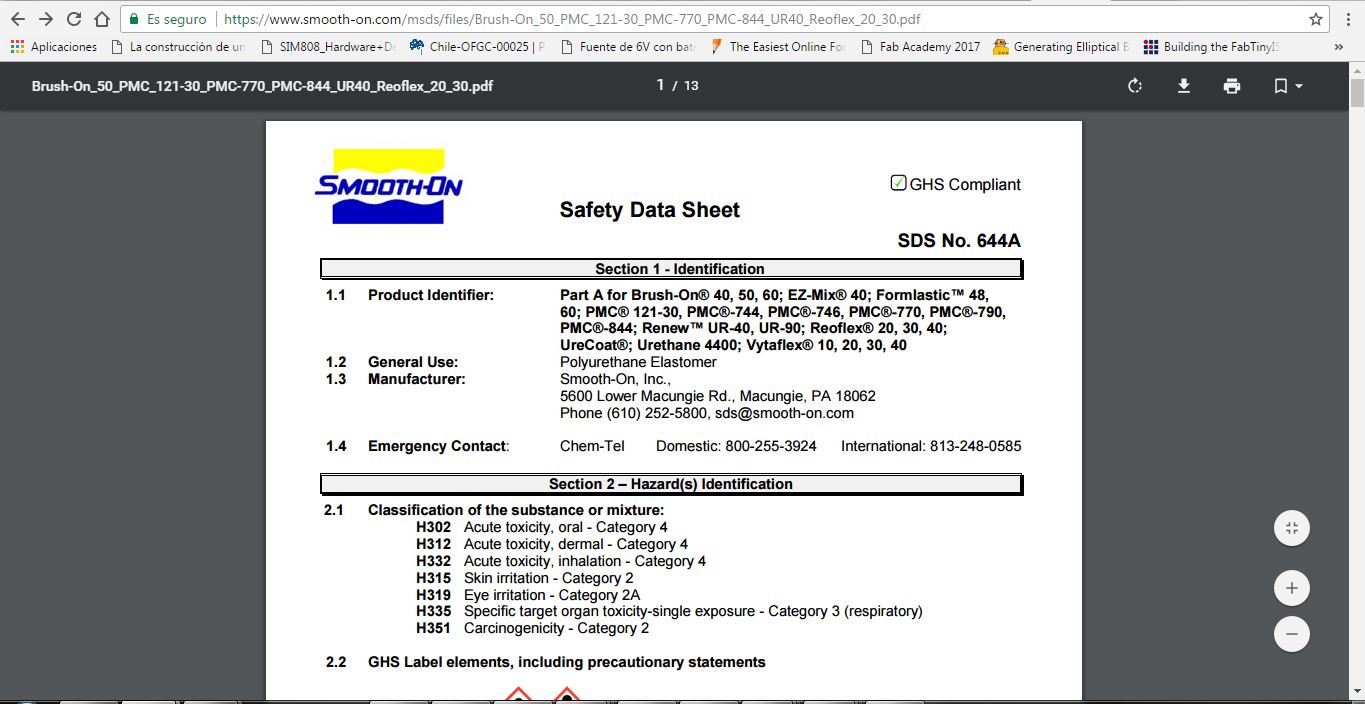
Important safety considerations
For the above considerations it is important to use personal safety equipment
Preparation
You can see the steps of the preparation behind the box
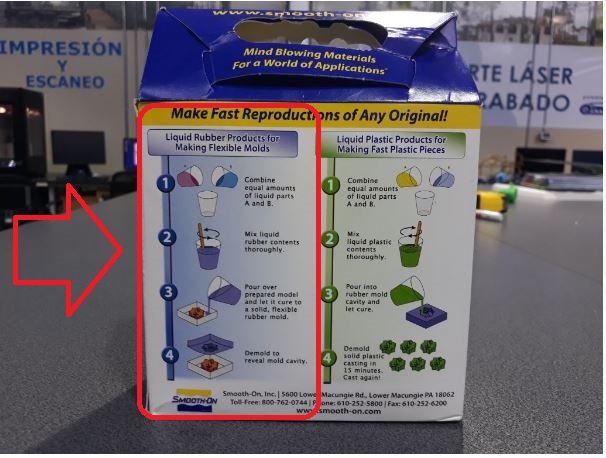
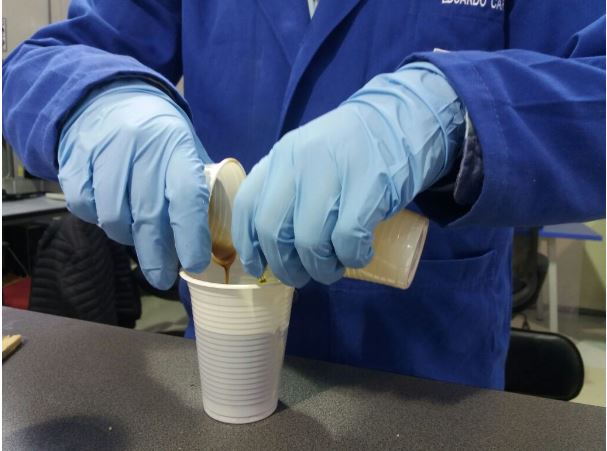
STEP 1.- Combine equal amounts of the liquid parts A and B
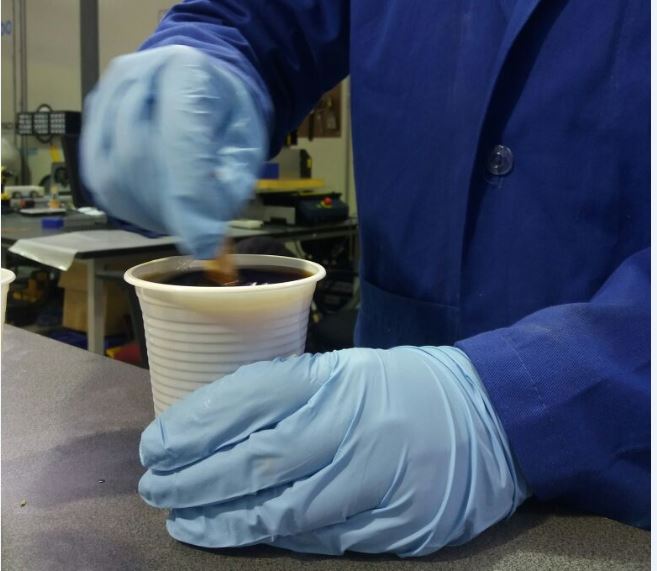
STEP 2.- Mix liquid rubber contents thoroughly
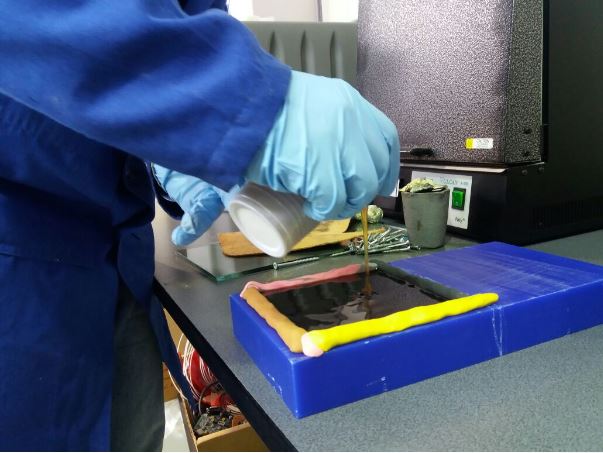
STEP 3.- Pour over prepared model and let it cure to a solid, flexible rubber mold
STEP 4.- Demold to reveal mold cavity
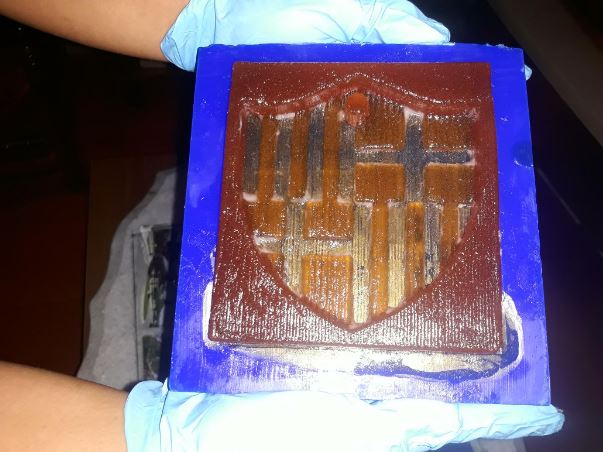
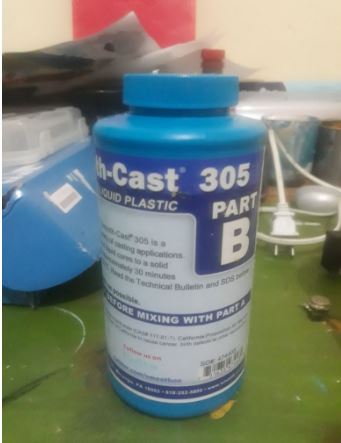
Plastic Casting
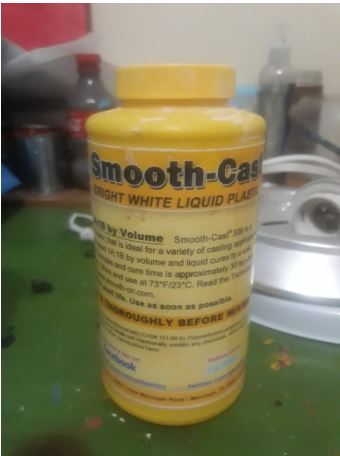
The Smooth-Cast® 300 Series of liquid plastics are ultra-low viscosity casting resins that yield castings that are bright white and virtually bubble free. Vacuum degassing is not necessary. They offer the convenience of a 1A:1B by volume or 100A:90B by weight mix ratio. The differences between them are pot life and demold time.. You can download the data sheet here.
Important safety considerations
For the above considerations it is important to use personal safety equipment
Preparation
You can see the steps of the preparation behind the box
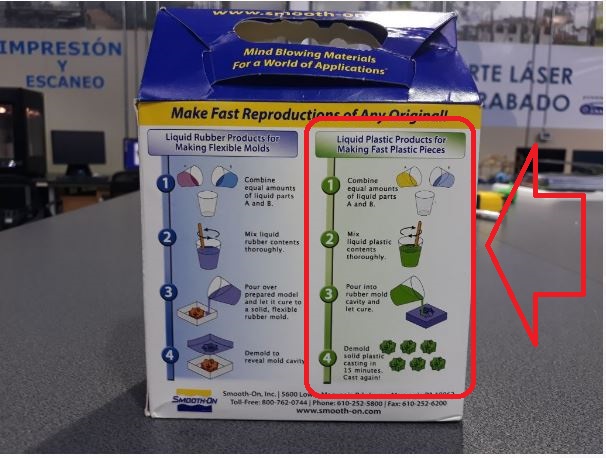
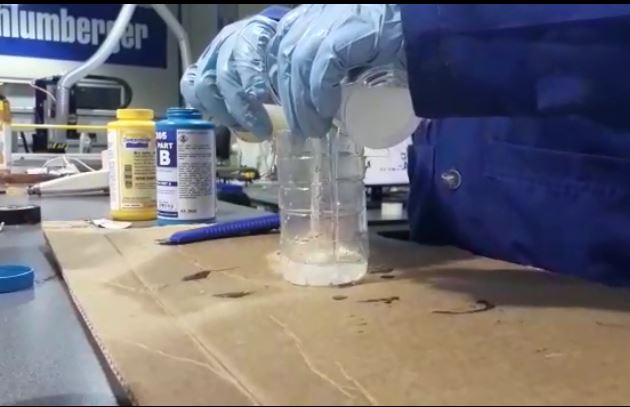
STEP 1.- Combine equal amounts of the liquid parts A and B
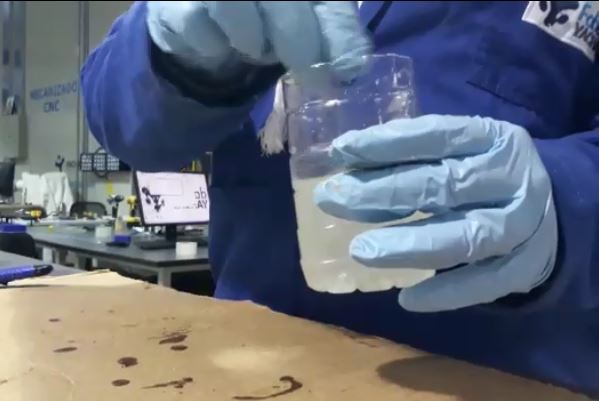
STEP 2.- Mix liquid plastic contents thoroughly
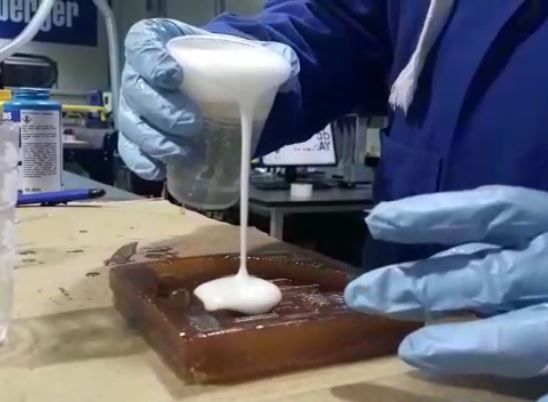
STEP 3.- Pour into rubber mold cavity and let cure
STEP 4.- Demold to reveal mold cavity

Issues and Problems
Yo tuve principalmente dos inconvenientes en el desarrollo de la actividad
The first issue was caused by not properly combining mixing the two components for the rubber mold, which caused the mold to not solidify properly, this is solved by carrying out the two parts again and mixing several minutes
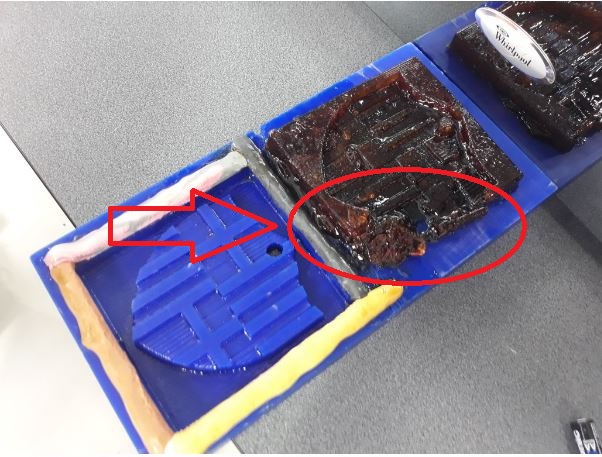
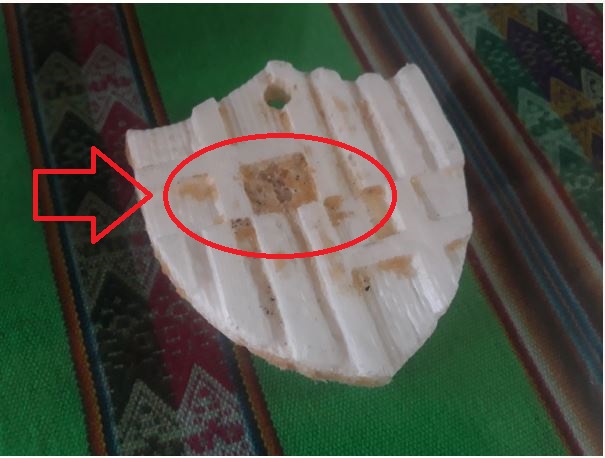
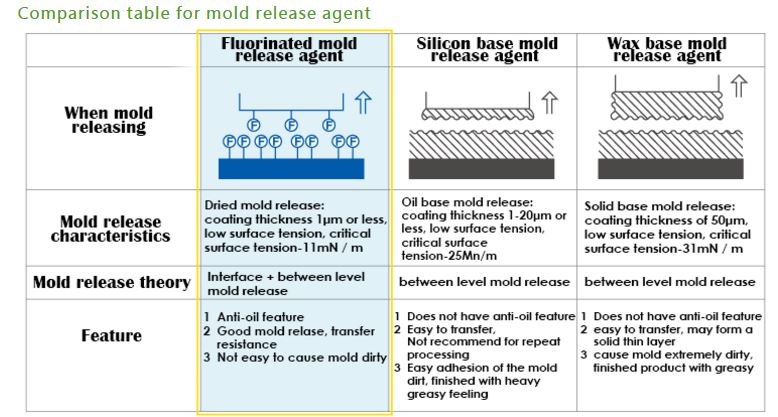
The second problem I had was caused by sticking both the mold and the plastic, to solve this is necessary use a a release agent to facilitate the takeoff of the mold, in this case I use Vaseline but this is not very suitable, so I did some research on release agents.
- Silicon ( Si ) release agent -With silicone oil lubrication, mold release resistance and is widely used. Disadvantage is oily film has fluidity , easy to make produce molds dirt , easy to transfer to the molded product surface, does not apply on the areas of need for secondary machining and precision molding applications . Furthermore, it’s not suitable for the electrical parts molding , caused by electrical adverse result on the parts.
- wax release agent – Thick coating thickness will bring dirty mold, mold releasability will be decreased , it’s not recommended . The transfer to the molded article is relatively simple cleaning of the wax on the final product, so the use of the coating to the molded for the finished product .
Surfactant release agent -Poor stripping but the price is cheap, easy to use in the molding material and release on low value products molding.

DOWNLOADS