BACKGROUND
For this assignment, It was required to work as a team, design a machine (1st week) and Automate it (2nd week). The recommendation is not to make something complicated. We can replicate existing machines.
INSPIRATION AND DECISION
Since the first idea definition meeting, only two projects have emerged. One of them consisted of a container with a conveyor belt that allowed to separate the pet and the metal. The other a solar tracker. The first premise to select that was useful for the final project.
we decided to take the opportunity to develop a part of Rafael`s project for this task. . We took Rafael`s my wood structure which is a module that he used also for Molding and Casting.
FIRST IDEA
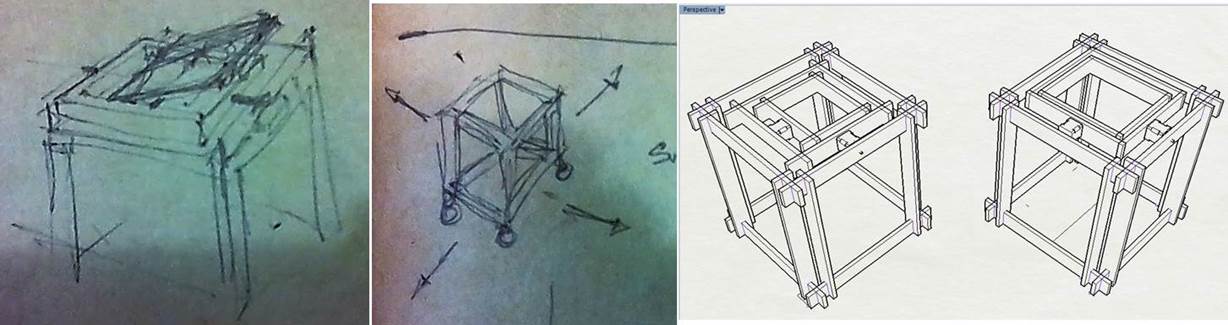
The first idea was to put wheels on the structure and make it move to follow the sunlight. But we thought that was more complicated. Then we seek to put the machines that others have made on top of the structure and that's it. But going a bit forward we discovered that we could make a version of the existing machine by connecting the panel and mechanism to any of the cube's faces. We did two options. The one on the left has the classic boards that were used in the rest of the structure. On the right, the selected option that gave more surface for the solar panel.
Having the clear idea, we decided to divide the responsibilities:
Ileana: modeling and 3D printing of missing pieces. web page design. Along with Rafael the wiring and programming of Arduino.
Rafael: Machine design, parts assembly, programming with arduino and documentation.
Hardware
• CNC milling machine
• Two step motors
• Wood
• 4 Light sensors
• Vernier
• Screwdrivers
• Arduino board
• Cables
• Motor driver Nema A4988
Software
• Arduino program
• Rhinoceros
• Vcarve
BUILD THE MECHANICAL PARTS AND OPERATE IT MANUALLY
The process is between testing and assembling manually the pieces and designing with the rhinoceros. For example looking how to attach the motors.
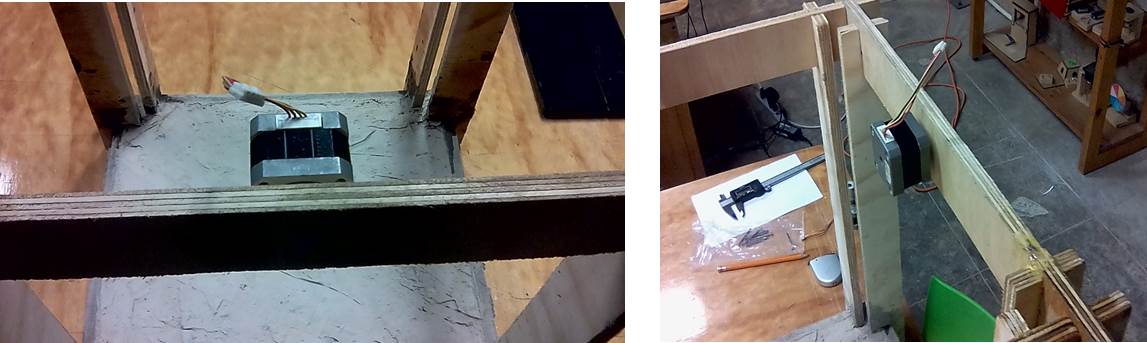
The motor was pretty fixed but just to be sure we added a bolt that made sure the motor was not going to get loose
We built separately some details like the piece that will carry the sensors and project shadow to orientate the machine to the sun and also we created a bearing with broken mills and 3d printing.
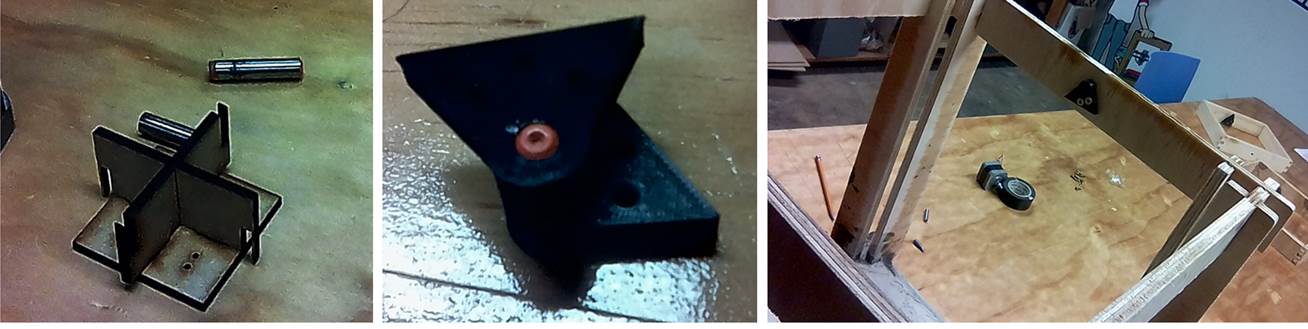
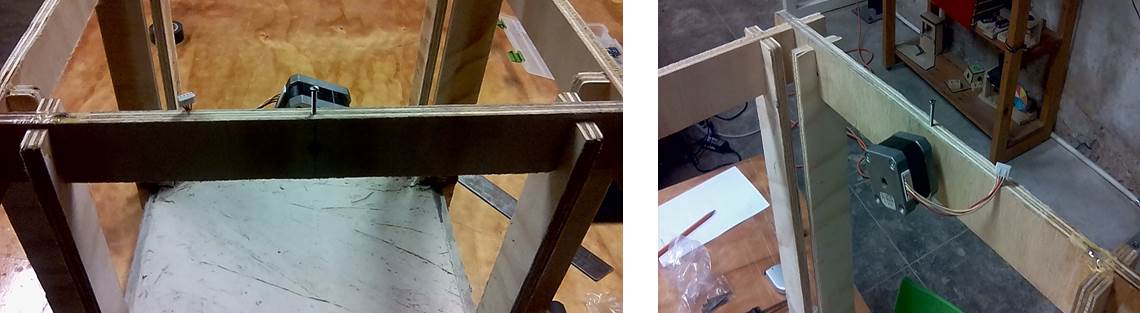
The frames were cut with the CNC milling machine and after that we proceeded to attach the motors to the frames. And then attach the frames to the structure

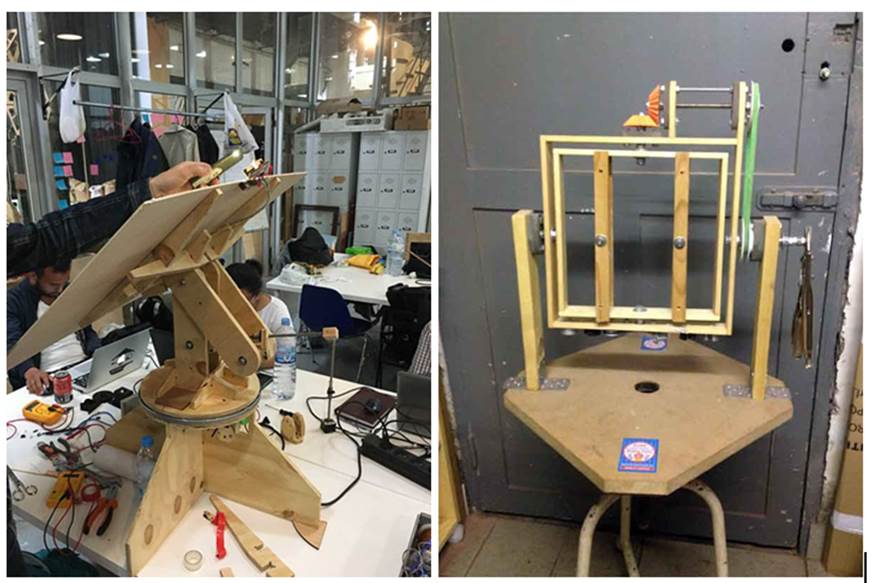
FIRST RESULTS

ACTUATE AND AUTOMATE YOUR MACHINE
We are checking references. Last year in Barcelona a group did also a solar tracker The difference is that they have one axis rotating at the bottom. Ours is more like the rotocasting machine another student did before (rotational casting machine by Saverio) . So it is a combination of both.
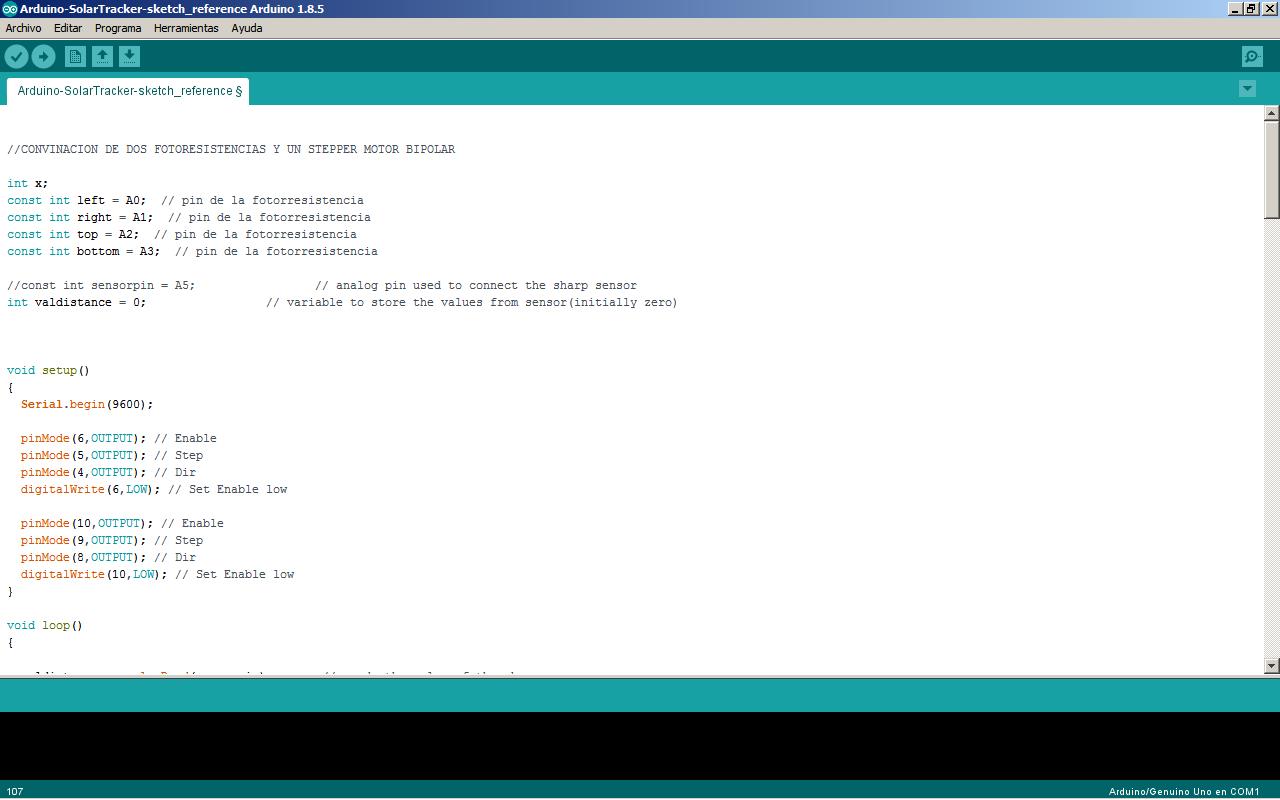
PROGRAMMING
1.Collect the components. Arduino Pro-Mini and Nema driver.
2. Download the Arduino code that the Solar tracker team did in Barcelona last year, as reference.
3. Try to connect everything like this, but mounted on the structure

4. Put the 4 foto-resistances in the base. We put some tape in the back so the sensor keeps in place. Otherwise they are kind of loose.
5. The resistance for the sensor
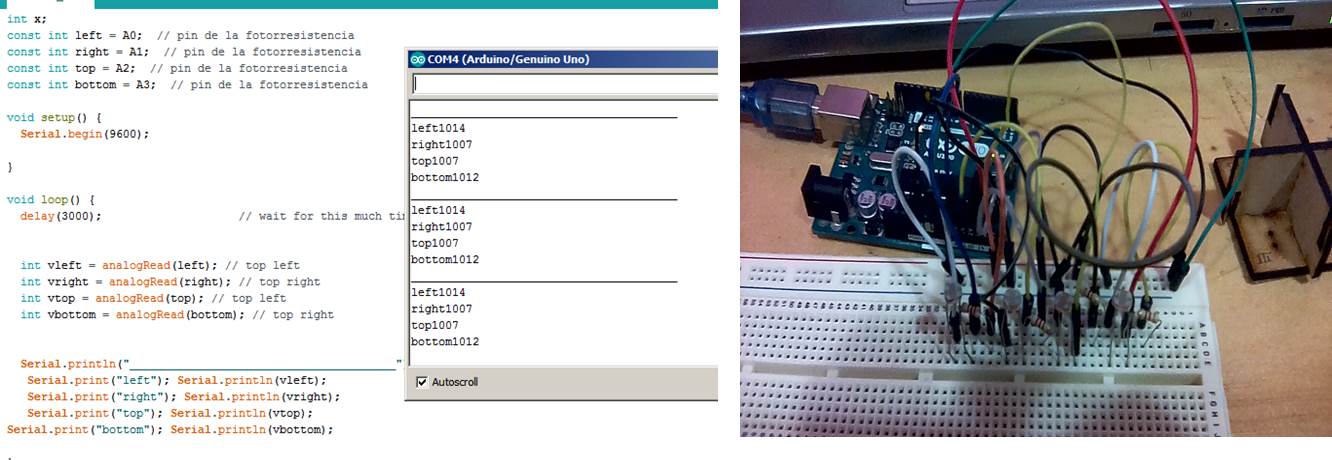
6. Checking the sensors.
Put all the sensor in a bread board and test the arduino code
8. Fixed the components to the frame. Arduino and breadboard
9. Connect the power source. 12v
10. Connected the sensors to the arduino and bread board mounted into the frame
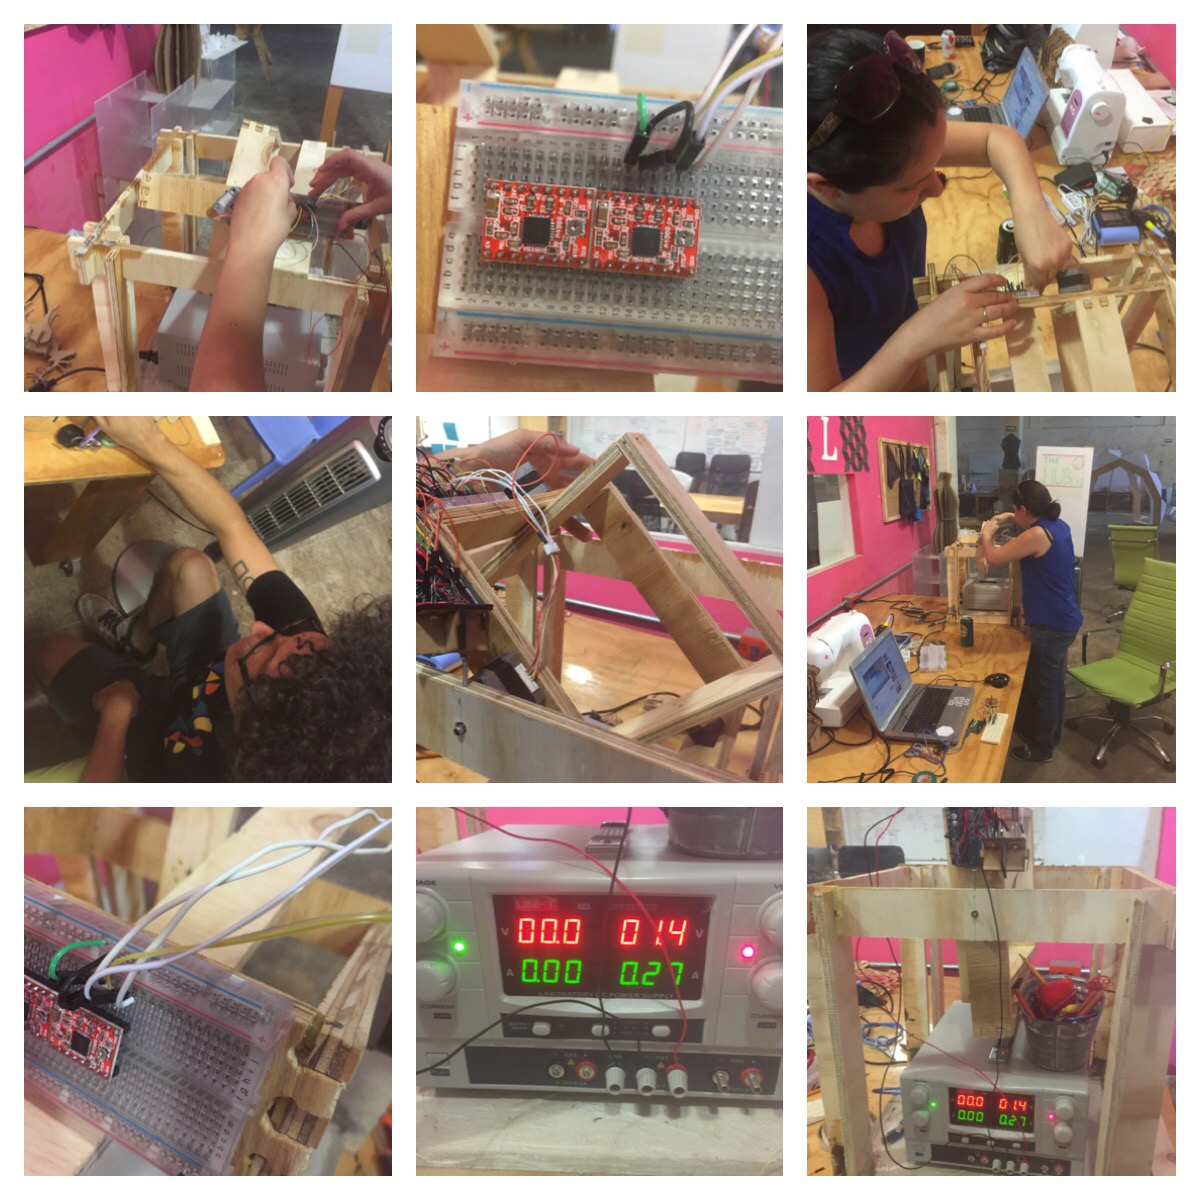
Unfortunately the machine didn´t work. The motors didn´t move the frames.