WILCARD
Design and produce something with a digital fabrication process (incorporating computer-aided design and manufacturing) not covered in another assignment, documenting the requirements that your assignment meets, and including everything necessary to reproduce it. Possibilities include (but are not limited to) composites, textiles, biotechnology, robotics, and cooking.
Learning outcomes:
Demonstrate workflows used in the chosen process
Select and apply suitable materials and processes to create your project.
In this week we decided to do something out of the ordinary, Our instructor invited us to experiment with 3d printing to make jewelry.
First start with the design, ask us to make two designs that have a thickness of 3 mm and a diameter no bigger than 35 mm, also asked us to have a fin, this fin is useful for the silver enter.
In our laboratory we do not have this type of equipment so a friend of our instructor collaborated with the printing.
The design was made with a different 3d printer, we mentioned that it was made in a FORMLAB with an ideal materail to make molds, and suitable for jewelry.
I found a page where it teaches us how to design and what to take into account in the casting process.
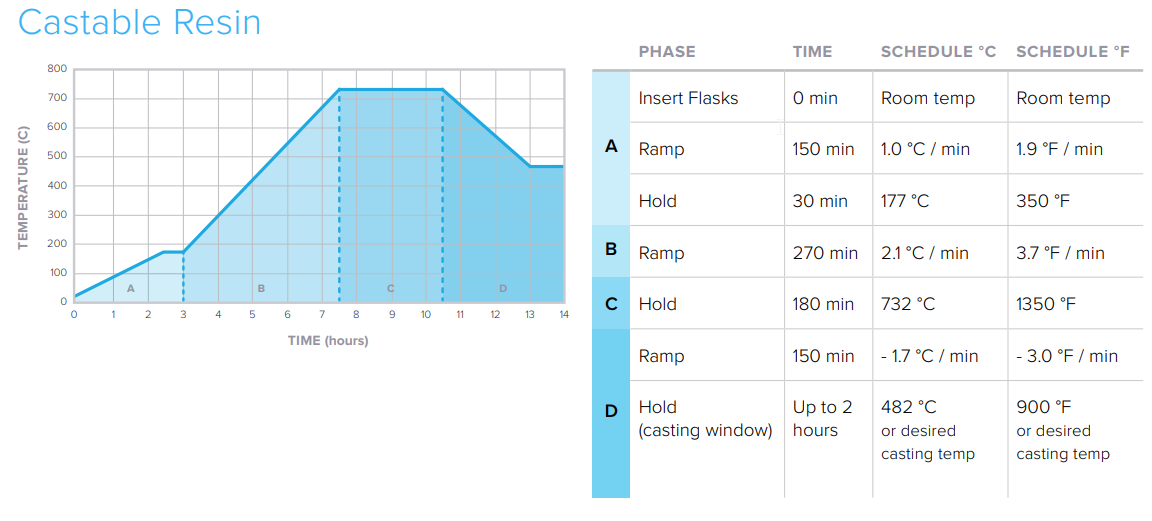
Using Castable Resin
Design
For my design I started with an image and wanted to do something similar.My first design is based on flat circles with extrude, oval. This object is designed with basic but very useful tools. I have to take into account that the dimensions should be 3mm thick, 35mm in general diameter.
.png)
.png)
.png)
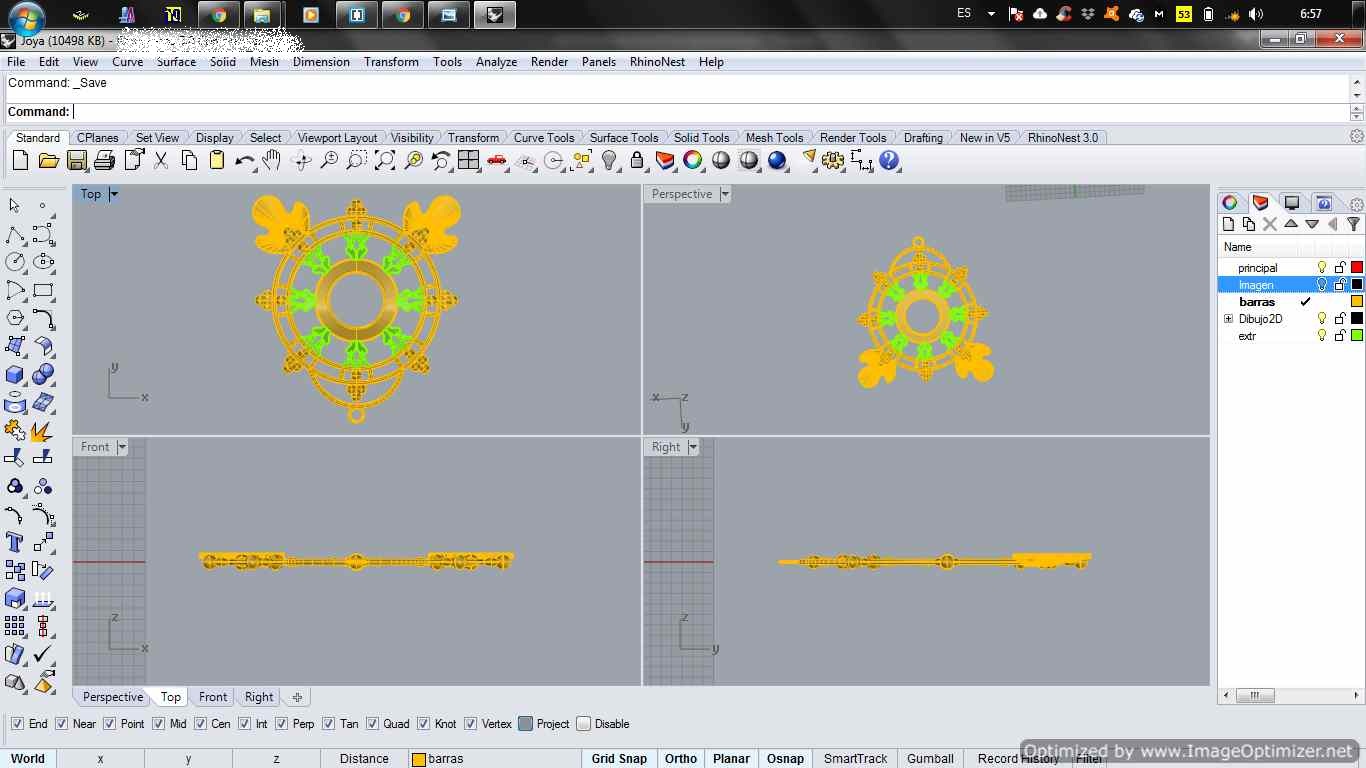
In my second design I did something much faster. I decided to take an image and edit it in Inskcape, get the outline and save it in dxf format, this format is easy to read by rhino, in the same way I wanted to put my name in this new design, I did the same process edit the image, I got the contours and save the file in DXF format.

.png)
.png)
.png)
.png)
.png)
.png)
.png)
.png)
.png)
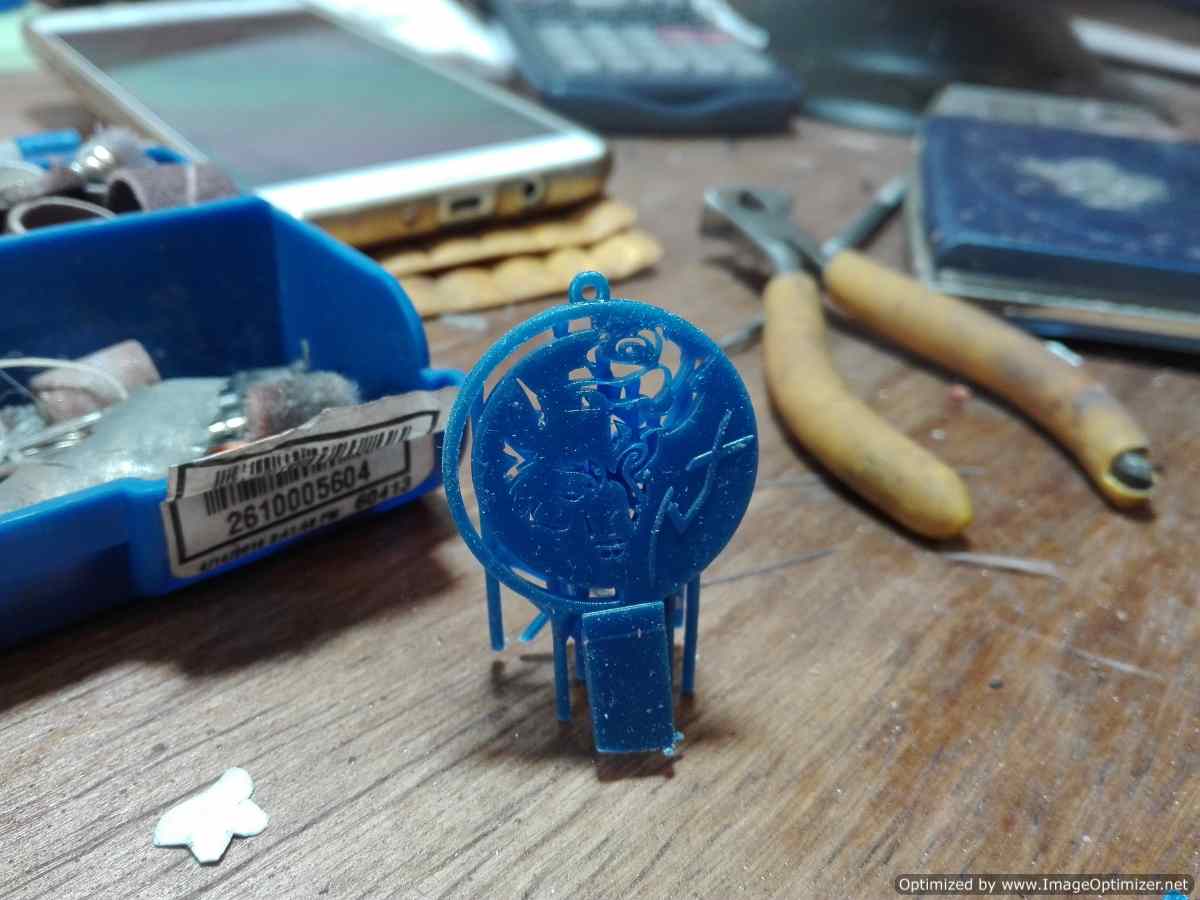
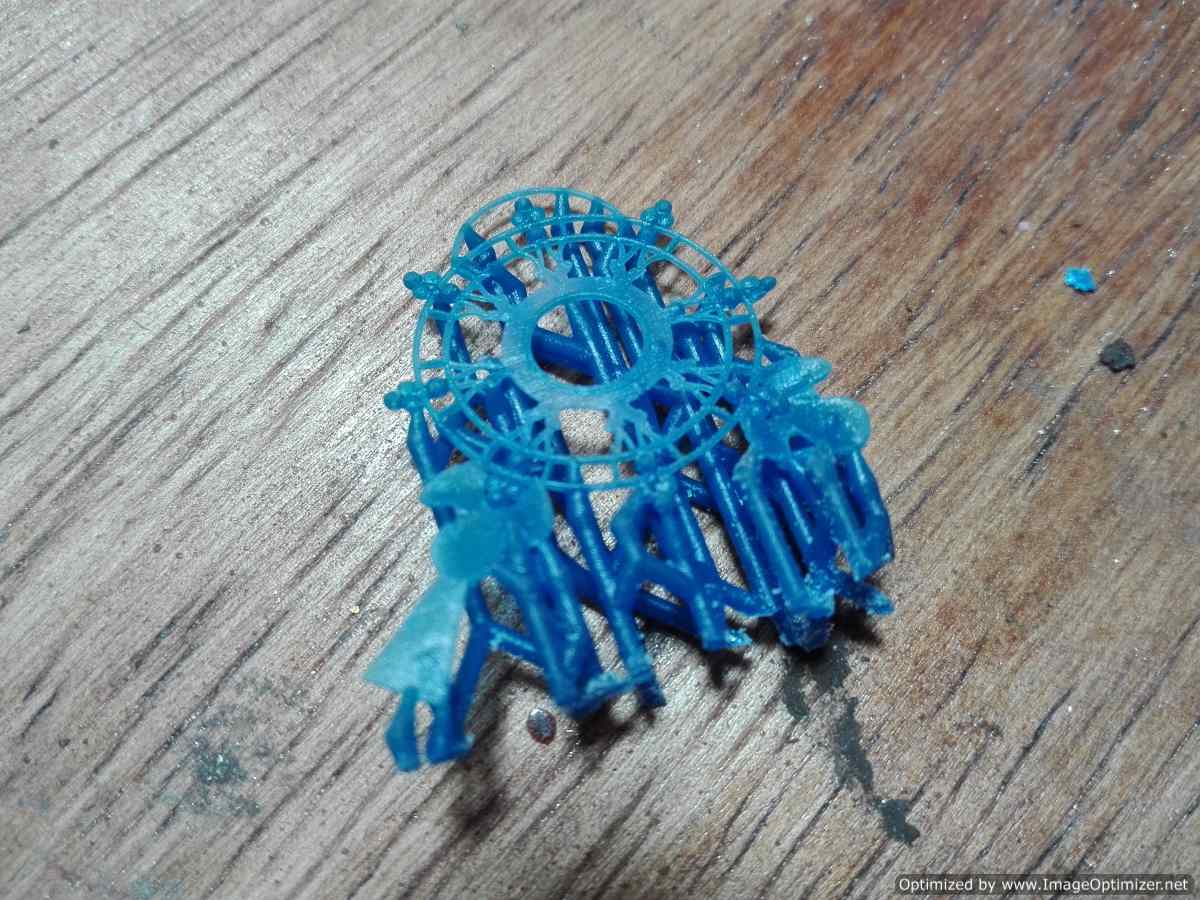
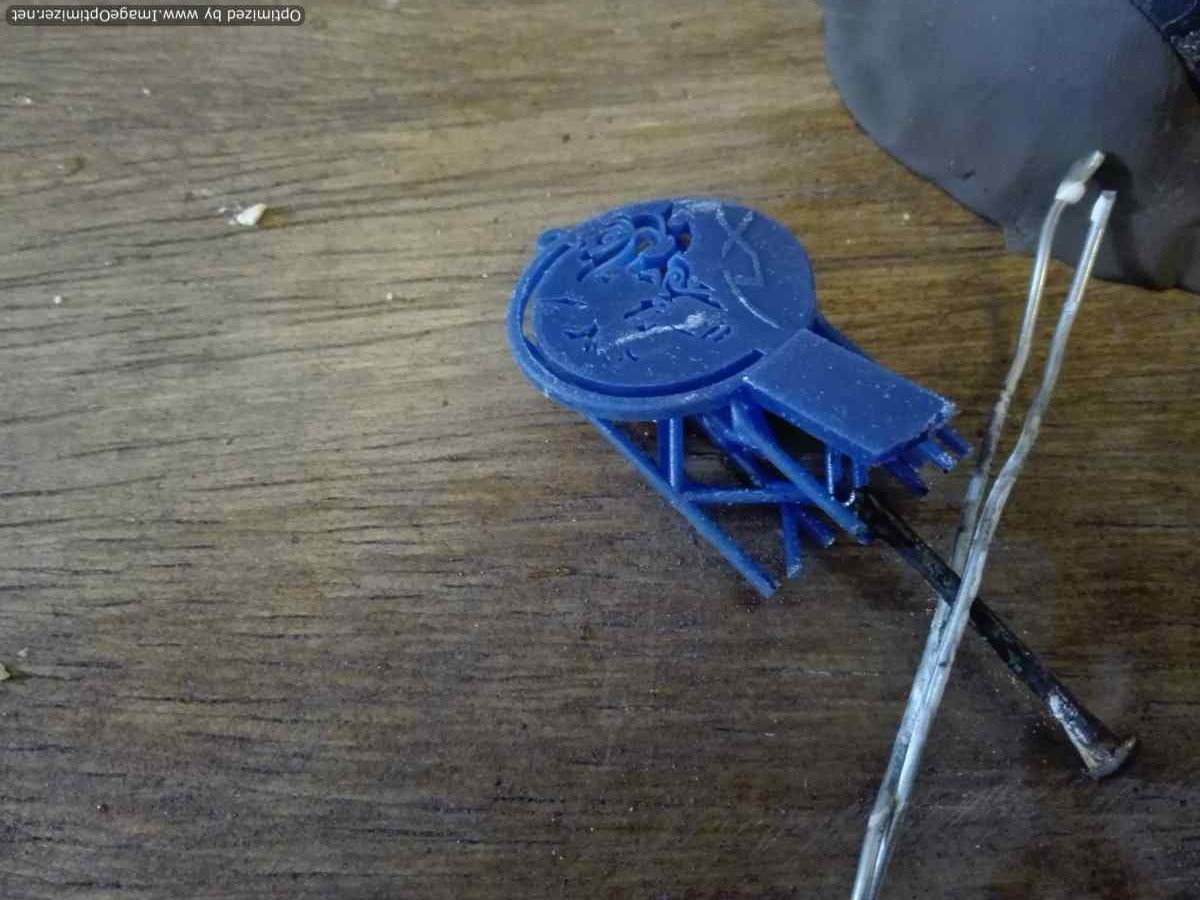
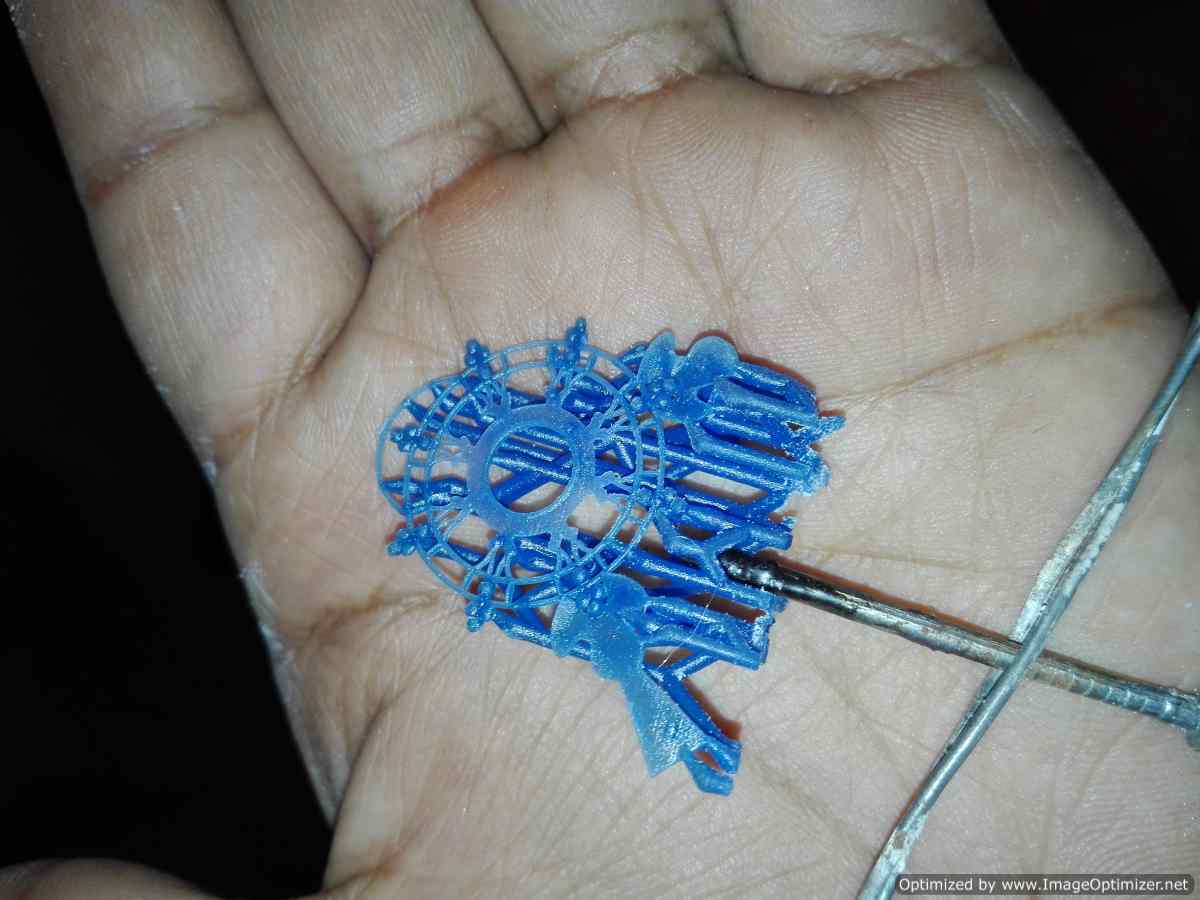
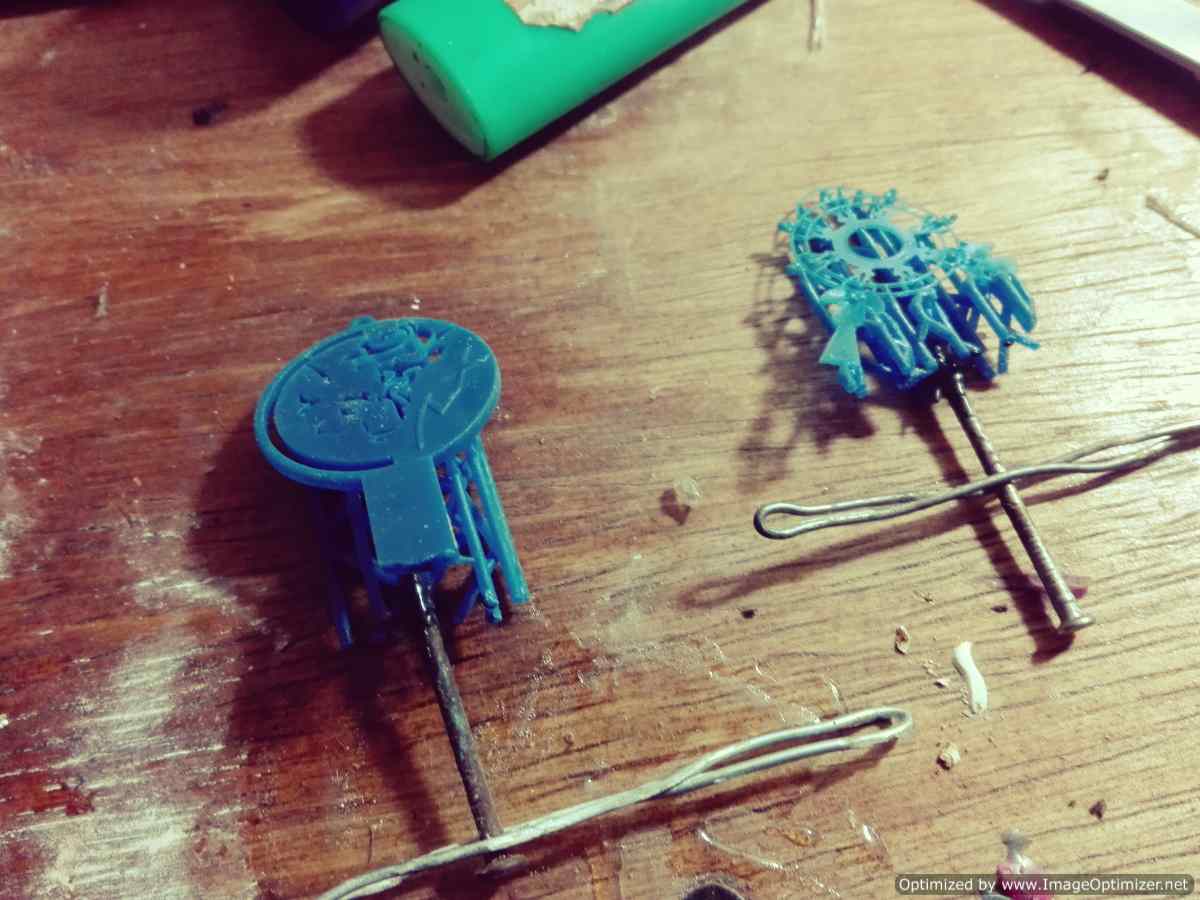
The Final print
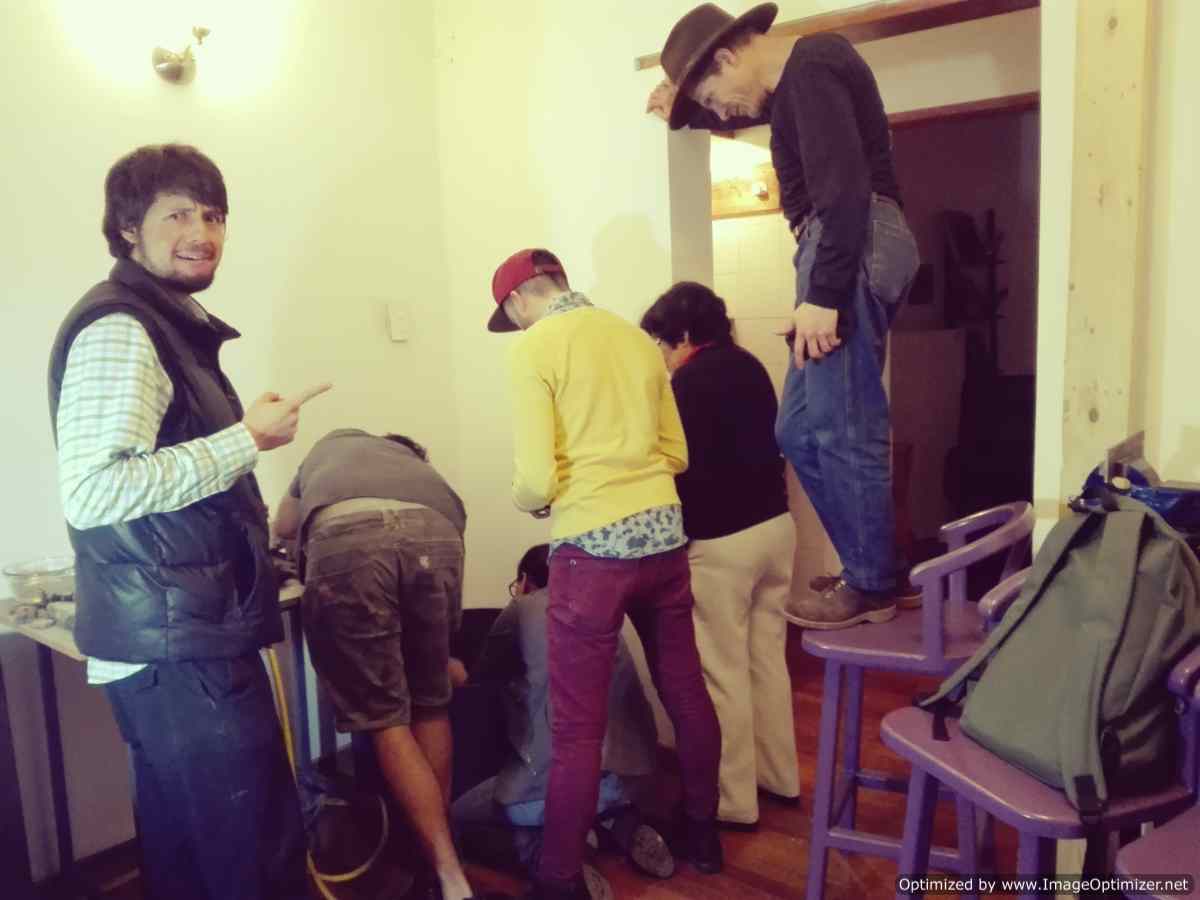
We have ready the pieces of jewelry now let's start with the process of treating the mold.
Basically we have several steps to generate a jewel.
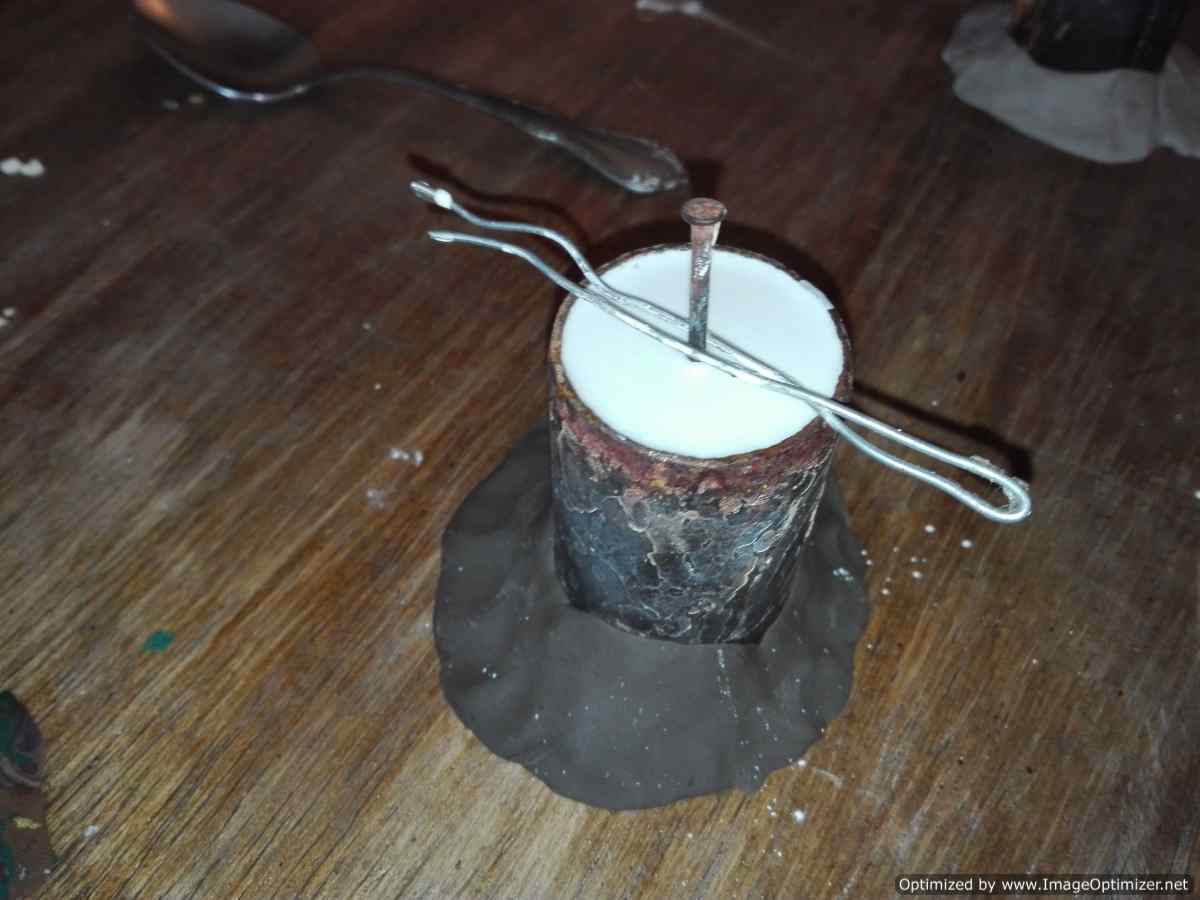
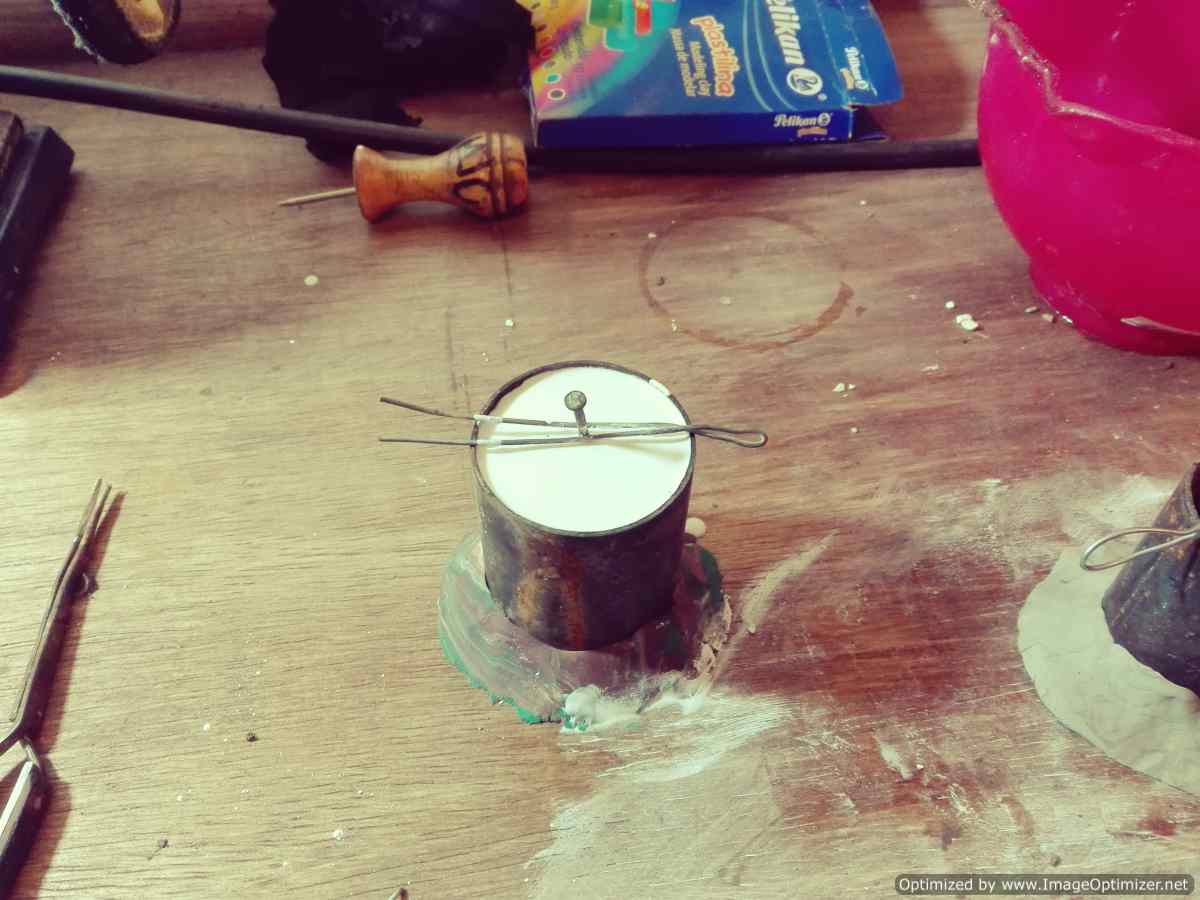
Step 1. Join the wax with an element that serves as a guide to the raw material in our case we use a small nail.
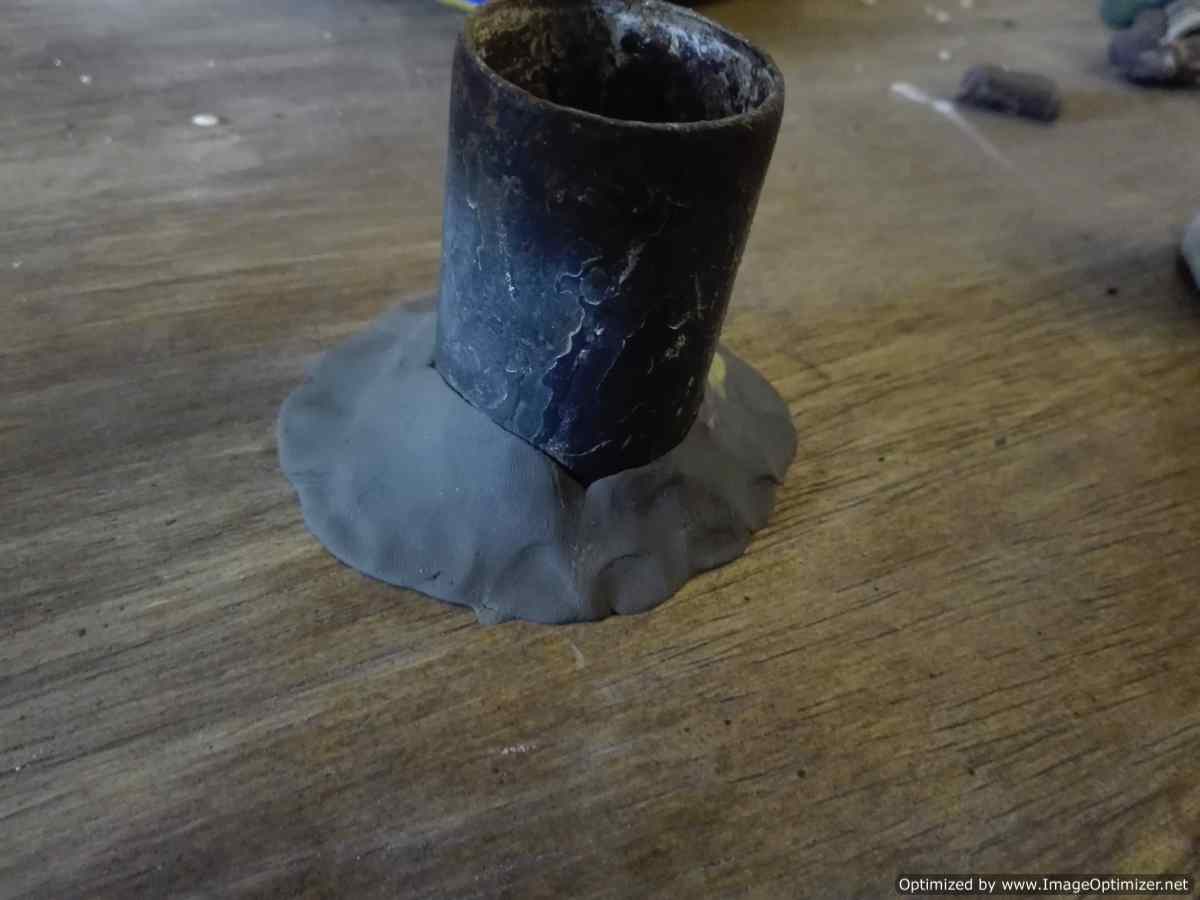
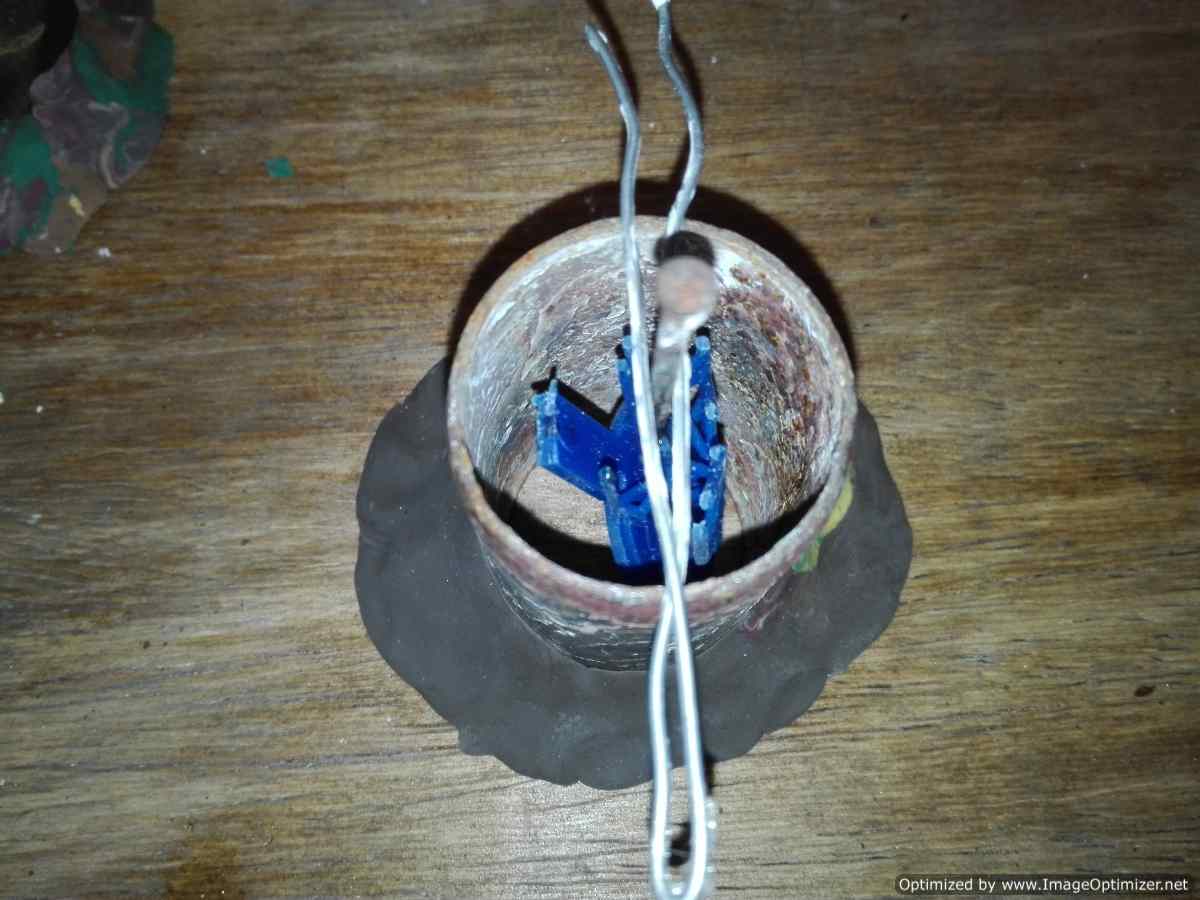
Step 2. Seal the contours, in this step with the help of molding clay cover the lower part of the metal tube.
Step 3: Place support, here we put a support so that our figure does not go to the bottom of the tube here we also place the figure inside the tube as centered as possible.
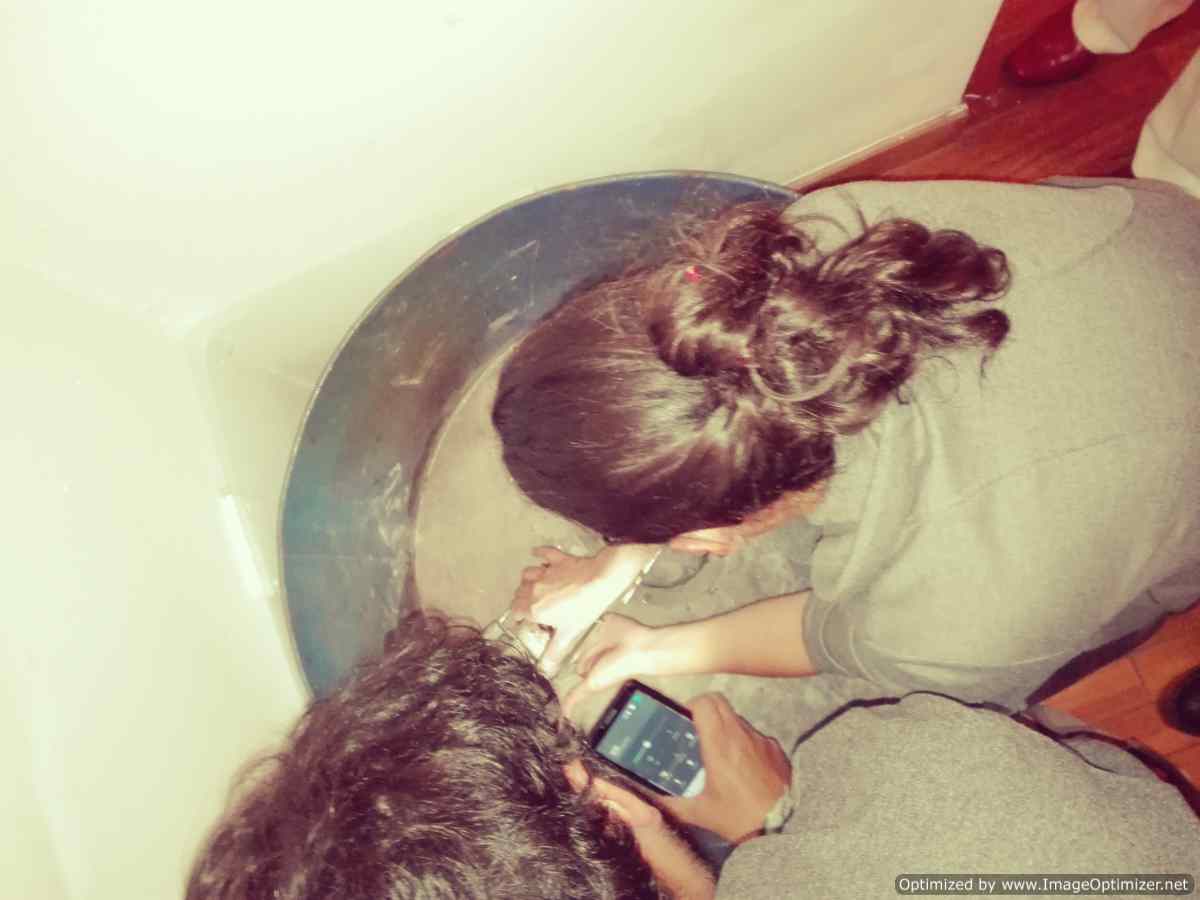
Step 4: Mix the plaster with water, here was a very fun step because if you do it badly it dries very quickly or it does not dry up.
Step 5: Pour the plaster into the tube, here we avoid the bubbles that can damage the process. And that the plaster does not overflow to avoid problems, in one of the images the error of one of my parther is shown.
Step 6: Mix the plaster with water, here was a very fun step because if you do it badly it dries very quickly or it does not dry up.
Step 7: Pour the plaster into the tube, here we avoid bubbles that can damage the process.
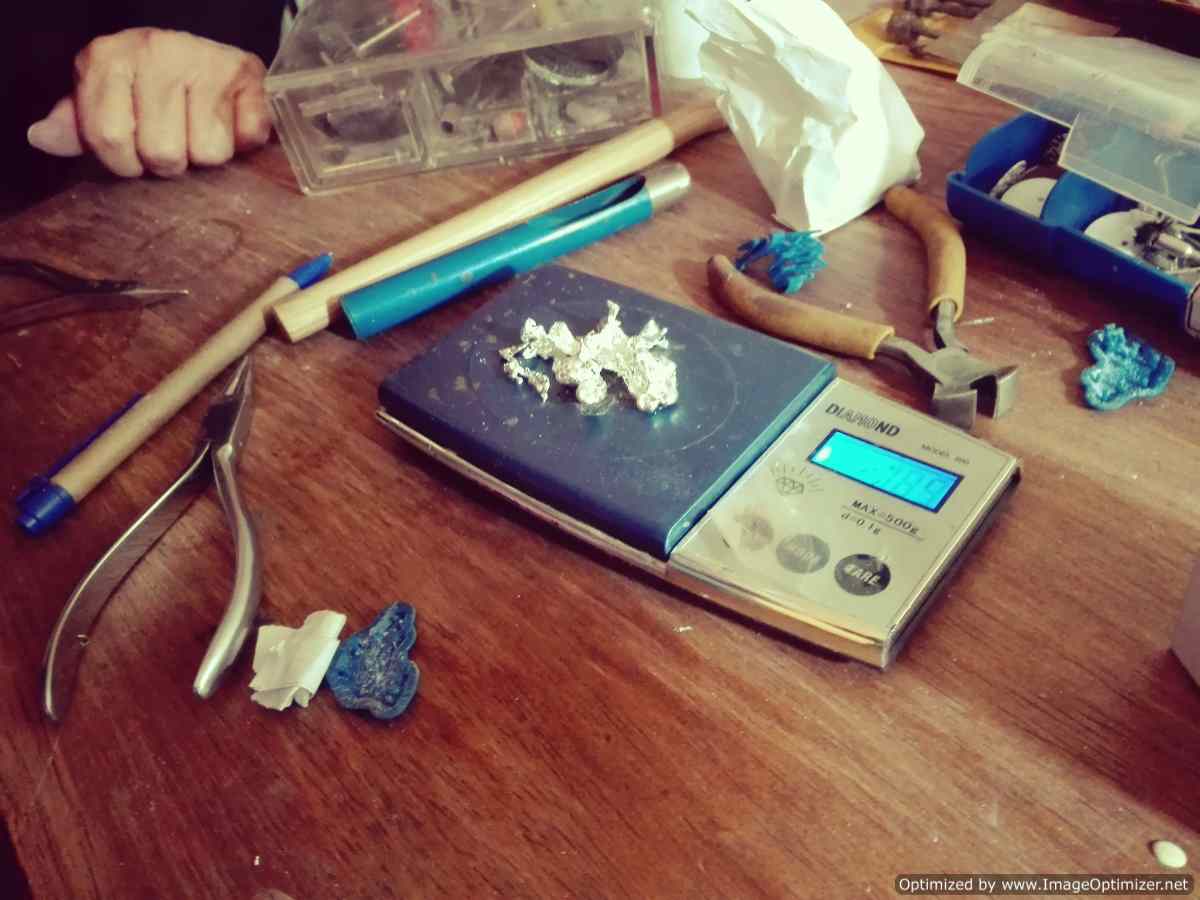
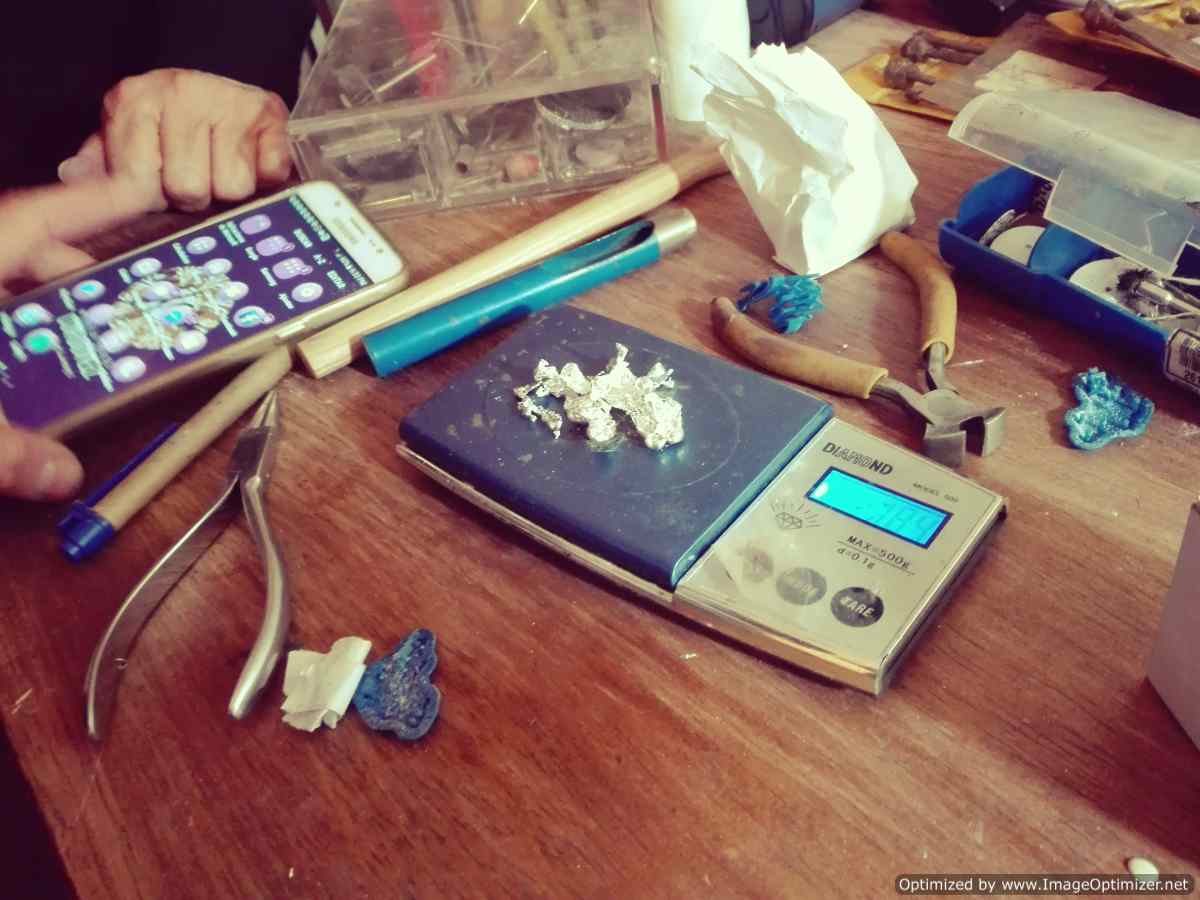
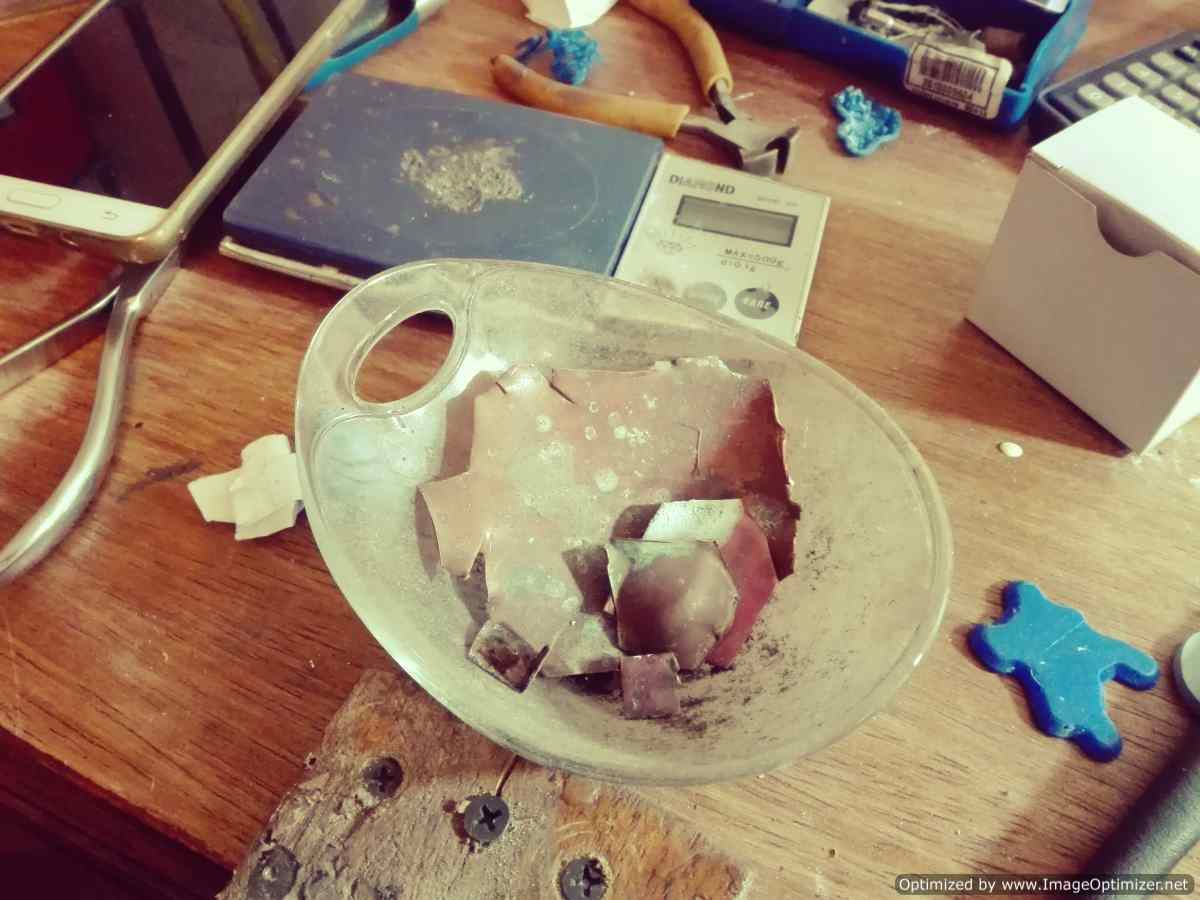
Step 6: The material to be used is silver and according to our guide we will weigh the silver we have and combine it with copper in a percentage of 10%. I call this to lower the carat.
Step 7: Pour the plaster into the tube, here we avoid bubbles that can damage the process.
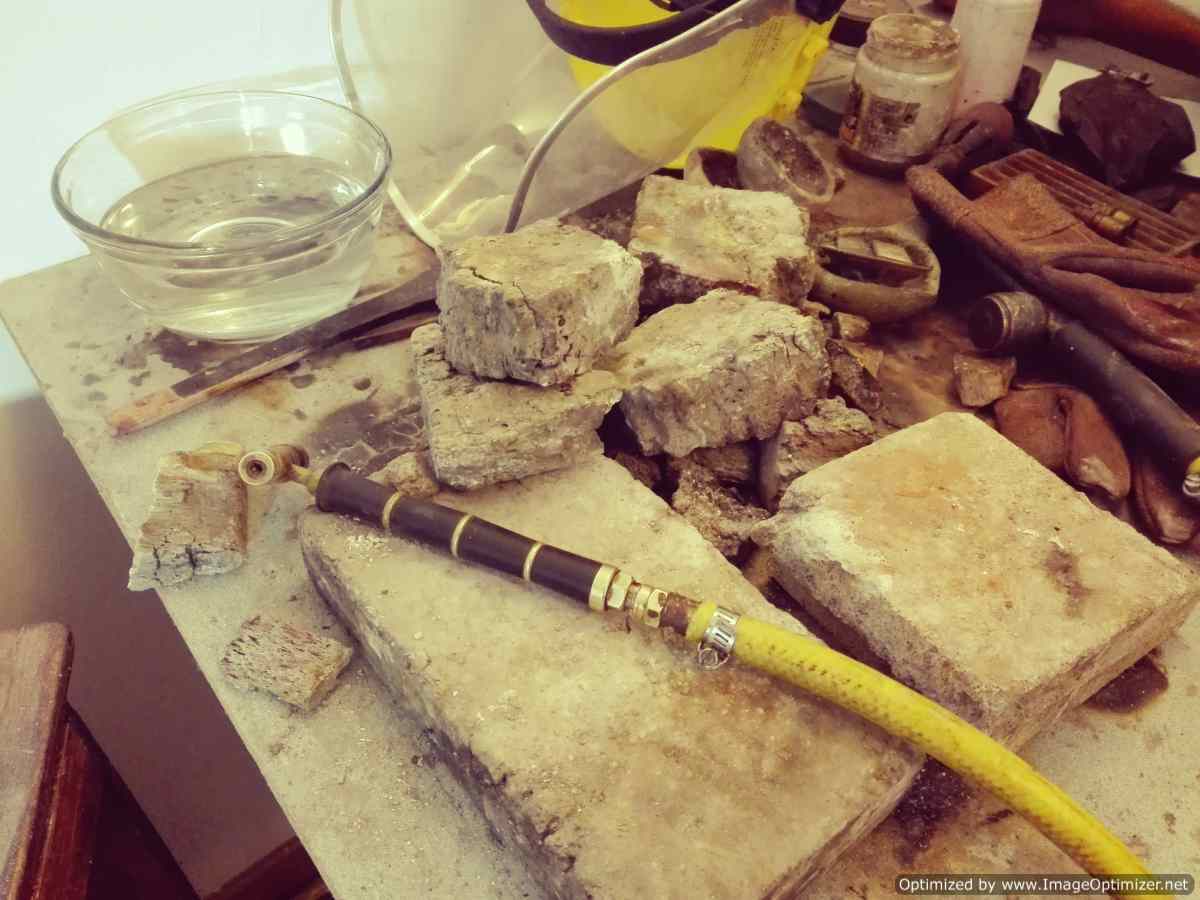
It is time to remove the plaster from the mold, remove a part of the plaster until we find the figure, and start heating the tube until all the wax has left this will take about 15 to 20 minutes, that's what our guide told us.
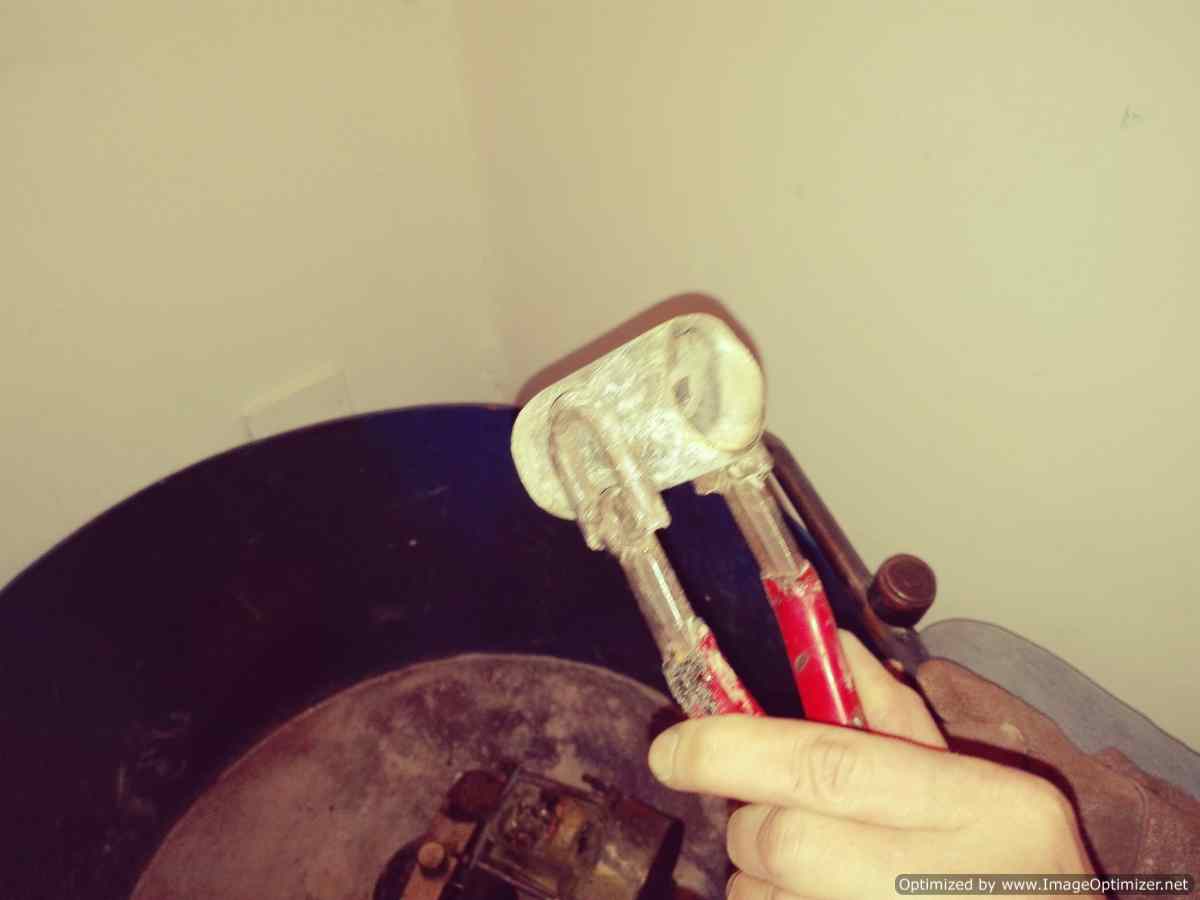
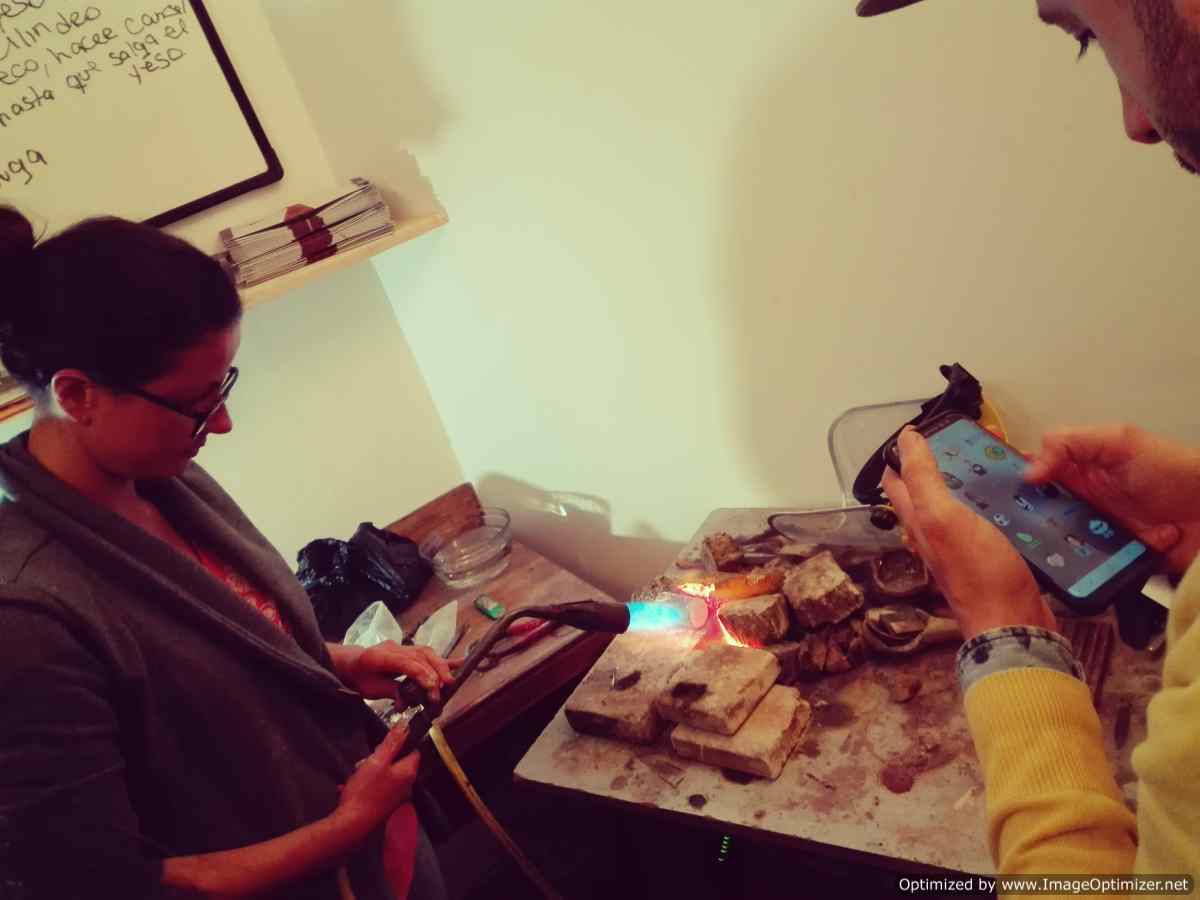
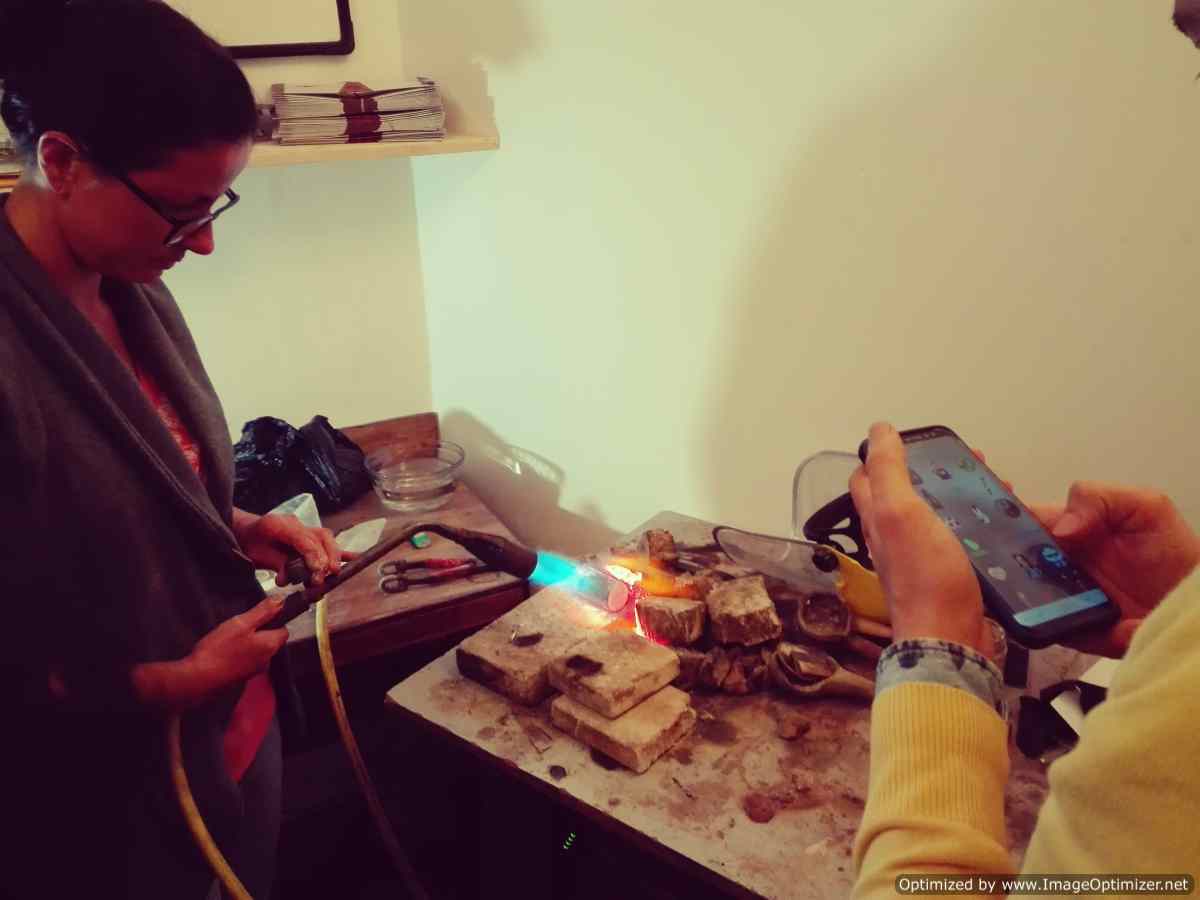
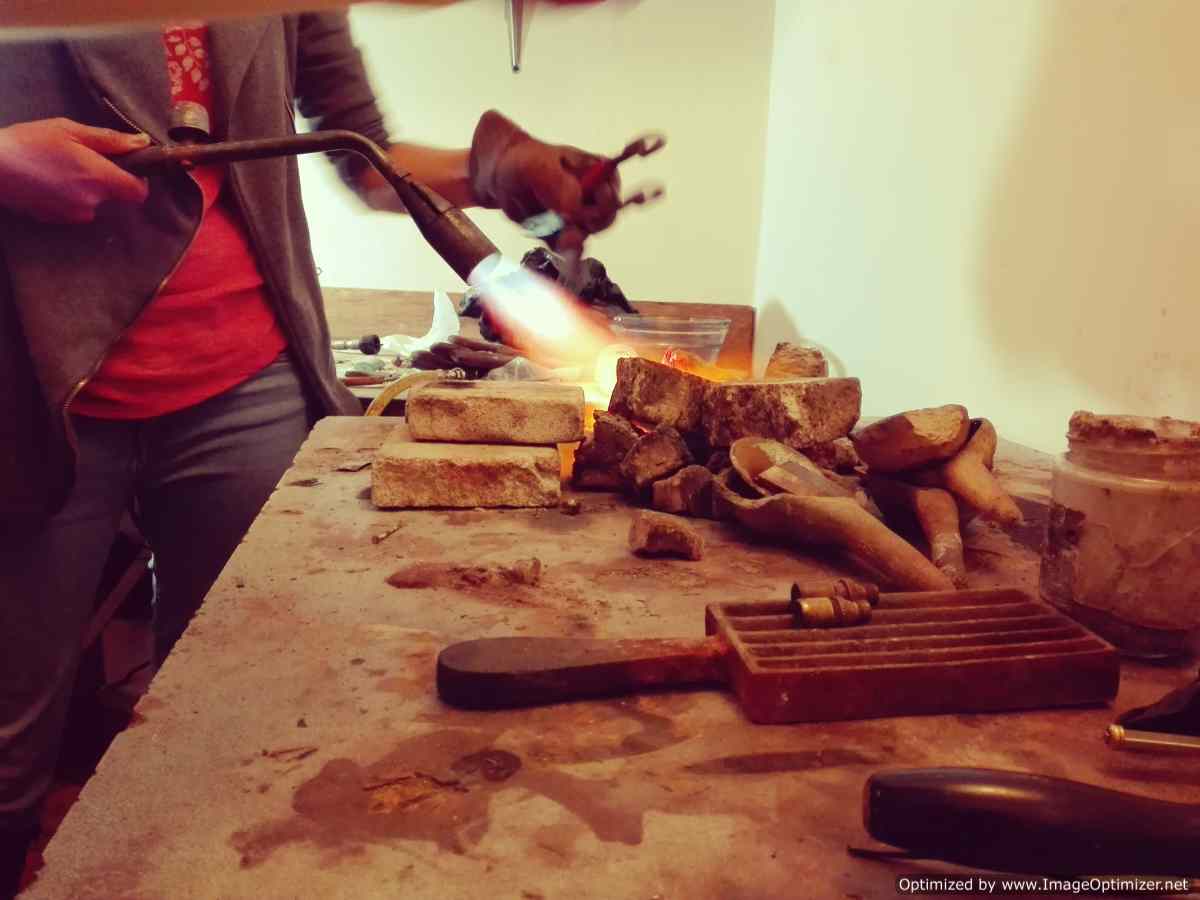
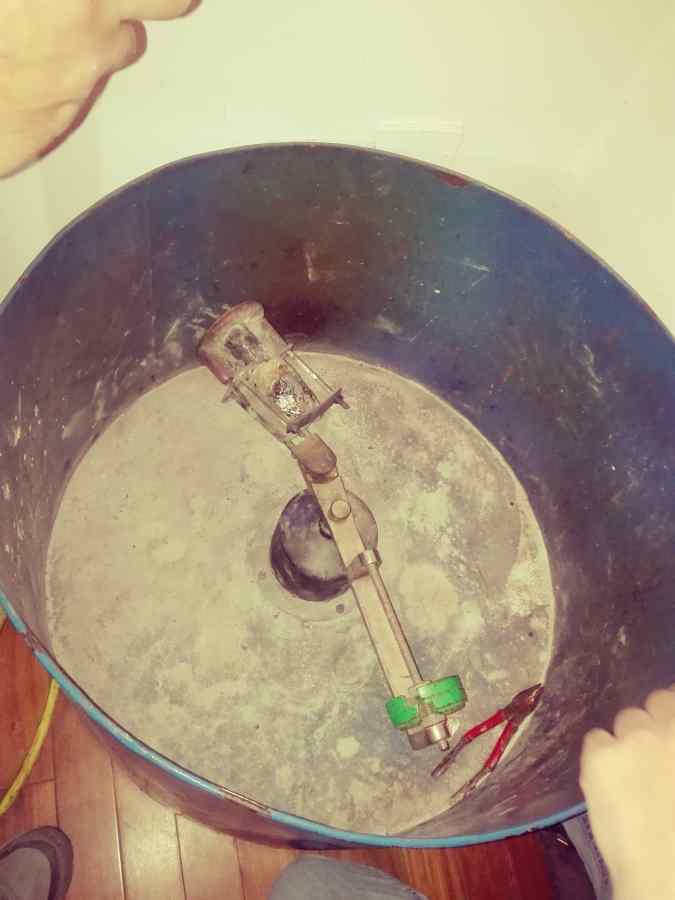
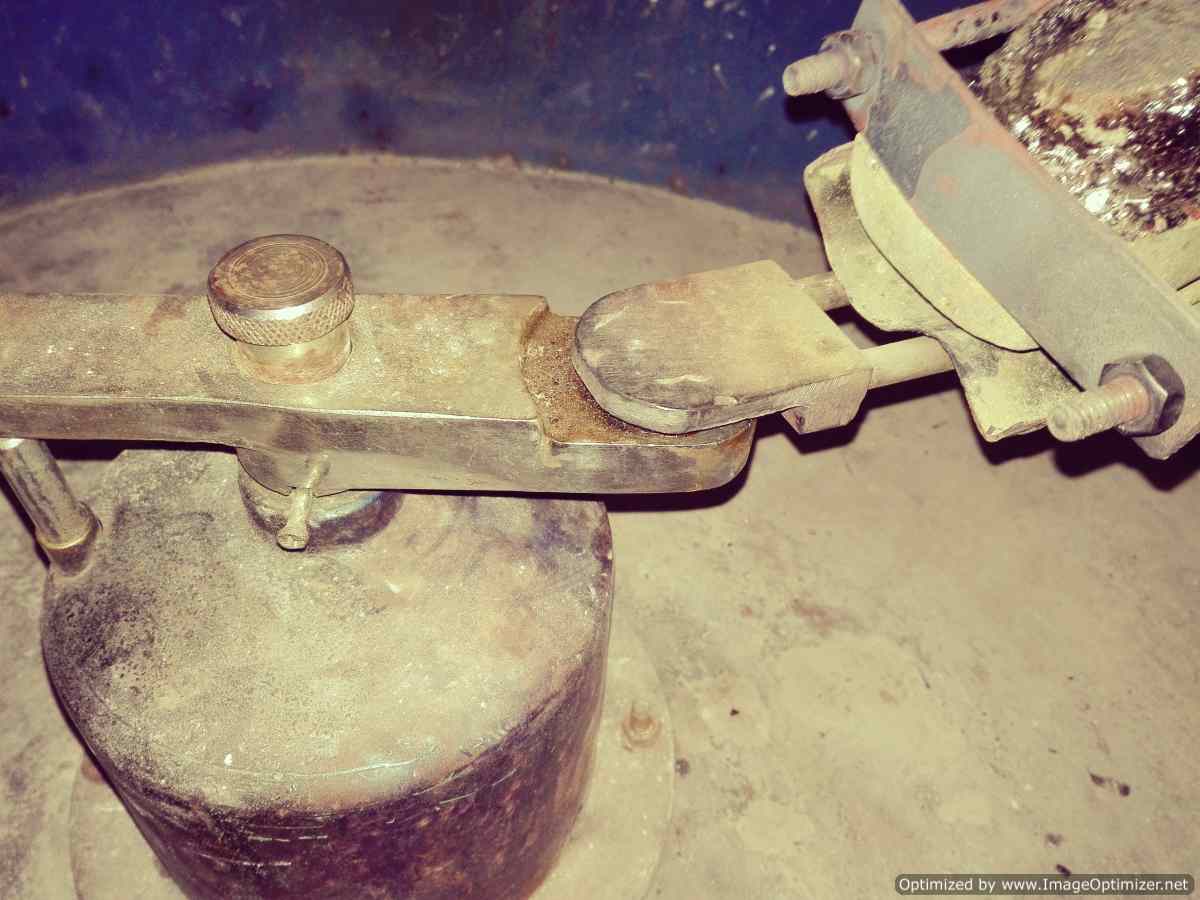
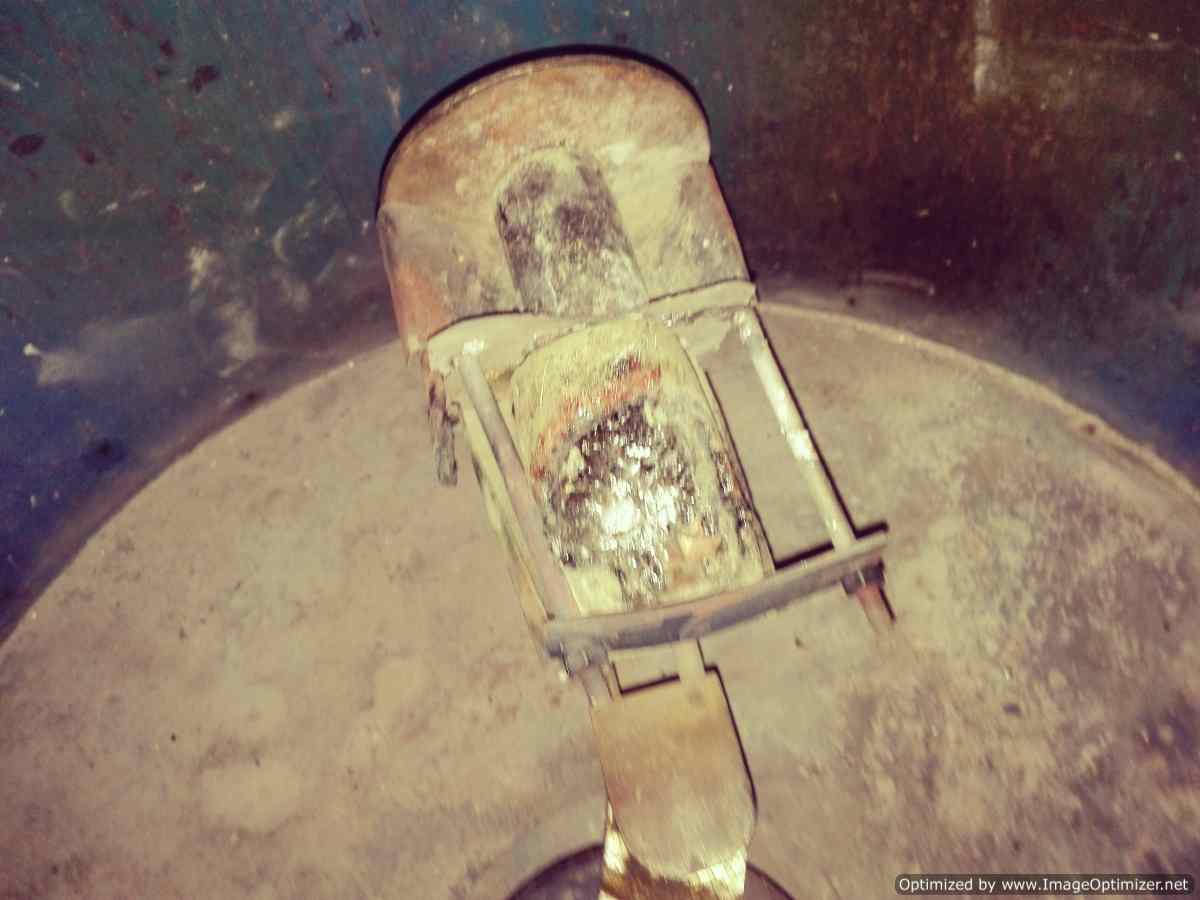
With the material removed from the mold, we place it in the centrifuge with the hole in the direction of the material to be melted. On two occasions we rotate the centrifuge in the direction of the watch handles and hold it with the pin, with the torch we melt the silver and copper into the base of the centrifuge, when it is completely fused and we remove the pin and the material will enter inside. of the mold instantly.
Everyone wanted to see how the centrifuge moves to make the jewel here an example.

In the end the final proposal was not correct
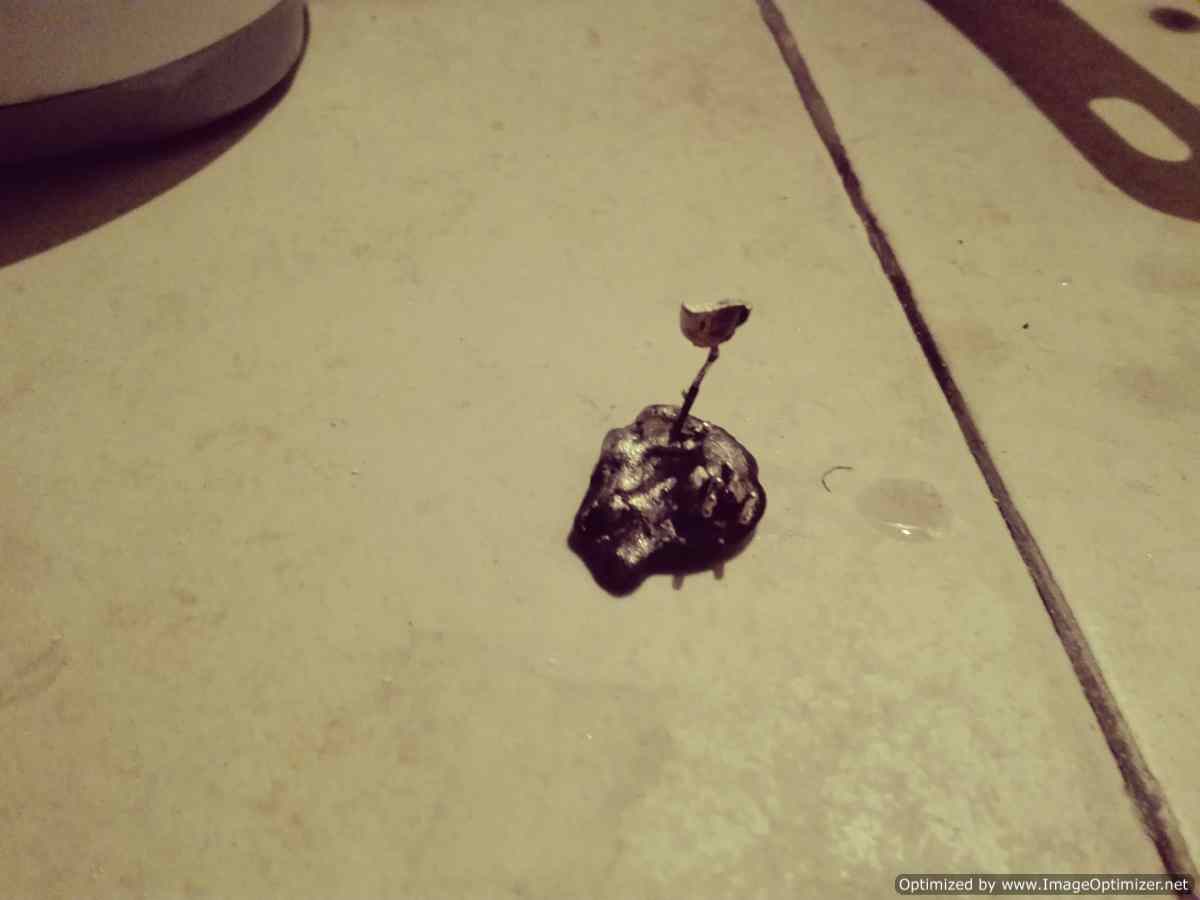
What is the reason or why does it not work?
Here, several of the answers, the wax we use melts at a very high temperature, which we can not obtain with the torch, is a very good technique for handmade jewelry, but with machinable wax, this case uses another type of wax . We look for information about the wax and it melts effectively at a very high temperature.
CONCLUSION:
Making jewelry using 3d printing opens many doors to designers, but we must also take into account that the equipment that this implies with industrial work, such is the example of the oven to reach the desired temperature.
The possibilities are endless from jewelry to creating extremely small components of watches.
Personally I would like to learn more about this type of process. I love it because my mother is an artisan and I would like to innovate in this process to create silver earrings with a modern design.
A recommendation to soak up information before doing any process we as students is well wrong but in a process where it involves several expenses is very risky