PROJECT MANAGER
* Build a personal site describing you and your final project.
* Upload to the class file. Work with a git tutorial
In this week they recommend us to start using the html to create and modify the personal page of fab academy. Neil recommends using web development with several programs and try version controller. I try with HTML and the gitlab.
DEVELOPING MY PAGE AND DESCRIBING MY RESULTS
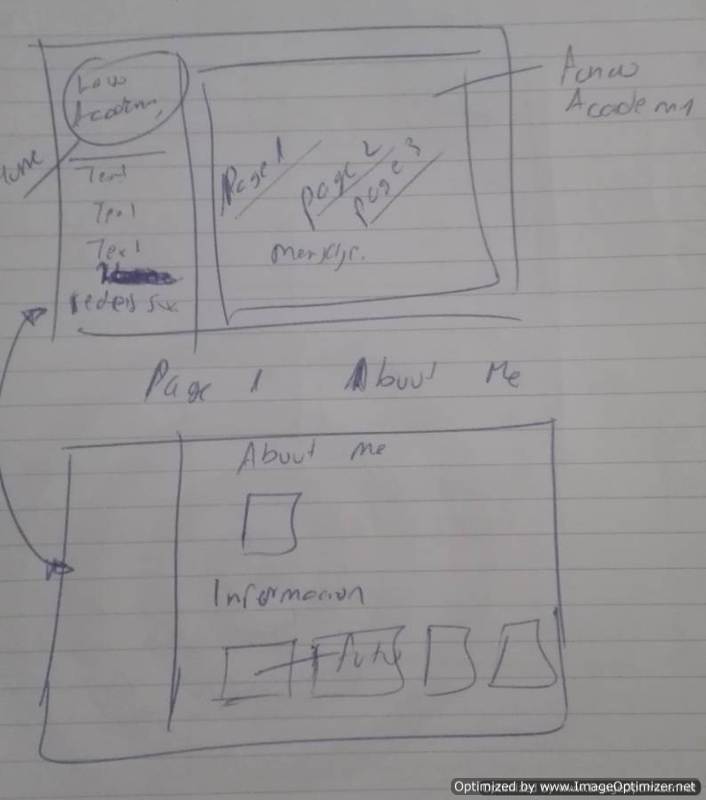
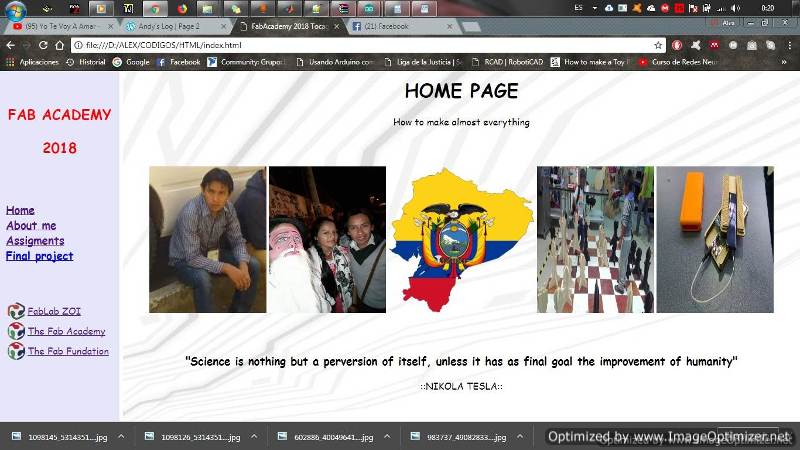
When entering the different pages within the web I have seen many designs. I like one especially a page with lateral menu so I made a sketch of my page, you can see it in the image. In the left part a menu is shown, while in the right part the content is found and at the same time it changes according to the selection I went step by step learning and developing my page.
| Sketch | Previous | Final |
|---|---|---|
 |
 |
 |
DESCRIBING MY EXPERIENCE
HTML is a programming language that is used to develop web pages.
This is the acronym that corresponds to HyperText Markup Language.
It should be mentioned that HTML only serves to indicate how the content of a web page is ordered by means of hypertext marks which are labels known as tags.
Finally, where can I write HTML code?
you do not need a text editor like the notebook, there are a variety of options such as:
Brackets, Atom, Sublime text, NotePad ++ although in my opinion I would recommend you download NotePad++ or Brackets because it facilitates the writing of HTML code.
I had bases in html but I wanted to learn more about how to develop my website, following the advice of a friend, visit Codeacademy and, at the same time, look for an application to learn html more easily when I travel.
I came back to remember and learn new things like frames, insert images, insert videos, links.
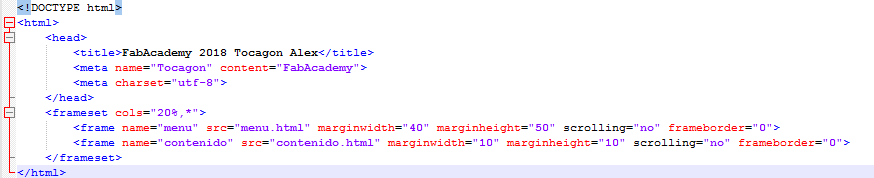
For the design of my page, I needed frames at the beginning, they caused problems, but it was due to the addressing of the pages. I managed to solve this error, now it's easier
LEARNING WITH CODEACADEMY
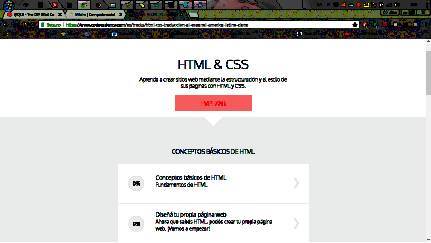
It is very easy to access codeacademy and learn with their tutorials are very clear.
Here I learned the structure of a page designed in html.
I also learned how to change color, align, navigate between several screens, add photos and videos.
I leave the link if you want to learn. Codeacademy
LEARNING WITH SOLOLEARN
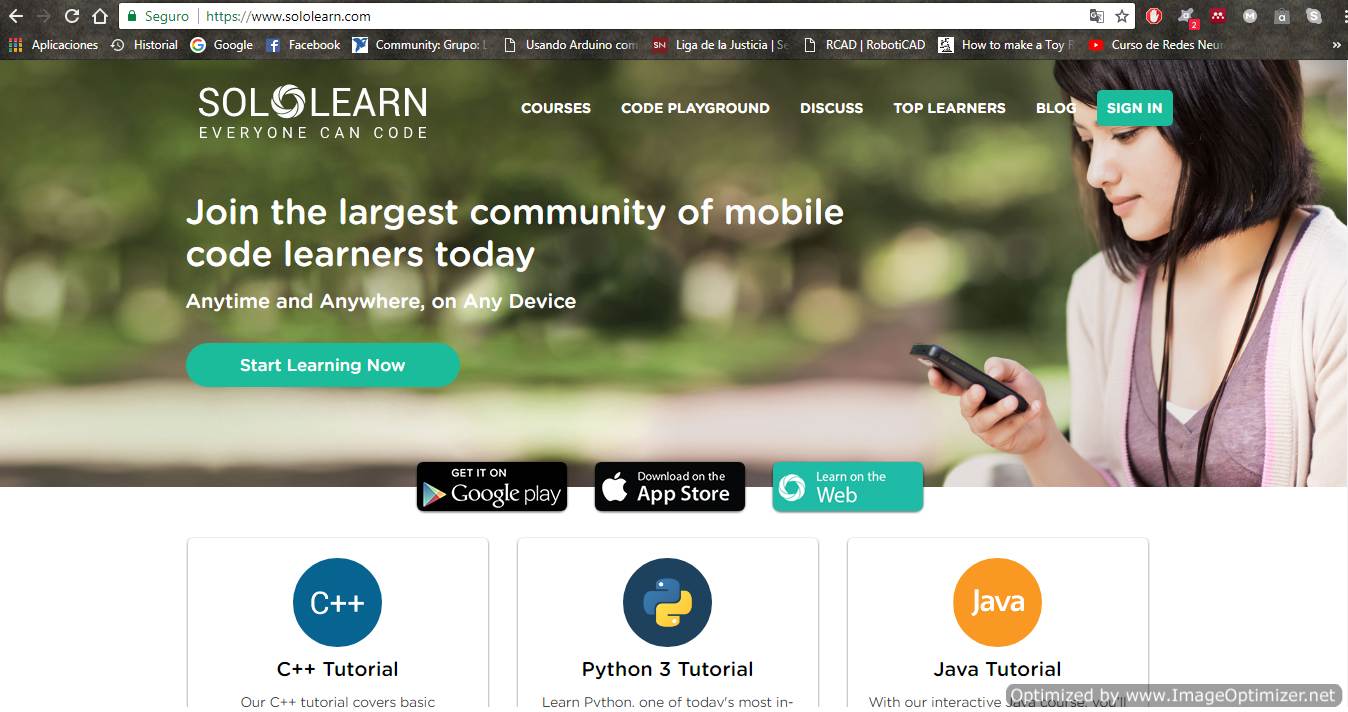 SoloLearn is a very useful platform for learning several languages including html.
What is different from the others?
Although it has a very friendly web page within the play store you can find the app, and the biggest of its advantages works without internet.
With this app I can learn and reinforce my knowledge. very useful for people who have a smartphone and want to take advantage of time.
I prefer the application because I travel a lot. I leave the link if you want to learn
SoloLearn
SoloLearn is a very useful platform for learning several languages including html.
What is different from the others?
Although it has a very friendly web page within the play store you can find the app, and the biggest of its advantages works without internet.
With this app I can learn and reinforce my knowledge. very useful for people who have a smartphone and want to take advantage of time.
I prefer the application because I travel a lot. I leave the link if you want to learn
SoloLearn
OPTIMIZE IMAGE
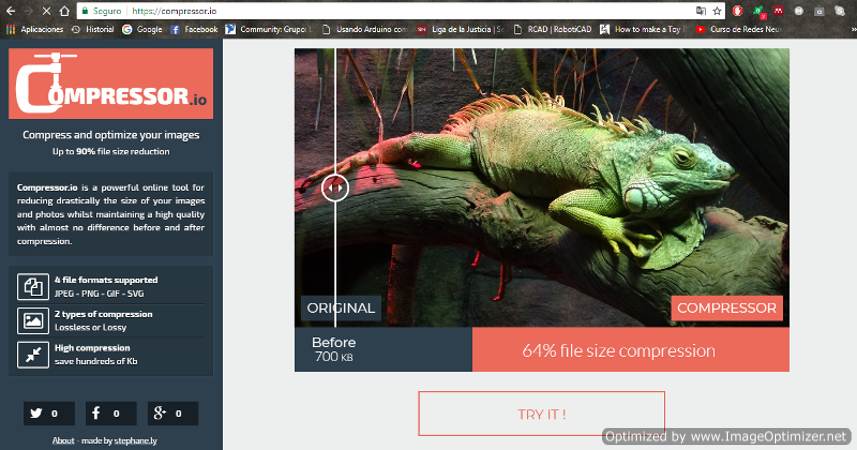
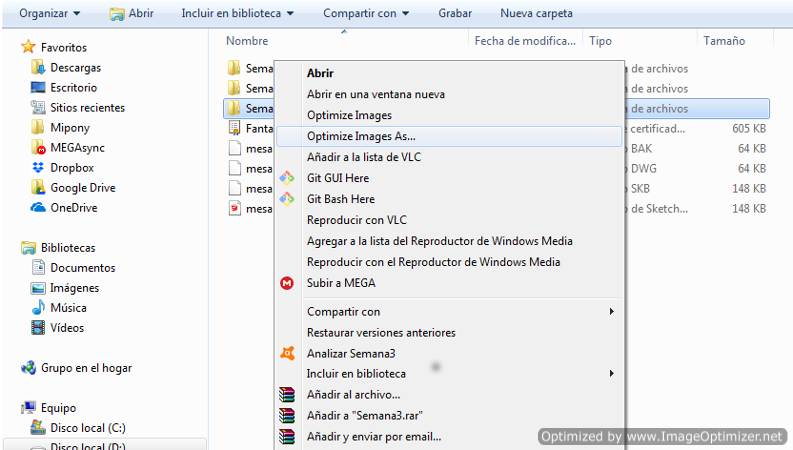
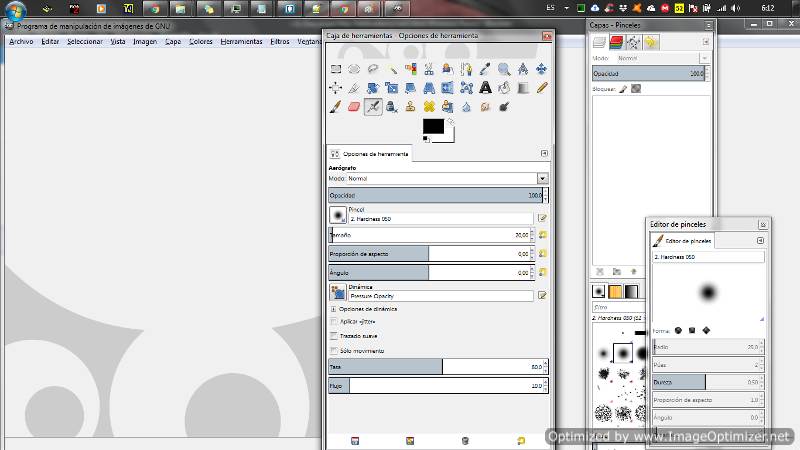
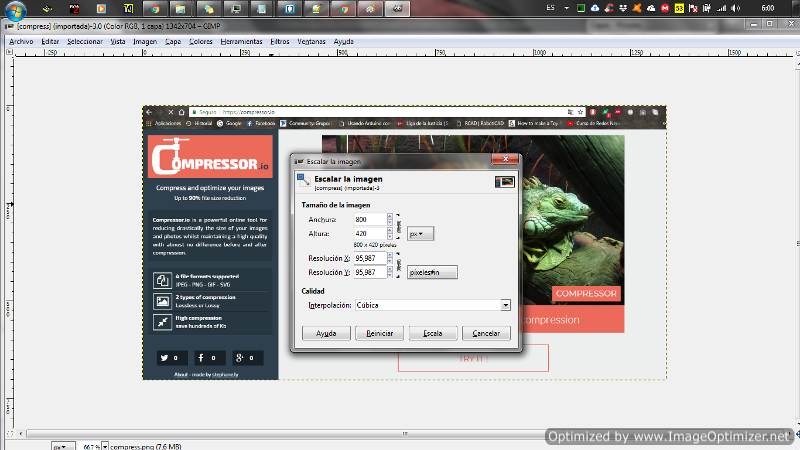
There is a big problem in the images, the very large images make the web heavy, so I need to look for how to compress the images. I found a program on the net as compressor.io and a program called optimize image. In the online compressor you have to select the images one by one from our computer while with the program you can select the individual image or the folder completely and finally use the software gimp
 |
 |
 |
 |
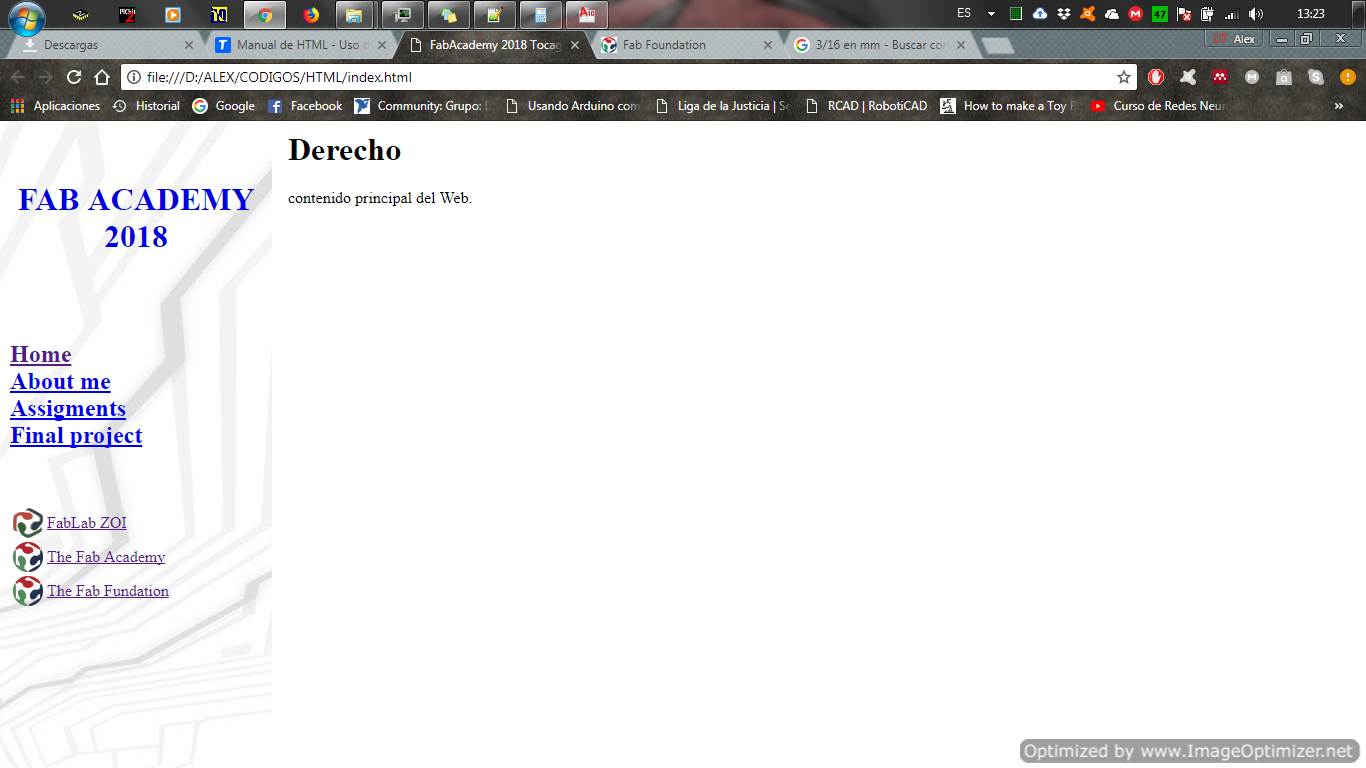
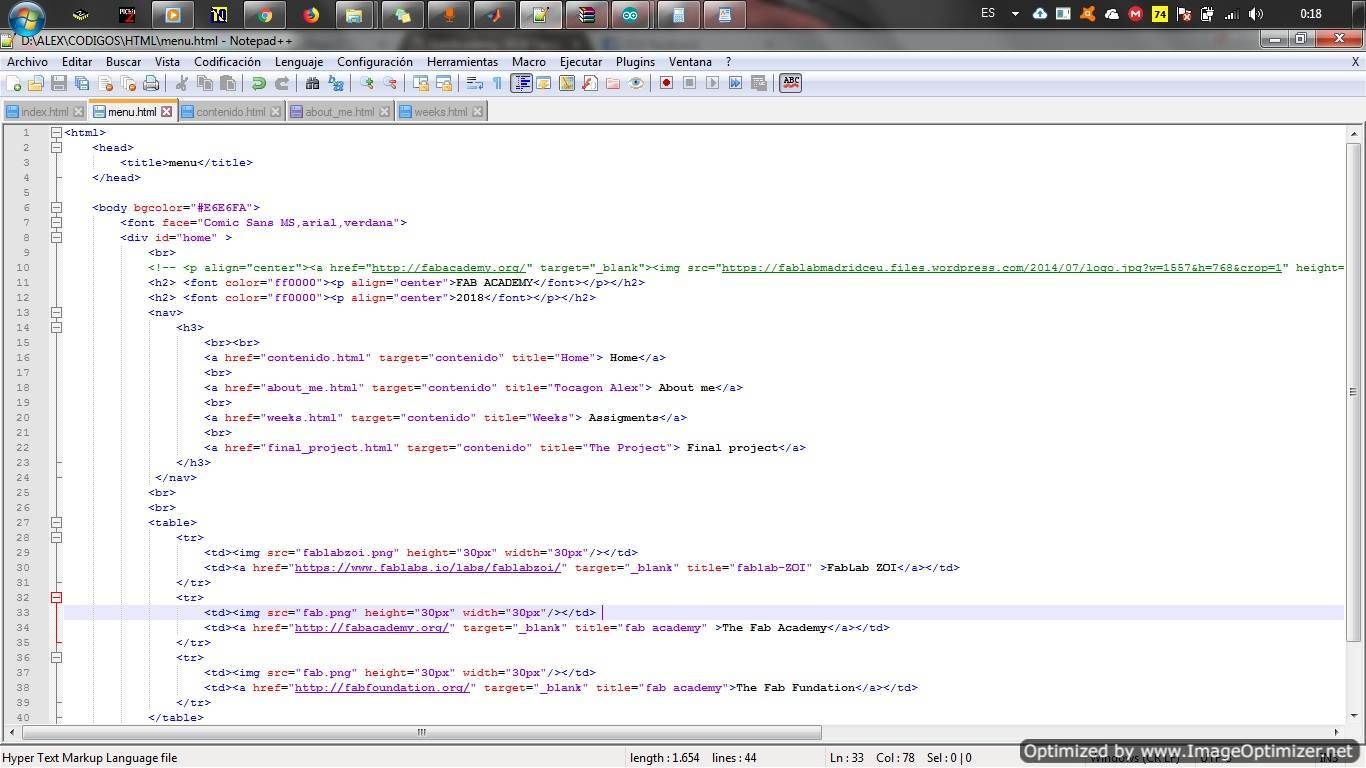
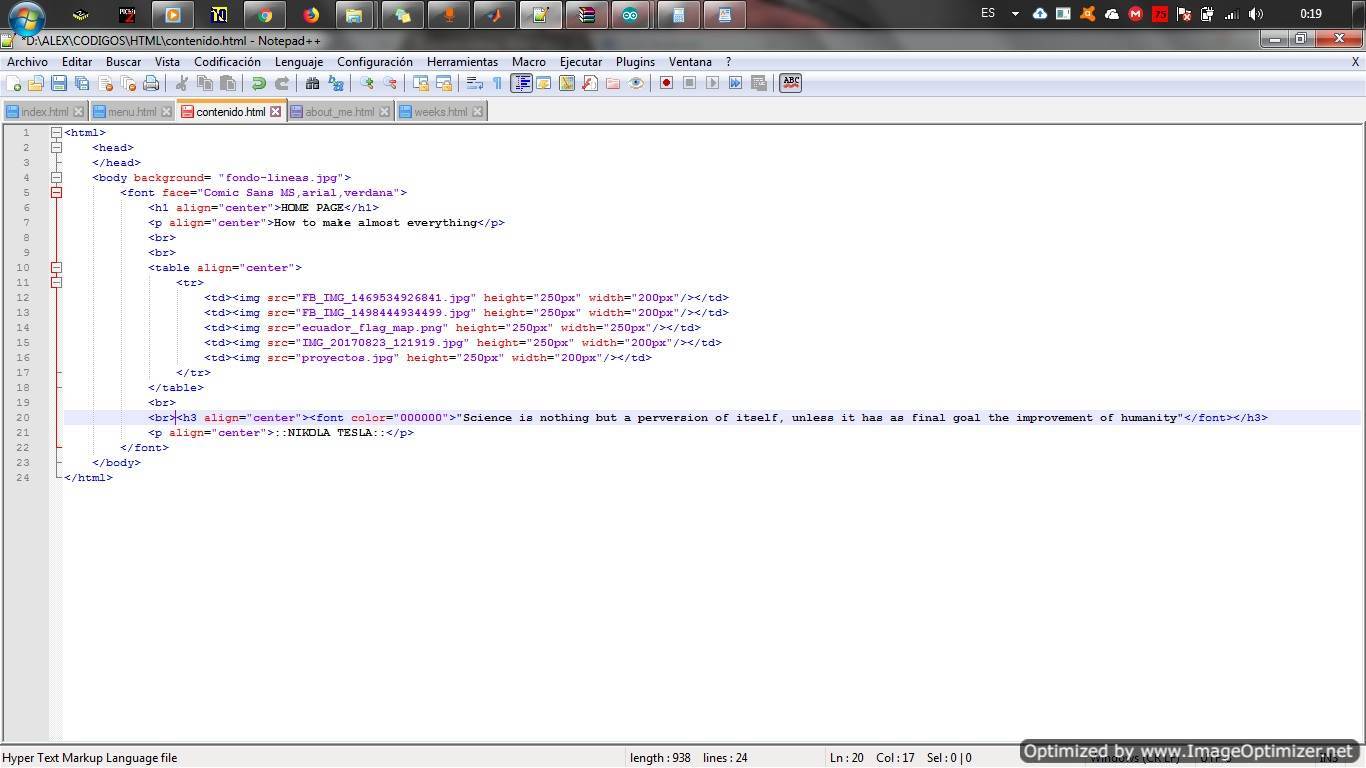
I created a main page where the menu and content are displayed. You can create it thanks to the frames.
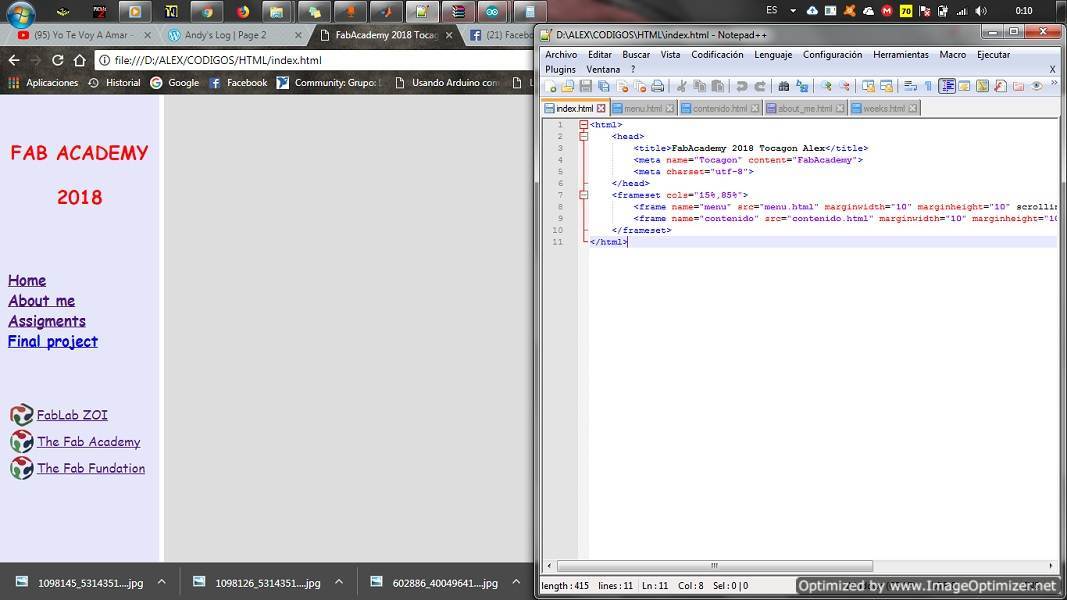
In the screenshot I show the codes of the menu that goes to the left and the content of the same that will be shown in the right part. you have to create it as two pages separately and put them together with a single page.
 |
 |
And finally, my main page is going to be the same as I imagined it, but it will get better with the passage of time and with the new things that I am learning.
After having experienced the html code go to try the CSS code, the css code makes the page more attractive, what you need is many configurations but there are free templates. The templates are modifiable to our needs, the important thing is to know how the code works.After making several modifications to the template I managed to obtain my final design.
 |
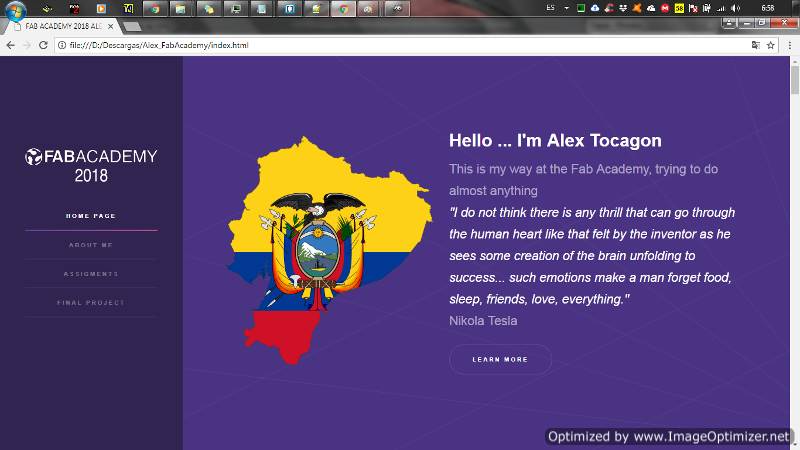 |
MY PRESENTATION
the information about me is in the following link and my final project .here.
Upload it to the class archive. Work through a git tutorial.
Version control systems are software tools that help a team manage changes in the source code over time. The version control software keeps track of code modifications. If an error is made, it is possible to go back and compare previous versions of the code to help correct the error.
It must be said that jit is a versioning software but what is versioning and what it helps us with.
As well as git there are several types of software such as dropbox one well known, mercurial, gith, github, git lab but for our case and highly recommended by the academy team 2018 gitlab is used and that is what will be shown.
The git tutorial
First download and install git on your computer you can see the following link git Once installed, you will have both the command line version (including an SSH client that will be useful later) and the standard graphical user interface. For windows after installing we create a folder to clone the gitlab repository. Then what we have to do after installing Git is to set the username and email address. This is important because the confirmation of changes (commits) in Git use this information. If you want to learn more about git visit the link tutorial
The first step is to create a folder where the repository will be cloned on my computer (git clone)

Inside the folder created run git by right clicking and running git bash here

In the repository of the Fab Academy. FabAcademy has a repository for each FabLab. My URL project is https://gitlab.fabcloud.org/academany/fabacademy/2018/labs/fablabzoi/students/alexdavid-tocagonanrango.git
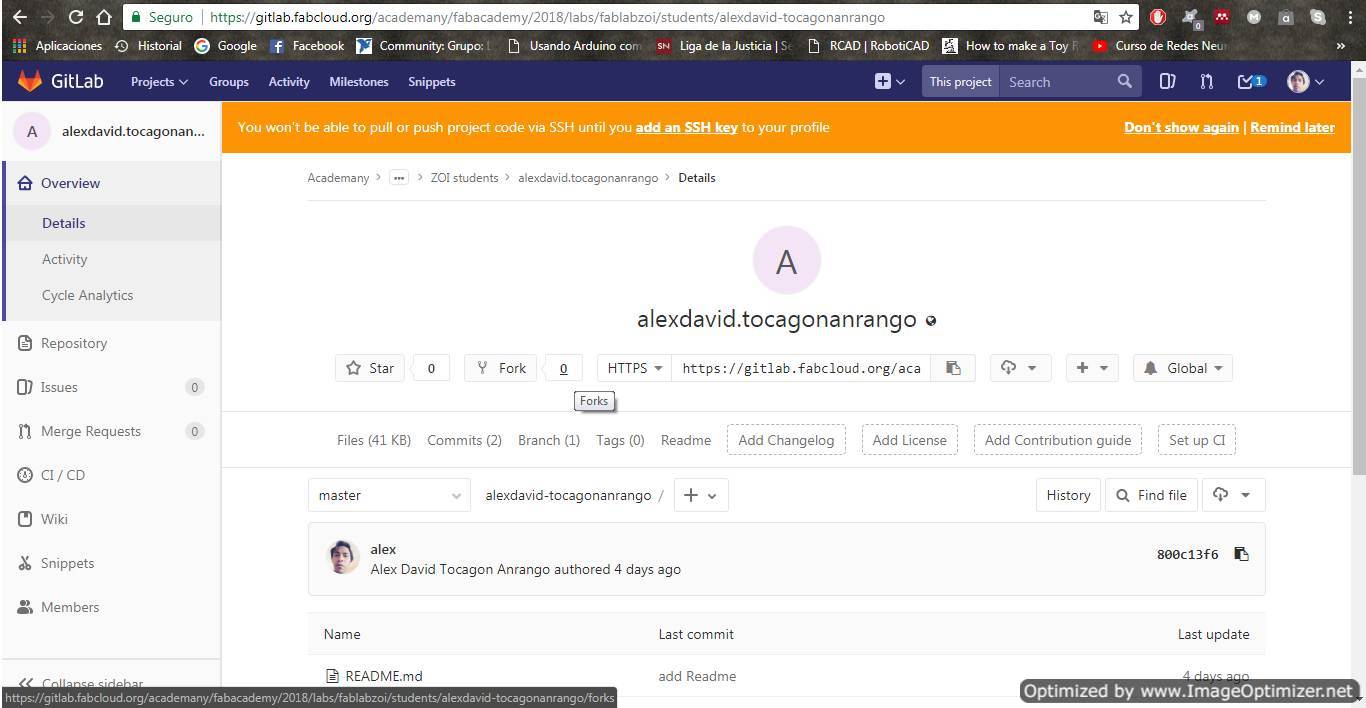
To clone the gitlab repository on the computer execute the following command along with the url address

We configure the username and email for git

We have to use the following basic commands to upload our files
    git config –global user.name “user name”
    git config –global user.email “email”
    git pull
    git status
    git add *
    git commit –m “anything”
    git push origin master
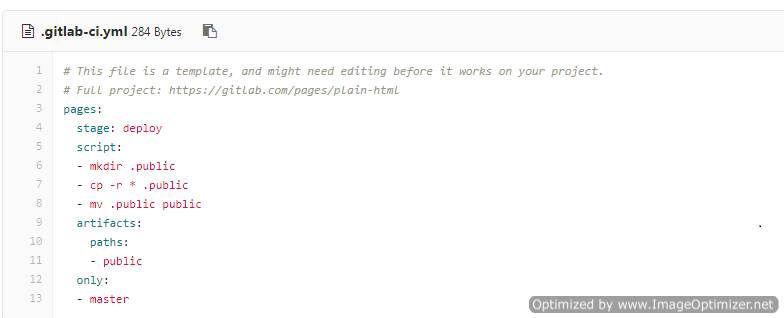
To finish the created page it was not shown in the network to solve this:
1.- enter the gitlab account
2.- create a new file
3.- in template select .gitlab-ci.yml
4.- in apply to gitlab ci yaml template select html
5.- finally commit changes
If you need more details for the git configuration you can check the following video
This is my cronogram to my final project

Conclusion
After trying the basic html, my page is very simple, it needs more color, more style. The basic html is good, but if you need to create a page with more style, it is advisable to use the development software for the web. It is also very good to use a free template for the HTML5 page. The fabacademy recommends the use of gitlab in my personal opinion is great, but it is difficult at the beginning, also is ideal to return a preview version.