Project Management
Week 2
1. Work through a git tutorial
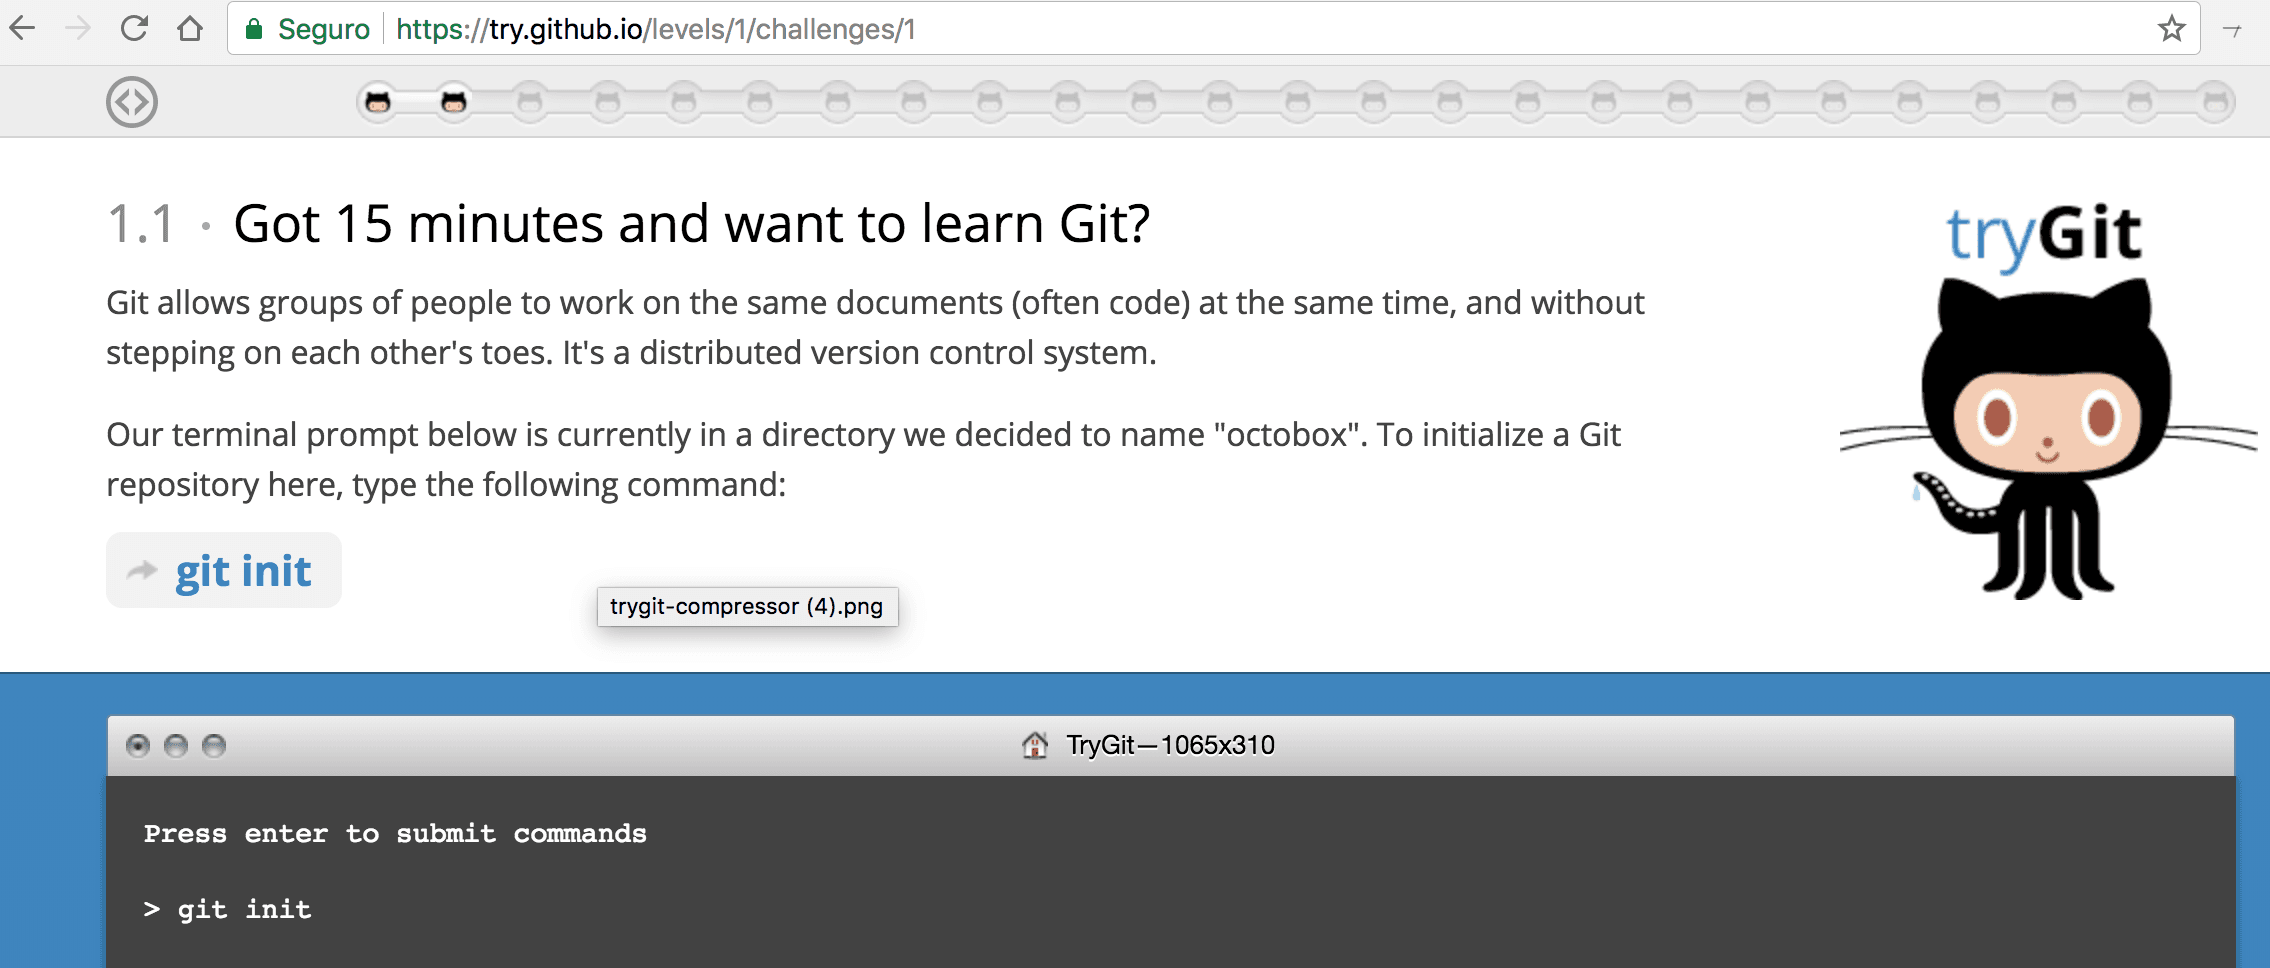
Git Tutorial
To start to work with Git, I had to take a course in Code School. The Try Git course helped me to learn basic Git commands with a simulator.
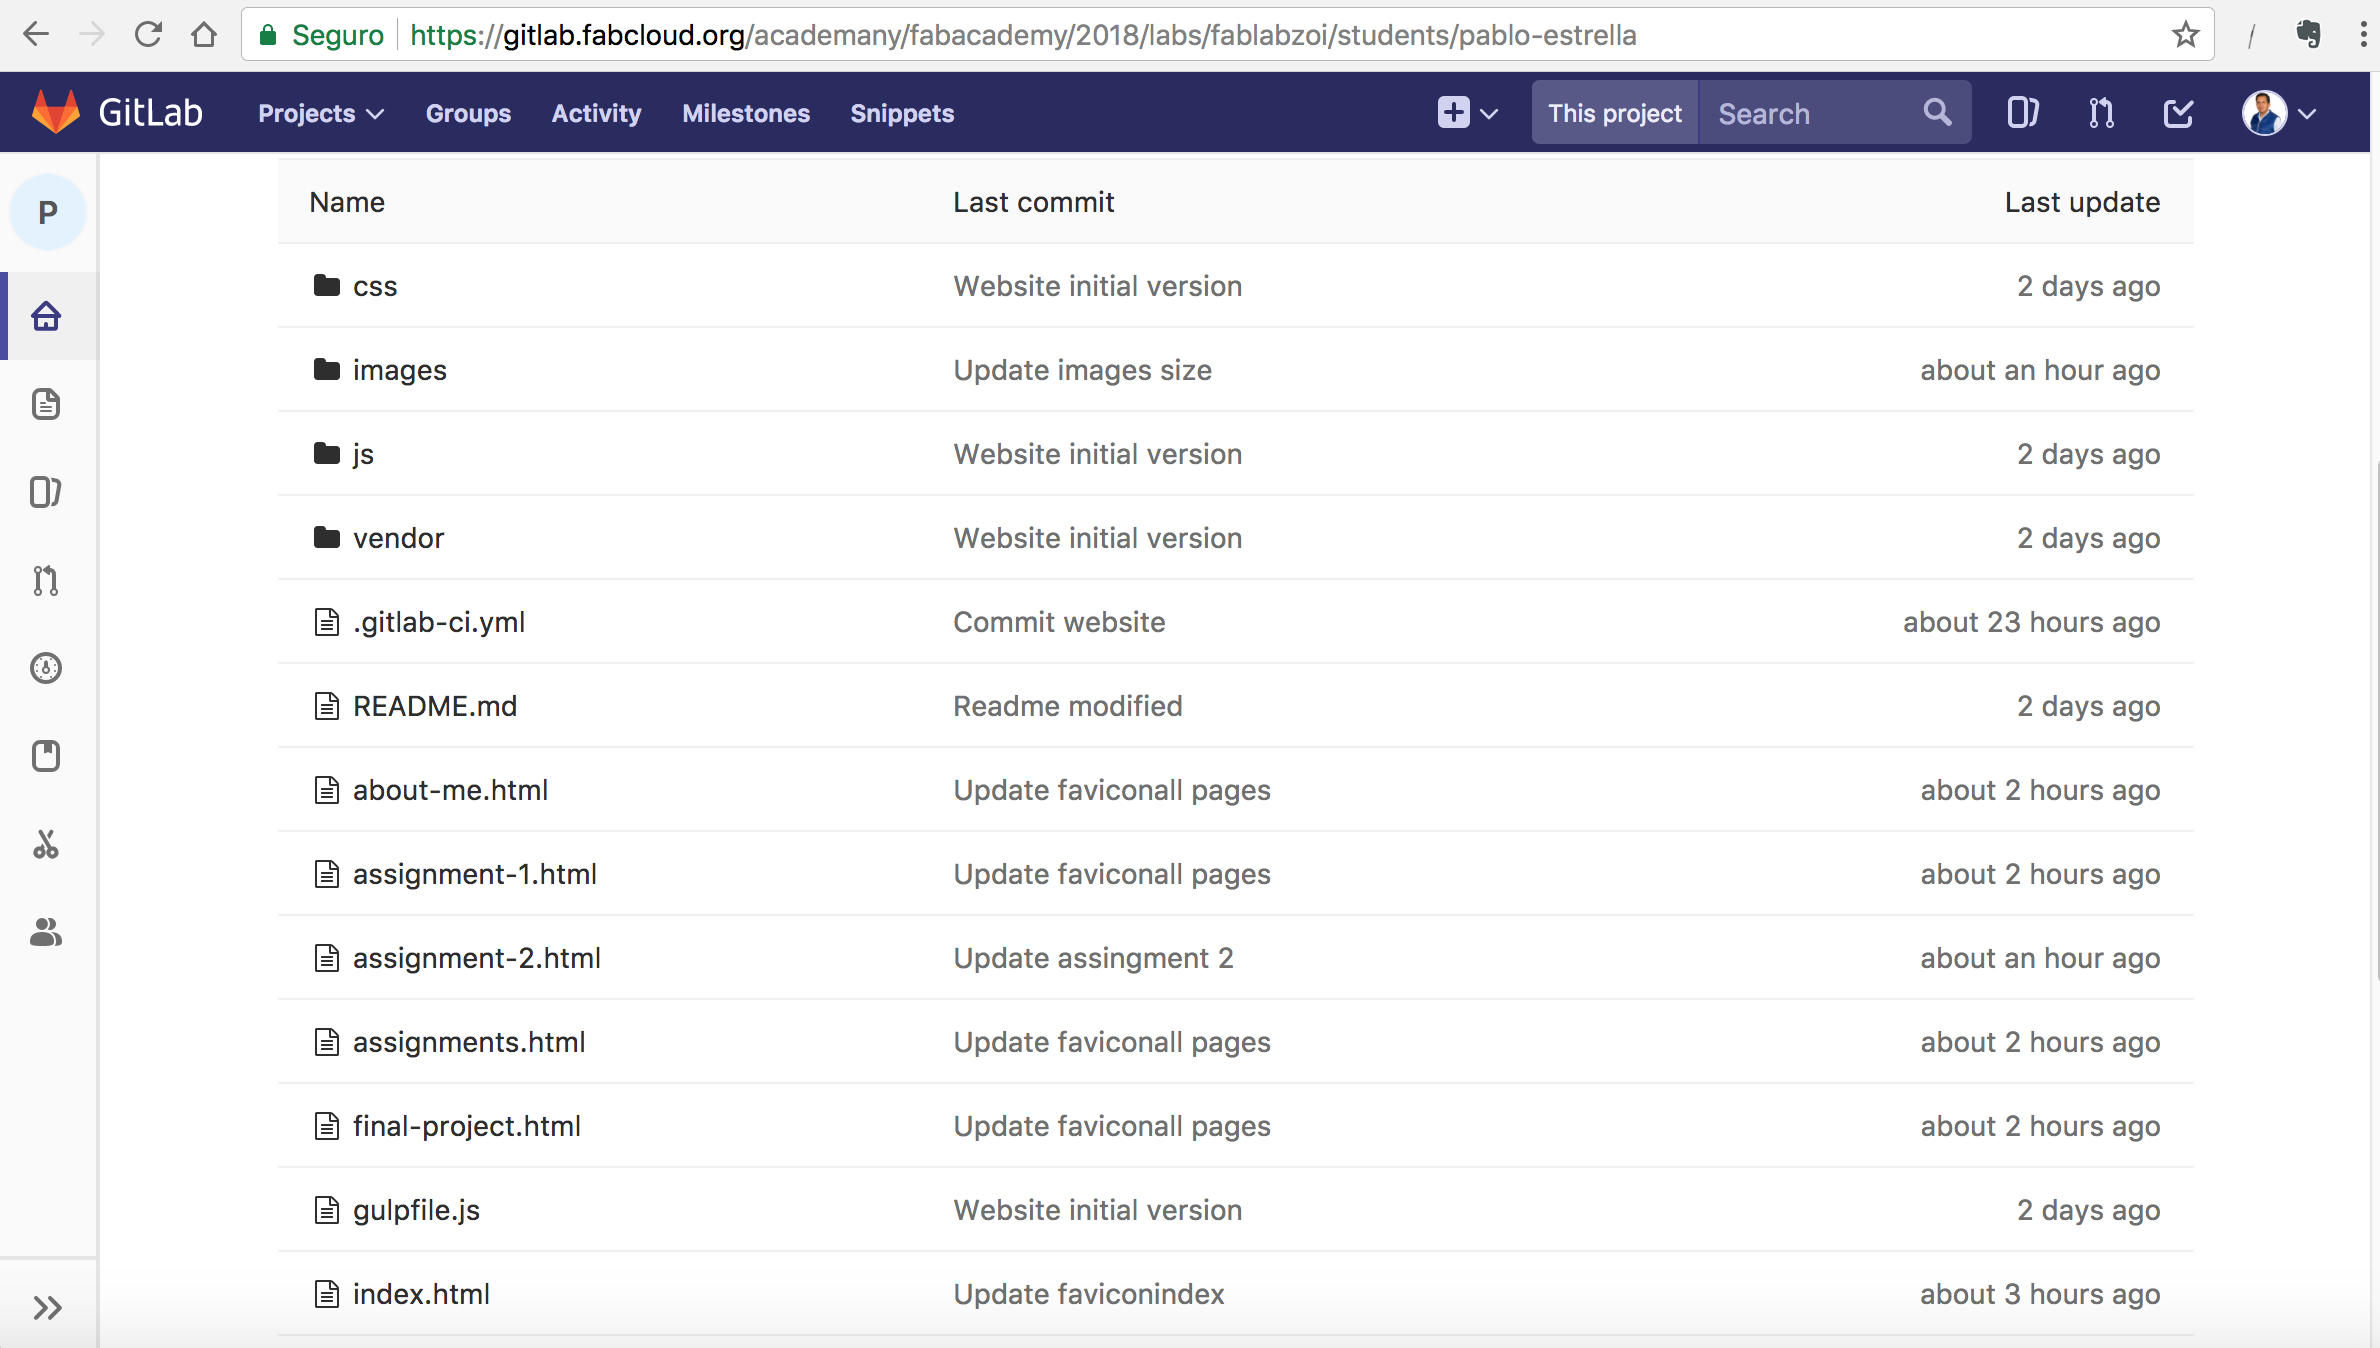
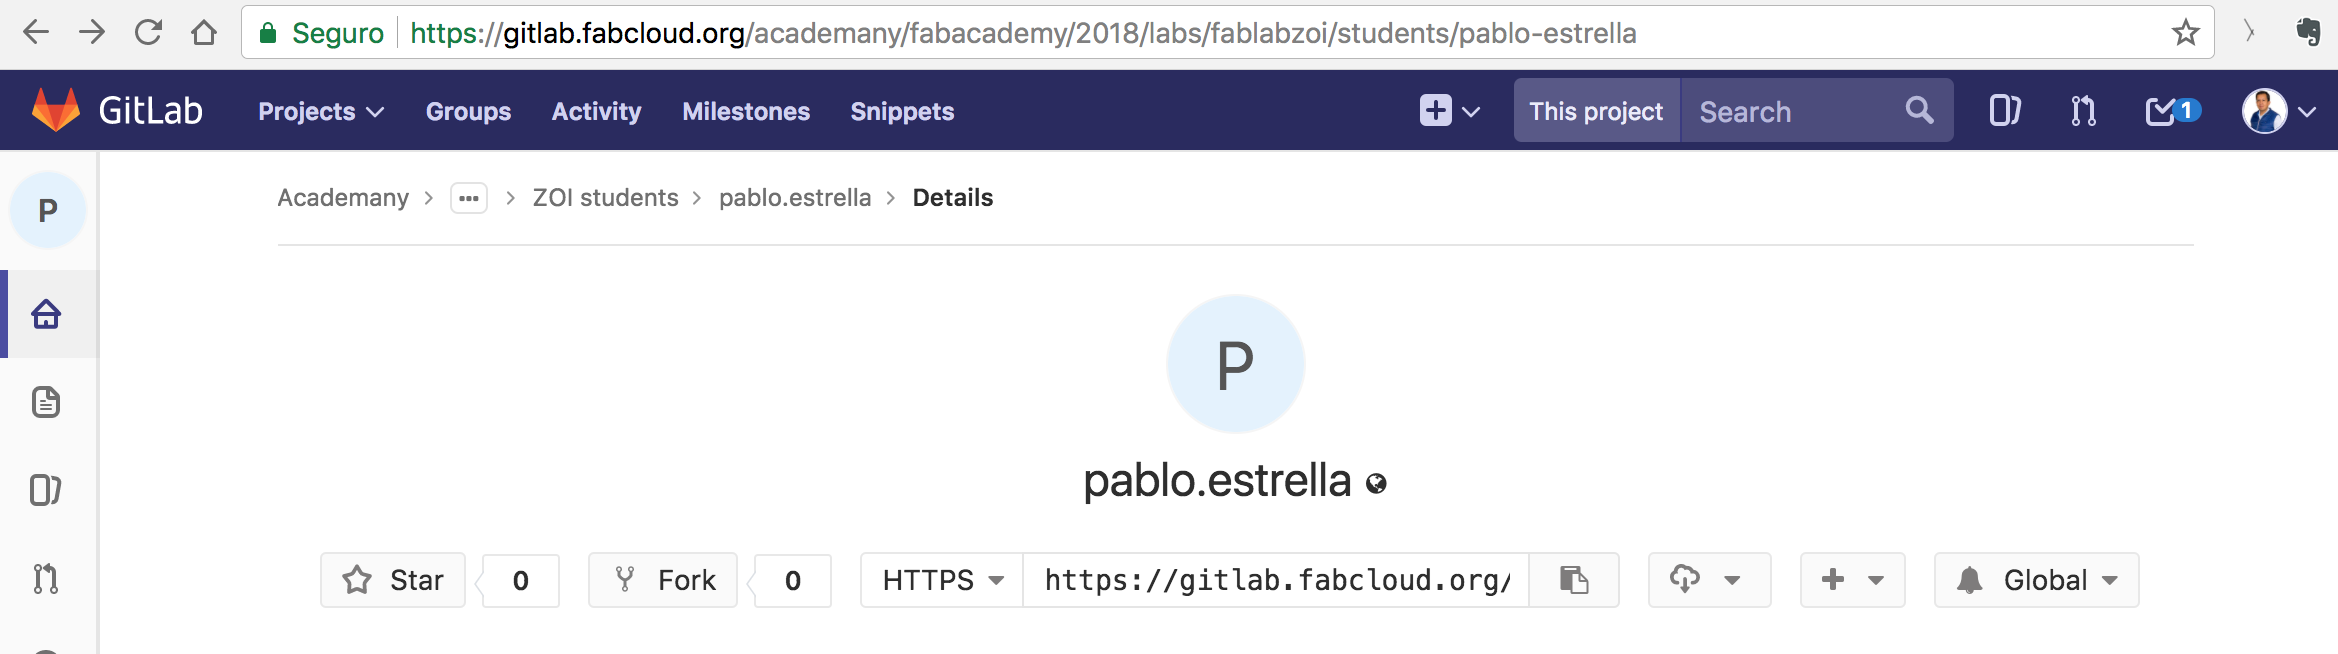
Fab Academy Repository
FabAcademy has a repository for each FabLab, in my case is FabLab ZOI. My user is @pablo.estrella and my URL project is https://gitlab.fabcloud.org/academany/fabacademy/2018/labs/fablabzoi/students/pablo-estrella.git
2. Build a personal website
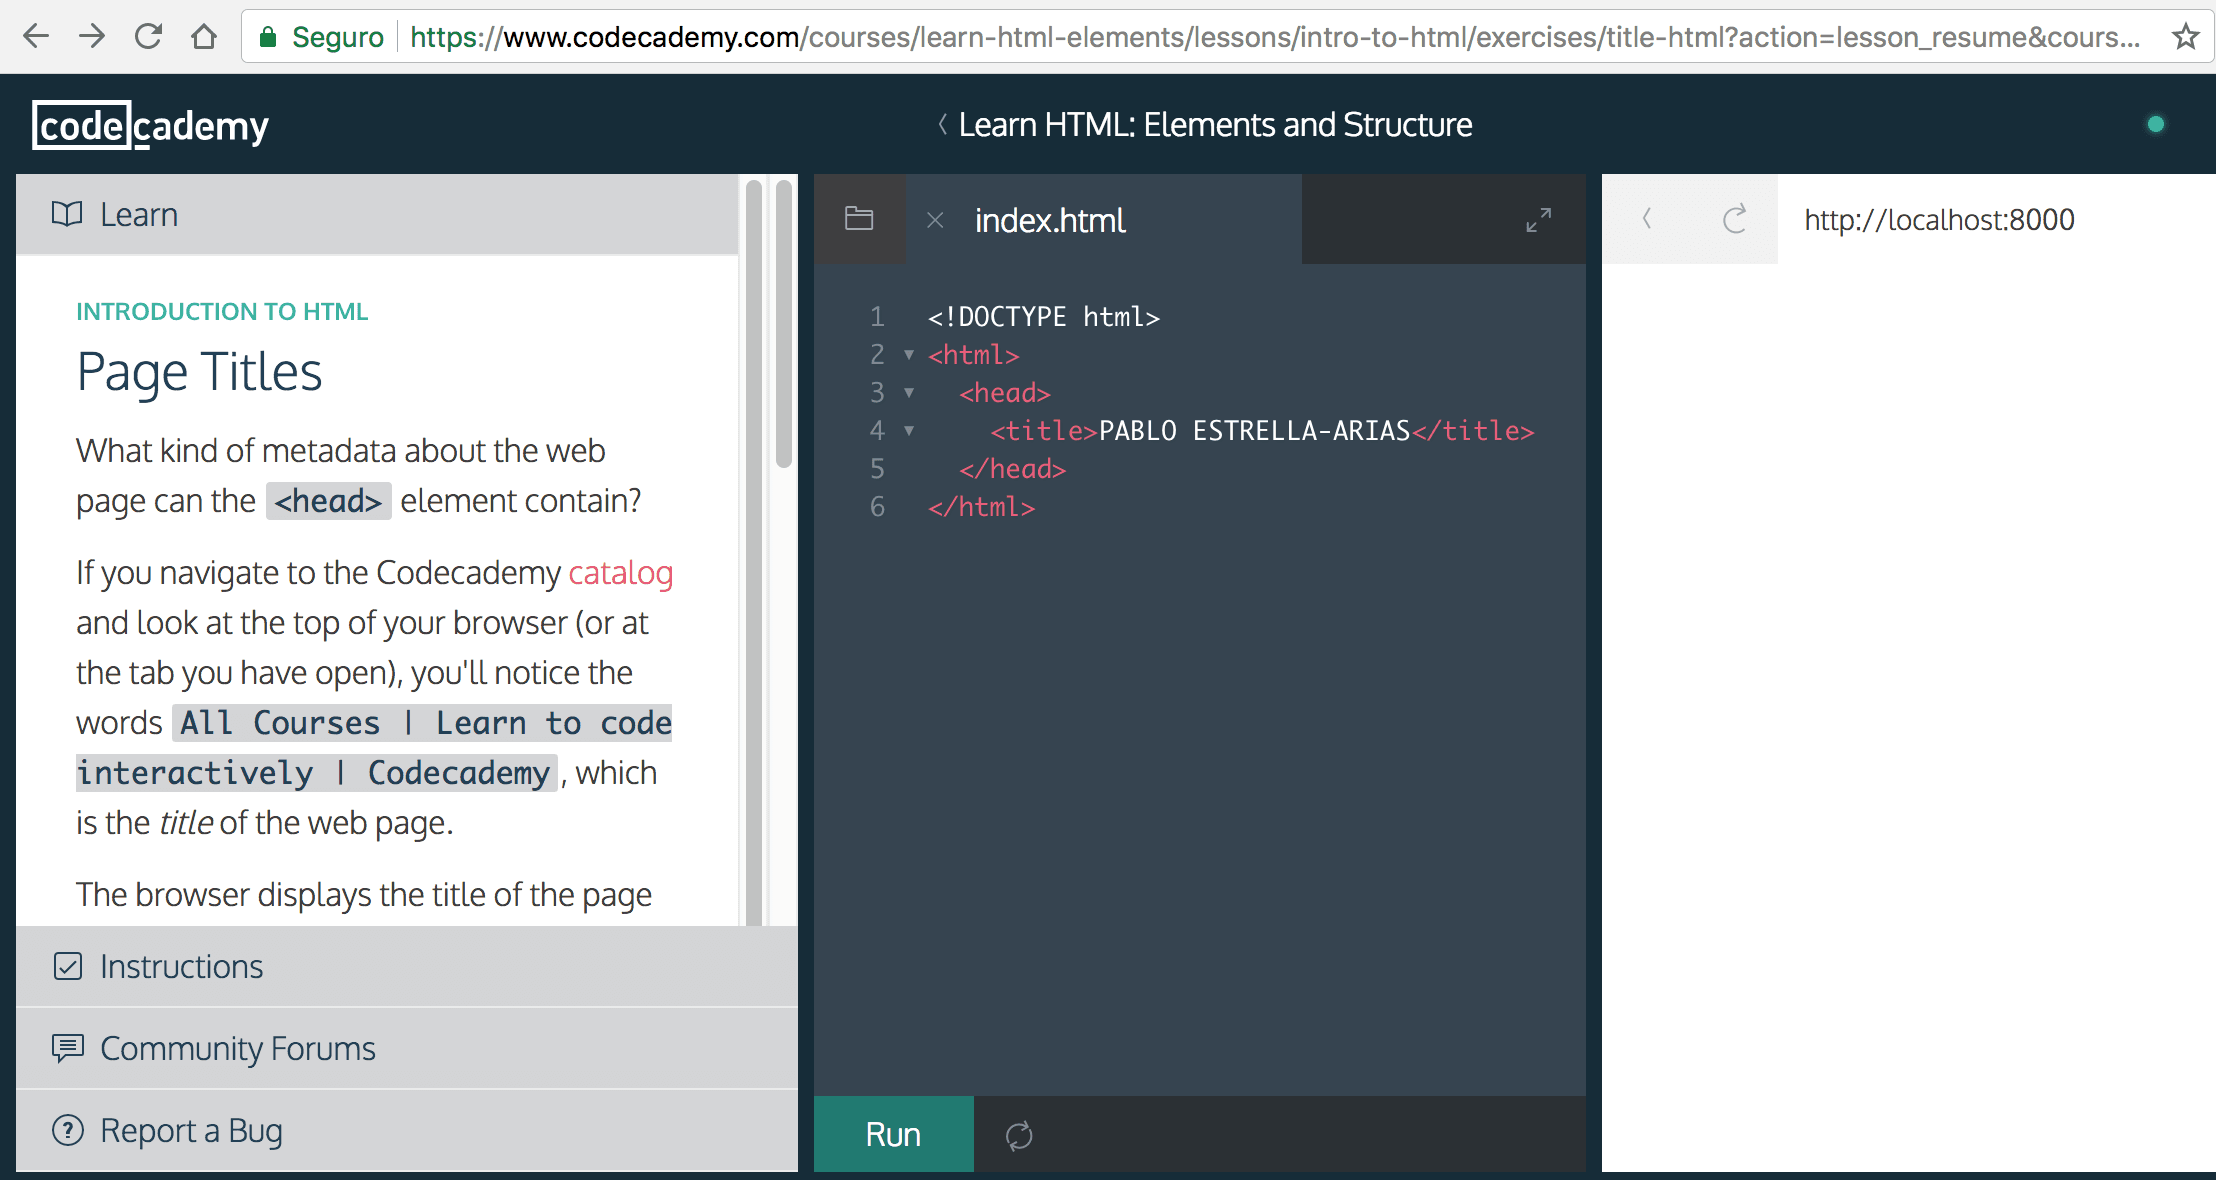
HTML Tutorial
To start to work with HTML, I had to take a course in Codeacademy. The Learn HTML course helped me to learn all the common HTML tags used to structure HTML pages, the skeleton of my website.
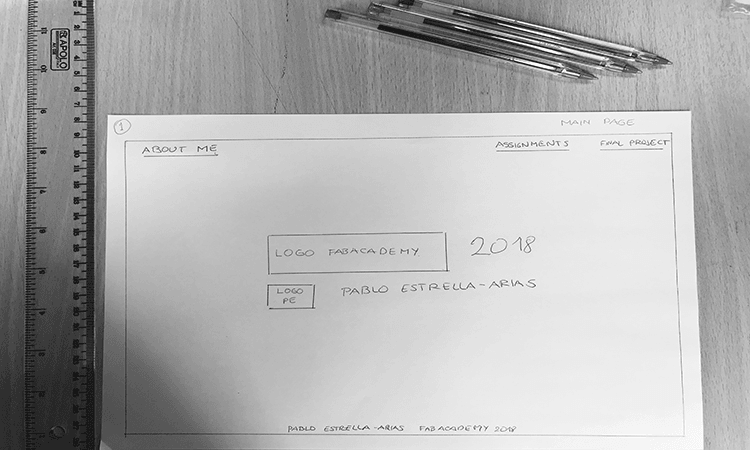
Desing
To start to work with my website, I prepared mockups and a layout with four components.
1. Main page (index.html)
2. About me page (about-me.html)
3. Assignments page (assignments.html)
4. Final Project page (final-project.html)
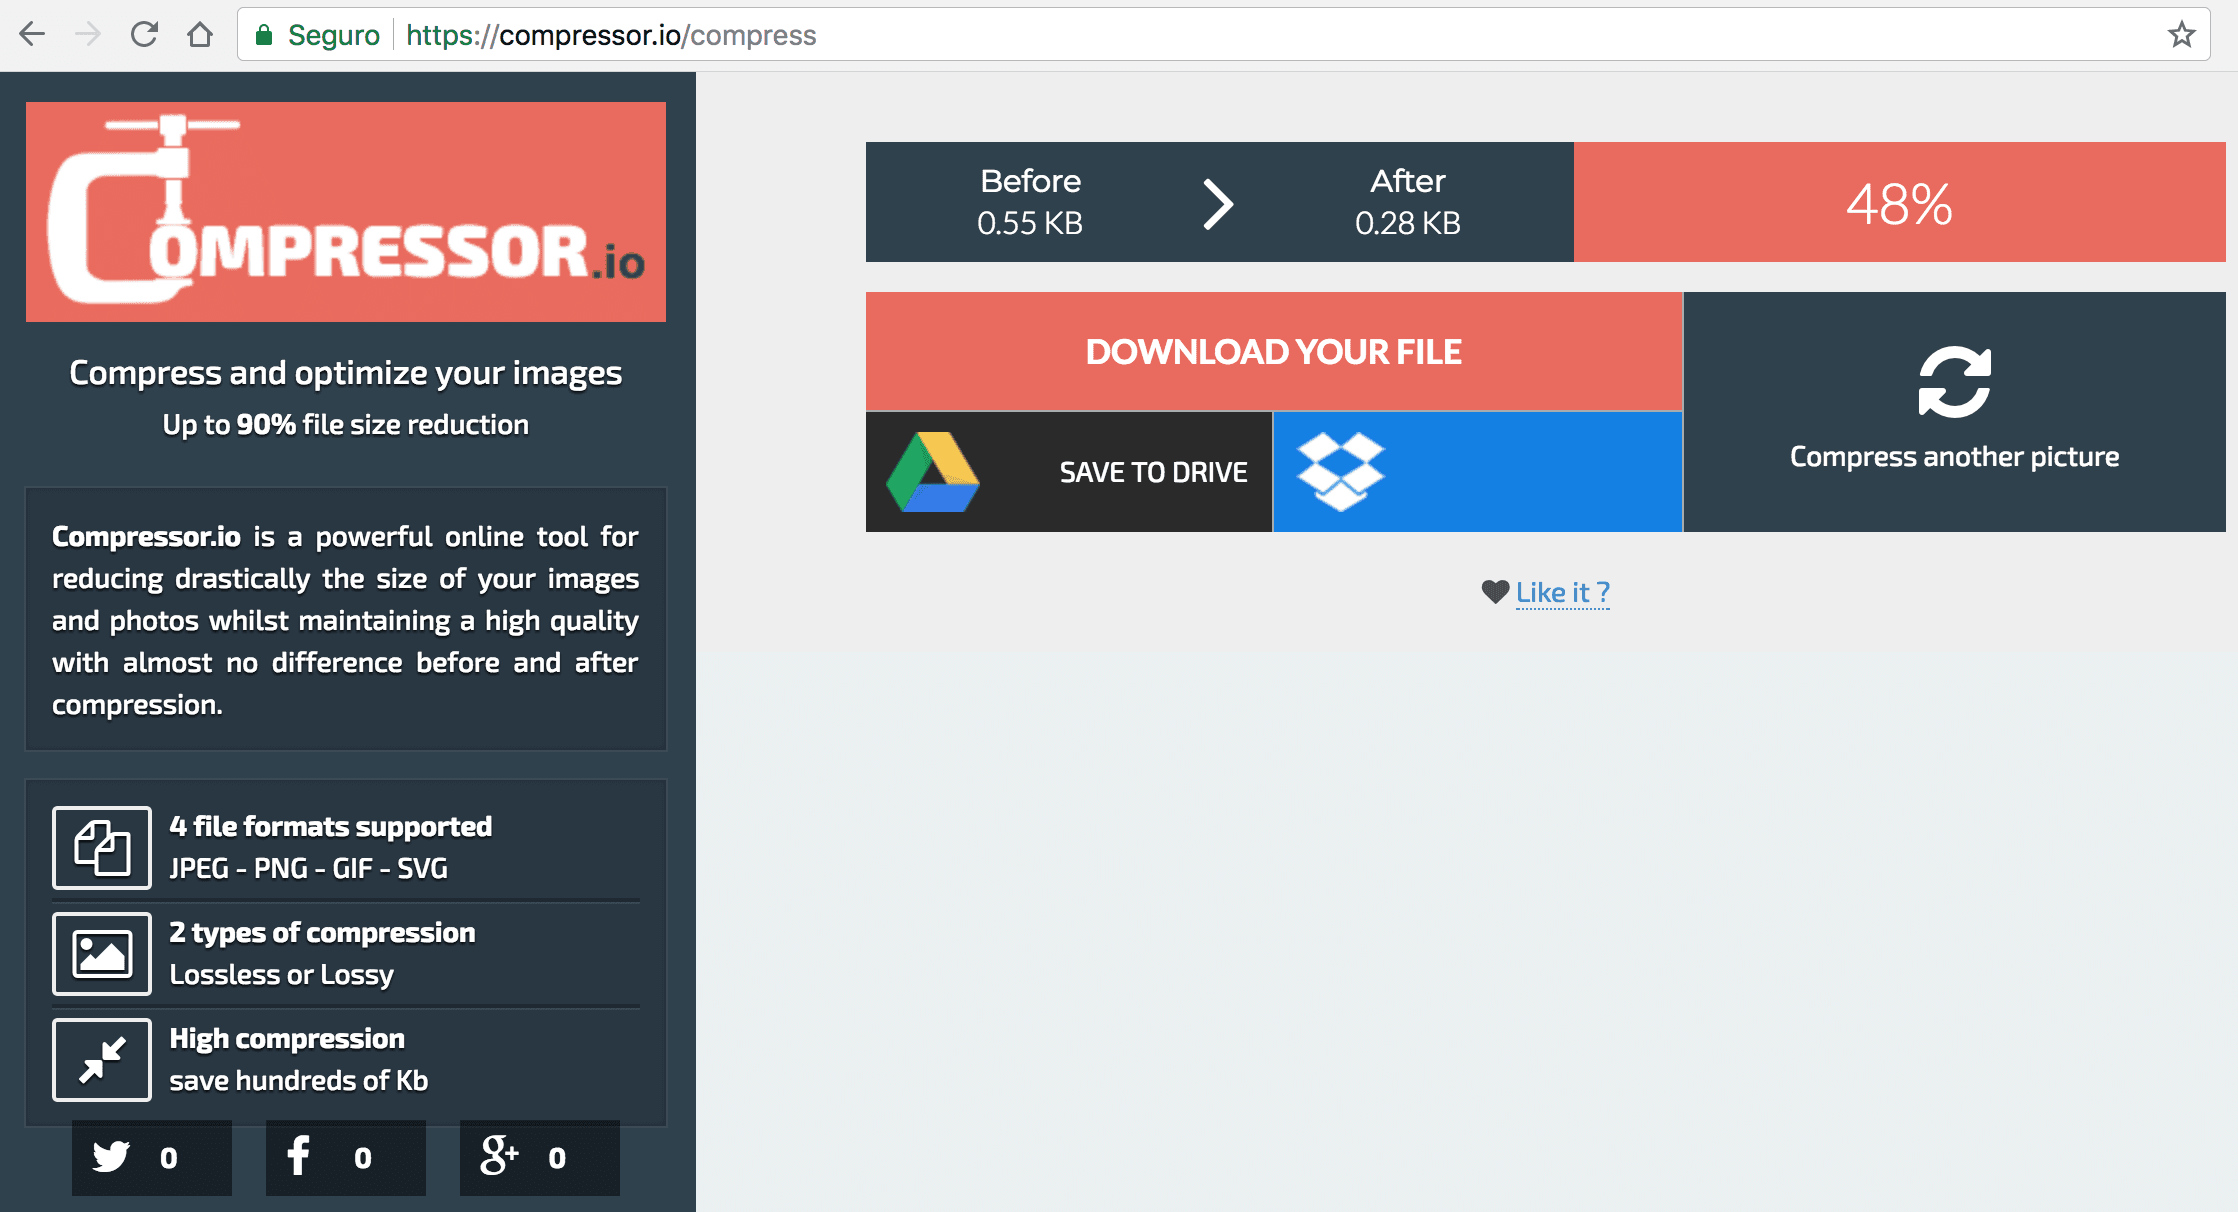
Images
Also, I used an online tool for reducing the size of my images and photos (Compressor.io)
HTML Editor
Next, I needed to use a HTML editor. I checked some options like as Sublime Text, Atom, Brackets and the best choice was Visual Studio Code, because it's open source and provides a comprehensive editing.
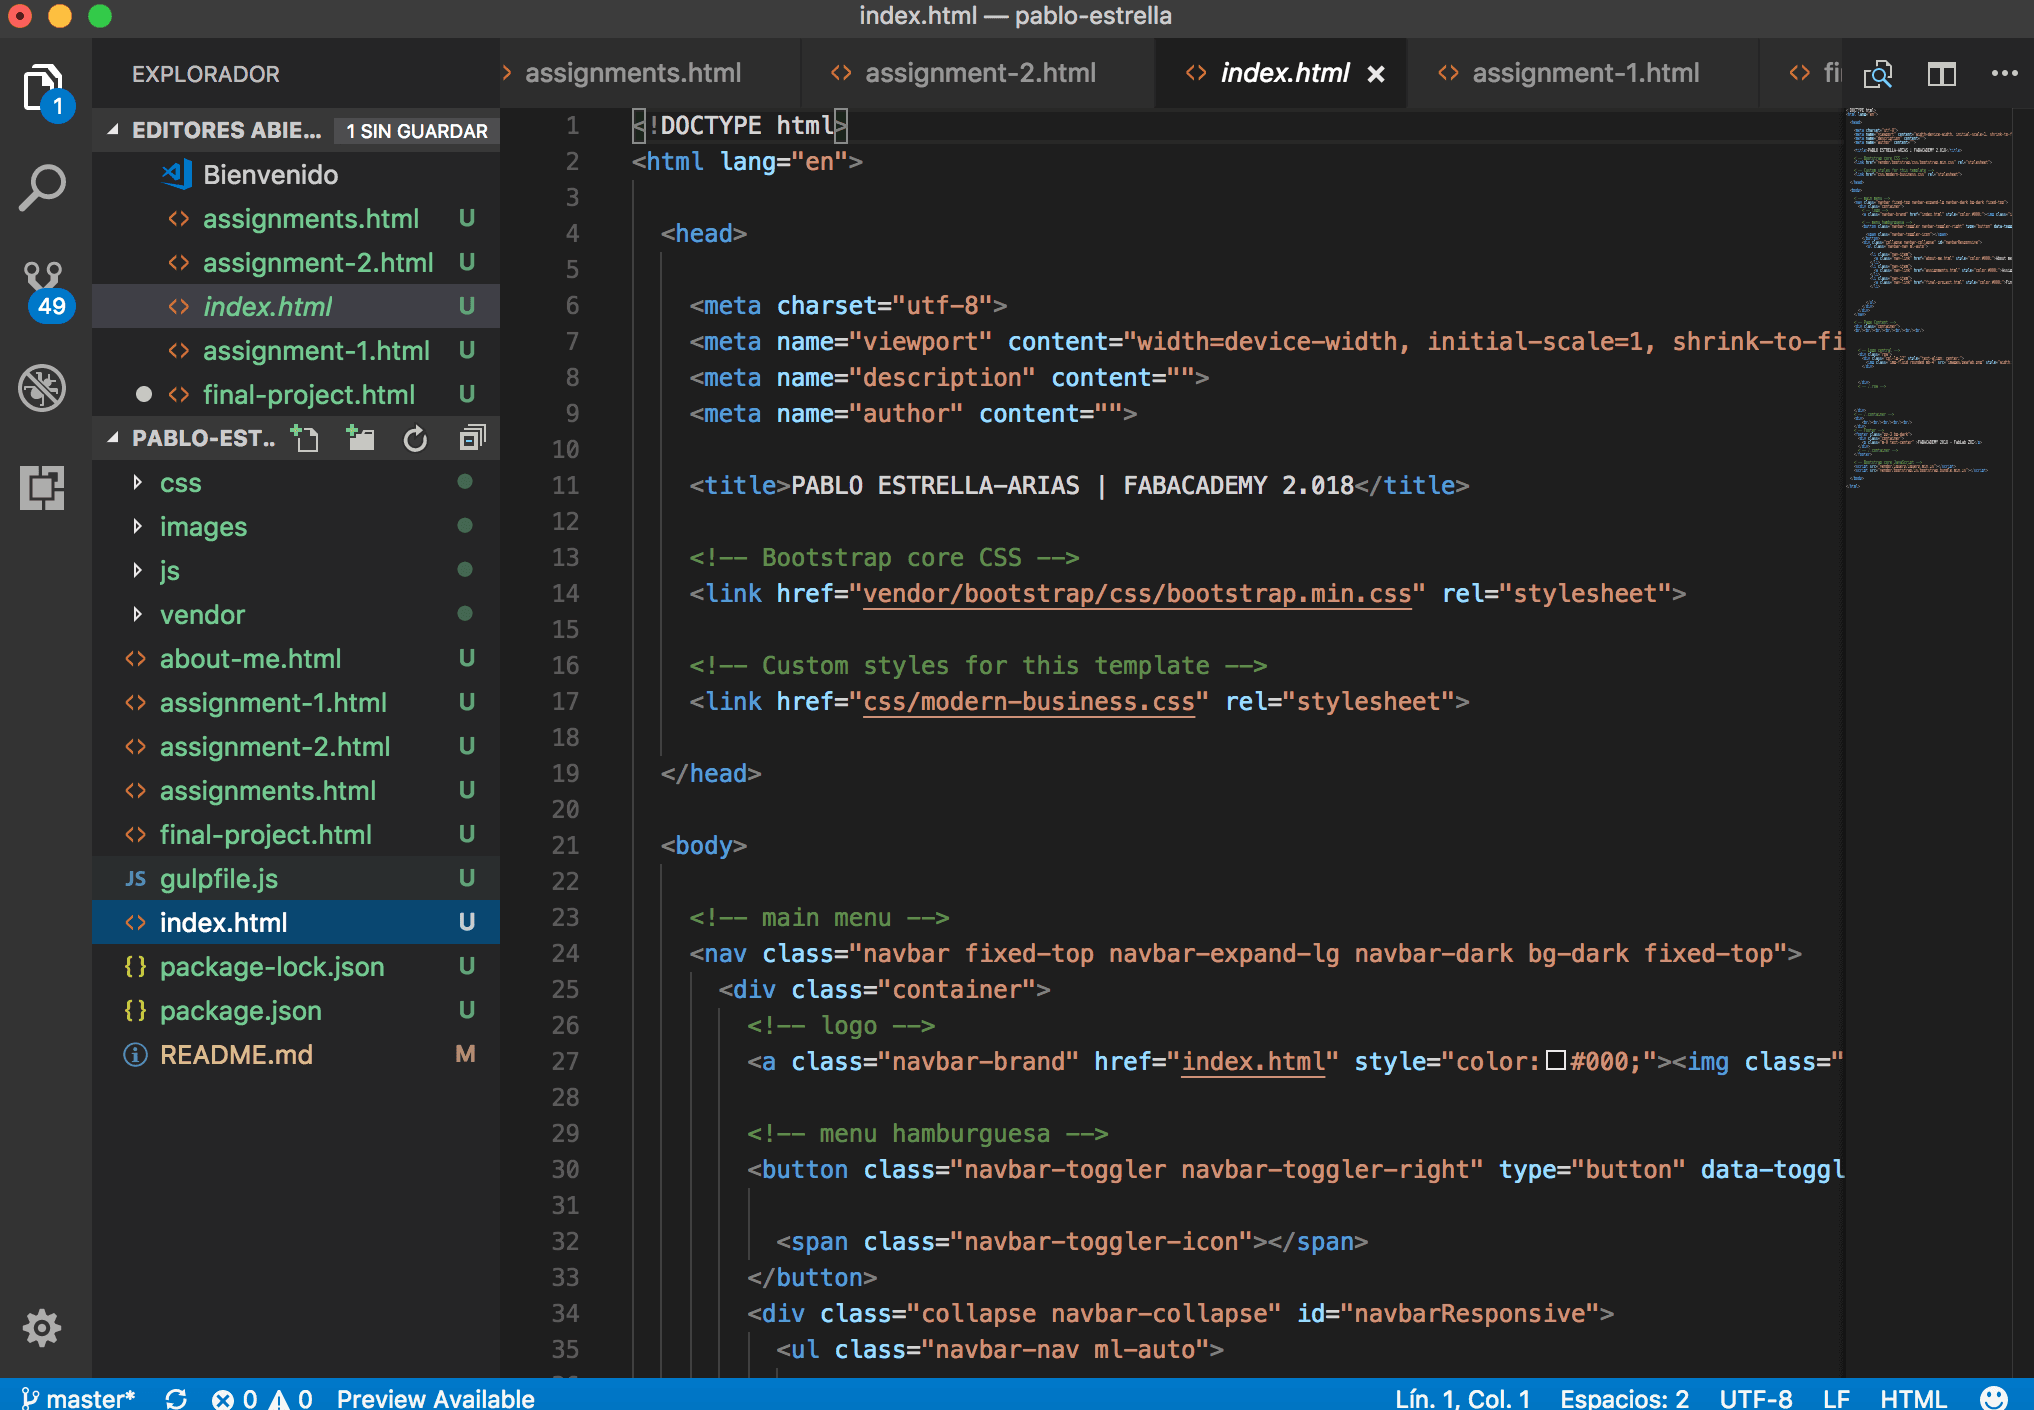
Bootstrap
I used Bootstrap, an open-source front-end web framework for designing websites and web applications. It contains HTML- and CSS-based design templates for typography, forms, buttons, navigation and other interface components, as well as optional JavaScript extensions.
Also, I used Modern Business template, because, I needed a portafolio structure for my assignments page.
The CSS are bootstrap.min.css and modern-business.css
Made commits in FabAcademy archive
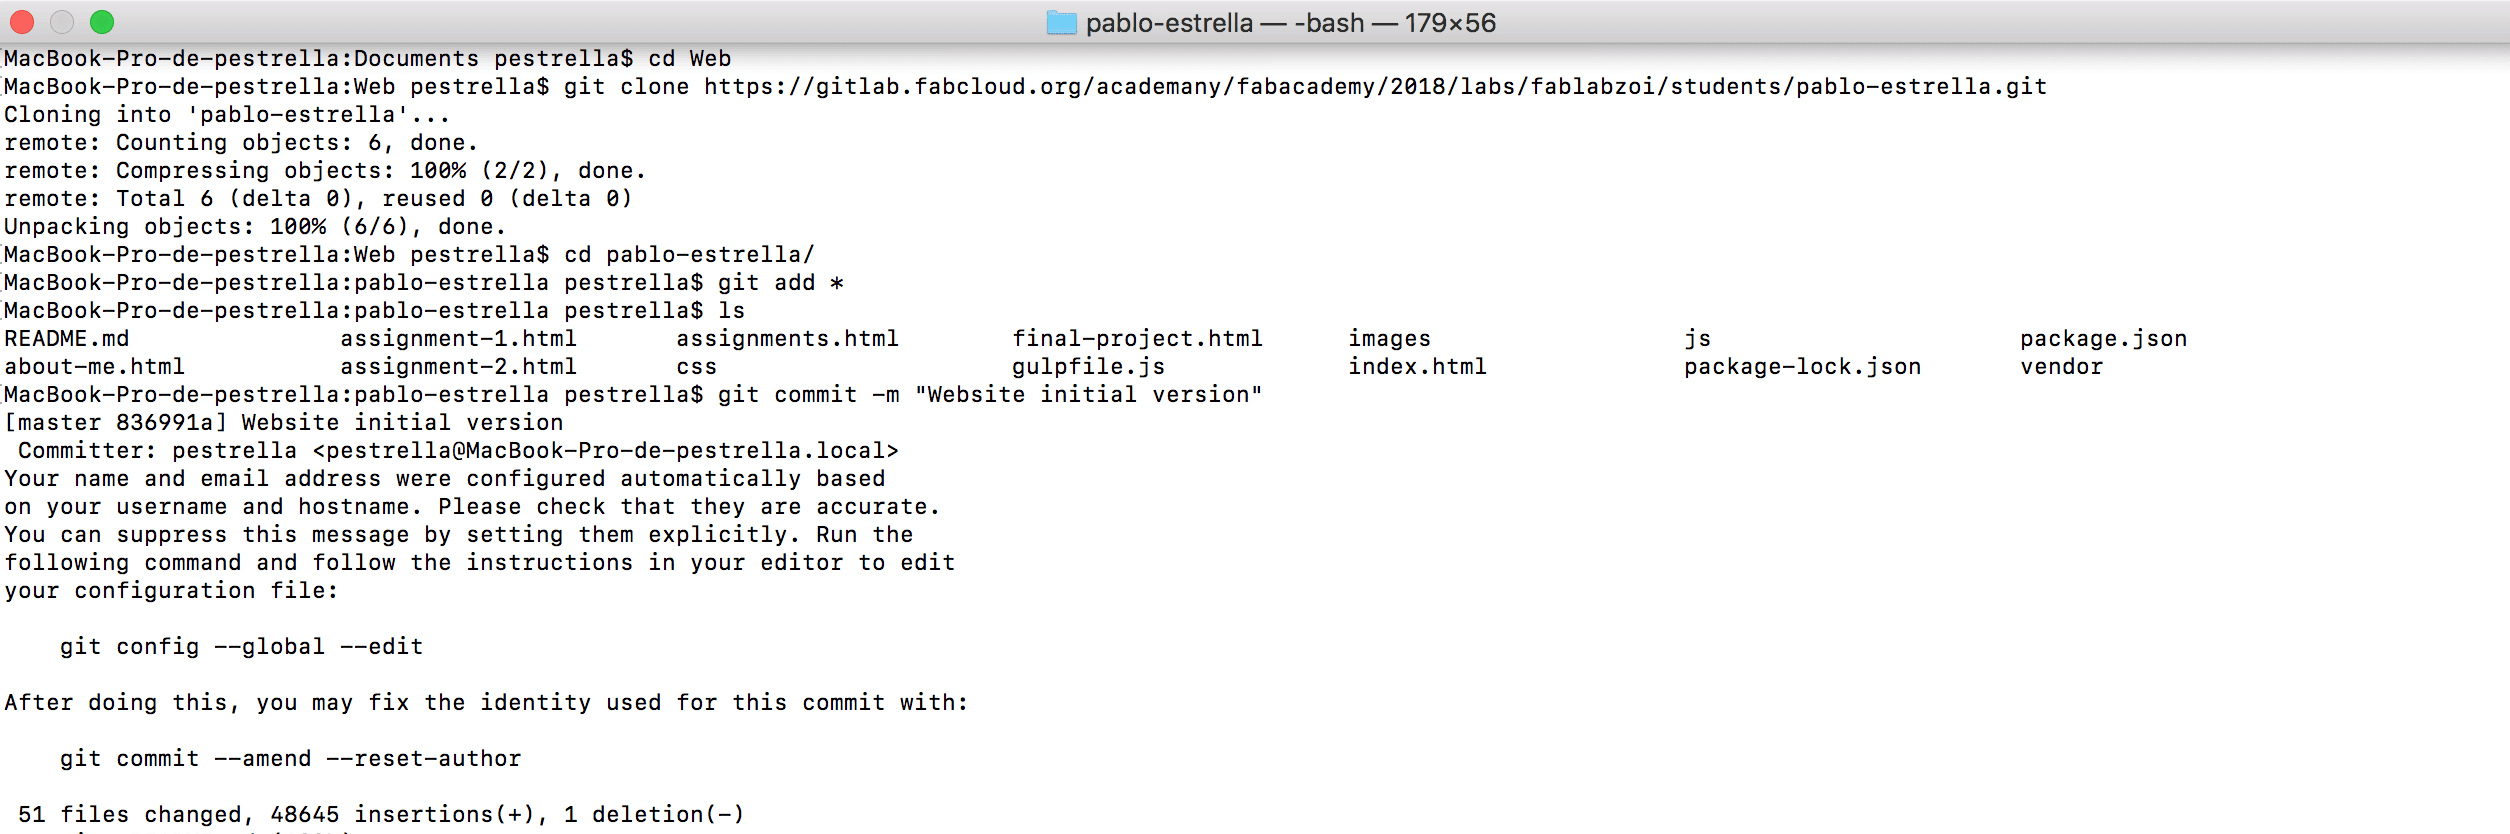
1. The first step is to clone the repository in my computer (git clone)
MacBook-Pro-de-pestrella:pablo-estrella pestrella$ git clone https://gitlab.fabcloud.org/academany/fabacademy/2018/labs/fablabzoi/students/pablo-estrella.git
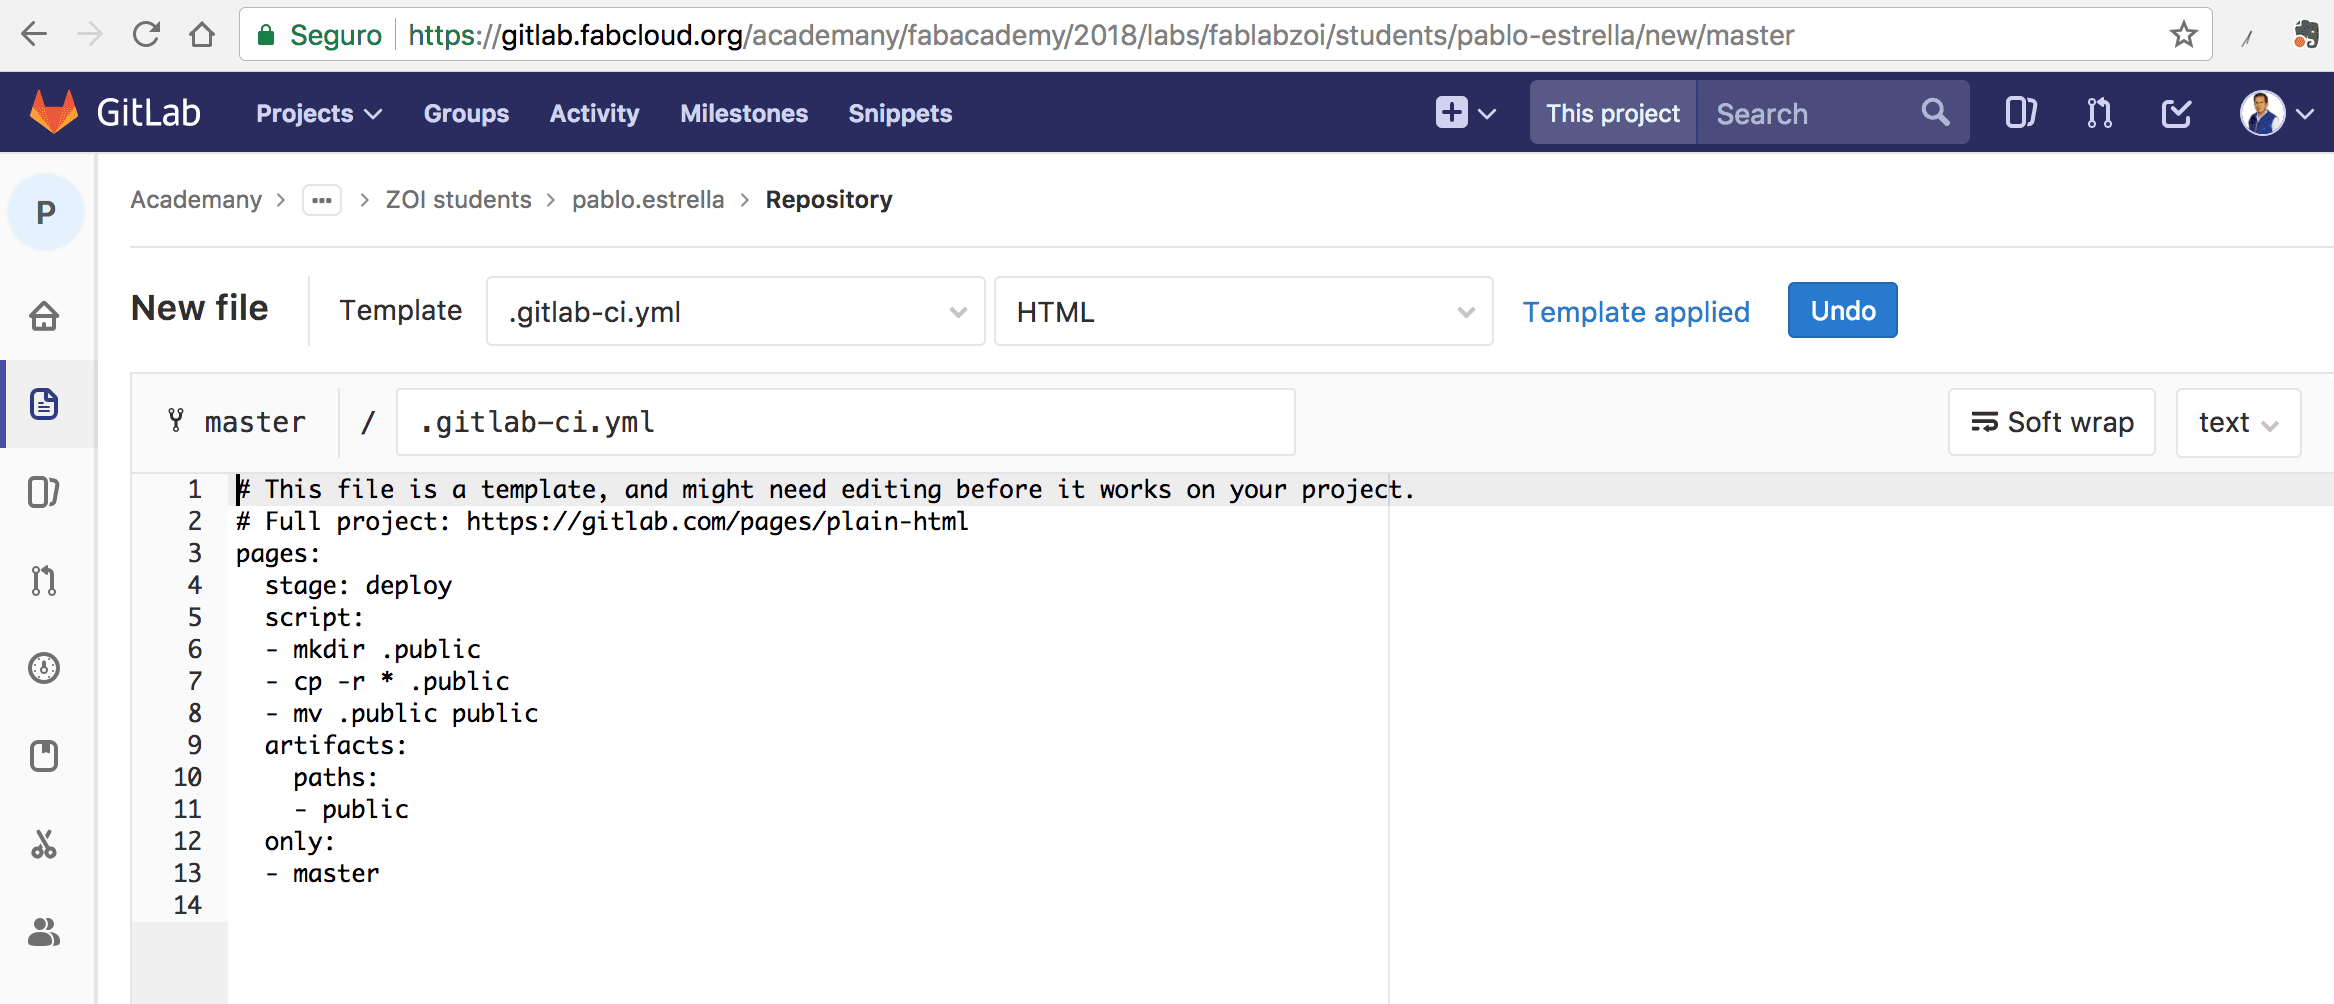
2. Next step, prepare repository at FabAcademy's GitLab with continuos integration script (.gitlab-ci.yml).
MacBook-Pro-de-pestrella:pablo-estrella pestrella$ cd pablo-estrella
3. Next step, add new files (git add)
MacBook-Pro-de-pestrella:pablo-estrella pestrella$ git add *
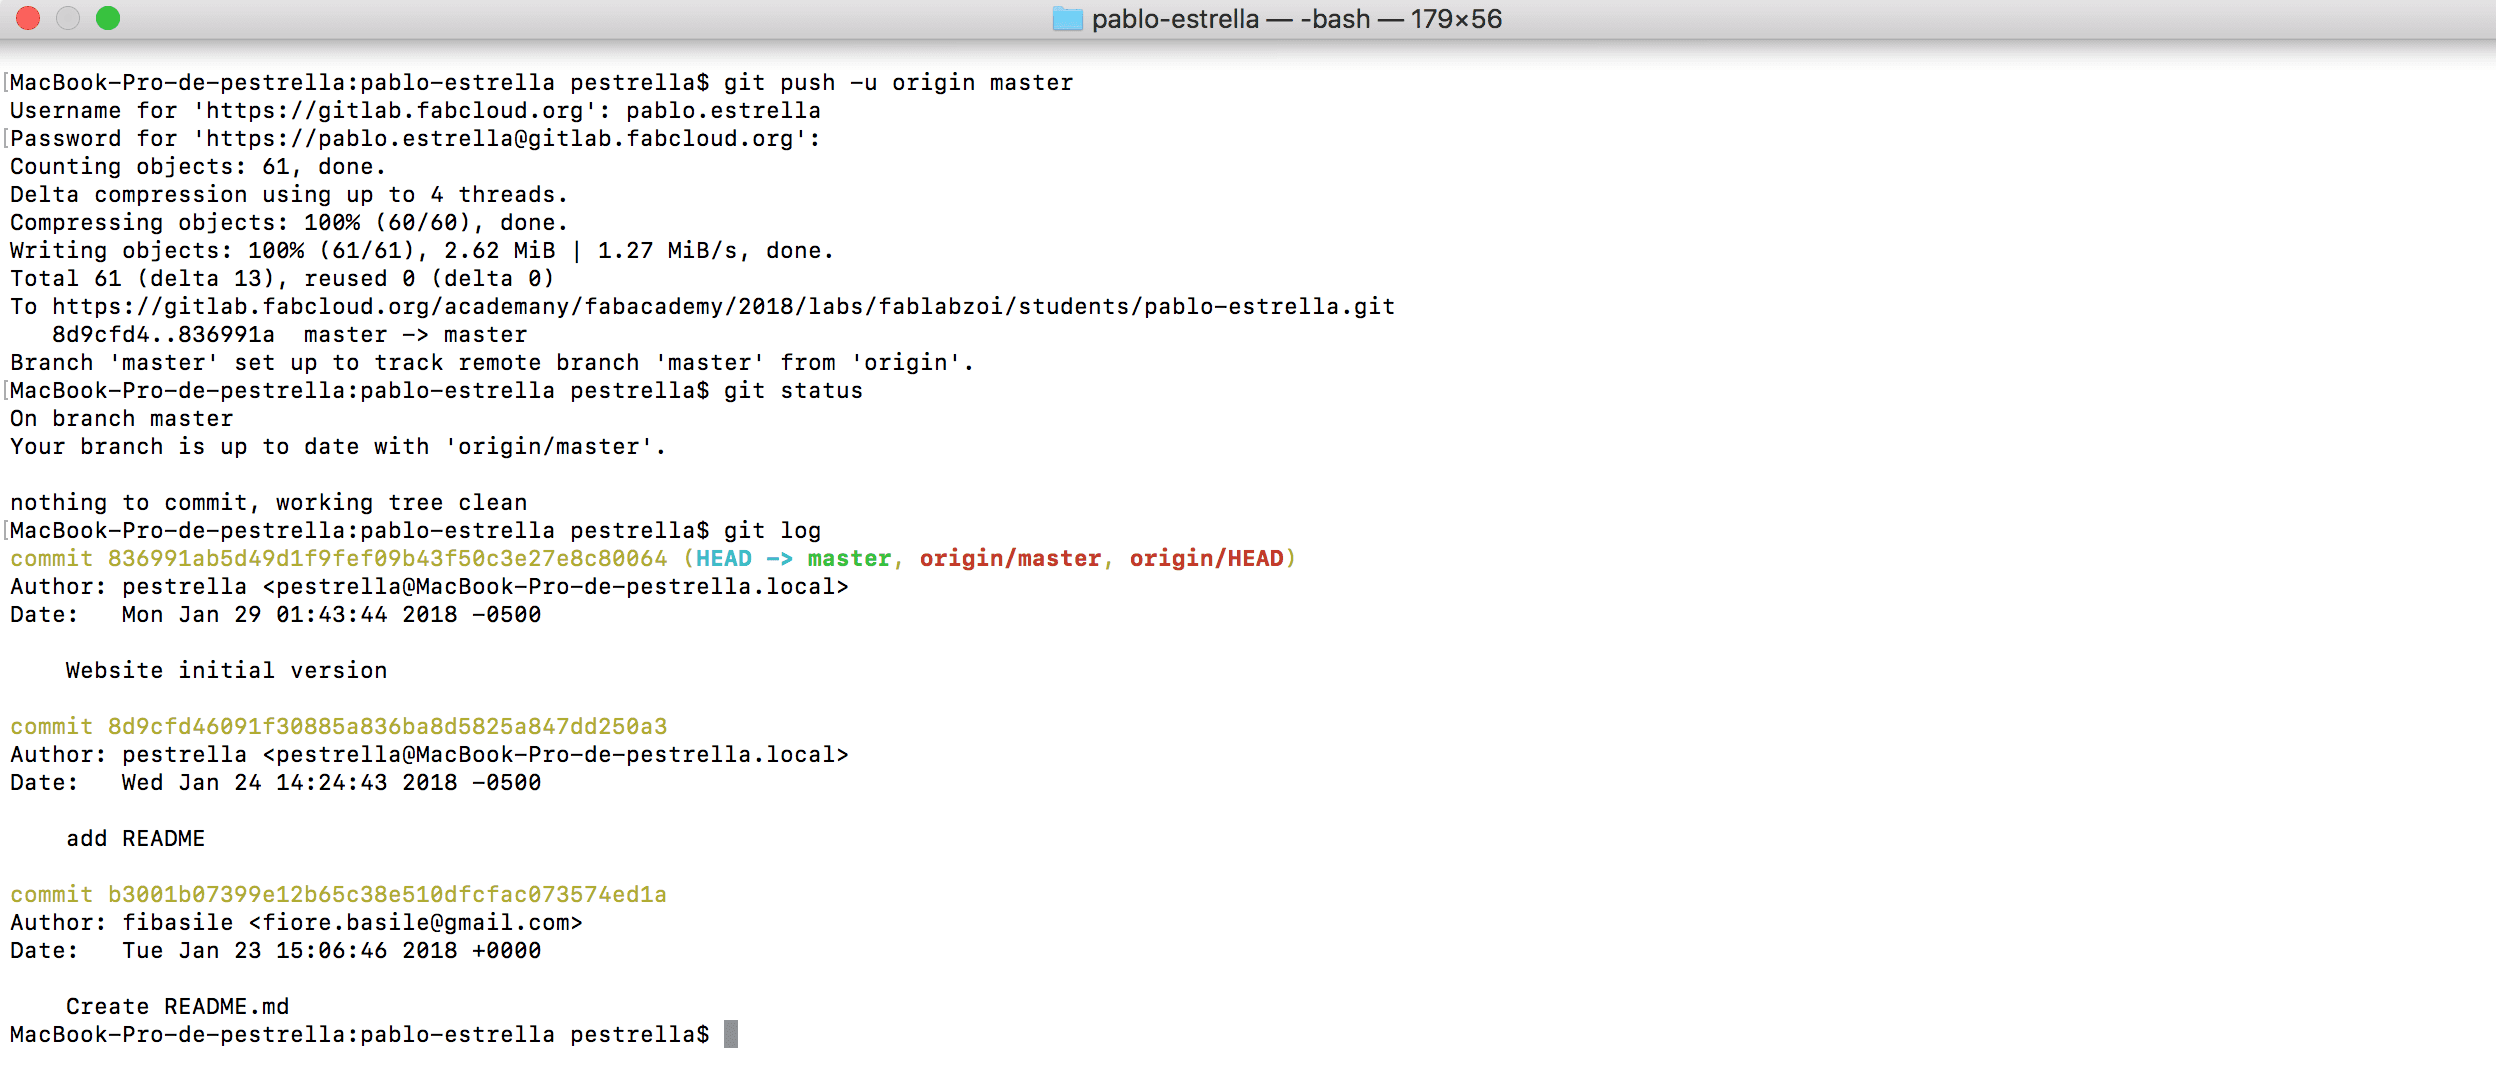
4. Commiting changes (git commit) with comments and verify commitings (git log).
MacBook-Pro-de-pestrella:pablo-estrella pestrella$ git commit -m "Website initial version"
5. Next step, push a snapshot in FabLab ZOI online repository (git push).
MacBook-Pro-de-pestrella:pablo-estrella pestrella$ git push -origin master