Welcome to Fab Lab Vestmannaeyjar site
This group assignment was to test the design rules for our 3D printer.
Previous Fab Academy students in the Vestmannaeyjar Fab lab have run two different tests. Their tests measure wall thickness, gap thickness, wall angles and more. We wished to add to the pool of knowledge of our lab, and decided to find a test that focused on other measurements.
We found this excellent “All in one” 3D printer test on Thingiverse. This test contains a support test, a scale test, an overhang test, a hole test, a diameter test and a bridging test.
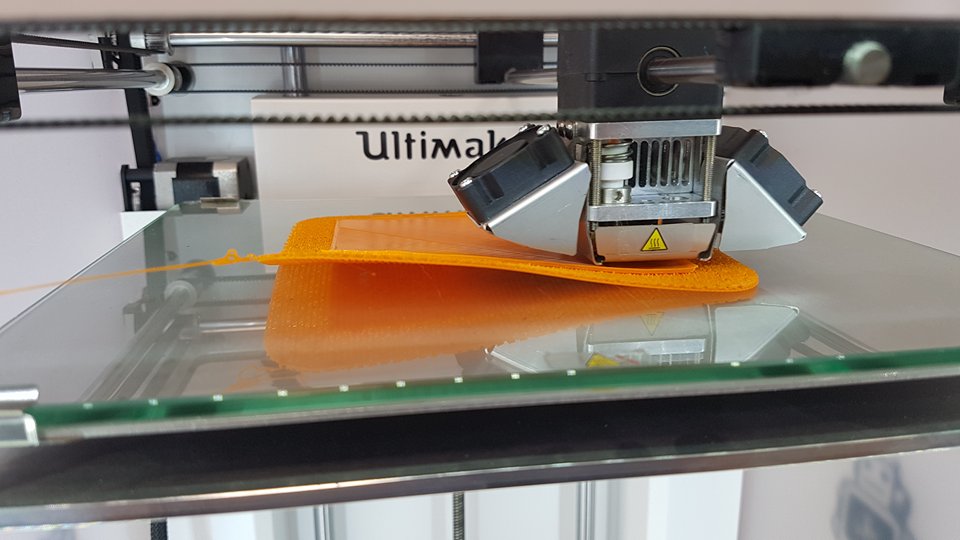
We downloaded the file and prepared to print in Cura for our Ultimaker 2E. We used the default settings for a “fine” print for layer thickness and speed, but followed the model creator’s recommendations of using 100% infill and no supports. Additionally we selected the Raft option, as it reduces the chance of warping. Despite printing with a raft, the print warped quite significantly.
In preparation for our third attempt, we referred to the Ultimaker website on how to prevent warping. There are two main factors which affect warping. Build Plate Adhesion and Cooling. Each of these can be addressed in multiple ways.
The primary things to keep in mind for build plate adhesion are:
When addressing the cooling issue, there are fewer factors to keep track of:
Having added as many warp counter-measures as we felt confident with, we ran the print and left it on over night. The result is acceptable, although the bottom layer shows signs of shrinkage. When measured, it ought to be 10x10cm, but came out as 9.91 and 9.99. We attribute this deviation to imperfect fan settings.
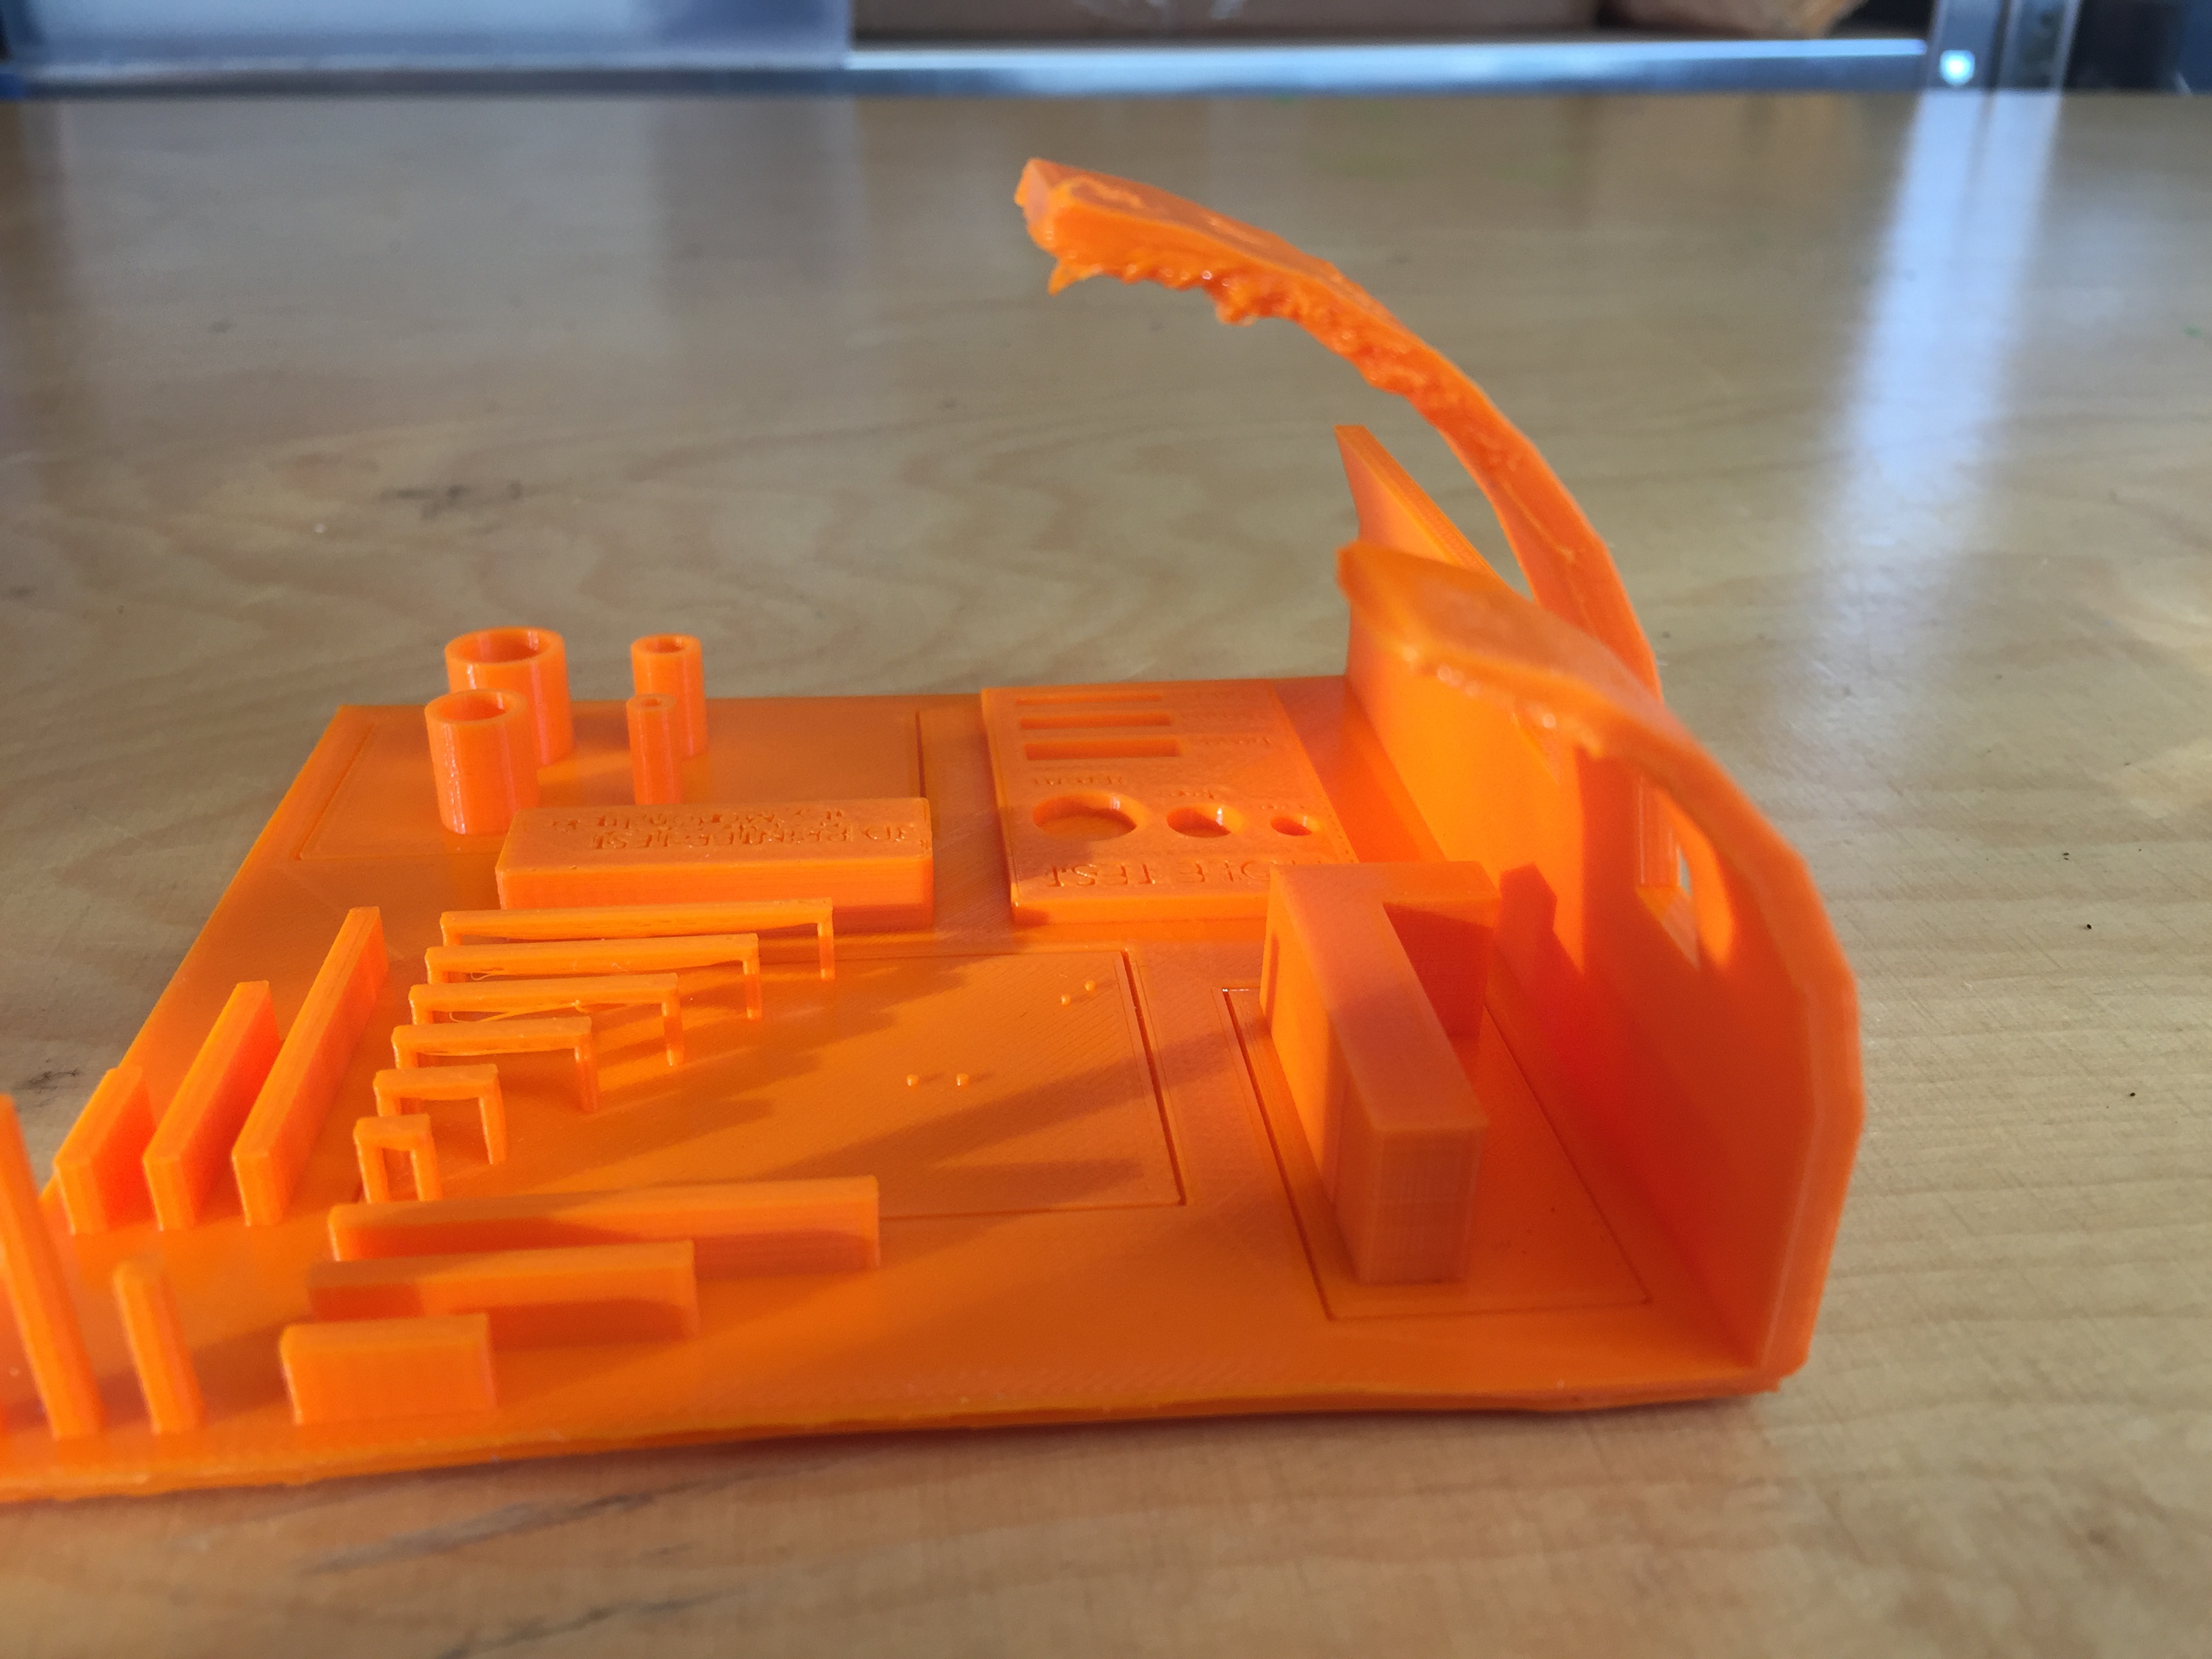
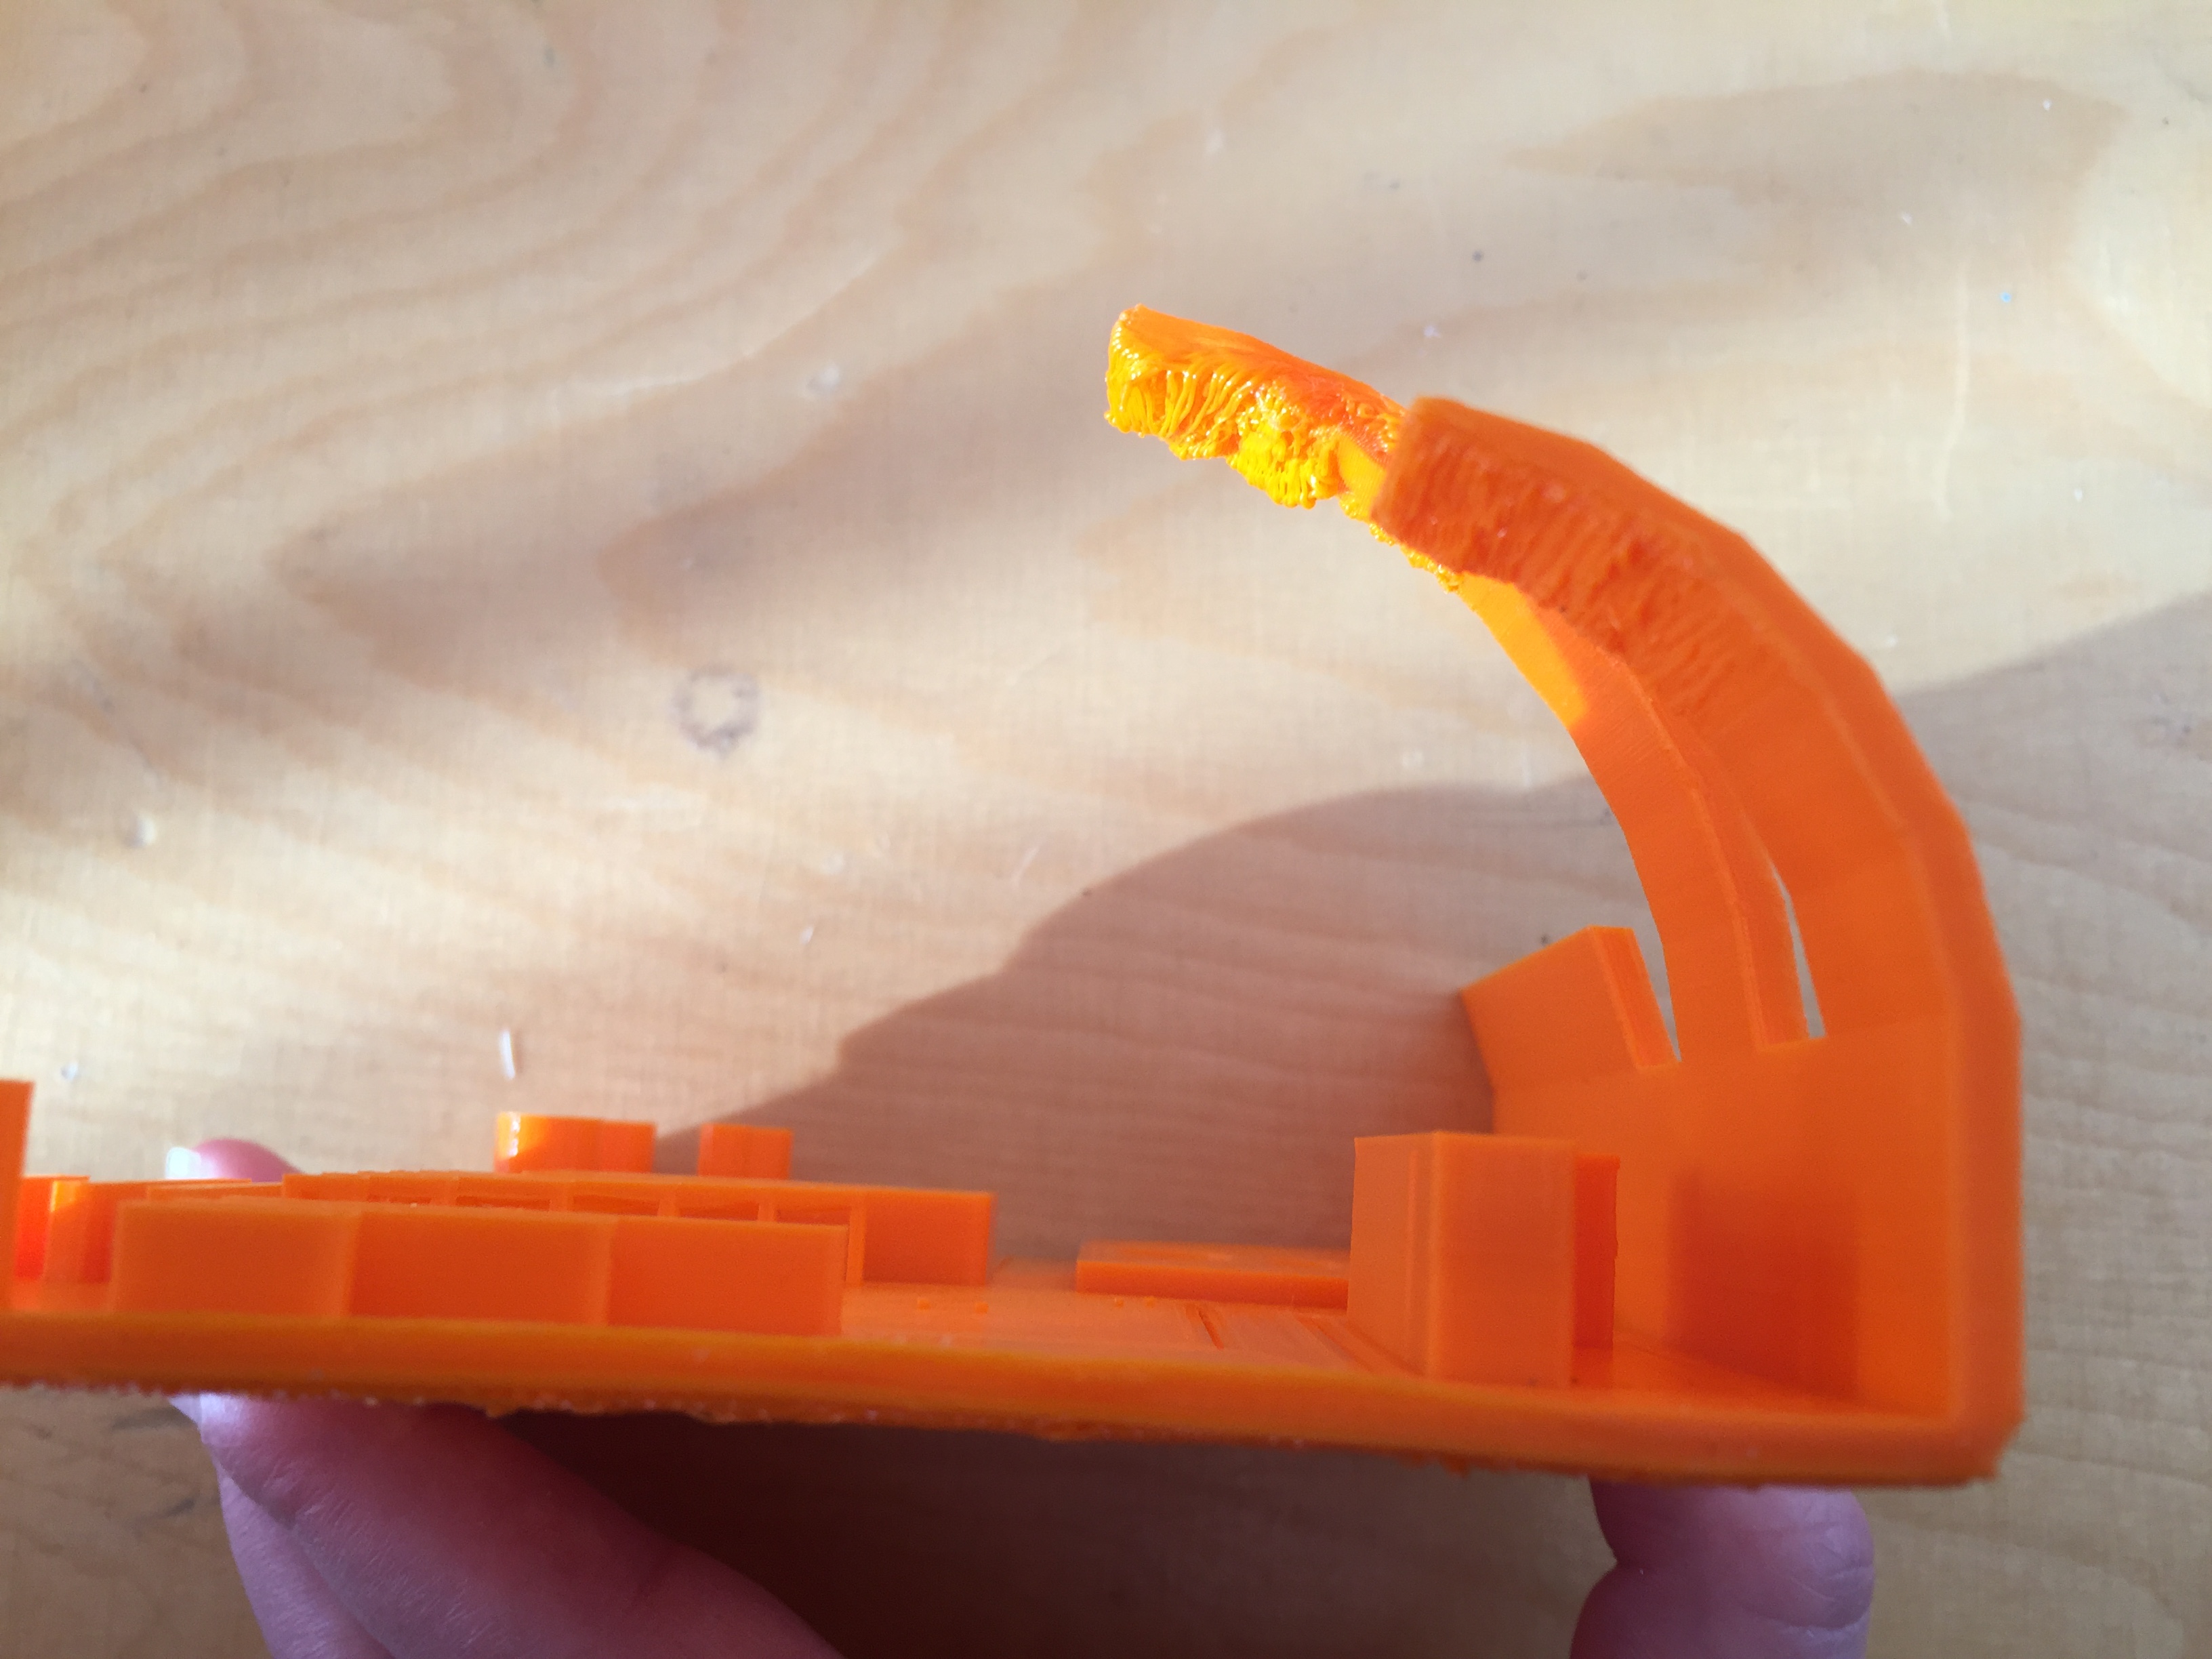
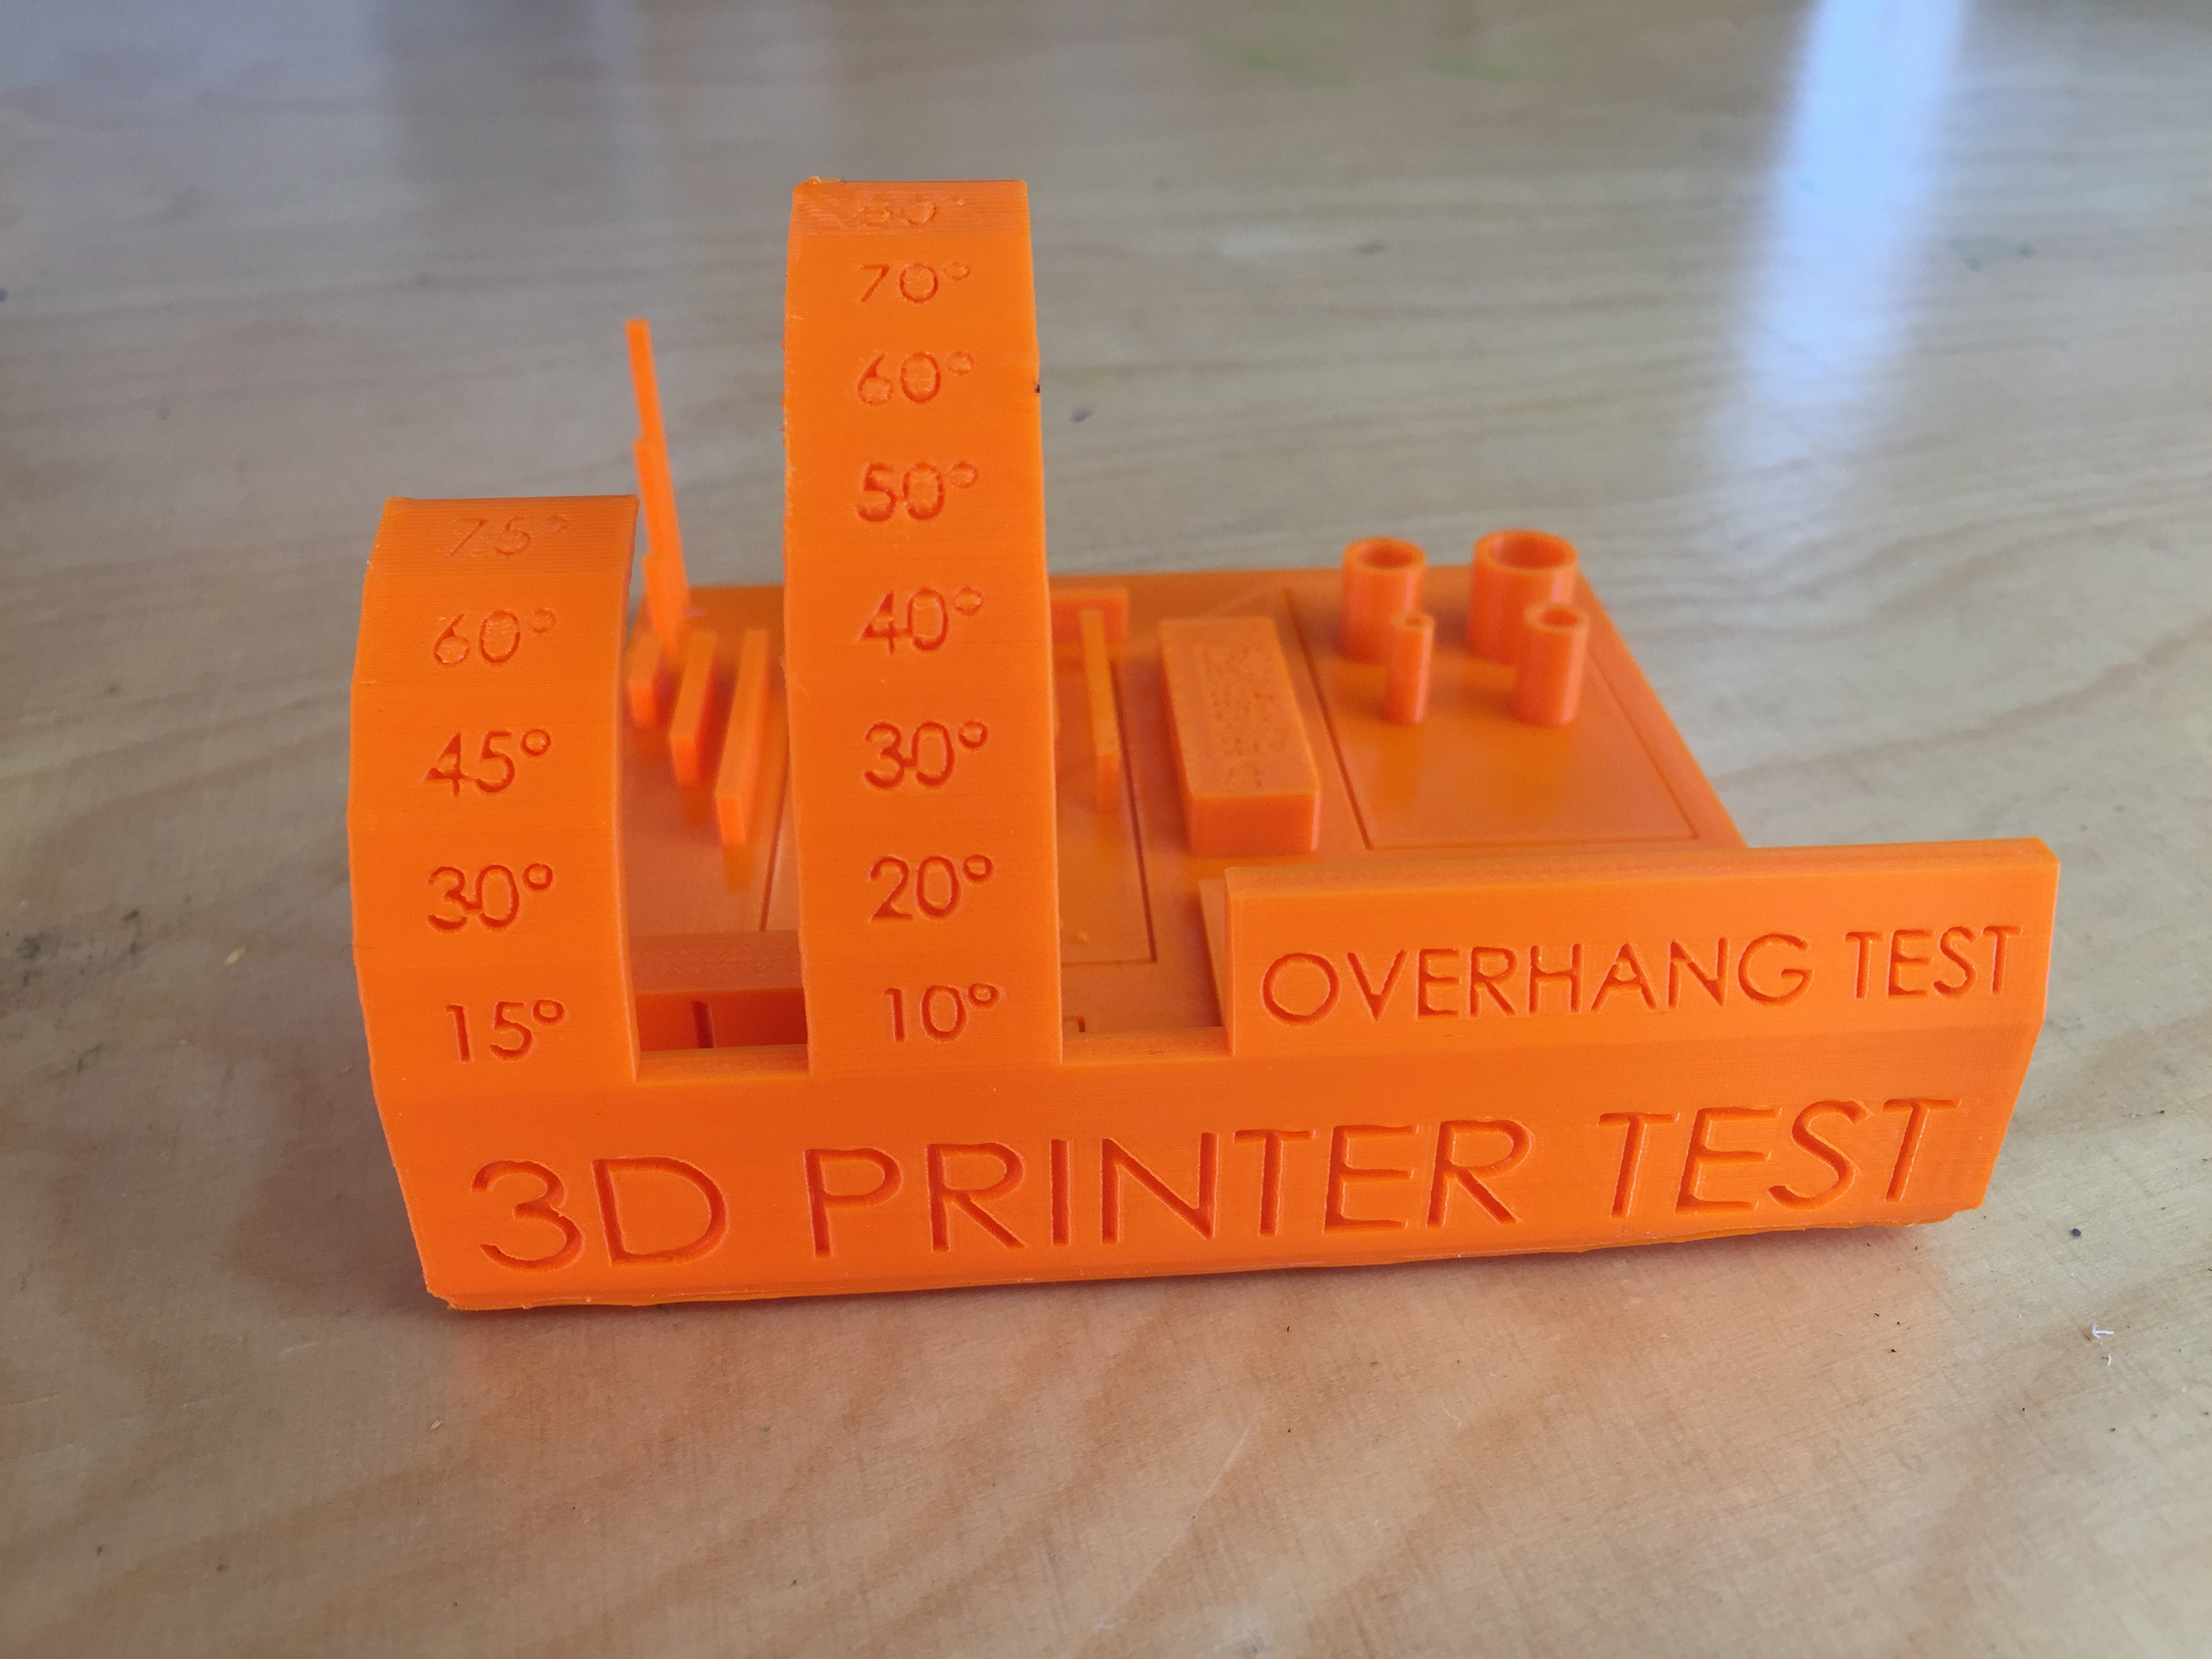
In the overhang test the bottom of the overhang was smooth all the way up to 40°. At that point it started being rough but if the 3D print isn’t too detailed it should be ok. At 70° the roughness becomes way too much and doesn’t work even for 3D prints with few details.
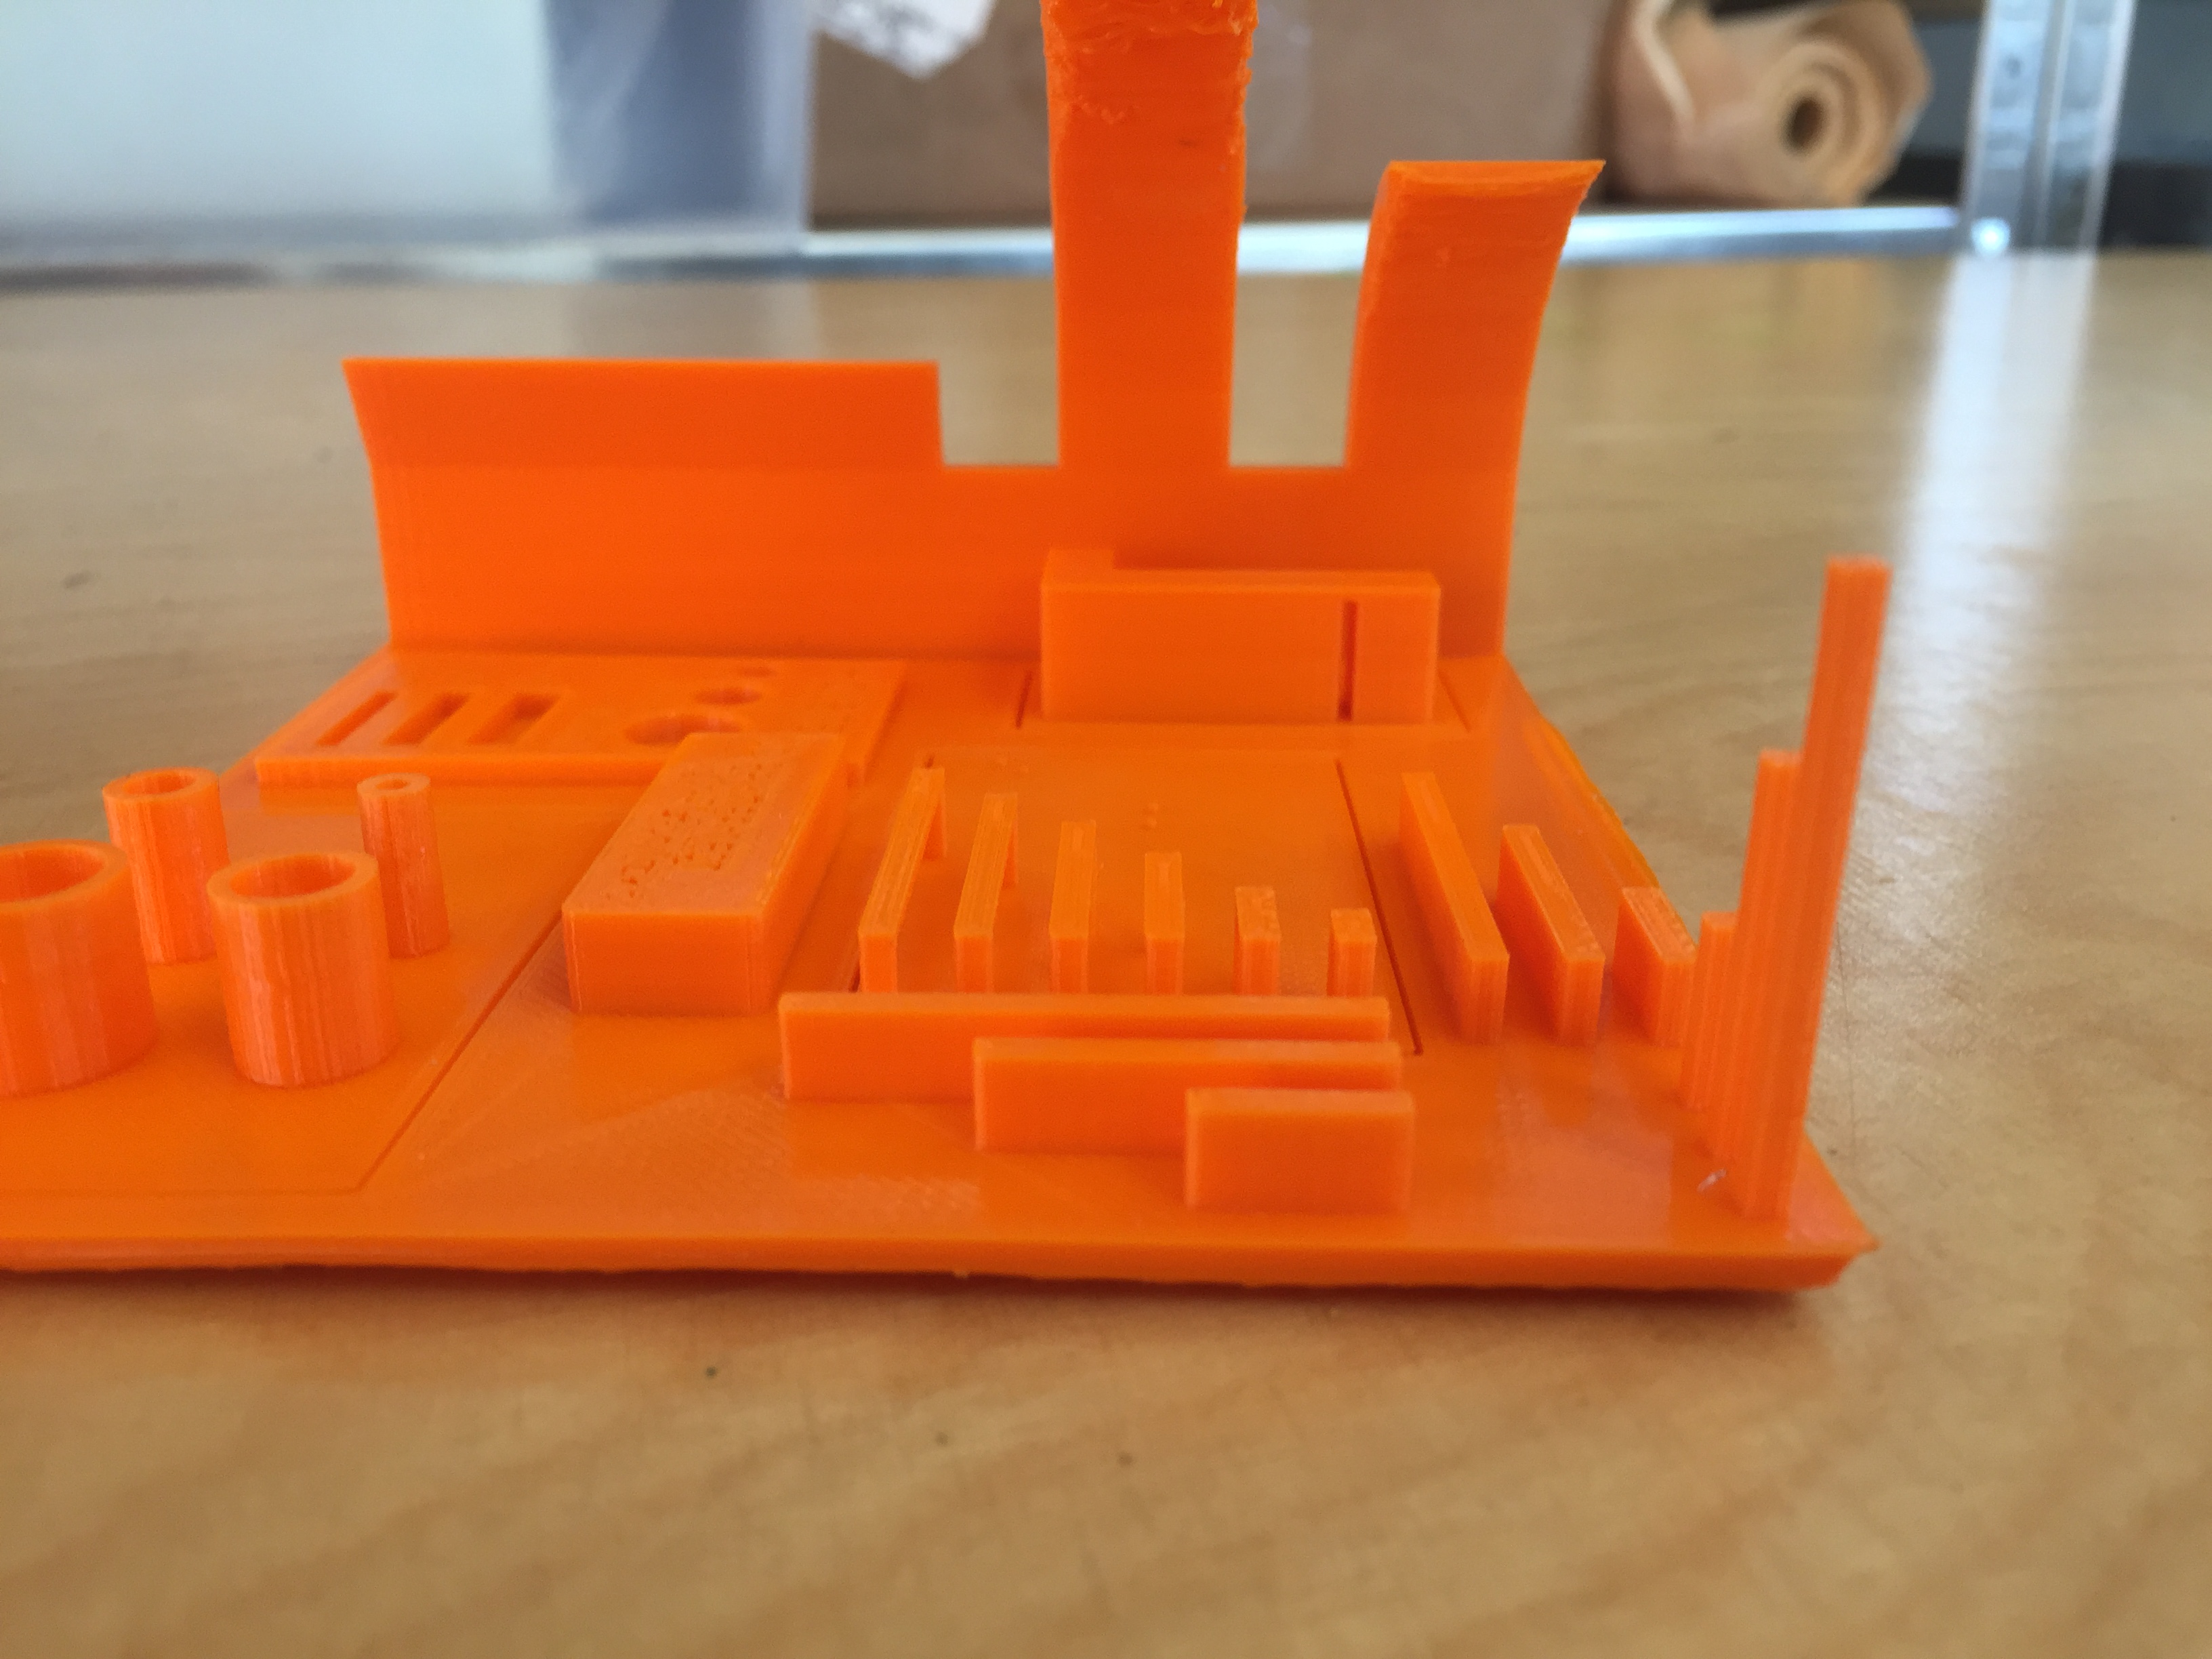
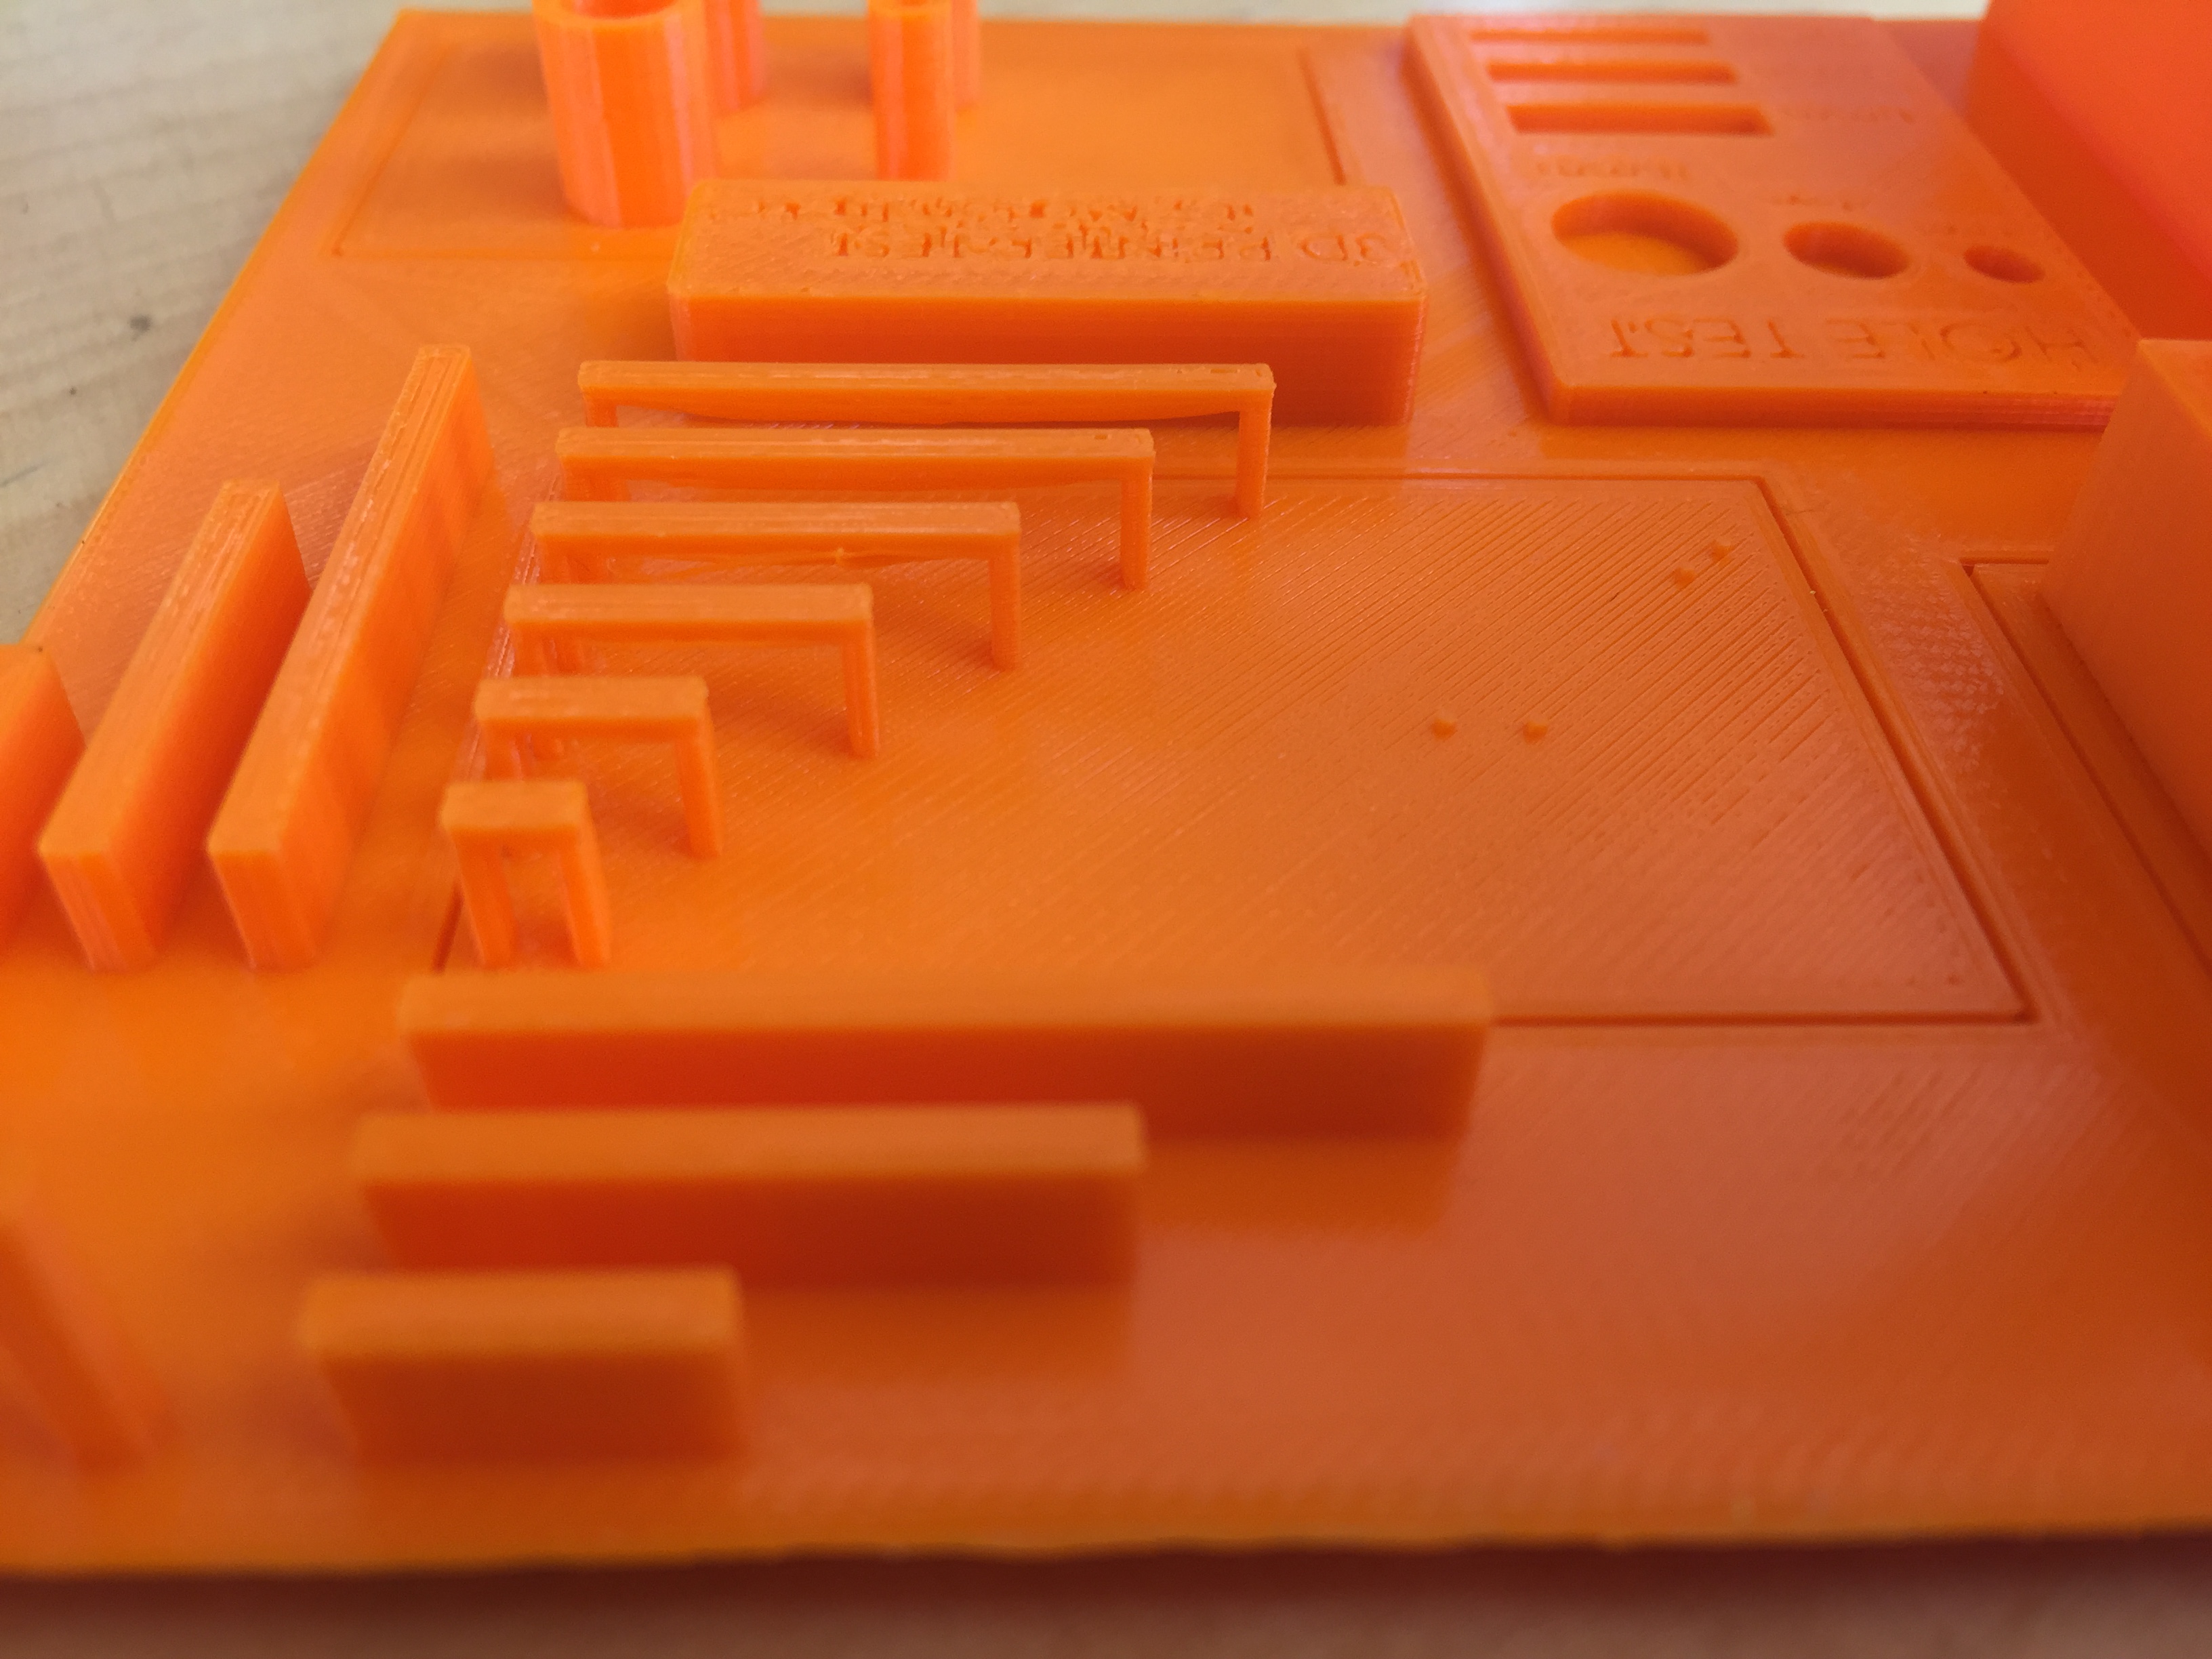
The support test is meant to test how high a rectangle with the length and width 2 mm can be. There are three rectangles the lowest one is 10 mm, the middle one is 20 mm and the highest one is 30 mm. All the rectangles look good so that should make it possible to include rectangles with those heights in a design.
The scale test tests wether horizontal rectangles have the same height as the ones in the support test or if there are any differences. All the rectangles have exactly the same height.
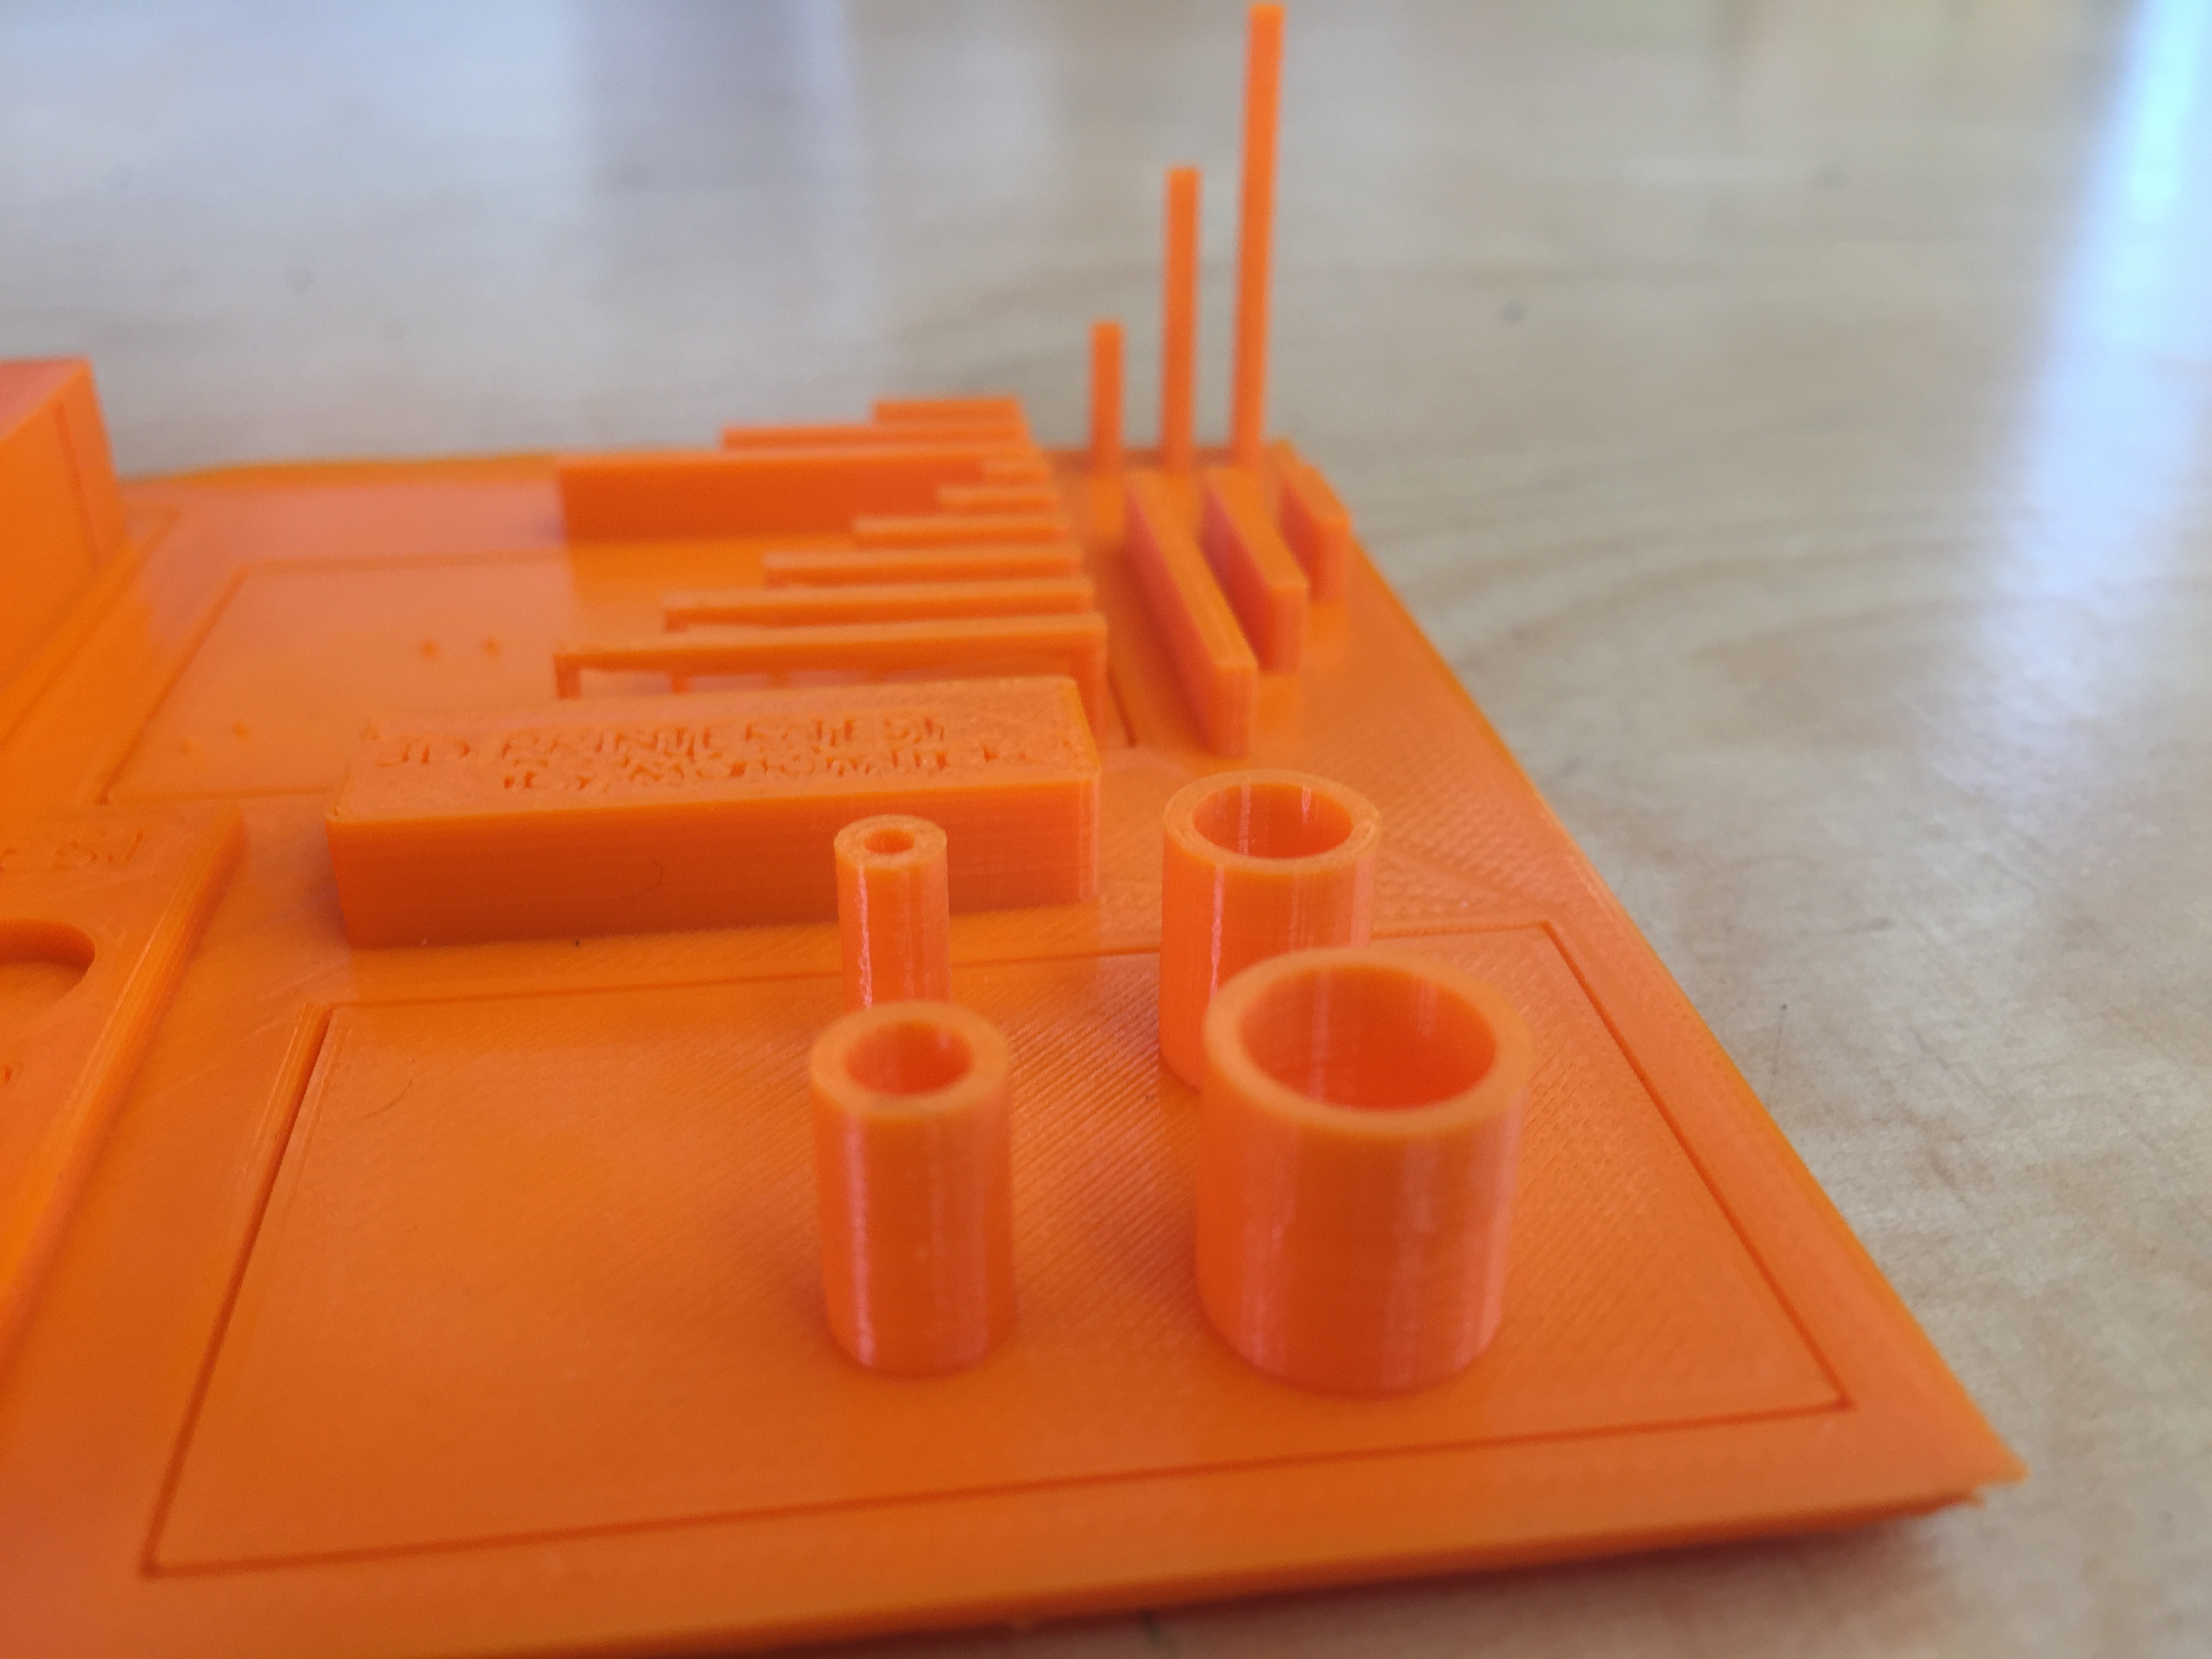
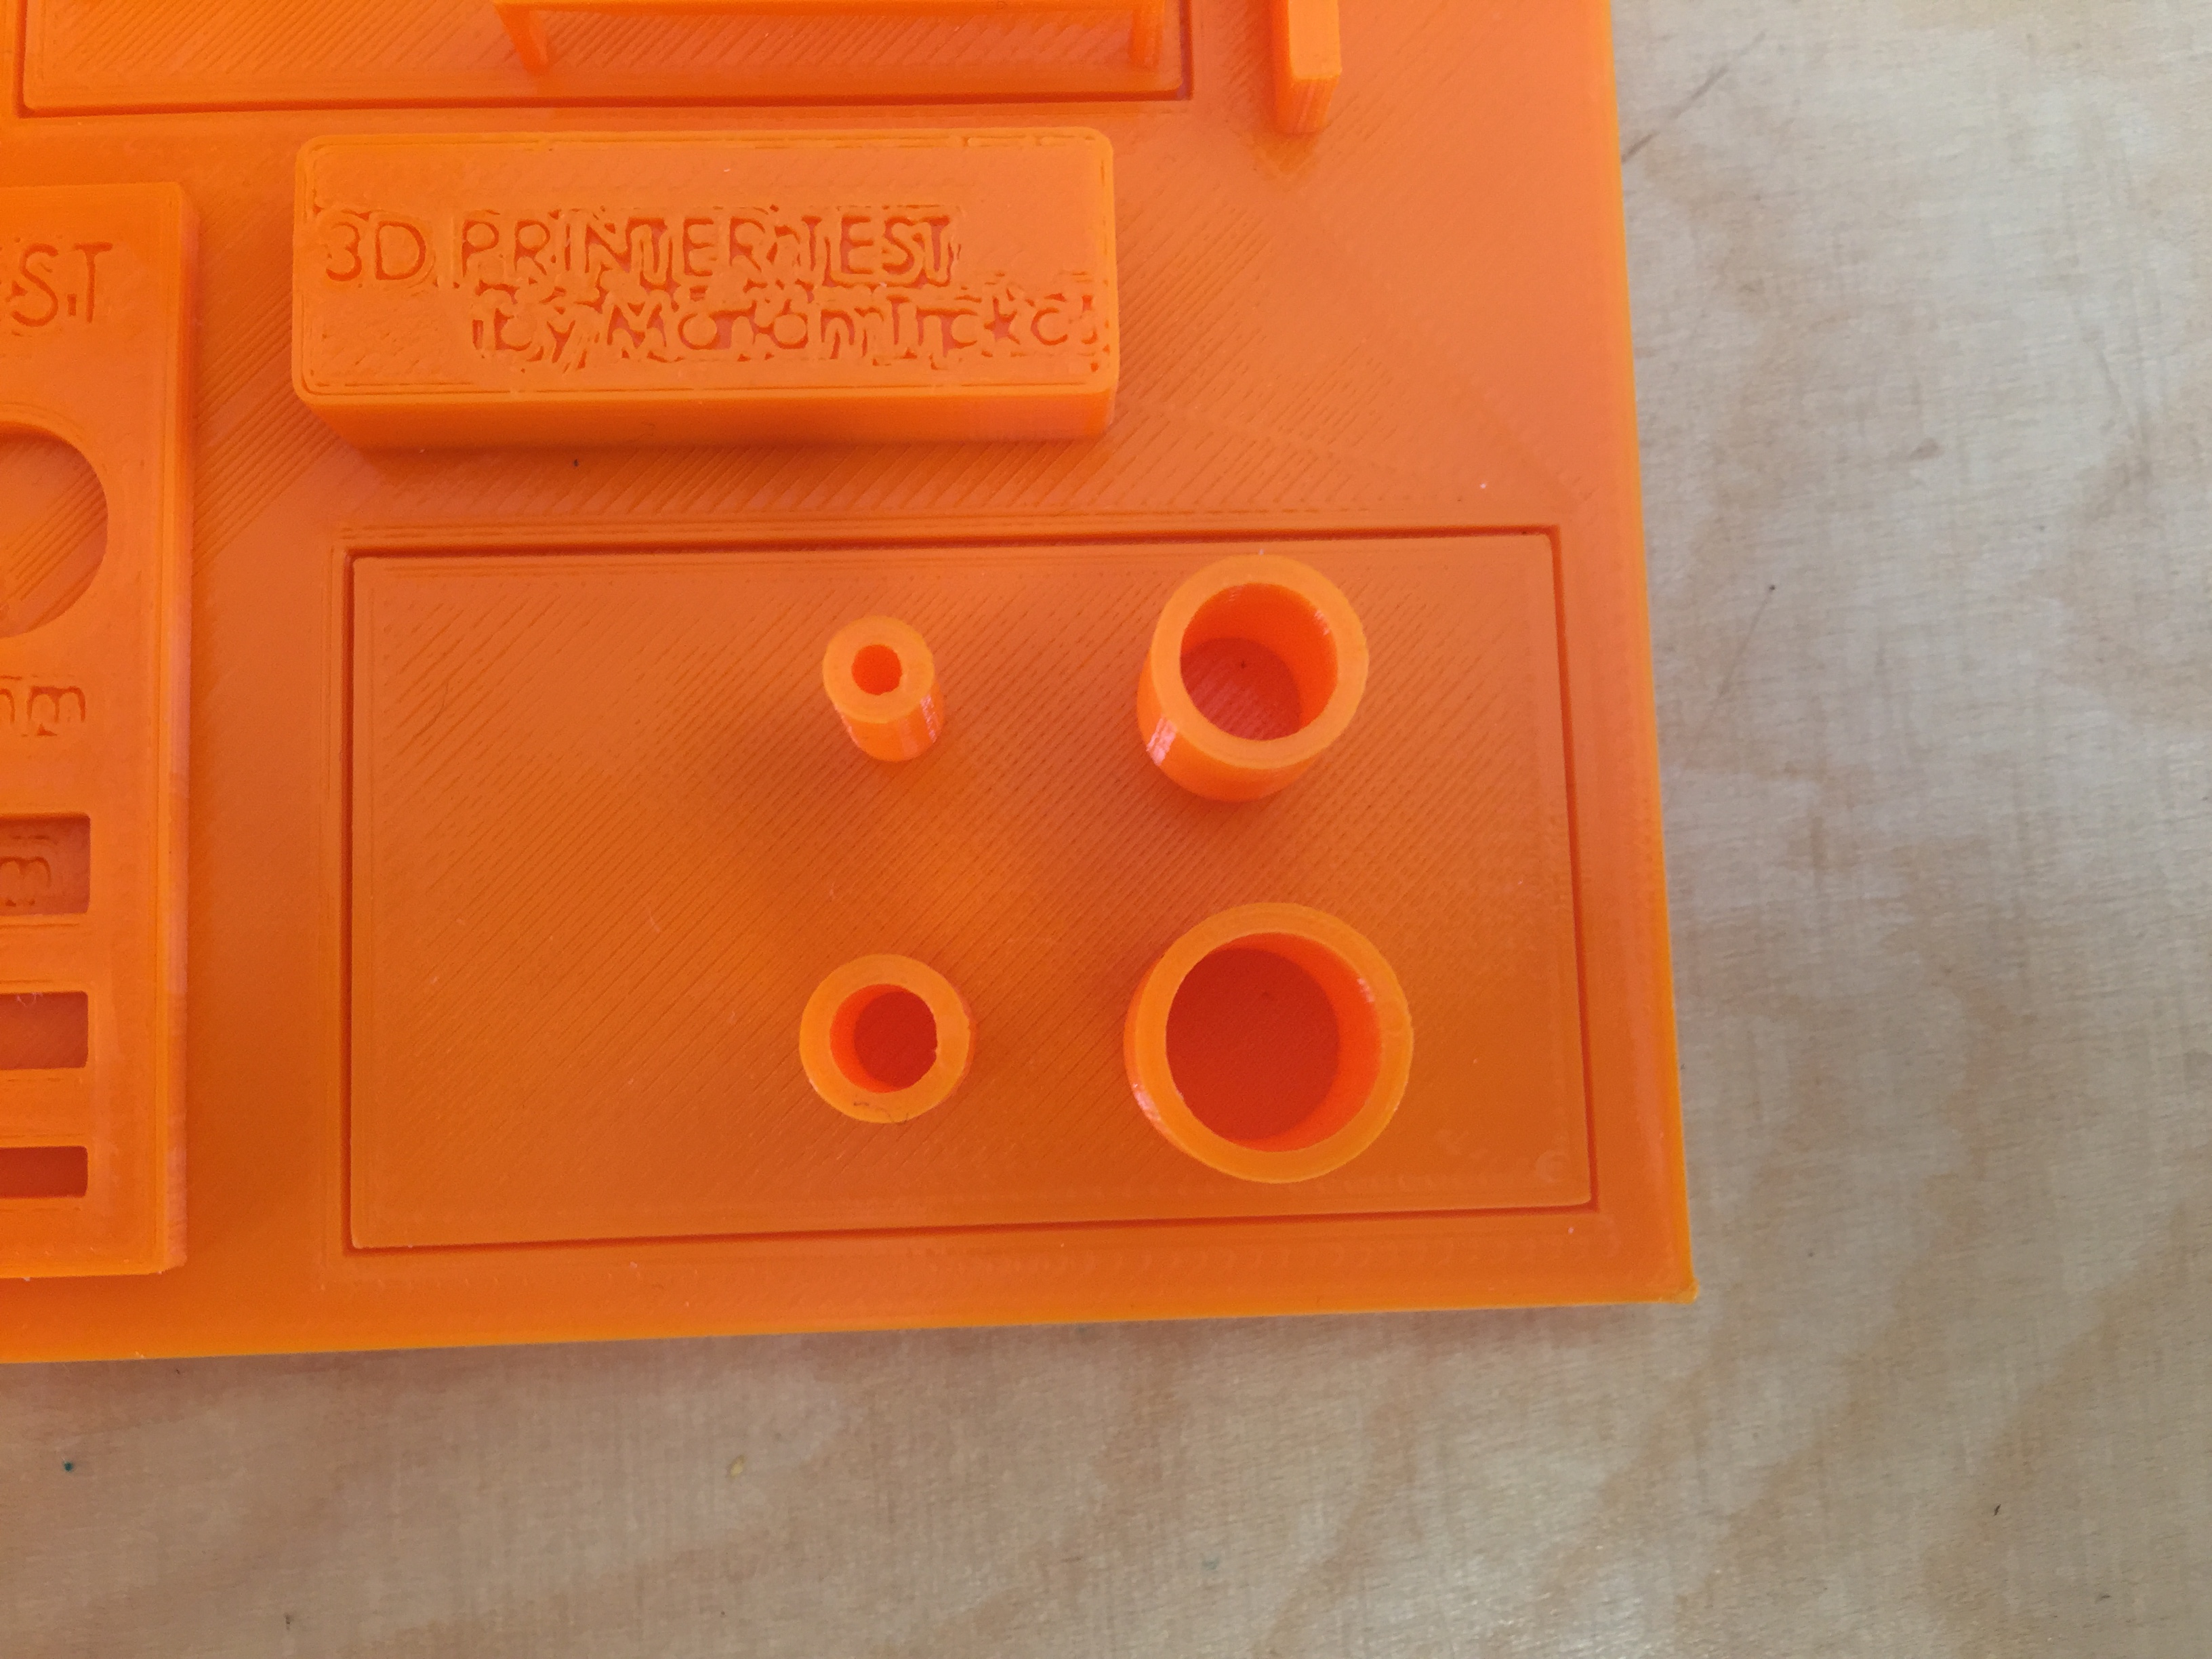
In the hole test it tested both round holes and square holes. In the design the round holes were supposed to be 4mm, 6mm and 8mm. They all came out really good and in the right proportions. Even the smallest round hole is good enough to print in a detailed design. In the square test the holes were supposed to be 2mm, 3mm and 4mm. They also came out in the right proportions and they also can be used in a detailed design.
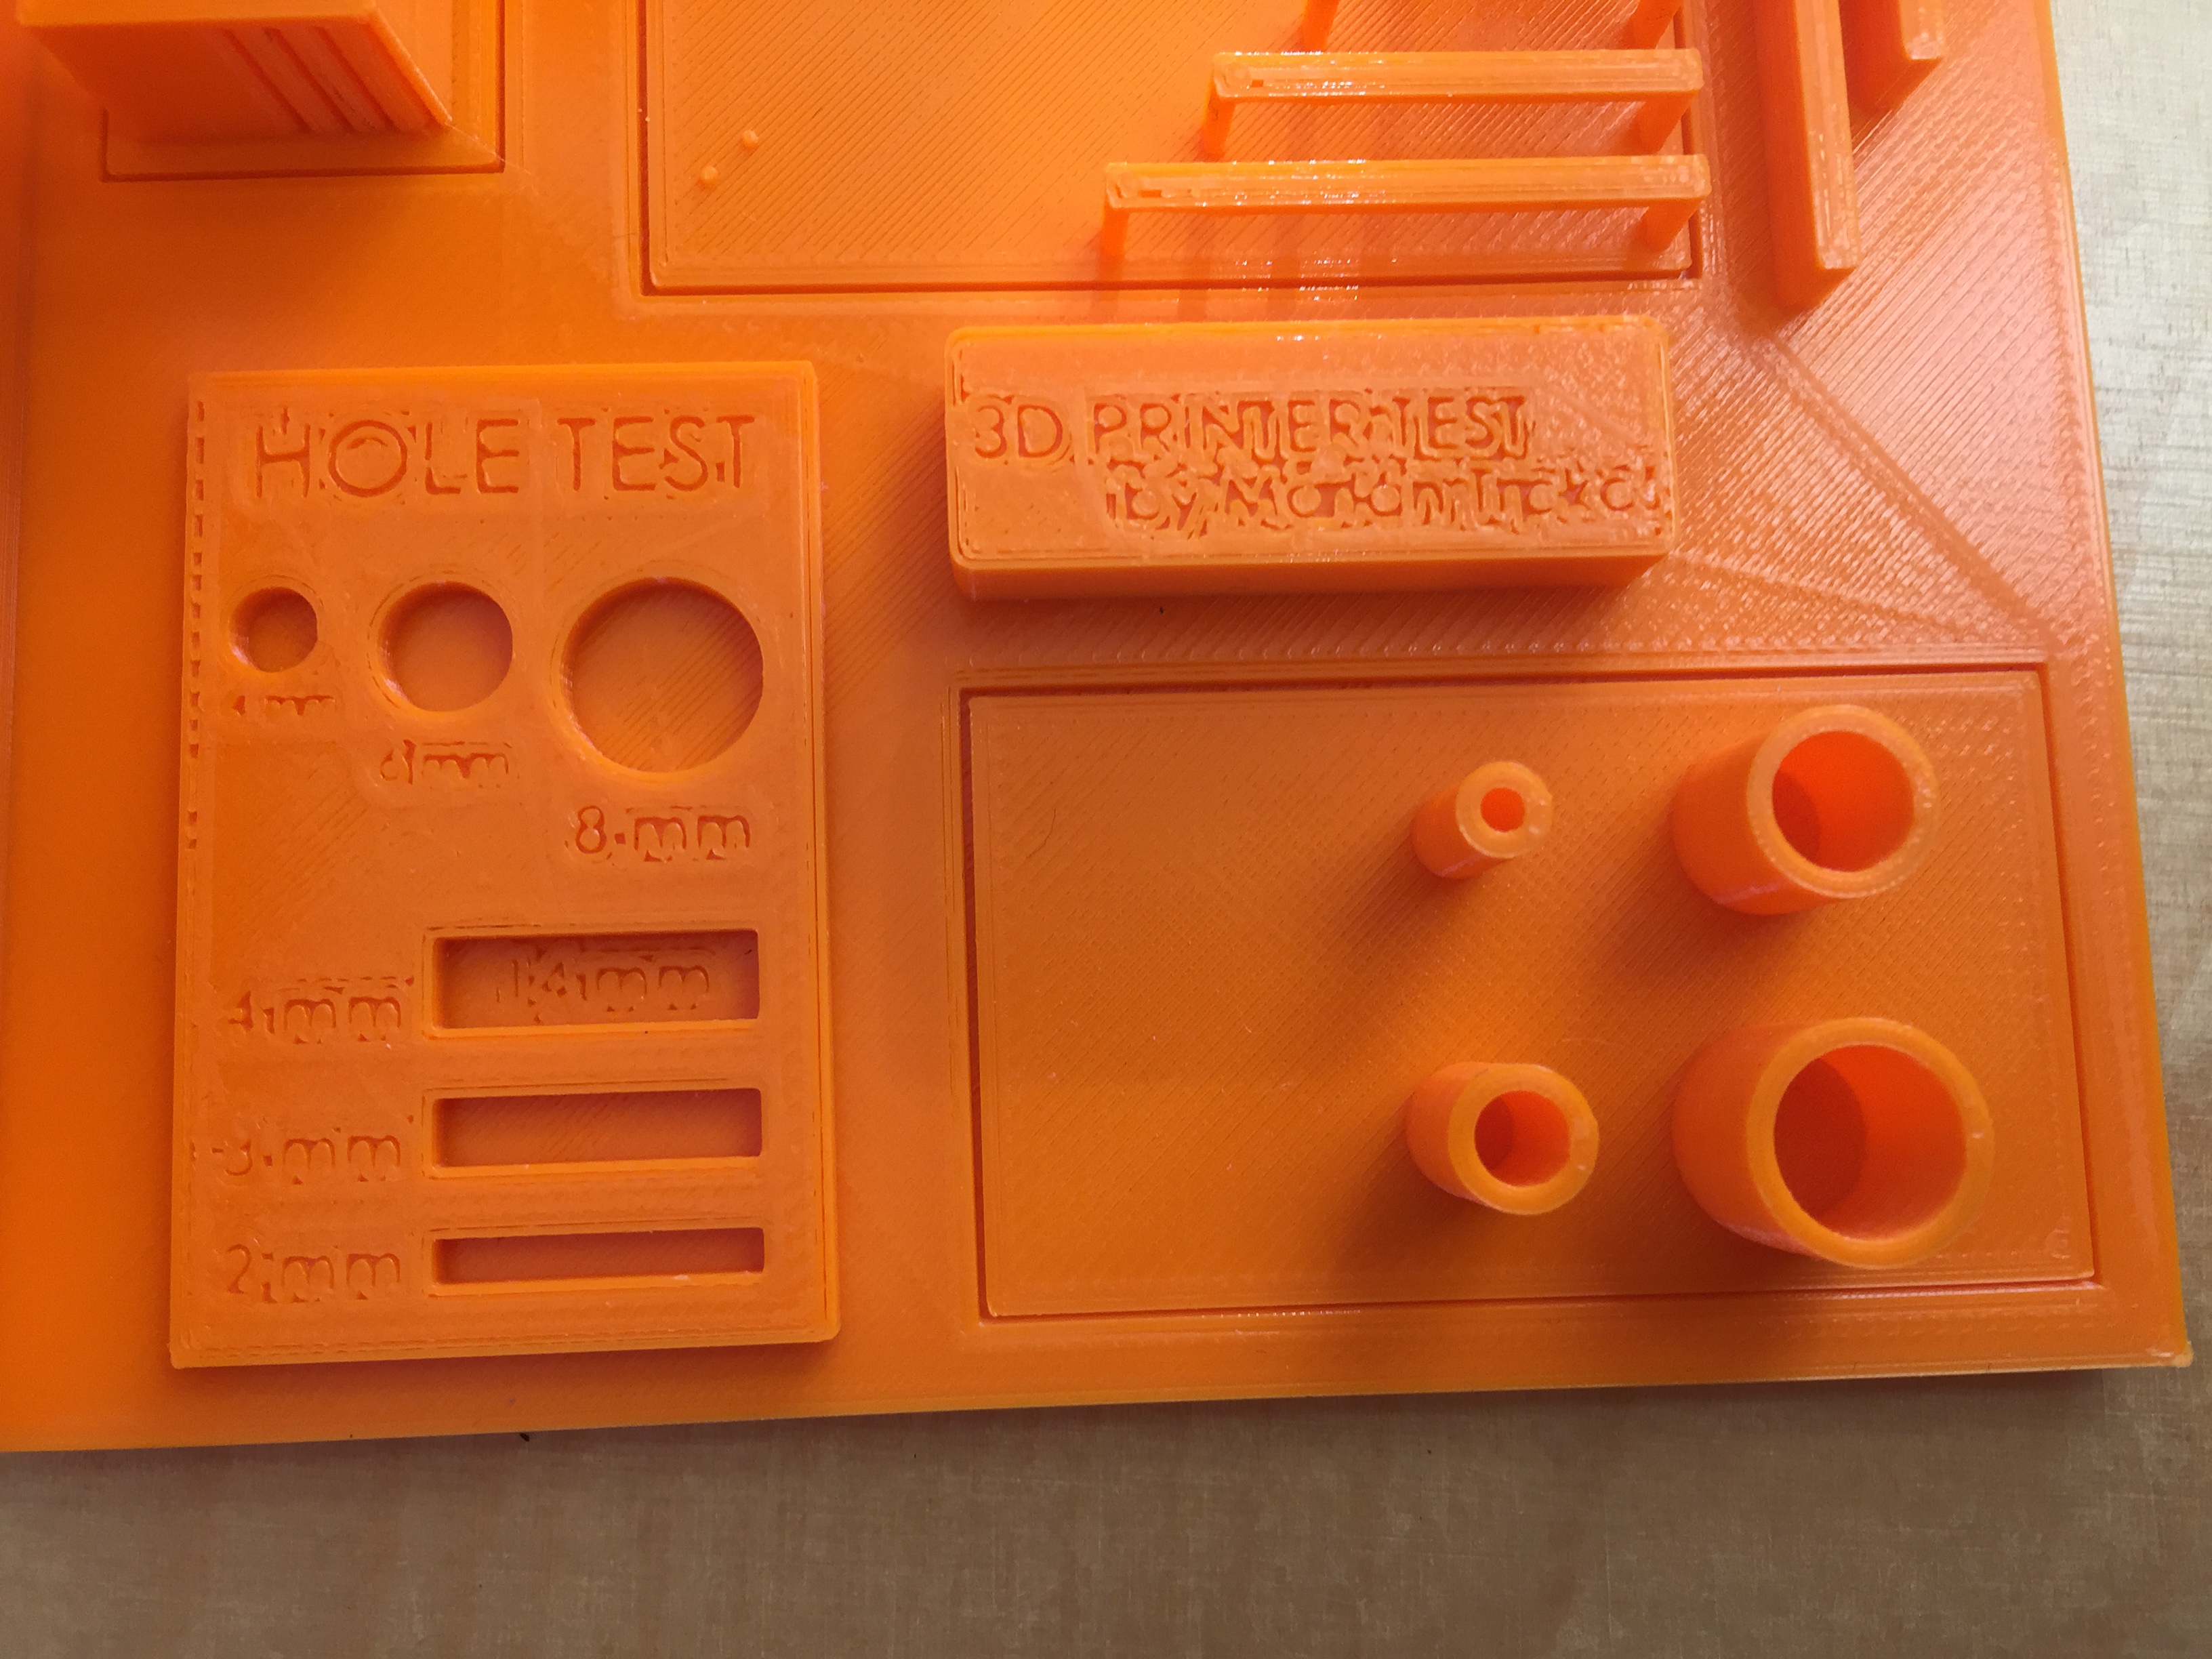
The diameter test had four cylinders with different diameters. The diameters were 4mm, 6mm, 8mm and 10mm. The proportions were right after printing and all of the cylinders look good enough to use in a design.
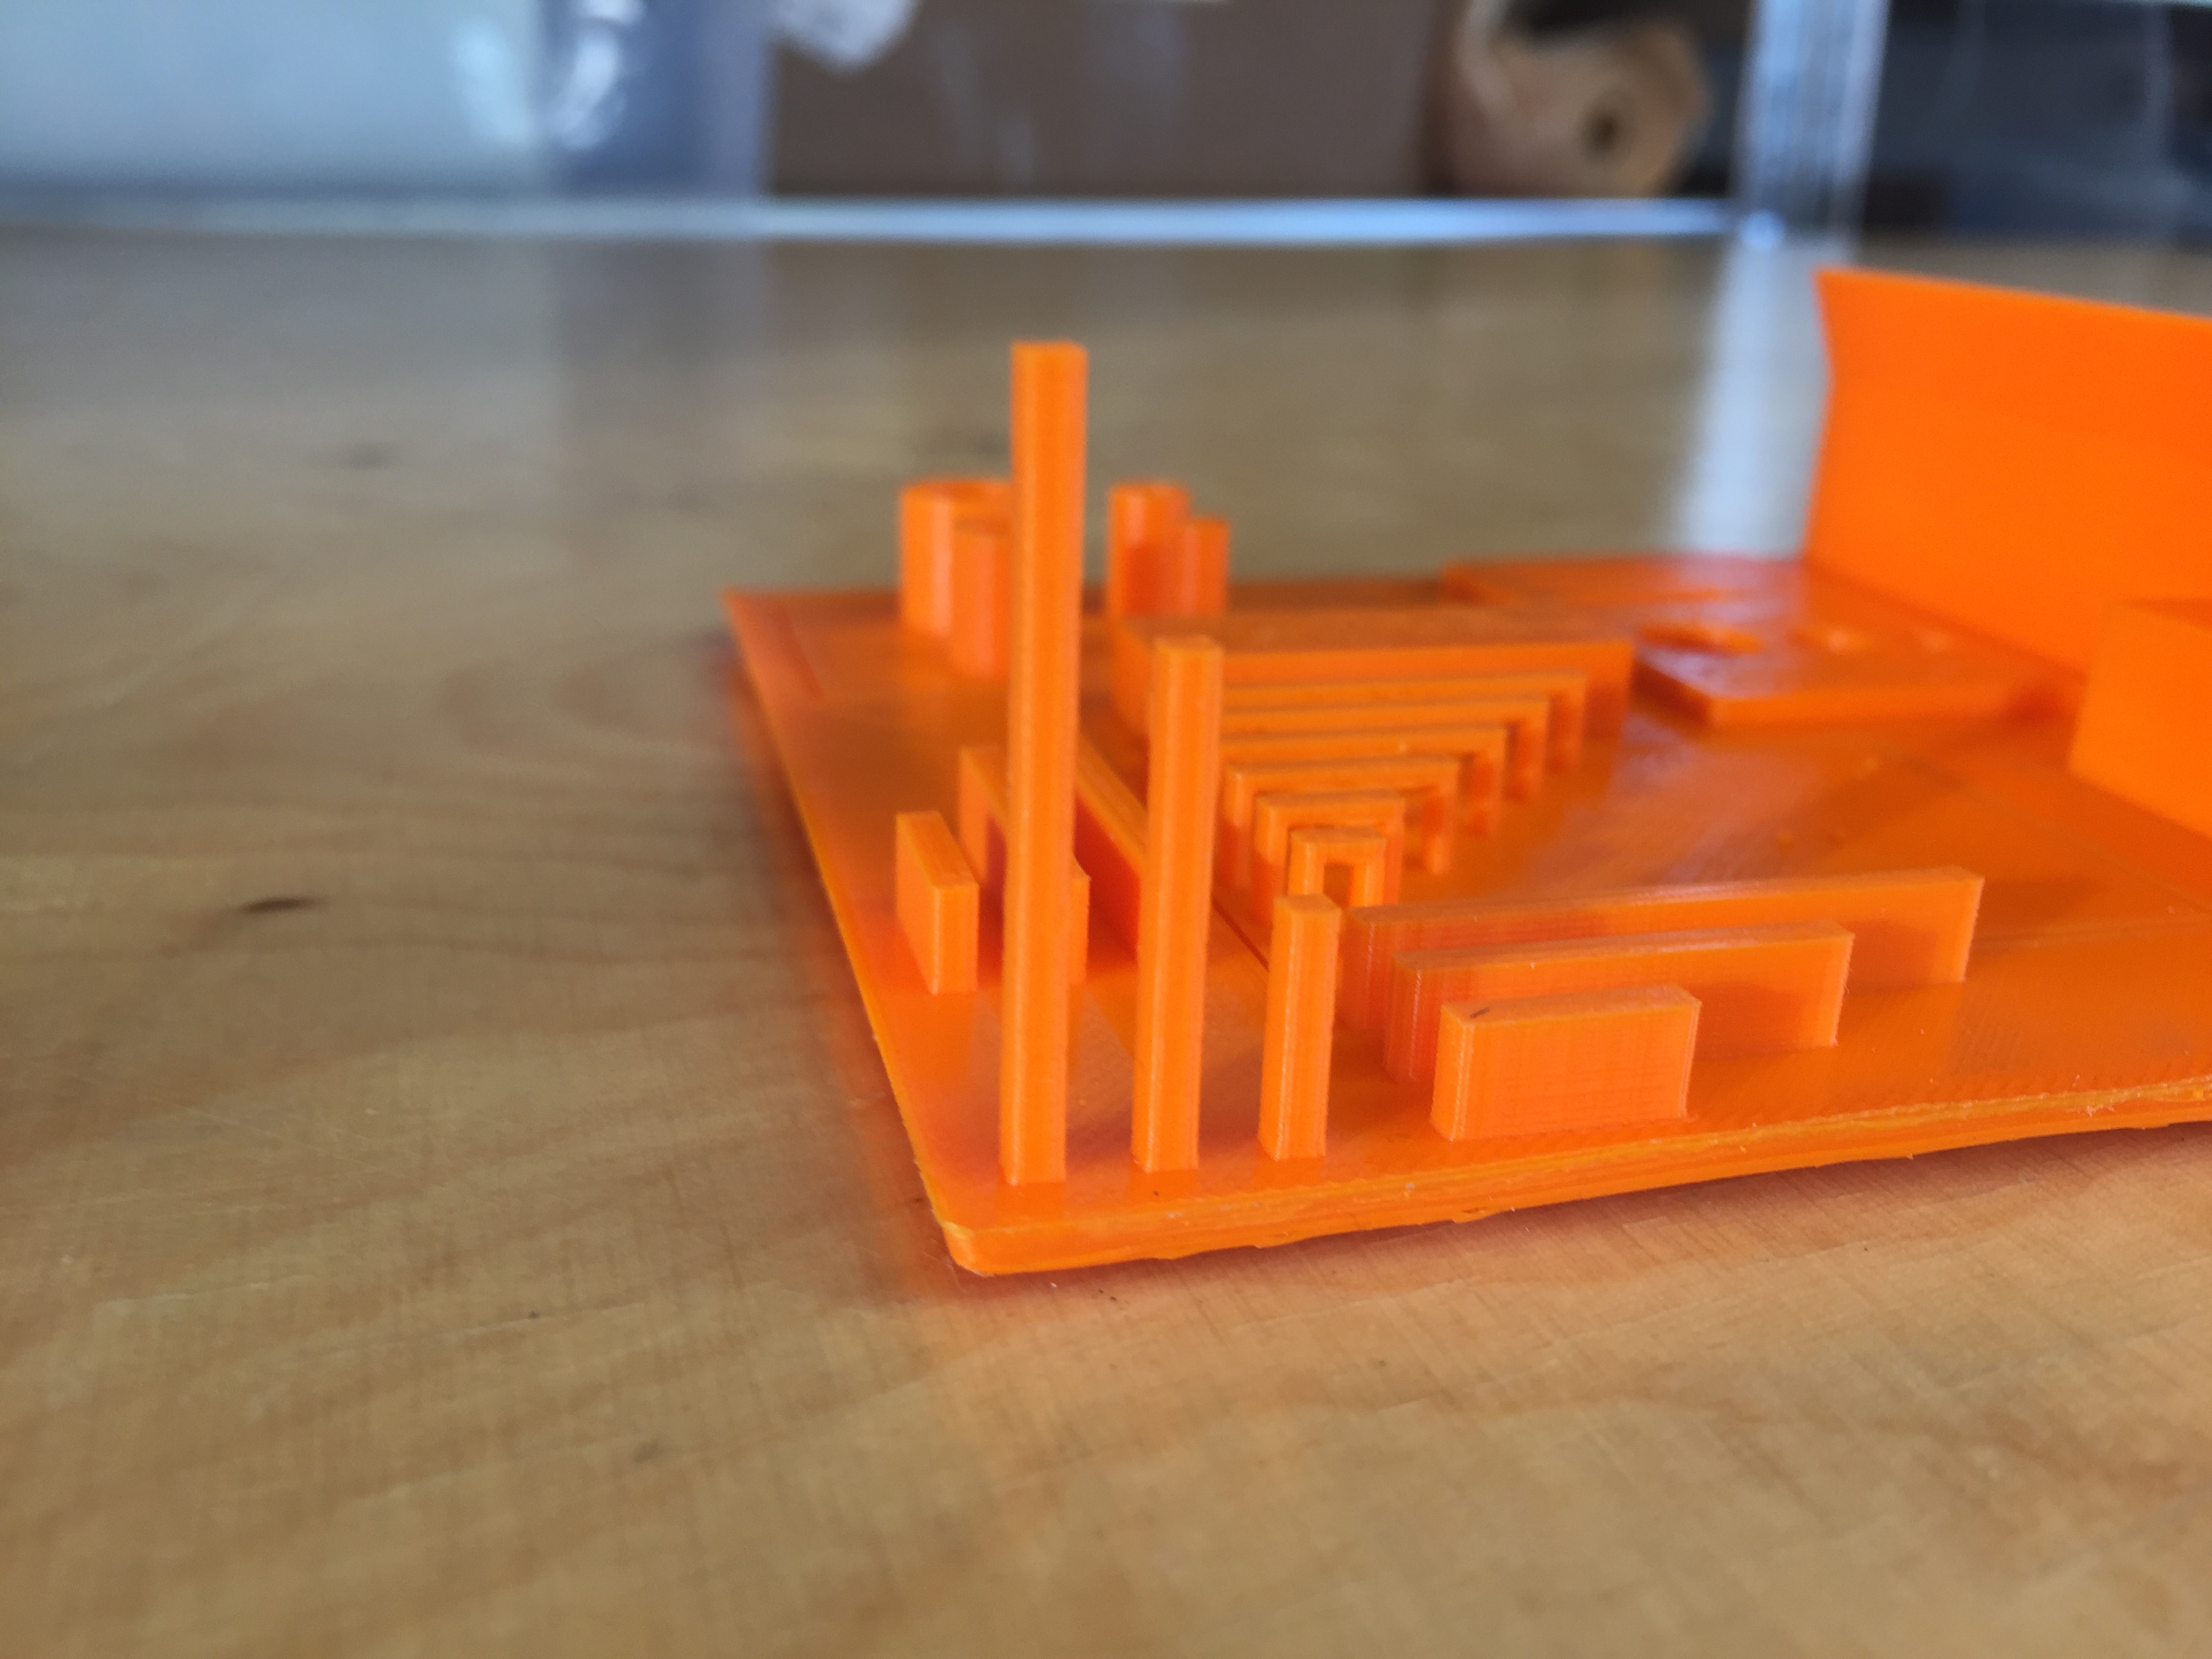
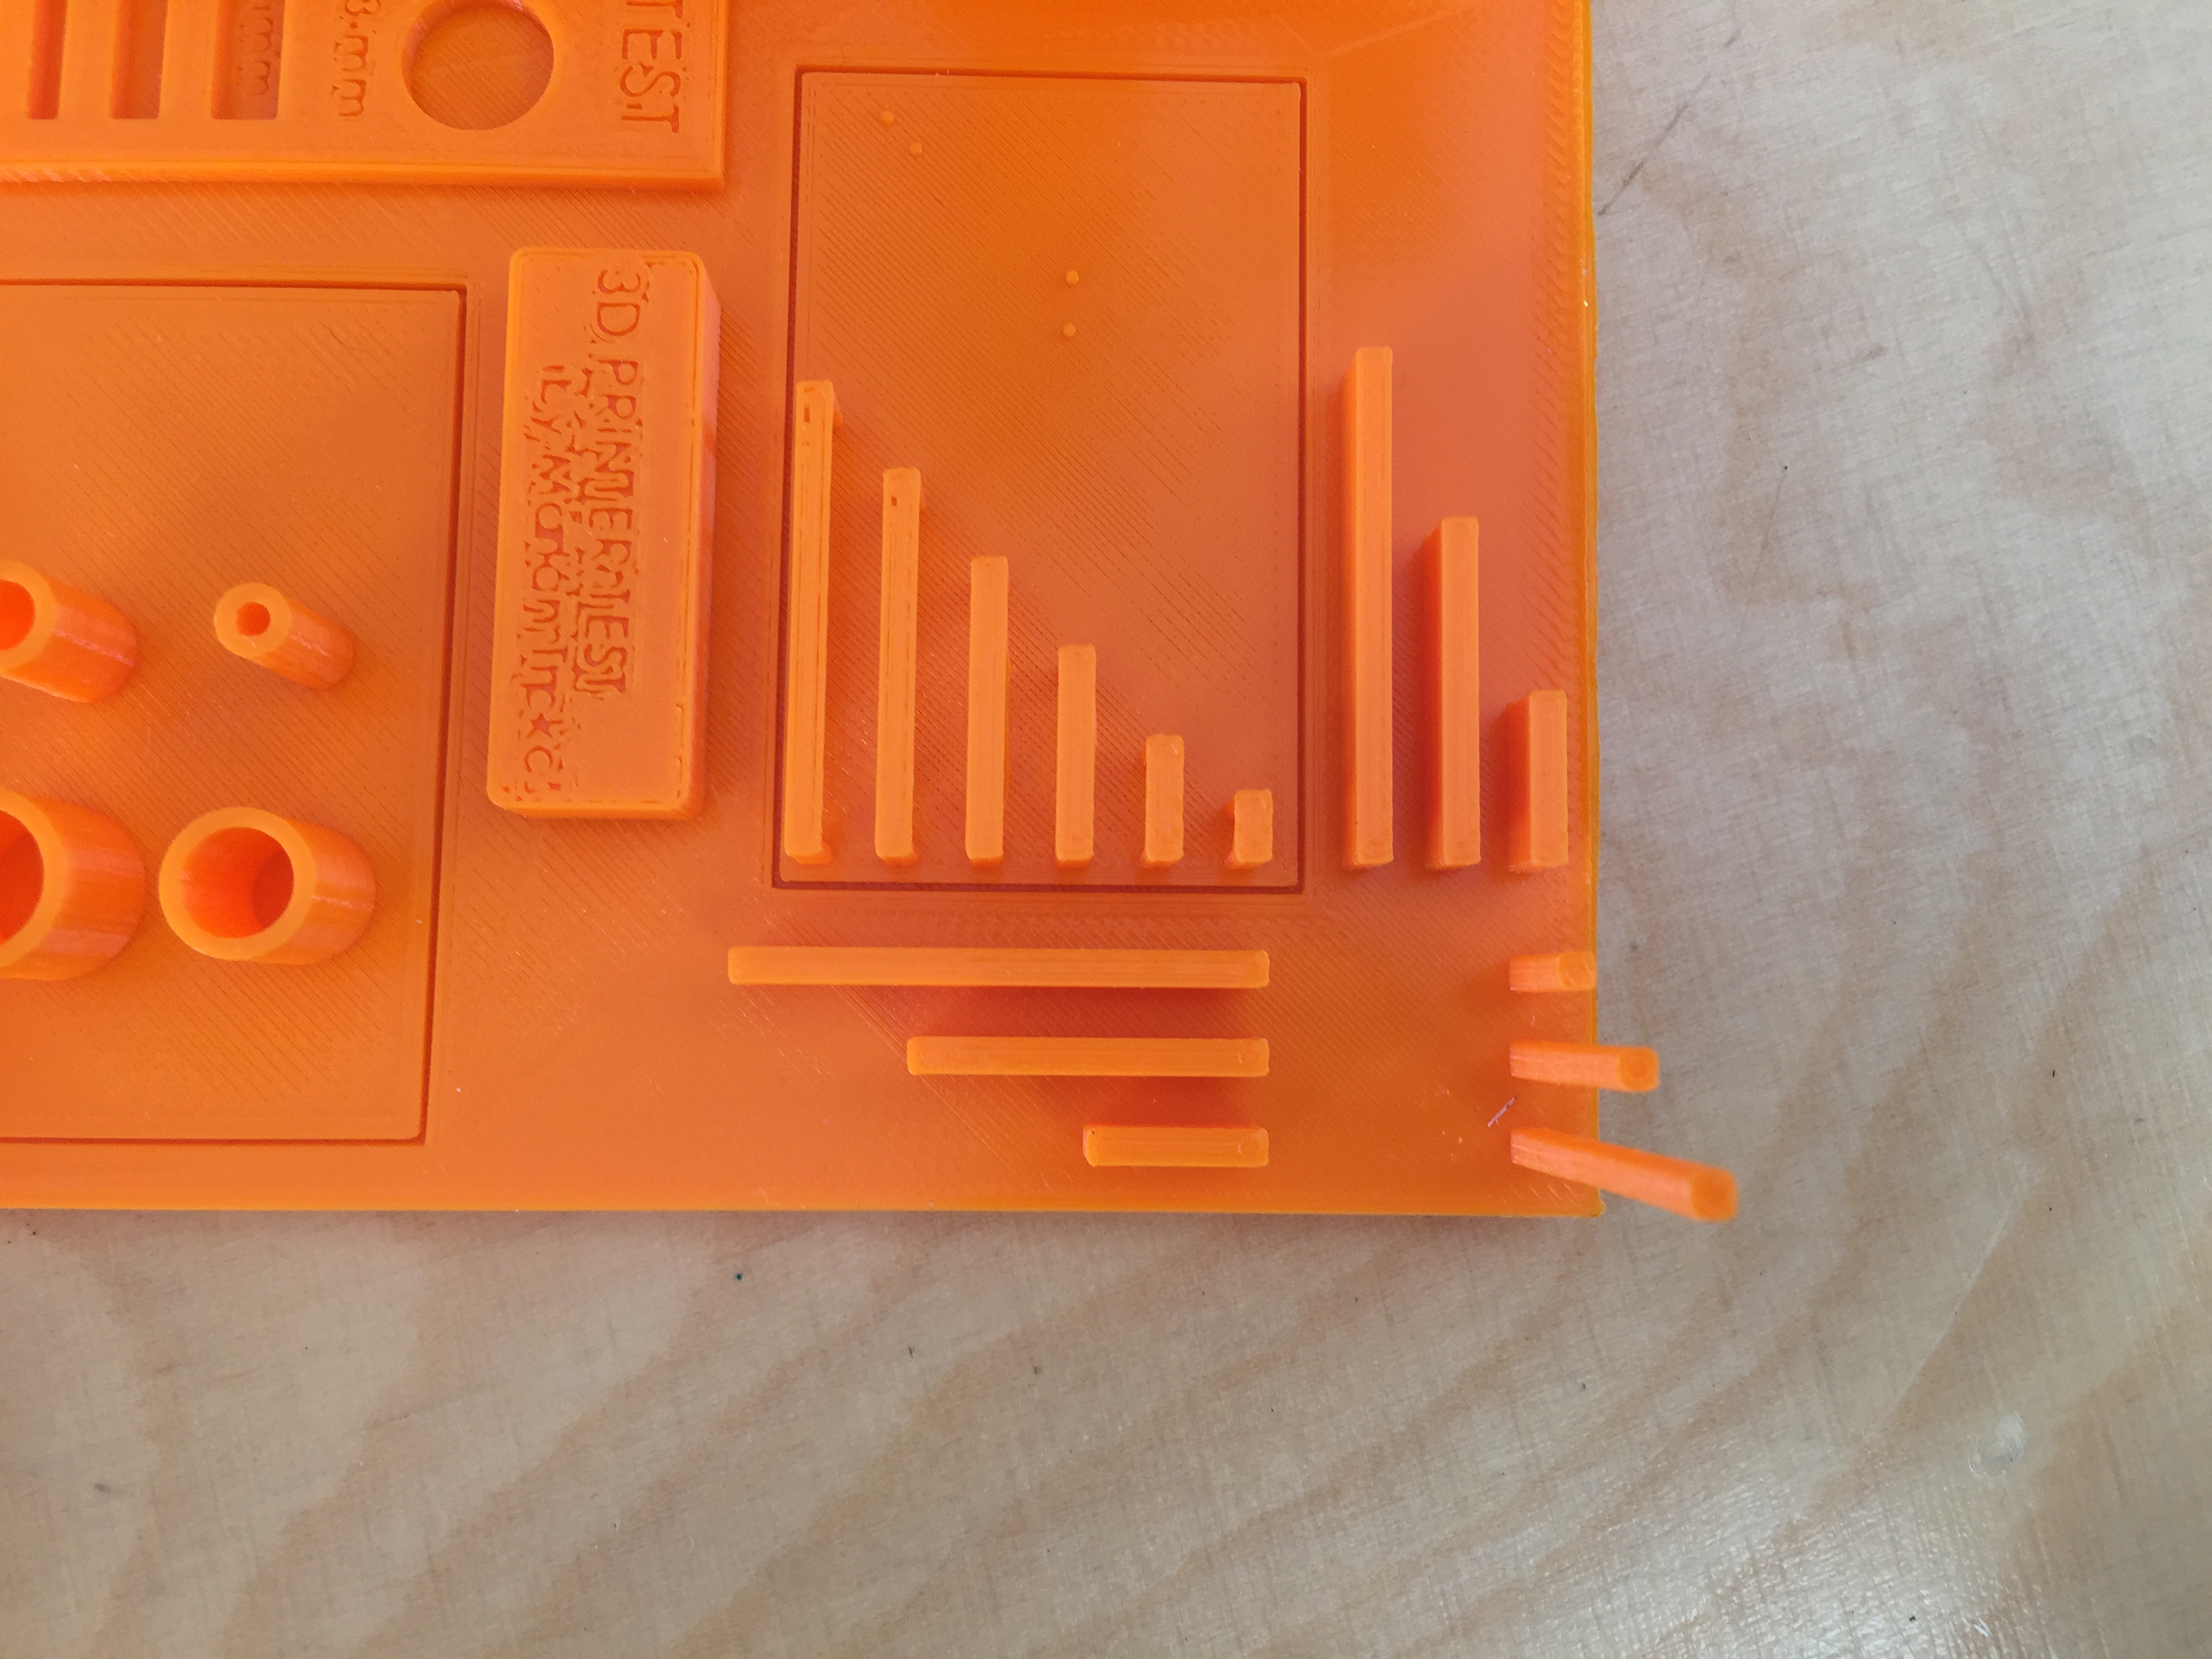
Bridging test was made with 6 bridges. The walls on each side were 1mm and with them the bridges were 27mm, 22mm, 17mm, 12mm, 7mm and 4mm. The 3 smallest look good, the biggest one being 12mm. After that they started stringing and sagging.
The text on the floor of the test did not come out good and is barely readable. The text on the walls is good but with more incline in the walls the text became worse.
3D Printer Test Stl file ready for the 3D Printer.