Third Week
COMPUTER AIDED DESIGN
ASSESSESMENTS
| HAVE YOU | TASK COMPLETED |
|---|---|
| Modelled experimental objects/part of a possible project in 2D and 3D software | YES |
| Shown how you did it with words/images/screenshots | YES |
| Included your original design files | YES |
NEIL´S LESSON
Index
EVALUATE AND SELECT 2D AND 3D SOFTWARE
After our interesting class with Neil and by the advice of my instructor, i draw some sketches about my possible final project. A good practice for thinking about the design : Needs, sizes, materials, tools for design ,parts for develop, cost.... during the process.
Made a new video-server´s profile on vimeo too for the year , i uploaded the first one and here you will find the link to my video about the fun and relaxing drawing ideas process:
01 Drawing a Possible Project from Pilu Caballero on Vimeo


Later, i was watching several tutorials about tools suggested. I haven´t experience designing with 3D and 2D softwares, just basics knowledges for teach to my kids to make little things with TinkerCAD or 123D and for 2D usually used conmercials like Illustrator or Photoshop so it´s a good point for begin to know more OpenSources tools . The reason : I want to compare different things with them during the Academy and I love them!
I had to practicing witn some tools Neil´s mentioned for 2D :
My proposal have two basic designs :
- a)The Kite Design : Parts - For this, maybe i will use the draw made.
- b)The Kite String Reel : Parts - Here you can see the basic types of "String Reels" for kites :

After my research and i decided somethings about this concept :

And here, I can see the mechanisms which i must to build it can be more easy for this assignment . So i decided deserve the kite design for future, when will have more practice designing.

2D SDESIGN SOFTWARES
1.GIMP :"Provides the tools needed for high quality image manipulation. From retouching to restoring to creative composites, the only limit is your imagination." say their welcome website. I never use Gimp before but i decided to try because at once of my jobs teaching with it.
For practice i was drawing with basics, trying different things comparing with Photoshop or Illustrator.

- Basics : First i did was import an image (my draw) with my desktop scanner, i send it to my computer. Drew with pencil tool the interesting areas again and vectorized selecting "trayect" "bitmaps".
- VECTOR

The experience was great, now i understand why my coworkers use it. It´s Open and perfect for introduce to draw and design to people.
Also i was importing differents types of files :
Inkscape : An open-source vector graphics editor similar to Adobe Illustrator, Corel Draw, Freehand, or Xara X.The important thing at Inkscape is its use of Scalable Vector Graphics (SVG) format, useful for 3D design softwares.


I repeated the same task did at GIMP : Drawing each line important and vectorizing them with bitmaps tool but this time, exported it at .svg format for use later.
So i did a draw about the string reel too:
So i did a draw about the string reel too:

I choose Inkscape, intuitive, symple,Friendly and fast but the best reason is for choose is an OpenSource tool like GIMP yes!
3D SOFTWARES
2nd. This assignment´s part, the aim was to try differents 3D softwares and design a "possible final project". As i mentioned at the 1st point, decided try to design the string reel first by my less experience with that softwares, did testers with both, my "scaner draw" and the "string reel design".
FREECAD
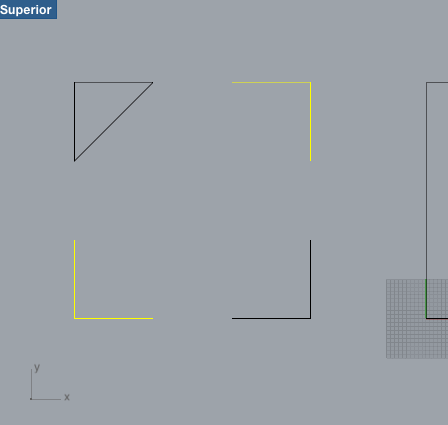
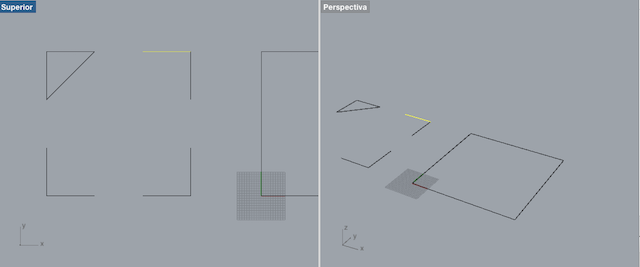
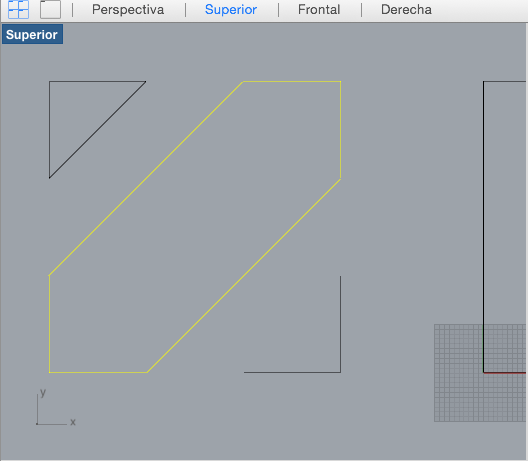
1. After fairly tutorials and tools reserached , imported my draw vectorized by Inkscape (.svg), i opened it and drew polylines for clean and delete rest.
2. Selecting parts and using extrussion tool i was playing with surfaces and layers to make anything sense for me.

I had differents problems with FreeCad :
Then i was trying same things with :
Sketchup was really easy to use with intuition, basic experiences with 3D softwares and some things, you can have a 3D things quickly.
1. First i did there was imported my file and simply apply the extrusion tool.

Here you can see the result :
gifstrussion from Pilu Caballero on Vimeo.
For the last part of the assignments and folowing my instructors suggest, i started to design a possible final project....hahaha a "part of" with :
First, i must to thanks to Perico Martínez from 101lab, his support and patient on sunday´s tutorials. He teach me short cuts and basics tips for advance a bit. Sorry bro!
The use of Rhino inspire me more, was nice, it was heplful, intuitive and more visual but of course when arrived to Rhino, i had shaw a lot tutorials from the others 3D softwares and i was practiced a lot mistakes things and was really focus so the experience was more easy.
For have quick wiews about models and objects, i made a profile on Sketchfab and uploaded all the things wich i designed. I never used for take a quick look about my models so it´s wonderfull.
PROCESSES FOLLOWED
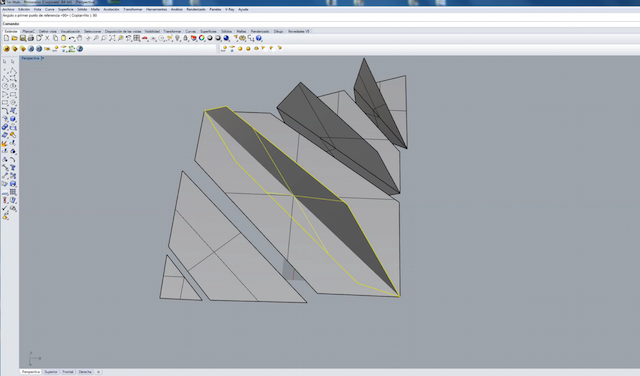
1. began importing my draw to Rhino, cleaned things that i didn´t need and drew polylines following the draw and redesigning the skecht for make the main gear.
2. I did new circunferences, rectangles, holes with solid tools selecting destiny surfaces and adjusting them to the origin point,for have more details...
3. For the teeth´s design on surfaces made a perpendicular curve with cmd-, adjusted it and selecting.
4. Later i use Solid for apply the extrusion tool to previously paths selected.
5. The next was copy this element and fix them at the ring. An hour doing this easy task, understanding the use of boolean operations at Rhino, learning how to replicate elements with "Reflect tool" for do the 2nd reel with teeth´s inverted :(
String Reel : Step 1 by pilucaballero on Sketchfab
When i wont to assemble both gears it was impossible, i discovered that: When i changed the teeth´s pattern this made to changes angles references too.

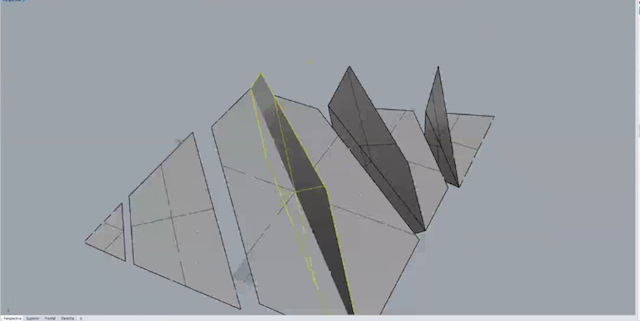
6. The next step was to design the main start based on an islamic´s pattern present at all andalusian´s homes. This was really easy, selected solid-cube form and copied rotating to 45º the second one.
7. For fix it, i selected both and choose boolean tool and fix together.
8. I decided subtract the reel radio from a start for made visible the mechanisms:
9. For finish, i assembled all together selecting the start from the center to reel´s center too :
EVALUATION
How i ´m not happy with the results of the gear, on monday i was practicing after Rhino with freeCAD again trying to make a new gear, i founded a basic tool for that :

After I opened a new file at Rhino and still working on it... i must to practice a lot of. All tasks going slowly but researching, i founded that Rhino have a Gear pluggin for make fantastic gears, so the idea is try it in future.
TINKERCAD
My project is oriented to Kids, so i decided designed a possible Kite there :


For this part and how i spent a lot time looking tutorials and trying things with 2D and 3D Softwares i decided to use a basic tool that a friend suggested me for make the things quick. So i decided to simulate and animate trying 2 softwares that never use:
KEYSHOT
KeyShot is a standalone real-time rendering application that makes creating amazing renderings and animations fast and easy, with support for the widest number of 3D file formats on both Mac and PC.
Their web said : "KeyShot is the fastest and easiest to use 3D rendering and animation software available. In just a few steps you can create amazing looking images from your 3D models that can be used throughout the product development process to make design decisions and quickly create variations of concepts for customer, manufacturing or marketing." It´s time to try on it :
1. So there, i imported my .stl file form tinkerCad but you can import SolidWorks, Solid Edge, SketchUp, Alias, PTC Creo, Rhino, Pro/E, IGES, STEP, FBX, OBJ or 3ds data directly. With the widest 3D format support and many plugins importing your model is quick and efficient.
2.Paint the model : Drag and drop any of the 600+ scientifically accurate material presets onto your model. The real-time view instantly shows how the applied material appears on your model with accurate color and lighting.
3. Choosing the lighting: Simply select an environment image (HDRI). As soon as you drag and drop the lighting environment into your scene you will notice the effect of the scientifically accurate real world lighting and how it captures your models, colors and finishes.
4.Adjust the camera : Framing my scene is just as easy as using a real camera. Adjusted the angle and distance, control perspectives with focal length and field of view settings and easily add depth of field to my scene.
Here are my screeshots with the processes basically i was having fun :


CINEMA 4D
1. First i made was prepare my enviroment

2. Snaping and griding enable


3. An made the basic properties for the render


4. Appleid material, choosed a sky with the sunset hour


5. Later i use the camera toolchoosing projection, camera lights, focal lenght for draw a kite trayectory...


6. Making renders


Kite Simulation with Cinema 4D from Pilu Caballero on Vimeo.
THINGS LEARNED
A lot : Practicing different ways for design I apreciated this acelerated my learning curve. Of course i made a new glossary with 2D and 3D syntax.
Also learn how to extrude planes, explode polylines, simulate and animate a basic proposal. The powerfull of differents tools. New techniques. I´m really happy with this week.
EXTRA THINGS LEARNED
For add : i´m really curious about ANTIMONY because the GUI is similar to QuartzComposer and i have some experiences with this kinds from long time ago. I used it for make visual clips when i VJing and looks similar to Grasshoper Rhino´s plugging. I don´t know much about this plugging but i love communication protocols and used it to communicate with comercial´s boards like arduino.
So for that reason intrigue me. After see the Matt Ketter´s welcome video i wrote on my notebooks this things :
Antimony is built on three mostly-orthogonal axes:
I installed it on my computer and opened it. I didn´t make nothing insteresting, just playing and experimenting with 3D concepts on antimony but was thinking about it : This tool is awesome! and i´m sure will be use it in future designs.

Definitevely, i will practice with that for my next assignment. Thanks for developed!


WEEK PROBLEMS
A lot ;). Mostly by my unexperience (I will must to practice much). Time and effort. This course is fantastic for that
1. Sense 3D sintax . I started with my own FabAcademy Glossary for help me during future assignments. My classmates are arquitect so i make funny questions them .
2. Using Rhino how i never use it was difficult understand, his price is crazy and actually have a lot crashes.
3. Using FreeCad the gear design was really easy but had a lot crashed errors, so i decided to discard it.
WEEK FILES
WEEK CONCLUSIONS
During this week i designed things focuss on my Final Project : Basic shapes - surfaces - objects... practicing 2D and 3D concepts for my proposal, advance in how to made the process more easy and quick. I have bit experience, so i must to practice a lot if i want to have something.
My own goals was understand new tools in bit time. To Practice design concepts learning more about things such formats. I Feel proud about my tyring and i´m ready for next.
Now i know that probably the design is my real challenge for the Diploma, i have bit experience than my fabmates so the my idea will be try differentes softwares during the rest of the Academy beacuse i want to try as many tools as possible remindering to Open Sources.
MY FINAL PROJECT PATTERNS
I never design a parametric patterns for fabrics before, never designed a "Kite" so i decided made a Geometrical Design and began with the idea to design a 6 Faces and Parametrical Kite. Unfortunely to find references for this kind of kites was really difficult so i had to began from the images mentioned at my Final Project Proposal :
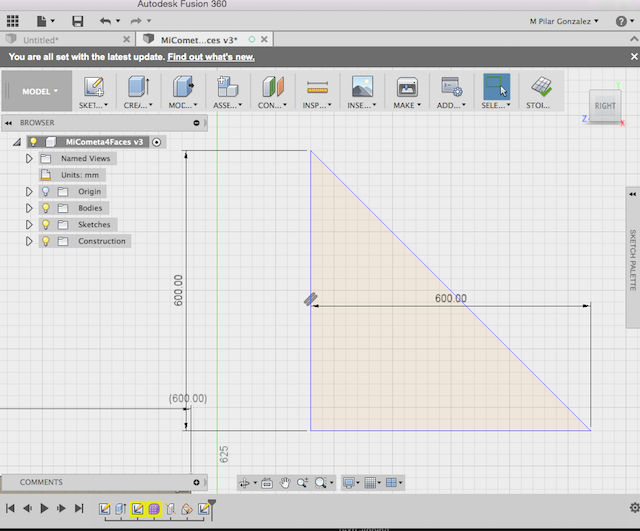
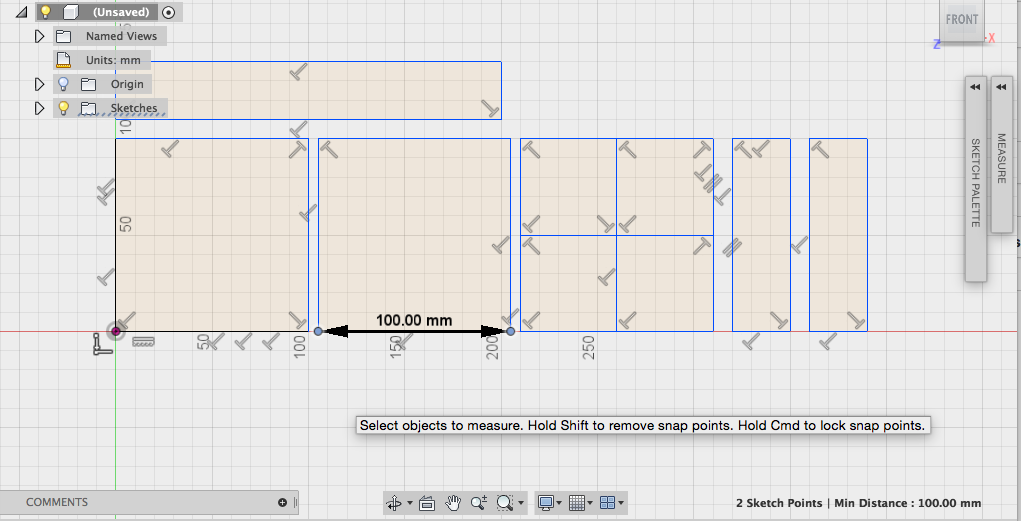
Here a sketch with measures estimated at the first moment:

As you can see i hadn´t idea about the design and after 20 weeks this make me laugh a lot....

But i´m not satisfied with the results
6 FACES at FUSION 360ºi made this with the idea to begin to learn how to sew the Kite:
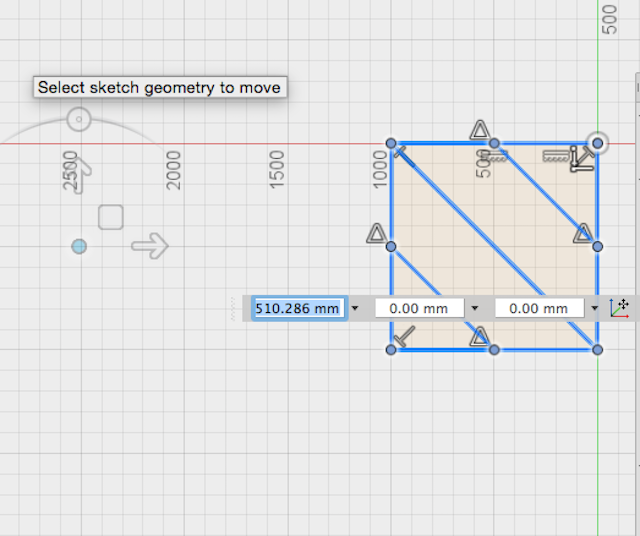
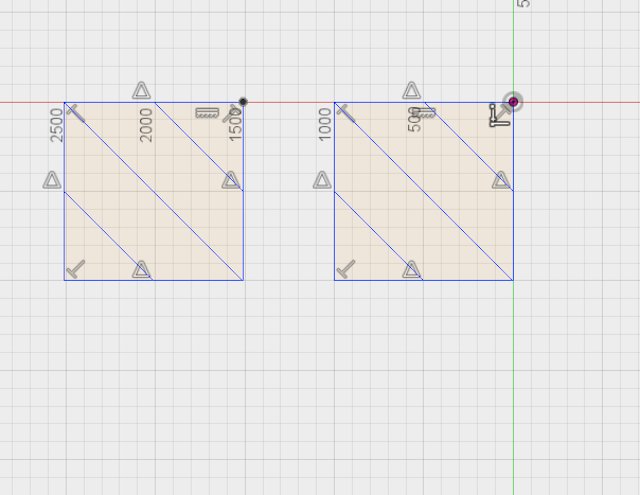
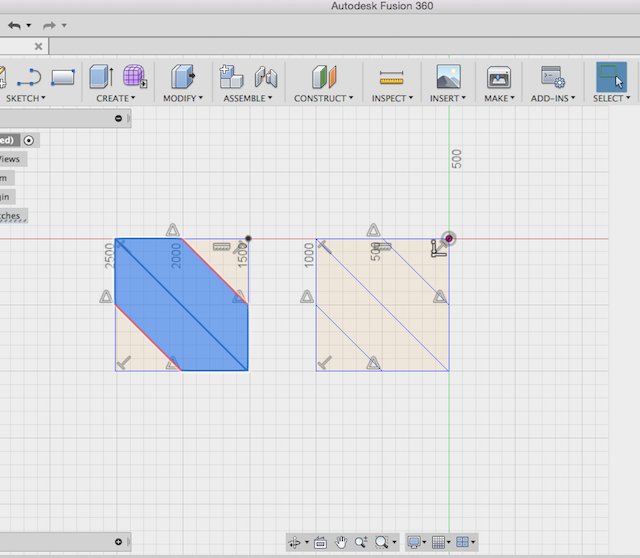
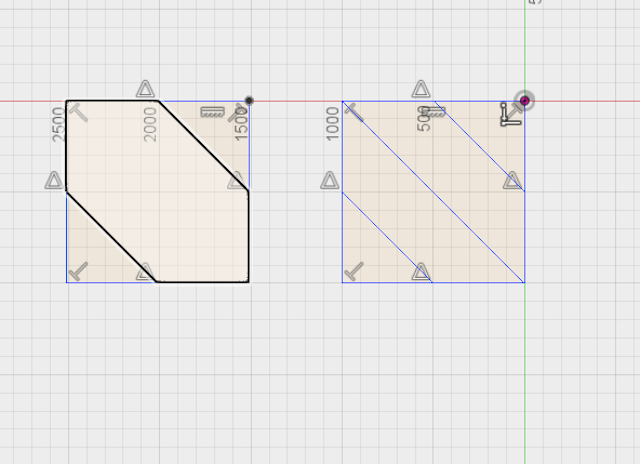
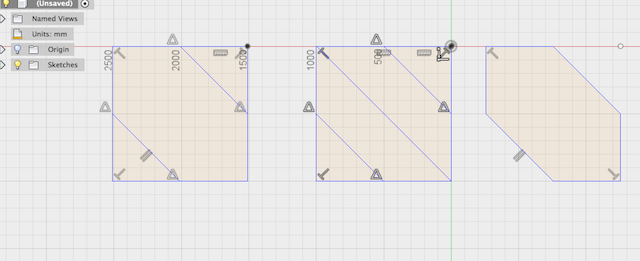
4 FACES at Fusion 360º for prototype :

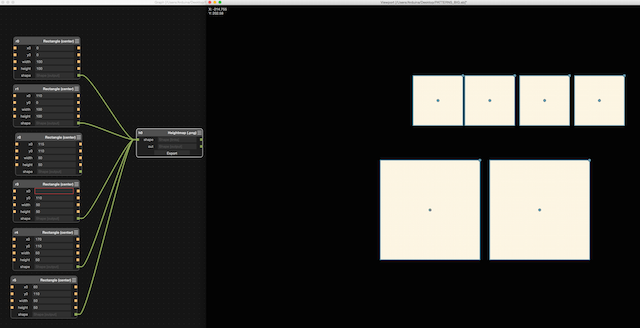
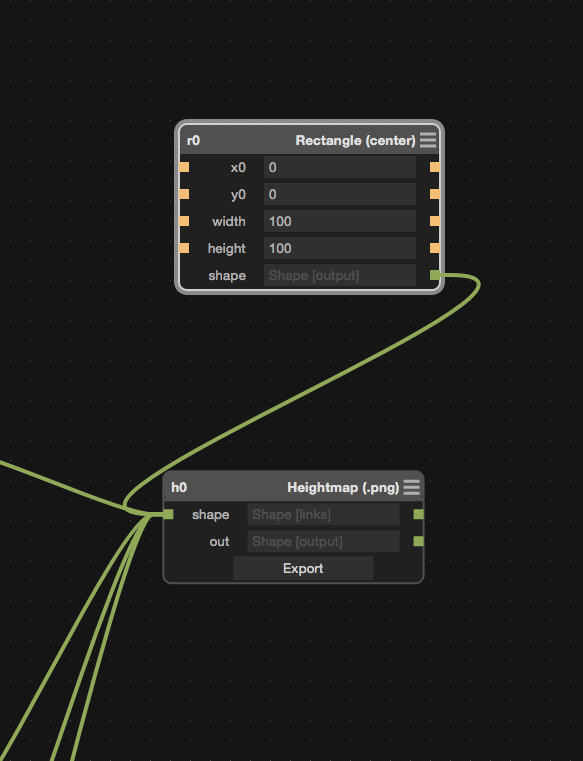
Finally used Antimony for made the Final Design and export such as .png and vectorizing it at Inkscape .
This Design involve the use of Laser Machine Technology so i had to make some test explained later. As you can see i decided to simply my project for different factors :
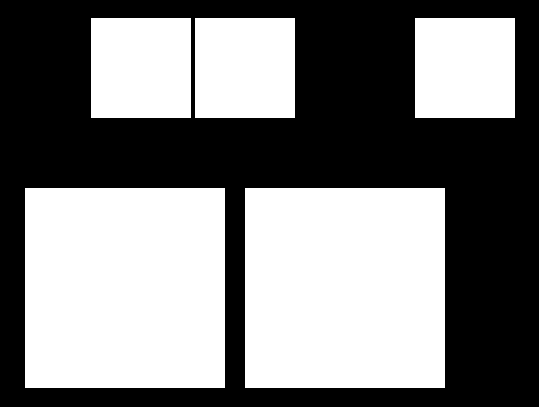
As i observed, when exported the design, i lost a square so decided made other attempt.
You can see more about the last processes at my Final Project Process Page at the Design Section