The objective of this assignment was to learn how to make molds and casts. I made a form to replicate a little panda figure, which I used to make a candle in the form of the figure. Also, I designed a mold to be milled by our CNC mill. The replicating mold is made out of silicone, the same material that we reviewed in our group assignment.
I used the following materials and tools to make my molds:
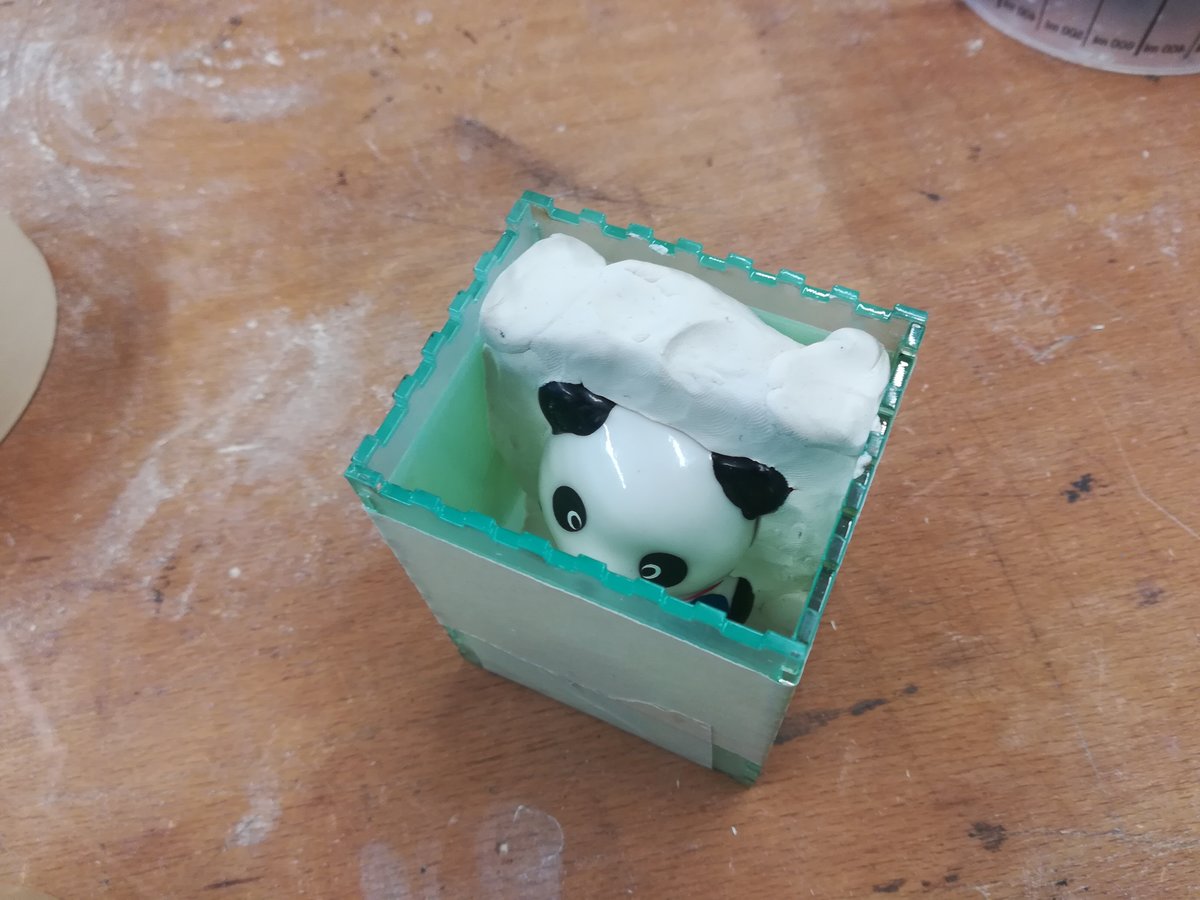
- My cute panda figure
- Two-component silicone
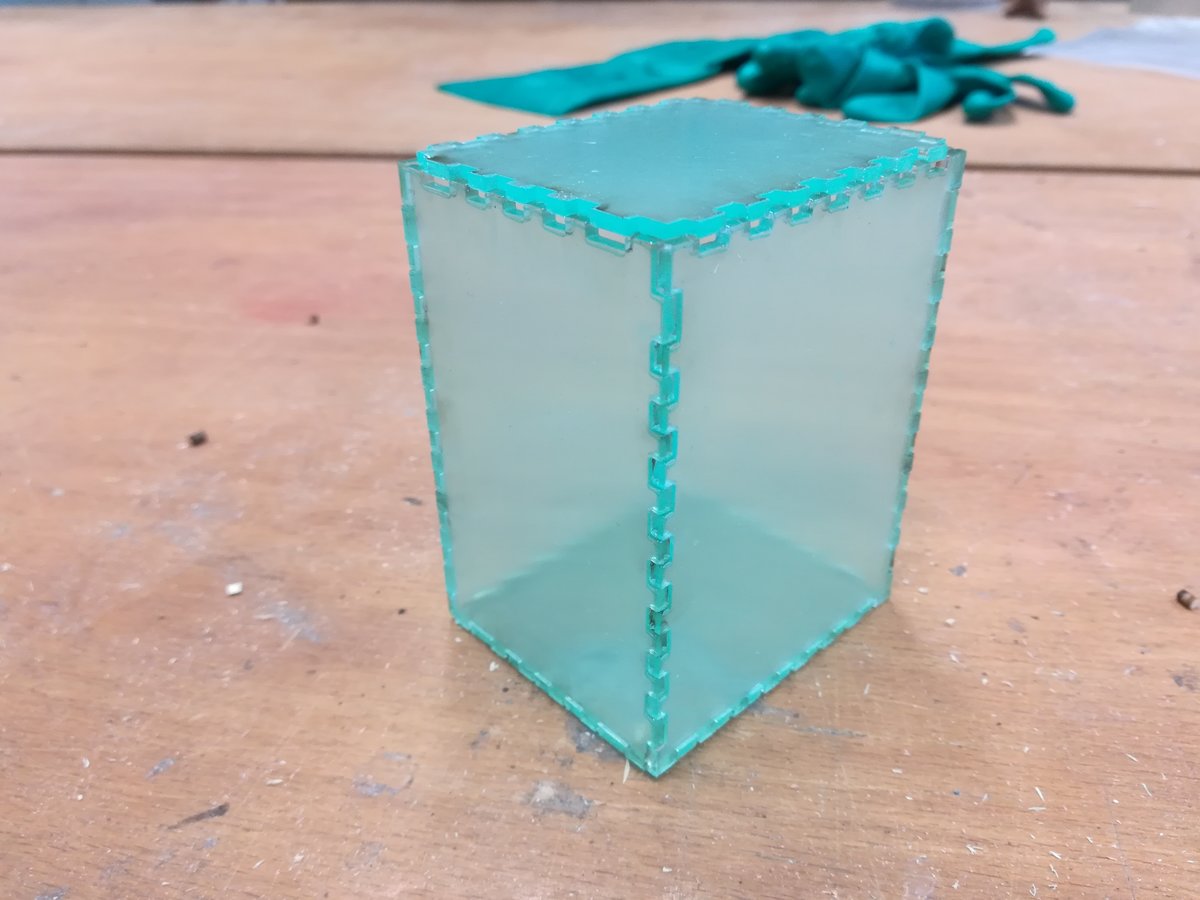
- A laser-cut box of plexiglass
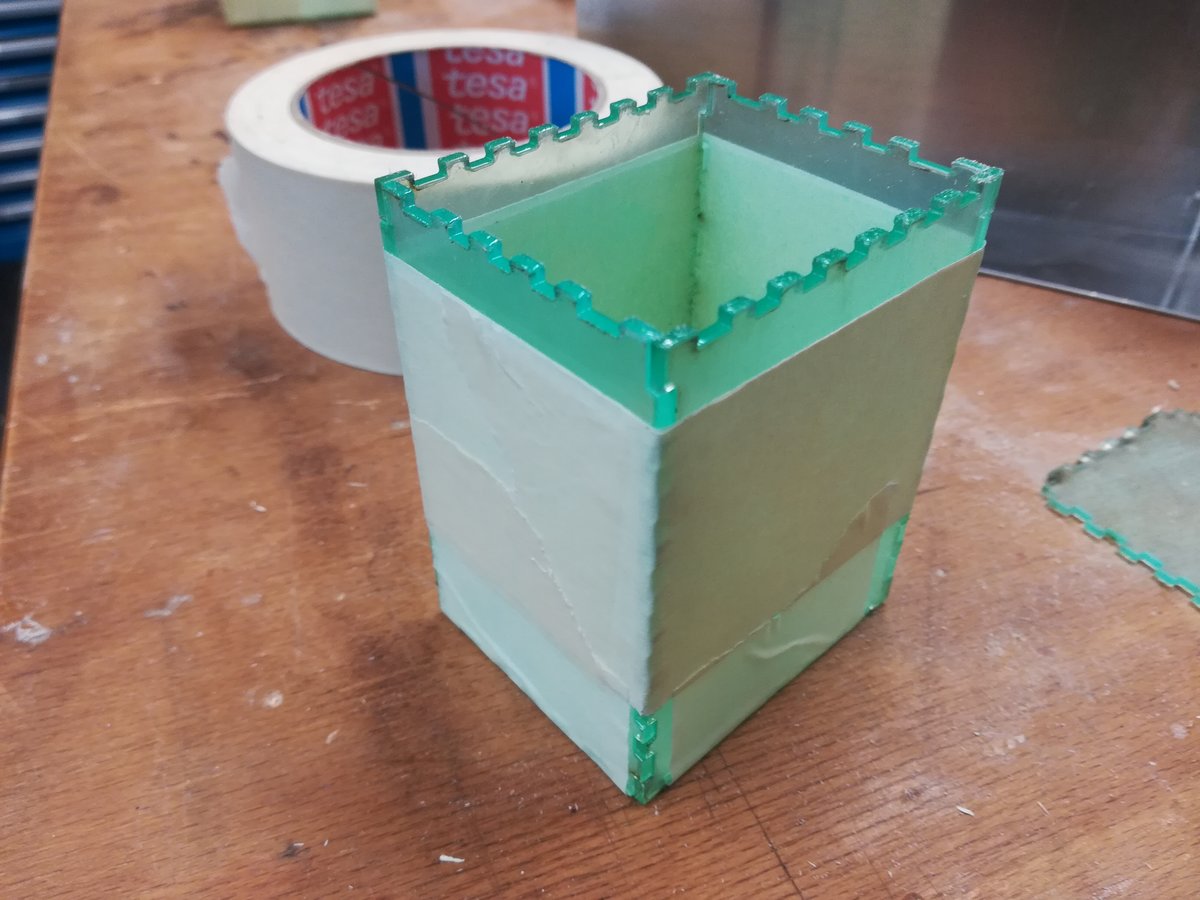
- Tape to close leaks in the box
- Some dough to fill half of the box
- Wax, to create the replica of my figure
Making a mold to replicate an object
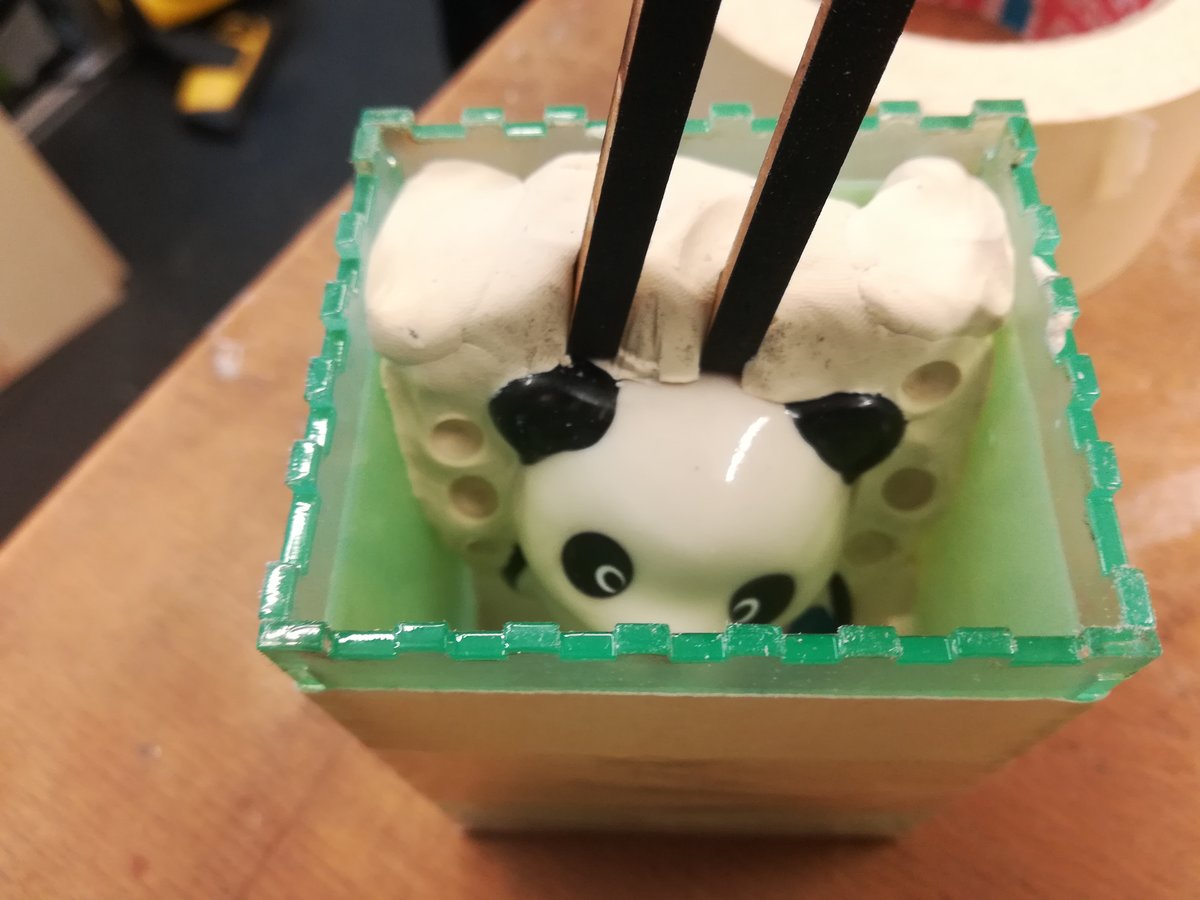
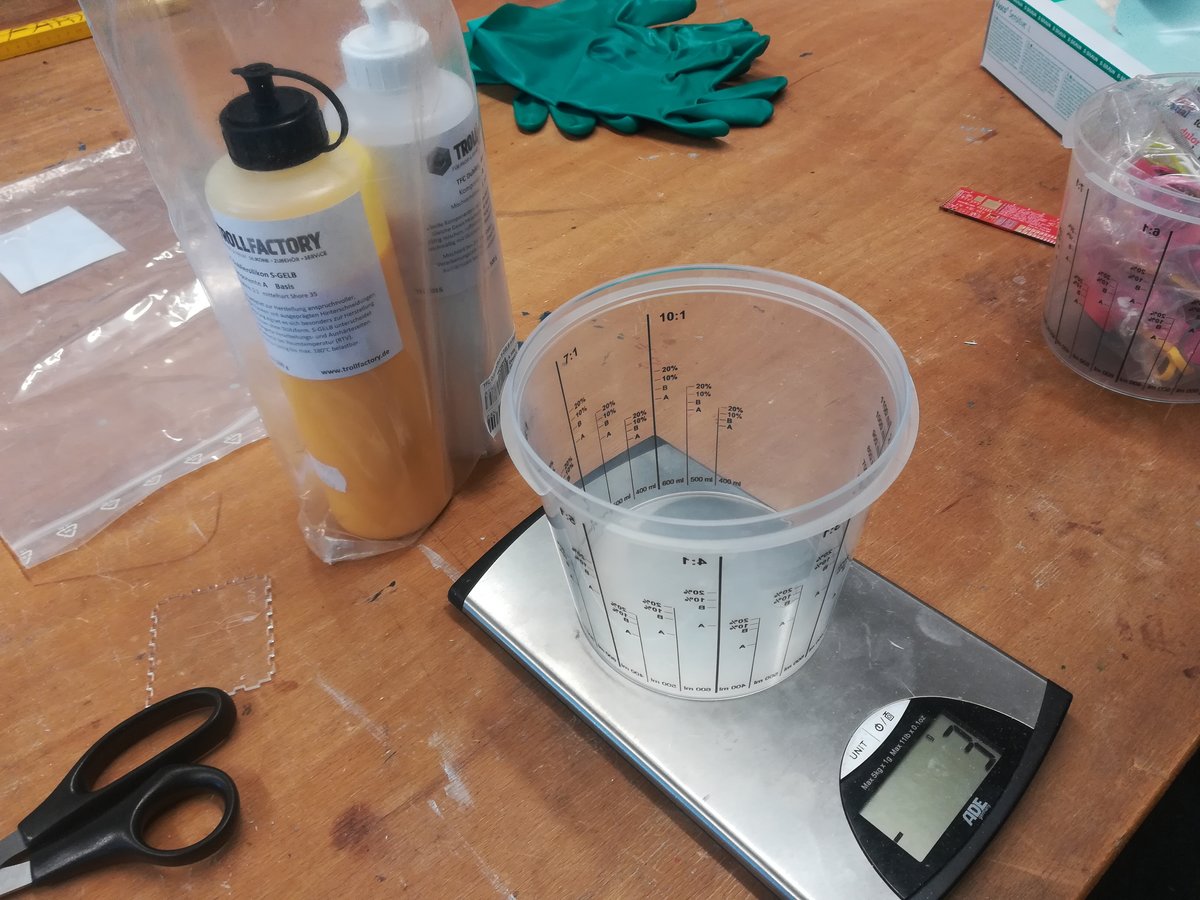
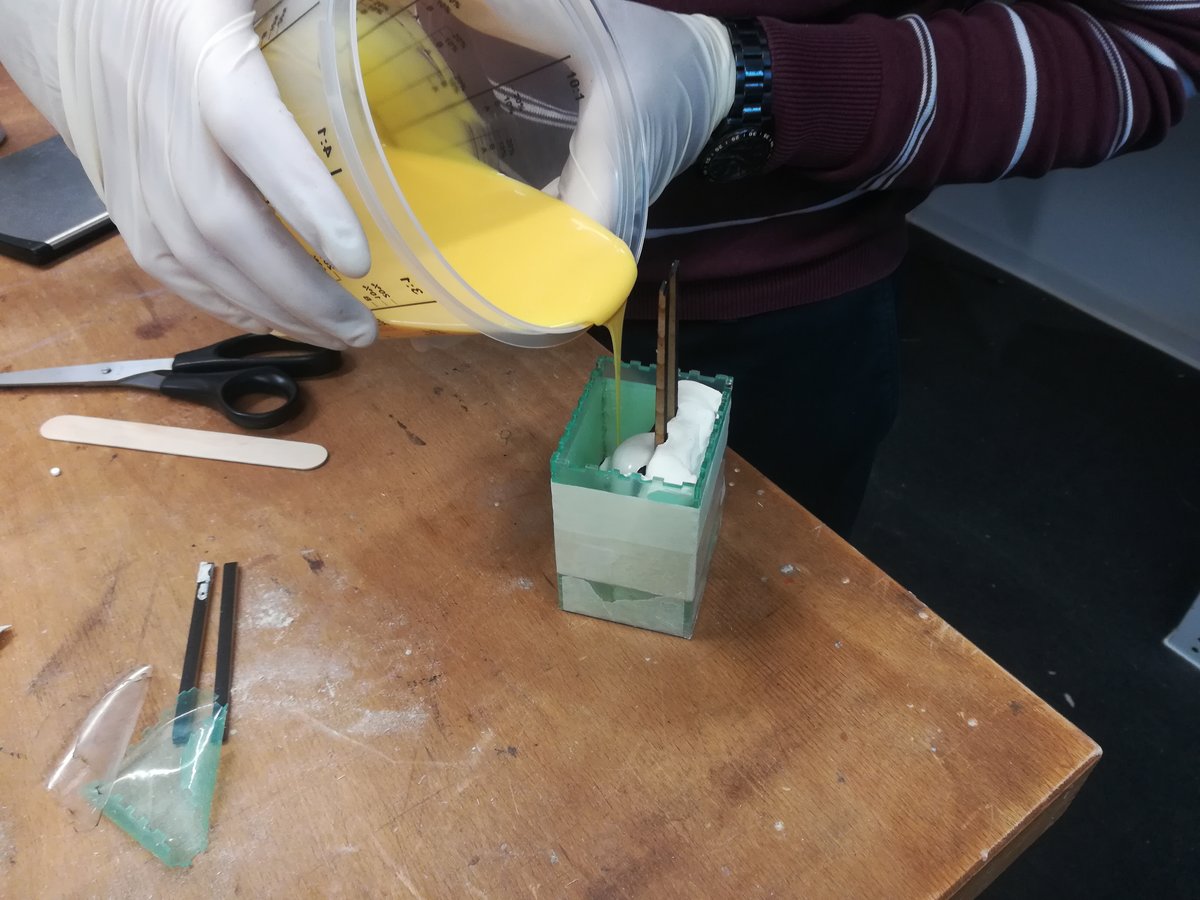
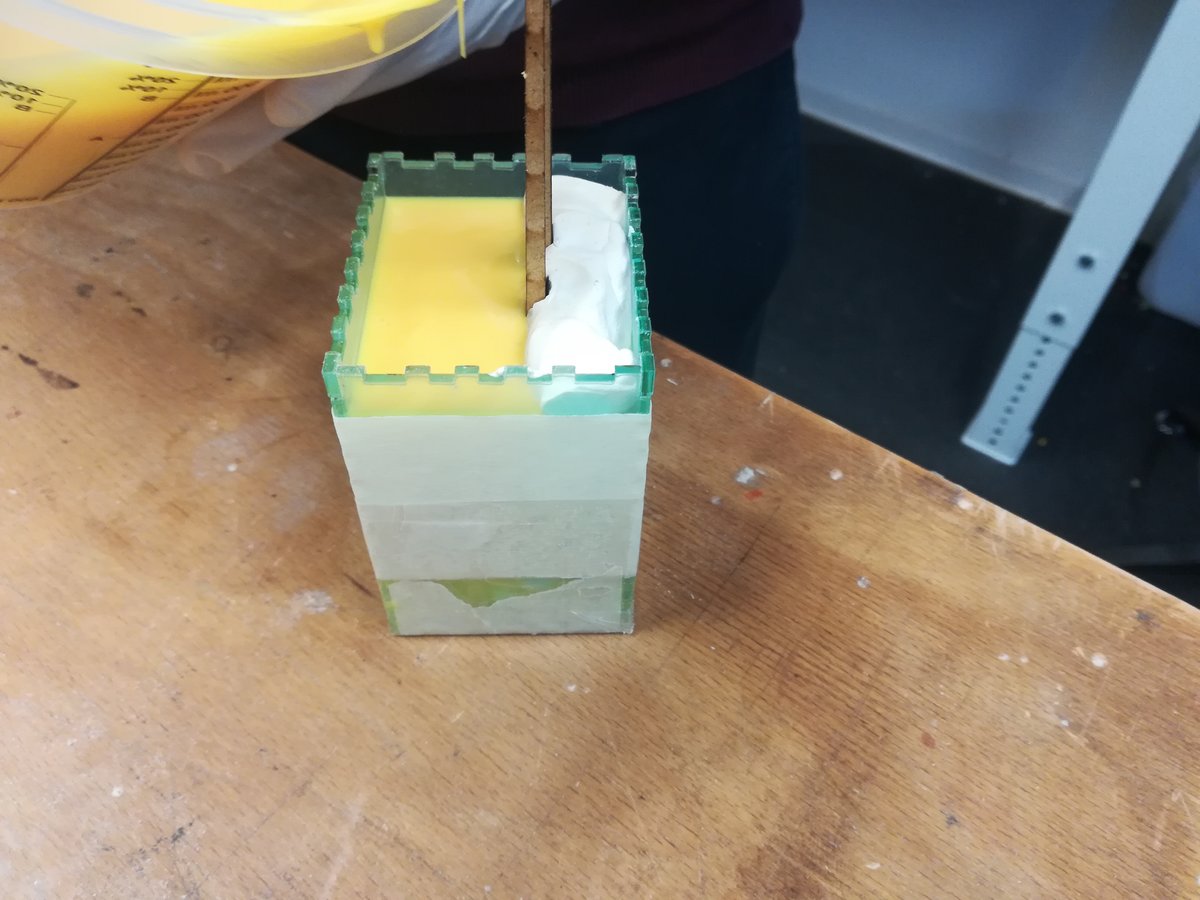
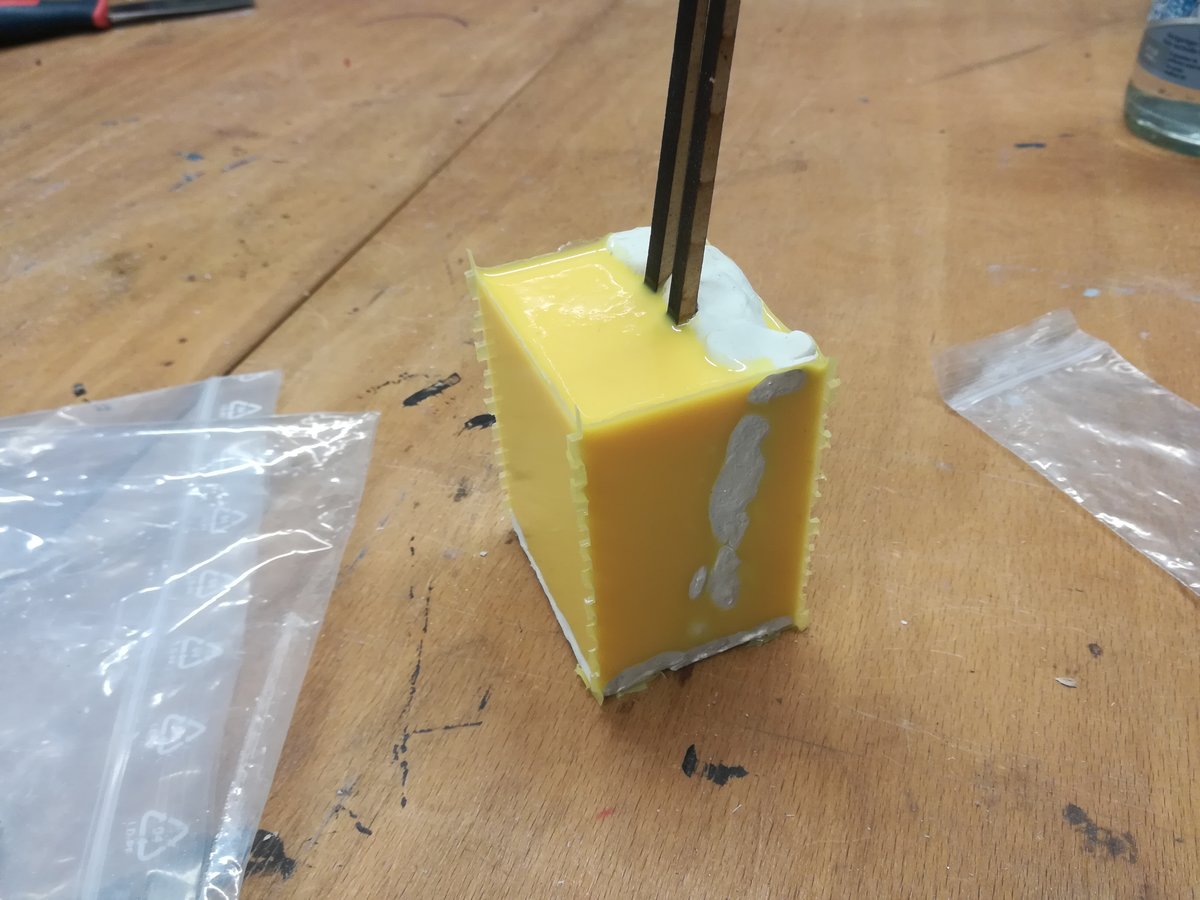
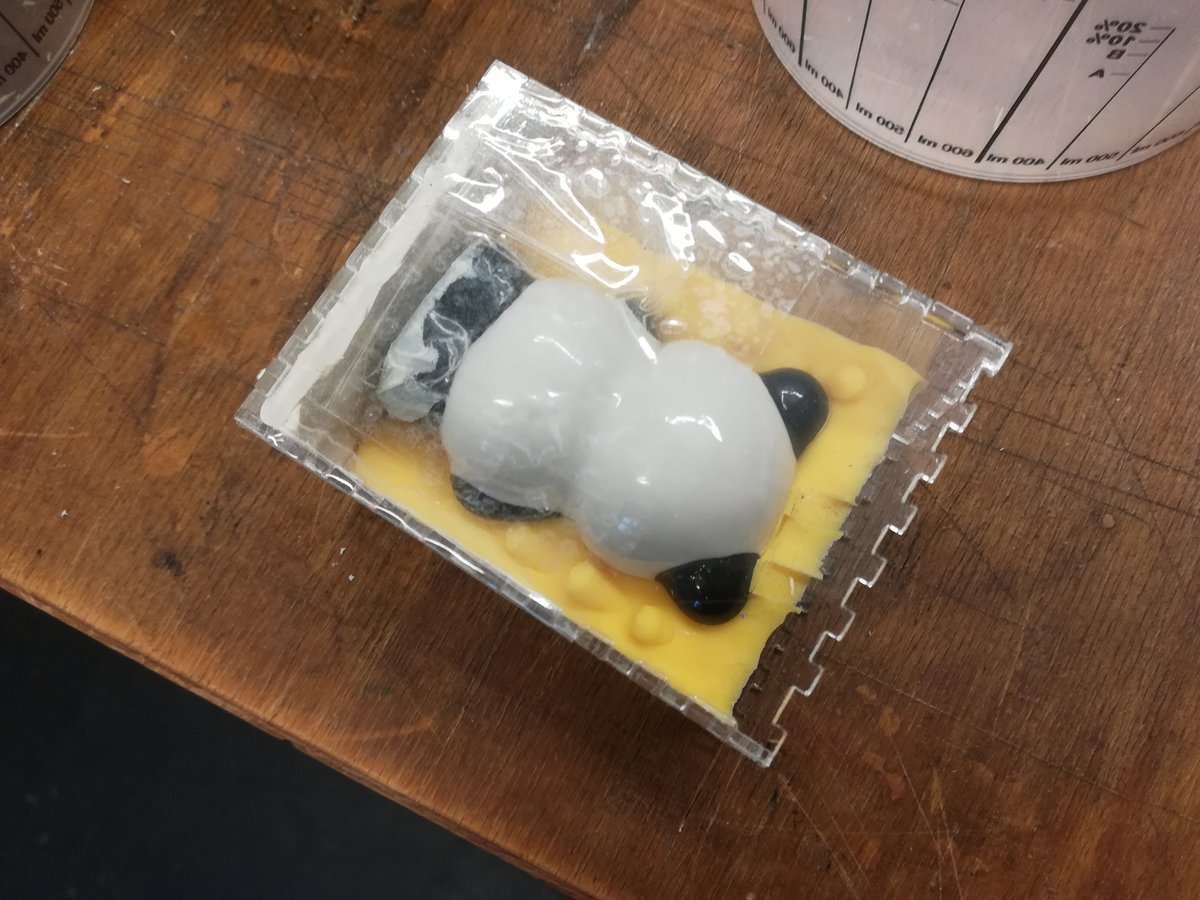
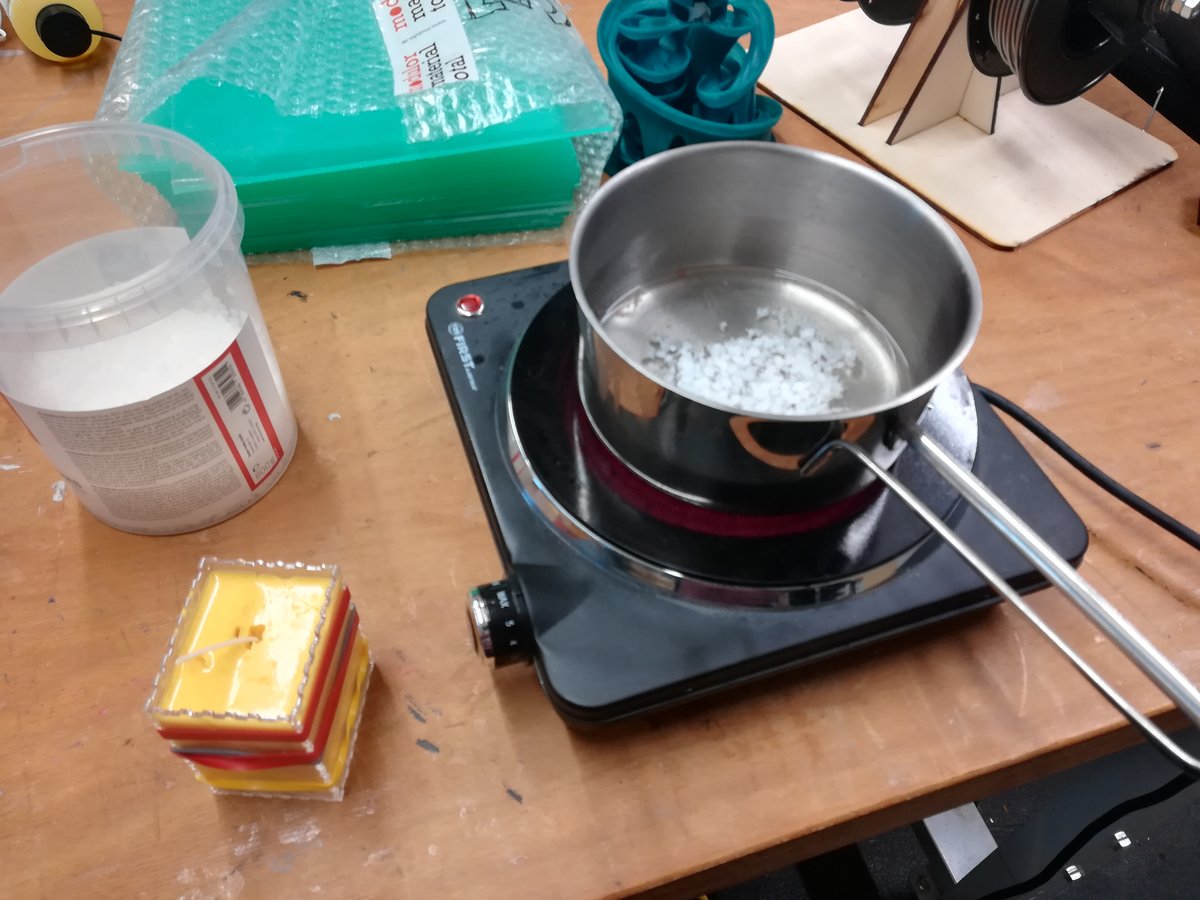
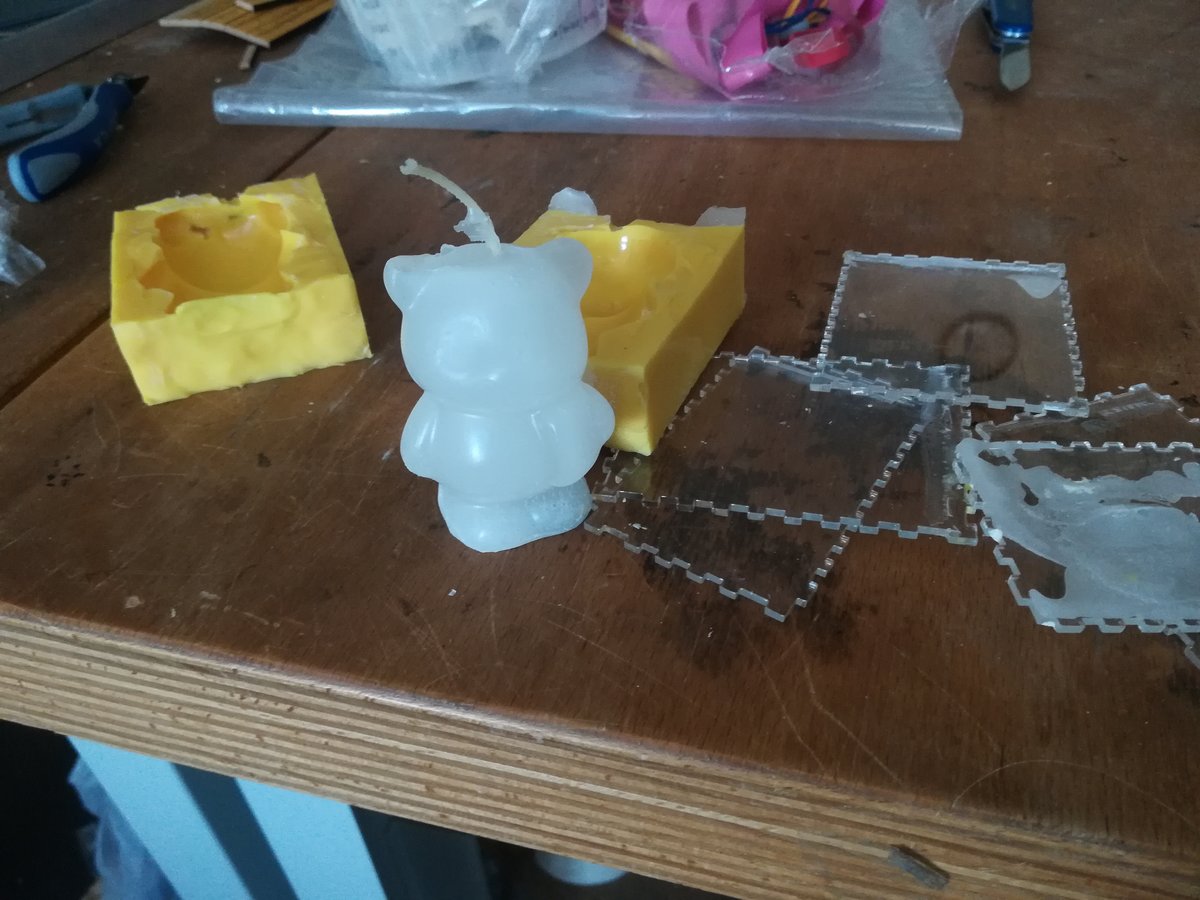
The first technique creates a mold from an existing object. First, I used the laser cutter to make a box out of plexiglass. The SVG file for the box was created by MakerCase, which is a very handy online tool that automatically generates vector graphics for use with a laser cutter, handling varying sizes, joints, and laser cutter parameters. Then I put the figure in the box and filled one half with dough; the other half is filled with two-component silicone. It's important to make sure that the box is free of leaks, otherwise the silicone will create a huge mess. Additionally, it is helpful to indent the dough a little in a couple of places, to ensure a proper fit between both parts of the mold. After I sealed the sides of my box with some tape, I mixed some silicone and poured it in the free half of the box. The silicone takes about three hours to solidify, so I went home and called it a day.
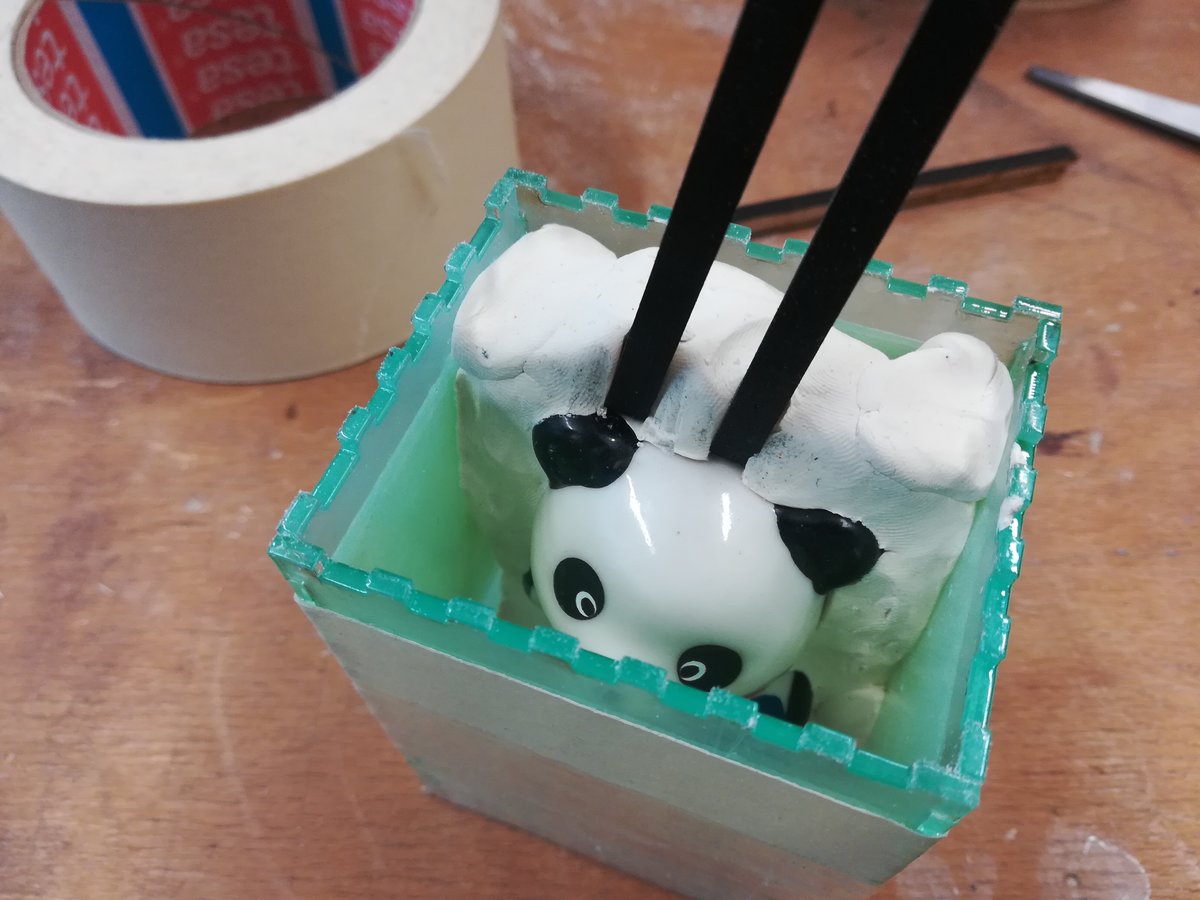
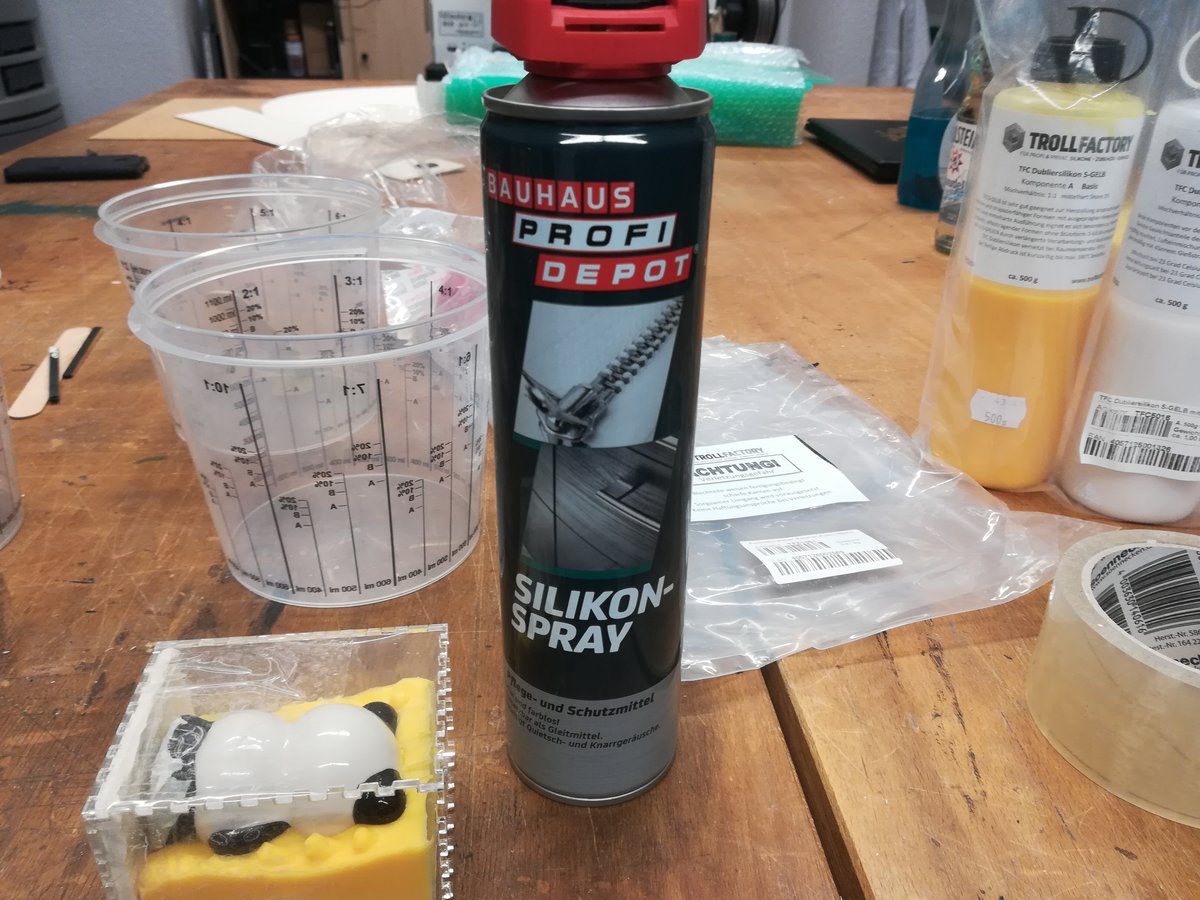
The next day, I opened the box and removed the half filled with dough. Then I mixed silicone for the other half of the mold. Before pouring it into the empty half of the box and waiting for another three hours, I sprayed the inside of the box with silicone spray to avoid the two halves forming a single block of silicone. But apparently, I did not use enough of the spray, because the halves did end up as one single block.
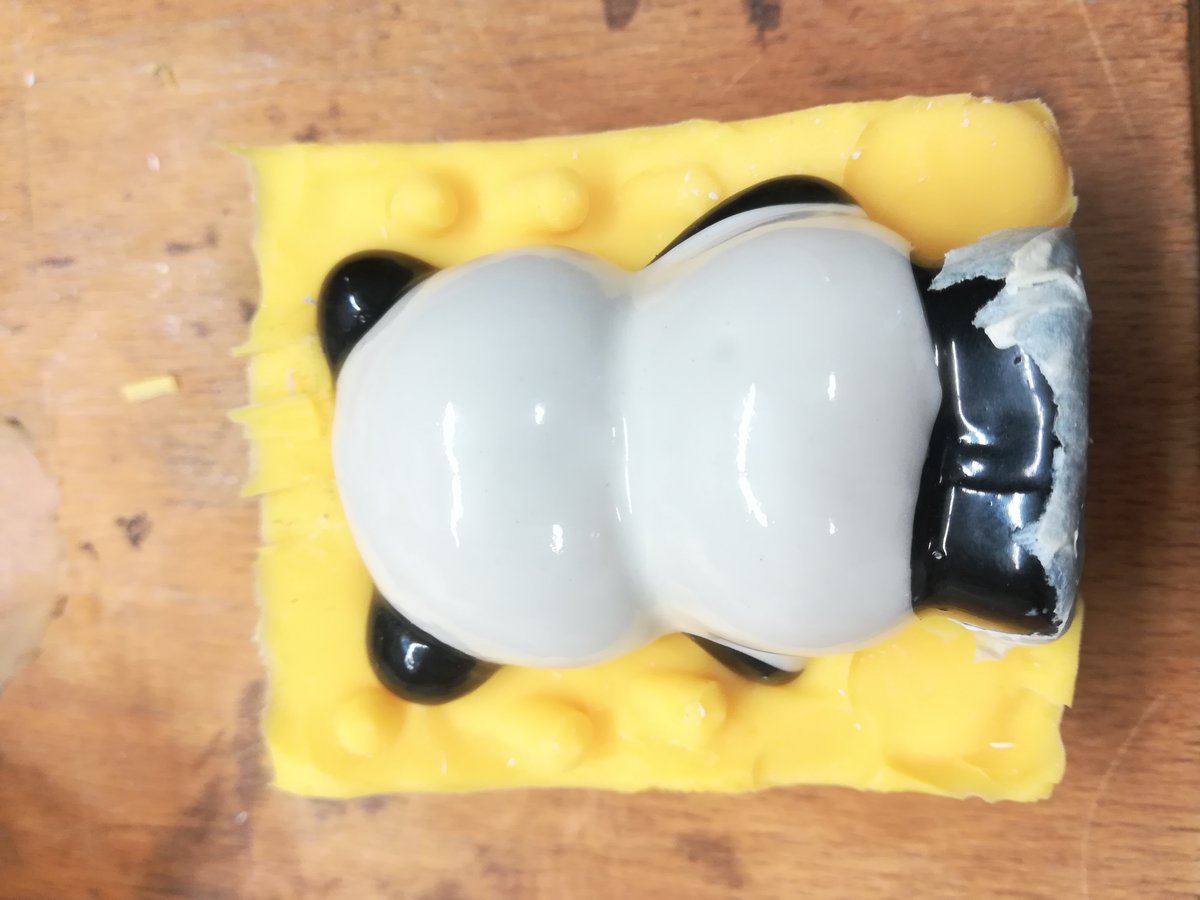

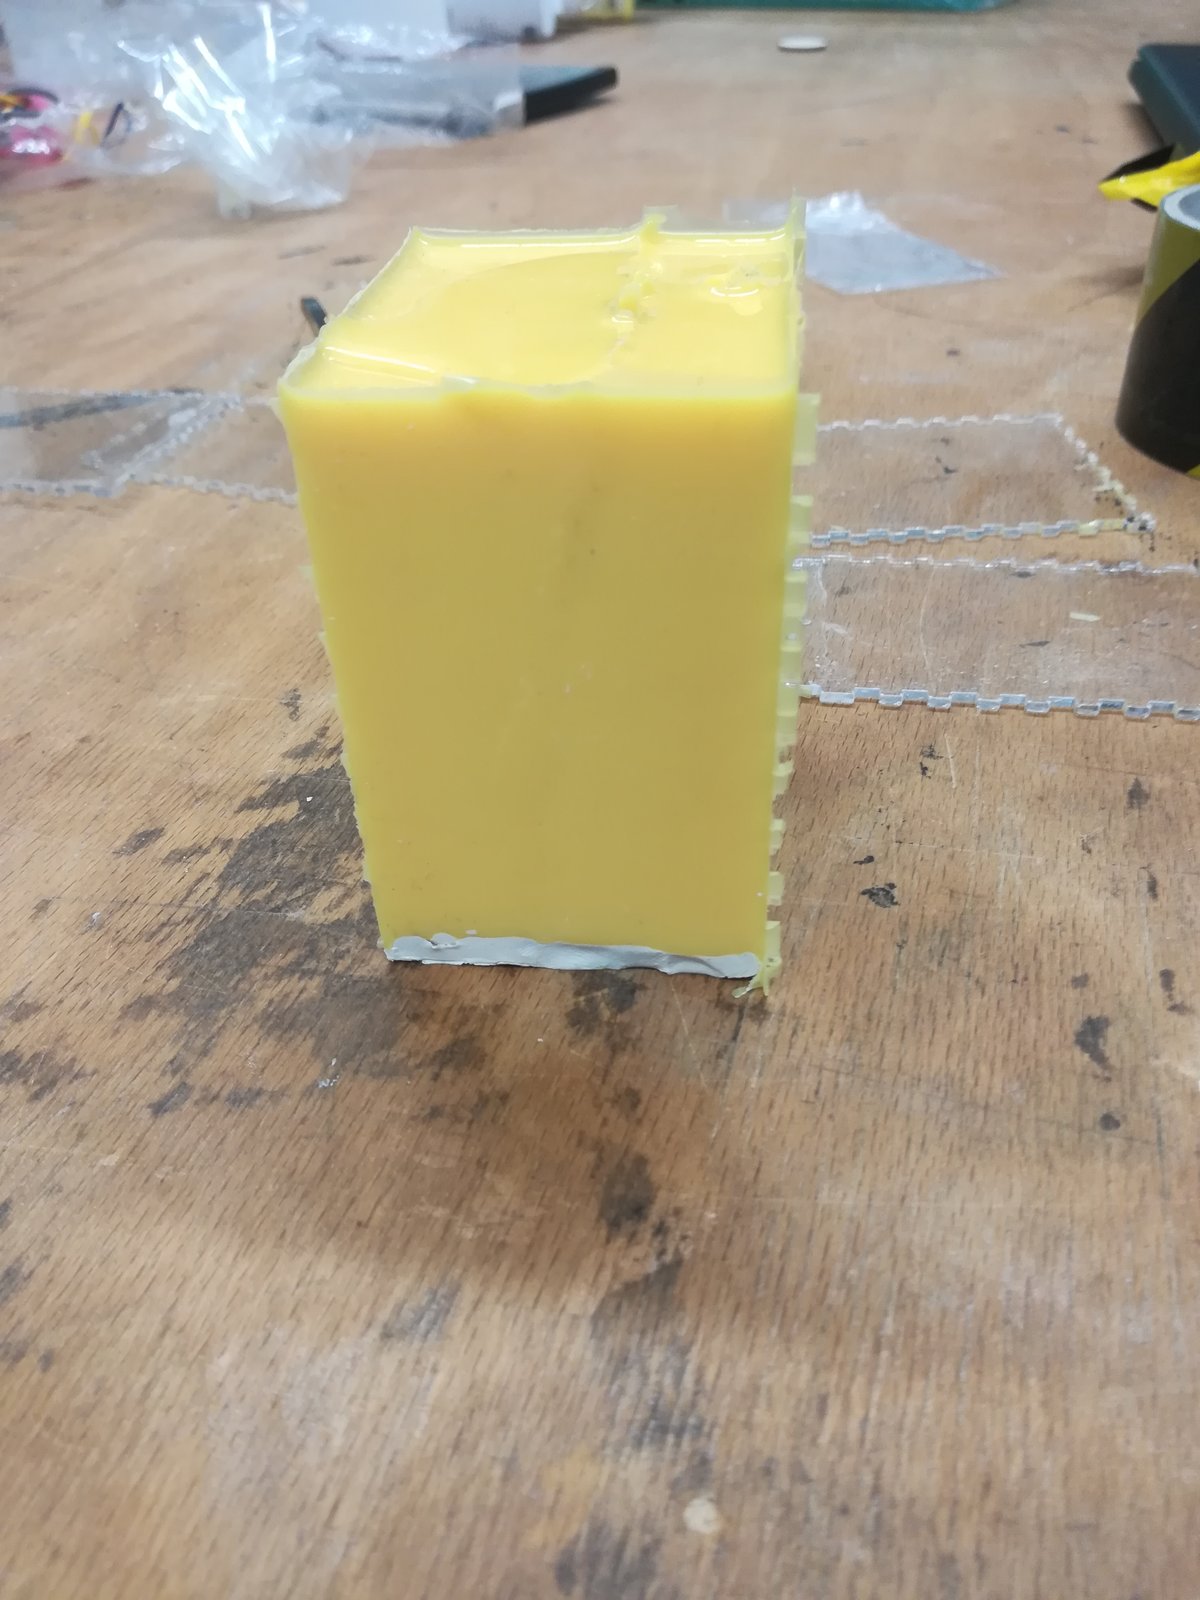
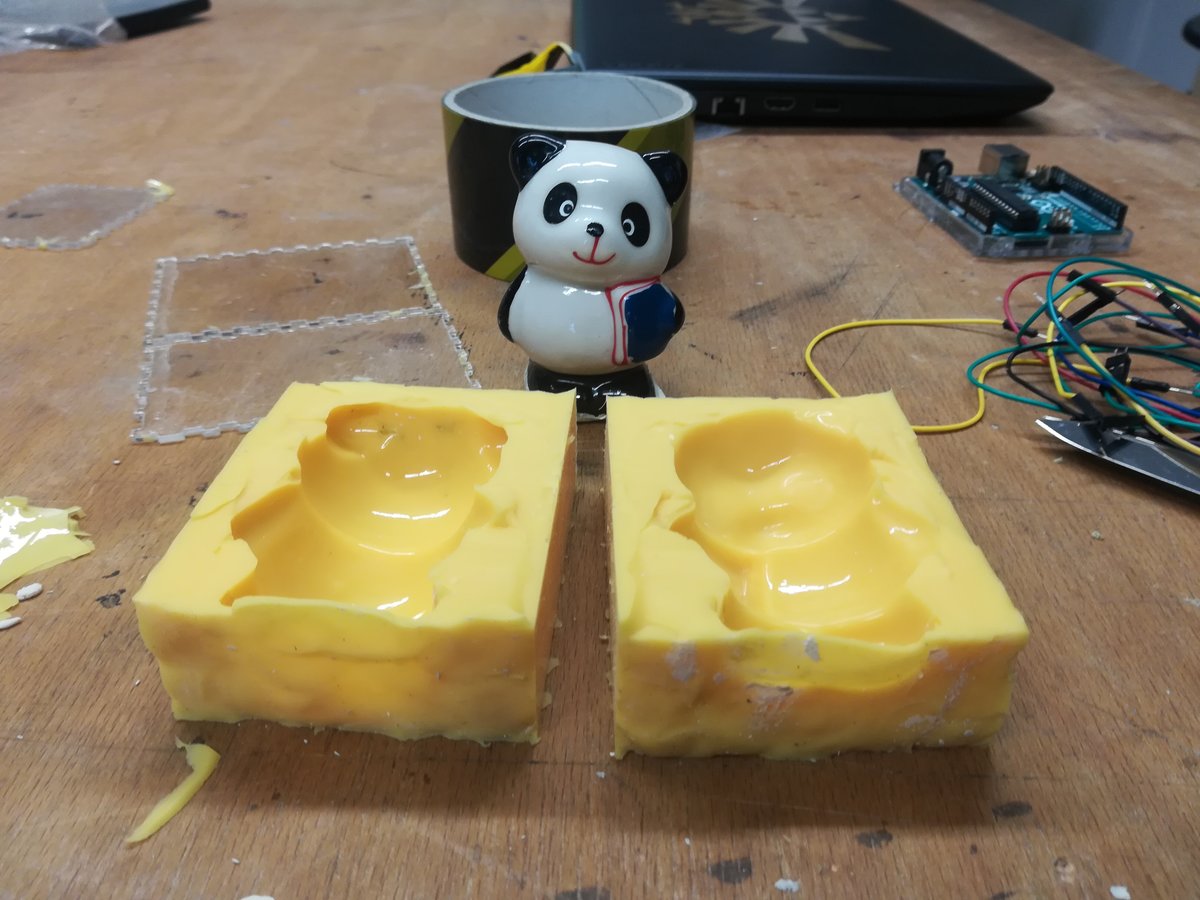
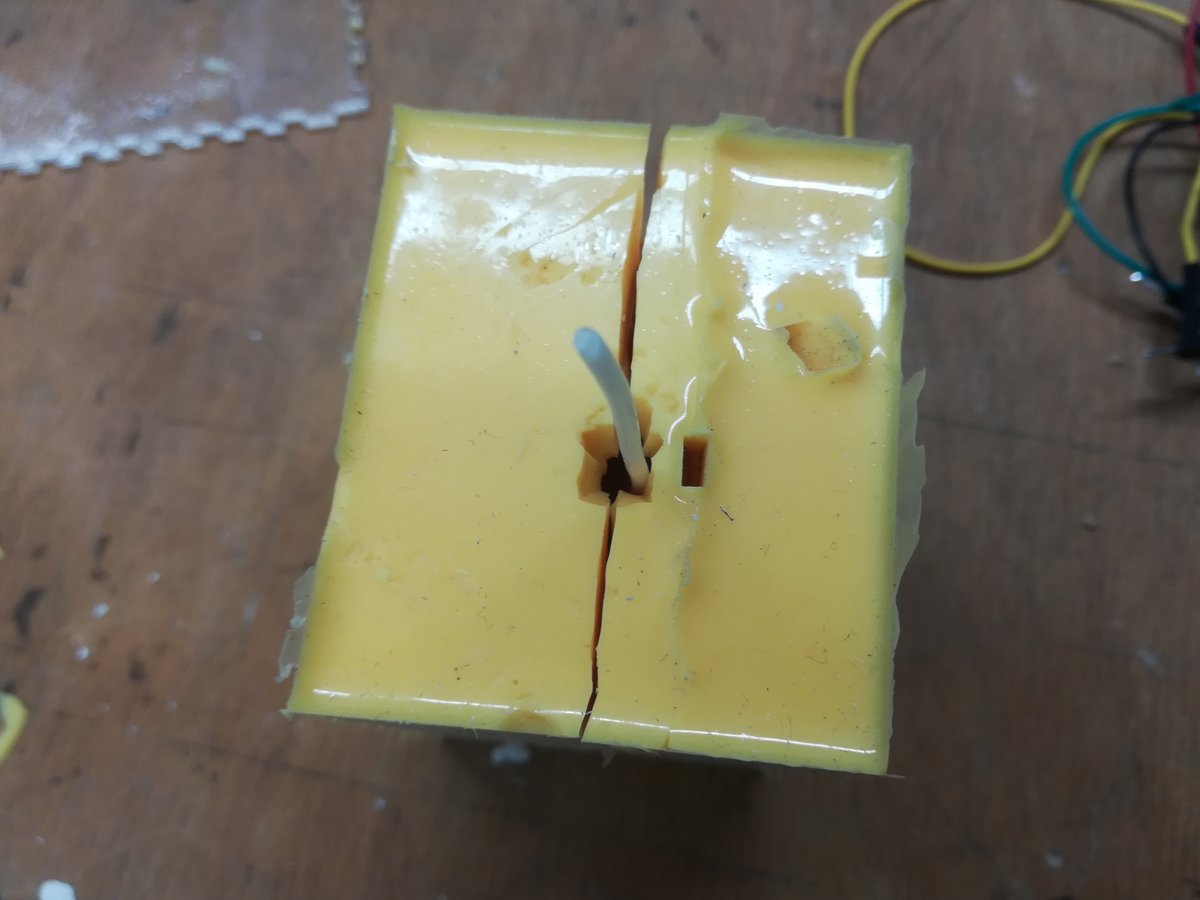
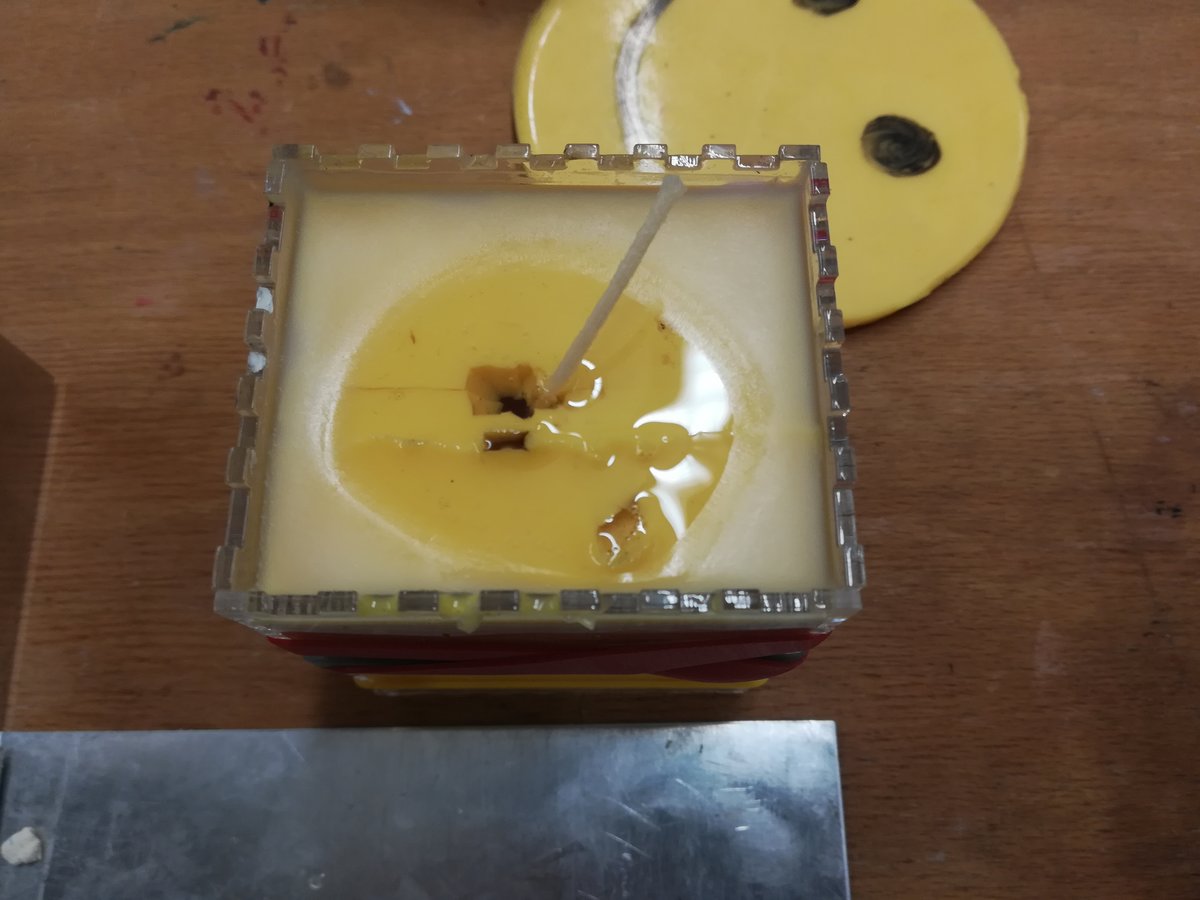
I had to open the mold with a knife (carefully, I didn't want to destroy the figure). The I could insert a wick into the mold and heat some wax to make a candle. Pouring the wax into the mold was a little difficult because its air inlet was right next to the hole for the wax and it clogged up a little. Then the wax had to cool for some time. The candle turned out pretty nice, but there are lots of bubbles enclosed in the bottom and there is a little part of the ears missing, probably because I did not pour enough wax.
Milling a mold to create a new object
When one wants to replicate an existing object, the above method of creating a mold is fine. However, often a mold for a totally new object is needed, so there is obviously no way to make it this way. In this case, one can design the mold with the help of CAD tools and mill the mold with a CNC mill. Or, alternatively, one might mill a prototype of the object out of a material that's easily machinable, and use this to create the mold with the above process.
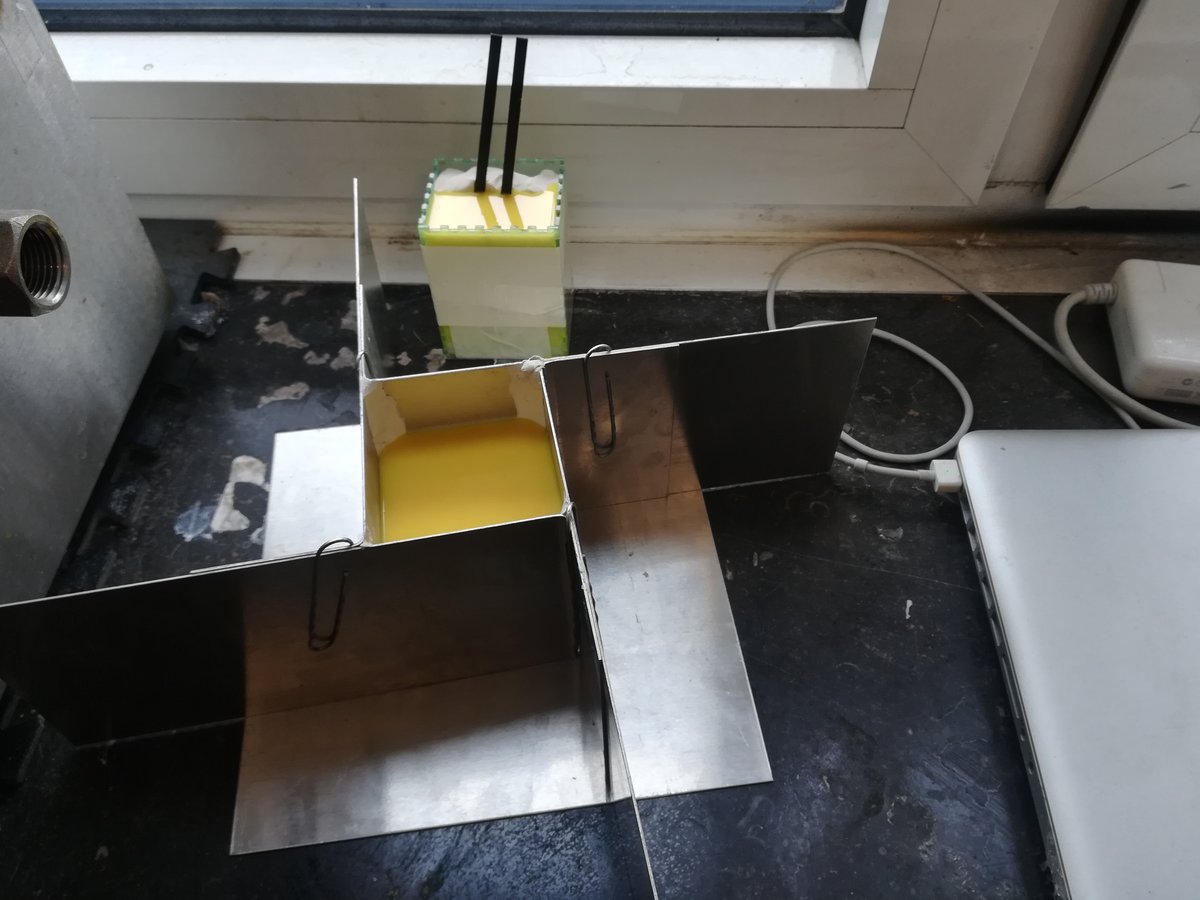
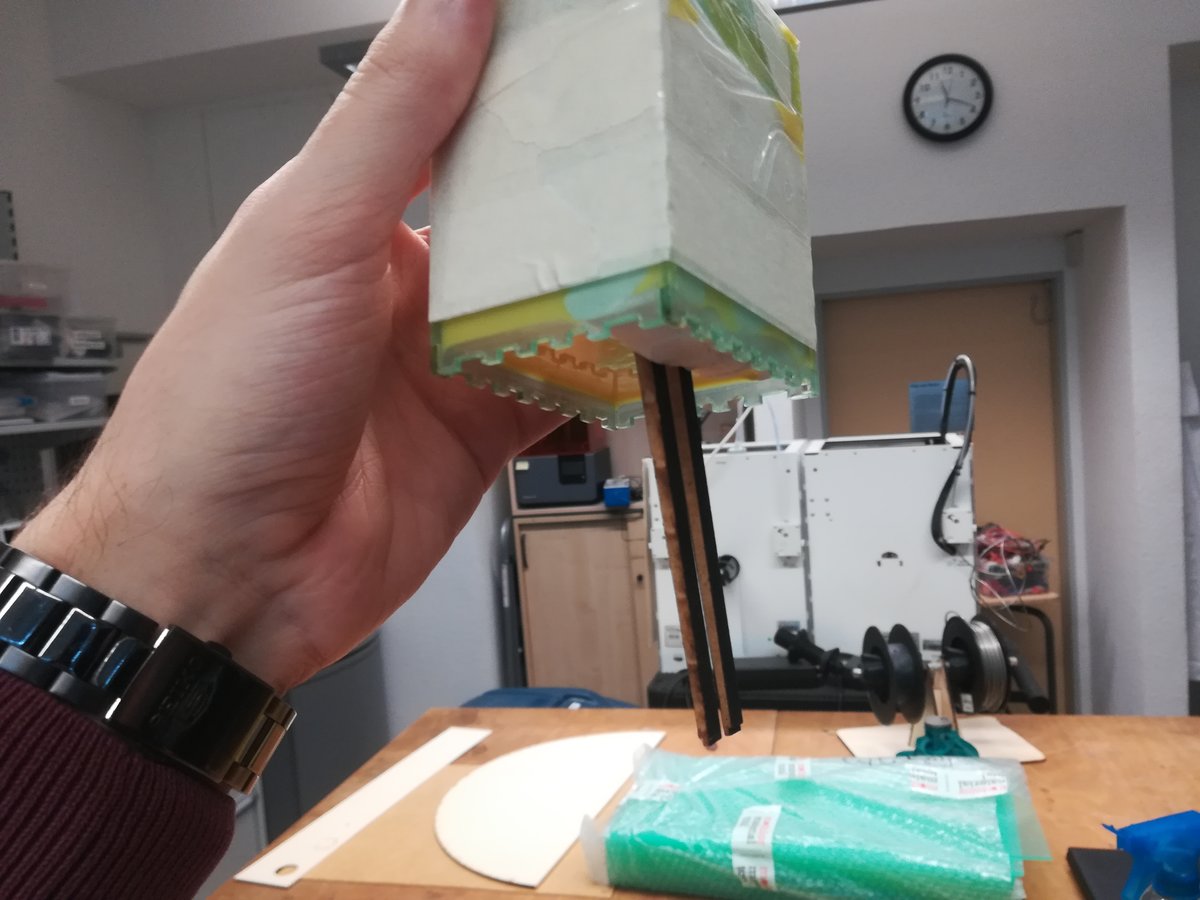
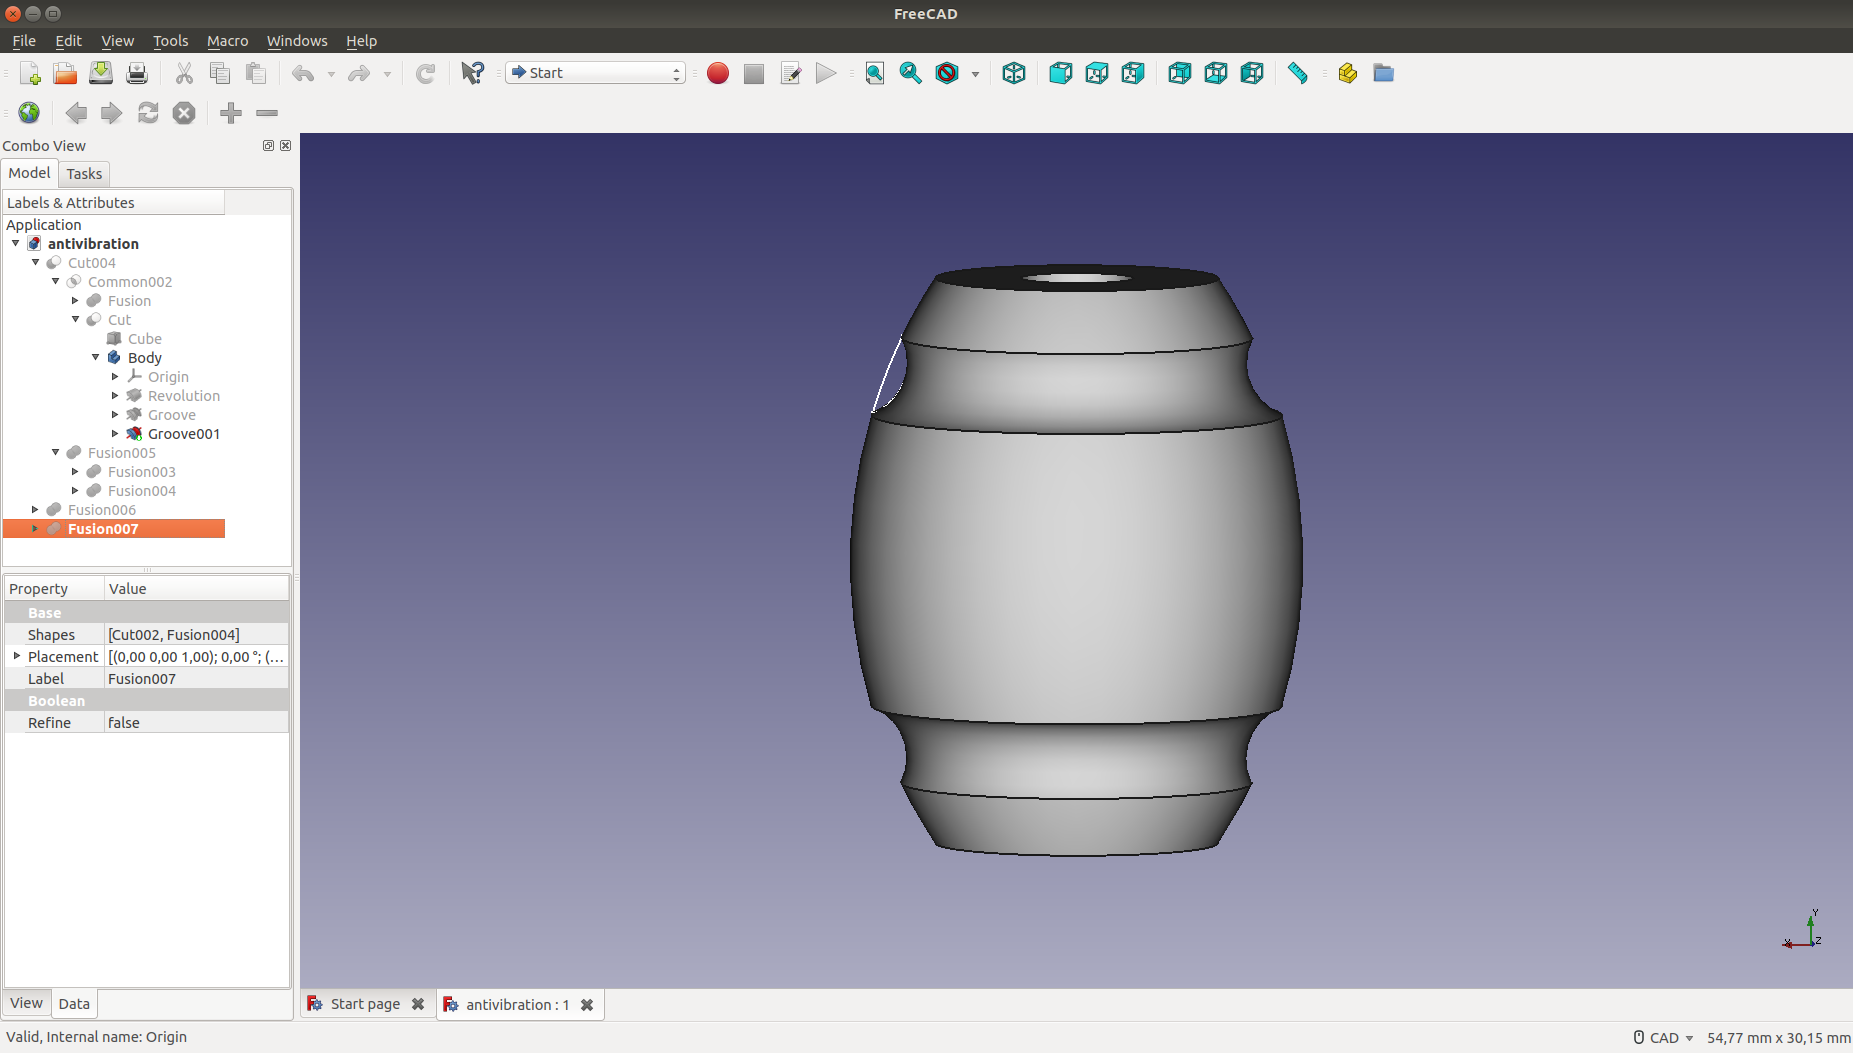
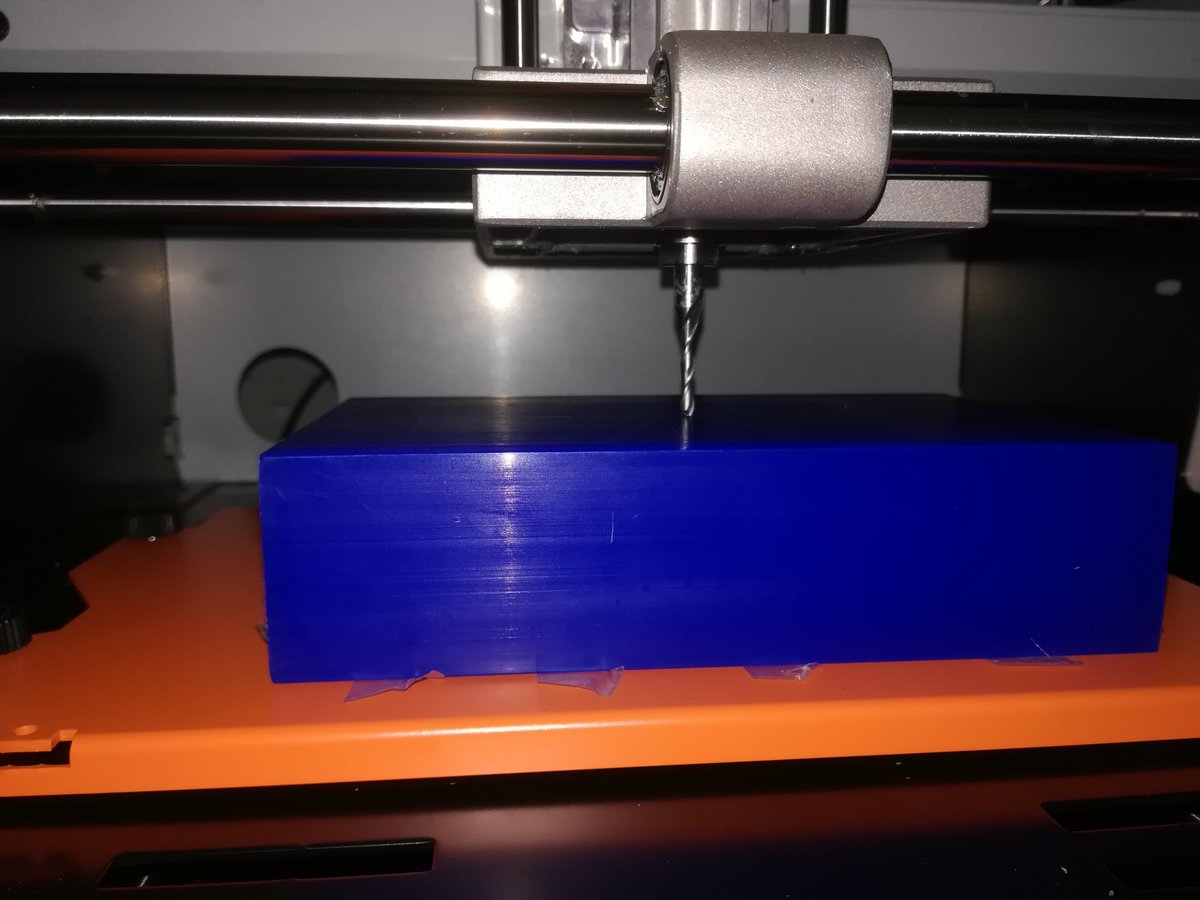
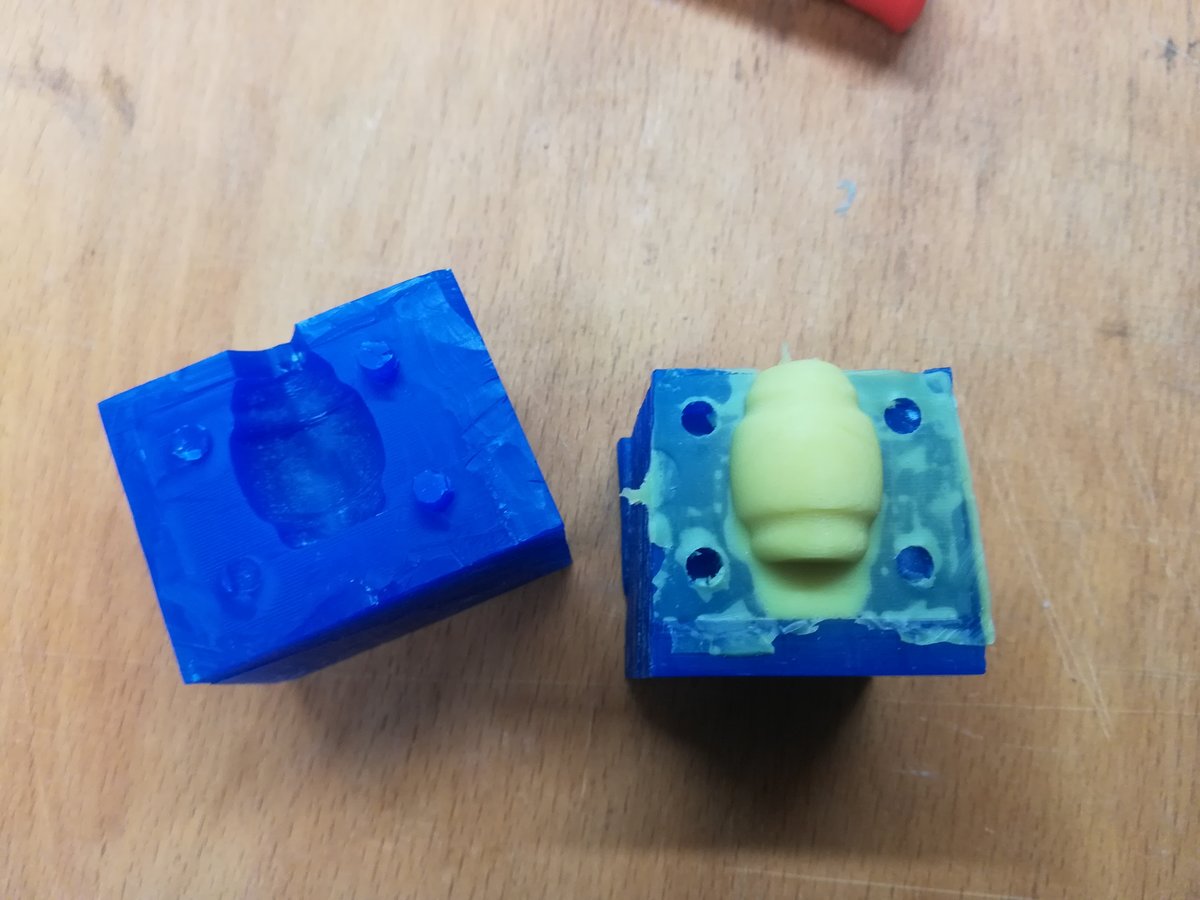
I designed a small vibration damping element in FreeCad that was intended for my final project. In fact I did mill the cast for the damper in this assignment, but in the end, I didn't use it in my final project. I created the damper design by rotating a sketch in FreeCAD. Then I created a cube on its left and right side each and subtracted the object from the cubes, resulting in two shapes that form a mold for the object. Then I added pins and pockets that hold both sides together.
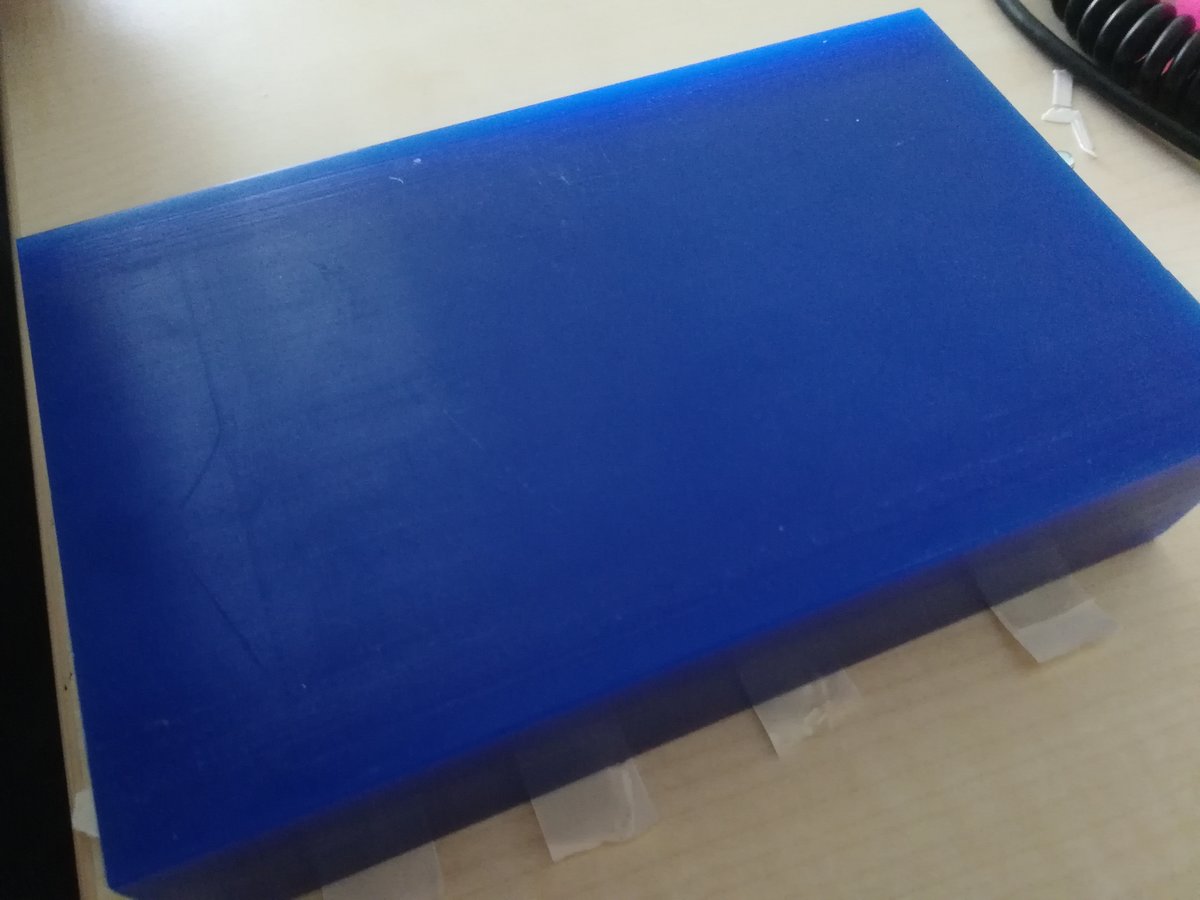
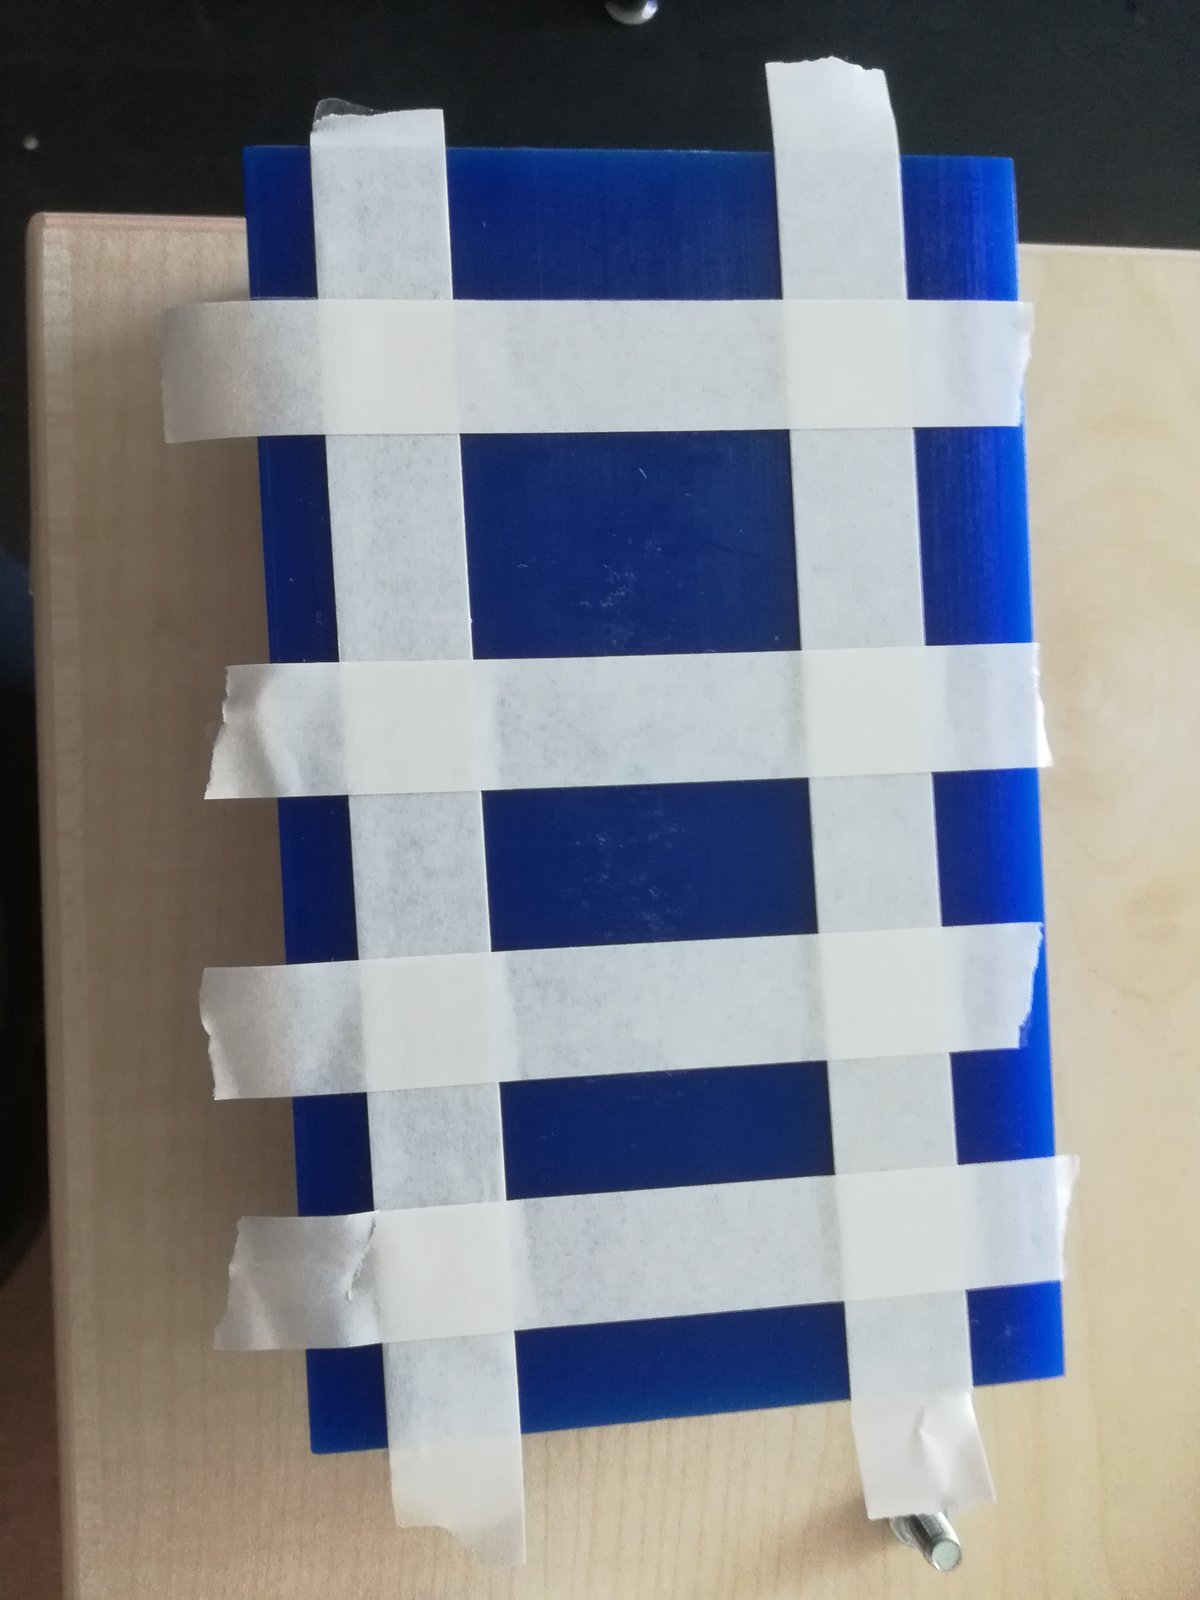
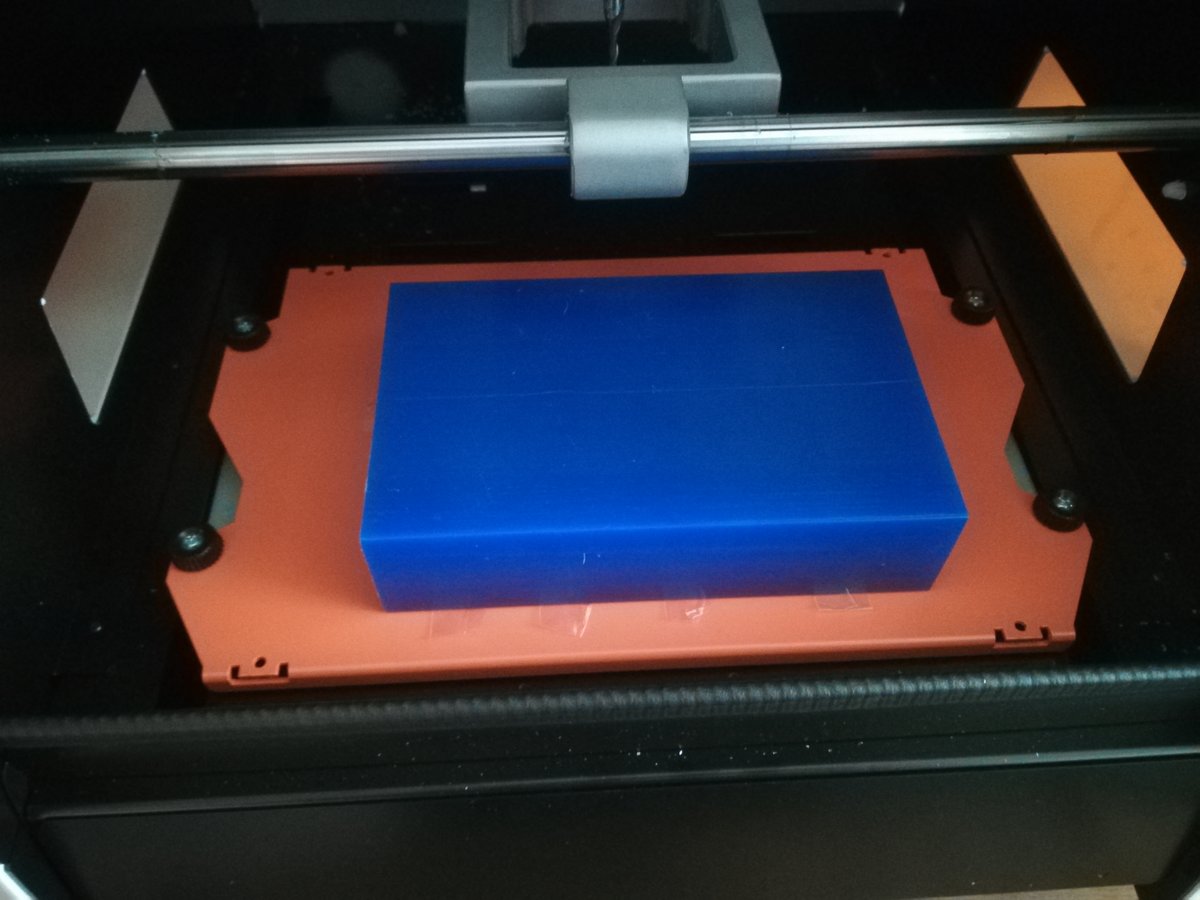
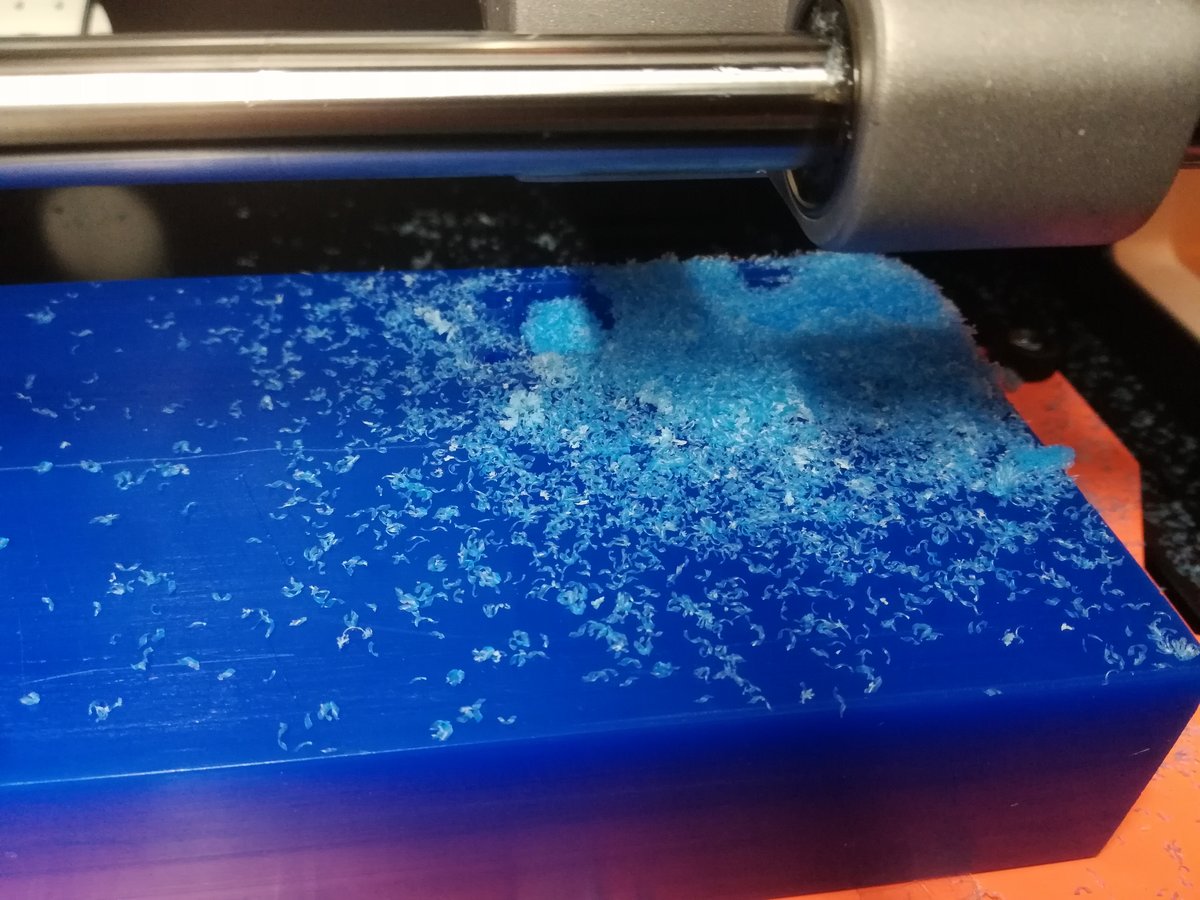
To mill the mold, I used our labs new Roland CM-20 CNC mill with a 3mm tool. There are three milling steps involved: first, flattening the material surface, then rough cutting of the form, and finally fine cutting to give the surface a nice smooth finish. The mold is made out of machinable wax.
After removing the molds from the wax block, I mixed silicone (the same as I used for my other mold and the same that we used in the group assignment) to cast the vibration damper. The result looked nice enough, but I didn't have the time to integrate it with my final project.

All in all, this approach is a nice way to make complex molds for complex objects. In particular, it's easy to make both solid and flexible molds. For solid molds, just mill them out of a solid, machinable material; for flexible molds, mill the negative of the mold, and cast the actual mold with a flexible material (like silicone) with the help of this "mold of a mold".