18. Wildcard week
Assignment for this week
Design and produce something with a digital fabrication process (incorporating computer-aided design and manufacturing) not covered in another assignment, documenting the requirements that your assignment meets, and including everything necessary to reproduce it.
Composites
A composite material can be defined as a combination of a matrix and a reinforcement, which when combined gives properties superior to the properties of the individual components. In the case of a composite, the reinforcement is the fibers and is used to fortify the matrix in terms of strength and stiffness. The reinforcement fibers can be cut, aligned, placed in different ways to affect the properties of the resulting composite. The matrix, normally a form of resin, keeps the reinforcement in the desired orientation. It protects the reinforcement from chemical and environmental attack, and it bonds the reinforcement so that applied loads can be effectively transferred.
New material formed may be preferred for many reasons. Common examples include materials which are stronger, lighter, or less expensive when compared to traditional materials. More recently, researchers have also begun to actively include sensing, actuation, computation, and communication into composites, which are known as Robotic Materials.
The term composite can be used for a multitude of materials such as-
- Carbon fiber-reinforced polymers (CFRP)
- Glass-fiber-reinforced polymers (GFRP)
- Aramid products (e.g. Kevlar)
- Bio-derived polymers (or biocomposites as they are sometimes referred)
GFRP
I decided to work on Glass fiber-reinforced polymers because of its features. There are many advantages of GFRP over concrete and other materials which are mentioned below.
- The constituents of GFRP include high-quality corrosion resistant vinyl ester resin that increases the lifespan of a concrete structure.
- As compared with the traditional reinforcement material, GFRP rebar is ¼ the weight of steel with 2x the tensile strength of steel.
- GFRP is non-conductive to electricity and heat making it an ideal choice for facilities like power generation plants and scientific installations.
- Taking into account the long-term benefits of GFRP rebar, it is a cost-effective product as compared with epoxy-coated or stainless steel.
- It is invulnerable to chloride ions and other chemical elements.
- It can be manufactured in custom lengths, bends, and shapes.
- The installation process of GFRP rebar is very convenient coupled with its property of being easy to cut and machined.
- It is transparent to electrical field and radio frequencies
- A project reinforced with GFRP is maintenance free, enabling builders to avoid rehabilitation cost.
Safety Datasheet
First I went throught the safety datasheet of resin
Key points which I got to know from the datasheet
- The resin has no carcinogenic effects, it is inflammable and may cause skin irritation but all these hazards have precautionary measures like-
- Work in a well ventilated room
- Wear gloves
- Use safety masks
- Store at low temperatures
- Avoid dust generation during processing
- One important point mentioned in the material safety data sheet was that the catalyst and the accelerator should not be added together nor should we use the same conatainer to store or pour the two liquids. This is a flamable mixture.
Design
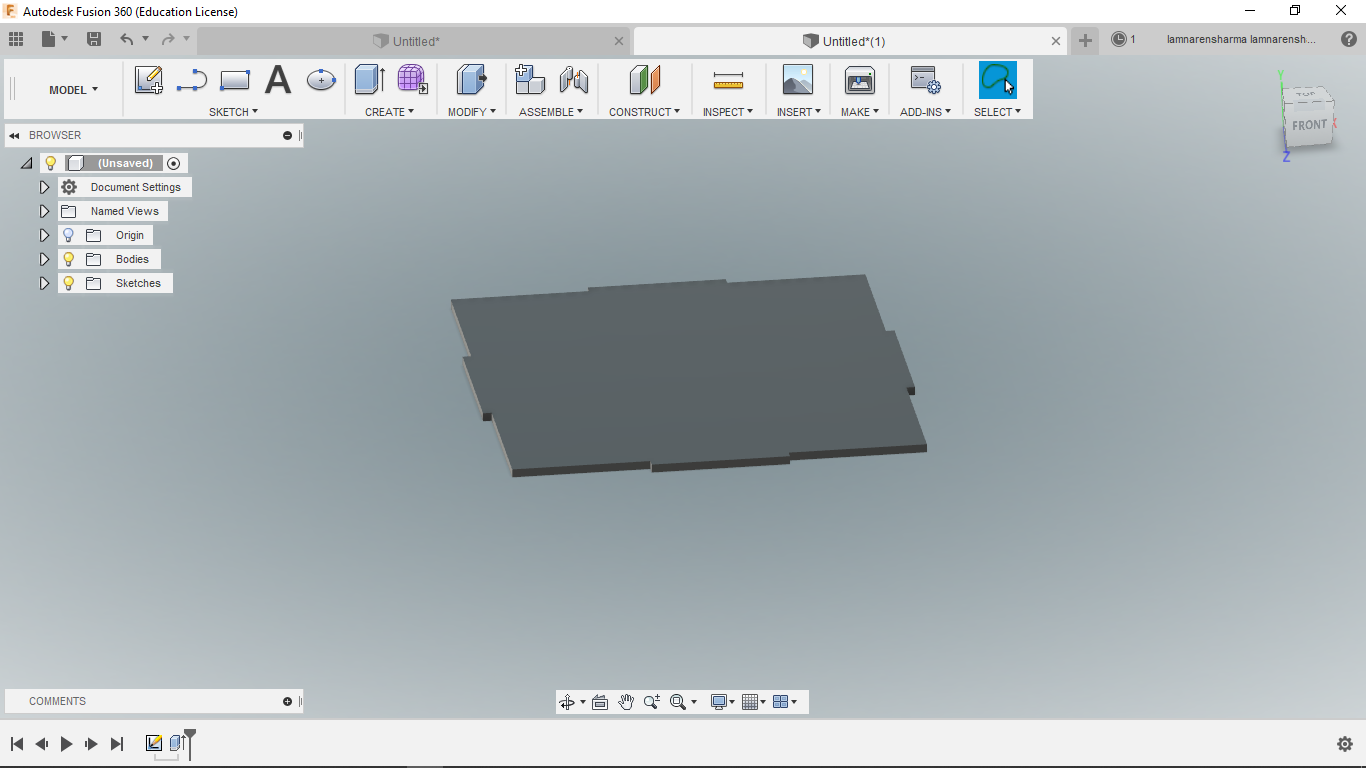
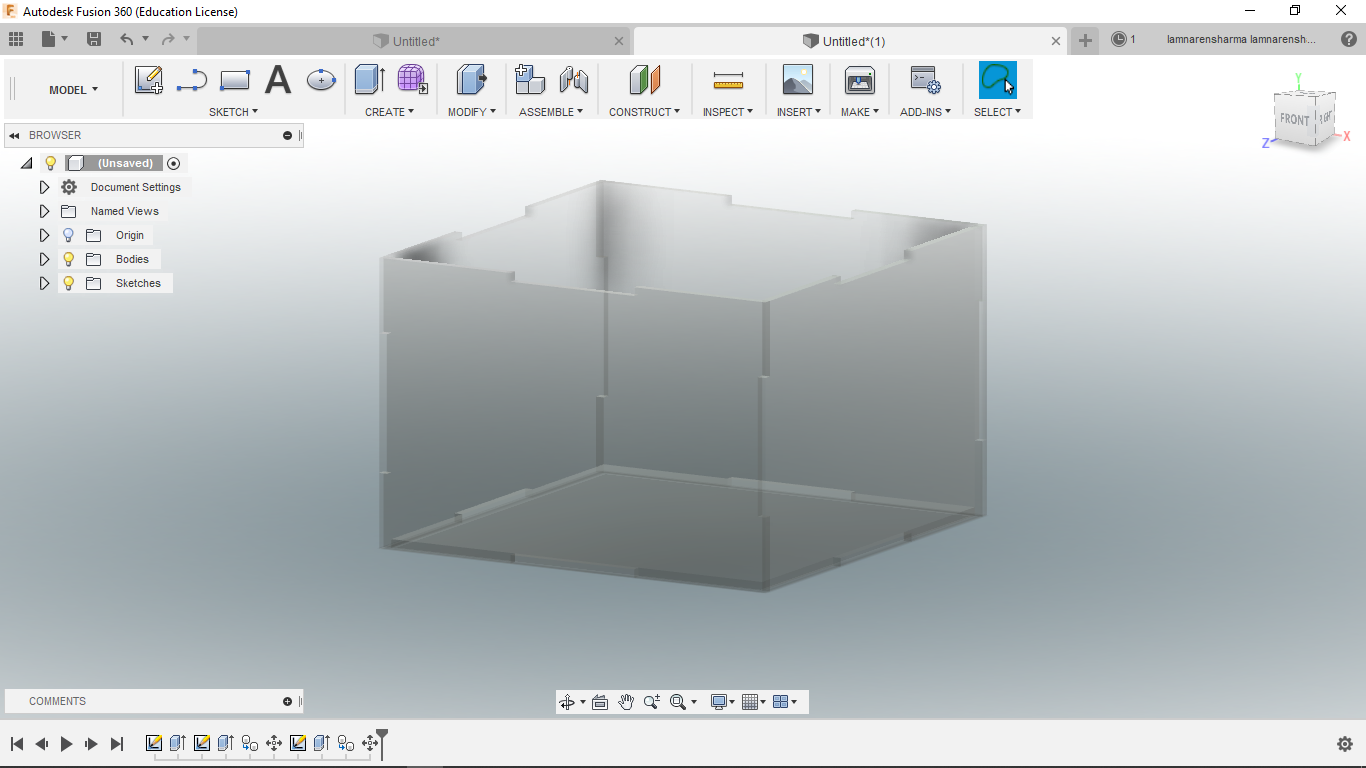
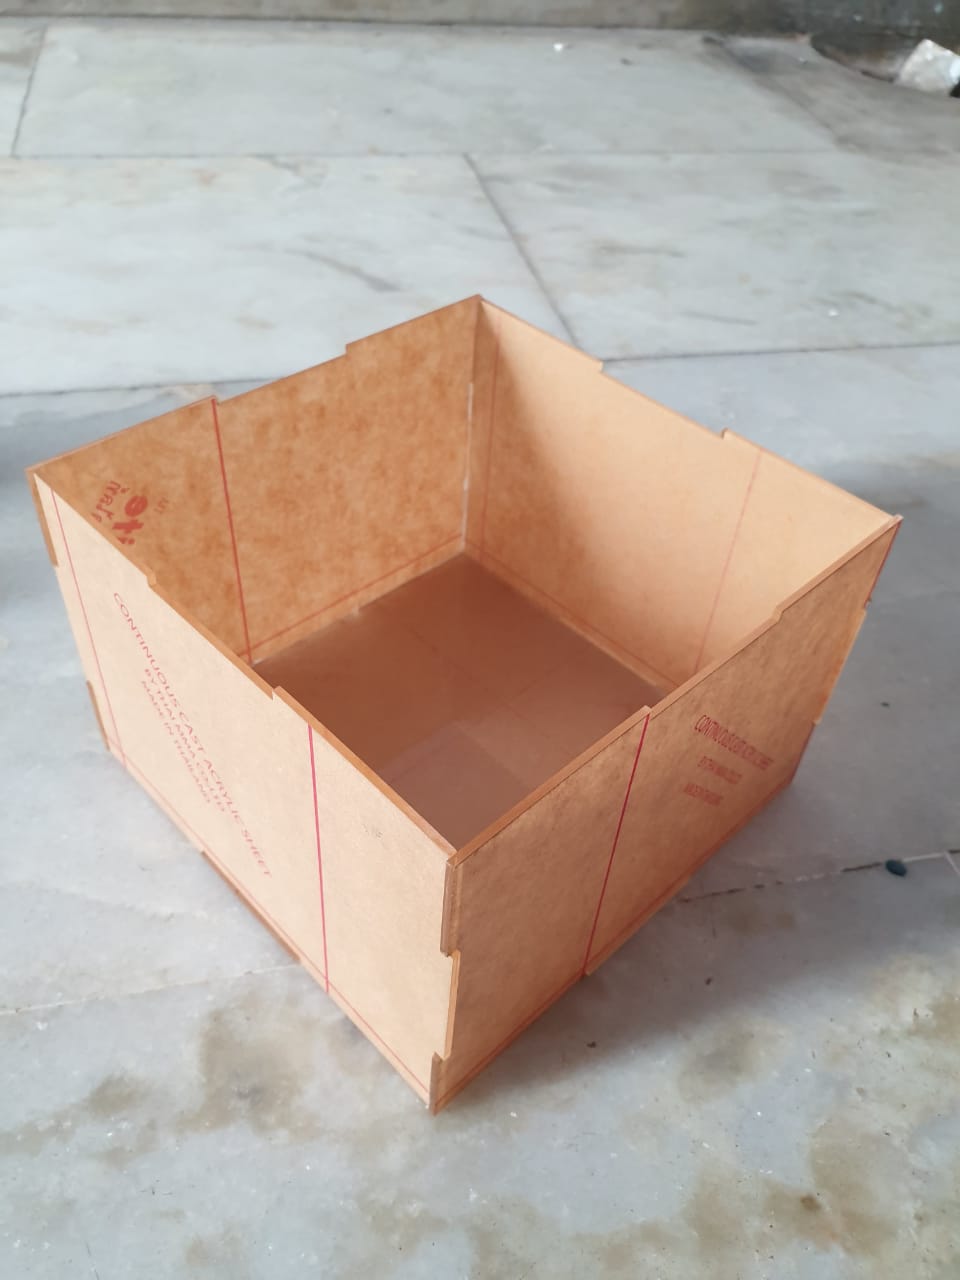
I wanted to make something very simple so that it would be easy to work with the composites as I didn’t know anything about them. So I designed a box in the fusion360 which worked as the mold for the composite.
Steps
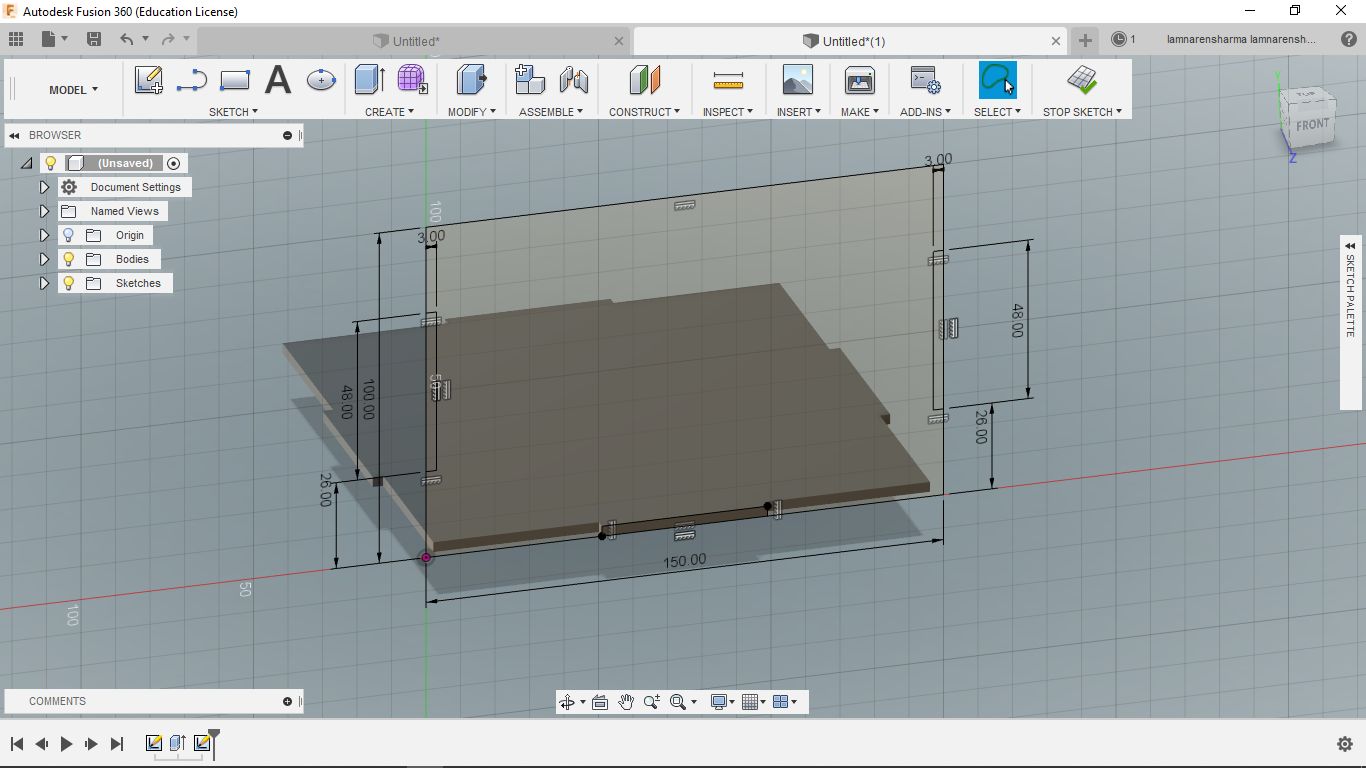
- First, create the sketch for the base and add tabs using the rectangle tool.

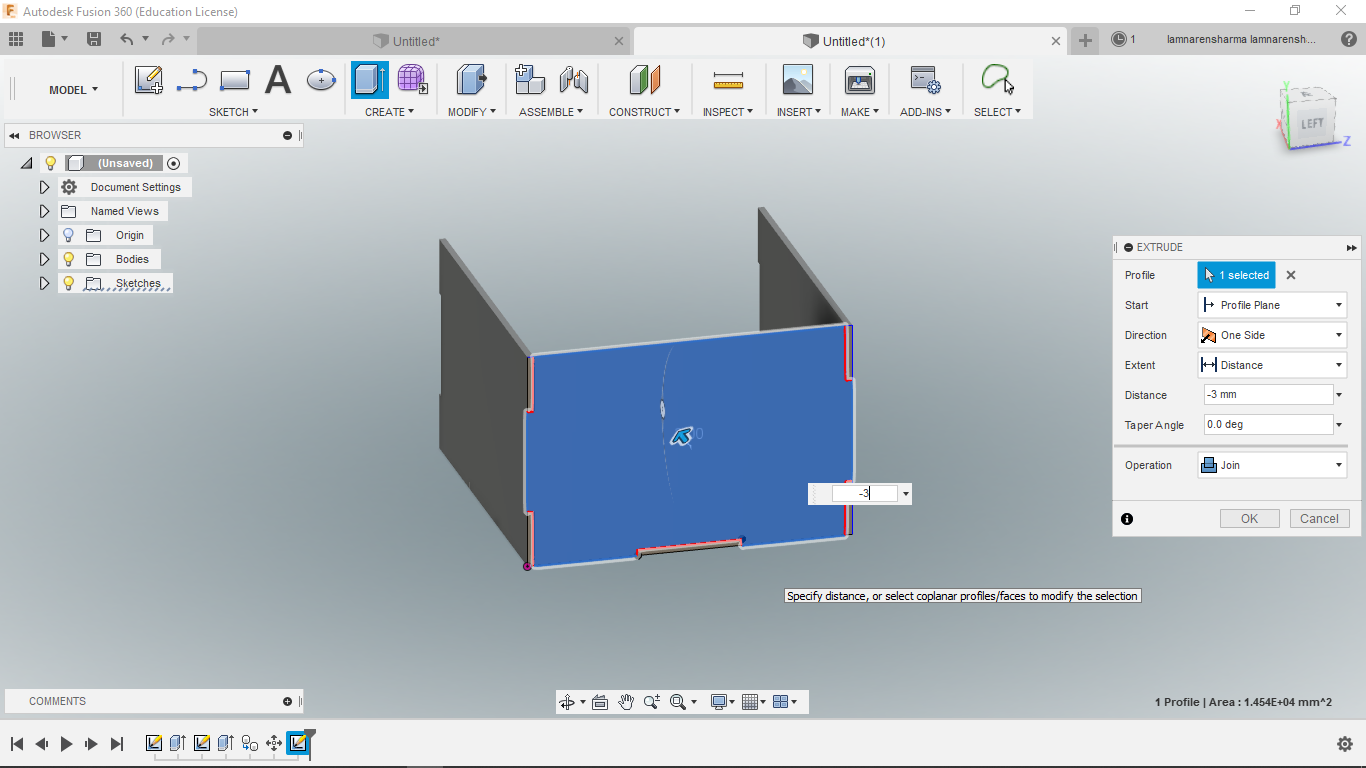
- After extruding the base, create a sketch for the side face and extrude it too to 3mm. Then, copy it to the opposite side.
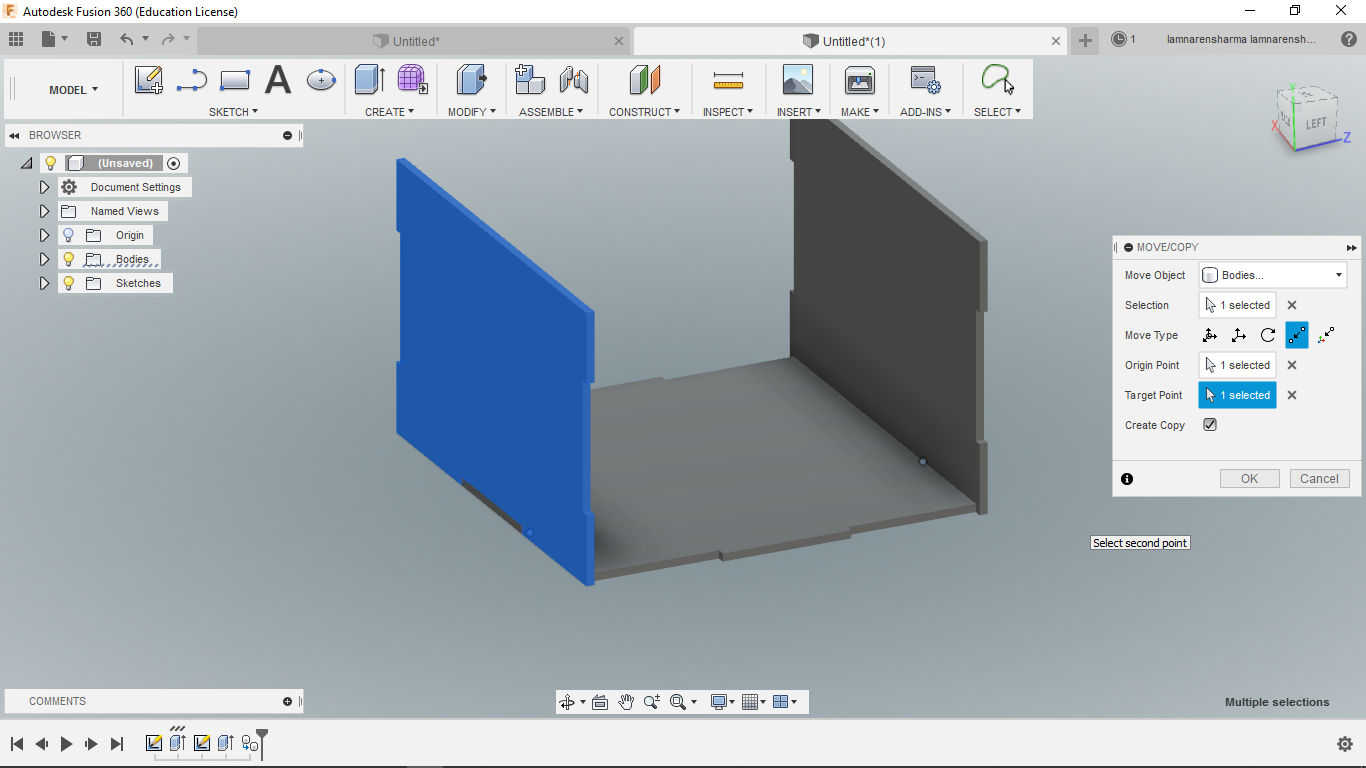
- Sketch and extrude the adjacent base. Again, copy this too to the opposite side to complete the box.
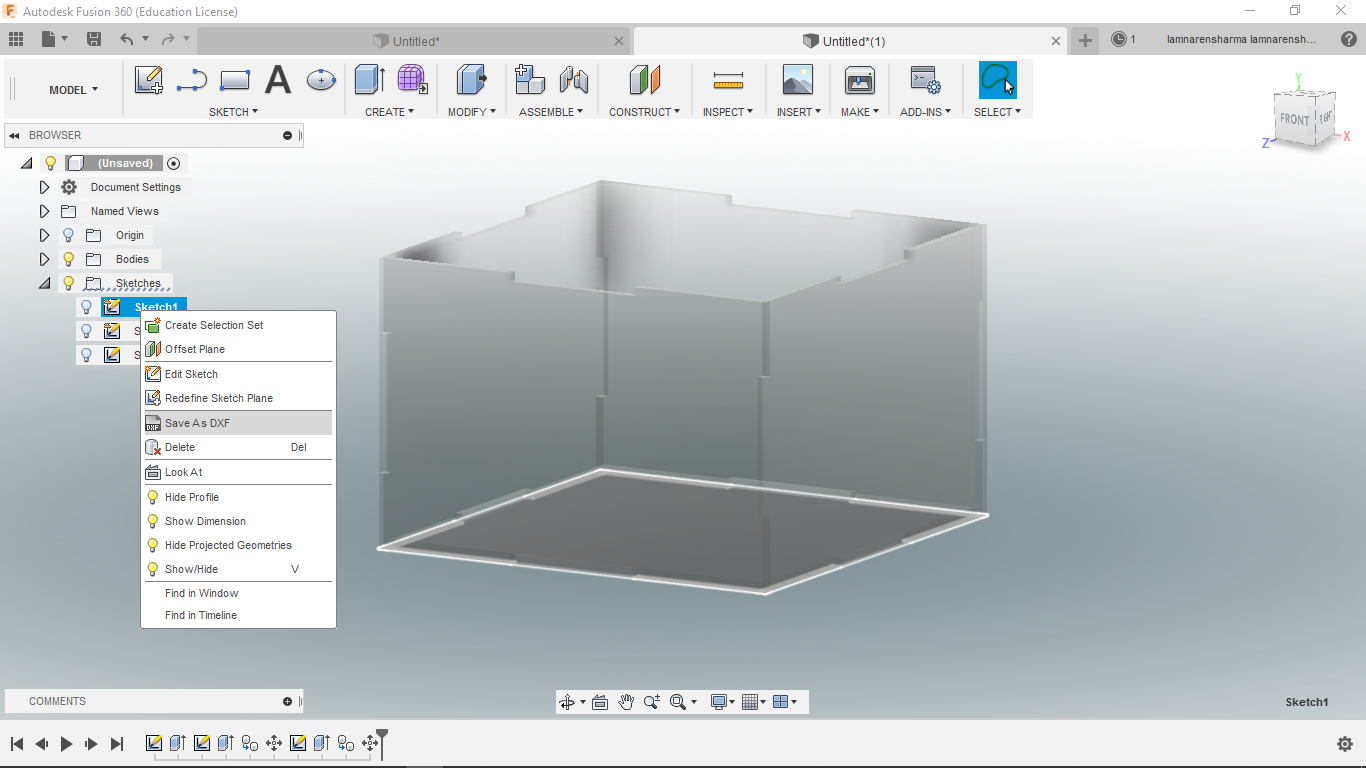
- Add appearance.
- Export the sketches in dxf format for laser cutting.
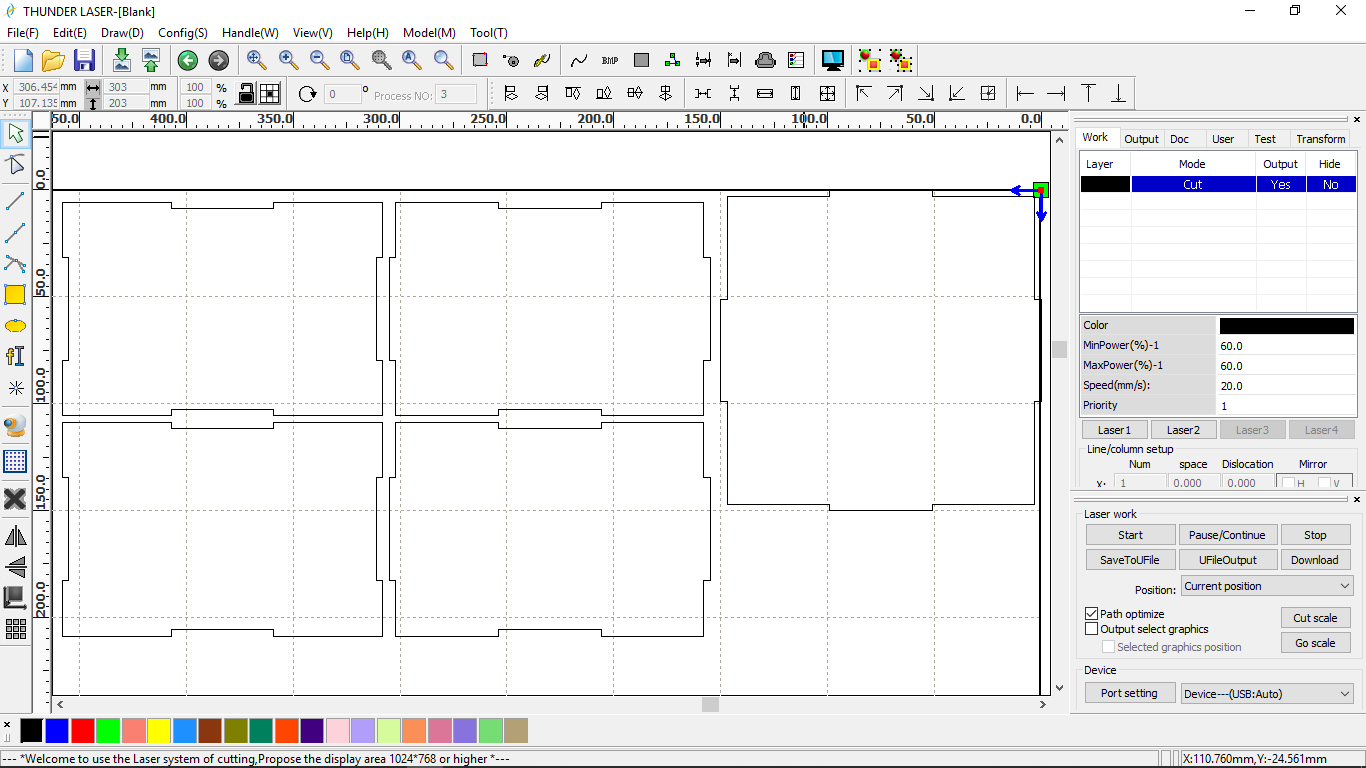
Laser cutting
- Import the file into the RD works.
- Feed the settings. I used 20mm cutting speed and 60% power for cutting 3mm acrylic.
Materials
All resins whether for casting or laminating, require the addition of catalyst (hardener) and accelerator if the resin is not pre-accelerated, to initiate the curing process
The chemicals which I used for the casting are Listed below:-
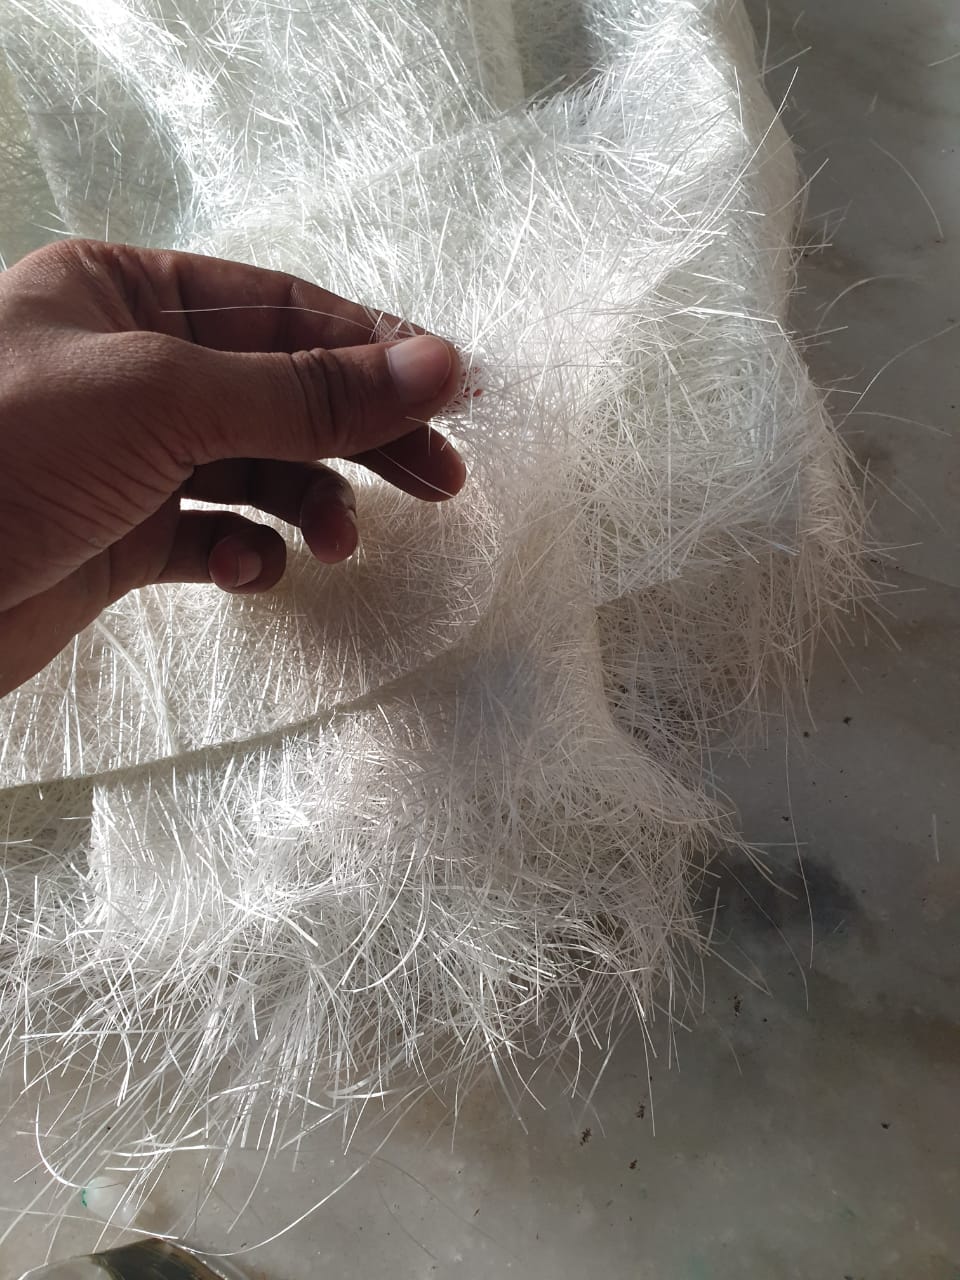
- Glass fibers
- Polyester resin
- Accelerator (Cobalt Naphthenate)
- Hardener(MethylEthyl ketone benzoyl peroxide)

I bought all these things from a local shop. It cost me 300 INR for 250 gms of fiberglass, 1 ltr resin. 50-50ml of accelerator and hardener.
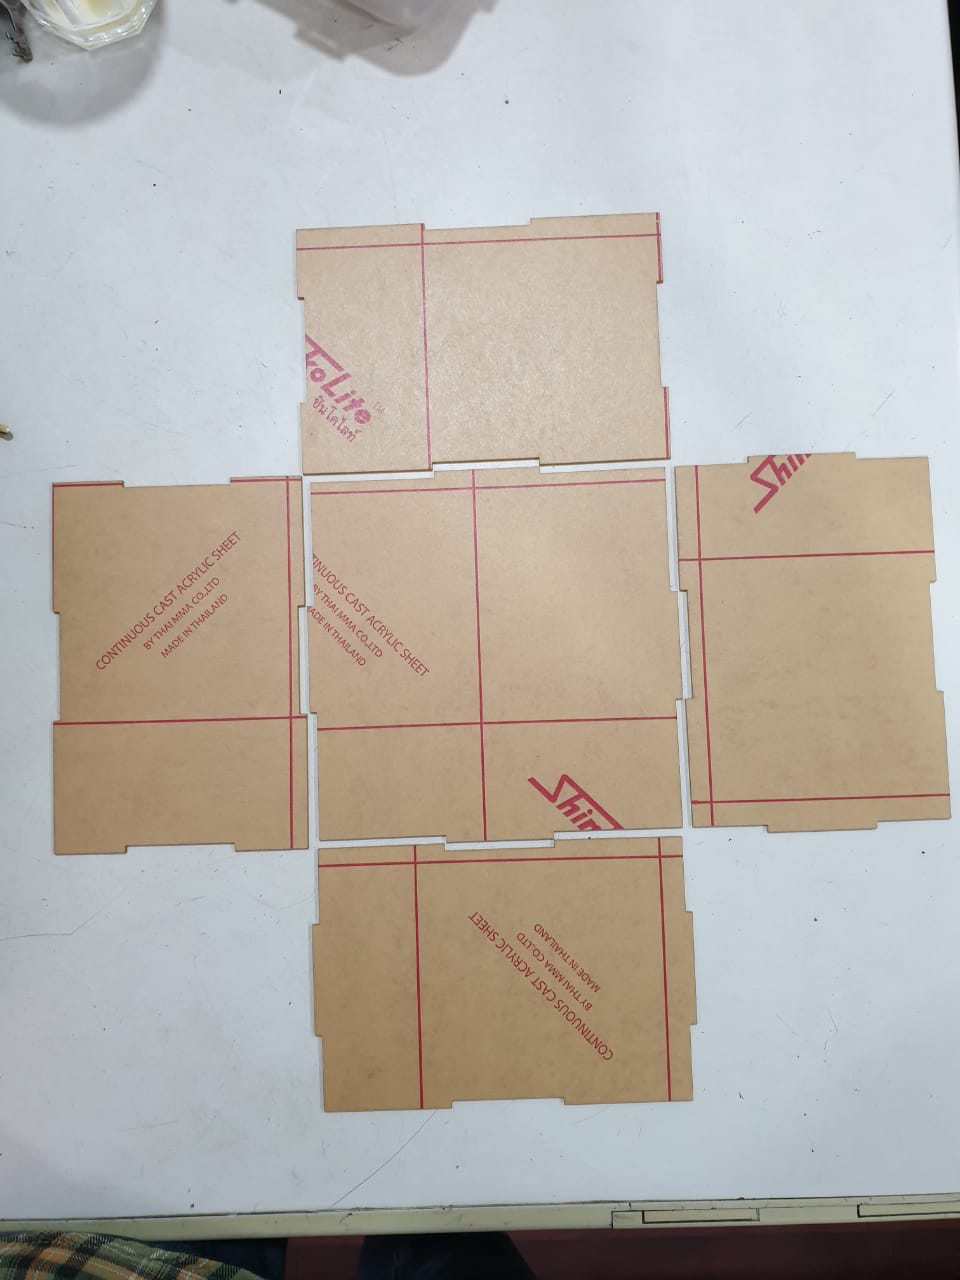
Mold preparation
-
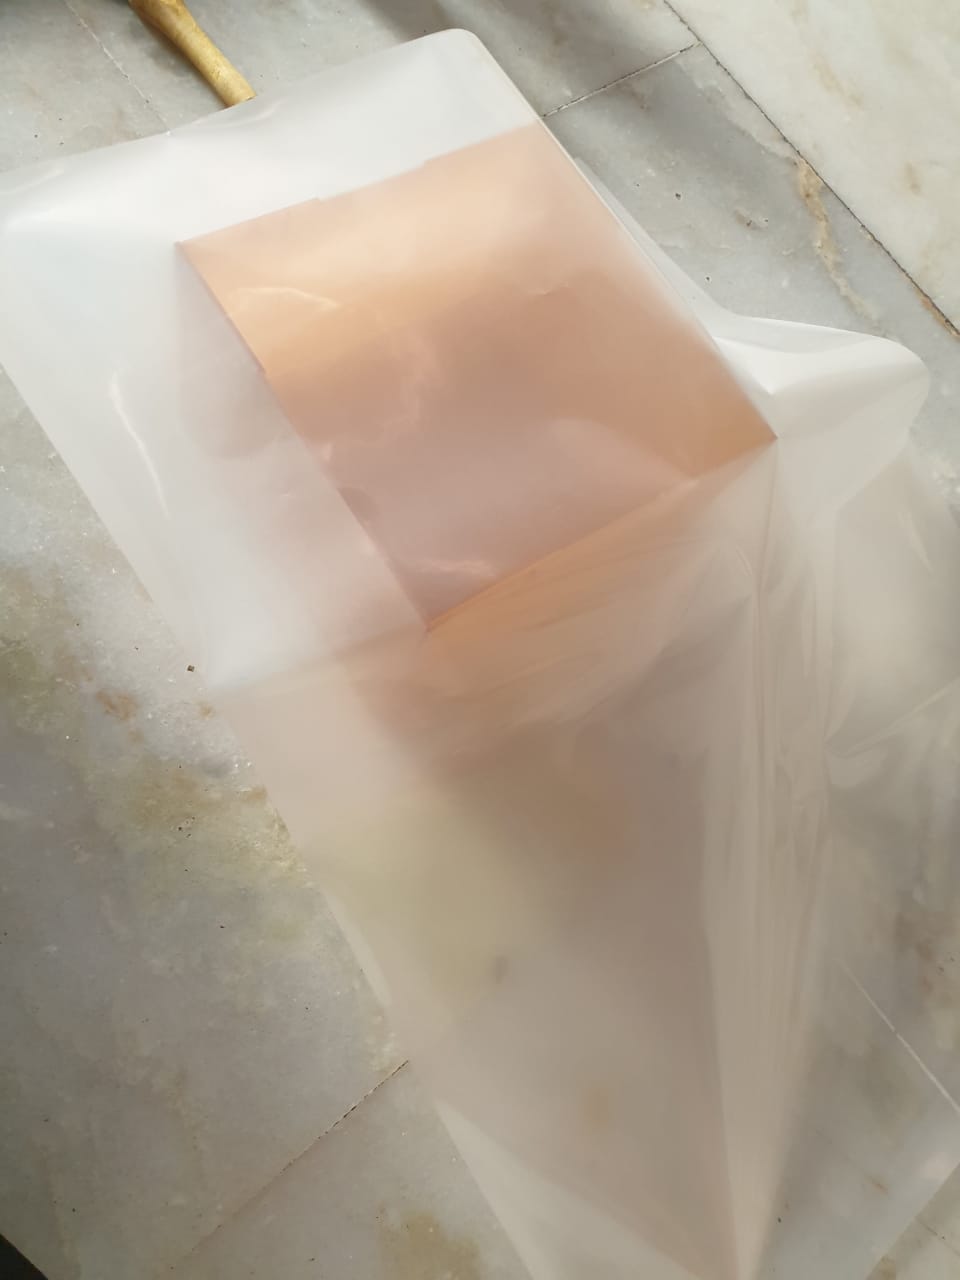
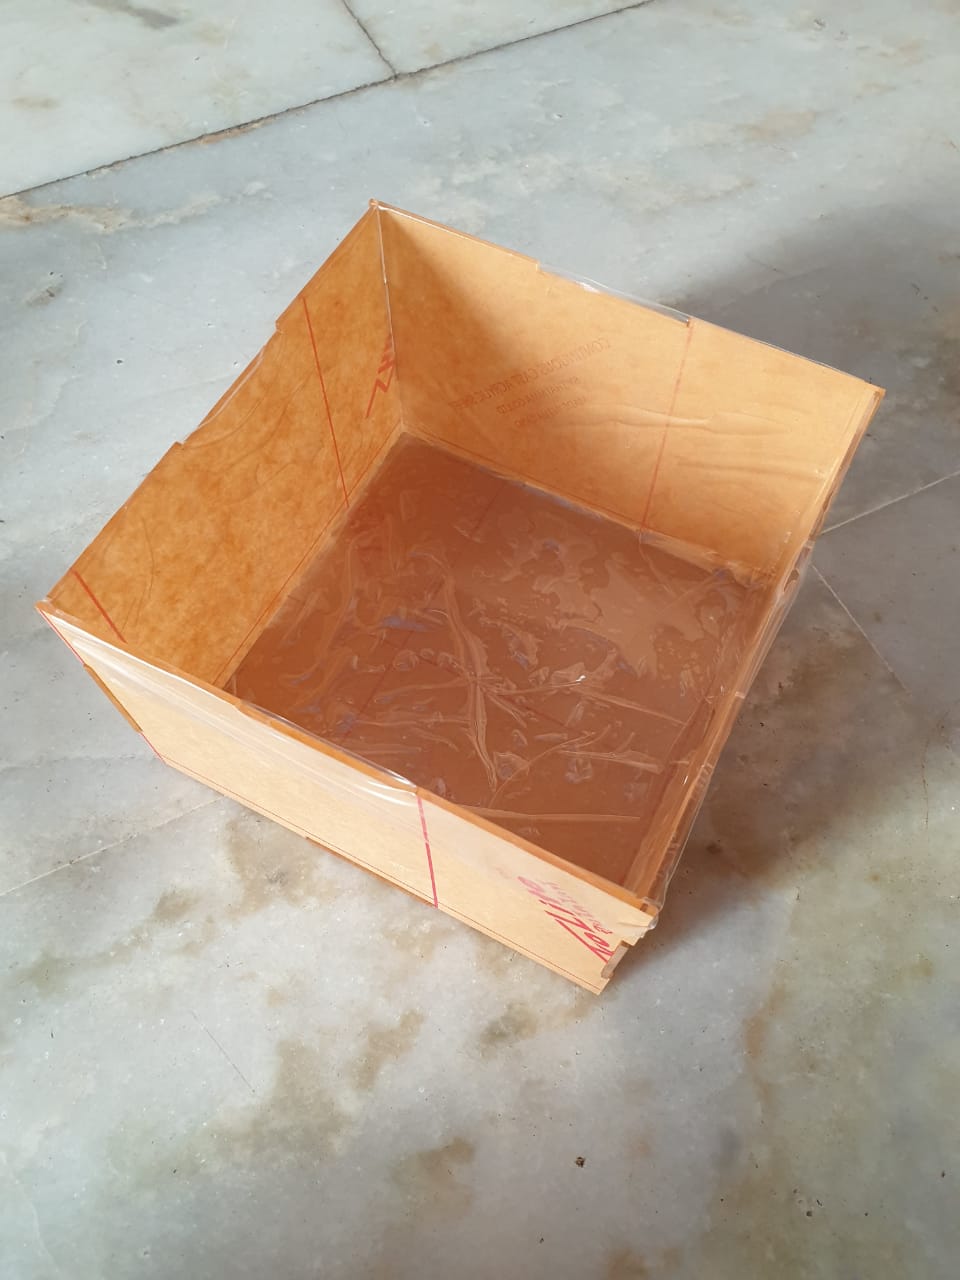
First, I used a plastic sheet to coat the inside of the box so that the resin doesn’t stick on the mold and it would be easier to remove the casted part from the mold. you can also use wax or vaseline should also serve the purpose.
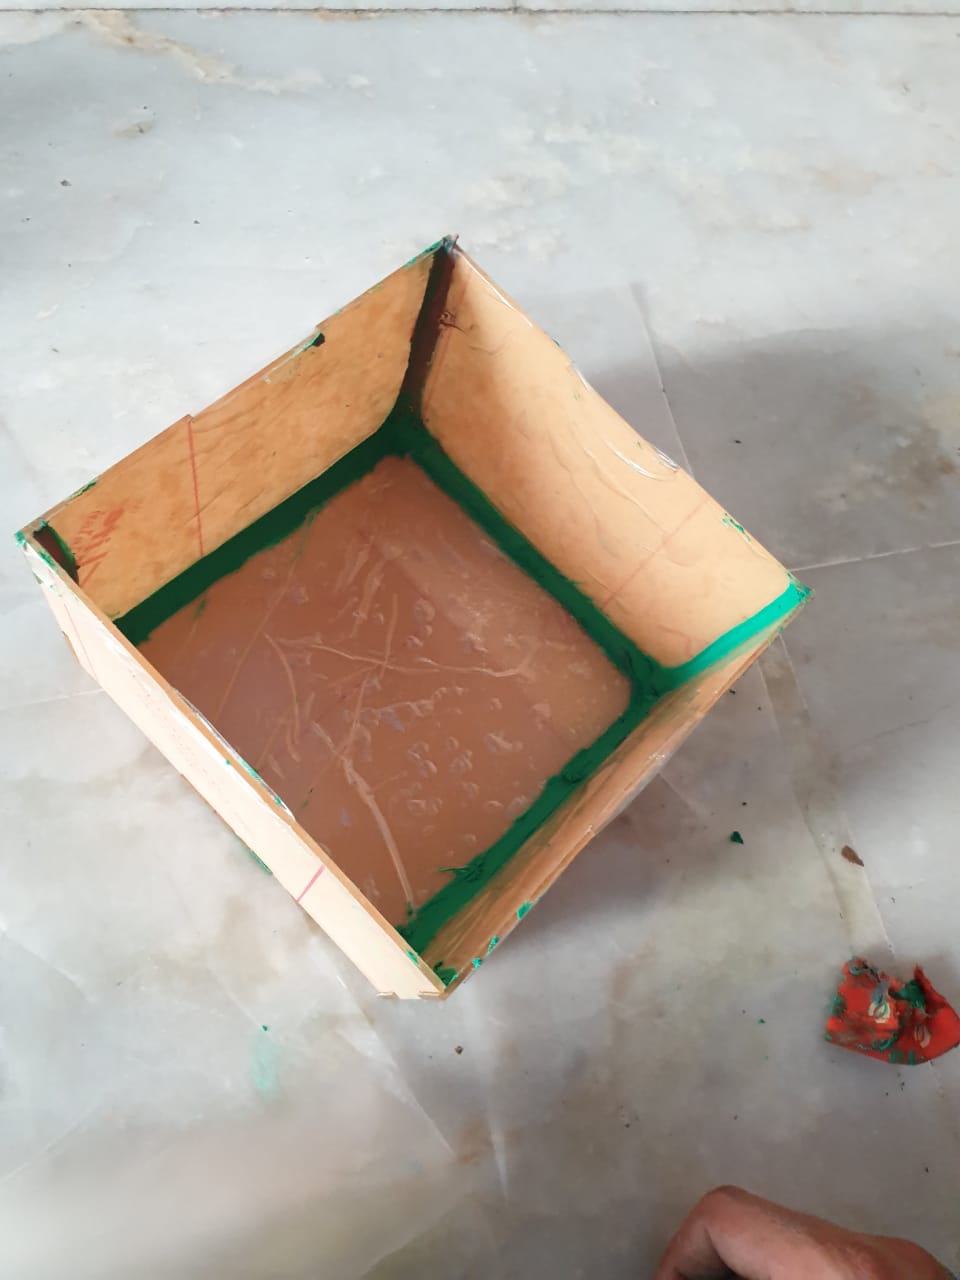
-
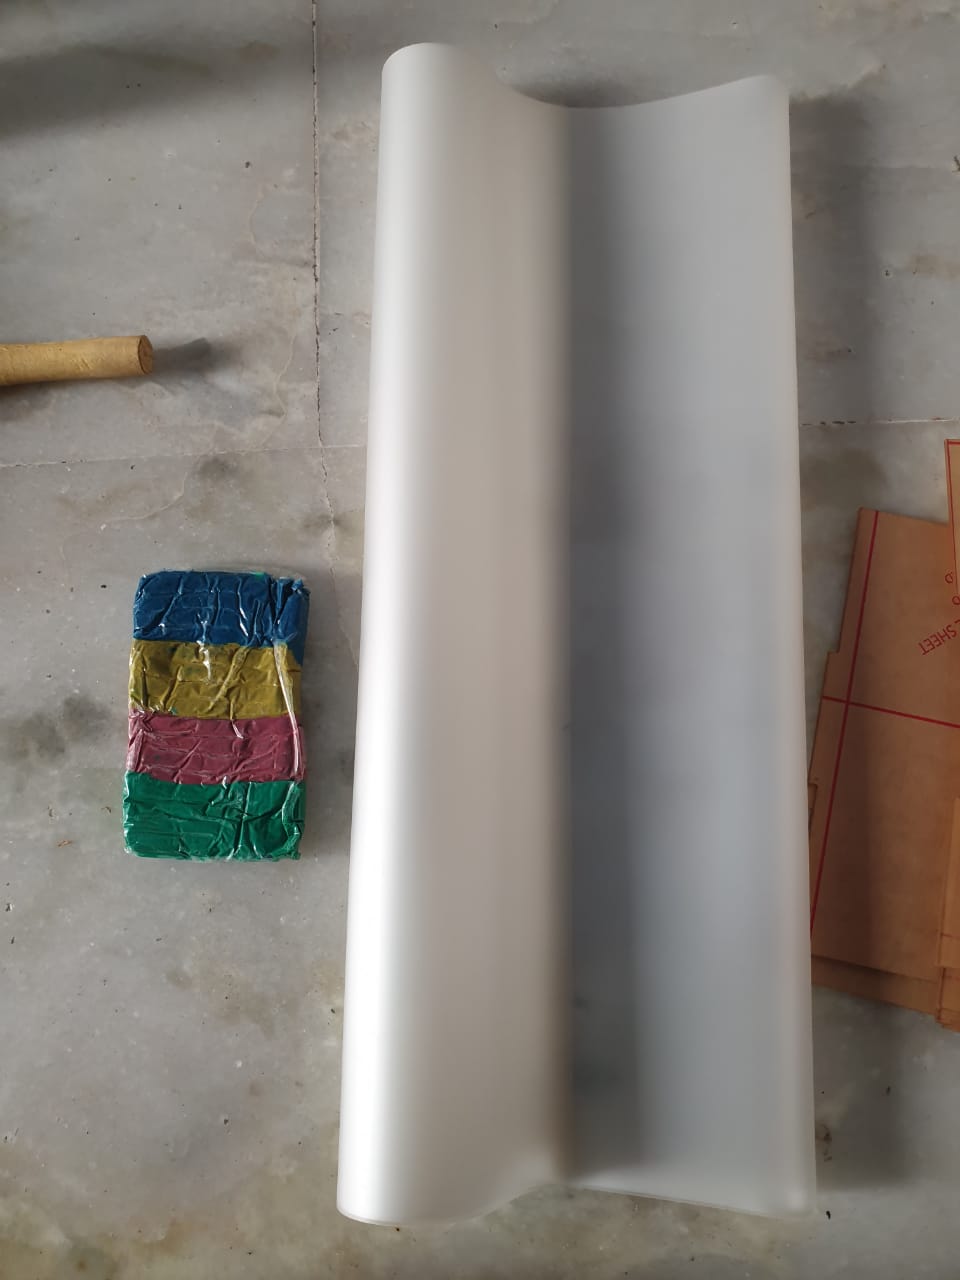
In the box, there are sharp edges which are not good for glass fiber as fiber tends to break if these are bent to 90 degrees. So applied clay at the edges and made them a little bit rounder.
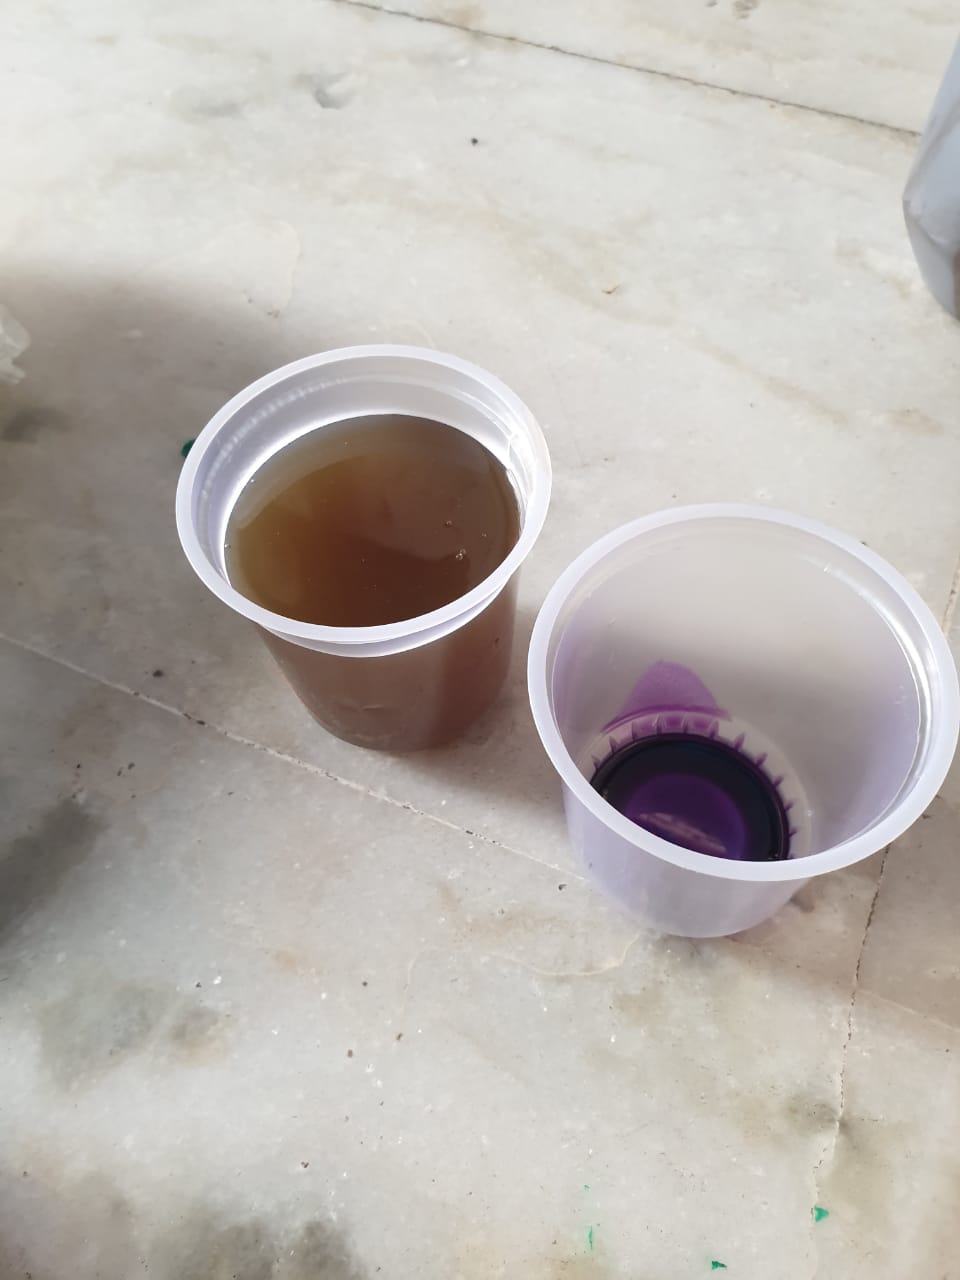
Resin Preparation
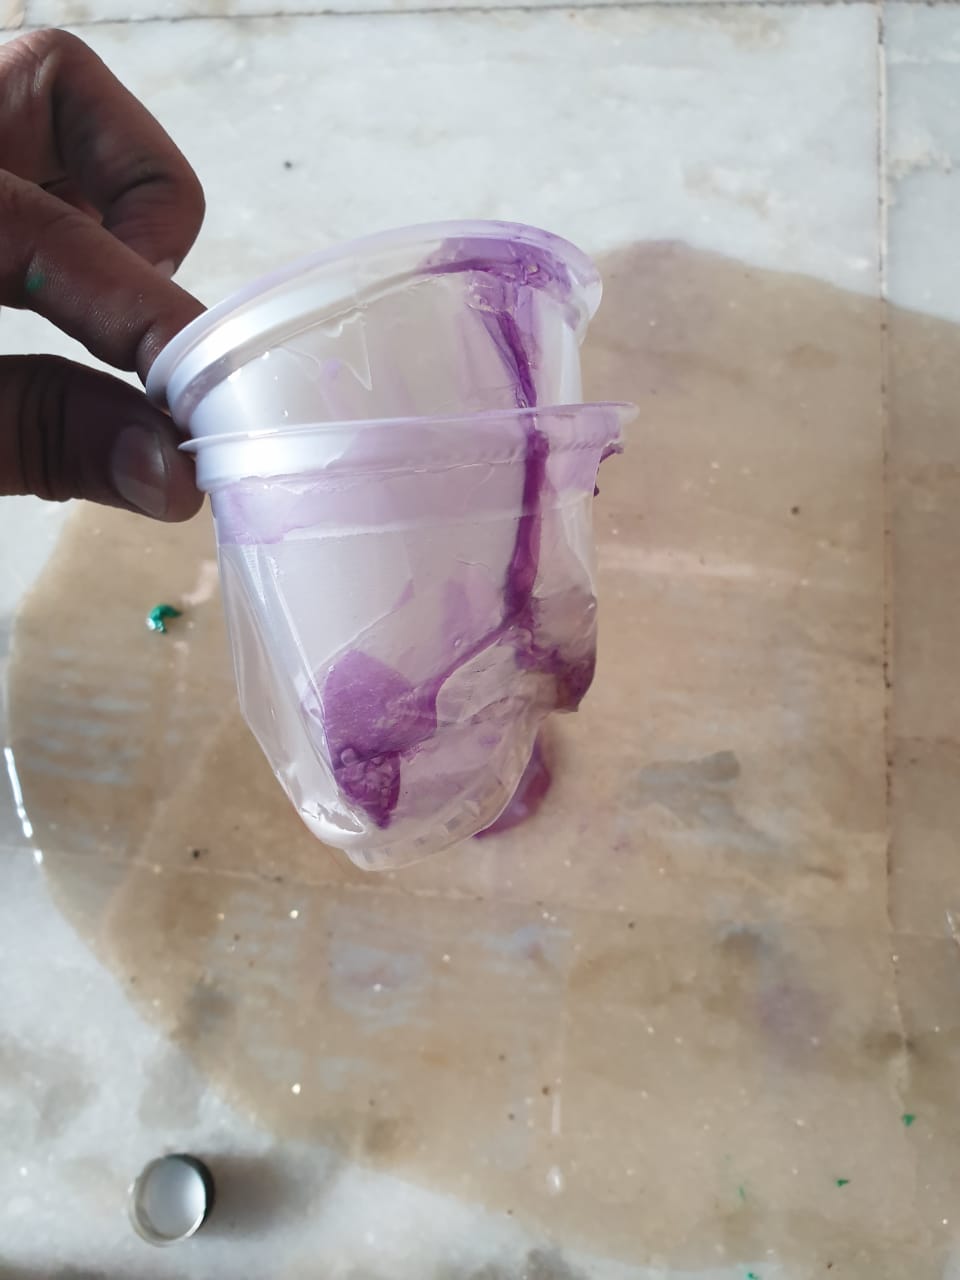
I took 200gms of the polyester resin and added 2ml of the accelerator to it as the mixing ratio of these I read was 100:1.
When I mixed them together, the plastic glass melted and the resin spread all over the floor. It was really hard to clean that thing from the floor.
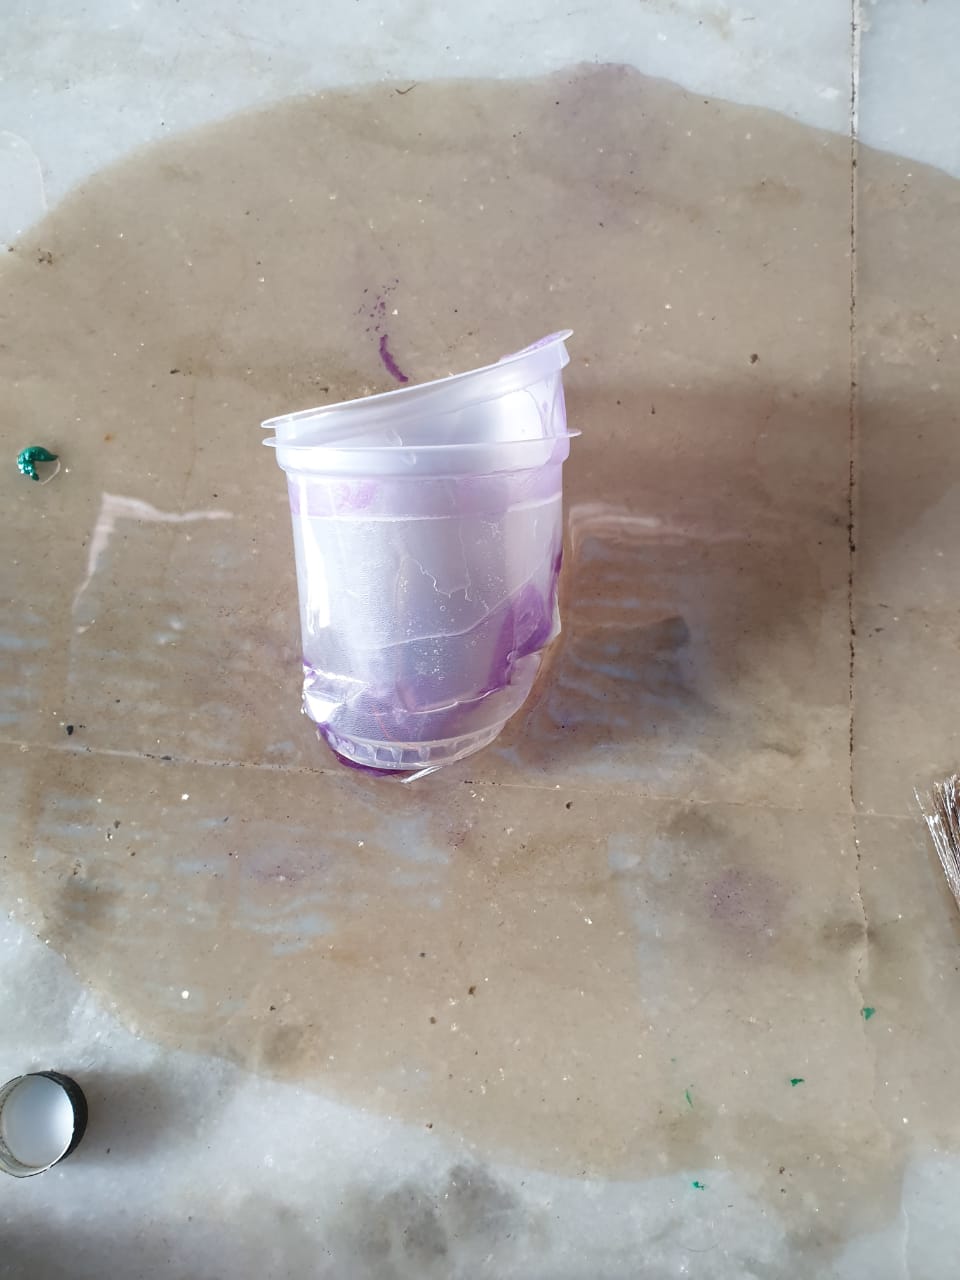
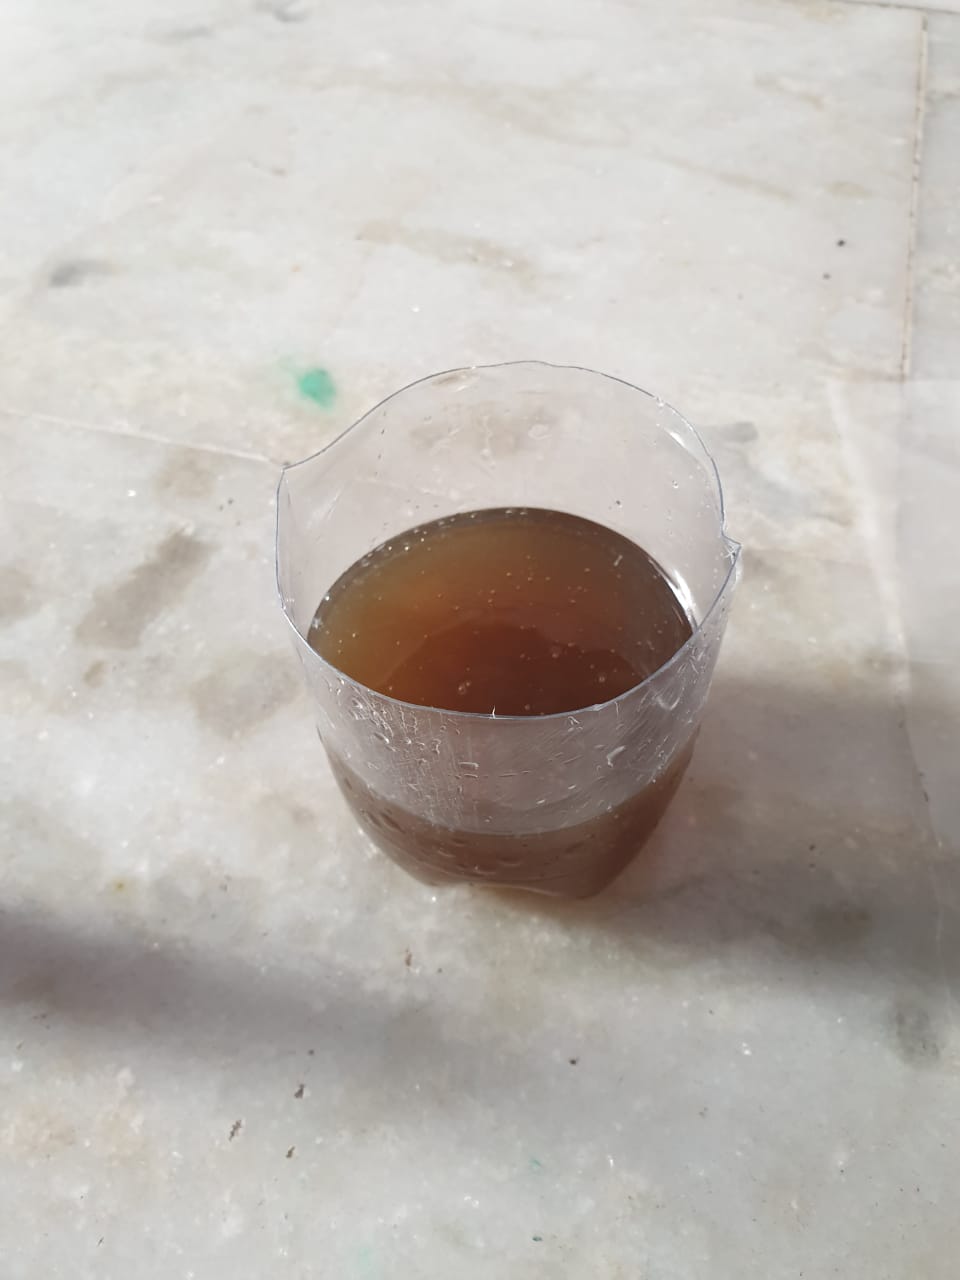
Then I took a plastic bottle, cut into half and poured the resin again and mixed the accelerator thoroughly. I also added 20ml of the hardener to the mixture. (10:1)

Casting
- First, coat the mold with a thin layer of the resin.
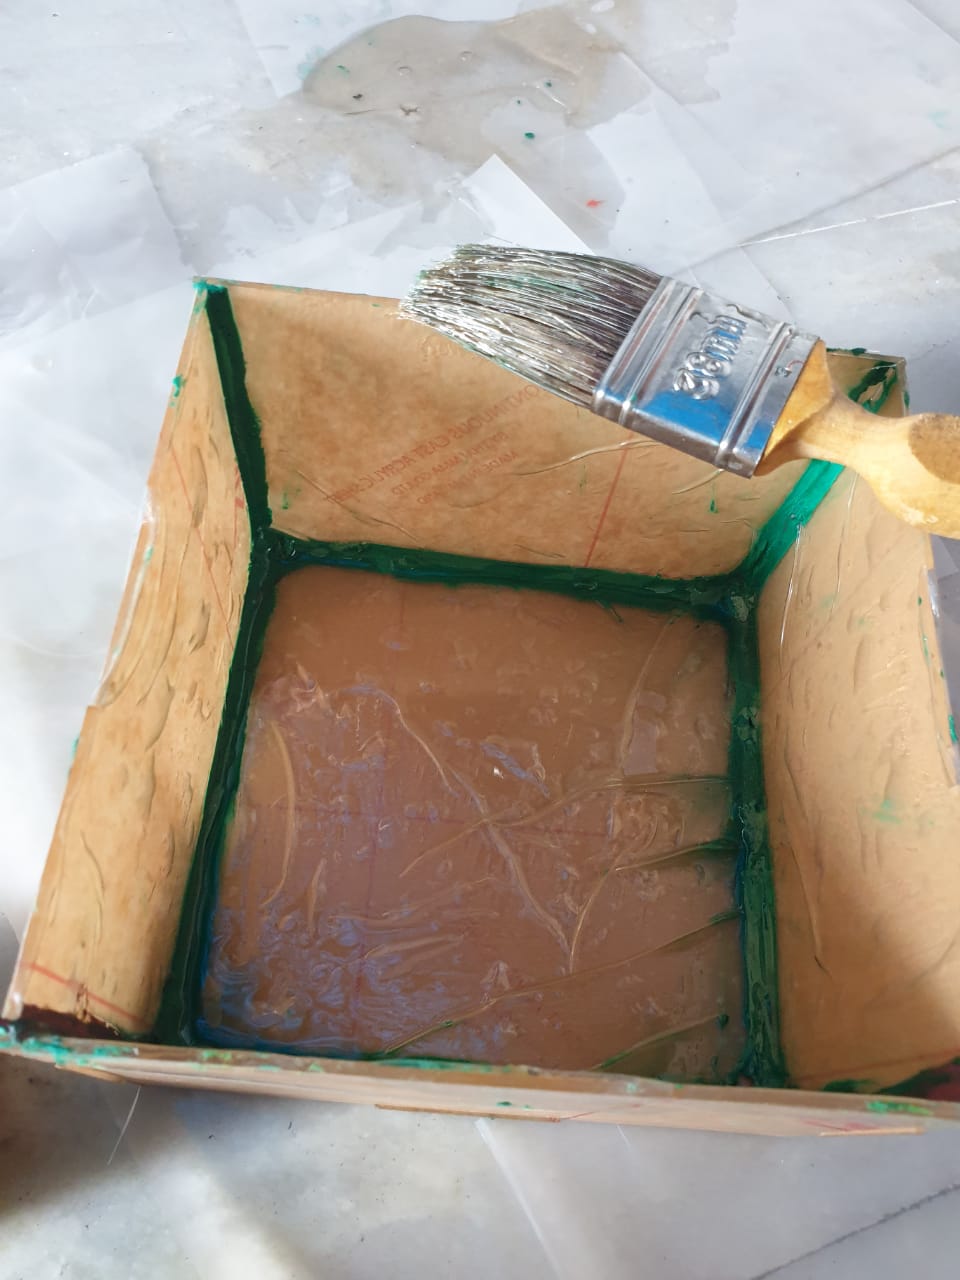
- Then, take the fiberglass mash and place on to the faces or all over inside. And start applying the resin with the brush starting from the edges so that it set properly at all the edges. Tap with the brush to set the fibers. and then slowly apply the coat of the resin.
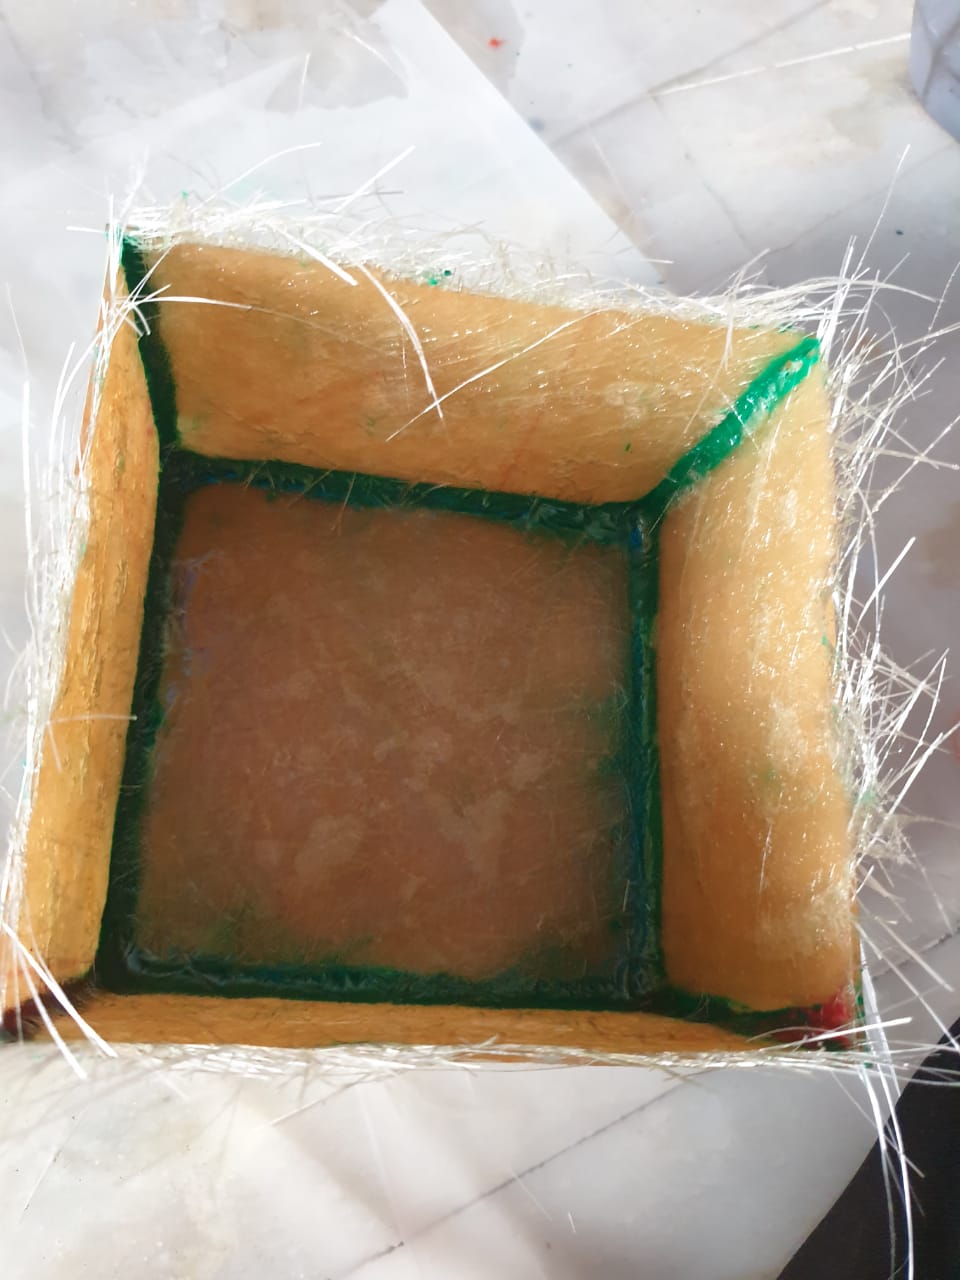
- Apply 3-4 layers to increase the thickness and strength. Wait for 2 minutes before applying subsequent layers.
- After applying 4 layers, my piece was looking like this which is not bad. Here you can see I applied a little more resin at the base and because of this, the base took more time to set than other faces.

Removing the mold
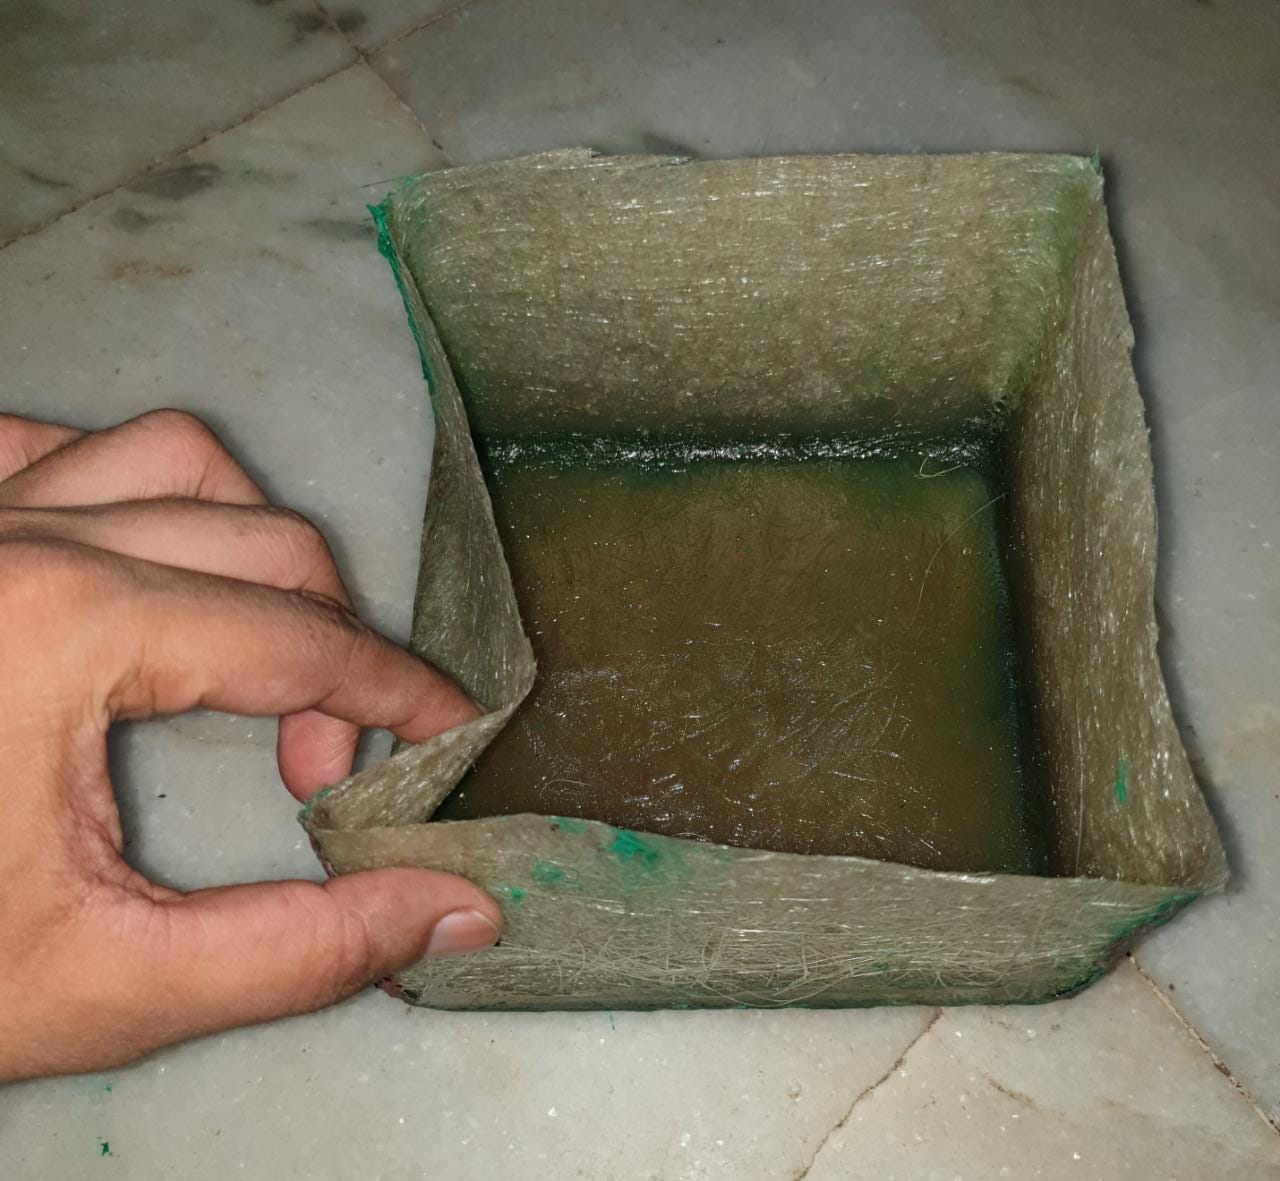
I removed the mold after around 36 hours. This was an easy step. First I cut all the extra fibres at the top with a scissors and simply remove the sides of the boxes. As I didn’t glue them very strongly and also I used plastic sheet so the mold removed easily.
Final Outcome
Everythings looks good except the clay which I used at the corners. It was difficult to remove that so I decided to leave it as it is.
The strength of the sides were not very good as I used only three layers but it can be made stronger by applying 5-7 layers. The base was very strong in comparison as I used more resin on the base.
Learning outcomes
- I got to know about various composites
- Learned how to work with the resin, and hardener.
- I successfully created mold and cast a box of fiberglass.

This work is licensed under a Creative Commons Attribution-NonCommercial-ShareAlike 4.0 International License.