12. Output devices
This week we had following objectives
- individual assignment: add an output device to a microcontroller board you’ve designed, and program it to do something
- group assignment:measure the power consumption of an output device
Background
In week9 i already started looking into what i need for final project and you can find out more details on checking out these pages.
Key things i needed for the project
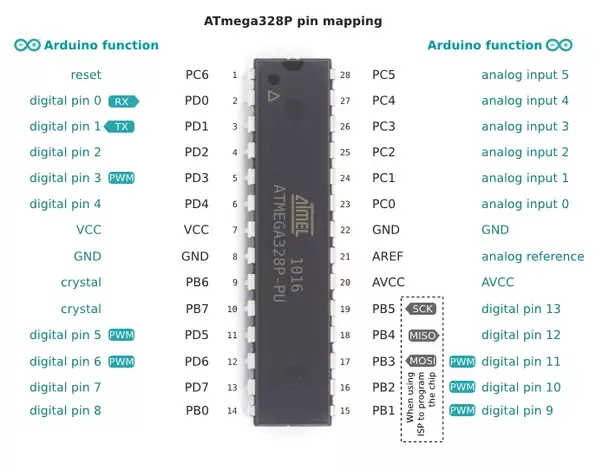
- Atmgea328p will be the final microcontroller i will be using for my project. There are good reasons for it. a) This is the main microcontroller that is used in Arduino and b) I have various good resources available in fab lab and on internet. Famous one i like are as below satshakit and Indoor Aquaponics by Guillaume Teyssié
- Raspberry pi : Food computer brain is based on Python. Lastest version 3.0 of Food computer brain is hosted on google cloud platform and uses both raspberry pi and Beaglebones. The 300 dollar food computer MVP brain is all based on Raspberry Pi only. For my project i want to use Raspberry pi and my own satshakit(arduino) fabricated board. This would add a new enhancement to food computer by adding an easily fabricated board in fablabs.
For output week as assignment key objective was add an output device to a microcontroller board you’ve designed, and program it to do something.
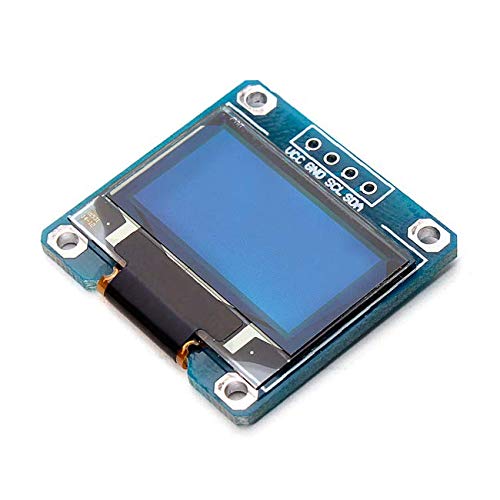
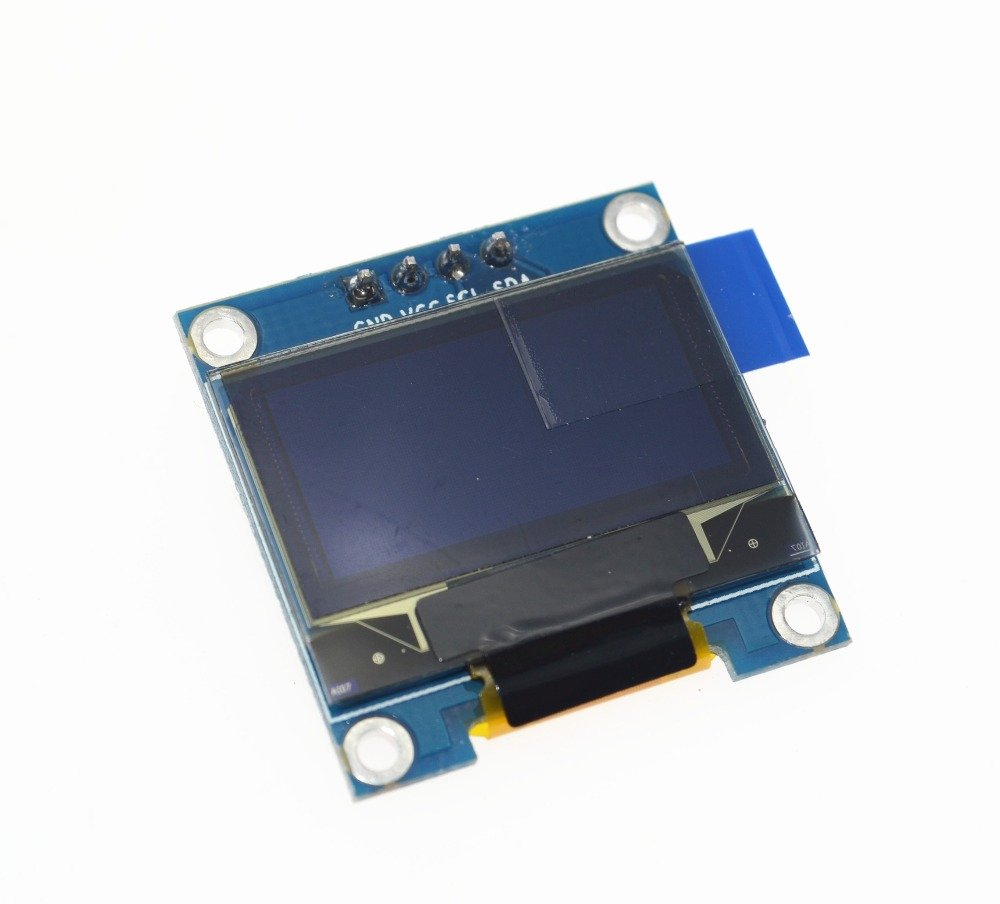
In week11 i already looked on adding DHT22 and DS18B20 water proof sensors to my board. As i am following Spiral approah so idea was to add an IIC SPI Serial 128X64 OLED LCD LED Display on the same board.
Arduino and OLED Display
First i tested out my code on breadboard and Arduino. As i am using Satsha Kit it is a good way to test this code before i mill and solder the final board.
Group Work - Output Devices
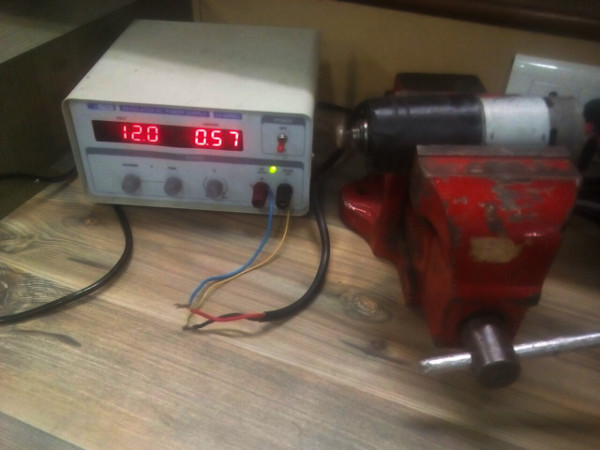
You can find more details on our Lab Group page. This week our group assignment was to measure power consumption of an output device. To do so we decided to measure power of a motor.We Connected the Motor to a Variable power supply and observed the current drawn by the motor.

Observations
- It may be noticed that the current drawn by the motor @ 2.1 V is about 340mA, and the current drawn by motor @ 12 V is about 570mA.
- So the Power consumption Using formula P=VI where P = Power, V = voltage and I = Current
- P = 0.340 * 2.1 = 0.714 Watt
- P = 0.570 * 12 = 6.84 Watt
- So the power consumed by motor at No load ranges from 0.714 Watts - 6.84 Watts
Designing,Milling and Soldering the PCB for Project
I already designed the board for output week in input week itself. Please refer the design files here week11
Programming the Board
Below is the code to display sensor data on OLED.
#include <Wire.h>
#include <Adafruit_SSD1306.h>
#include <Adafruit_GFX.h>
#include <dht.h>

// OLED display TWI address
#define OLED_ADDR   0x3C

#define SCREEN_WIDTH 128 // OLED display width, in pixels
#define SCREEN_HEIGHT 64 // OLED display height, in pixels

// Declaration for an SSD1306 display connected to I2C (SDA, SCL pins)
#define OLED_RESET     -1 // Reset pin # (or -1 if sharing Arduino reset pin)
Adafruit_SSD1306 display(SCREEN_WIDTH, SCREEN_HEIGHT, &Wire, OLED_RESET);

dht DHT;

void setup() {

  Serial.begin(9600);

  // initialize and clear display
  display.begin(SSD1306_SWITCHCAPVCC, OLED_ADDR);
  display.clearDisplay();
  display.display();

  // display a line of text
  display.setTextSize(1);
  display.setTextColor(WHITE);
  display.setCursor(27,30);
  display.print("Food, Computer!");

  // update display with all of the above graphics
  display.display();

  delay(6000);
  display.setTextSize(2);


}

void loop() {
  // put your main code here, to run repeatedly:

  int chk = DHT.read11(8);
  Serial.print("Temperature = ");
  display.clearDisplay();
  display.setCursor(6,30);
  Serial.println(DHT.temperature);
  display.print("Temp:");
  display.print(DHT.temperature);
  display.display();
  delay(2000);
  display.clearDisplay();
  display.setCursor(6,30);
  display.print("Humi:");
  display.print(DHT.humidity);
  display.display();
  Serial.print("Humidity=");
  Serial.println(DHT.humidity);
  delay(2000);

}
Final Outcome
Here is the Snapshot of final outcome.
Overall Learning
- I learnt how to read data from a DHT22 sensor and display it on an OLED display
- A bit of light weight week as i finished it in week-11 itself