3. Computer Aided design
In this week we will explore some important programs that serves ( 2D raster and vector ,3D ). This kind of simulation or digital drawing helps you to have more clear idea of how your project will look like or how your parts will join together to shape your final project.
2D:
Basic concepts :
First of all, the defference between raster and vector is that when you zoom in to a picture with raster you will see that the pixeles are gitting bigger this means that you will lose your 2D picture quality if you tryed to take a zoomed part from it.
In the other hand, when you zoom in with vector it will save pixeles and the direction of them this means that you will never lose your 2D picture quality 👌 .
2D Programs :
In the beginning I started exploring the different 2D programs by just looking to their tutorials in youtube this gave me some idea of which programs I should download and try ,then I opened each program separately so I can know exactly which program to open and find the right tool sutable for my purpose.
Gimp is a 2D raster program and Inkscape is a 2D vector program which I have used 👇 :
Inkscape
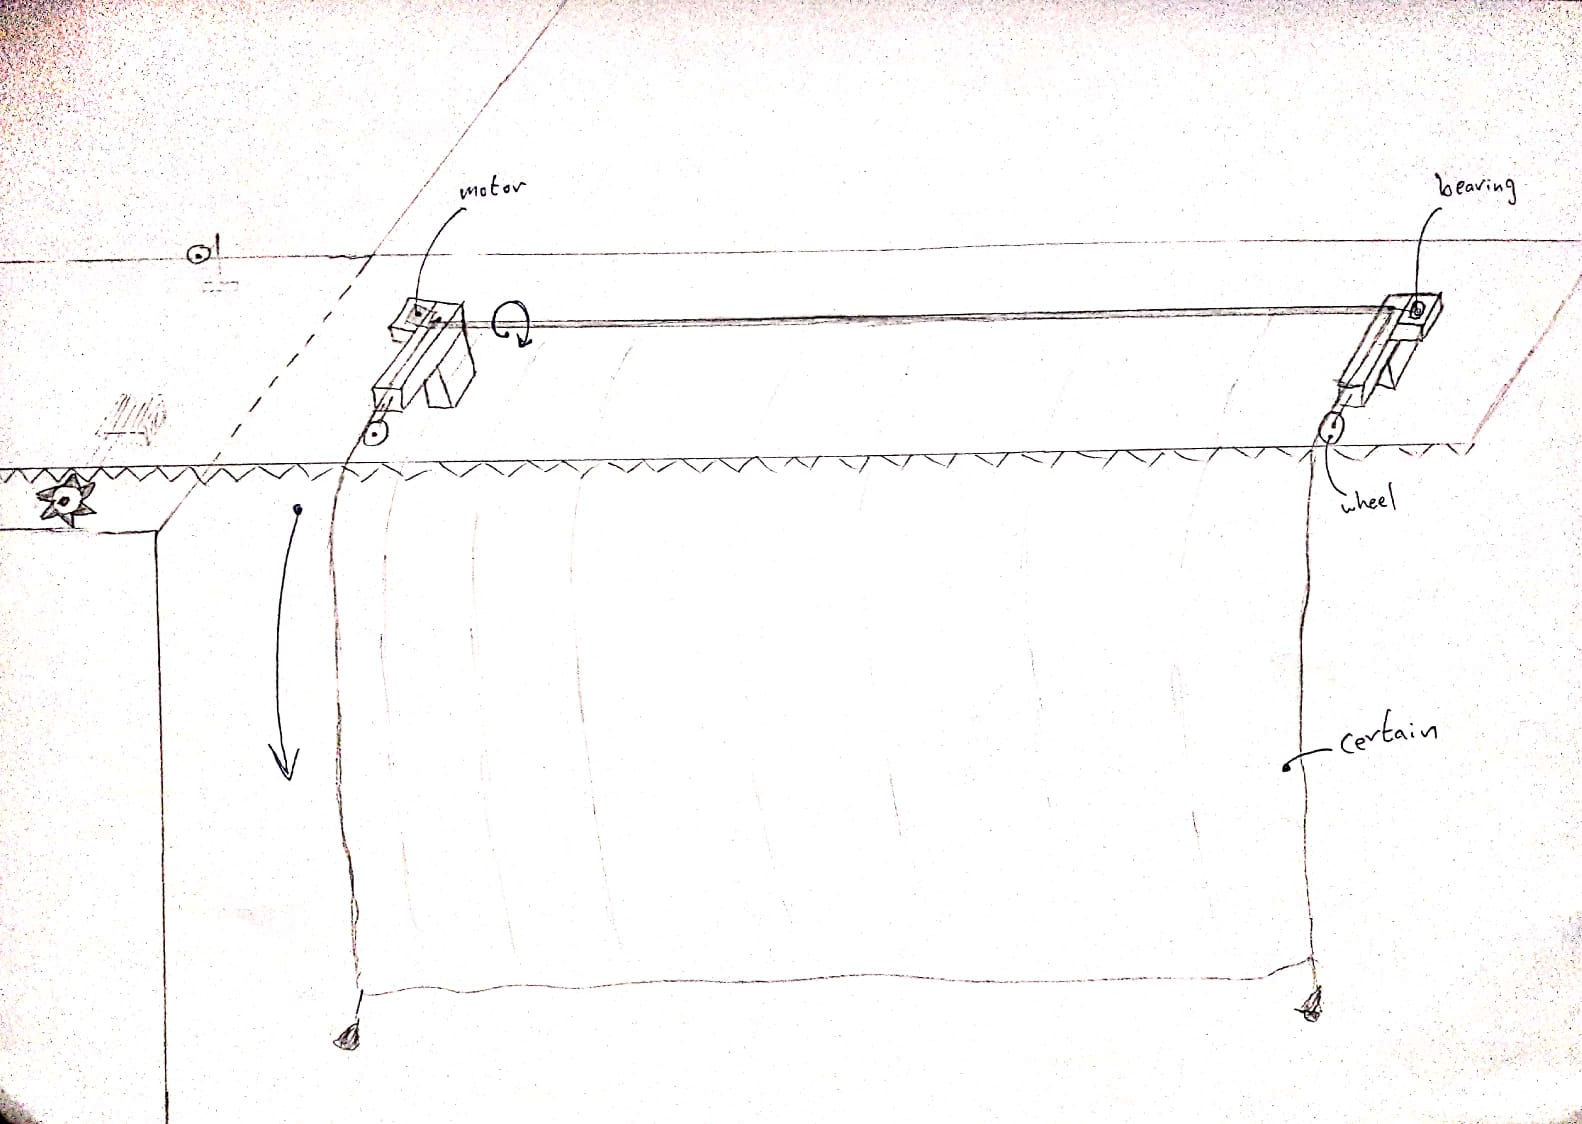
I started by sketching my project again with more details :

I began with making squares for the top layer of the ambulance then I added my mechanisms by drawing lines using the square tool then I right clicked on the object to give it an angle.
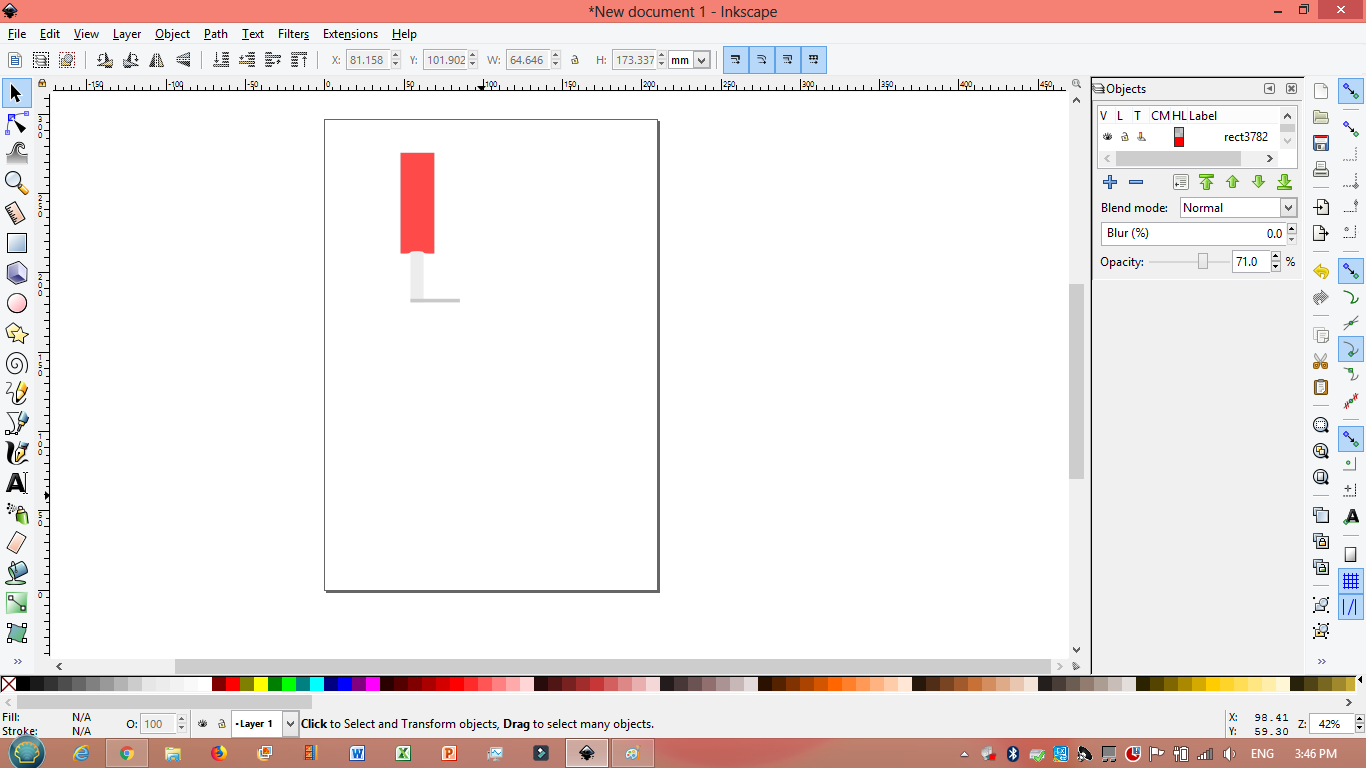
Then using the same tool ‘square’ or by pressing (F4) I made the top side of the ambulance and the tires with the motor and shaft. In addition I had to change the color by clicking on fill on the right side ‘Fill and Strocke’ or click on (Shift+ctrl+F) then press fill and change the color.
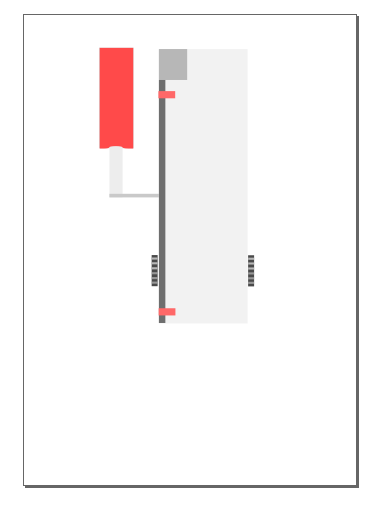
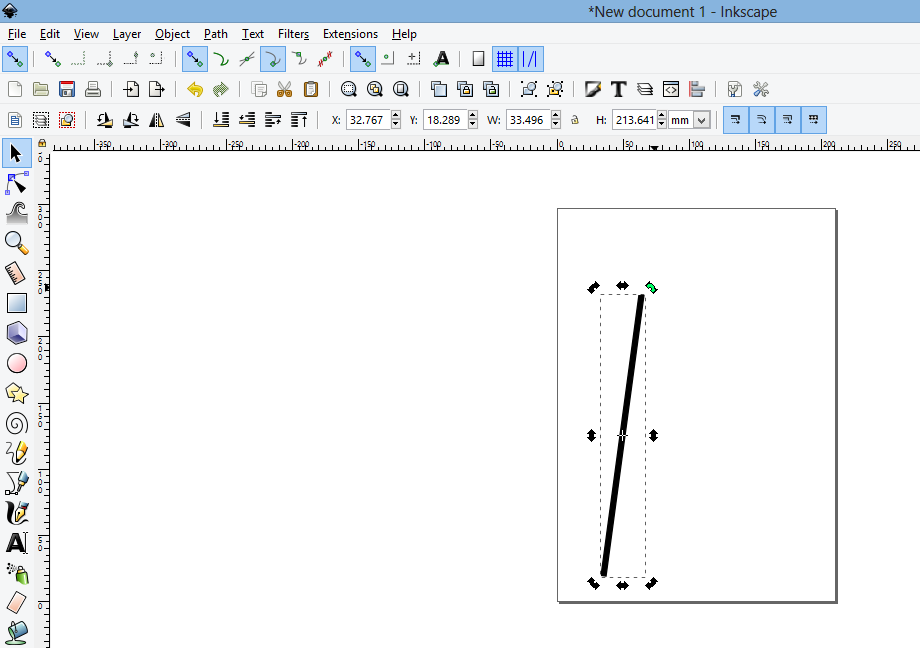
Then I had to make the scissor mechanism to draw a line with an angle we have to draw the line “rectangle” (F4) then click on it ones and move one of the corners towards your desired degree.

Extra
Then I thought of plan B (square mechanism) : see my 3D model 👇

Then I thought of plan C (Hinge mechanism) :
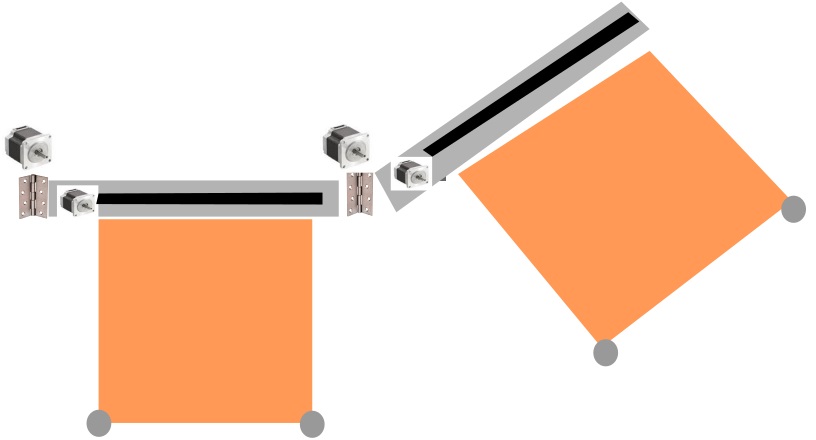
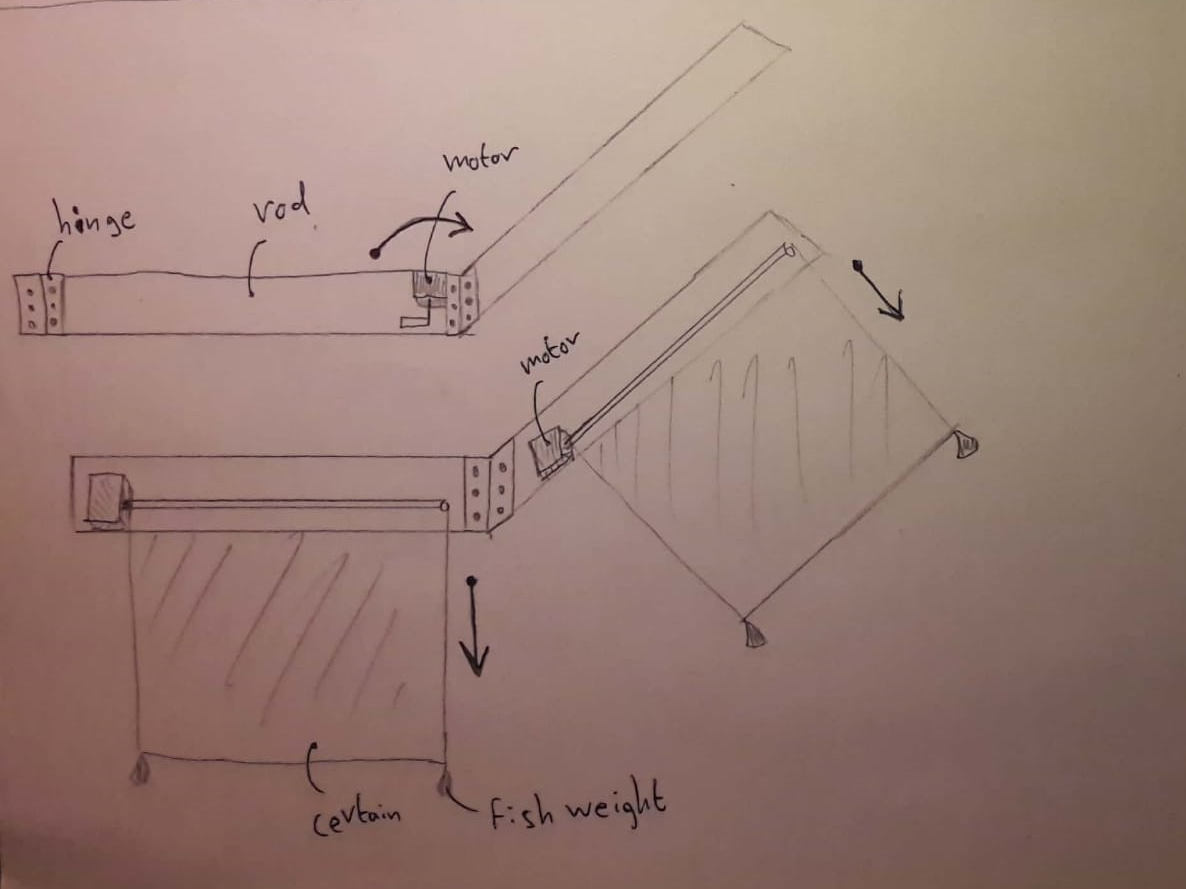
Then I thought of plan D (Telescope mechanism) :
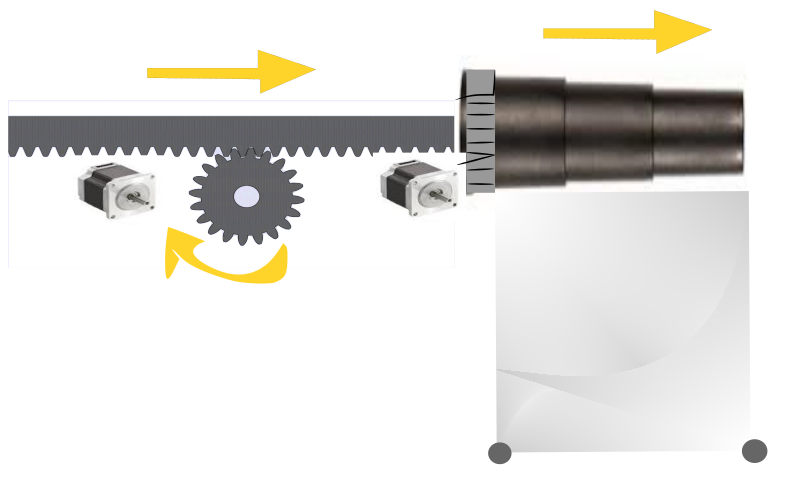
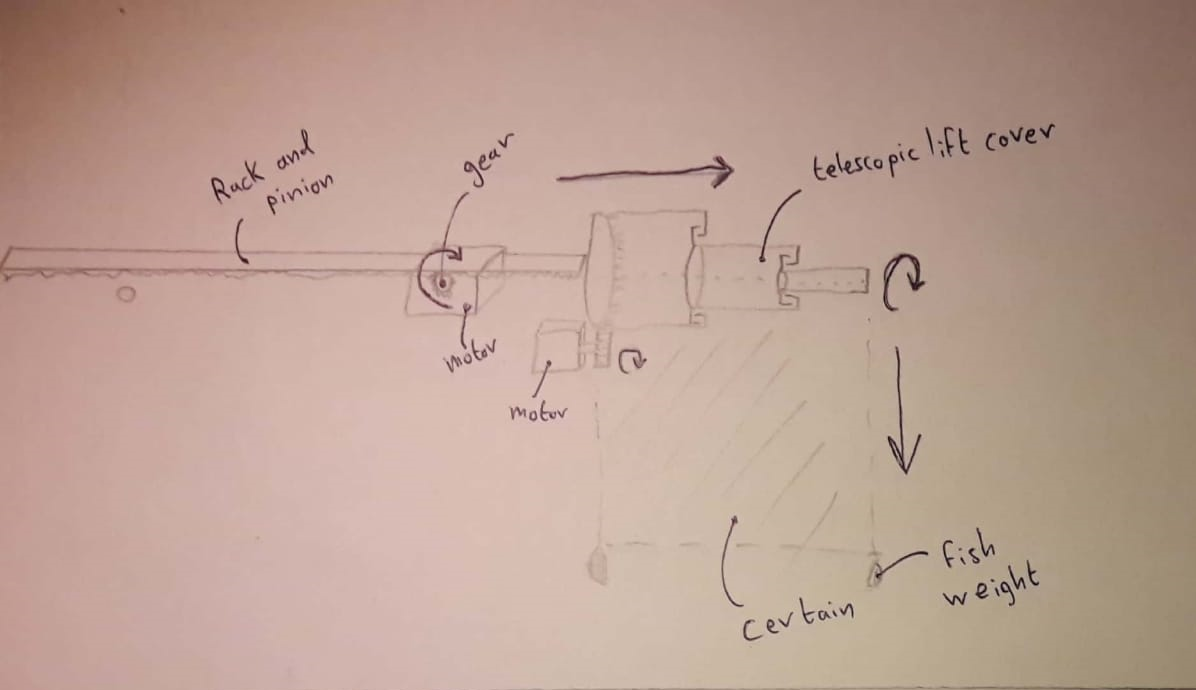
Finaly plan E : see below my 3D model 👇
In the next week I will use inkscape to edit my laser cutter designes.
Freecad
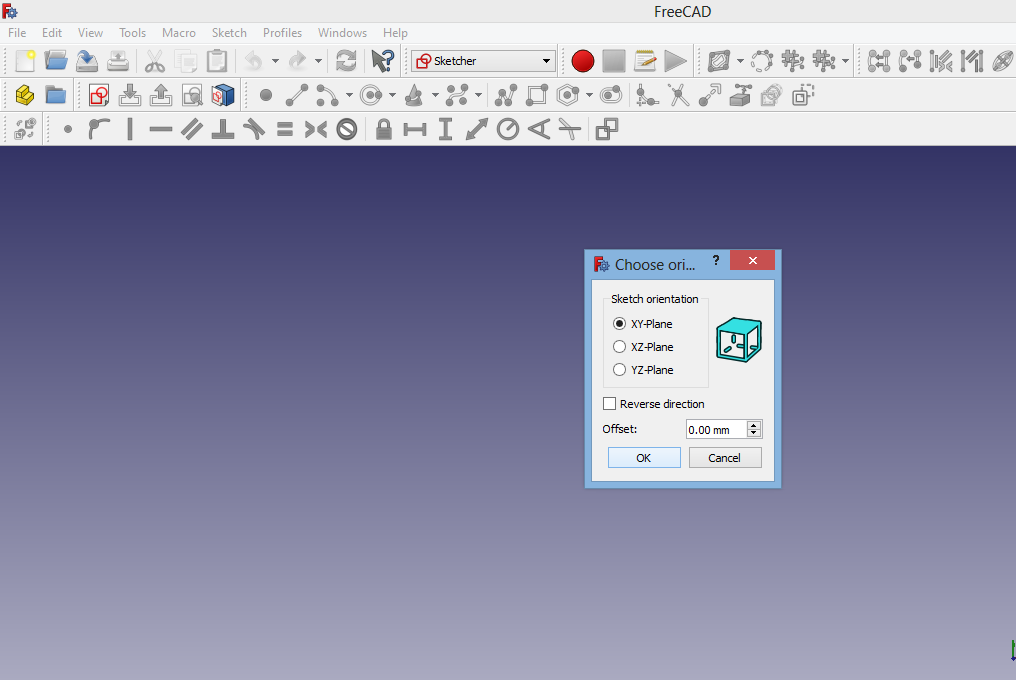
first open freecad and click new
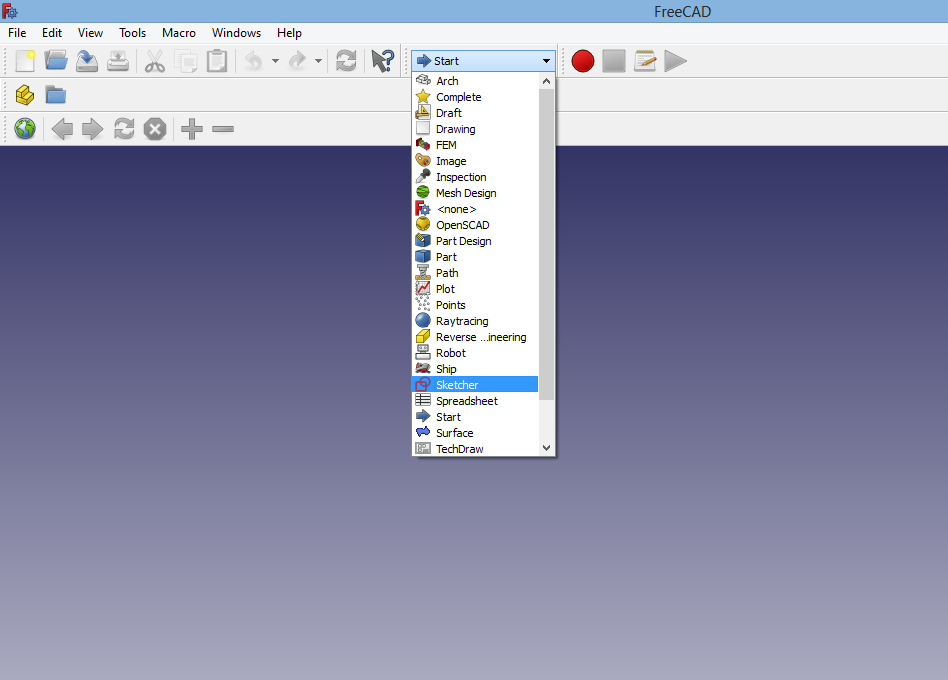
then select sketcher
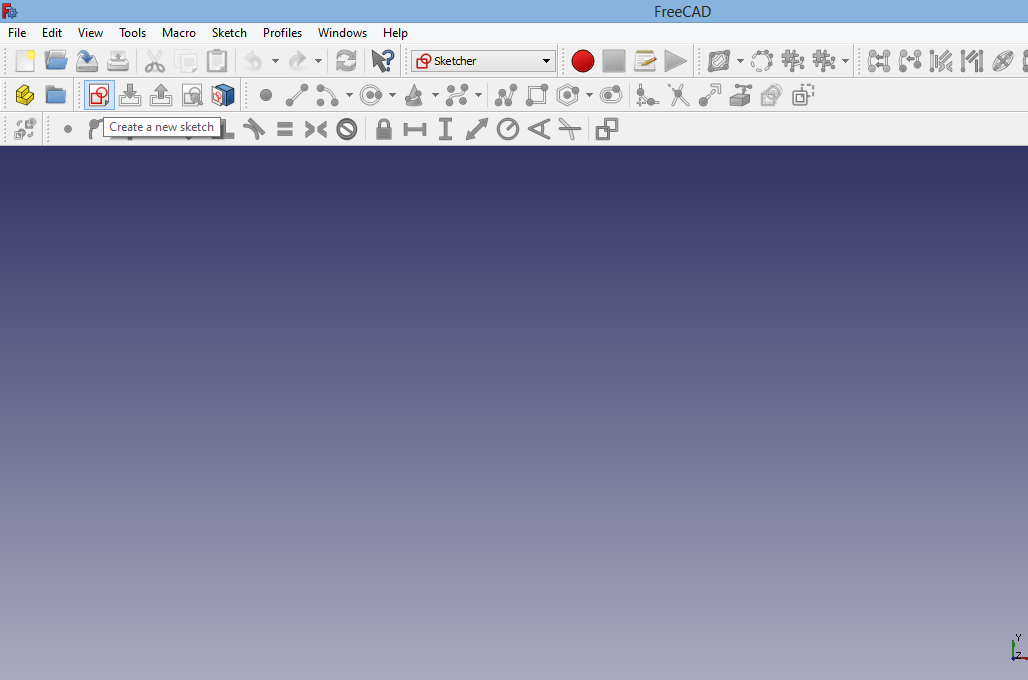
after that create new sketch
the choose the plane
click on line or press (L)
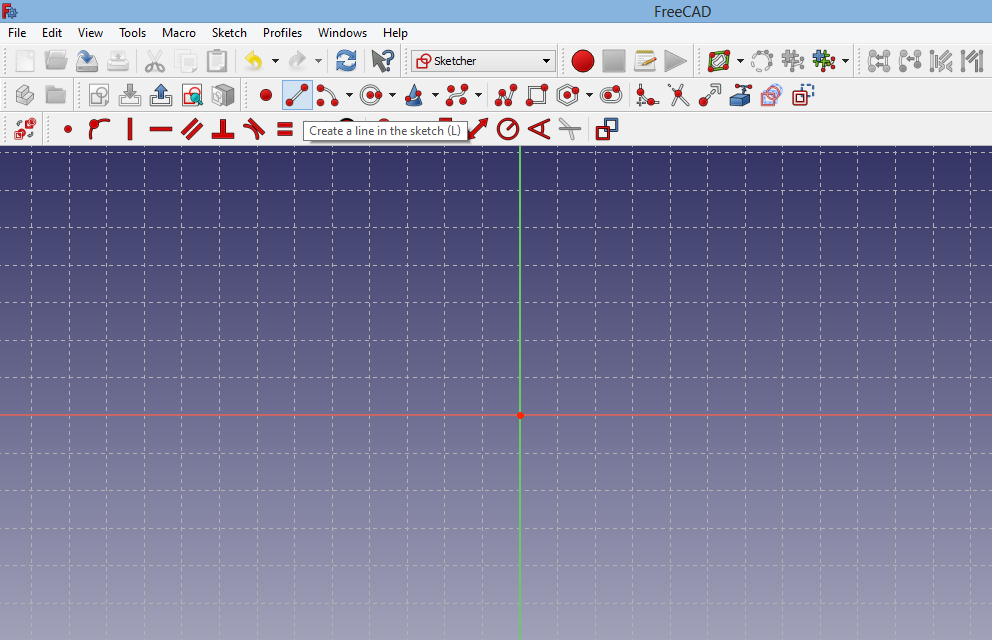
click on the sketch and draw
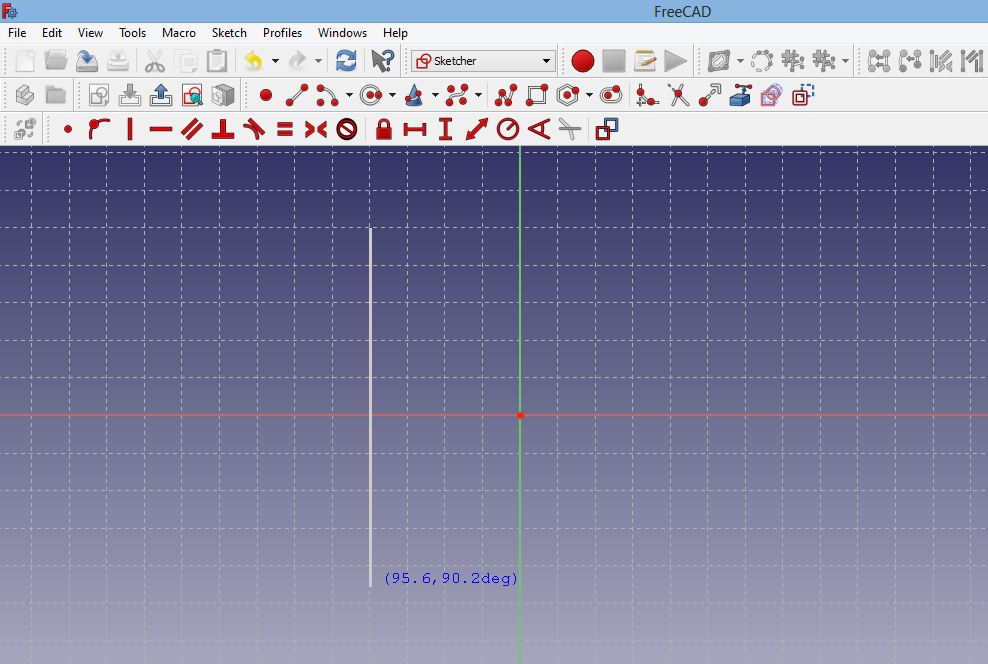
start from the end dot and draw a line
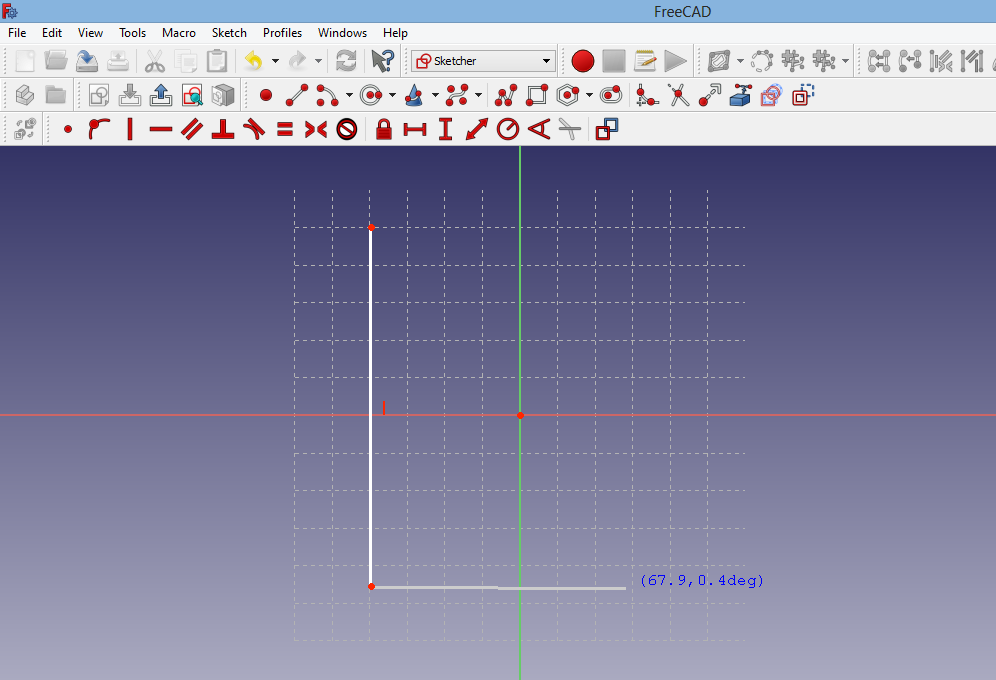
repeating the steps I ended with this design
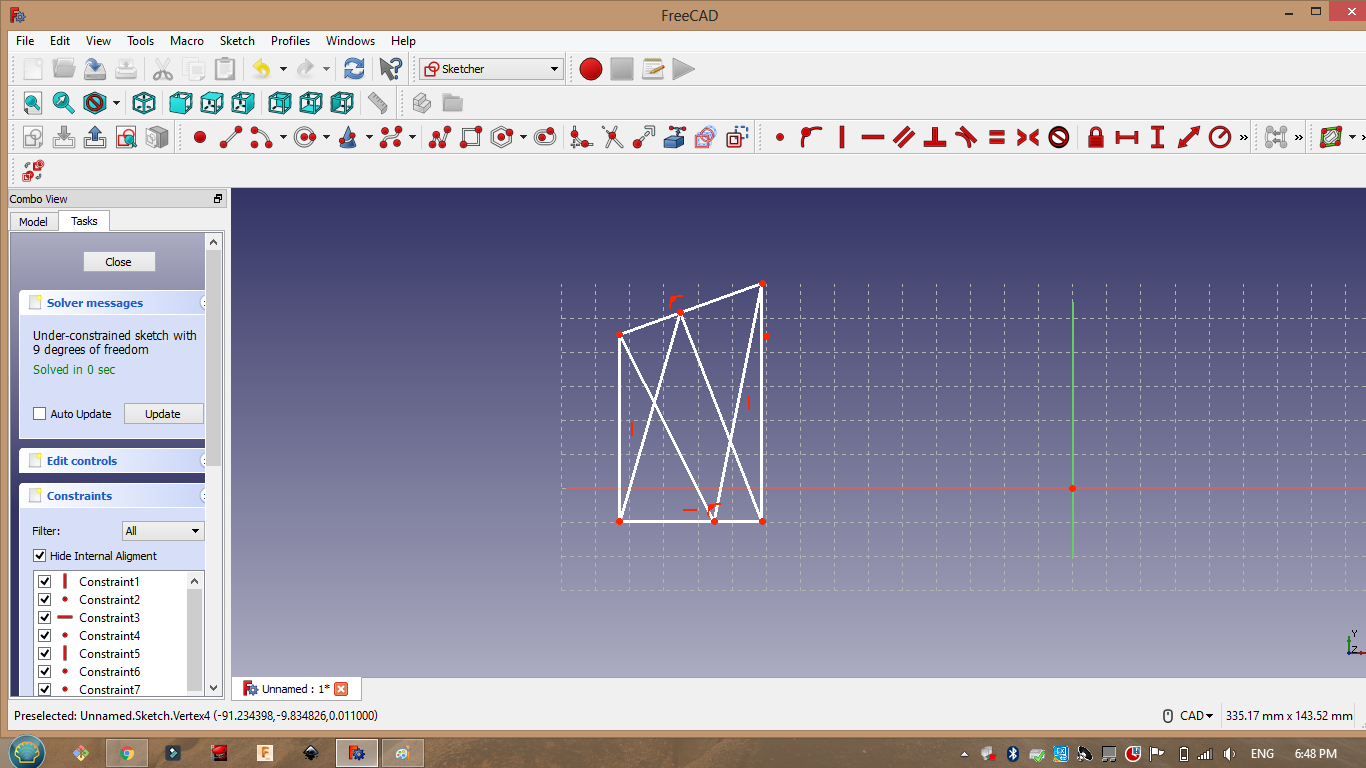
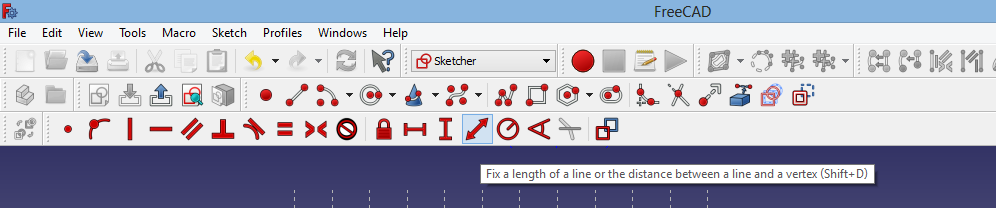
Then I added dimensions
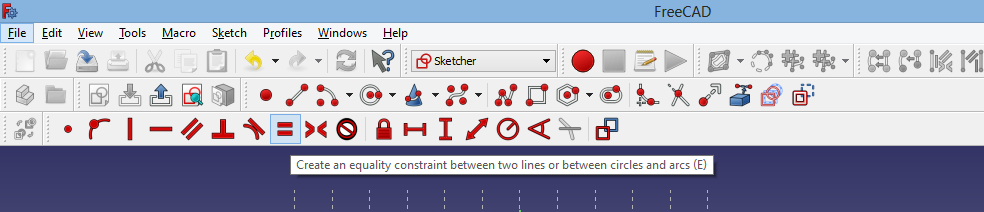
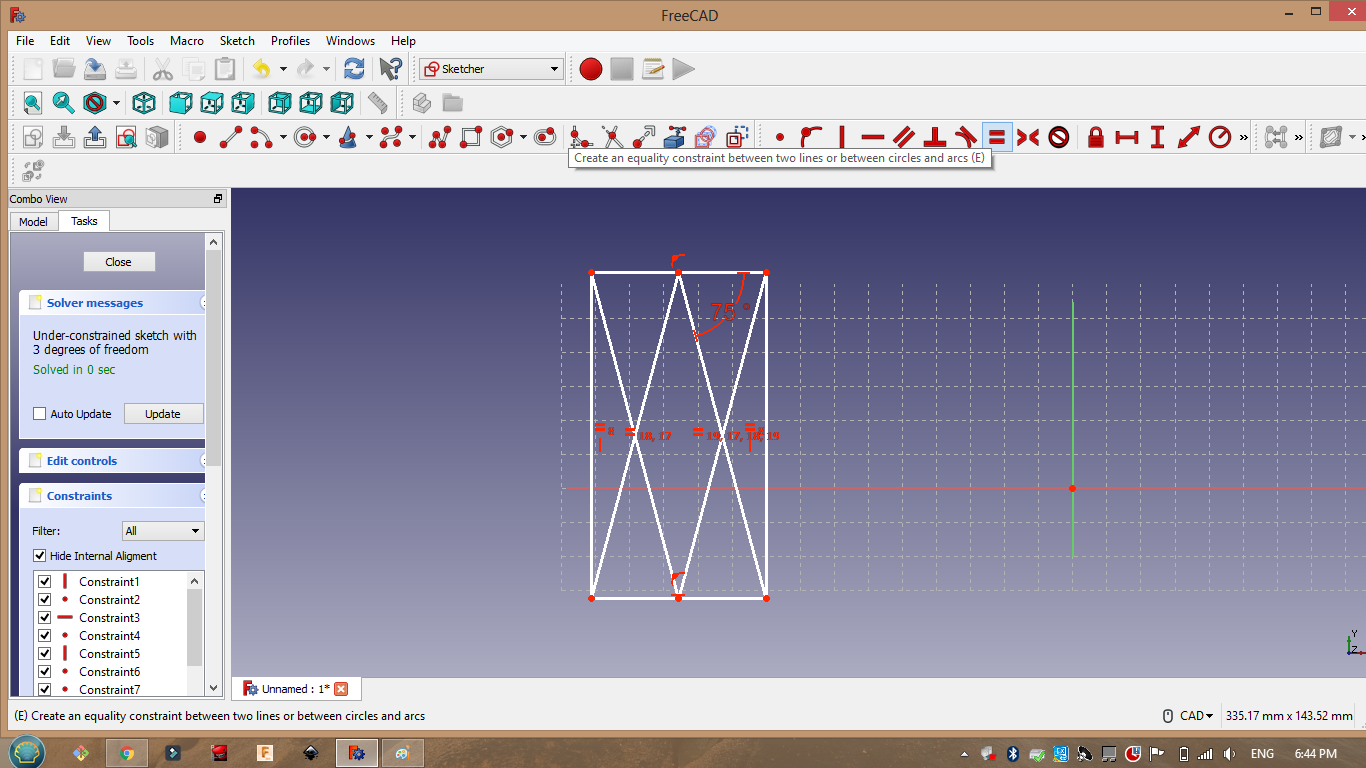
Then I used the equality constrain
parametric design
For the parametric design I used “equality constrain”:
I have also used the same tool in week 4 when we designed a shape like a hair comb to test the laser cutter presicion.
Another way to do it video
Gimp
I have used gimp in week 7 to make my black and white circuit design that will be milled by the milling machine I have also used gimp alot in week 11 and week 12 for the same reason.
3D
Basic concepts :
Now in 2D you will be able to imagine or draw a two dimesion or two axis project (Top ,Side ,Front ,bottom) each side will give you a clear idea of its presentation. However if you need a more clear detailed drawing you should use 3D modeling ,because it will help you view your project in a better way. In addition some 3D programes gives you the ability to test the stress analysis test on your project which will give you the ability to identify the weak points.
3D Programs :
As I did in the 2D programs I started exploring defferent programs by youtube tutorials so I can find the sutable program :
Using Fusion 360 I was able to present my project in a better way 👇 :
I learned fusion 360 basics using this video
Steps
This video show how I did it :

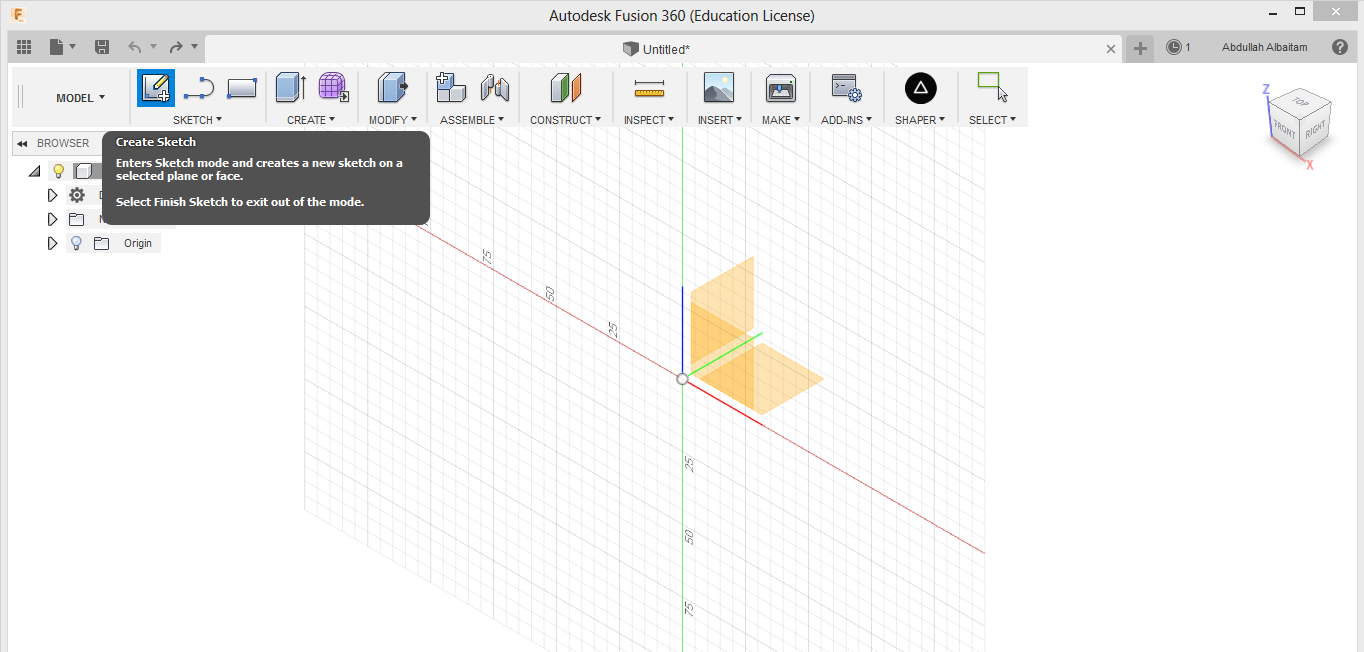
first create new sketch
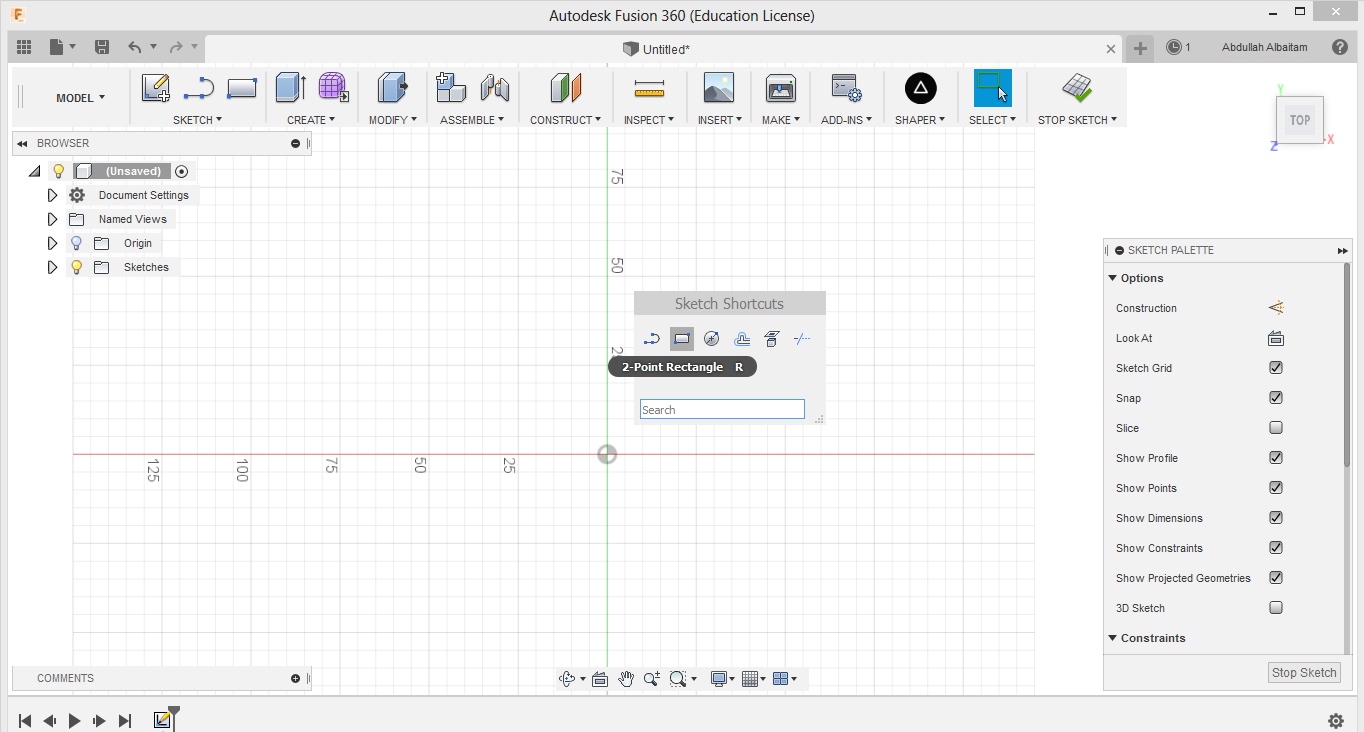
I started a new sketch the I draw a square using square tool if we clicked on (s) and searched for square it will apear.
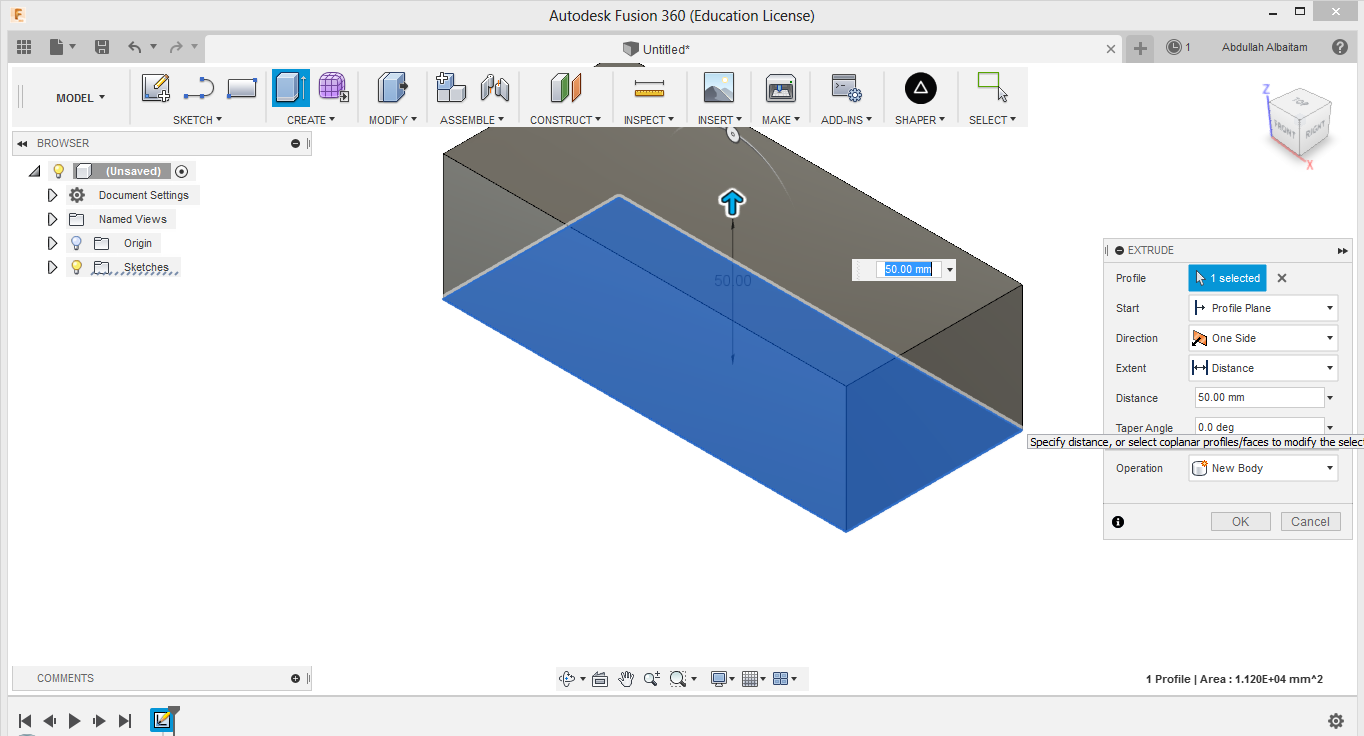
After that using (E) extrude tool I extruded the shape to make the ambulance model.
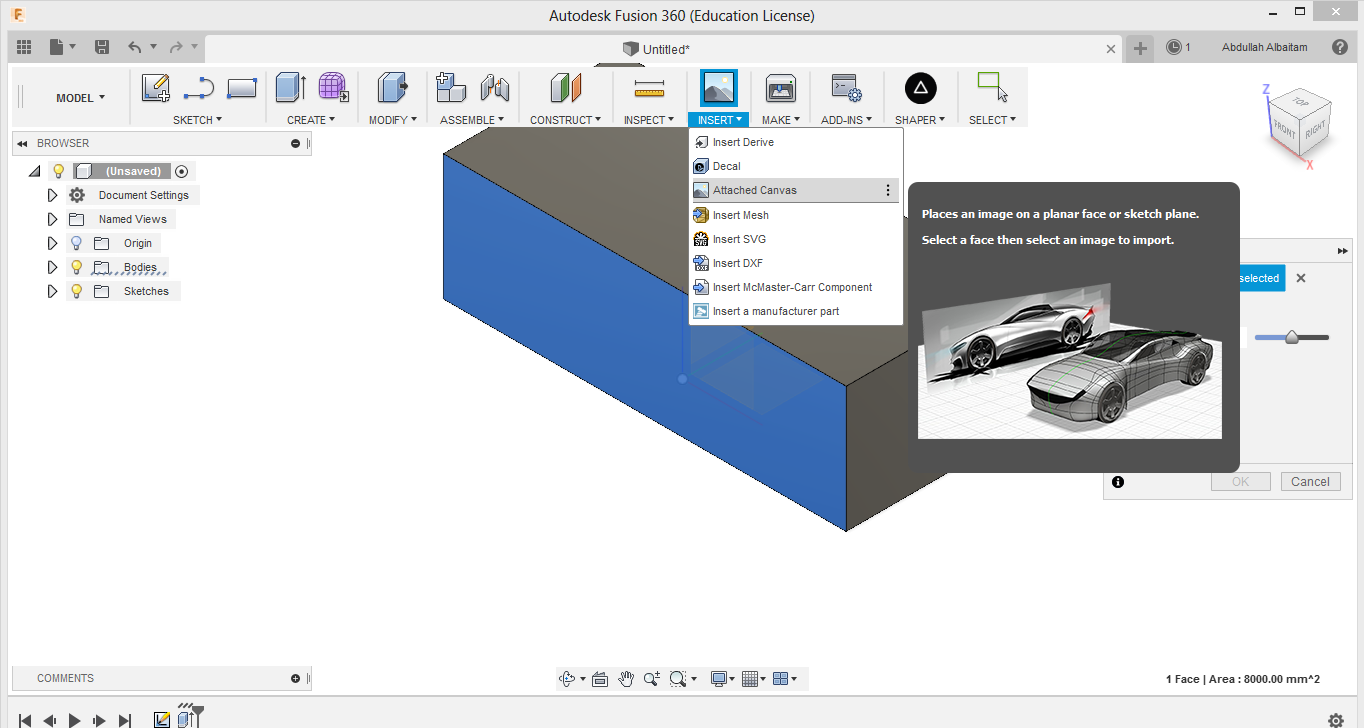
I imported some ambulance pictures to add a realistic touch to the model
Extra
For plan B :
To view it in a better way click settings > Environmet > Environment image visible on + use riverbank