3. Computer Aided design
Started trying different design tools.
2D
Rhino
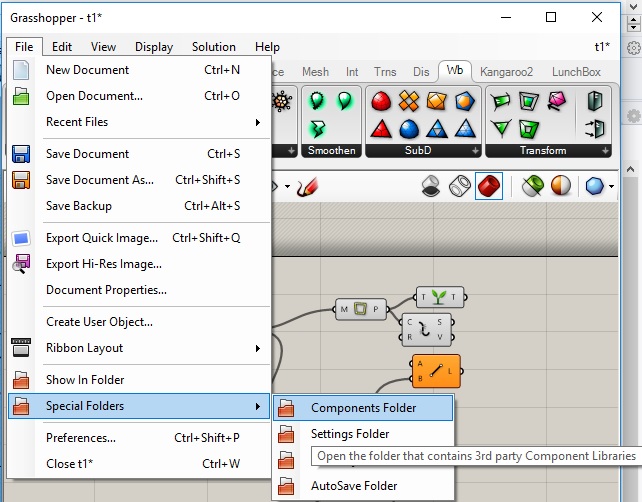
We had a session on parametric design on 1st of February in our local Fablab. I had to download the latest version of the Rhino software (Rhino 6 for windows). It is free to download and use for 90 days. I downloaded it from the this link Rihno. This version has Grasshopper plugin. We had to install several plugins Lunchbox, Weaverbird, Kangaroo Physics & Meshedit. Then, extracted the plugins in components folder.
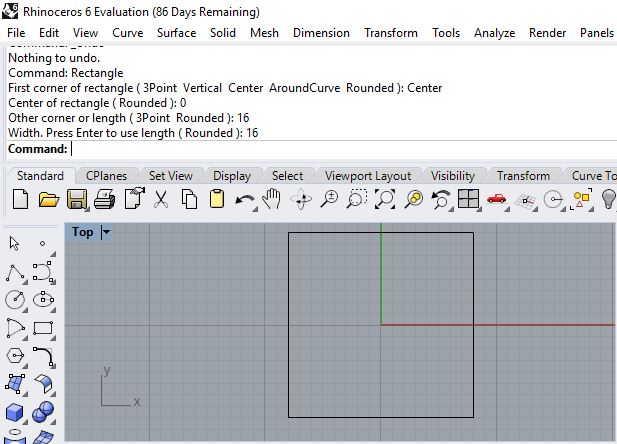
We tried several tools in Rihno & Grasshopper. I tried creating 2D designs by using command or by click on the tool icons. I tried creating a square using command in Rhino
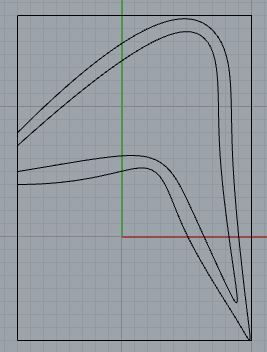
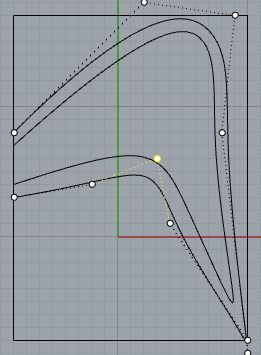
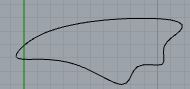
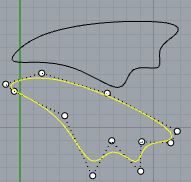
I tried drawing a wing inside a rectangle using curve tool, then tried to improve the shape by moving the wing points.
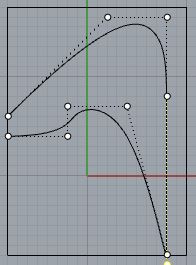
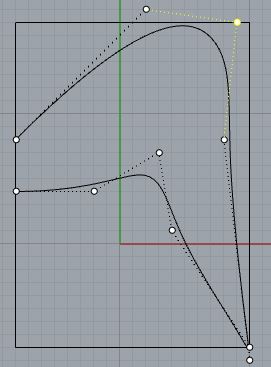
Then, I duplicated the wing & tried to minimise it’s size by pulling the points.
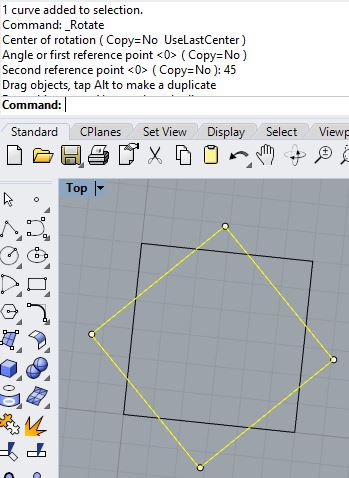
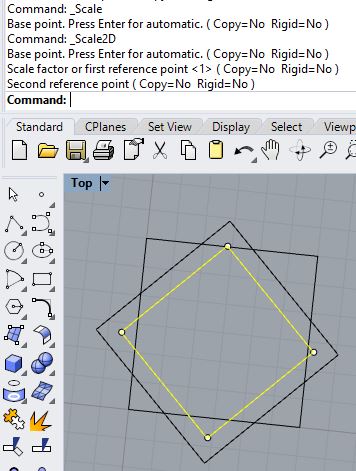
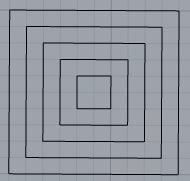
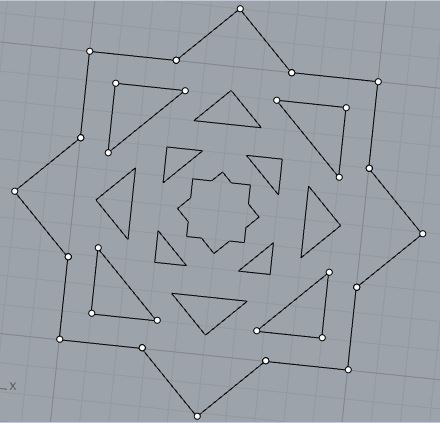
Also, I created a square, then duplicated it then tried rotaing it using the rotate tool. Then, I created a copy of the rotated square and used the scale tool to reduce it’s size.
I had some problems when I tried to create several squares inside each other in the sizes that I wanted. So, I created a set of squares inside each other, then copied them & rotated the copied ones.
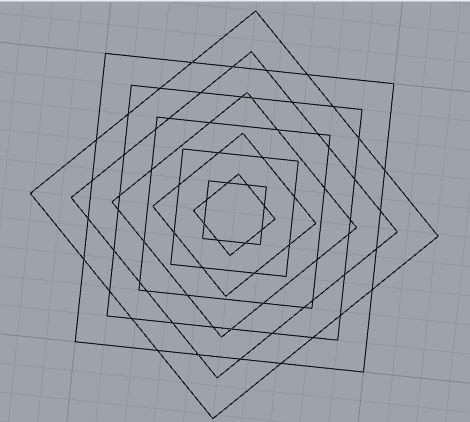
Then I used the trim tool to trim some lines.
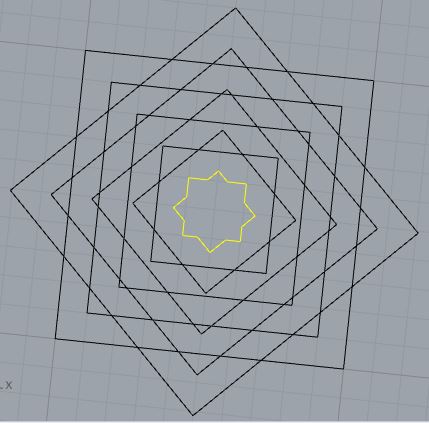
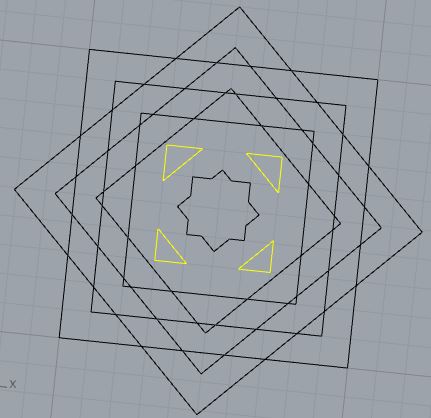
Till I got this resualt
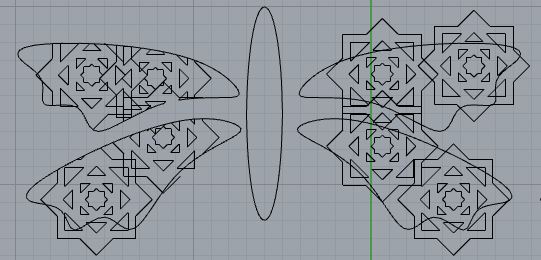
I tried using the design in the wing & to come up with a different design.
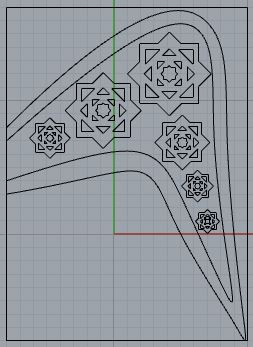
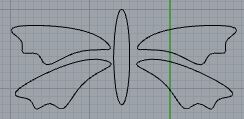
I tried to create a better shaped wing, and this is what I came up with. Then I duplicated it & mirrored it to create a butterfly.

Then,I tried addind some of the previous shapes that I created inside the wing, then I trie to trim & delete some parts but I didn’t like the outcome.

File download Rhino (right click + Save link as)
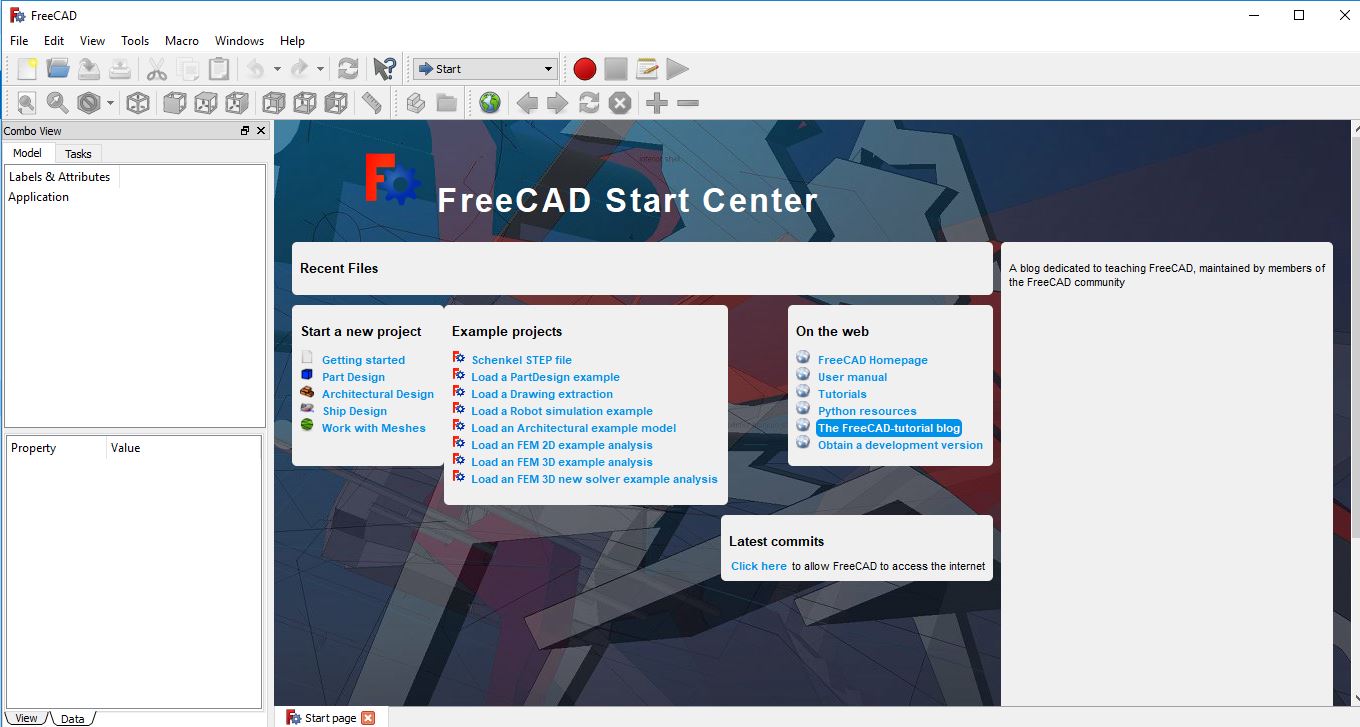
FreeCAD
I tried FreeCAD to do parametric press-fit construction kit. It was easier to use than Rihno but I still had difficulties to make the kit.
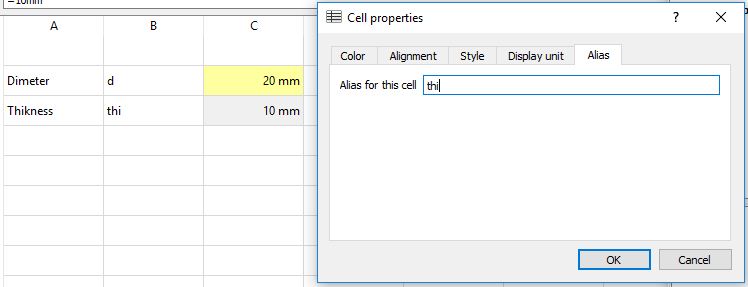
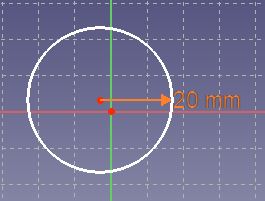
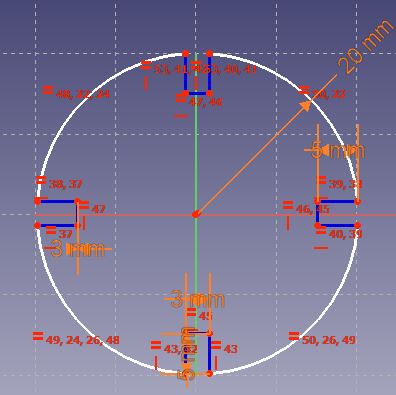
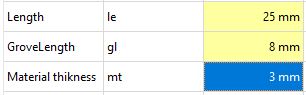
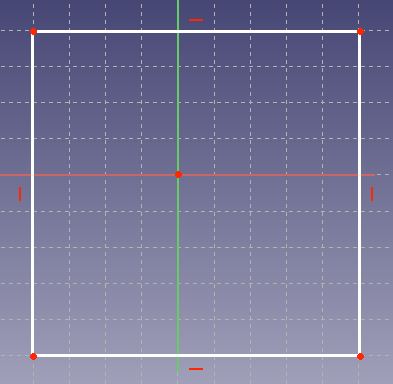
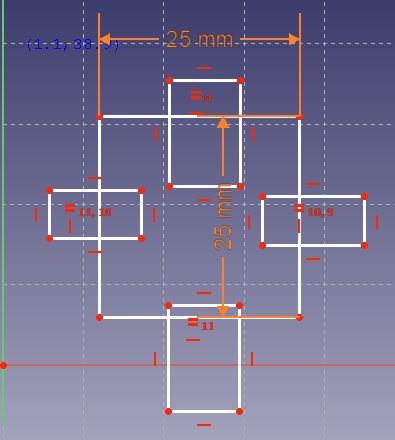
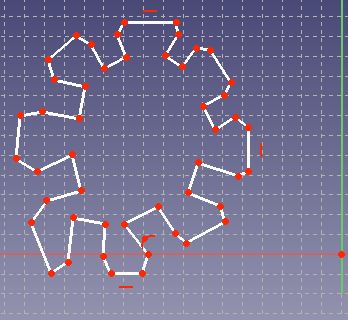
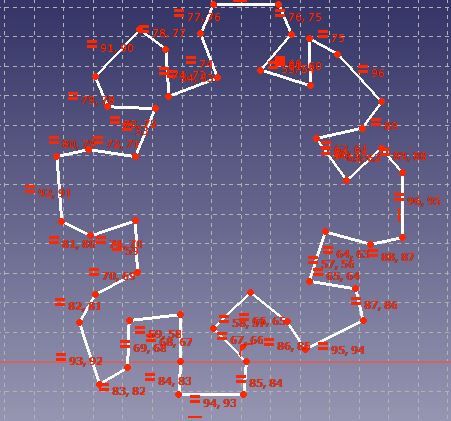
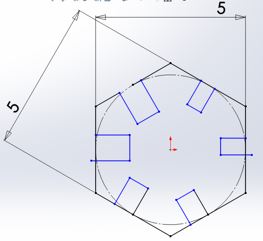
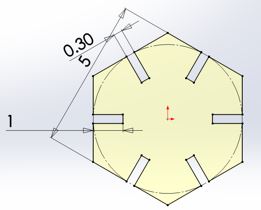
First, I tried adding the dimentions in a spread sheet & then use them in graph. Then I created a circle & tried various tools like trim tool, equal tool, create a rectangle & fix radius tool for a circle or an arc
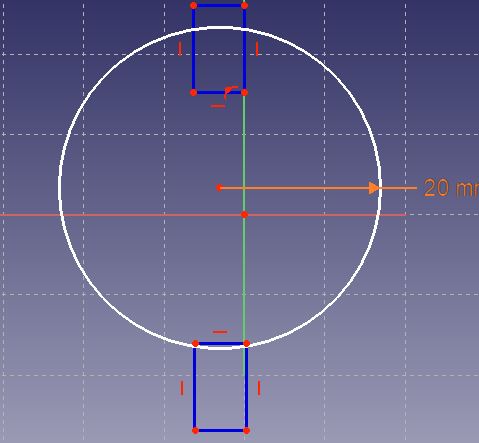
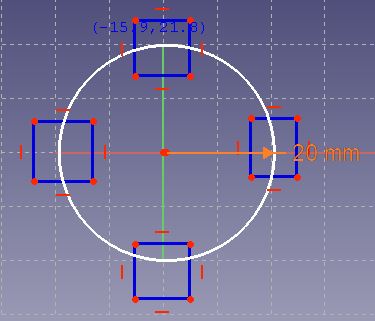
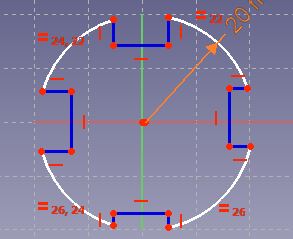

I got some errors in my final sketch, I tried solving them, some of them were solved but not all of them.
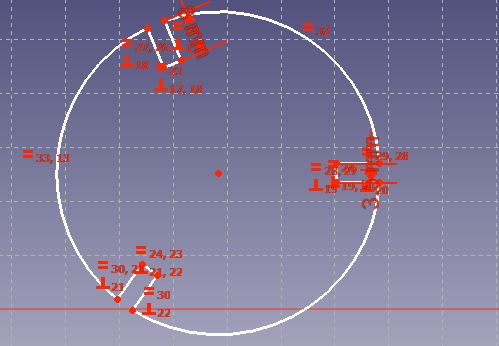
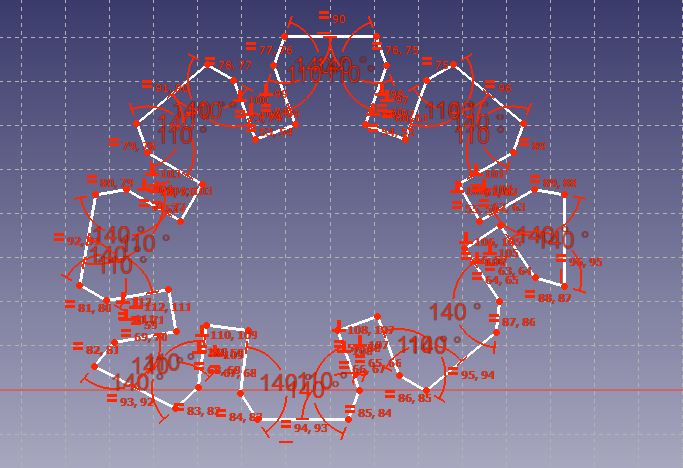
Then, I tired with other shapes & ways, but still I didn’t get the result that I wanted.
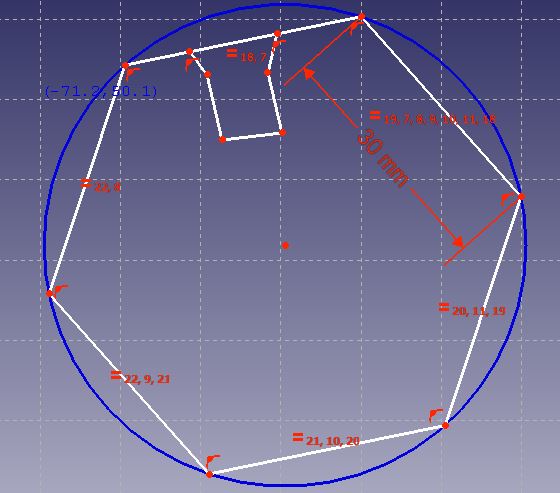
Then I tried to draw a shape & set it’s sizes & angles but couldn’t get the result I wanted.
Solid Works
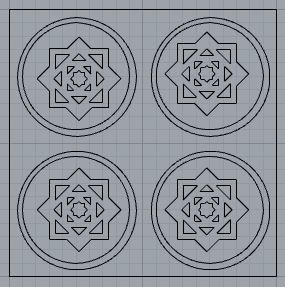
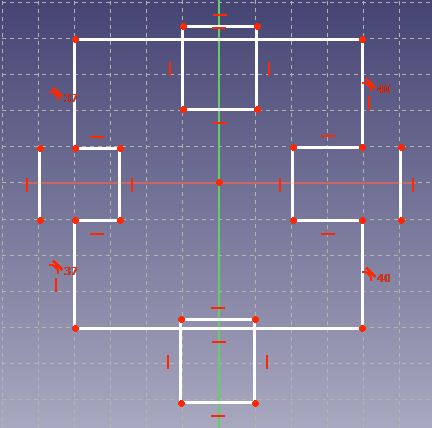
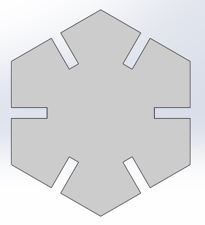
While I was trying to create the press-fit kit, my friend saw that I was suffering with it, so she showed me how to do it using Solid Works. It looked was much simplier & easier.
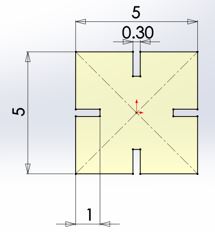
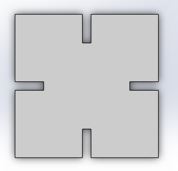
So, she letted me borrow her laptop & guided me to use it to create another shape.
and this was the final result
File download shape 1 (right click + Save link as)
File download shape 2 (right click + Save link as)
3D
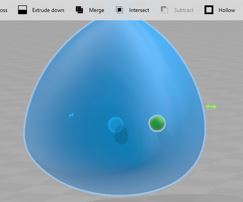
3D Builder
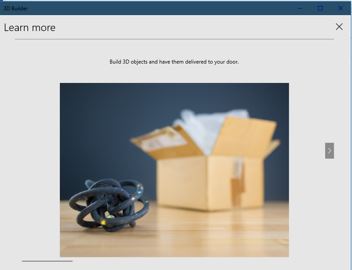
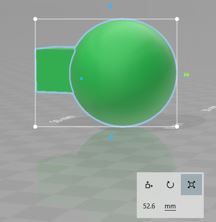
I have never used 3D design so I decided to try to use 3D builder since it was already installed on my laptop. I went through learn more.
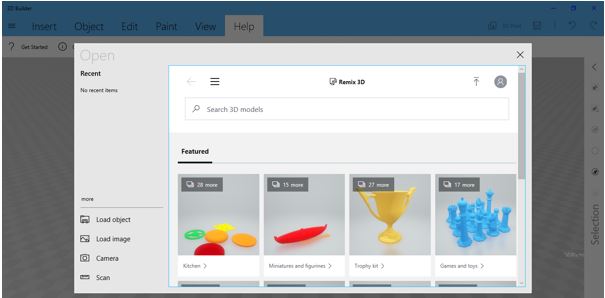
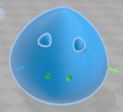
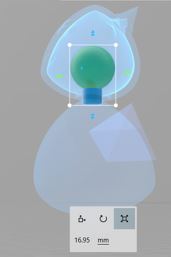
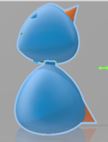
I tried exploring & trying different shapes & tools to make a dragon head.


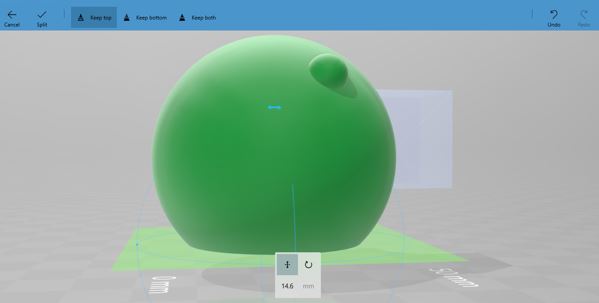
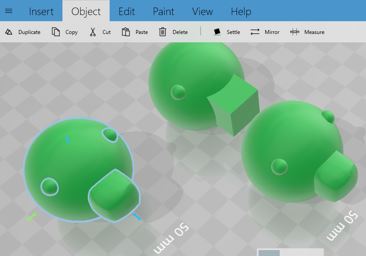
I didn’t like the outcome of previous attempts, so I tried using different shapes to make the head.

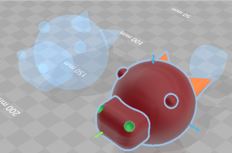
This was the final result
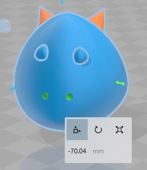

File download Dragon
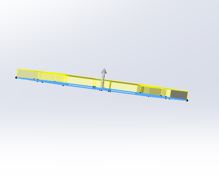
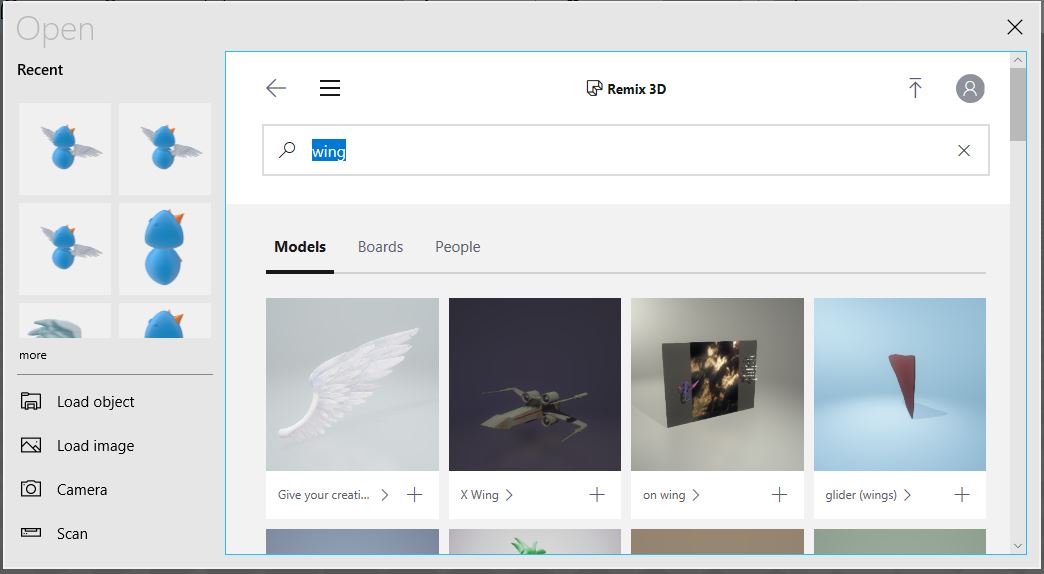
Worked more on the design for week 6 assignment


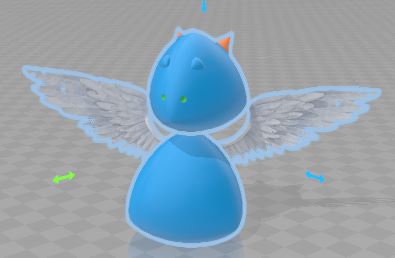
download (right click + Save link as)
Other Weeks
You can find more 2D & 3D designs in molding & casting week & in computer controlled machining week final project