10. Molding and casting
This week I worked on defining my final project idea and started to getting used to the documentation process.
Group Assignment
You can find our group assignment in this link.
Ring
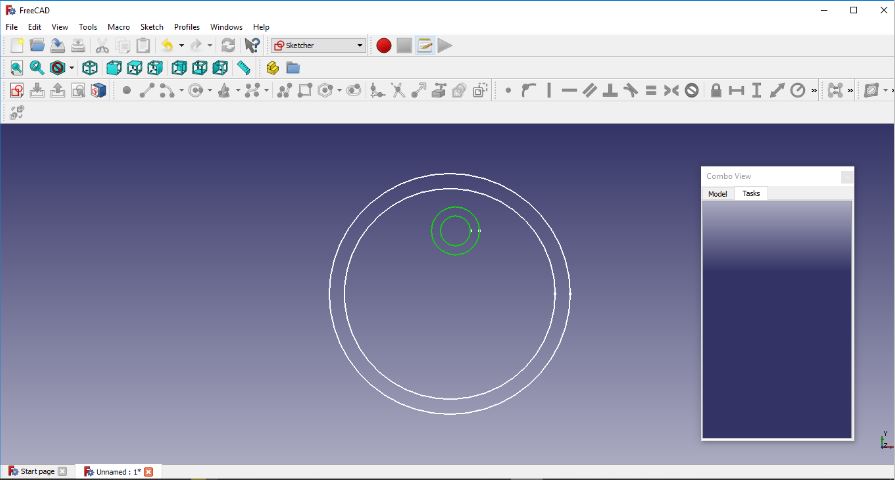
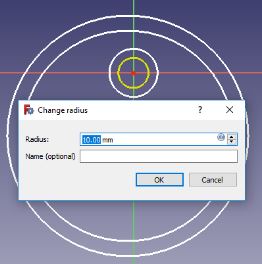
I designed a ring & bracelet using FreeCAD program & made the internal radius of the ring to 10 mm. I saved the file as SVG. First, we tried to test with the ring since we had a small free area in one of the waxes.
Download (right click + Save link as)
I opened the file in GIMP software & cropped the ring & made changes to the colours & saved the image in png format.

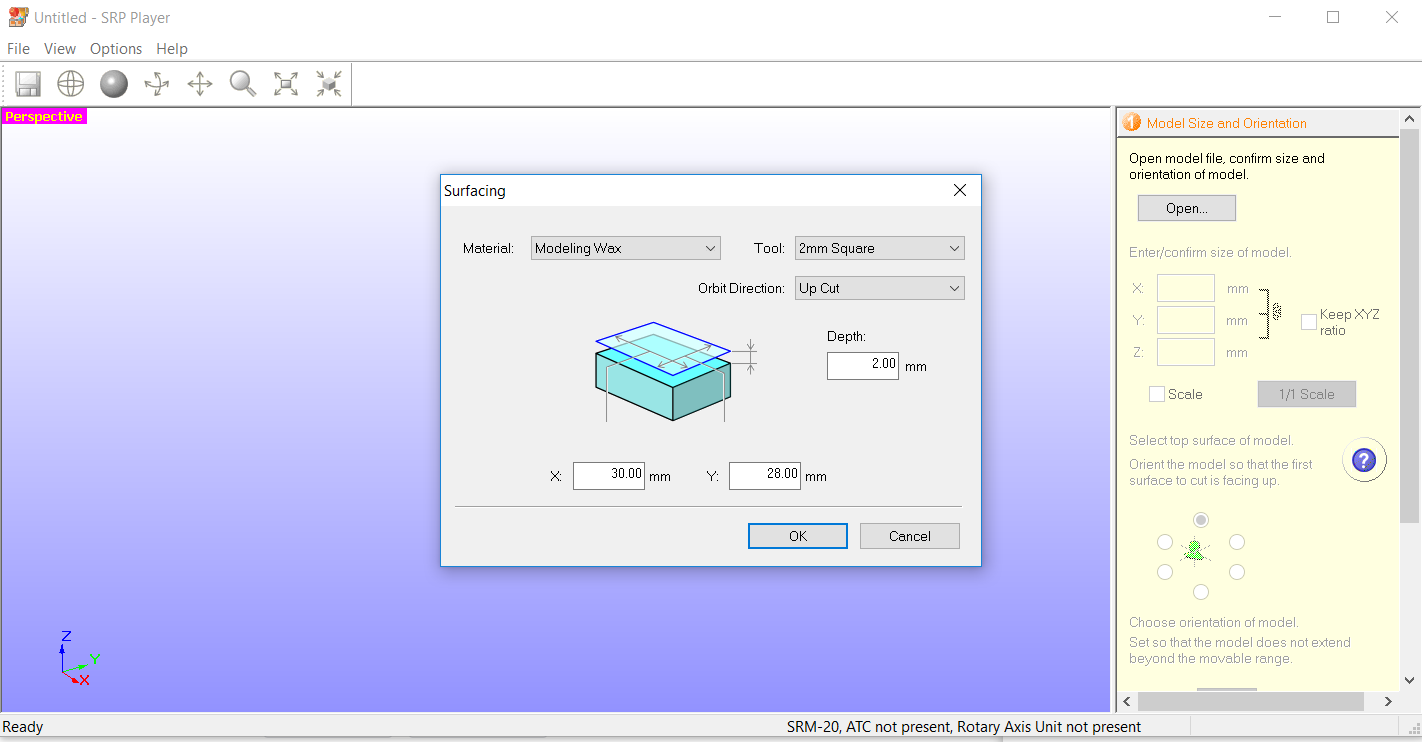
Then, we used SRP played to do surfacing by selecting the following settings:
- Material: Modeling Wax
- Tool: 2mm Square
- Orbit Direction: Up Cut
- Depth: 2mm
- x: 30mm
- Y: 28mm
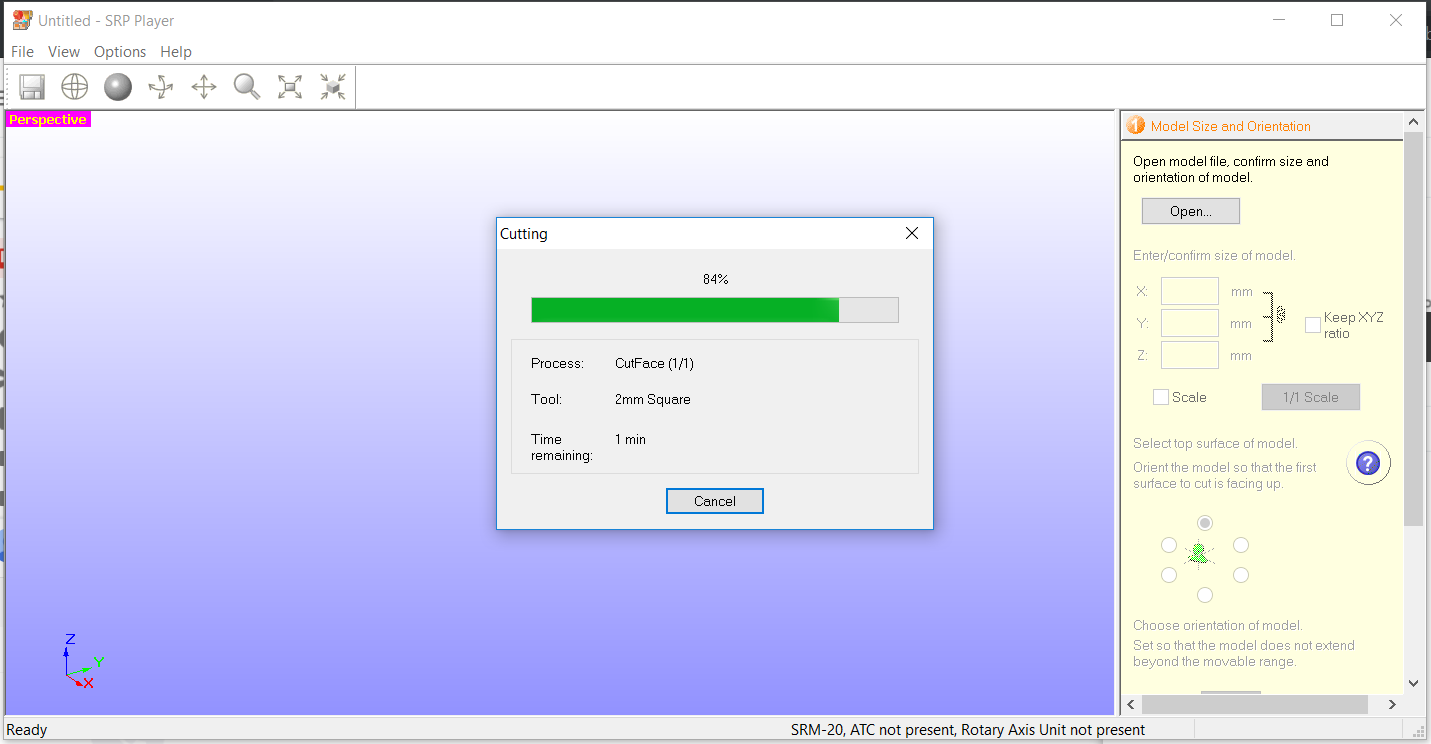
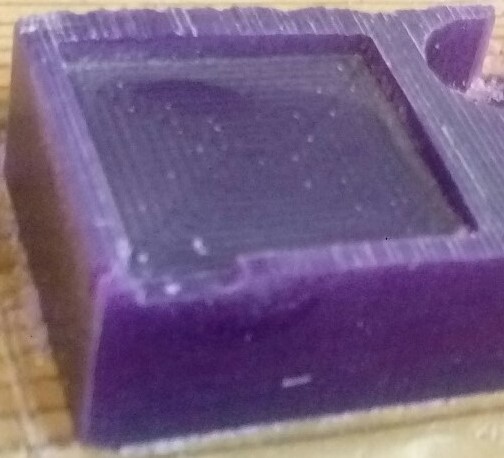
The surfacing went well (part of the wax was broken from before).
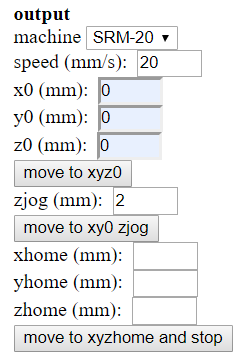
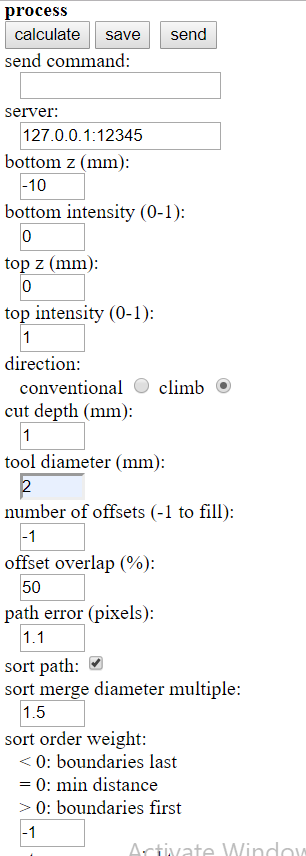
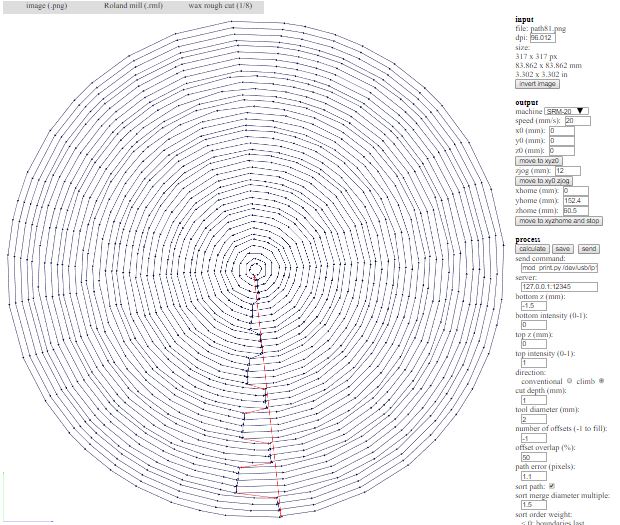
Then, we did tracing using Fabmodules & these were the settings:
- input format - PNG - select your traces image
- output format - Roland mill (.rml)
- process - wax rough cut (1/8)
- machine: SRM-20
When I chose these settings other settings like speed were filled automatically.

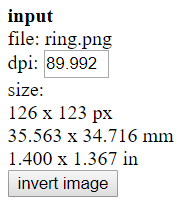
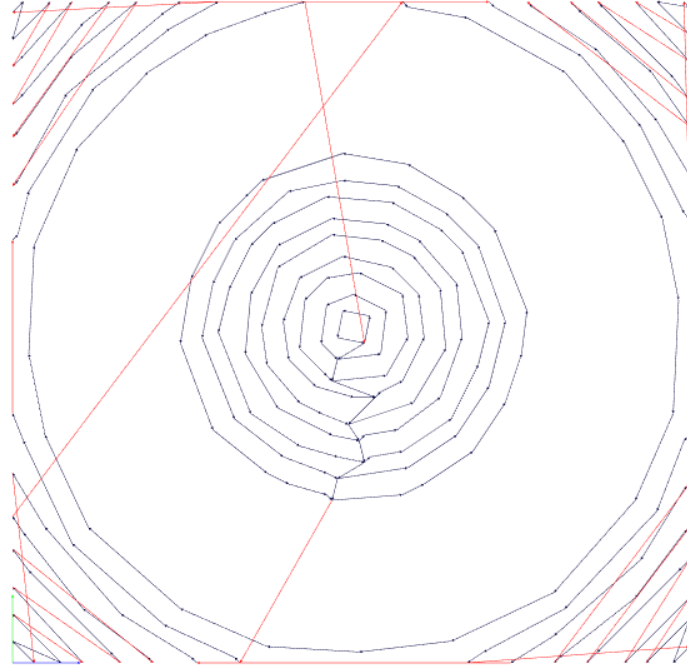
It was a failed attempt because the image size was bigger than the surfaced area.
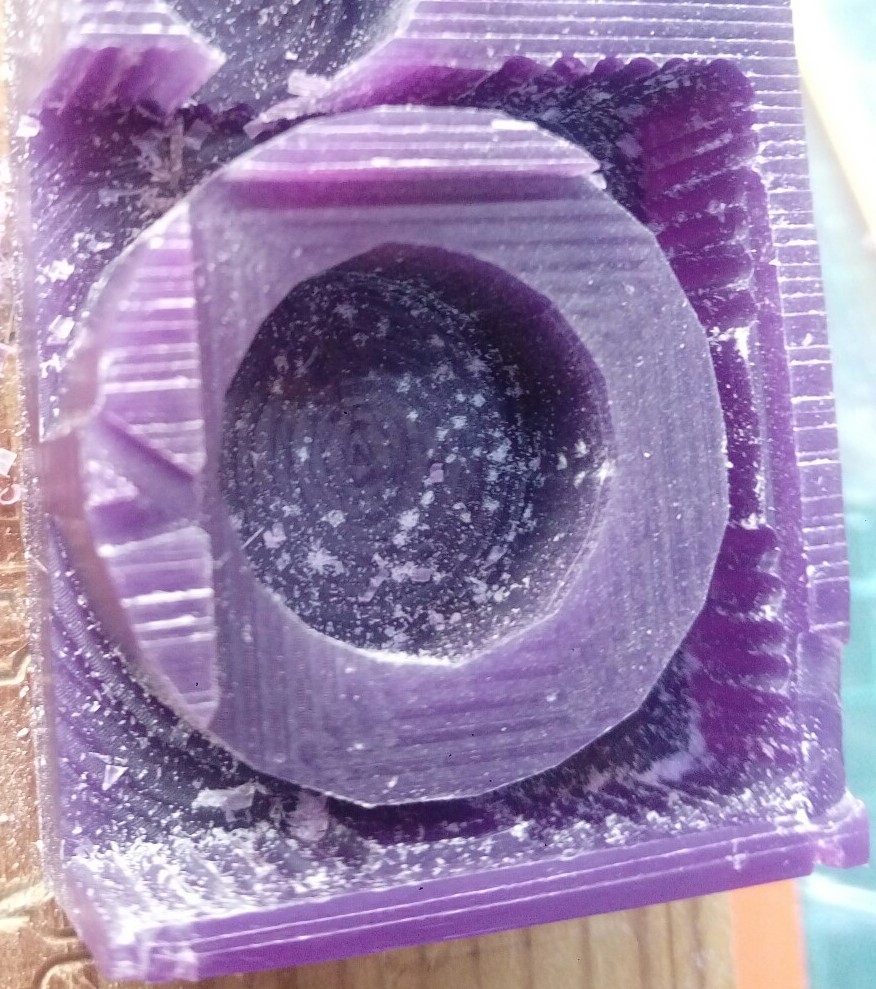
But I tried to use it to make a mold by removing some of the wax & putting a support on the side.
I used silicon to make the mold. Here is a link to the datasheet.
VBS26A/B is a pourable and also suitable for pumping 2-part addition cure silicon elastomer system. After mixing parts ‘A’ and ‘B’ in the correct proportions, the system will cure at ambient temperatures within 24 hours, but the rate of cure can be accelerated by heat. The cured rubber exhibits excellent physical and electrical properties.
Key Features:
- Low viscosity
- Easy 1:1 mix ratio
- Fast cure
- High tear resistance
- Gel time 8 minutes at 22C
- Pot Life mins 7 mins
First, we added water to the wax model & measures the amount to know the amount of silicon needed to create the mould. There are two types of chemicals that should be mixed,the base and the catalyst, in equal amounts. Measured the amount measuring the weight of each material. Mix slowly and gently to prevent bubbles from forming. Then, pour the mixture into the model. To reduce amount of bubbles I gently hit the mold to release some of the bubbles & when I saw big bubbles I popped them with a tool.
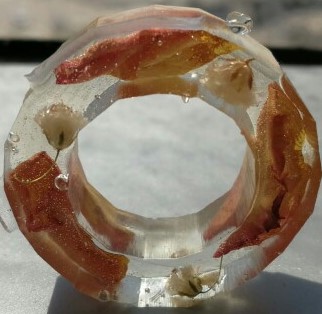
I used resin to make the ring
Health & saftety precautions:
It might cause skin irritation. Users advised towear protective overalls, eye goggles & rubber gloves. If it spilled on skin, wash it immediately with water & soap.
Specifications:
-
Pot life at 35/25 C: 30/60 minutes
-
Touch Dry at 35/25 C: 3/6 hours
-
Re-coat interval: 16-48 hours
-
Full Cure: 7 days
-
Number of coats: 2 minimum
& this is it’s datasheet.
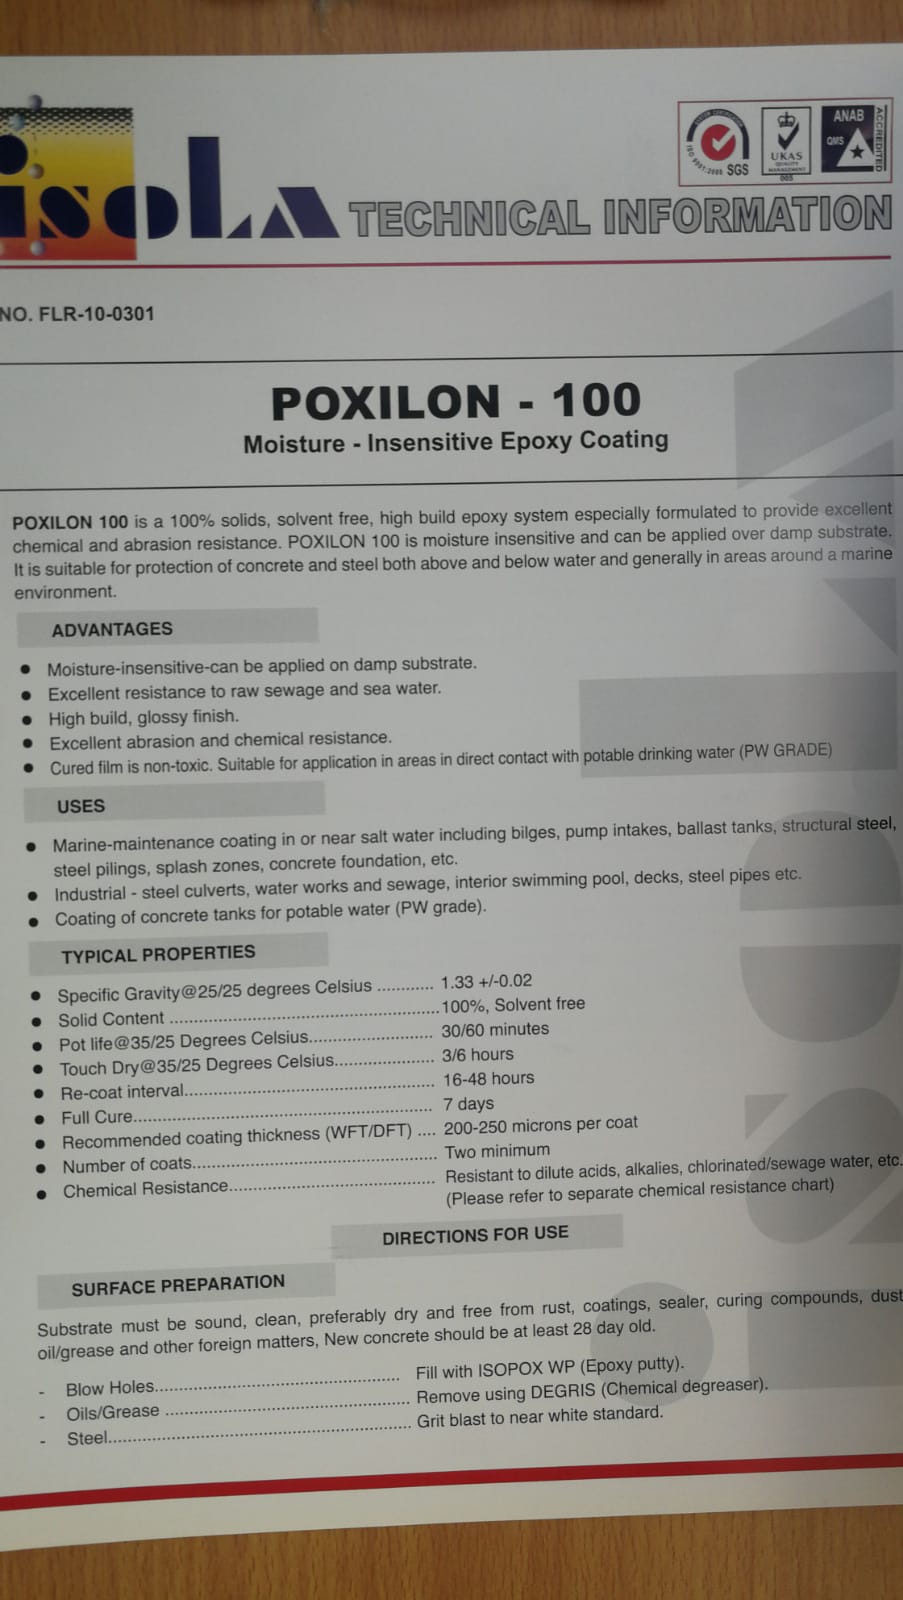
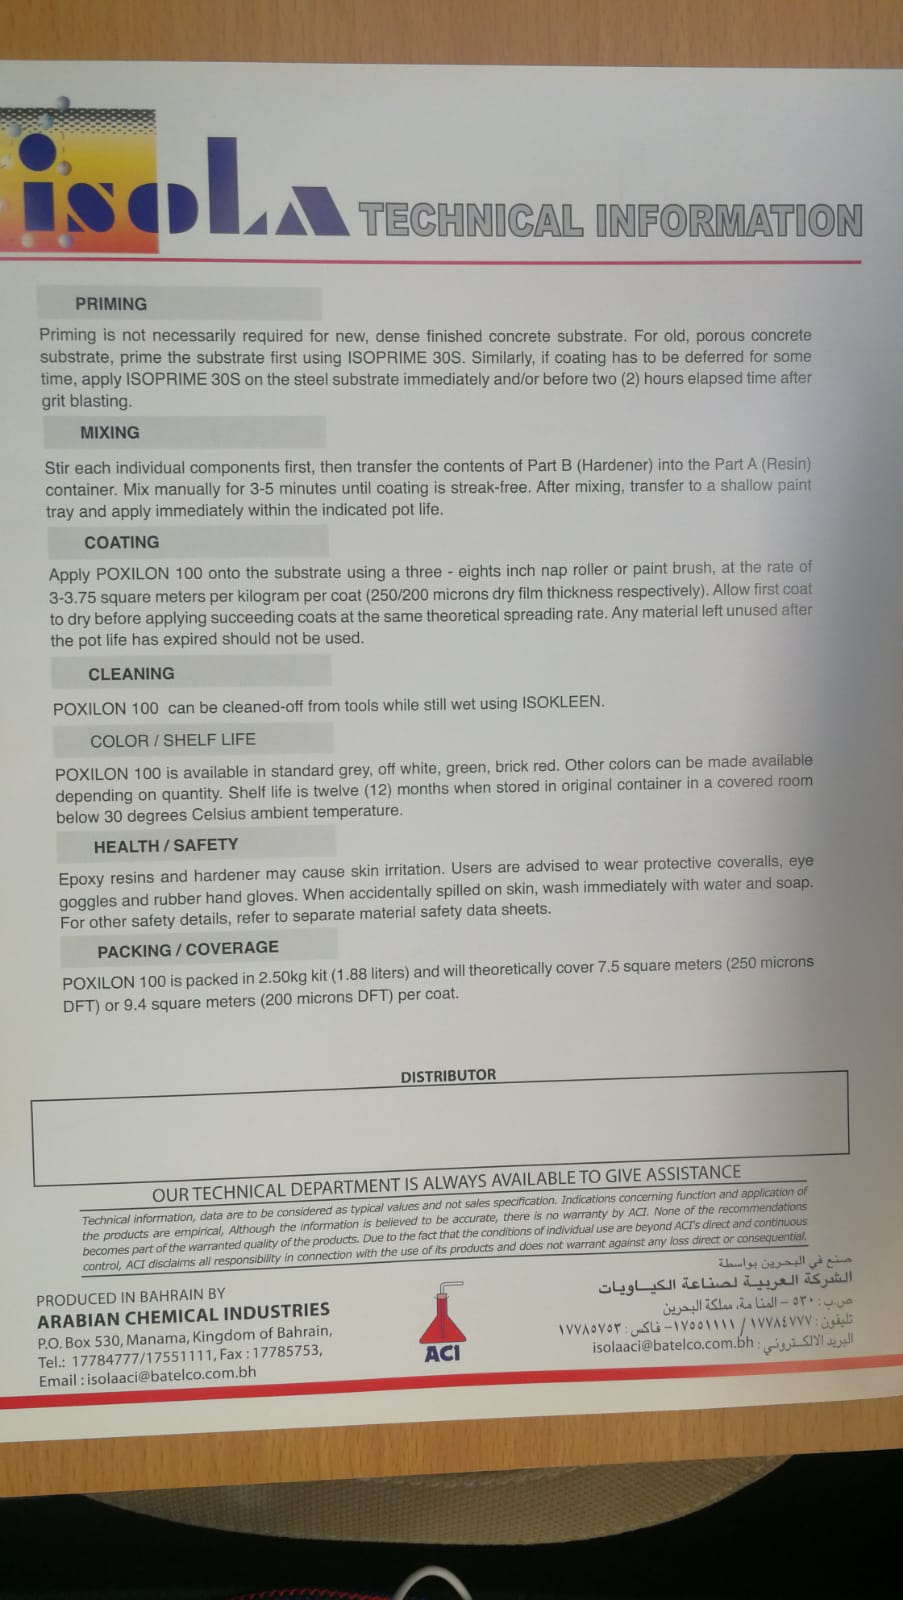
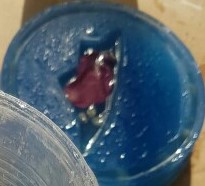
To make the resin, we needed to mix 30% of the hardener and 70% of the material. Measured the amount measuring the weight of each material. This was the final result.
Bracelet & key chain
This is the wax I am planning to use, so I decided to make a bracelet & a key chain.

I used Inkscape to design it. First, I drew several circles to make the bracelet.
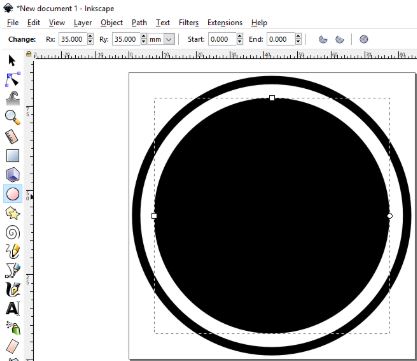
Then, I added the wing I designed in week 3 ( design link ) with a circle for chain hole.

Final result

Download svg (right click + Save link as)
Download (right click + Save link as)
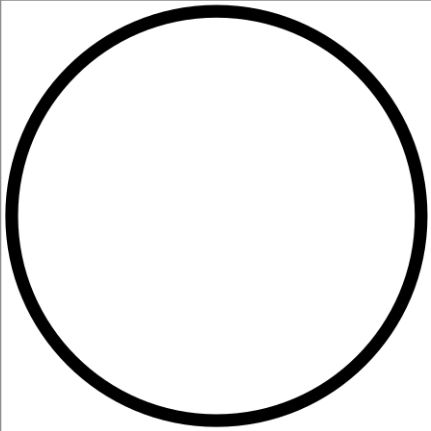
Since the wax surface shape was a circle, I made another image to do surfacing

I did tracing for surfacing image & bracelet & chain image using Fabmodules.
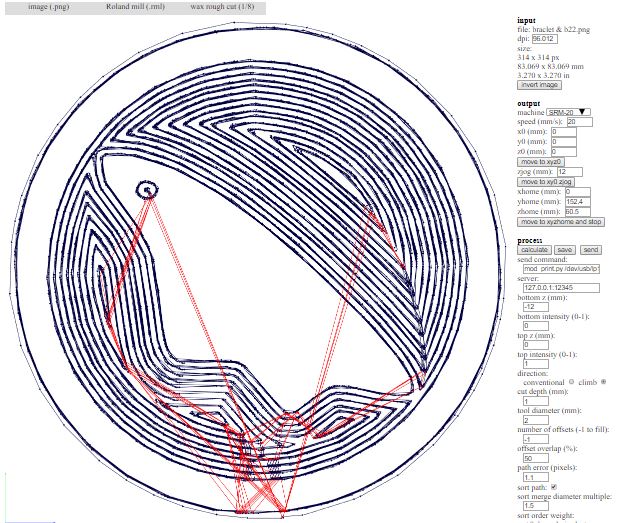
Then, I used VPanel for the whole process using 2mm milling bit.
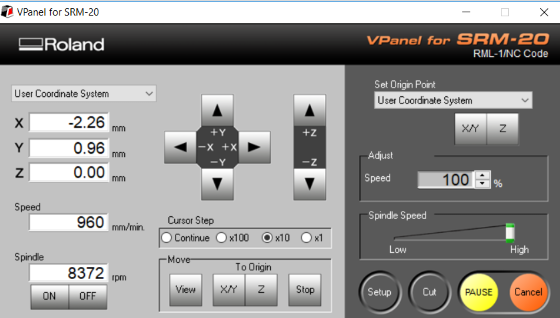
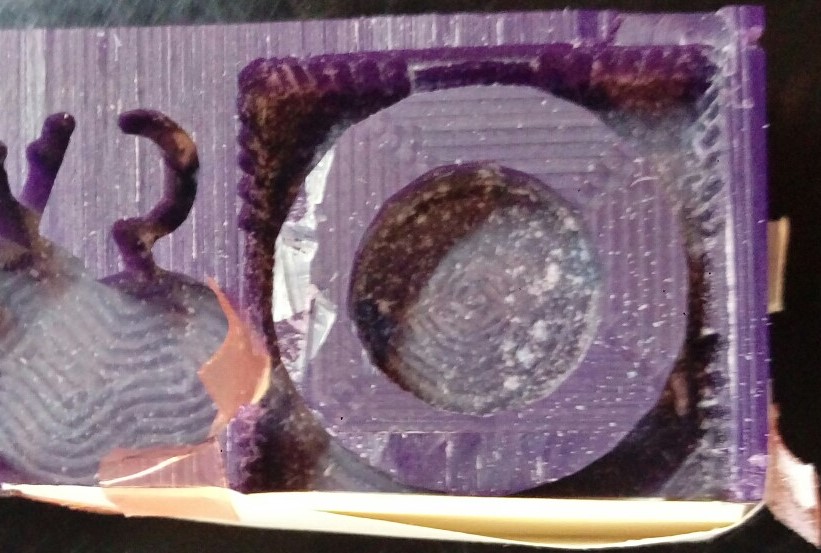
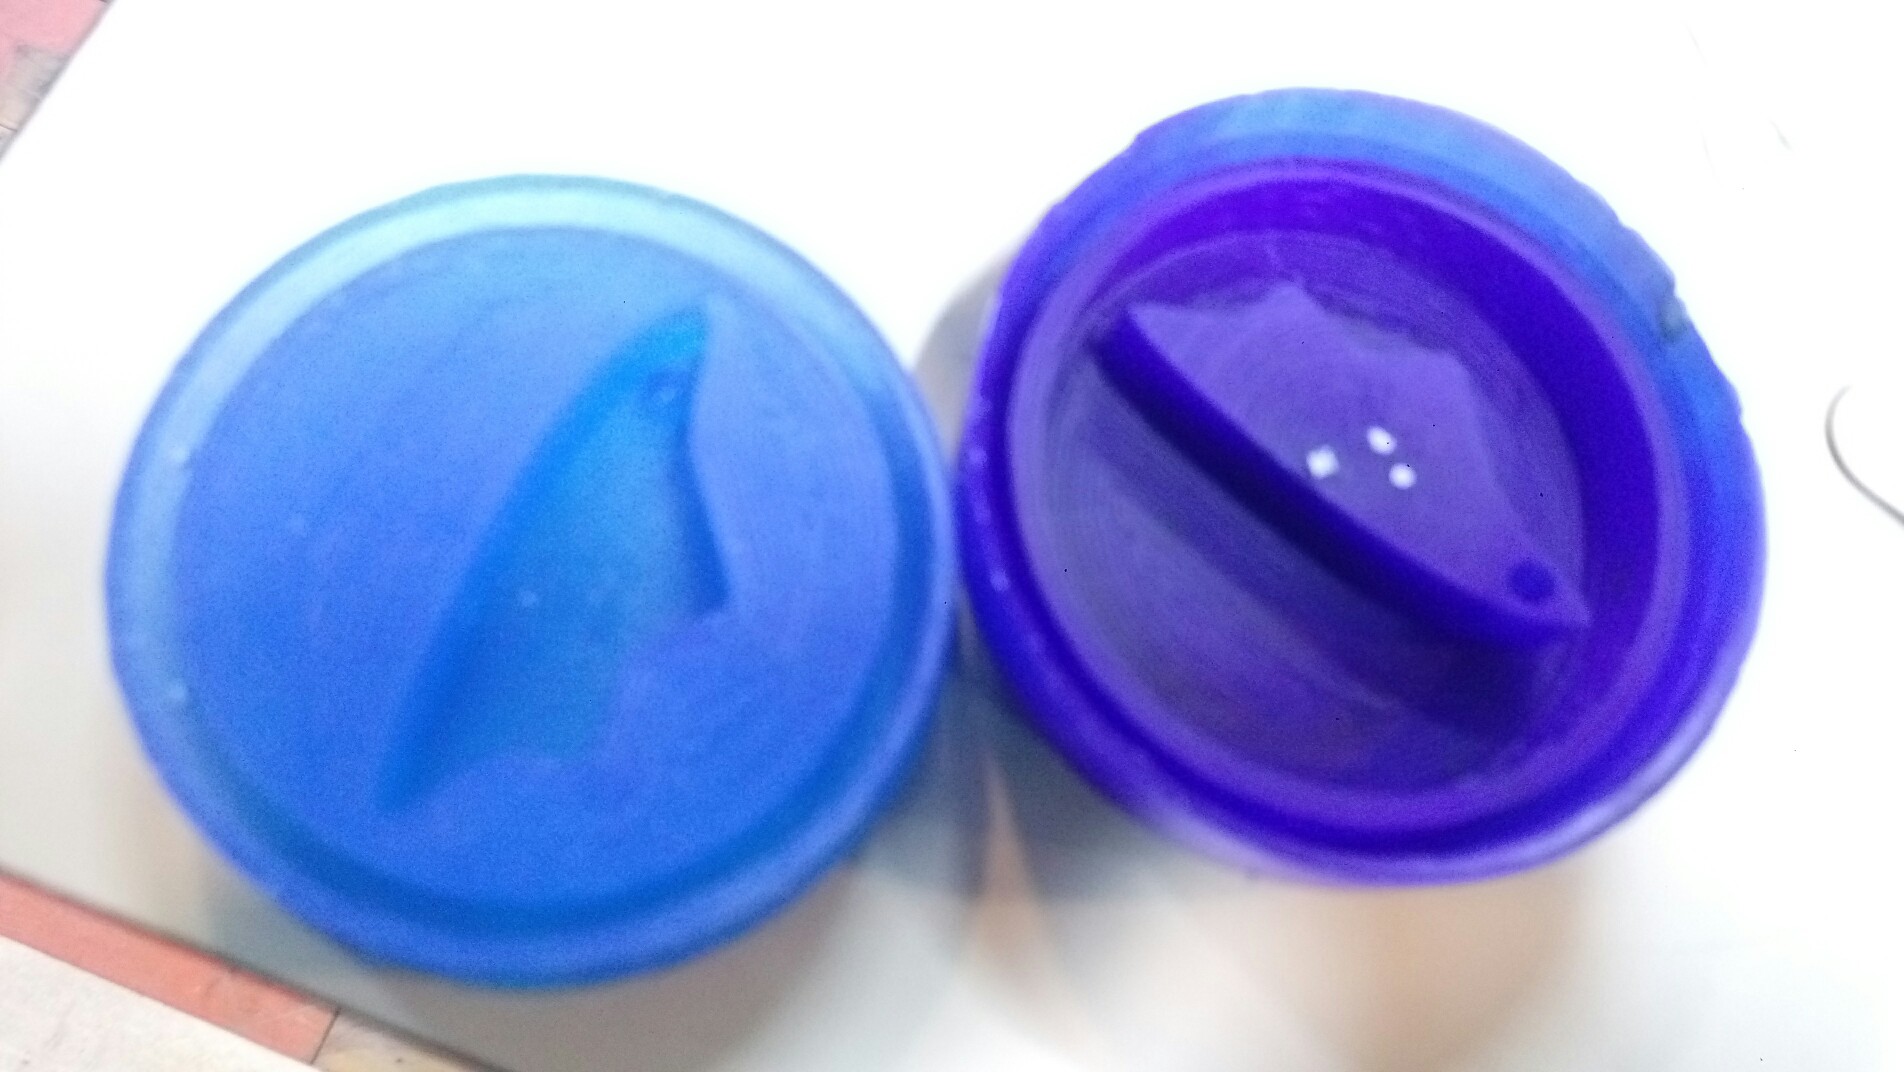
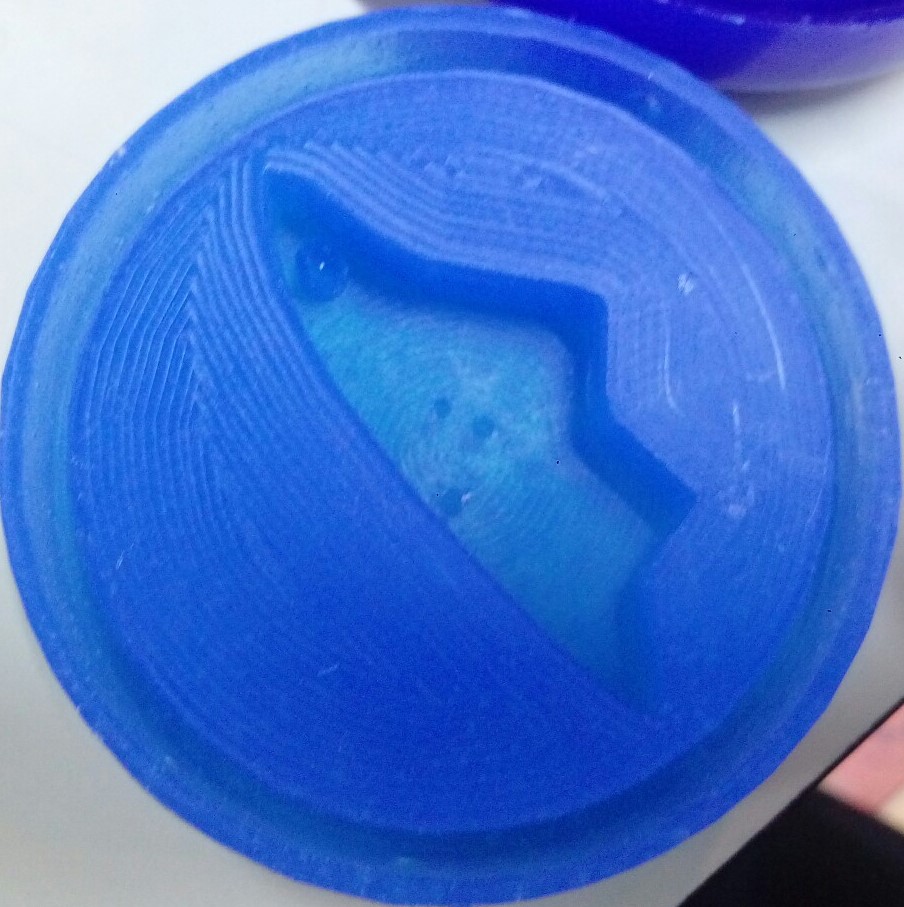
First, I set the origins & did surfacing. Then, I did the milling for the design. This was the result

There were some holes in the wax, so we tried to fill them using hot wax but it didn’t work. Then, we filled them using BLU TACK & it worked.
Then I used it to make the mold using silicon. The part which was meant to create the chain hole wasn’t fully created because the silicon didn’t go through to the end because the hole is small & it’s possible that I didn’t clean the hole well.
I used resin to make the bracelet & chain.
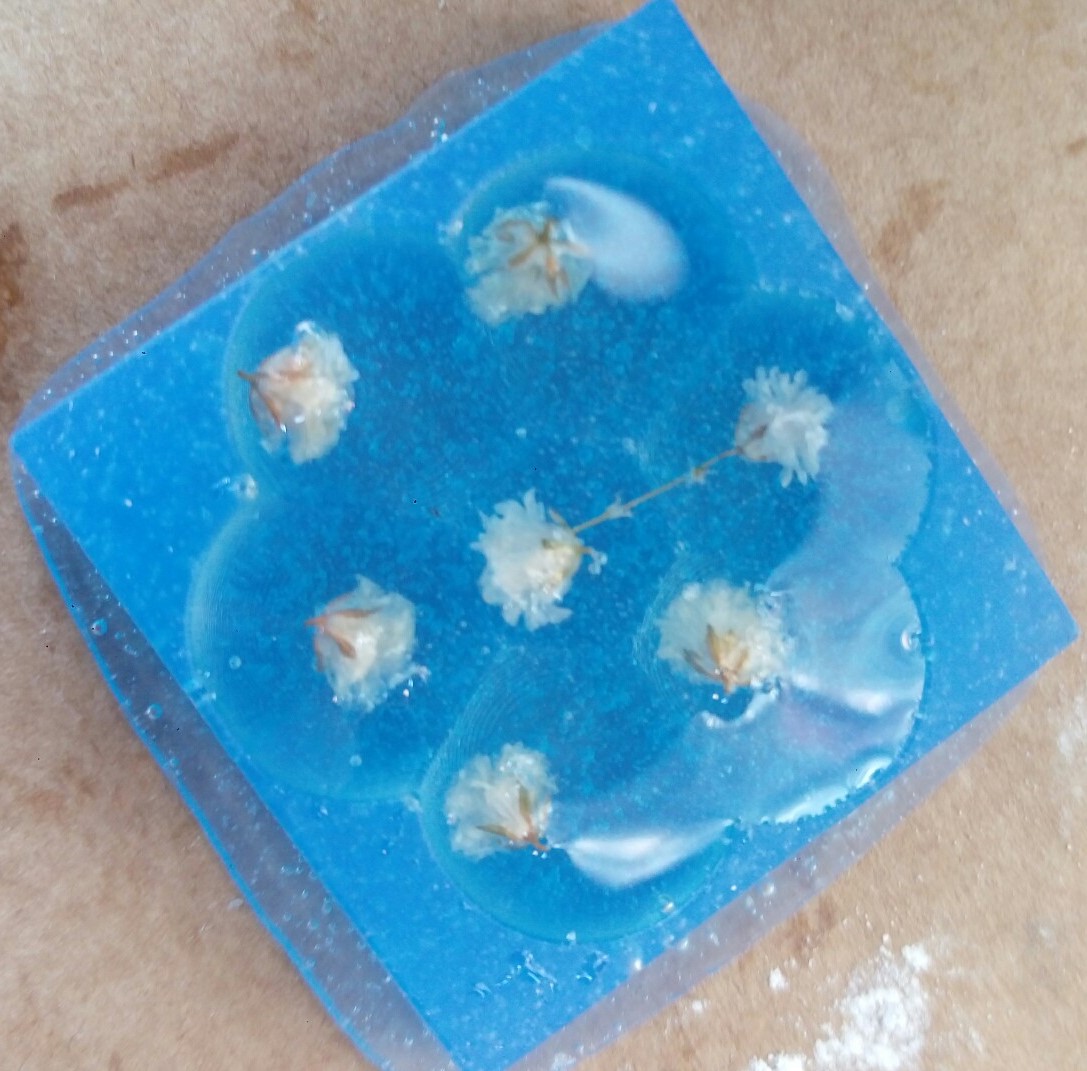
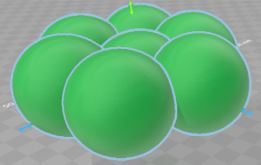
Flower
I made the design using 3D Builder software by putting several spherical shapes next toeach other.
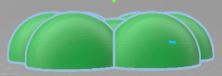
I used the split tool & kept the upper part
Download (right click + Save link as)
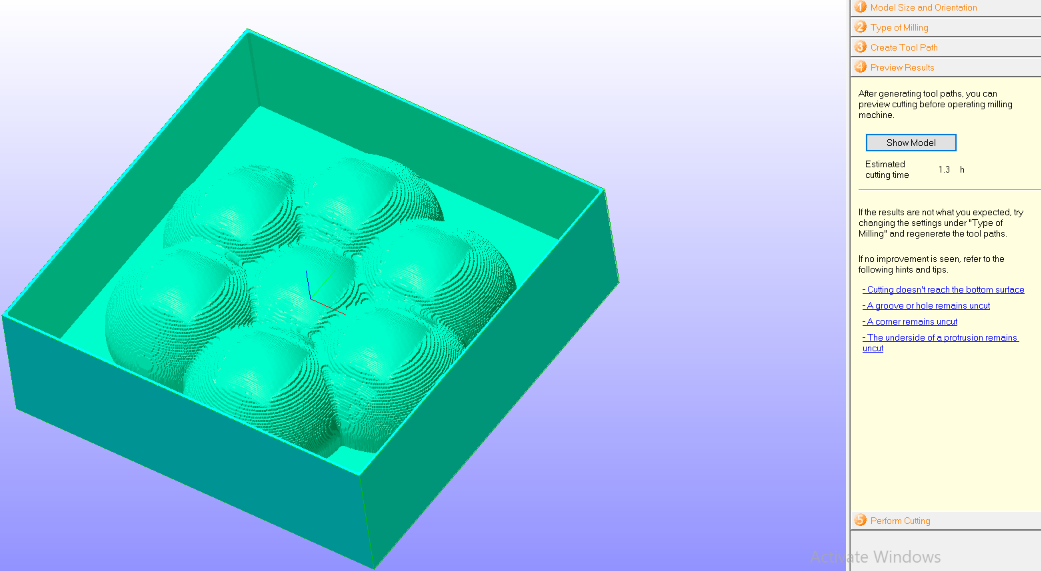
I used SRP Player to do the milling. First, I modified the size to suit the wax board that I will use.
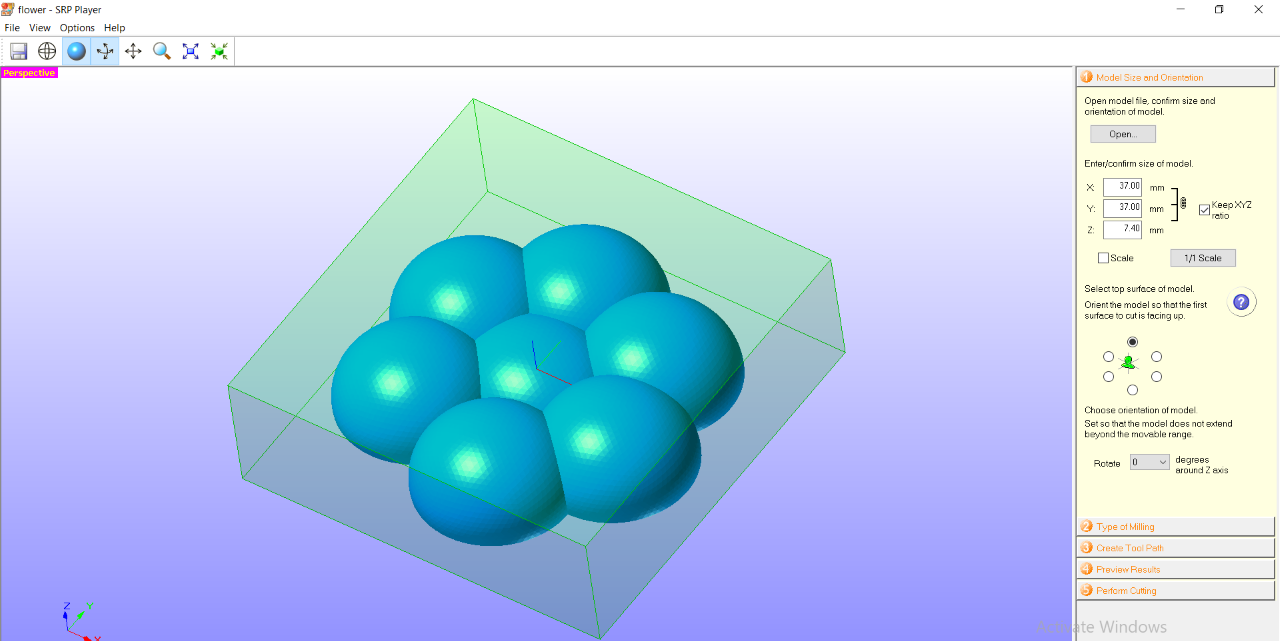
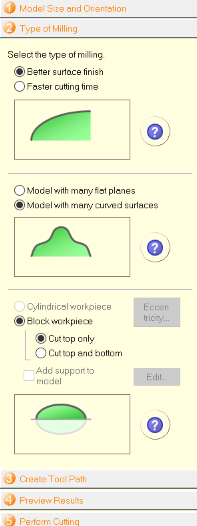
Since the flower is small & has lots of curves, I have selected: * Better surface finish * Model with many curved surfaces * Block workpiece: Cut top only
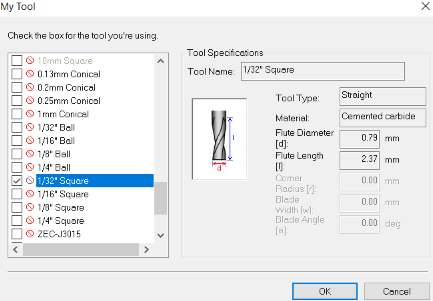
I selected 1/32 tool
Then entered the workpiece size & created tool path
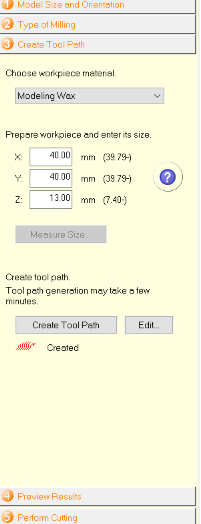
The next step shows the model & estimated cutting time.
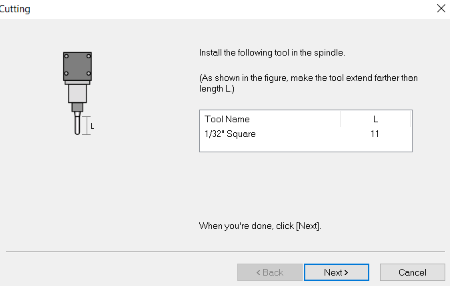
Then we can start cmilling by pressing “Start Cuttin. First it will show some of the details like tool size.
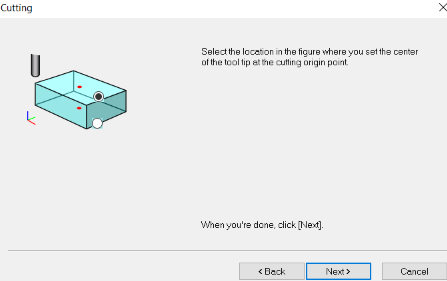
Then, selecting the location of the figure.
After that, cutting can start.
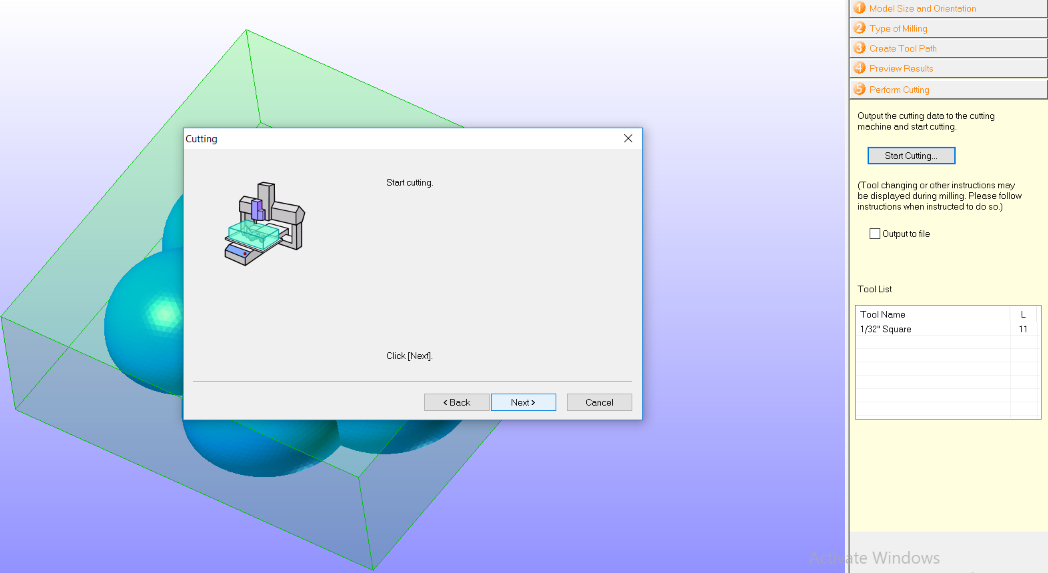

This was the result
Download Finishing (right click + Save link as)
Download Roughing (right click + Save link as)
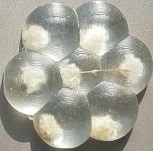
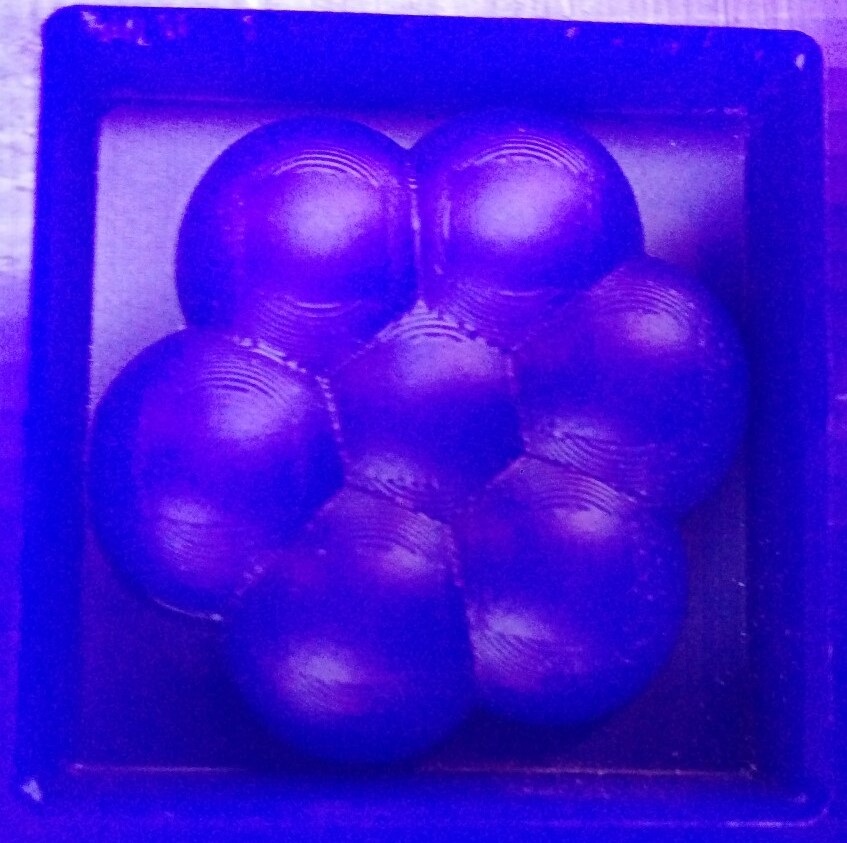
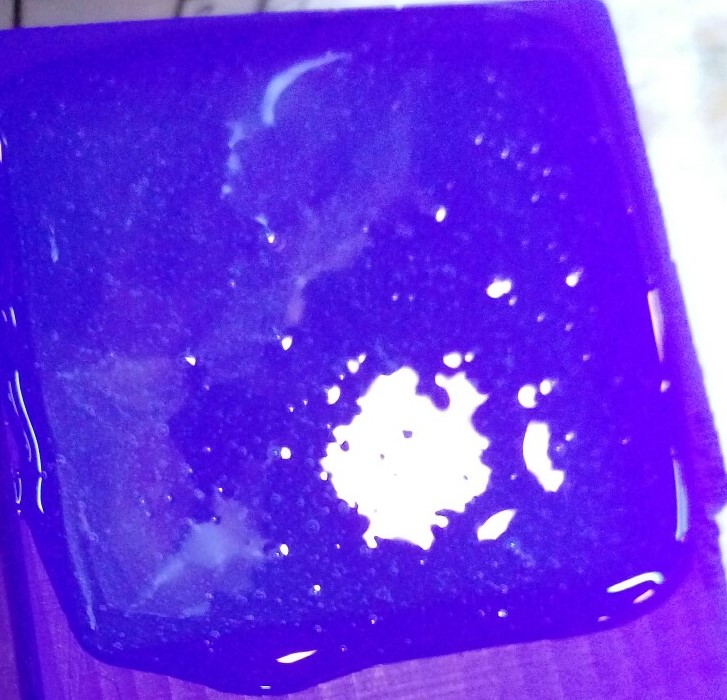
Then used silicon to make the mold
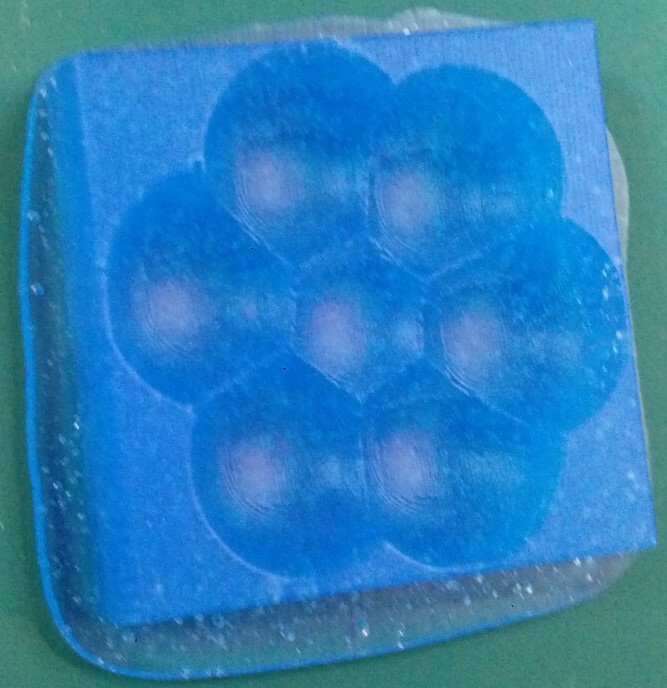
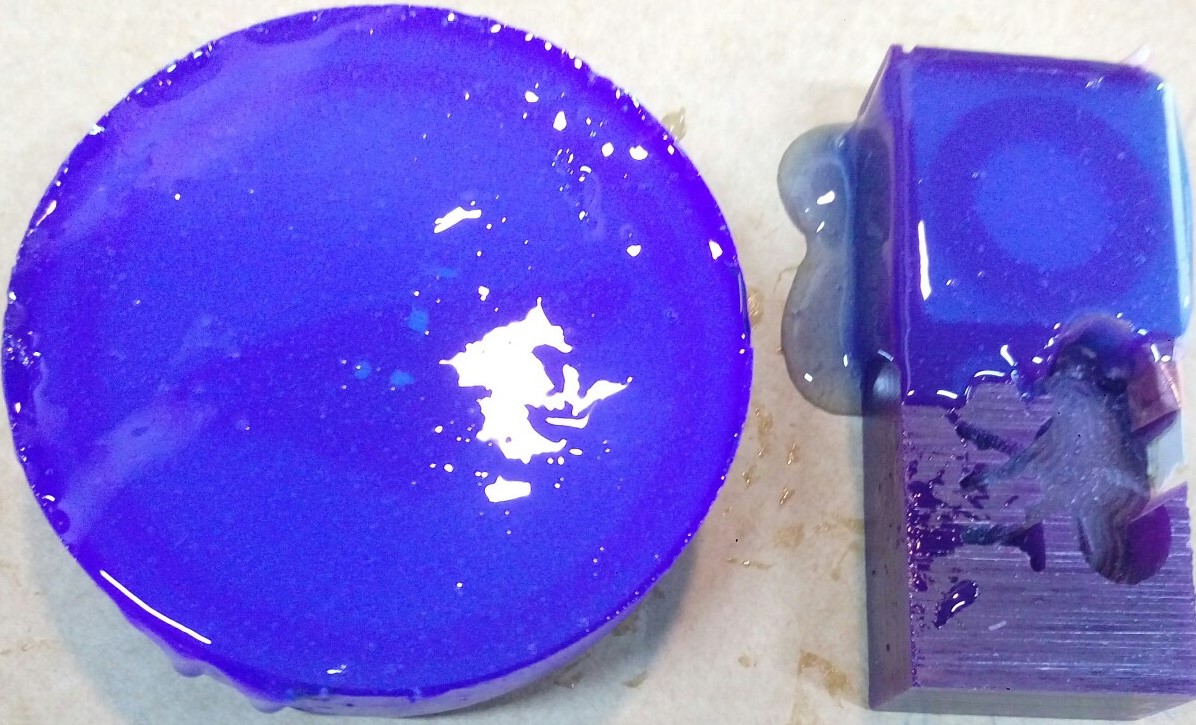
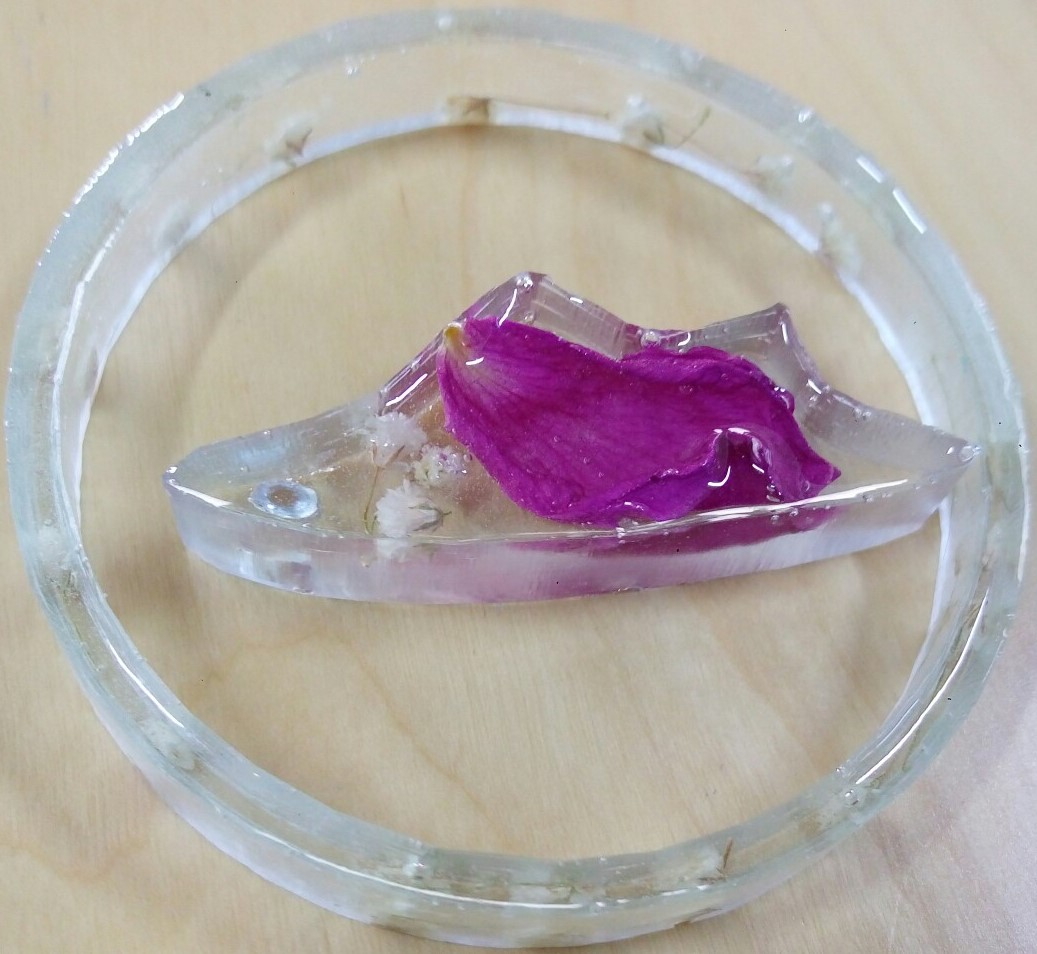
I used resin to make the flower.