6. The Scanning and Printing of 3 Dimensions
Goal(s):
- Group assignment:
-
test the design rules for your 3D printer(s)
-
Individual assignment:
- design and 3D print an object (small, few cm3, limited by printer time) that could not be made subtractively
- 3D scan an object (and optionally print it)
Introduction
This week Assignment main aim is to learn about 3D printing and design a small object that cannot be made subtractively and doing 3D scanning. Neils lecture about the 3D printing technologies was more informative got a chance to update my knowledge in this area. I refered fab academy archieves to learn what are all the things the fabbers made in previous years. In our lab we have two 3D printers, Ultimaker clone and Fracktal Works 3D printer for printing in plastics (ABS and PLA).
3D Printing
3D printing is a additive manufacturing process of making three dimensional solid objects from a digital file.The creation of a 3D printed object is achieved using additive processes. In an additive process an object is created by laying down successive layers of material until the object is created. Each of these layers can be seen as a thinly sliced horizontal cross-section of the eventual object.

To Know more about 3D Printing, click here
To know more about why 3D printing, click here
The most important application of additive design is the ability to model and design complex geometry and inspired by nature or other innovative designs and rapidly prototype without the need of costly molds and mold based production.
3D Printer Design Rules
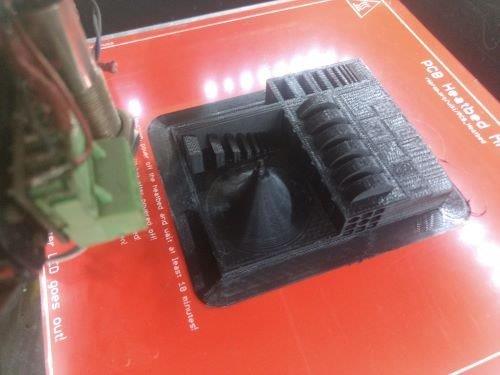
For the Characterisation of the 3D printer, the following 3D model from Thingiverse were downloaded and printed.
Model 1(https://www.thingiverse.com/thing:636363)
On conclusion, the rating of the machine was found to be good. The details of print versus model is as follows
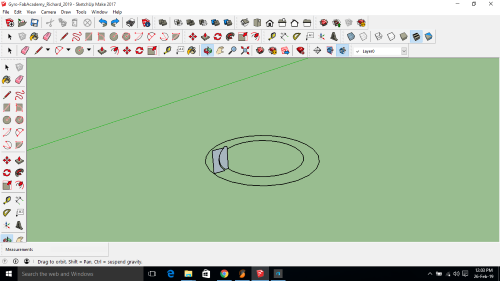
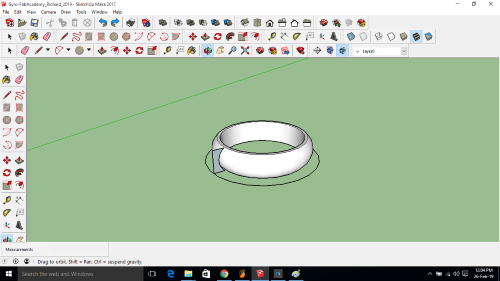
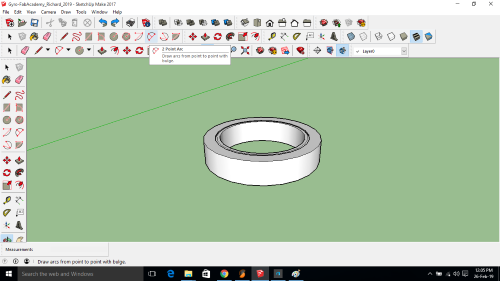
3D Design
For the 3D design exercise, this was a relatively simple task as I have used Google Sketchup 2017 Make with the added plugins to ensure that we can export the designed files as STL.
For any basic 3D design exercise, there are some excellent tutorials on how to use the tools provided to design almost anything that you can imagine right in the SketchUp Software. I would encourage any person getting started with 3D design to take the Sketchup Tutorial as a primer, working your way up to FreeCAD, SolidWorks and Fusion 360 in that order.
The main challenge in effective 3D design is the power of imagination and visualization. If the model that you want to make is clearly visualized, the software design is a relatively simple task. Fusion 360 and Solid works are great for the beginner who may have trouble cisualizing more complex designs and hence will require simulation of some kind for validating any design.
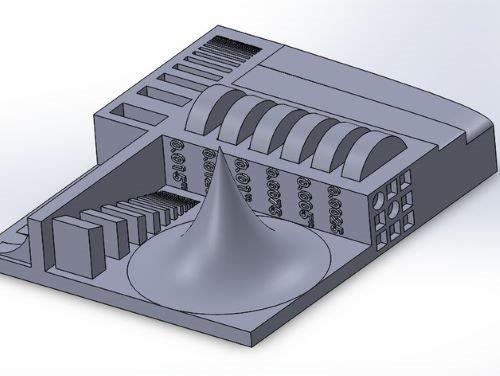
For the Design exercise, I selected a simple Gyroscope model to be printed in the Printer and I used Google Sketchup 2017 to design and export the file as an STL.
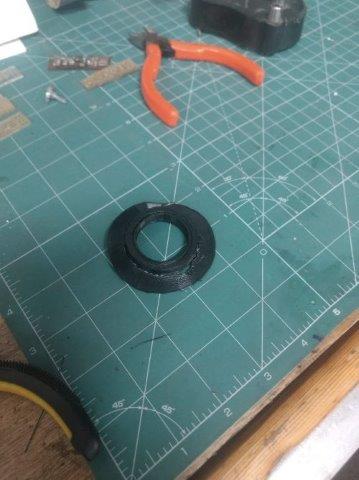
3D Print
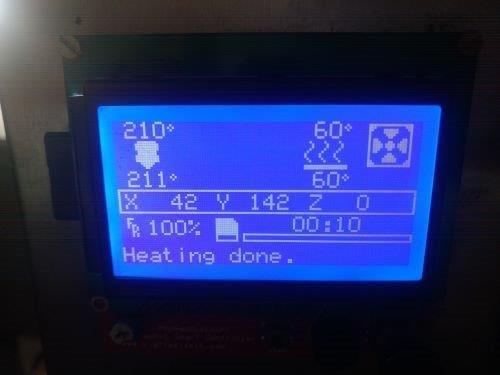
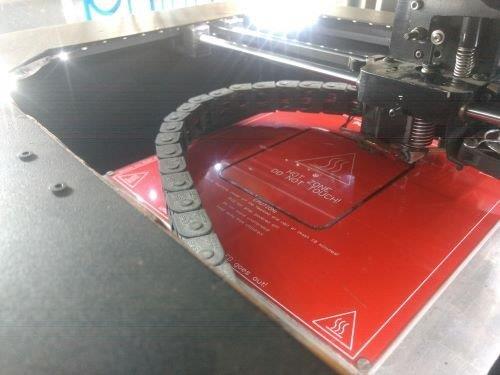
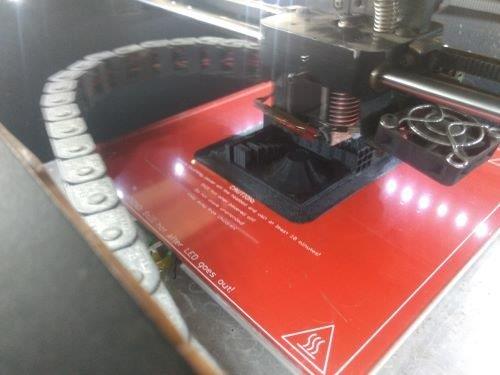
For the 3d Print, the gyroscope model was printed out and tested.

Download this model here
For the design rules group assignment, the following Model was used for the test
 |
 |
 |
 |
 |
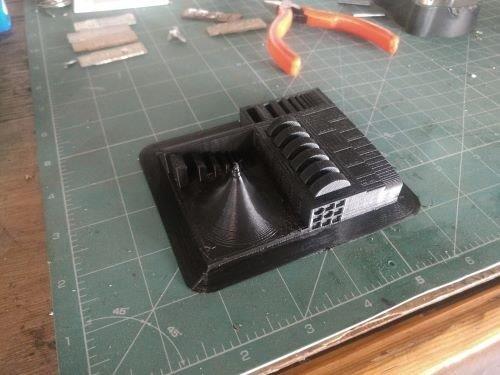 |
As is clear from the images, the final output was almost perfect except for sharp tips and circles as seen in the final print. Text opritnign was also not defined properly, but overall print quality was okay. The printer used was a custom built Ultimaker Model running on Marlin Firmware and having a build volume of 200x200x400mm
Download this file here
3D Scan
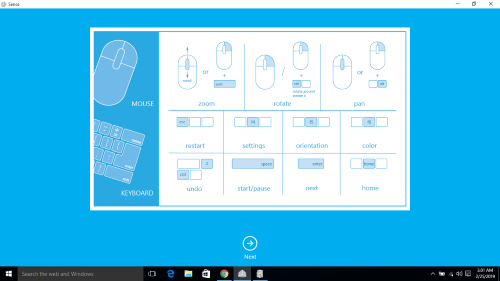
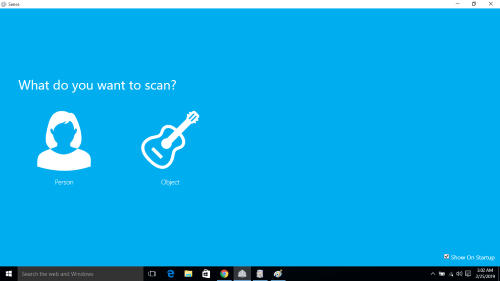
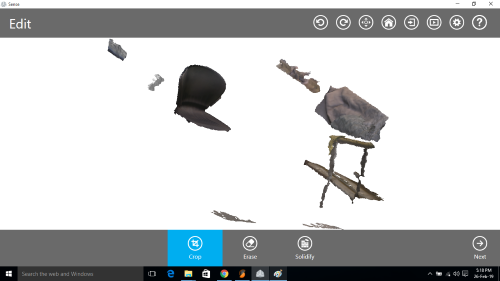
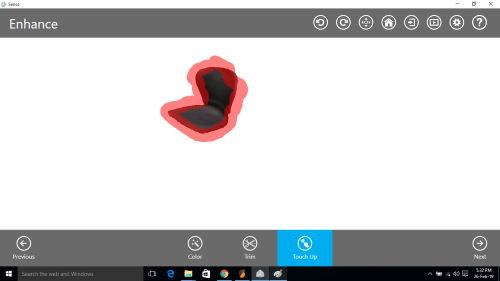
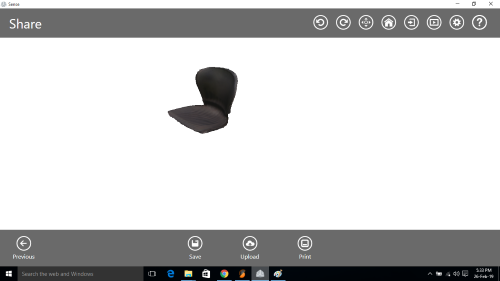
For the 3D scanning exercise, we used a 3D Sense Scanner available in the lab to run scans on ergonomic furniture.
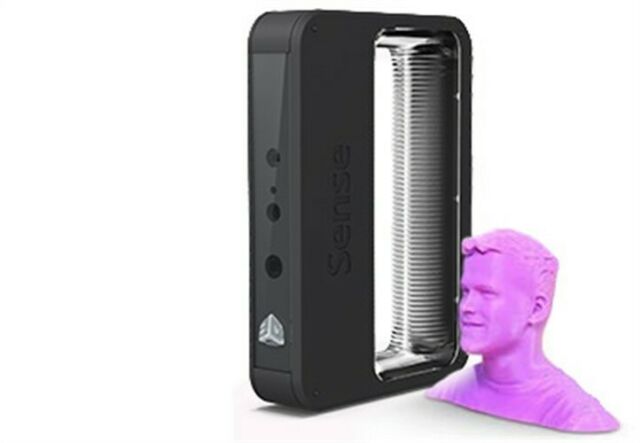
This scanner comes with its own proprietary software that is quite intuitive in its design and ease of use although the scanner itself is quite outdated as per the current technology available and requires significant upgrades in the future. We don’t use 3D scanning much as there is little customer interest in this machine.
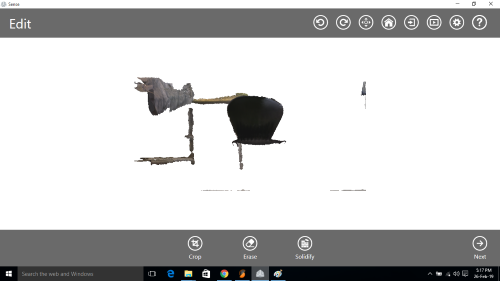
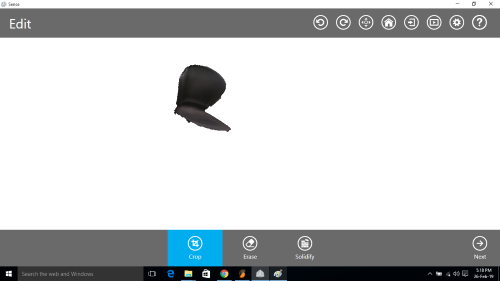
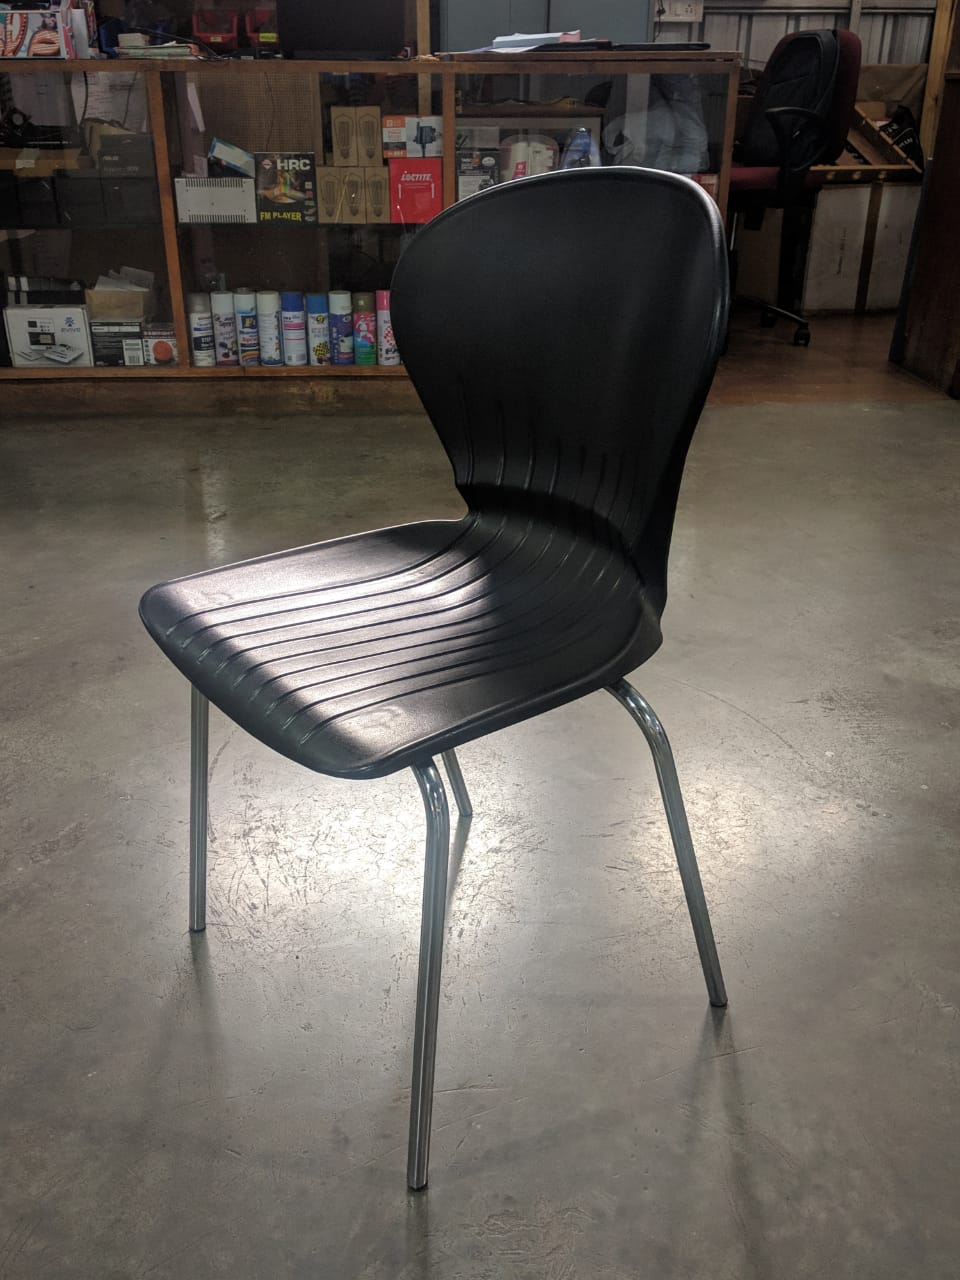 Chair that I scanned.
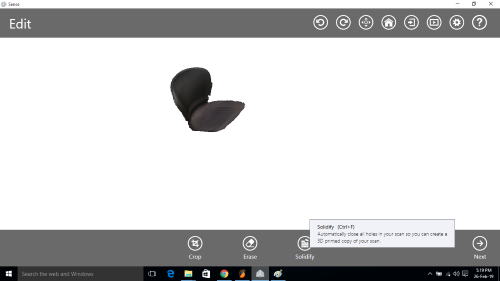
This chair was particularly chosed due to the unique curved ergonomic design that is for providing support for the lower back and can only be made via hand carving or complex and costly 4 axis or 6 axis machines if it had to be done subtractively.
Both of these methods are both costly and time consuming and the 3D printing technique will help us achieve the same output at a fraction of the cost and time.
 |
 |
 |
|---|---|---|
 |
 |
 |
 |
 |
 |
 |
 |
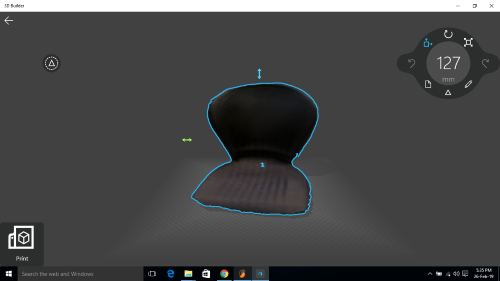 |
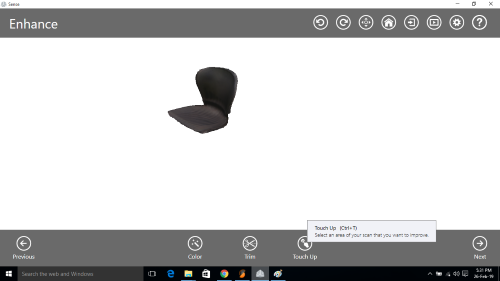
From the final results, we understood that reflective surfaces and metal parts do not perform well in the 3D scanning feature and have to be scanned using different methods.
I realised that the IR beam used in the scanner is perfectly reflected away from the scanning machine due to the curvature of the leg and hence doe not retur to the machine for proper rendering. We can minimise this to soome extent by ensuring that the suface is coated with material that will dull the surface to a matt finish instead of a glossy polish.
Possible ideas to be tried in the future:
- Aluminium foil that is dull
- Wax polish (Carnauba Wax)
- Metal paint or metal oxide
The download file for the 3D model is located here
Learning
3D Printing is versatile technique to produce physical outputs of any design that can be computer modelled today but the limitation in 3D modelling of useful structure is limited by the design software and machine design.
3D Scanning is an invaluable tool where human body parts, organic natural shapes and complex bio-mechanical designs are required to be modelled. The use of 3D scanning to print out custom molds for broken bones is a great practical use case for 3D scanning and its biomedical equivalent of natural prosthetic design is concerned.
We intend to build a giant 3D scanning Jig for use at public events to draw attention to 3D scanning.