14 - Mechanical Design
Group Assignment
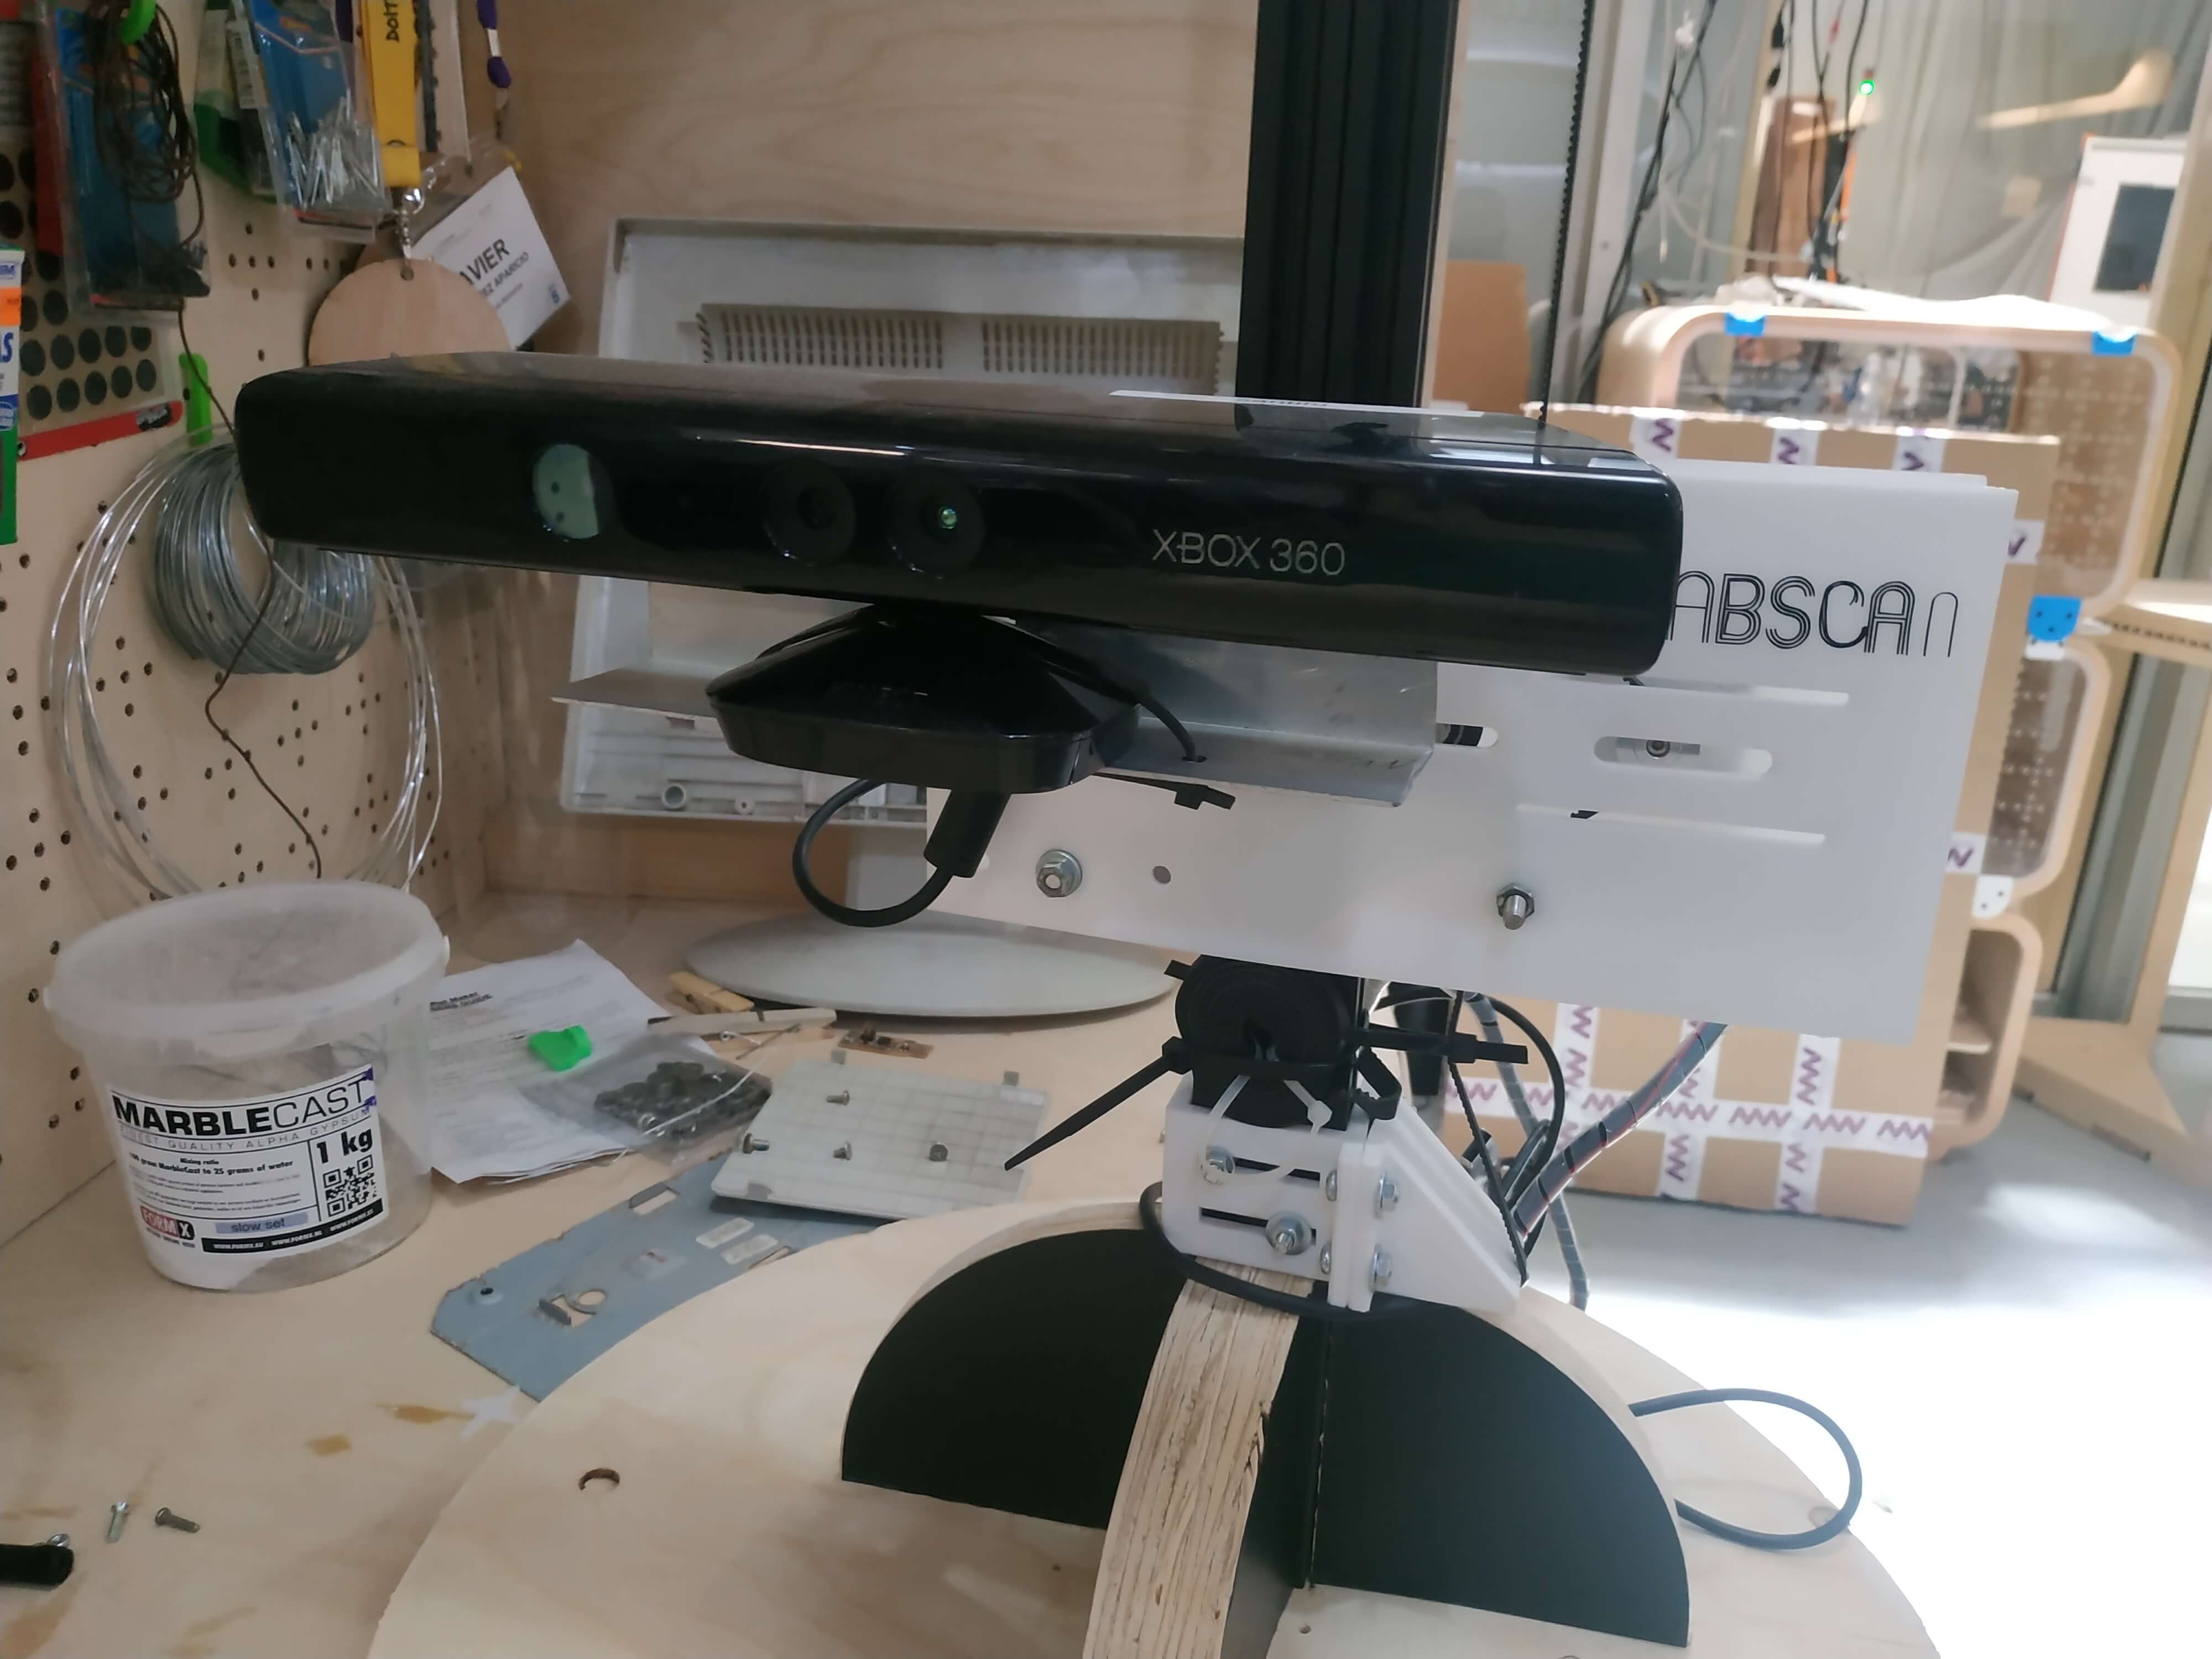
Here I will explain what we did as a group assignment during week's 14 and 16 of FabAcademy with the whole Barcelona group. The assignment was to design and build a machine, so after some discussion we decided to go for a 3D scanner structure to mount a Kinect and make an automatic 3D scanner of an object or person.
All the process is documented in our group page, so here I will explain wich is the parts that I was more involved of the process.
Mechanism design
Me and Juan Carlos where the ones in charge of designing the moving support of the kinect that has to be attached to the main structure designed by Felipe and Albert. We decided to go for a simple pulleys mechanism. Here it's an image:
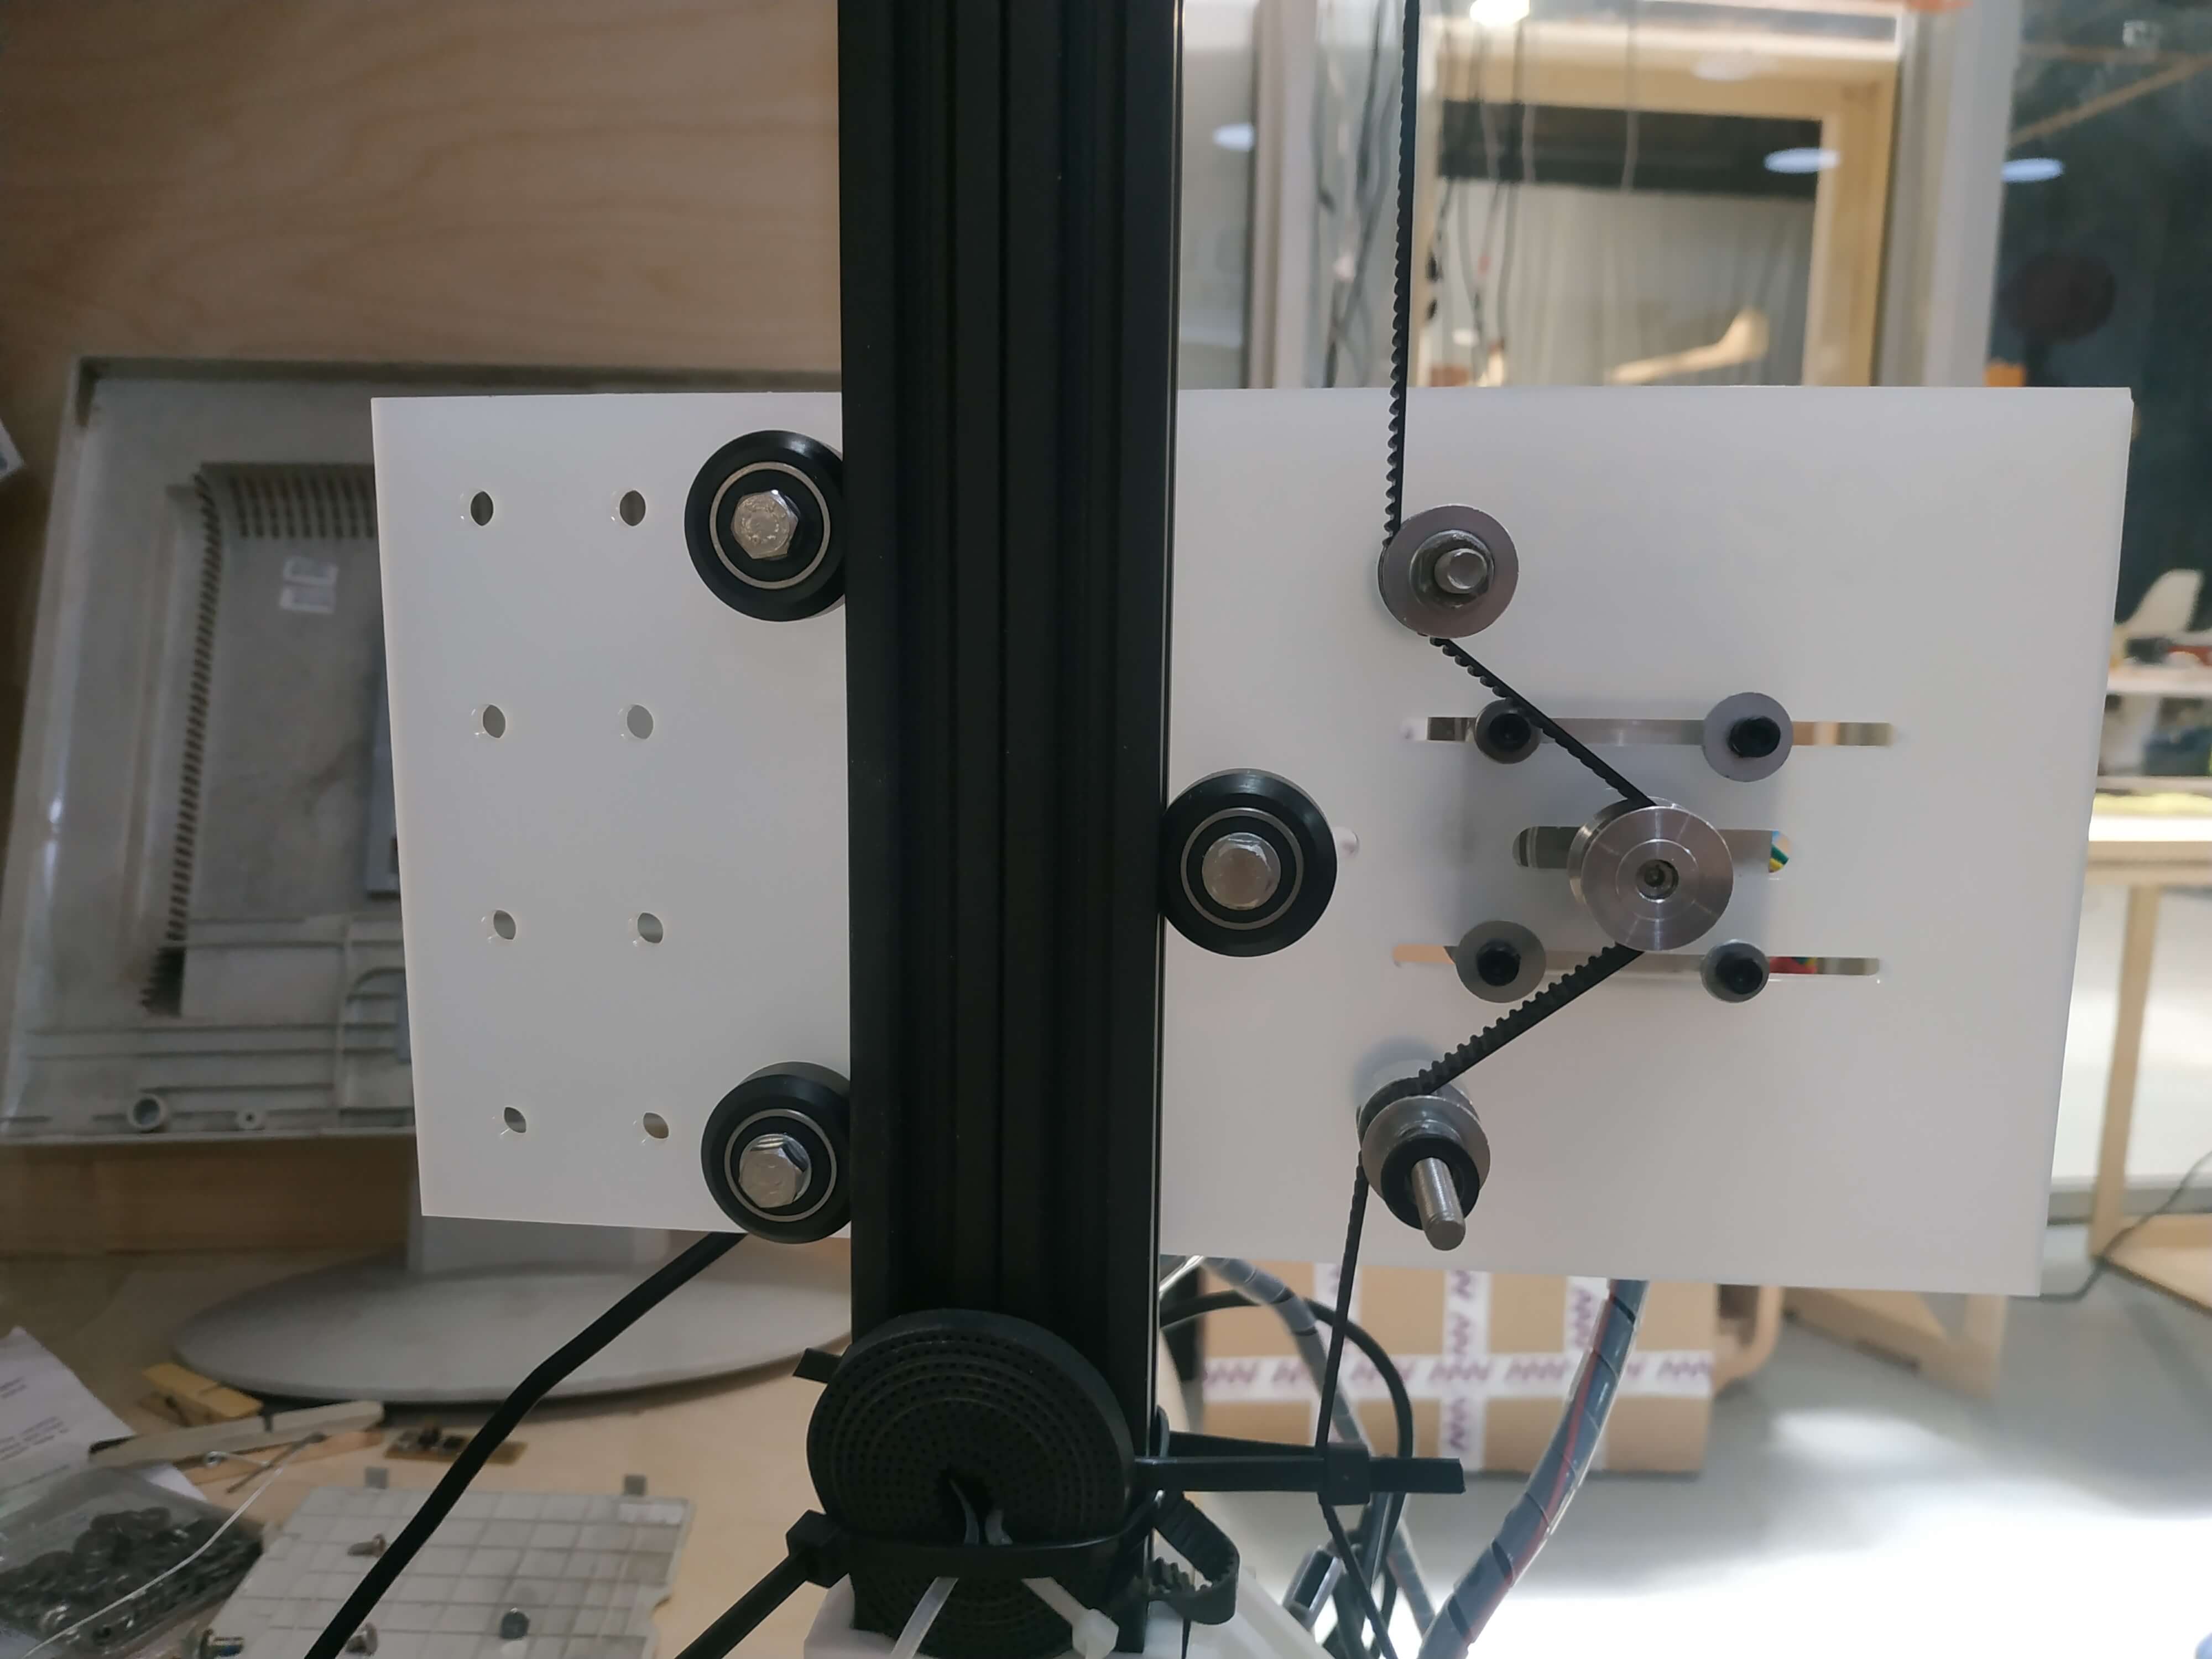
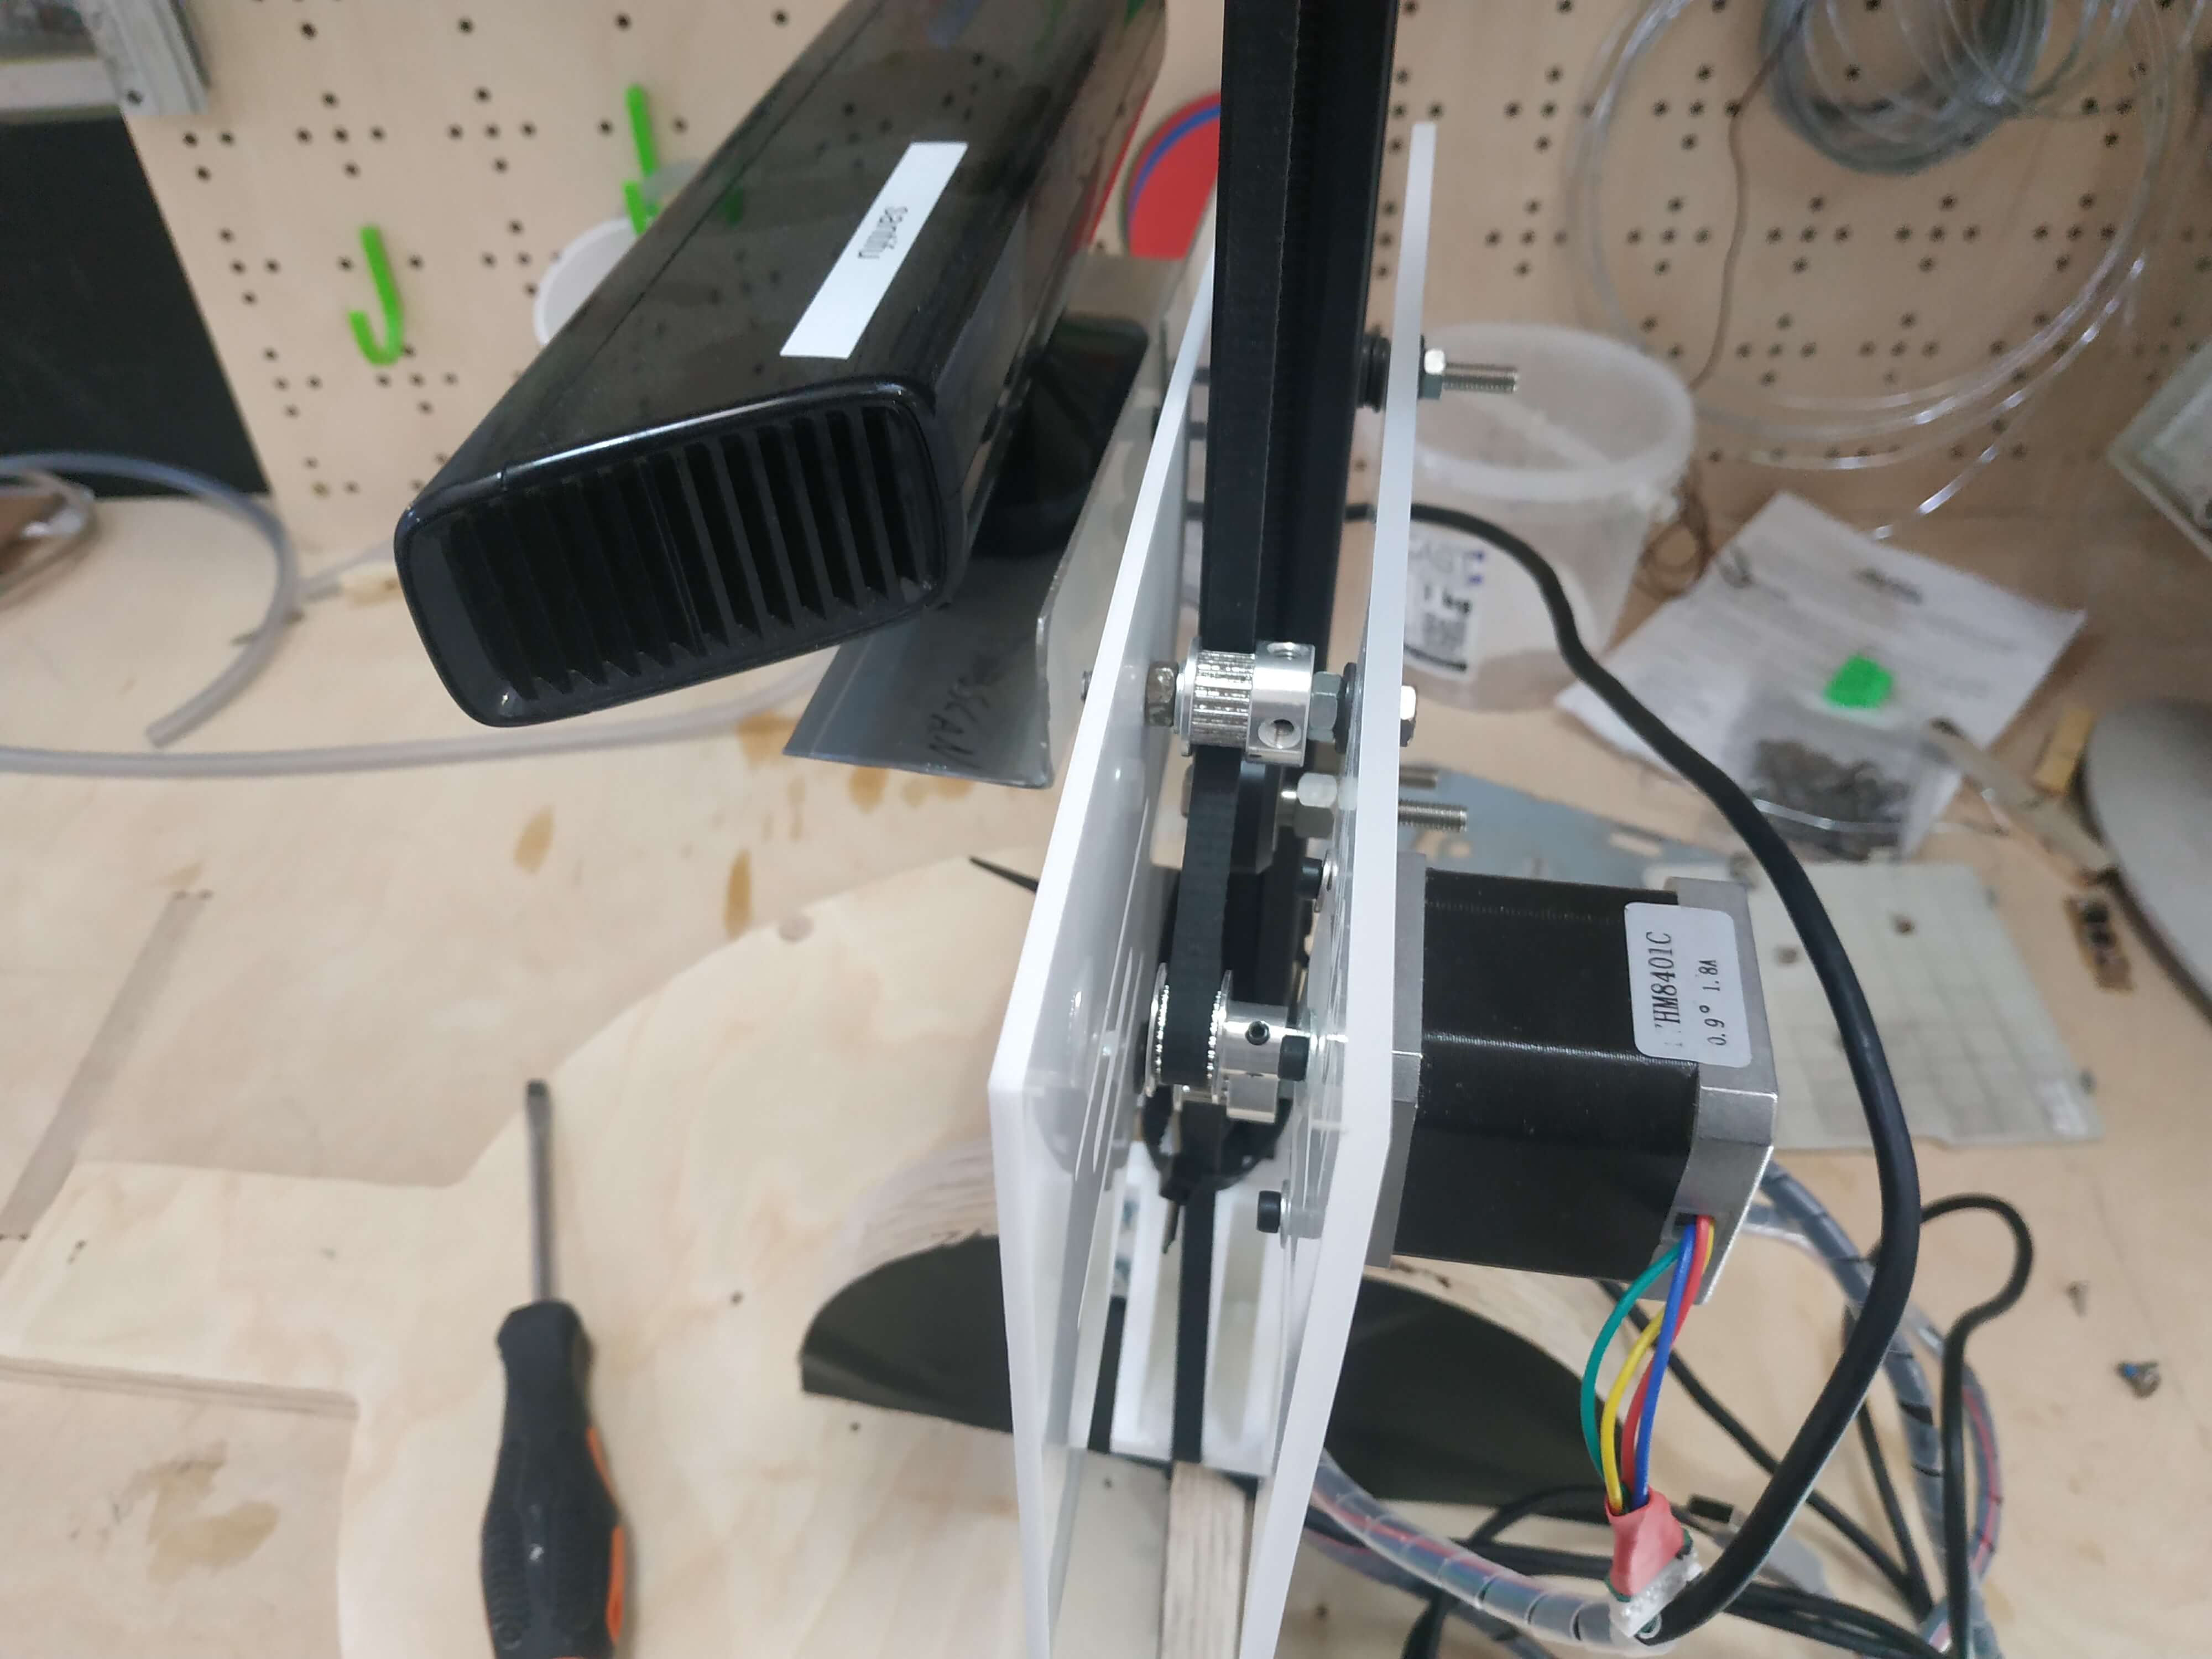
The main idea is that we apply some tension to the belt with 2 free bearings and another mounted in the motor. Then, when the motor moves, it makes all the structure go up or down following the belt. There are three bearings that attach support to the main pole. Note that we made some long holes to be able to adjust everything when assembling it.
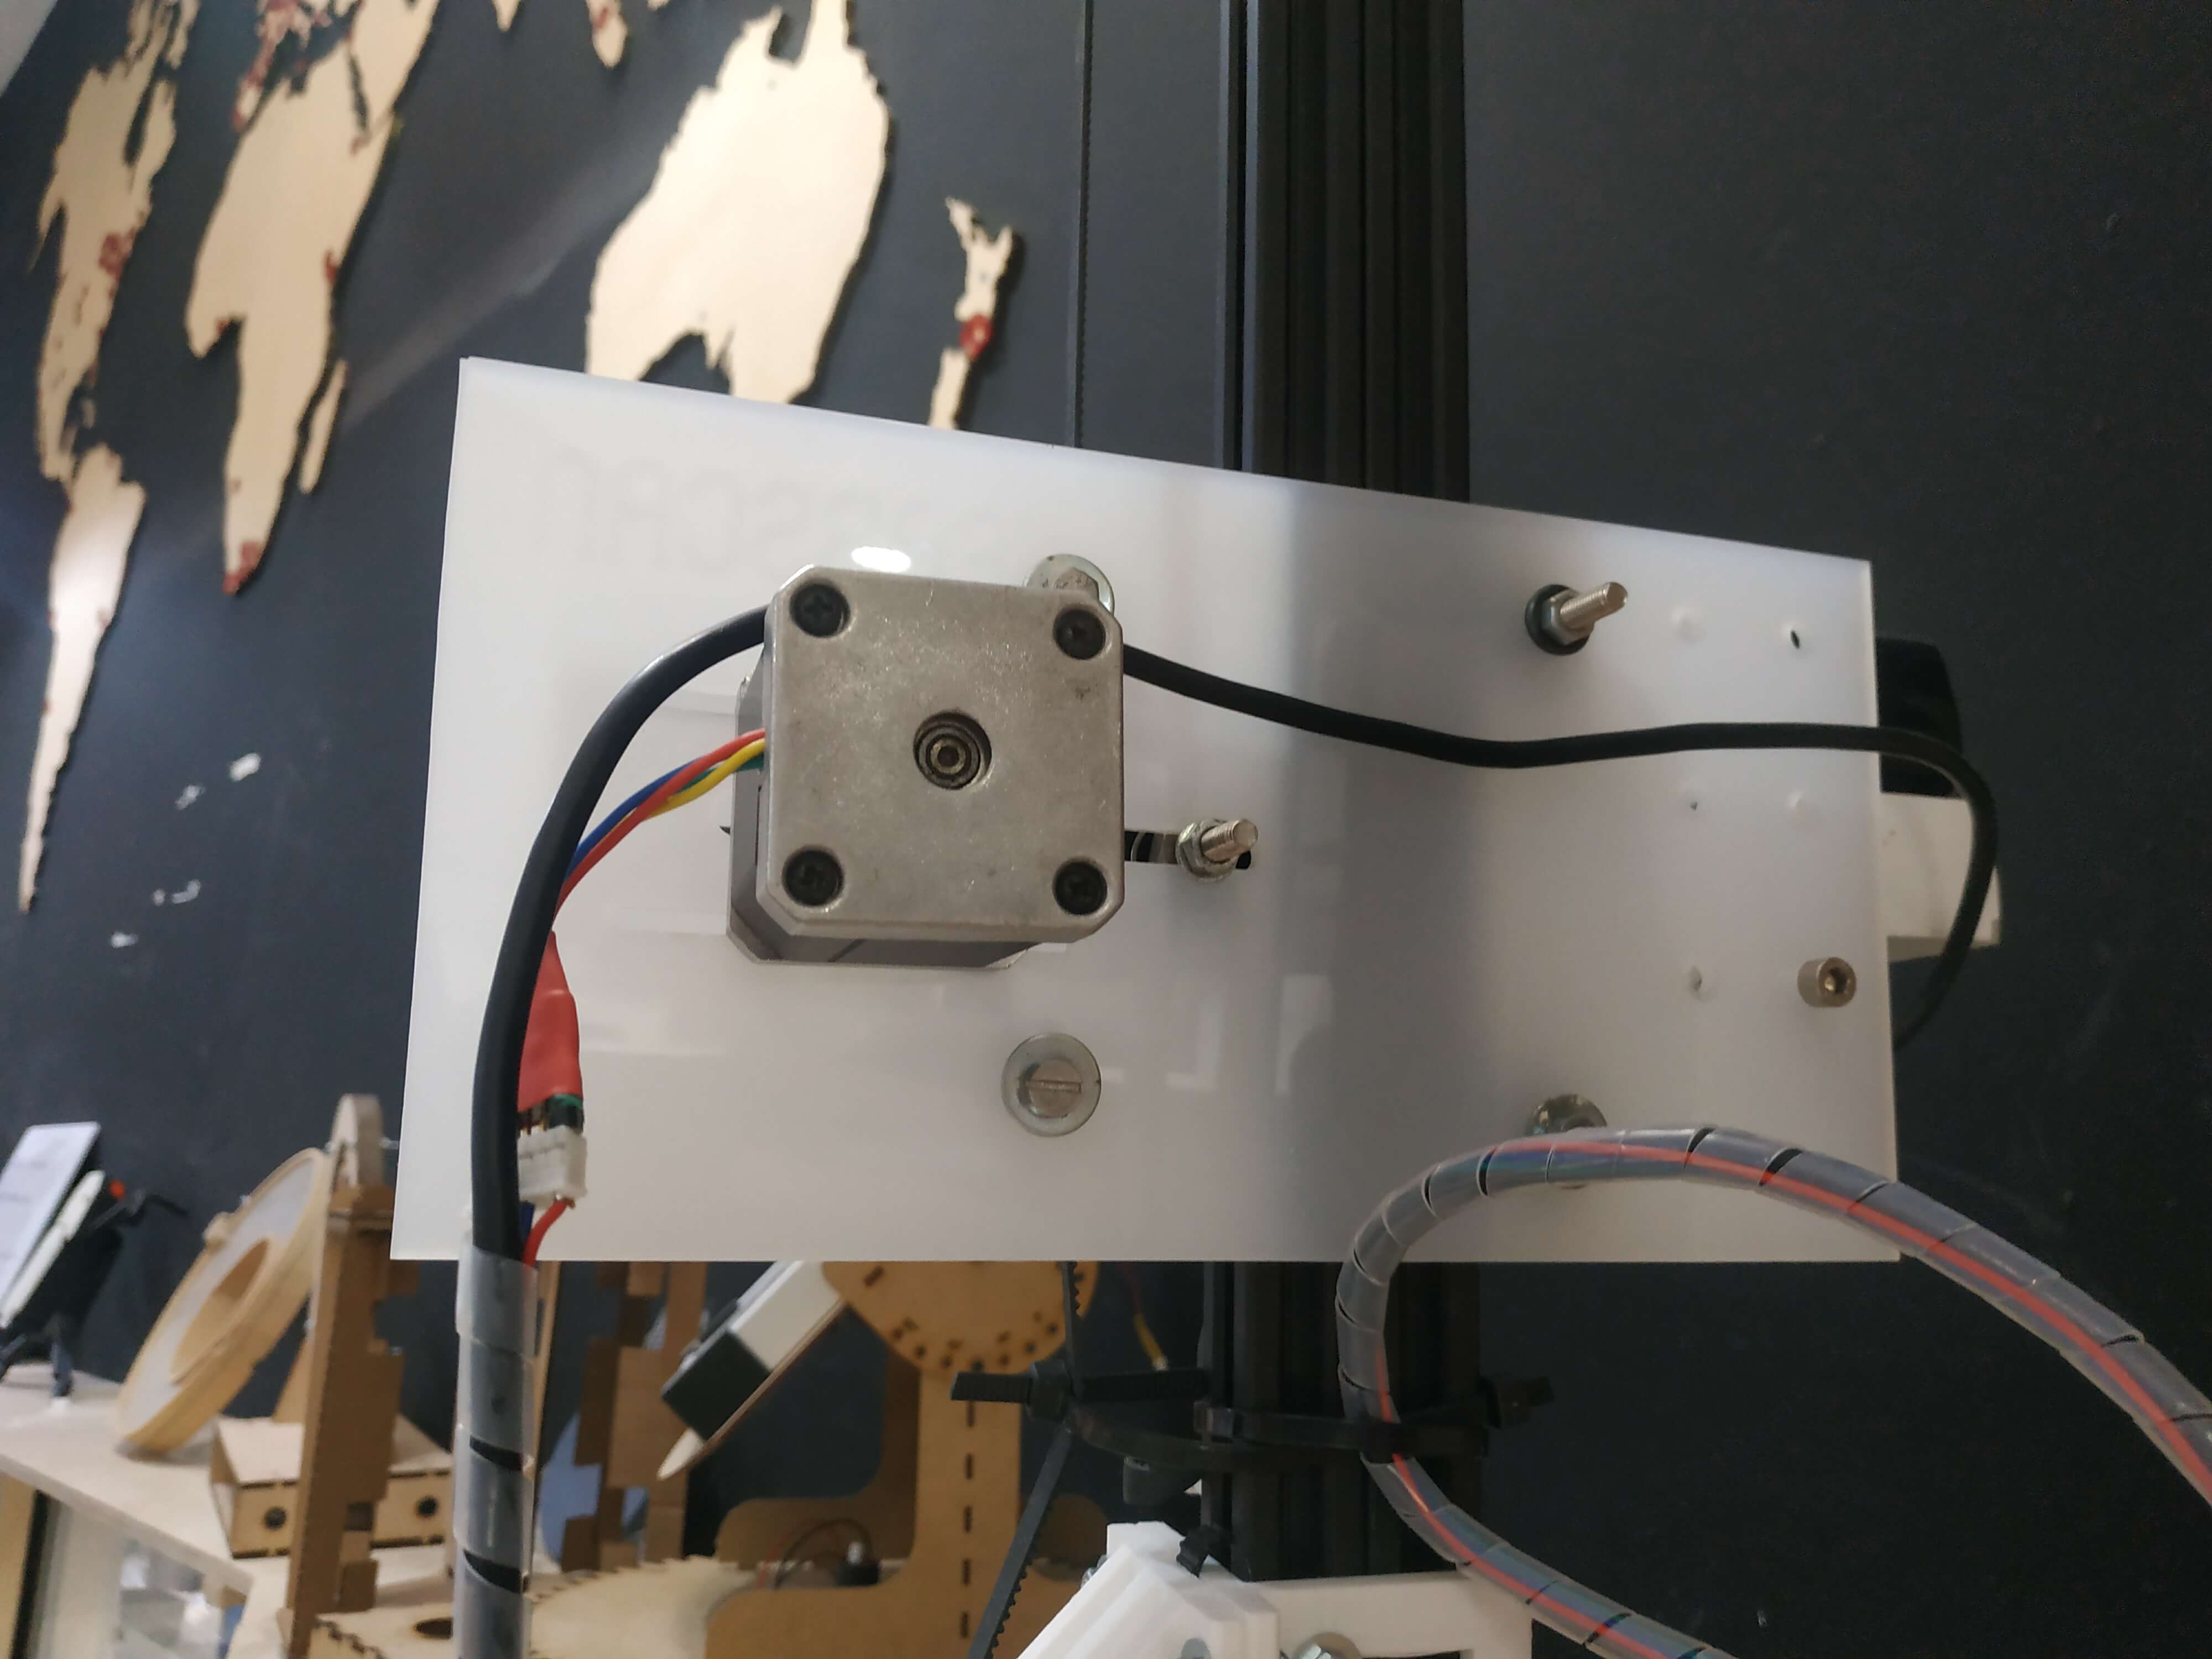
The main motor that will move this structure is an Stepper motor NEMA17, so we decided to go for an acrylic structure to make it light and resistant, it an not bend with the weight of the motor or the camera. We cut it in the laser cutting machine.
The design was made with Rhino and then laser cutted with some spare acrylic from the lab. Here are some pictures of the full mounted part with the kinect mounted.
The bearings needed to be well screwed to avoid getting it trapped because the motor force is just the needed, so the mechanism should roll up perfectly. To do it, we test different screw mounts, here you can see in the video the differences.
Machine design
For the machine, we decided to use RAMPS to control both motors, so we needed to create some GCode to control the movement. My main task this week was to create and interface to control the movement of the machine, so I started with Processing because I work with it last week during Week 15. I decided to do a similar interface, with some buttons just to adjust the parameters and start the movement.
This is how the interface looks like, you can find the code at the bottom:
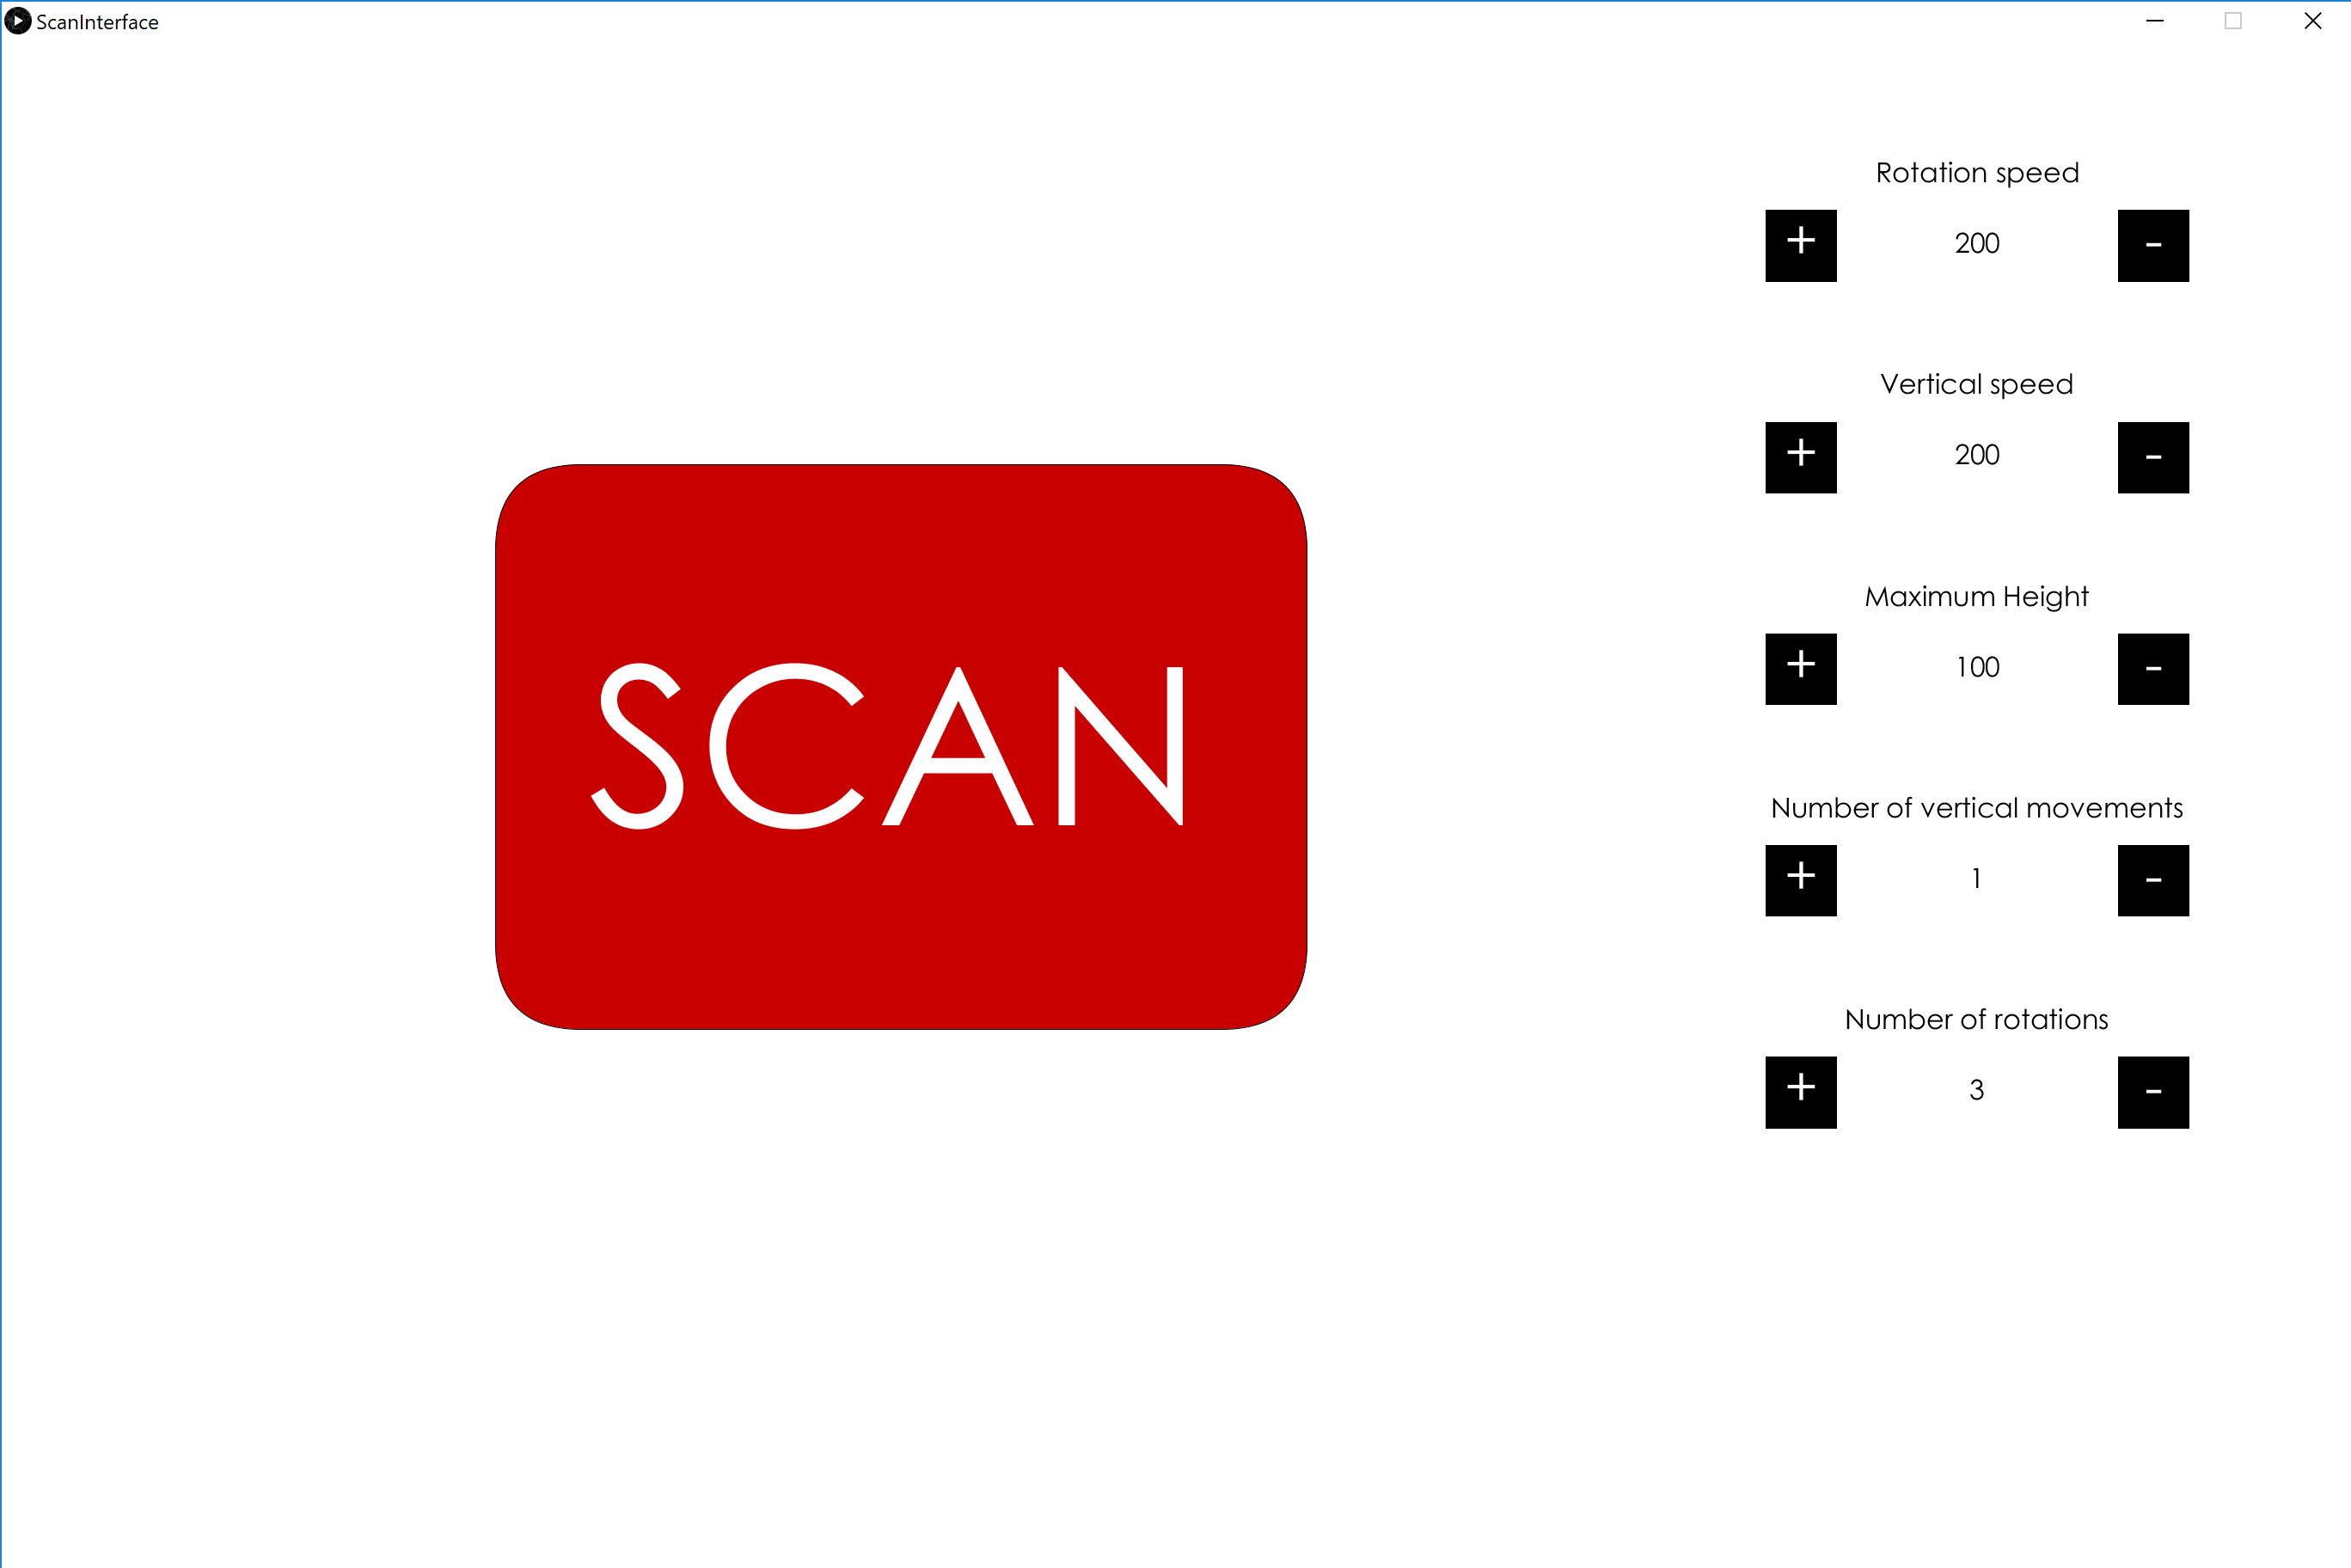
In the middle of the screen we can see a big red button to start the Scan movement. This will start sending the GCode to the RAMPS trough the serial port. After I will explain how the GCode is set up.
In the right side we can see all the parameters that we can adjust. This part is a little bit tricky, so let's explain the function of every button:
- Rotation Speed: This value will adjust the rotation speed, the default value is 200 and it is the recommended speed. We can use higher speeds with objects, but with living beens it's difficult because with high rotation speed the subject is likely to move. Also the Kinect can have problems with high speed.
- Vertical Speed: This can be much faster than the rotation speed, it is the vertical speed of the camera. The only problem is the torque, with higher speeds the torque decreases so it can get stuck near the ends of the vertical axis.
- Maximum Height: This parameter will adjust the maximum height that the camera will get, being a percentage, maybe if we want to scan a little object we don't need the full length of the pole.
- Number of vertical movements: (When this parameter is setted up, the last one will automatically be setted to one) With this parameter we can adjust the number of vertical movements that the camera will do, and it will rotate the plate the proportional part each time. For example, if you set it up to 2 times, the camera will go up, then the plate will rotate 180º and then the camera will go down.
- Number of rotations: This is the inverse than the Number of vertical movements. (If this number is adjusted the Number of vertical movements will be set up to 1). In this case, it will divide the vertical movement for the number of rotations. For example, if you set it up to 2, first the plate will do an entire rotation, then the camera will go up to the top and then the plate will rotate again. If it is setted up to 3 the camera will stop also in the middle of the pole for another rotation. This is the default value and the recommended.