W WILDCARD WEEK
I want to make an skateboard
To accomplish that, I will first model the skateboard in Grasshopper to be able to change the shape.
boundary representation with plains
Characteristics of an skateboard
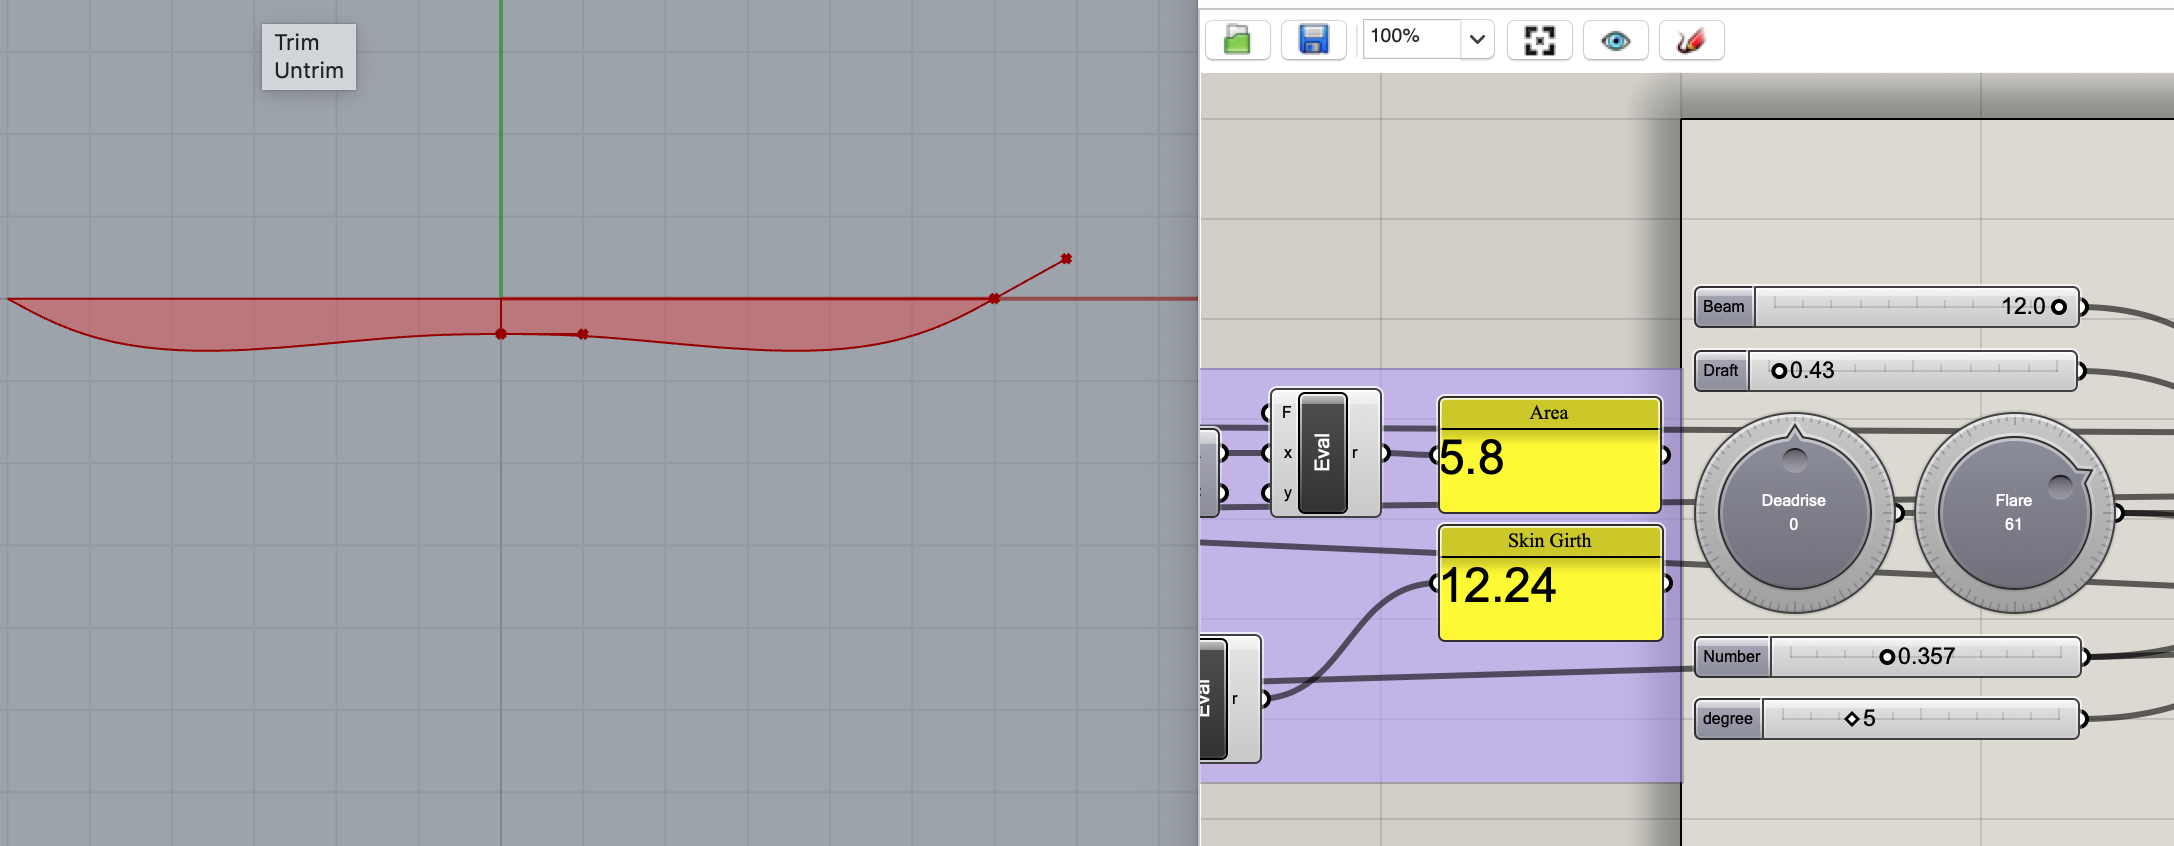
How I implemented, thanks to Edu, was:
Setting in GH a matrix of points that create a surface, which dimensions depend of two slyders X & Y.
The I set a point or points for controlling Z with another slider; this points atract the points that made the mesh.
There is a problem, when the mesh’s points are atracted by 2 different points, the surface is everything but smooth. My firs idea is to math it out by makisng the displacement of the point an average of the atraction of the director points, like the resultant of the suma of two vectors, but edu said it would be there more easy tools to smoth it down. This tools were a graph maper which result was then multiplyed by the Z, merged and flatten ant then make the laplace with waverbird and errasing the original dots from the flat surface (it duplicates the mesh dots and then moves the duplicate leaving the original) and connecting the mesh with the resulting moved dots.
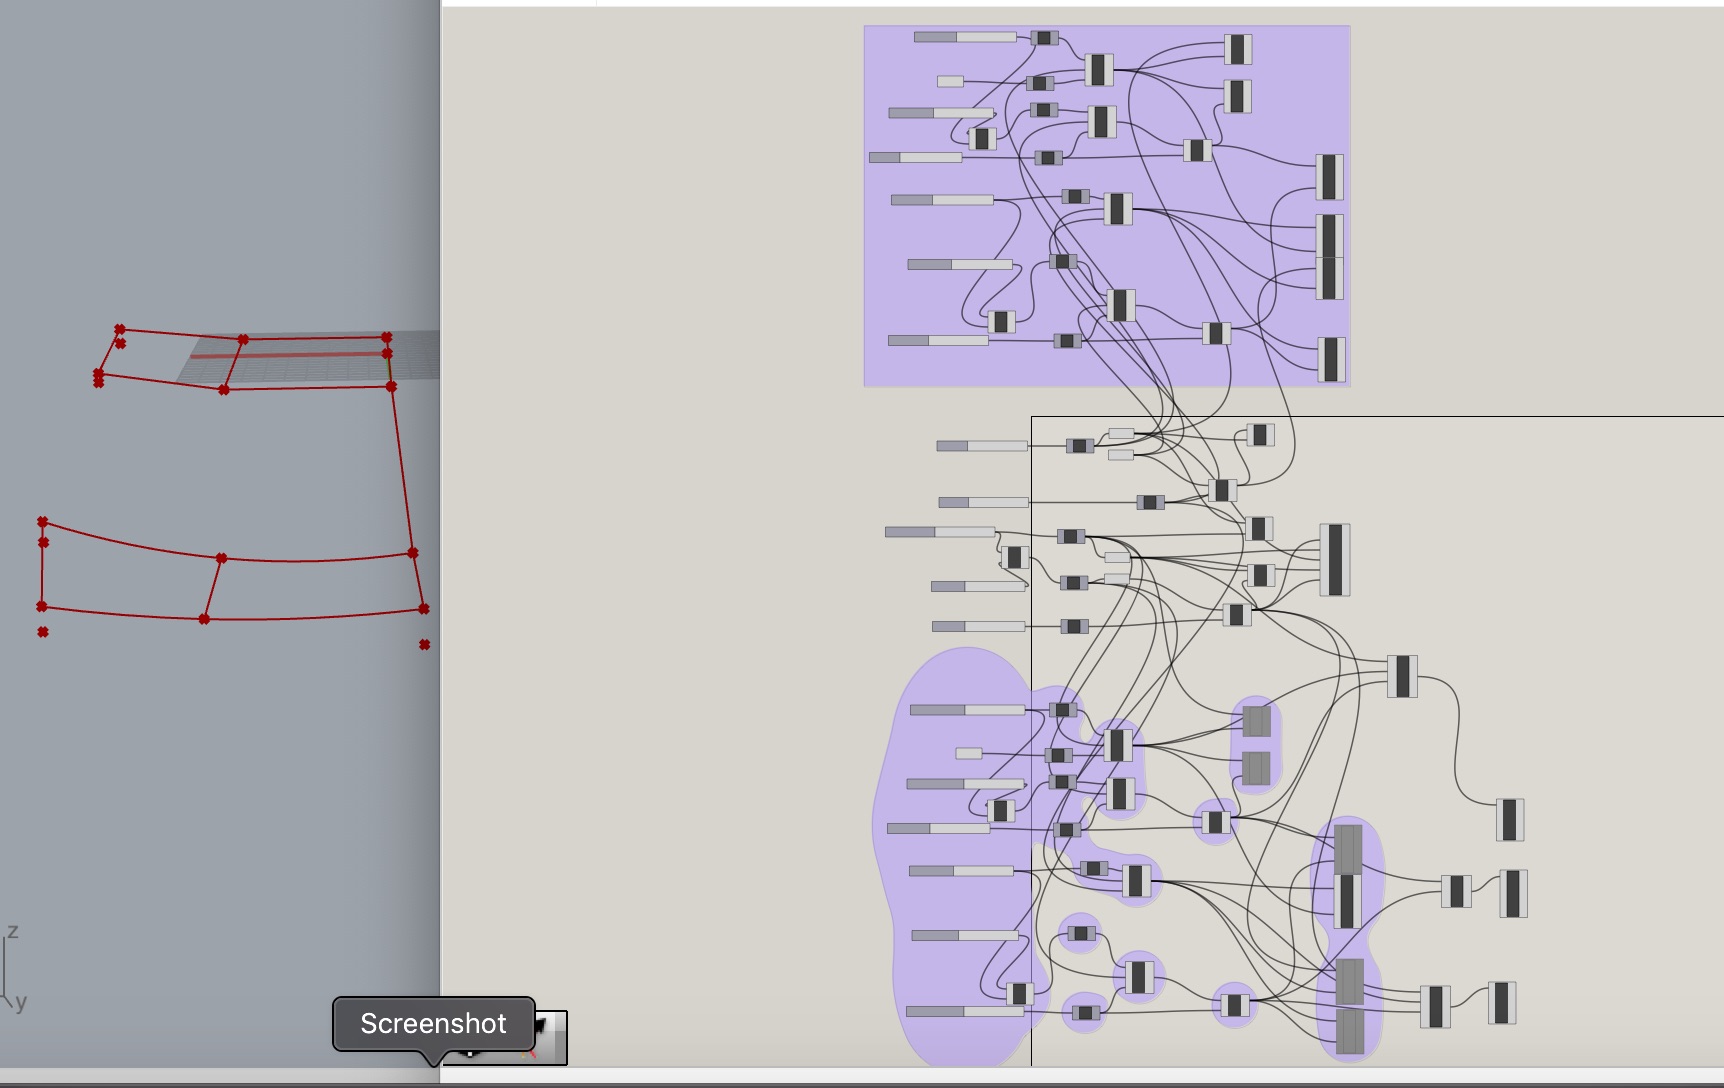
Sadly as I was trying to do the tail of an skateboard, I couldnt move the points to a natural shape, what I did was to put two director dots one infront of the others separated linke 5 cm horizontally longitudinally and 2cmm vertically, then I moved the Z and looks prdy boy!

It looked kind of awkward as the pulling points pull within a radius, if I could create a segment as long as the area I want to pull, pull all the points within the segment reach I think I could get the desired results, but I wasn´t able to do so.
I try a different tool coming from the boat construction world. curves I can reach the desired contour, the idea would be to create the curve with it and then ether create a mesh the same way gaudis columns are made, 
or more simple just extruded in parts and join them.
I was able to create the wavy transversal contour of the deck but not to pull out a curve from it.
http://www.woodguide.org/files/2014/07/CNCrouter_bit_basics.pdf
Making an skateboard
First I did a parametric design with grasshopper to be able to make different skateboards,
it is almost finish so we actually mill a design made by Edu.
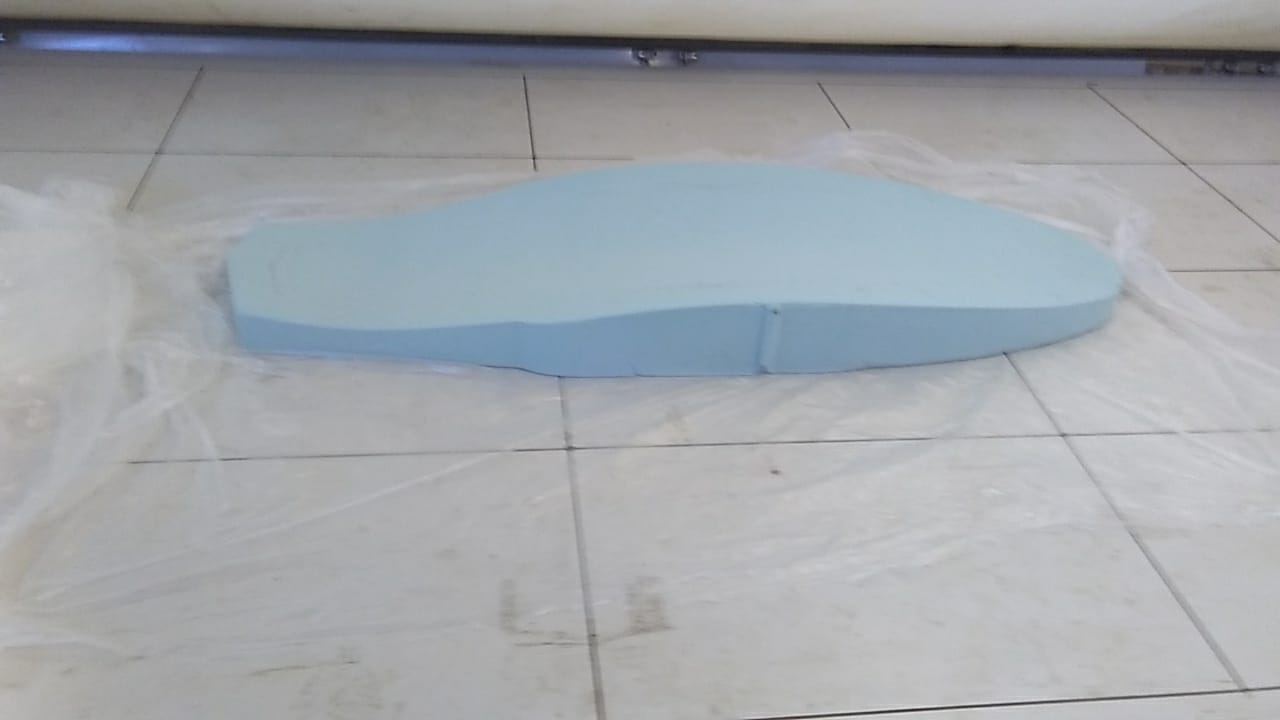
First we milled the mold (only one side) in blue foam (very expensive)
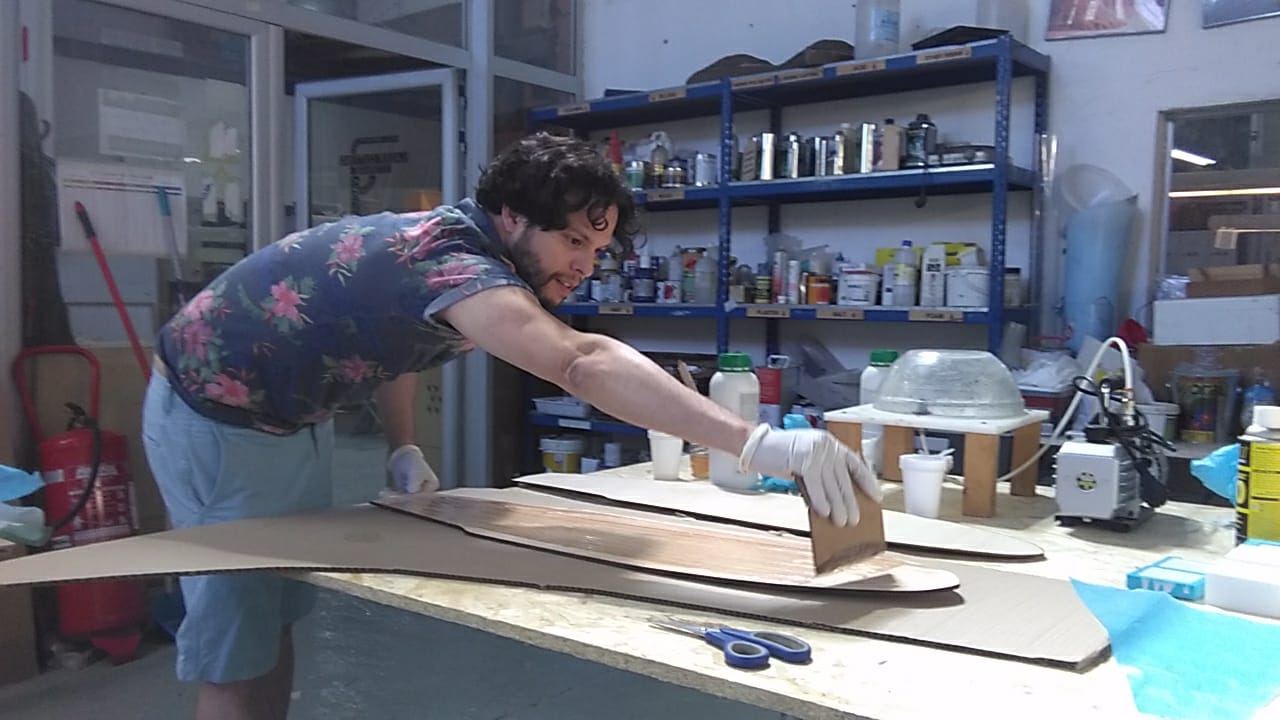
The composit was made with the epoxy and wood; three layers, two exterior layers of Ceiba (5mm) where used and in the middle a transversal veneer Calabo wood (3mm) layer to ad lightness and sturdiness as well as not contributing much to the overall thickness.
We cut the board layers (better to cut the final shape before glueing) We cut it with the big lasercutter (Multicam 2000)
Preparing the files cutting with the big boy1 cutting with the big boy2
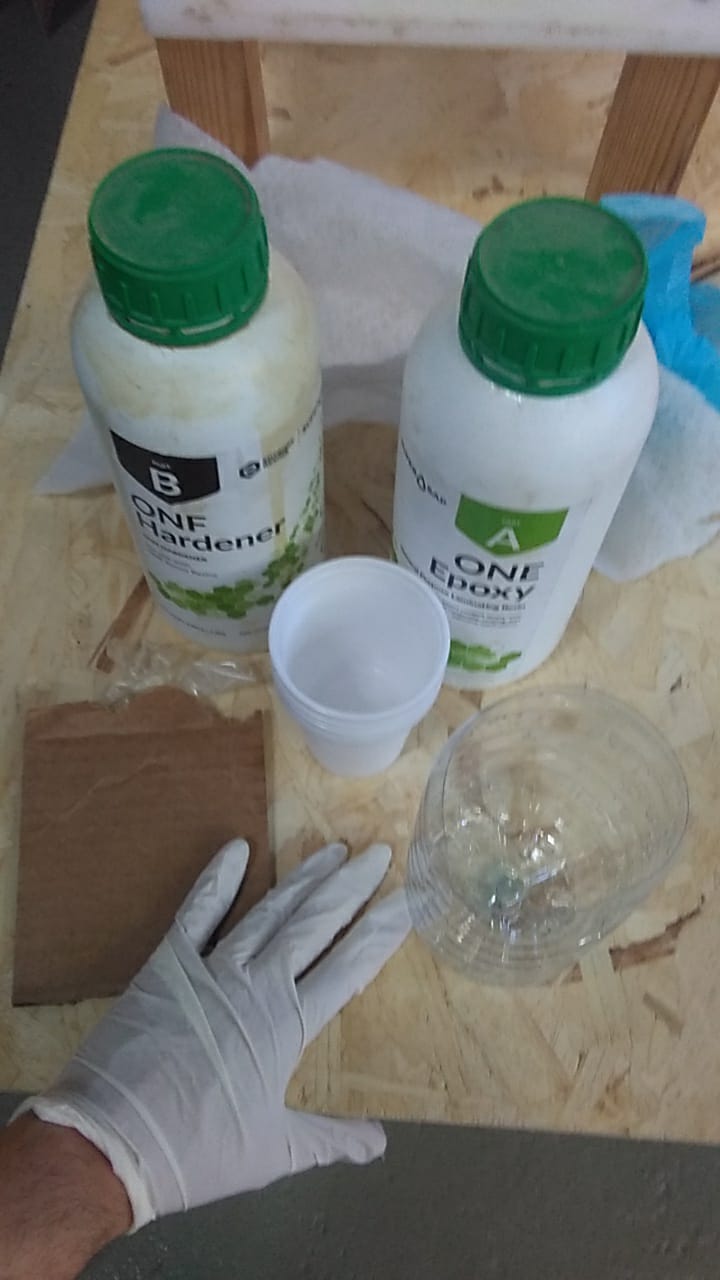
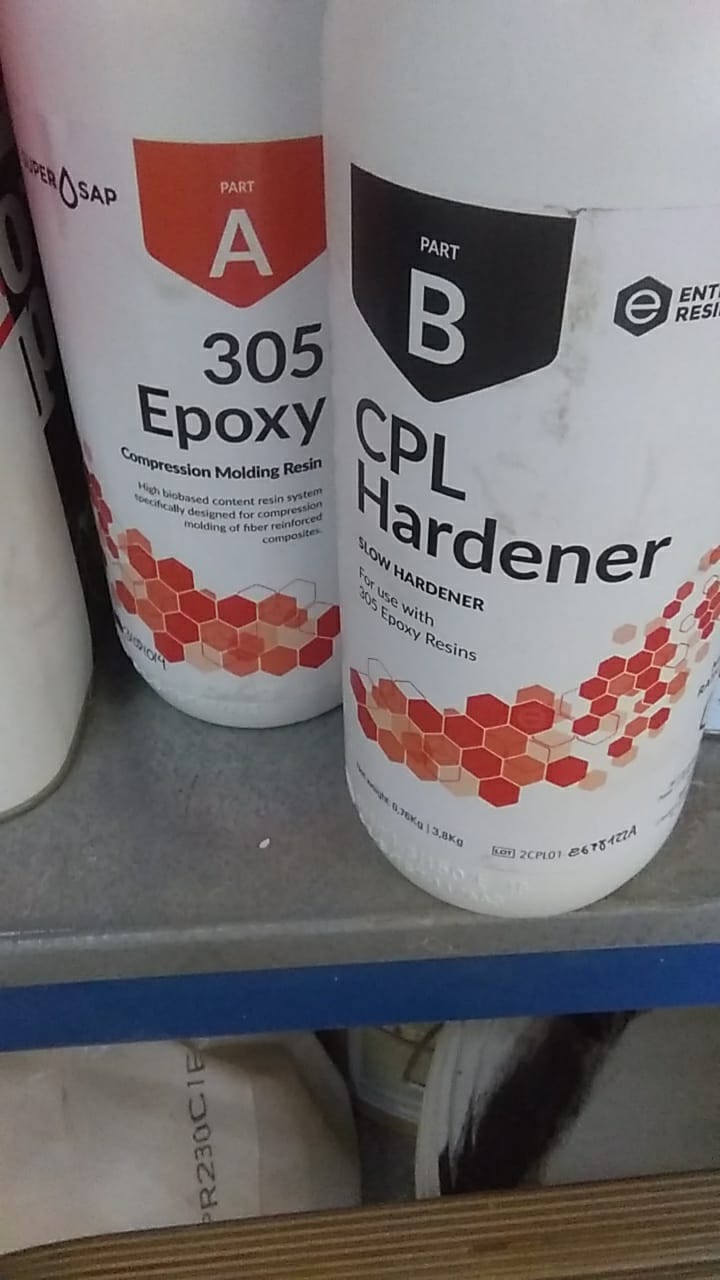
We used Super Sap One Epoxy as it cures fast (less than 24 hrs) and is as envirommentally friendly as epoxy can be.
It says it cures to a brittle state and is better to have an aftercure at 37ºC.
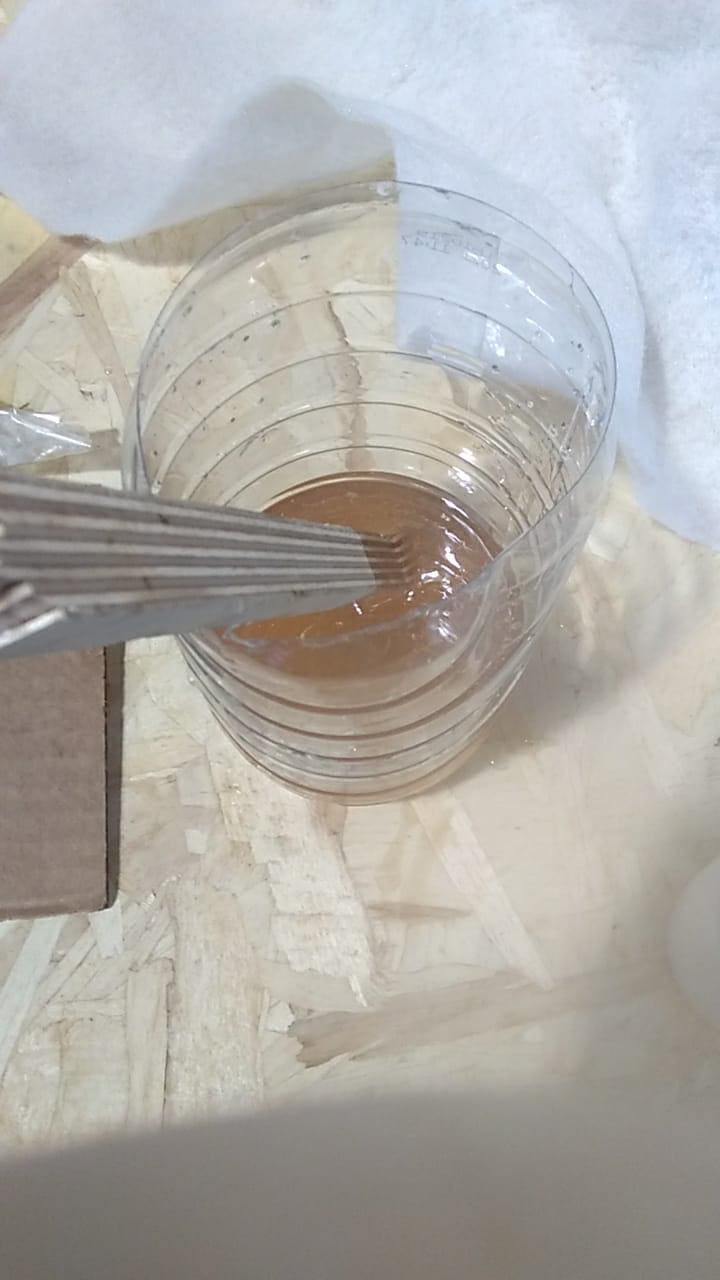
Also is easy to mix 2 Epoxy 1 Hardener, You need 1.5 cups of resin and 0.75 of hardener for a long board (I used 1 cup of epoxy and half of hardener and despite making sure I didn´t overpured resin in each layer I was juuuuust stlightly missing some at the final layer) 2 cups is too much.
Make sure you have al the plastic layers prepared before mixing the resin (see layer below) as well as:
And don’t forget also
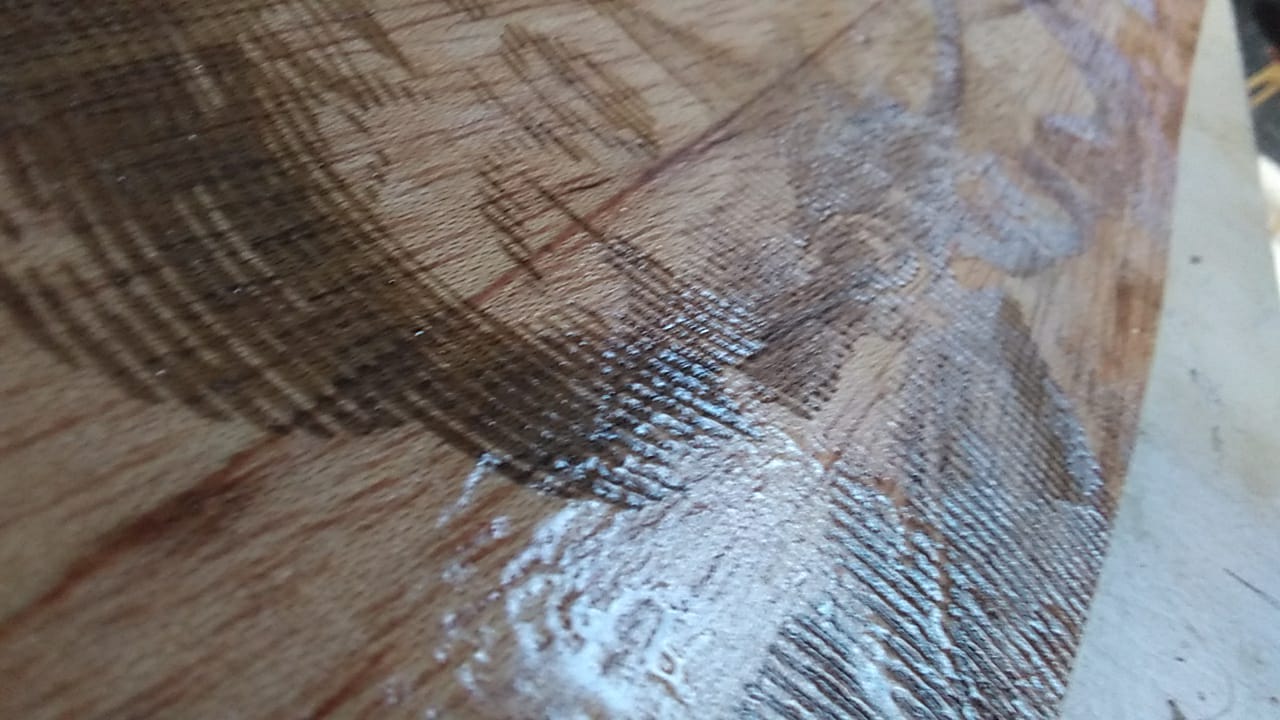
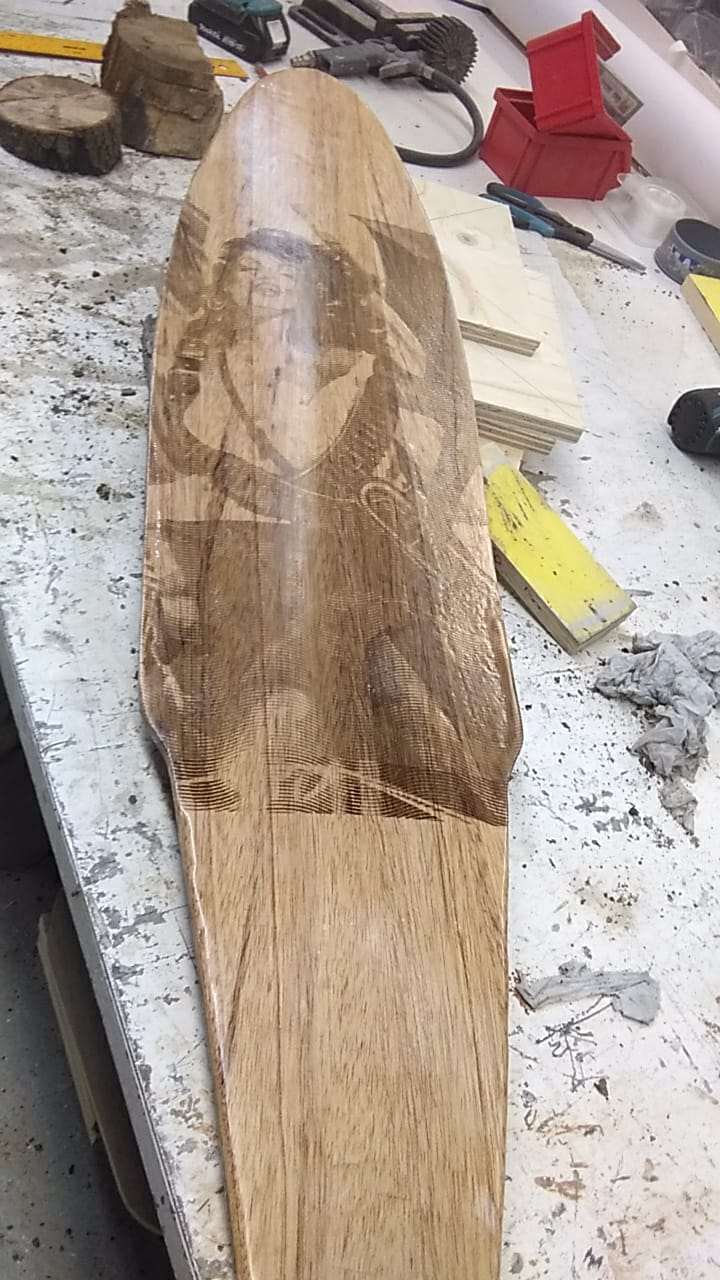
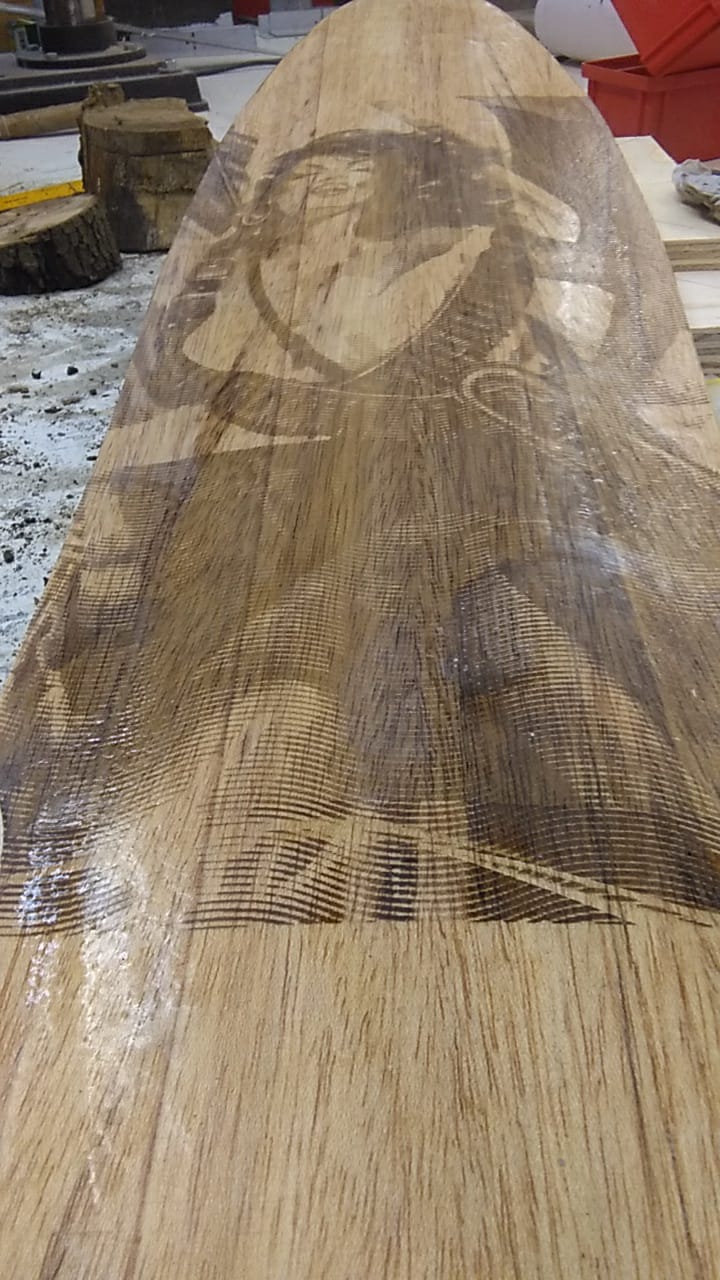
I transformed a picture to resemble the effect of an engraving to put as art, which is better explained in week 2 (Let´s just say I learned something the hard way)
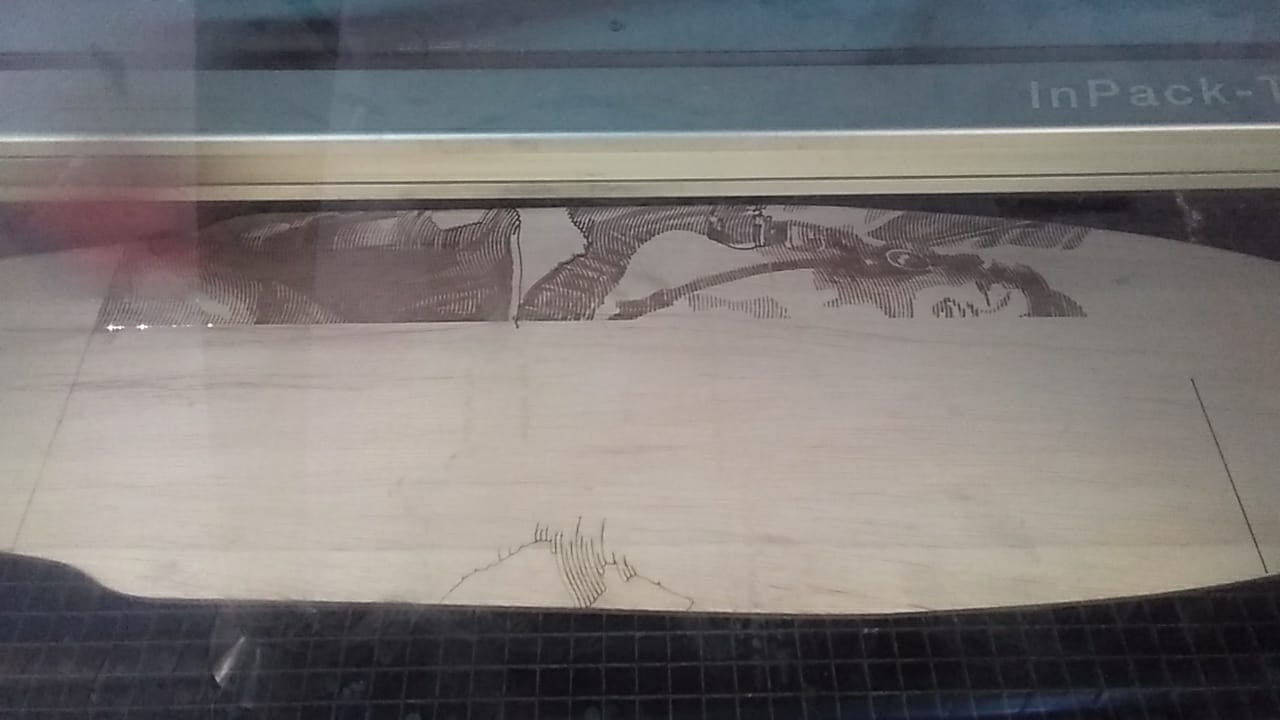
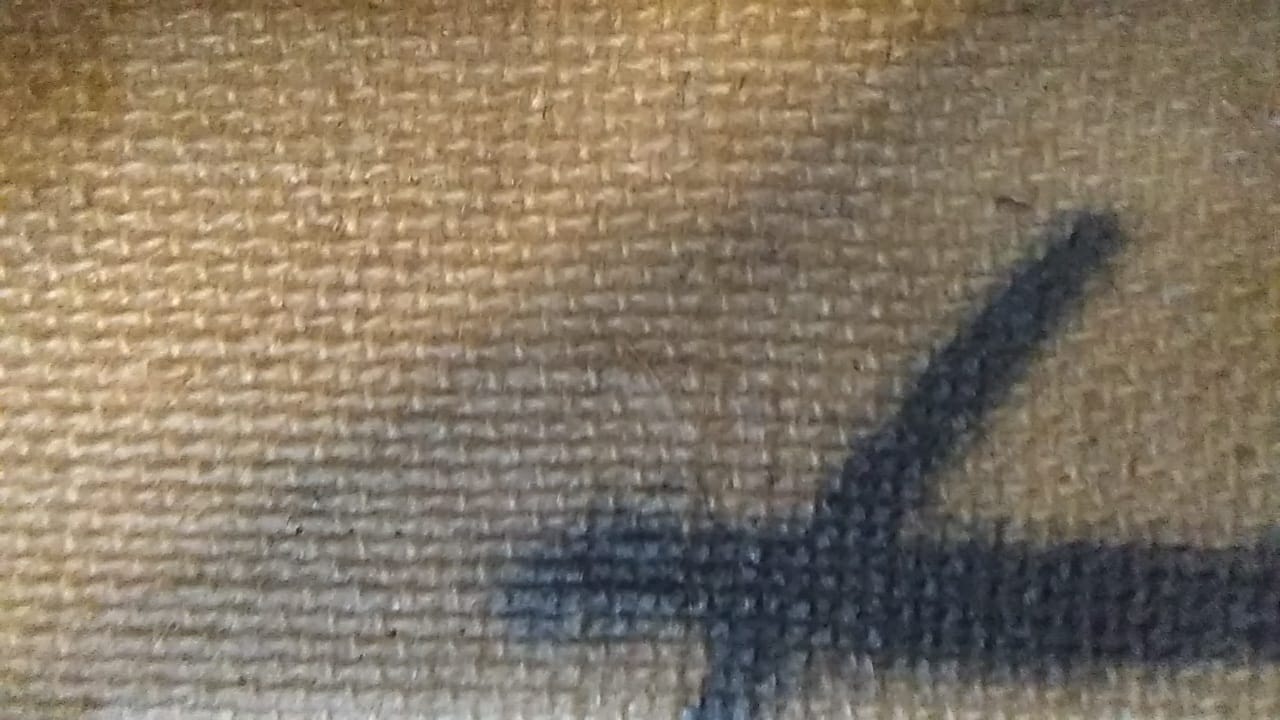
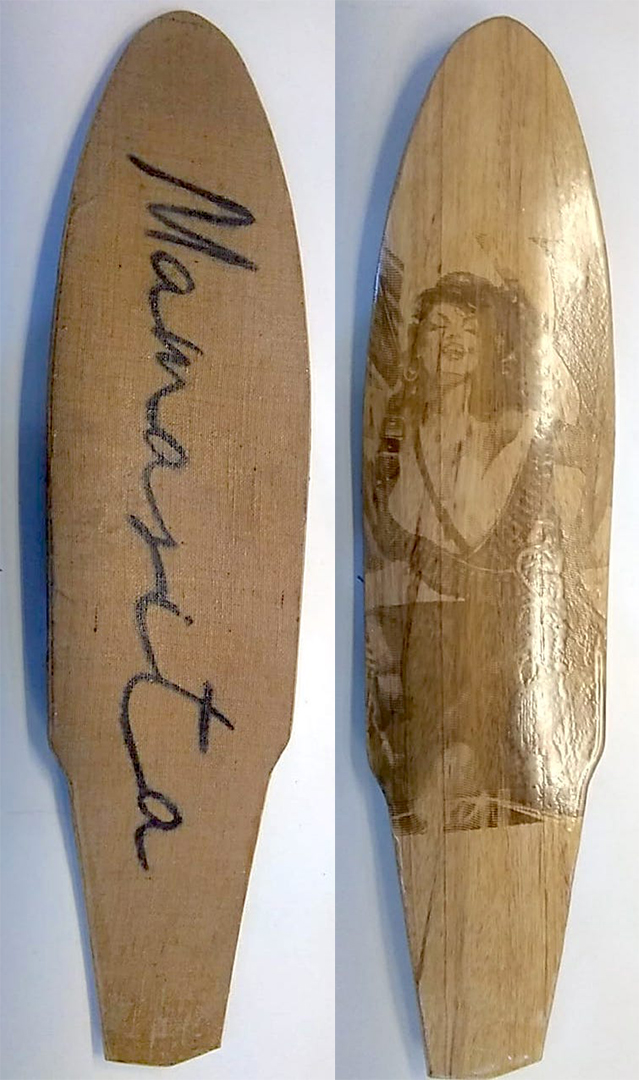
The artwork is an Adelita (mexican revolution female soldier) and the top layer instead of grip sanding paper I used sack fabric.
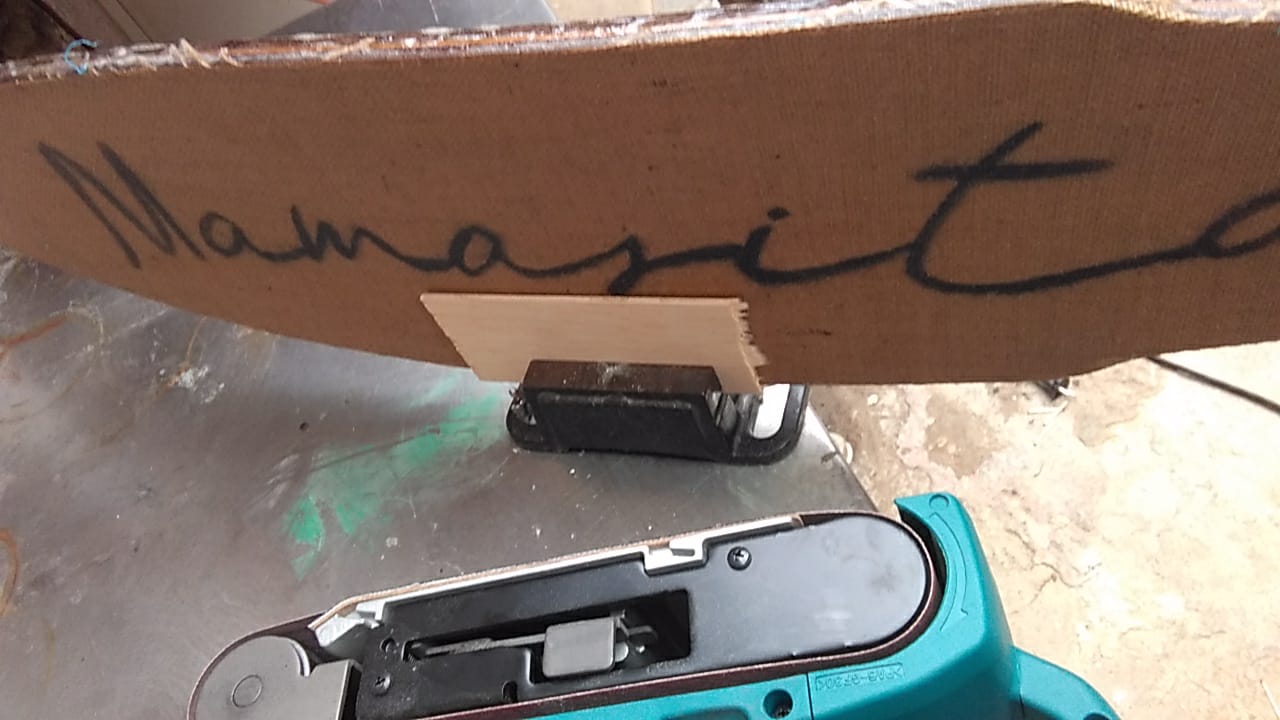
I wanted to put a logo on the grip I put Mamasita, which is something in latinamerica people say to their girlfrieds (or cute girls,it is only rude when is not well intended or wellcomed)
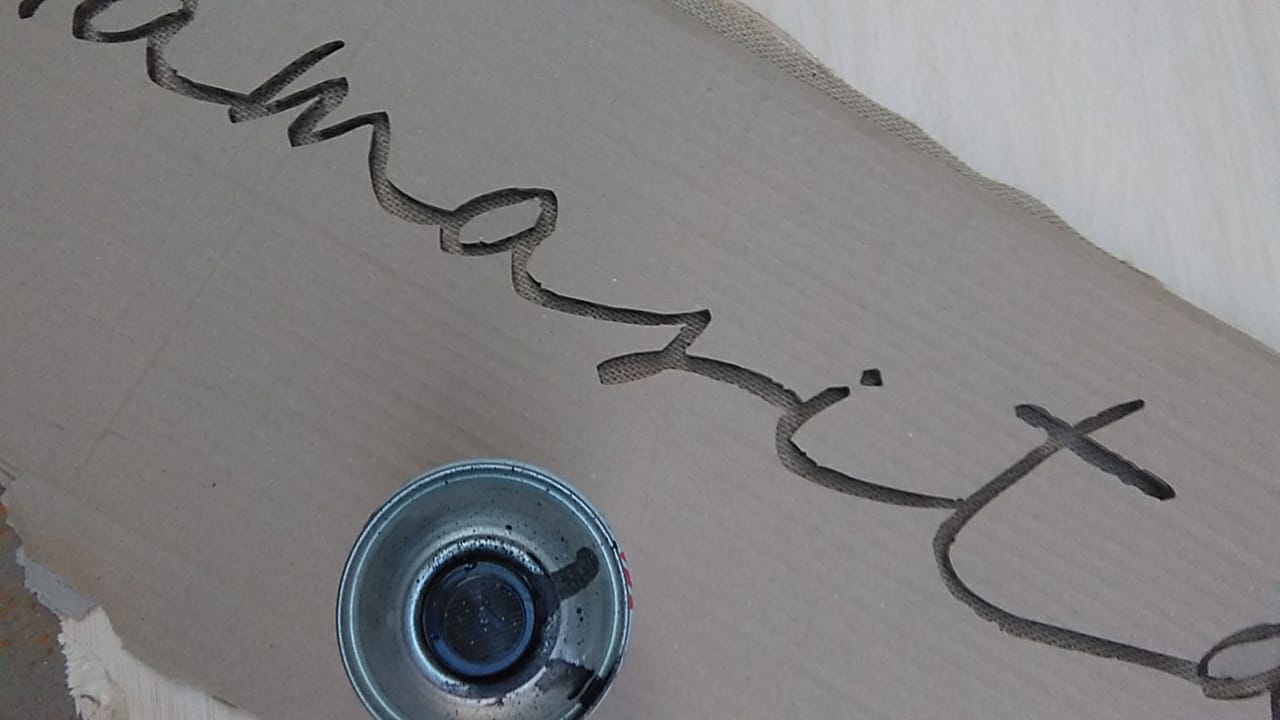
It was spray painted with an stencil made with leftover carton. It didn’t come out as expected, sadly.
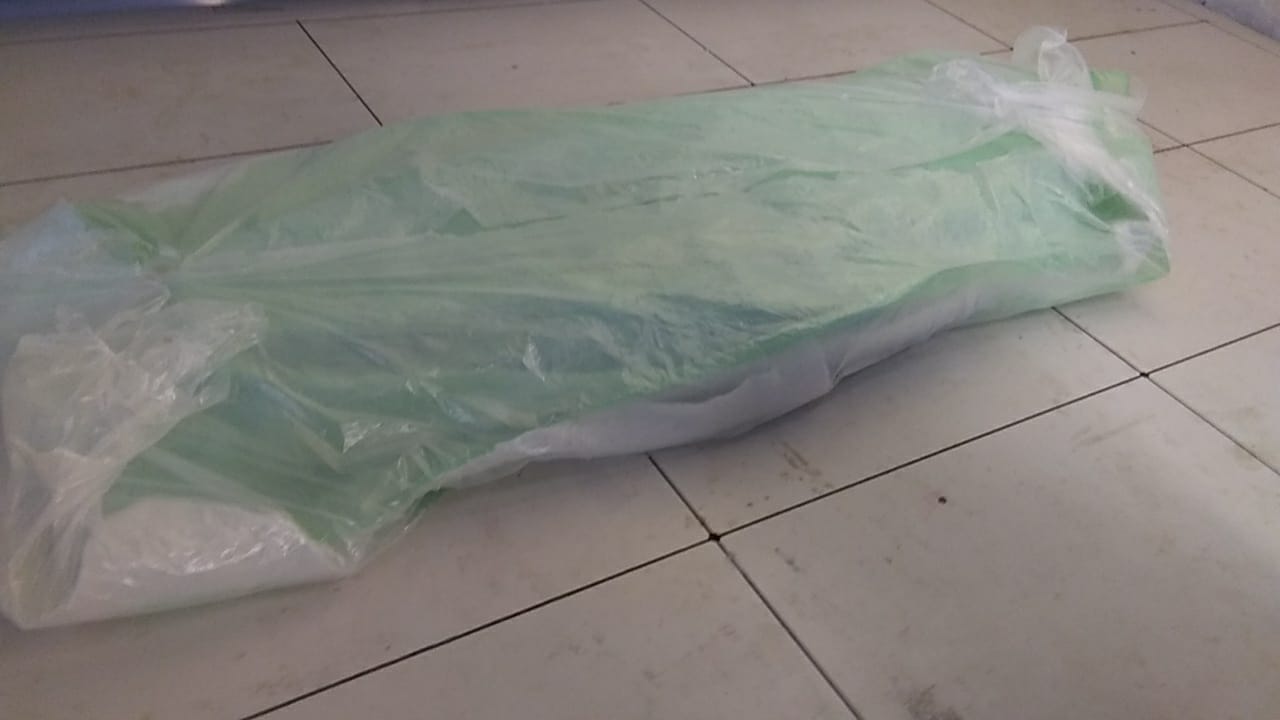
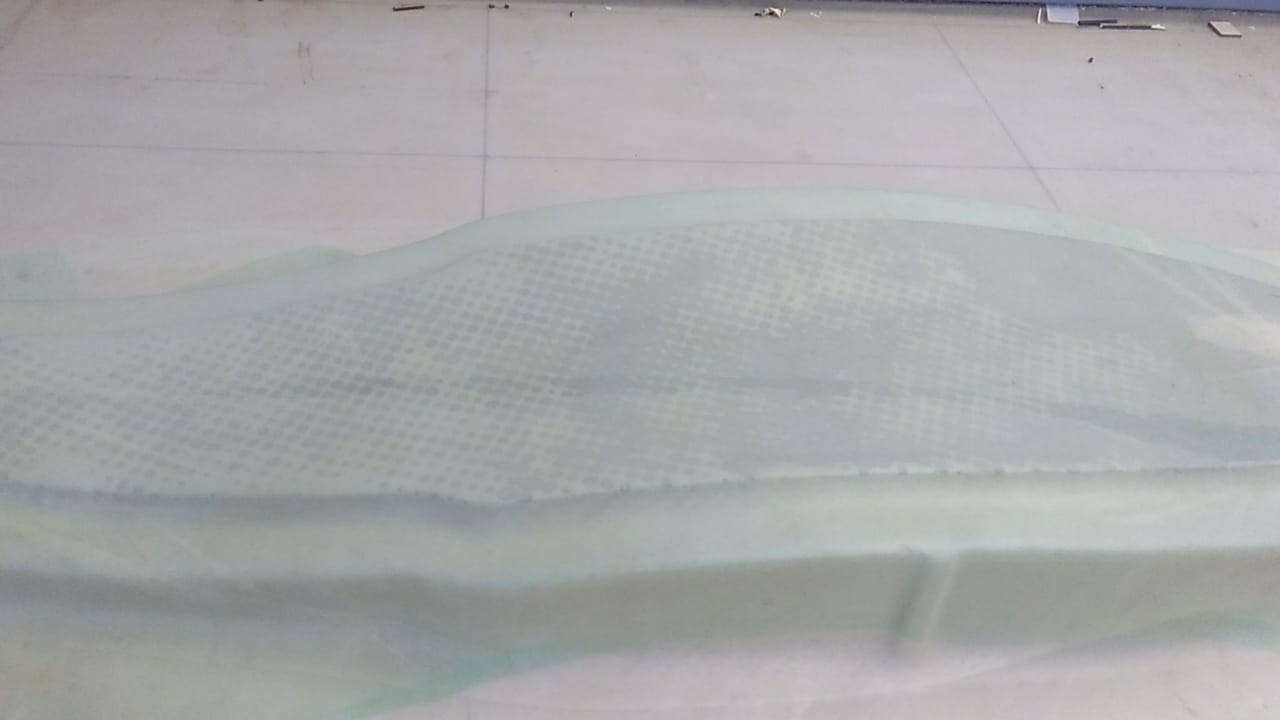
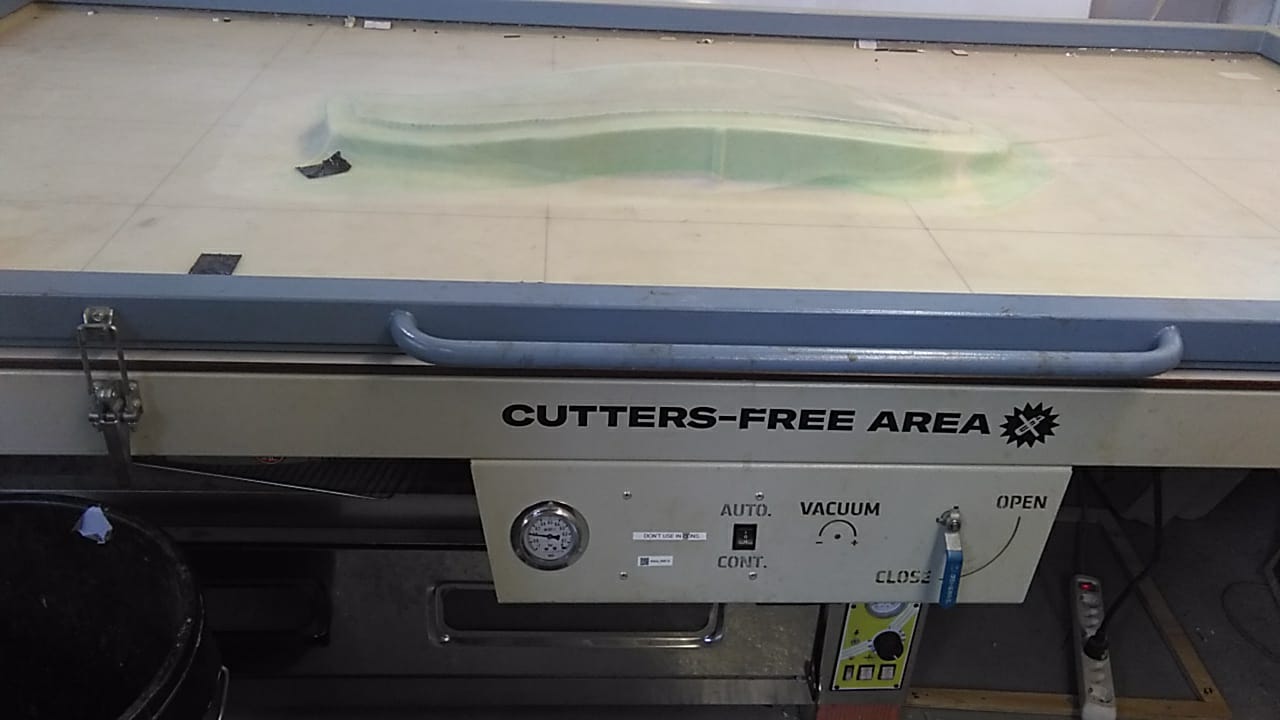
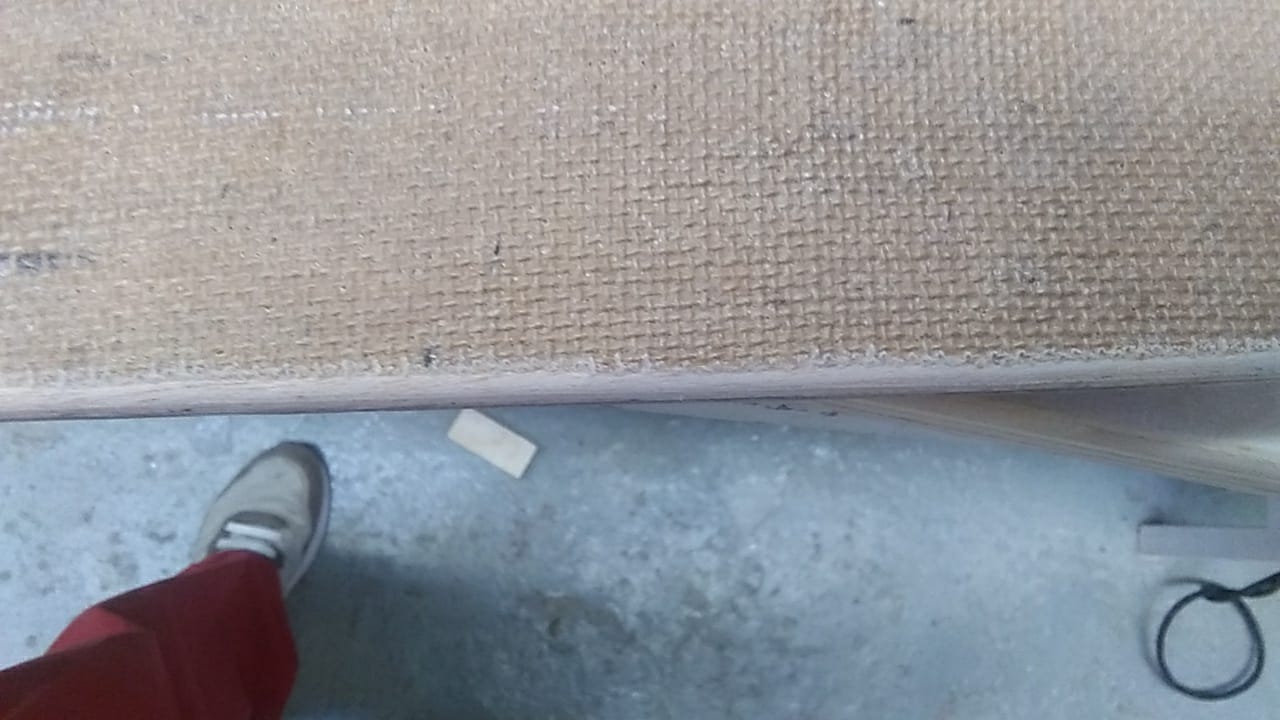
The most important part is to protect the vacuum table from the exuding epoxy. in order to accomplish the deck is wrap in a series of layers:
In order of placing (LIFO)
-Table -Clear painters plastic -Mold -Green plastic DECK -Blue microperforated plastic -Perlon/guata/ cloth anything absorbent -Green plastic -Clear painters plastic

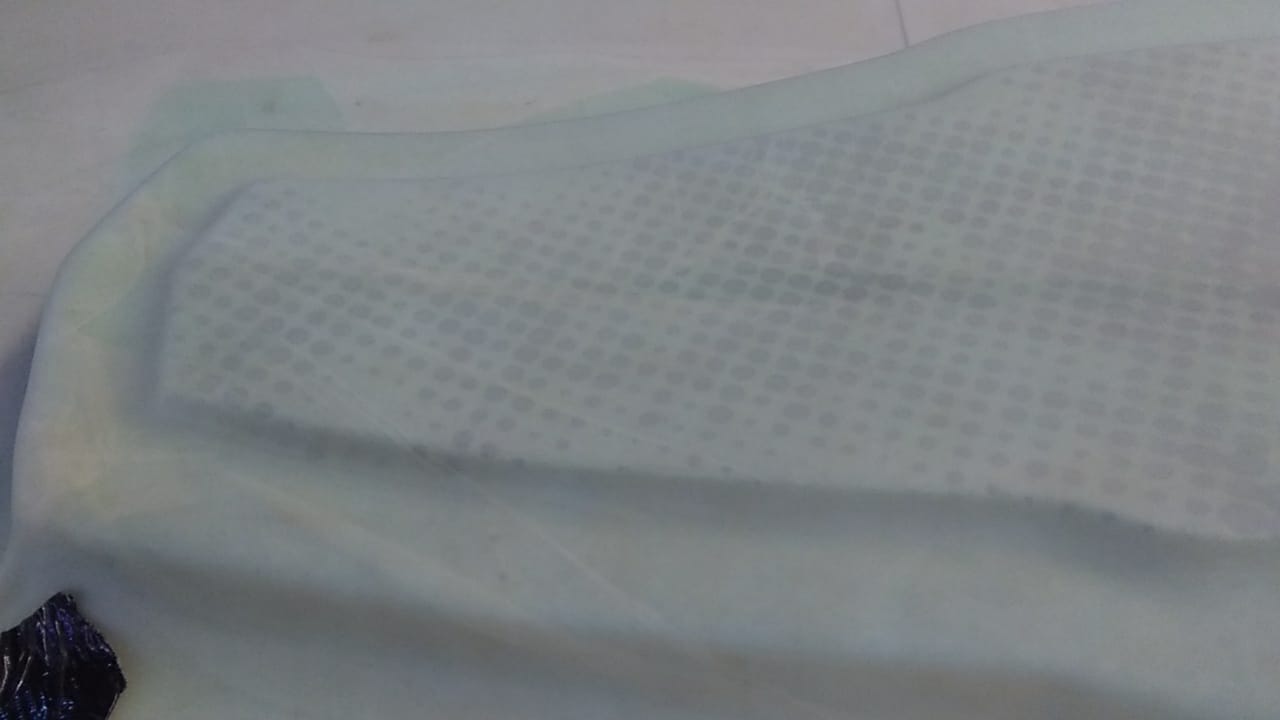
If you are a pro of the resin pouring sport once you vacuum it should look like this:
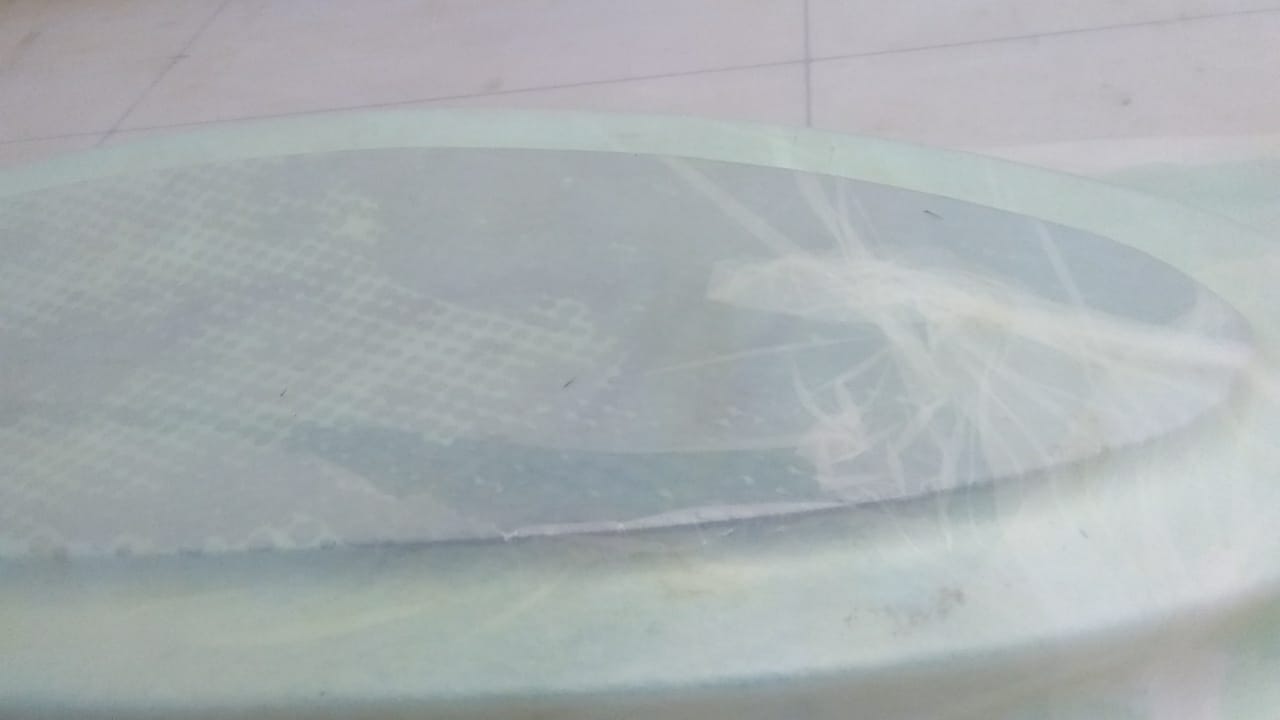
If you are a dummy or you actually runout of epoxy and mixed more and you thought… Hey the nose has to be hard as is going to suffer more damage, and is sad to waste after almost mixing the perfect amount before, and you purr the whole extra into the nose… it will look look this:
15hr later
Now I have to sand the excess of epoxy
Mask is a must, not good to breath that stuff
Ok I sand the edges, to make it round, with the disc sanding machine thinking that was the rotatory I was recommended to use, I made several small flat surfaces,
—I took pics of it, I deleted them thinking I had passed them already—
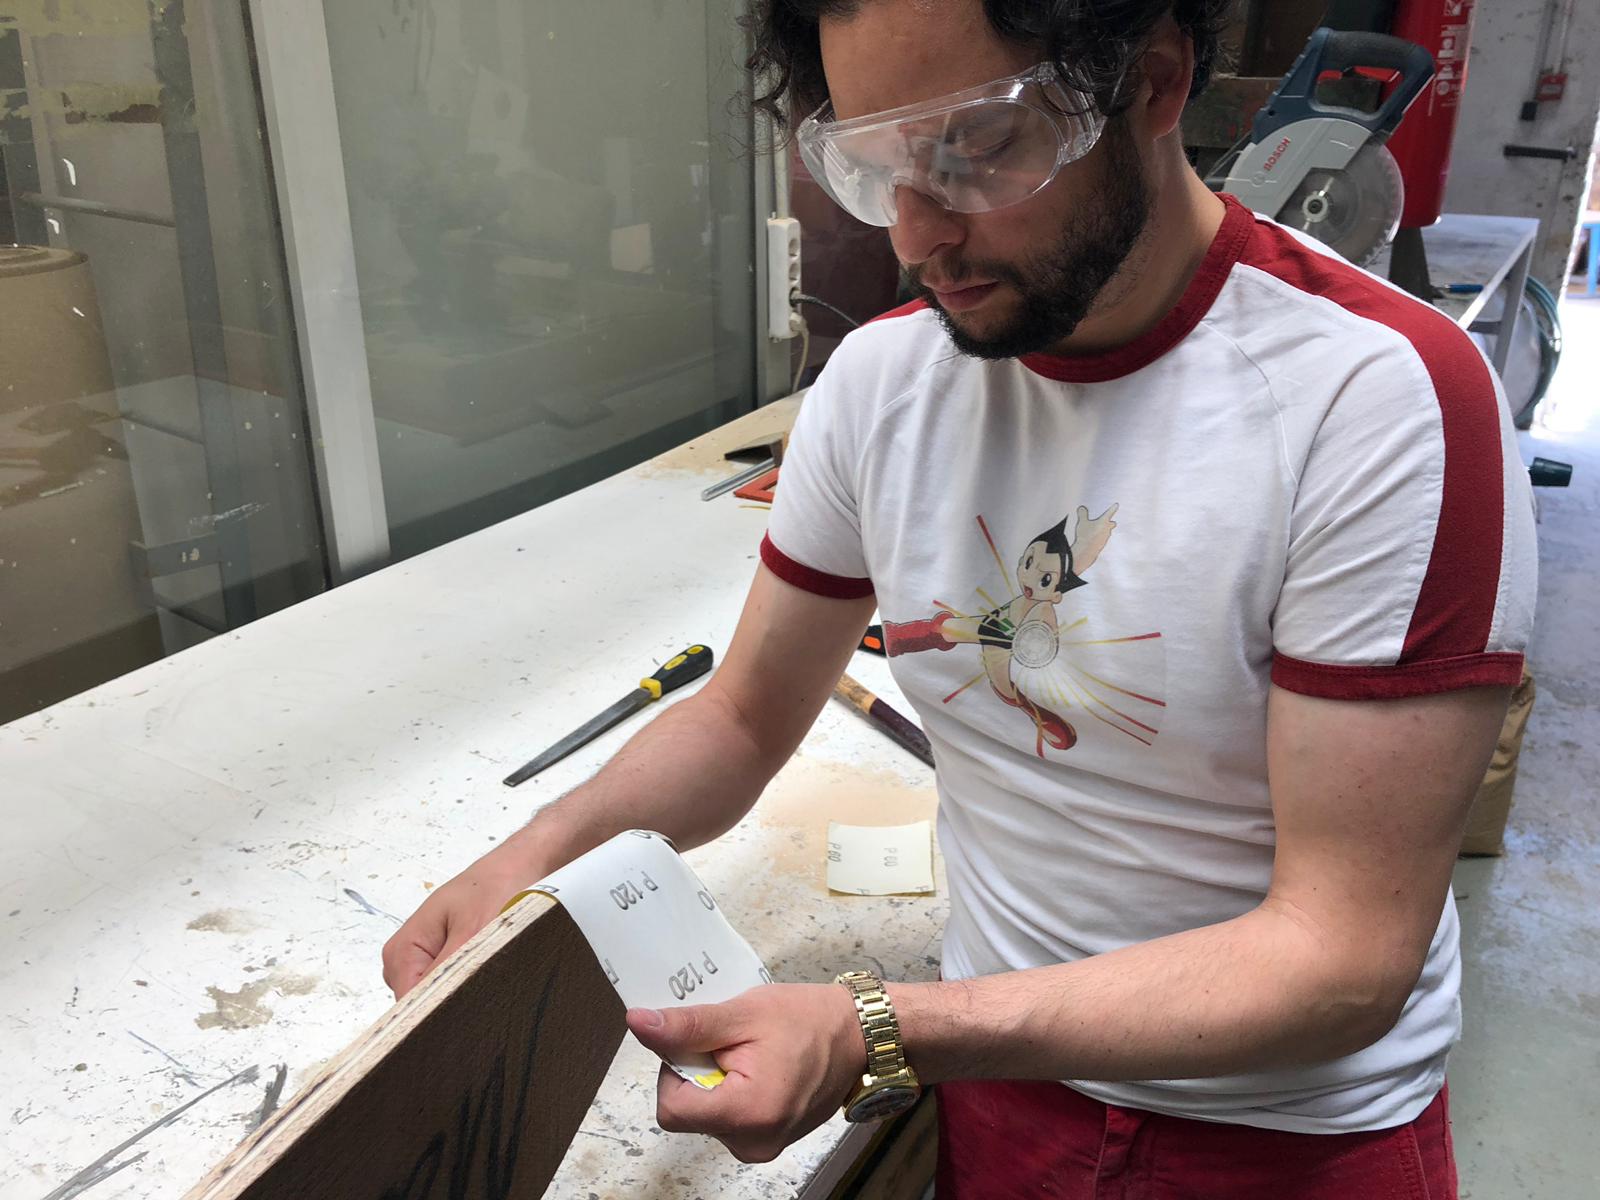
then I decided to do it with a piece of sandpaper, not bad
The I was taught what actually really was the rotatory!! And how to set it and use it, I practice with a board first and then with mine.
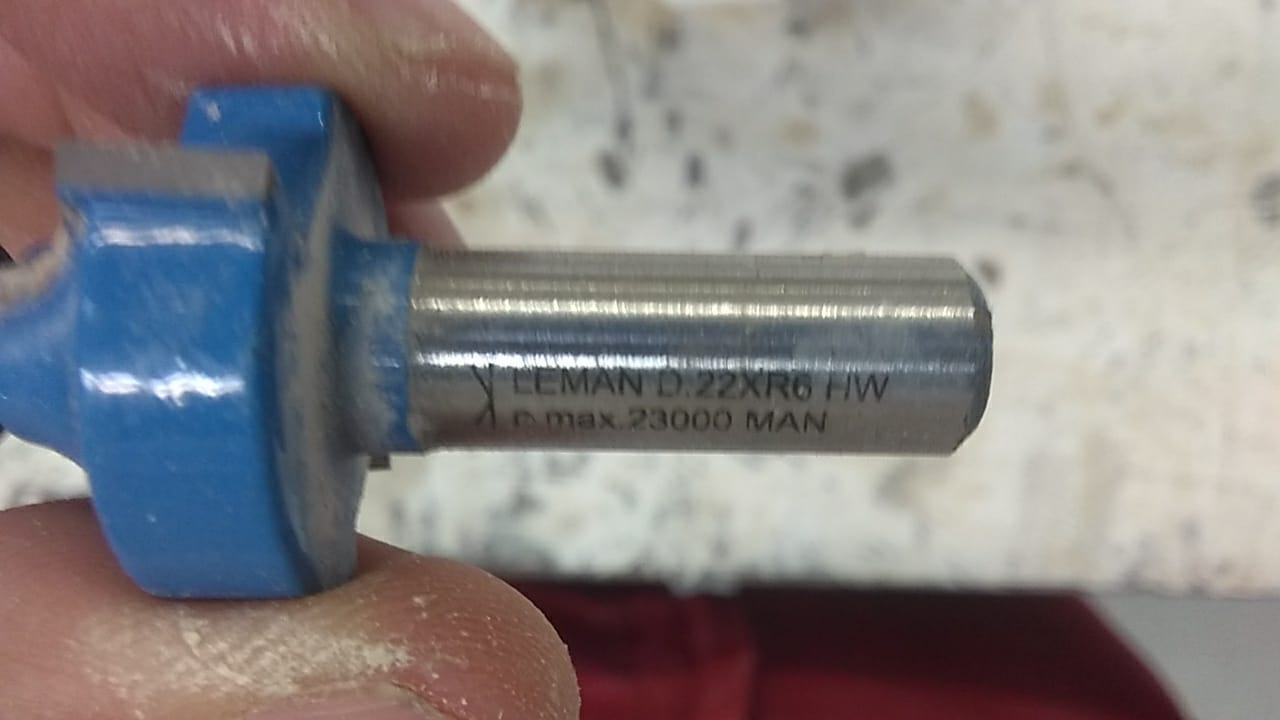
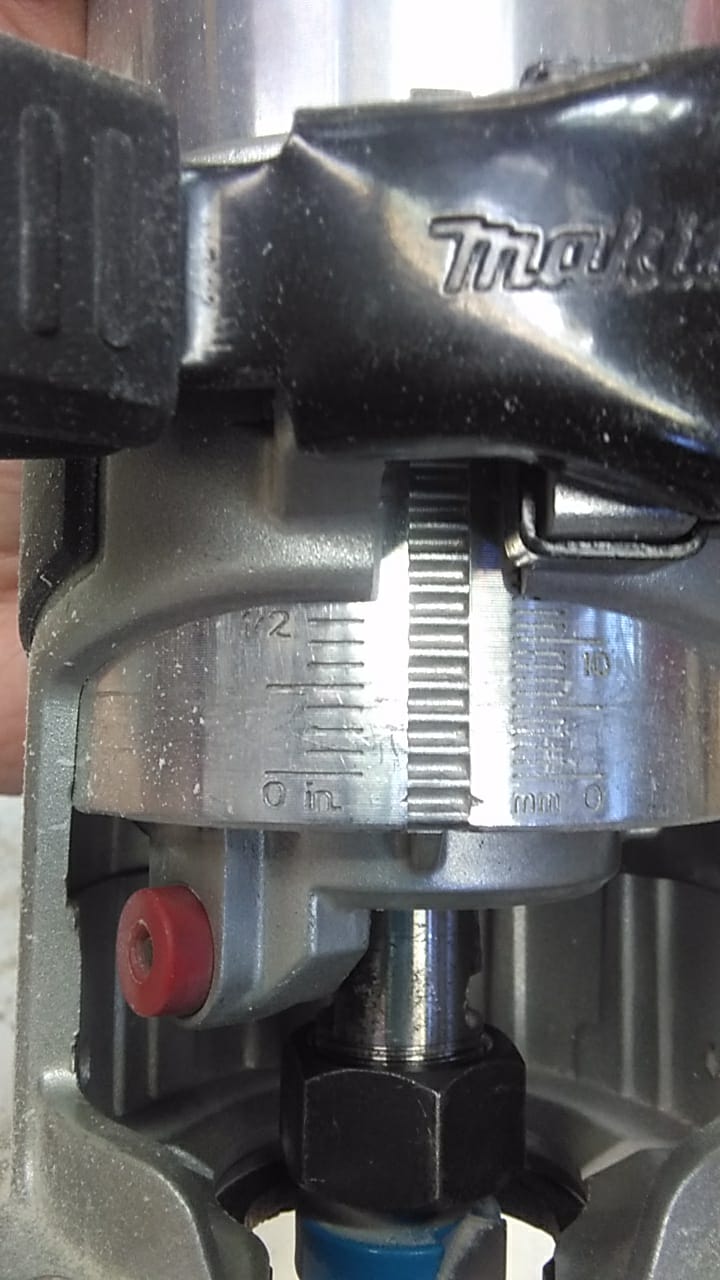
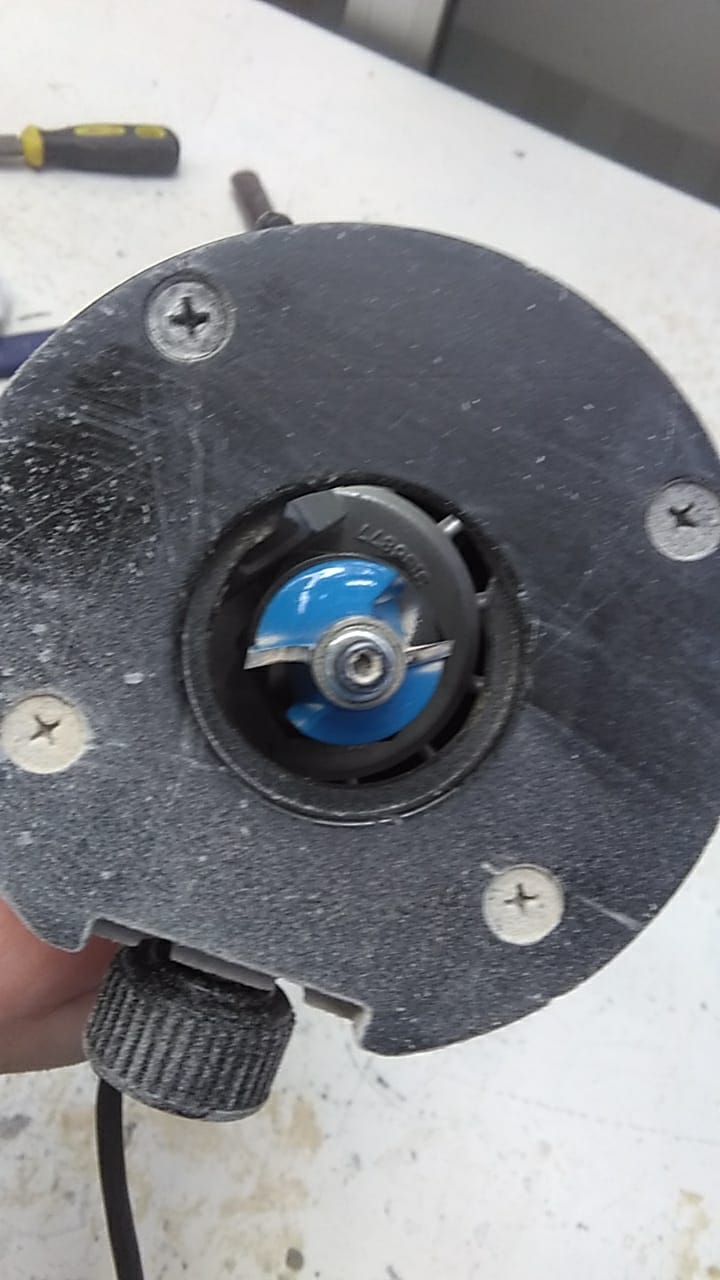 Like this, otherwise if it protrudes too much from the guard you bite the wood, if is too close to the female, you damage the machine.
Now bordering like a pro! (bordering is my contribution to the queen’s language)
AMAZING!!!!, I WISH I HAD USED THIS FROM THE START!!
Now I varnish the bottom and border of the board, as the bottom was stained with the epoxy from the board compositing, I intended to varnish it with the same epoxy, but, although there was some component A OK, most of what was left was spoiled (IT WAS LIKE THAT BEFORE, PART WAS OK AND THE BOTTOM WAS SOGGY, AFTER USE I DID MAKE SURE CLOSE IT PROPERLY AND TIGHT). So we used another epoxy.
It’s been a week and that thing still sticky!!
Also one can see lines where I passed the cardboard piece to spread the epoxy, as well, it seems there are zones were the epoxy was absorbed by the wood!
I give another layer of epoxy, this time was cleares, perhaps the otherone reacted to the metacrylate piece I sued to stir, that’s why this time I used a piece of wood.
I had the same problem of deep lines forming as I spreaded the gue, I had an idea, I grabed a plastic bag like the ones I used as gloves (there are no more gloves around (maybe fabriacademy has some)) and I spreaded the bag on the tail of the board and dragged it all the way to the tail making sure it covered all the boards with, two passes, perfect! well almost, there are some bubbles, but anyway. this time it was cleaner that before.
Sorry no pics, I had my hands full and no one available to take the pics. (Final project mayhem (I needed a rest after fighting the whole day with a Bluetooth))
I sand it again and again and everytime I was stucked with the final project, I sand it with a decreasing sand grain from 120 to 1000,
I did looked alright but not quite,
so then I varnished with spry varnish. let it dry.
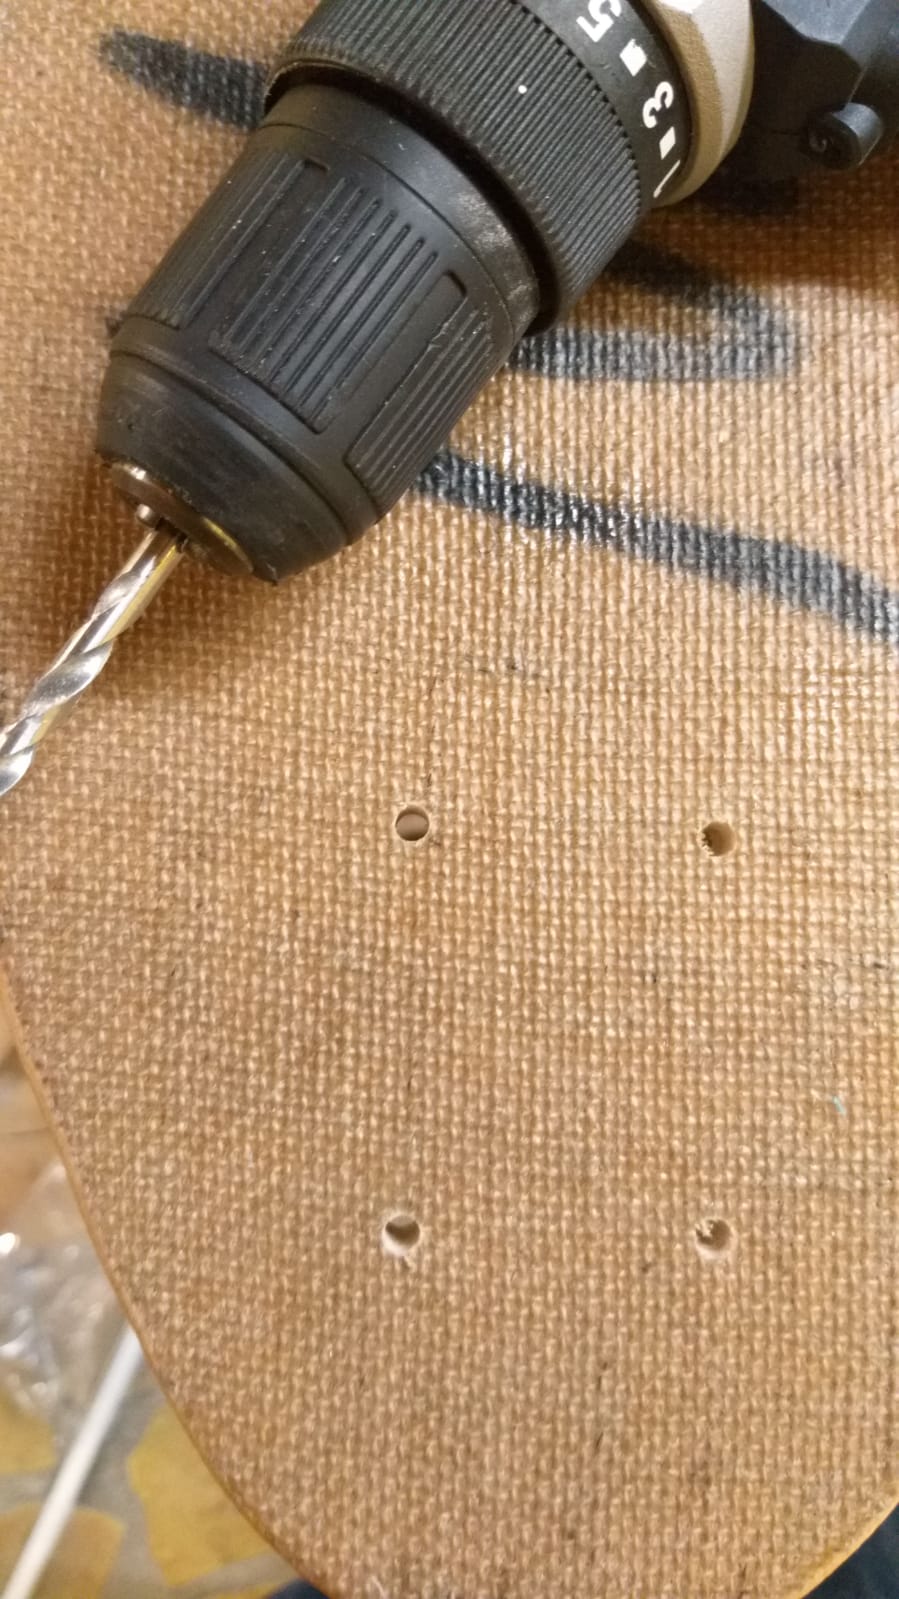
Now let’s make it road worthy:
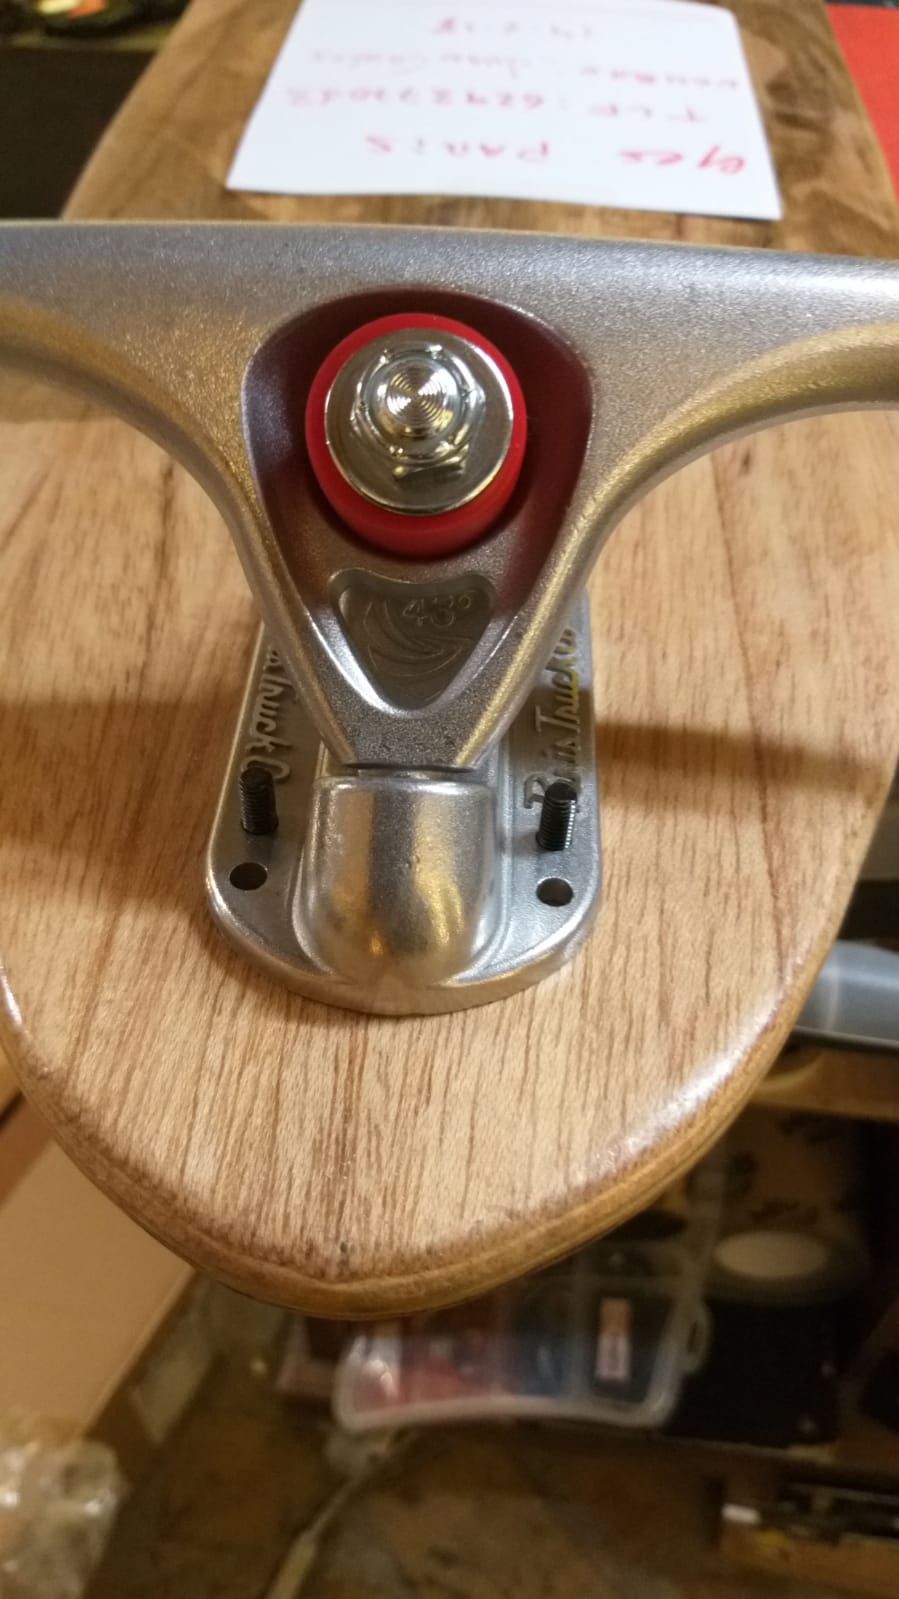
And now…
LO & B-HOLD!!
IF YOU LIKE THIS, PLEASE SEND EDU AN EMAIL TO LET ME DO MY OWN SKATEBOARD MOLD  :
:
