Home About Me Final Project Fab Academy 2019 Berytech Fab Lab

Week 2 :Project Management

The objectives of the session dated January 23 2019 was to know about the importance of the documentation and how to develop and built website using HTML "Hyper Text Markup Language". 
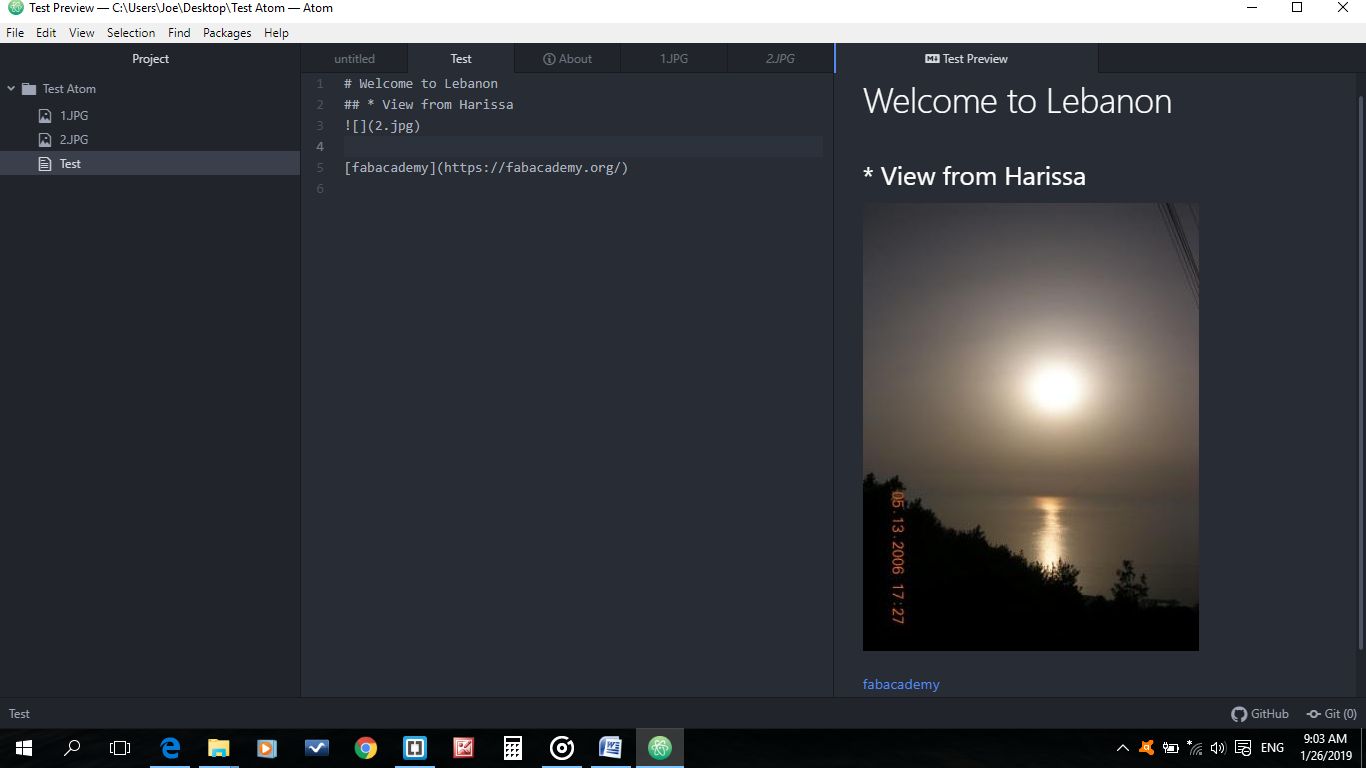
The personal website will be our portfolio that will include our weekly assignments and our final project's progresses. It will be in HTML format and must be able to exist within a GIT archive. I was introduced to Atom and Brackets software that is used to read and write the HTML code.


ATOM

Atom is a free and open source text and source code editor for macOS, Linux, and Microsoft Windows with support for plug-ins written in Node.js, and embedded Git Control, developed by GitHub. Atom is a desktop application built using web technologies.


HTML and CSS"Cascading Style Sheets"

First I will mention the setup used on git to be able to push the content of my page, and then I will explain and visualize the majority of html codes and css that I used on my page:

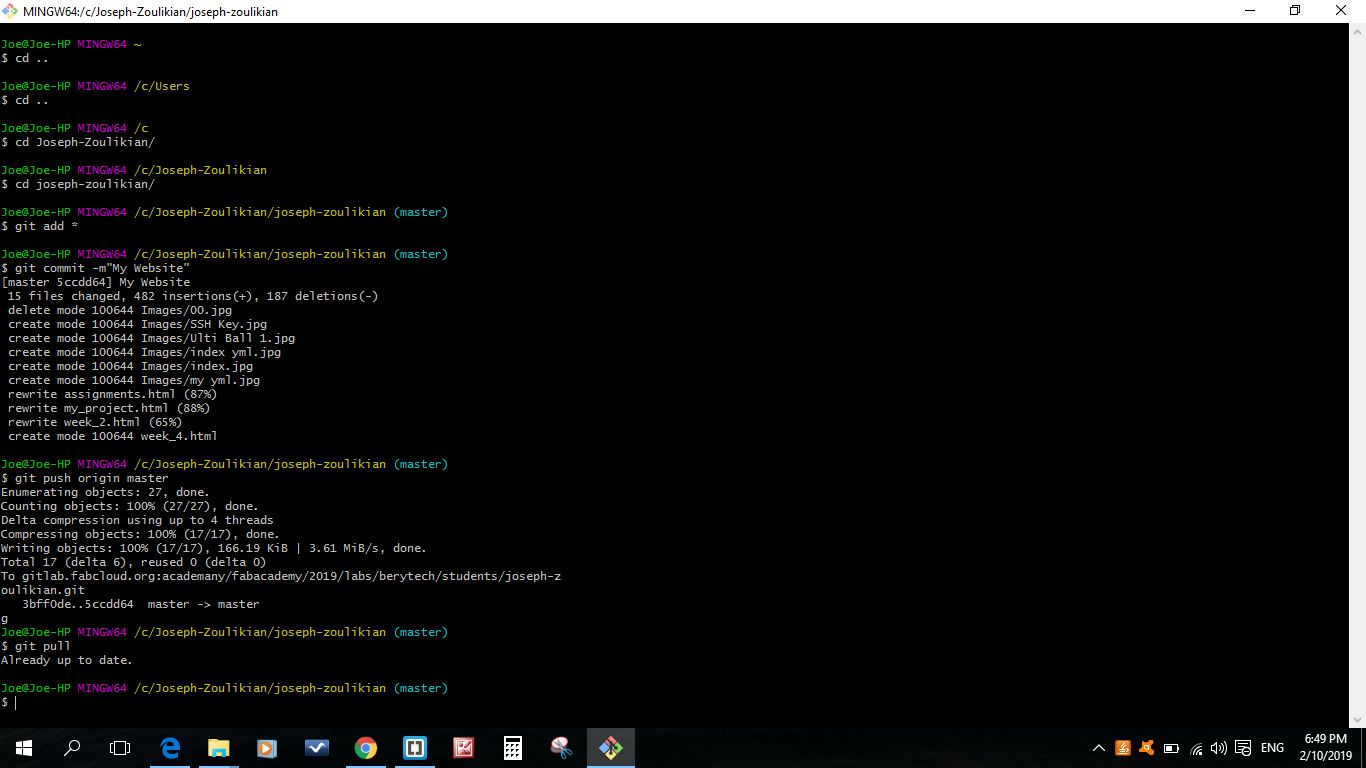
The following commands are used for the git setup:

First configure user name and email:
git config --global user.name "Joseph Zoulikian"
git config --global user.email joe.zoulikian@gmail.com
Then choose the editor in which will operate git:
git config --global core.editor "C:/Windows/System32/notepad.exe multiInst nosession"
The last two commands are to generate and enable the ssh key:
ssh-keygen -t rsa -C "joe.zoulikian@gmail.com" cat ~/.ssh/id_rsa.pub Paste the ssh key generated to gitlab website on the ssh keys Delete the YML file from my GITLAB account Create a new yml file in my GITLAB account


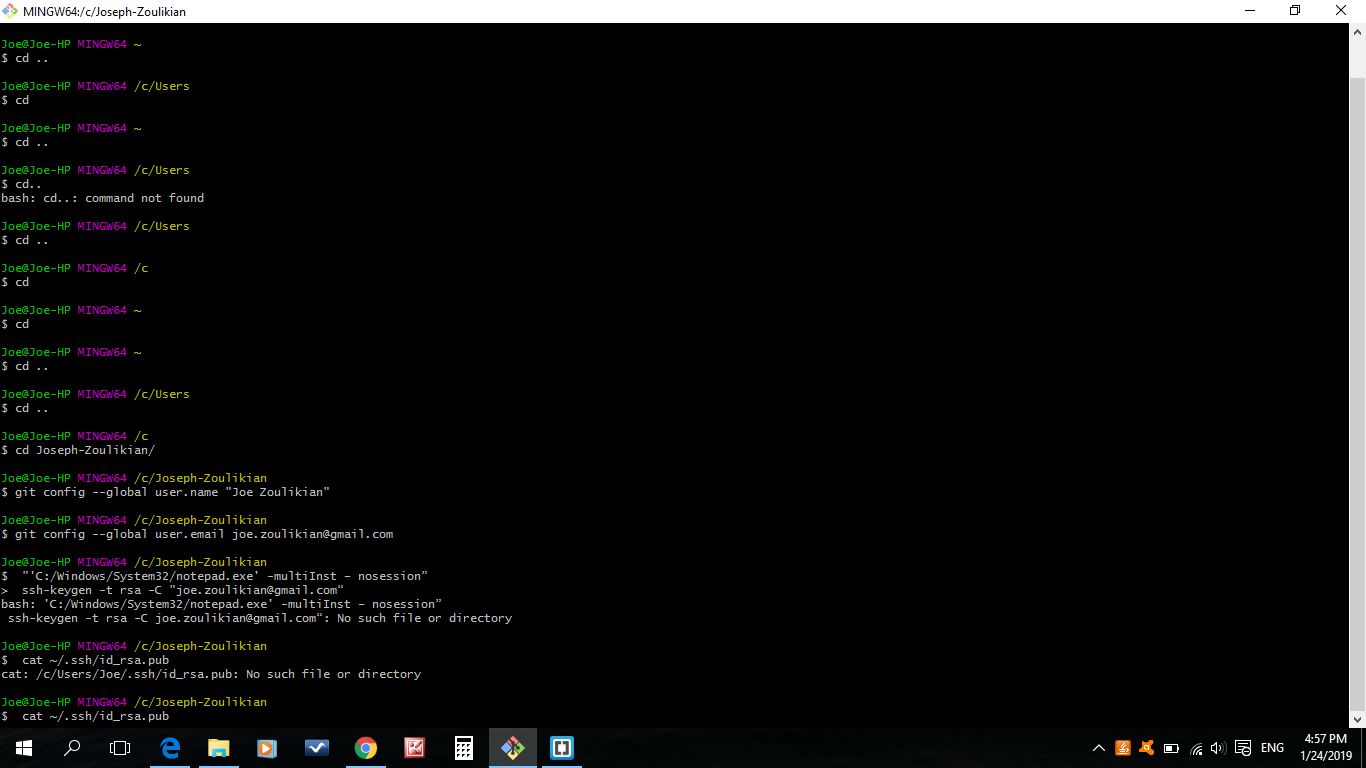
The first thing to do is to clone the repository git folder on my local folder. To do that I entered the following at the command line in git bash :
git clone git@gitlab.fabcloud.org:academany/fabacademy/2019/labs/berytech/students/joseph-zoulikian.git


Our local repository consists of three "trees" maintained by git. The first one is our WORKING DIRECTORY which folds the actual files. The second one is the INDEX which acts as a staging area and finally the HEAD which points to the last commit we have made.

    To get my website online I used git, and done the below stpes:


      But, in order for the index page to be uploaded, we need to add a .yml file. .yml file is a language that informs gitlab about continuous integration flows. To add the .yml file, we follow these steps:
    1. On the "+", select New File
    2. This time, on template we choose .gitlab-ci.yml and then HTML
    3. Then press "Commit changes"


    I learned and tested how to develop a website in HTML functions by using the w3 schools website and here are some examples.

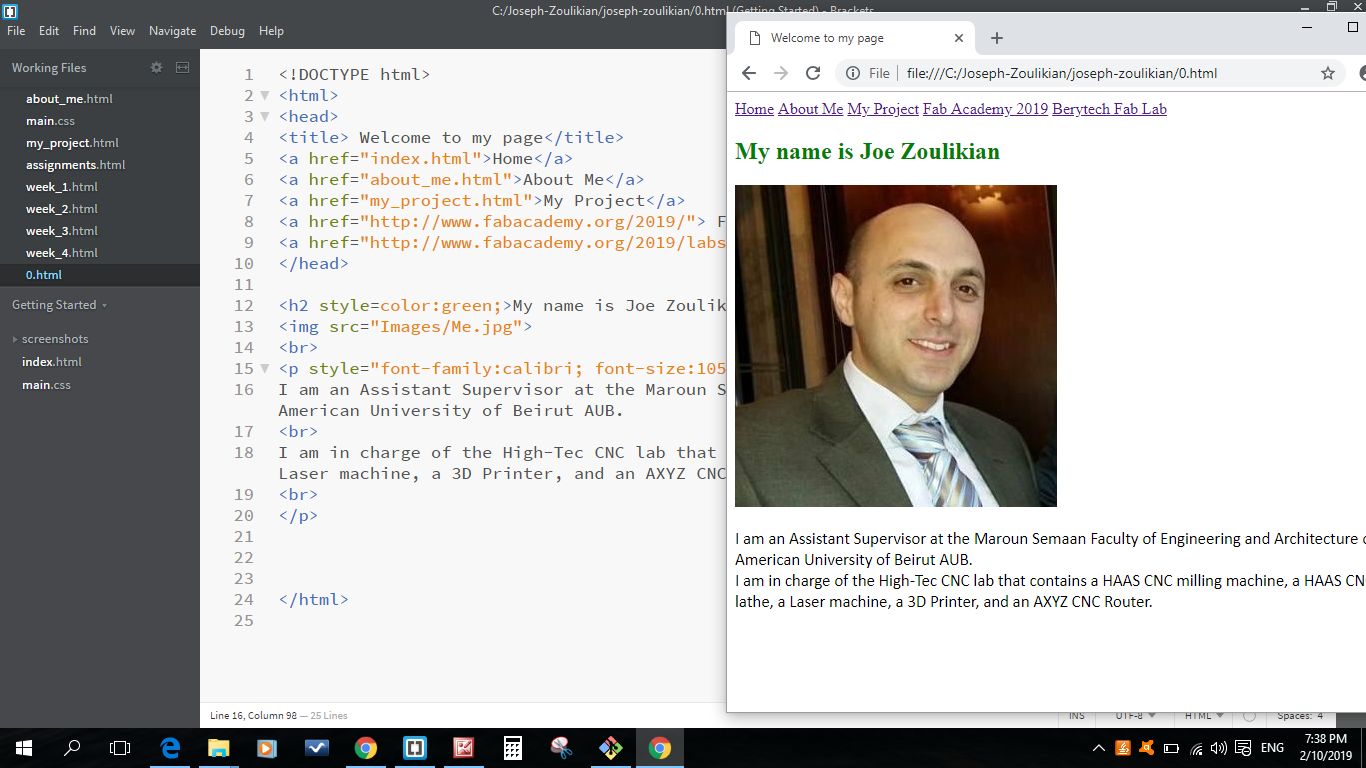
    A simple link between pages using: "a href" function:


    1. A link to an external browser using also "a href" function
    2. Input an image
    3. Define text font color, type, size


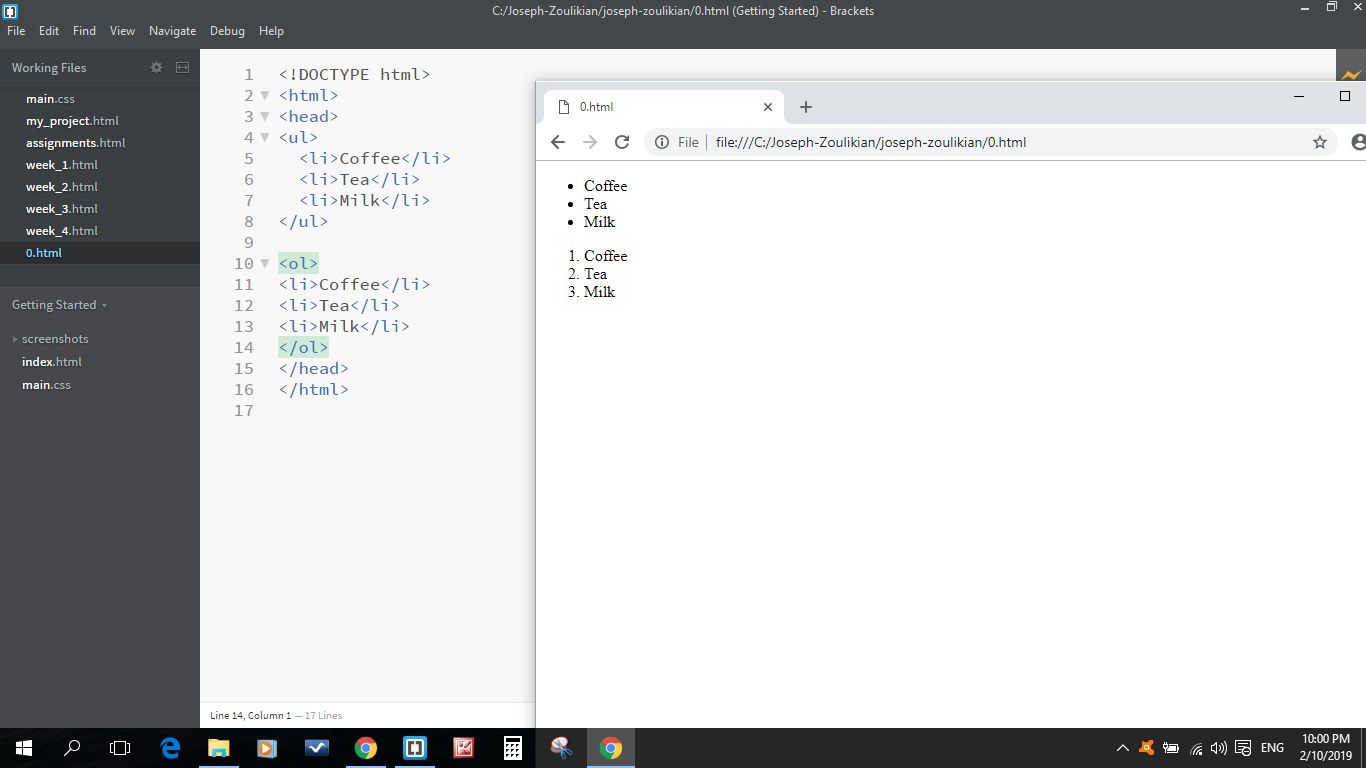
    I used the ordered (ol) and undorered (ul) list:

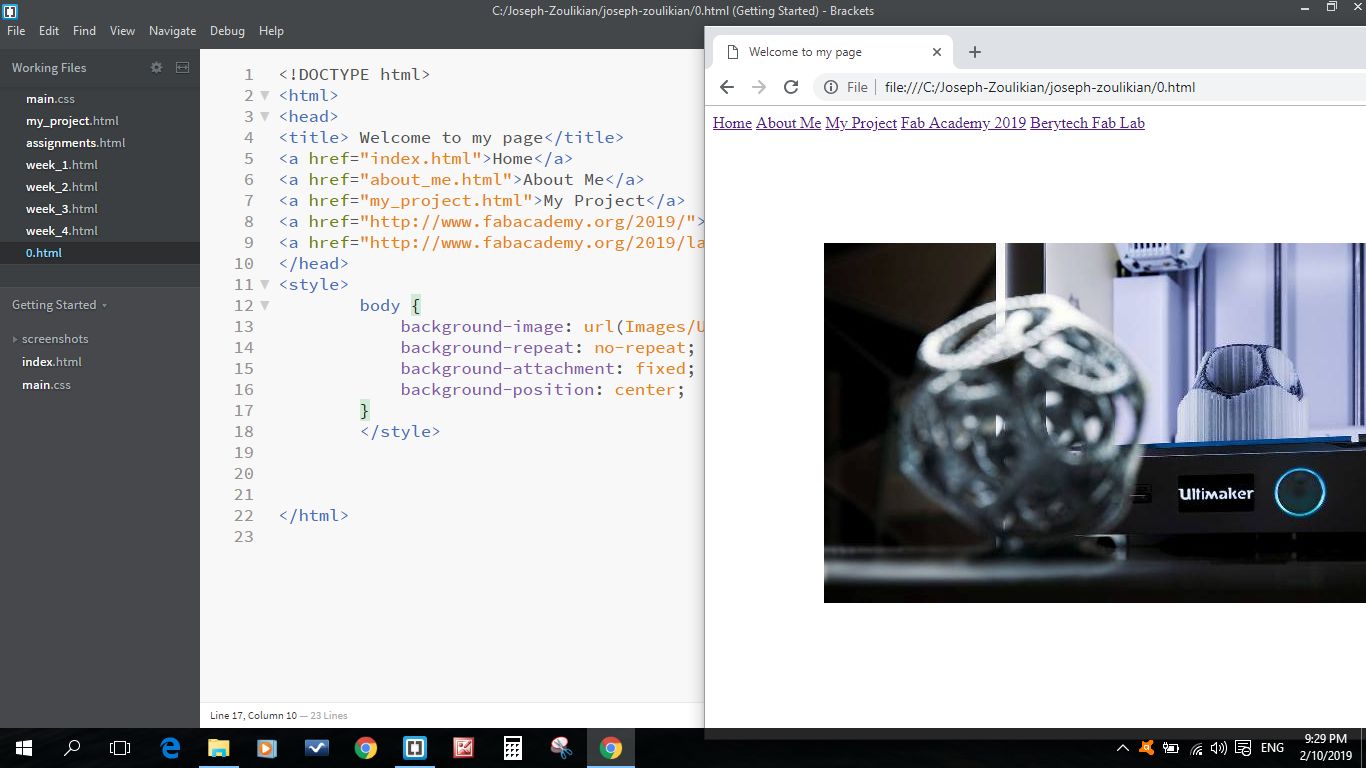
    Input a background image, without repeating it, and positioned in the center of the page using the style function:


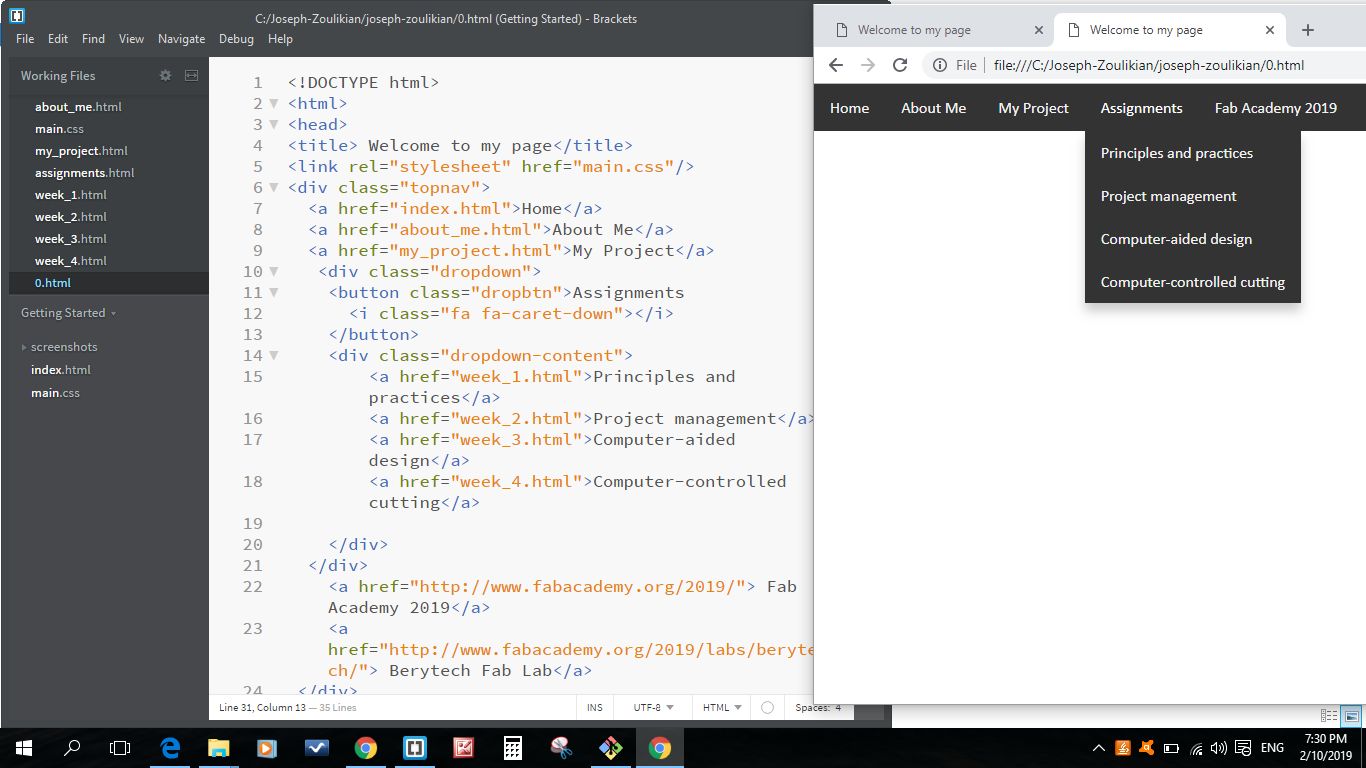
    I prepared a drop down menu using the div class function:


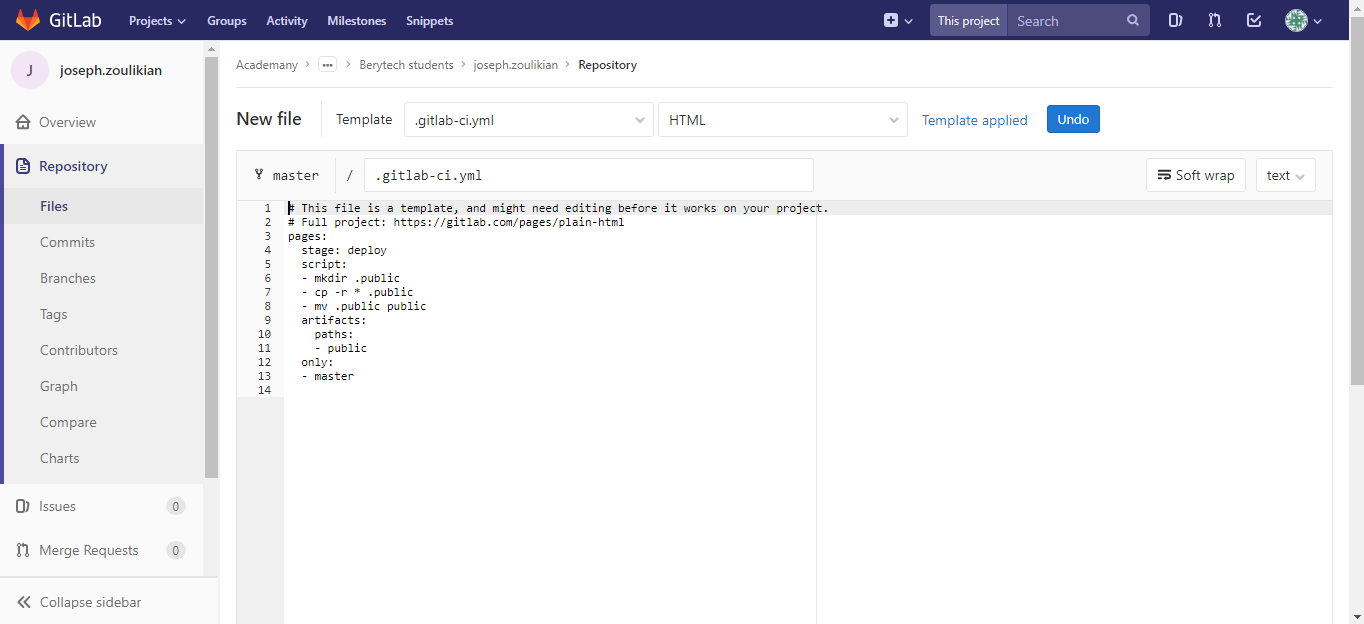
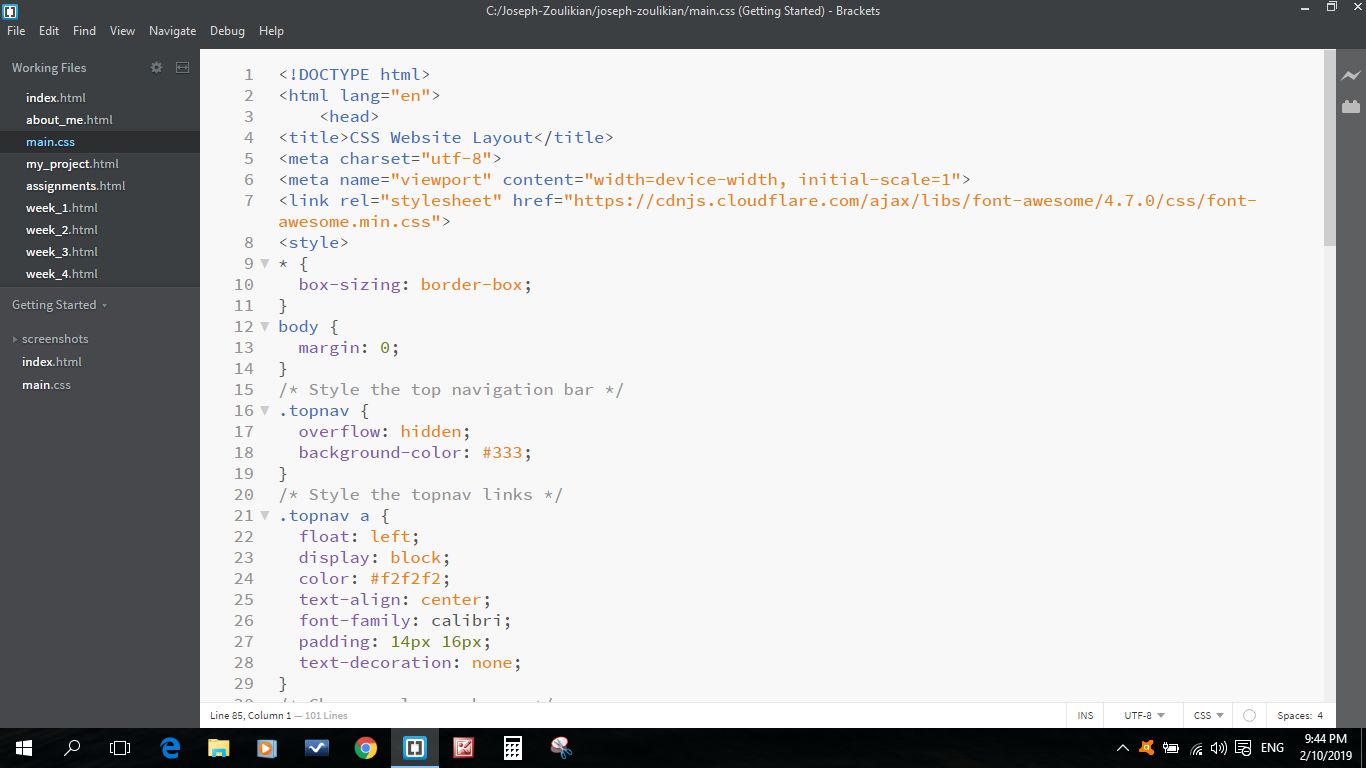
    I used the below "CSS" file:


    Pushing my website:

    1. cd .. Enter (to go inside the primary repository folder)
    2. cd .. Enter (to go inside my main repository folder)
    3. cd (space) (space) Joseph-Zoulikian
    4. cd (space) (space) Joseph-Zoulikian
    5. git status
    6. git pull
    7. git add * (used to register all new files in the INDEX repository to be committed)
    8. git commit (minus)m "My First Website"(the new and edited files are now in the HEAD of our local WORKING DIRECTORY, but not in our remote repository yet.)
    9. git status
    10. git push origin master (To send those changes to our remote repository.)

      We can also use:
    1. "git status" (used to check the current status of the INDEX and the HEAD, which files have been changed since last commit)
    2. "git pull origin master" (used to pull changed files to a local repository)

      In order to create the index file we follow these steps:
    1. On the "+", select New File
    2. On the field after the "/", we write index.html
    3. Then press "Commit changes"

    Creative Commons License
    This work is licensed under a Creative Commons Attribution 4.0 International License.