
30/1/2019
Model (raster, vector, 2D, 3D, render, animate, simulate, ...) a possible final project, and post it on your class page
For drawing my possible final project in 2D, I have first used AutoCad, which you can download from here
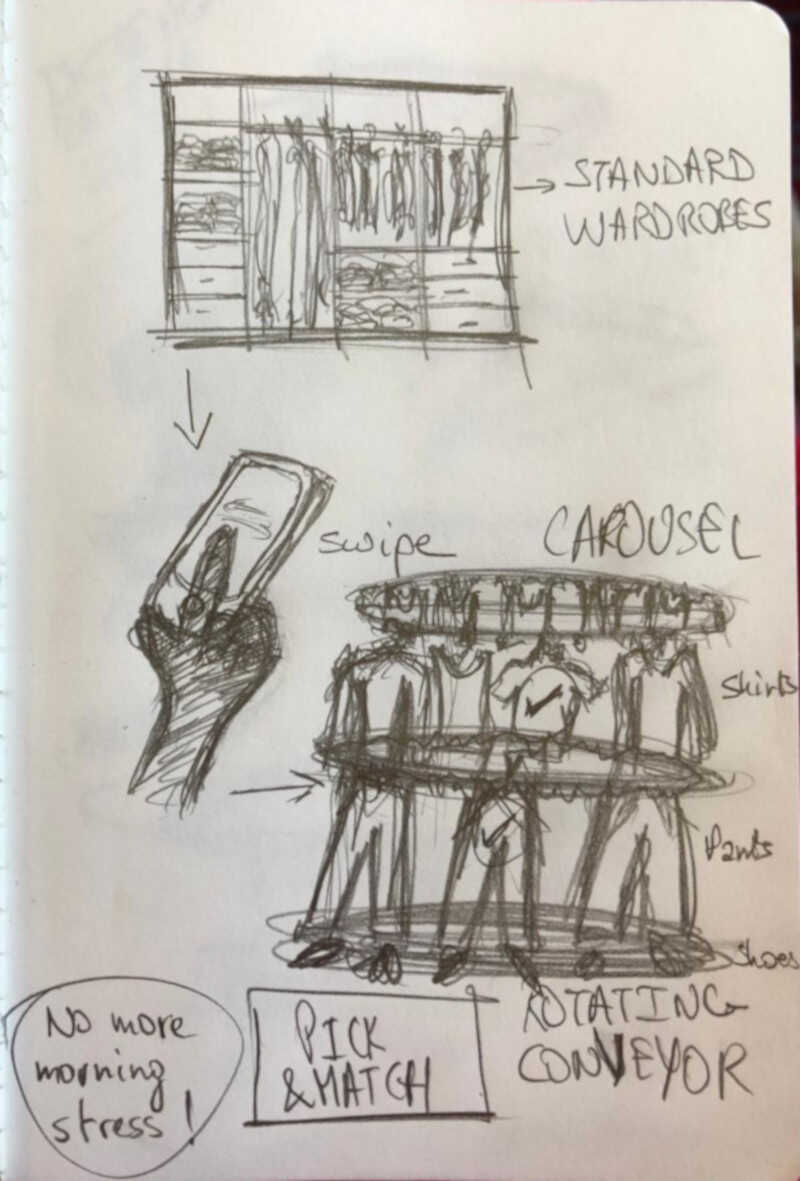
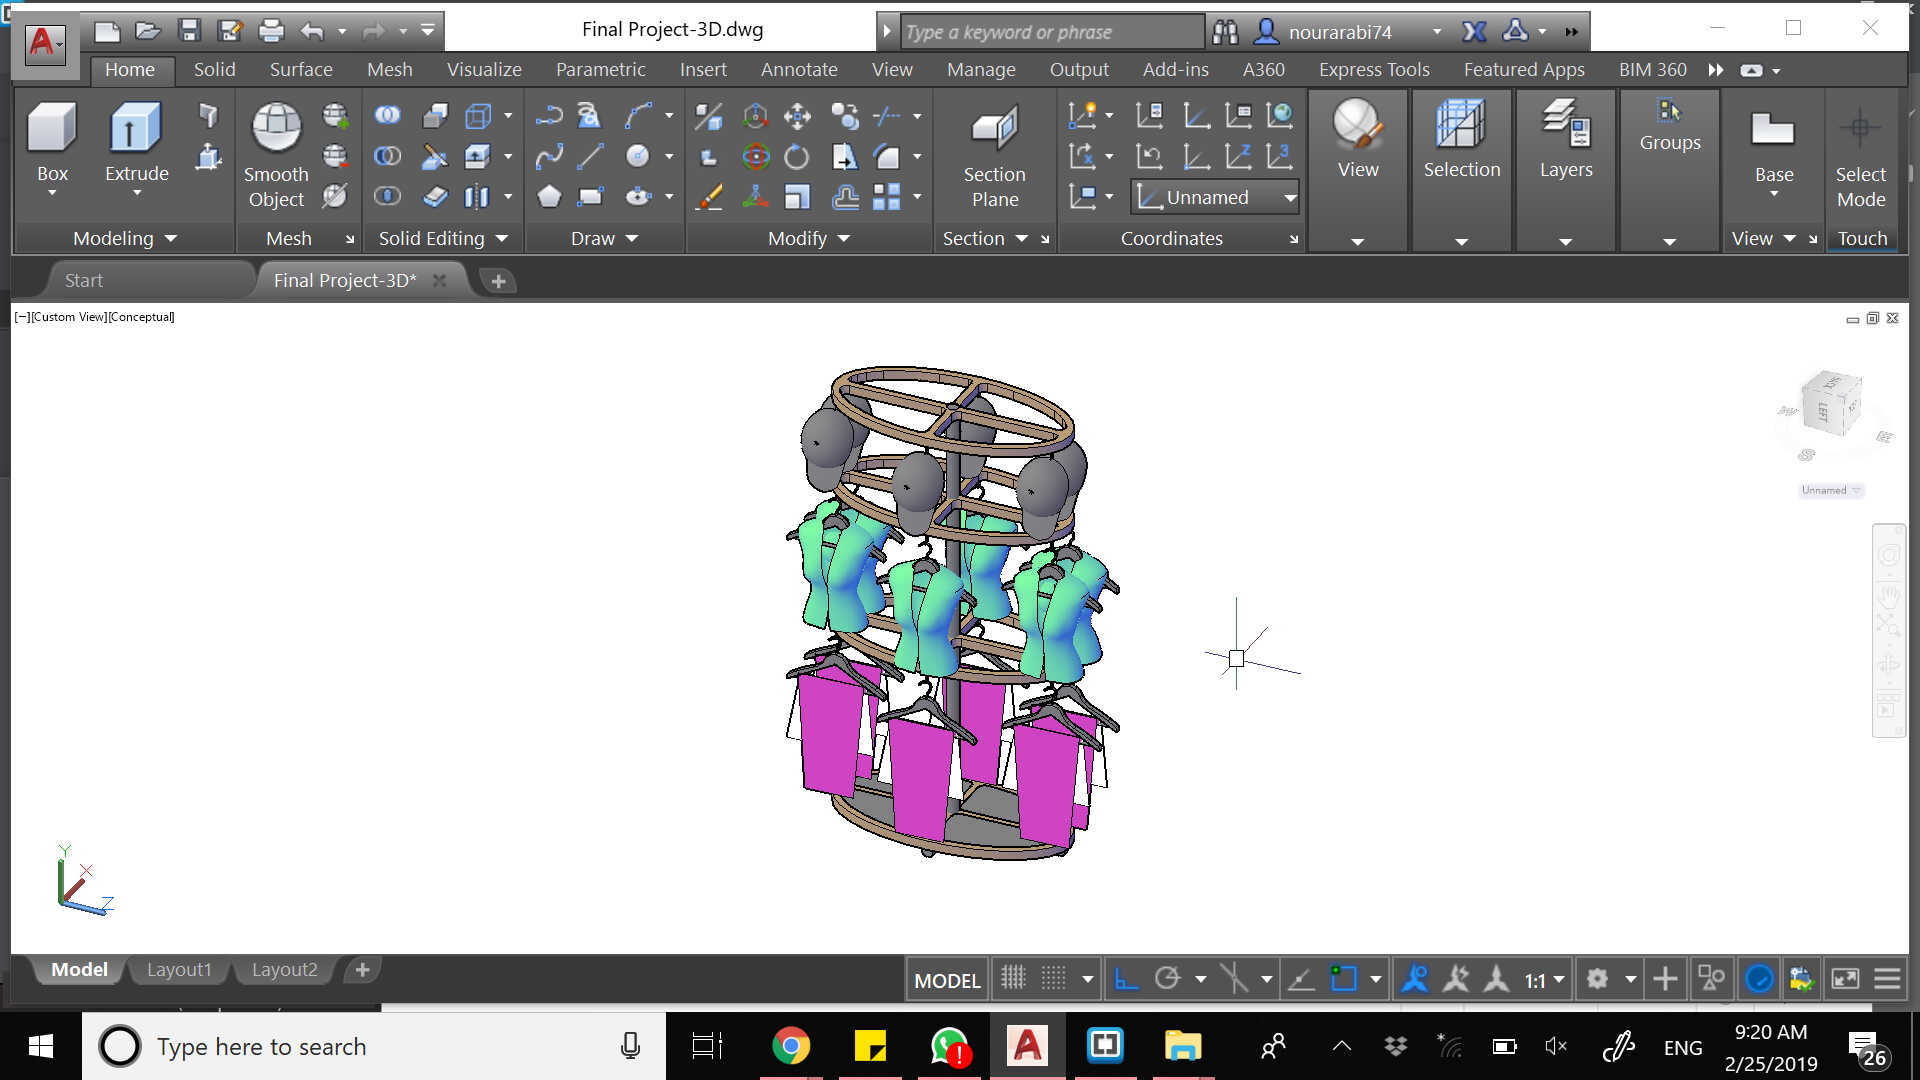
So the idea is to have a carousel or a conveyor that revolves around a center, while holding the items of clothing. There should be 4 carousels on top of each other; The first one for hats, second for shirts, third for trousers and last for shoes. Let's first refer to one of my initial sketches
I use AutoCad for 2D and 3D modeling since ten years. It is easy and you just need to type some basic commands
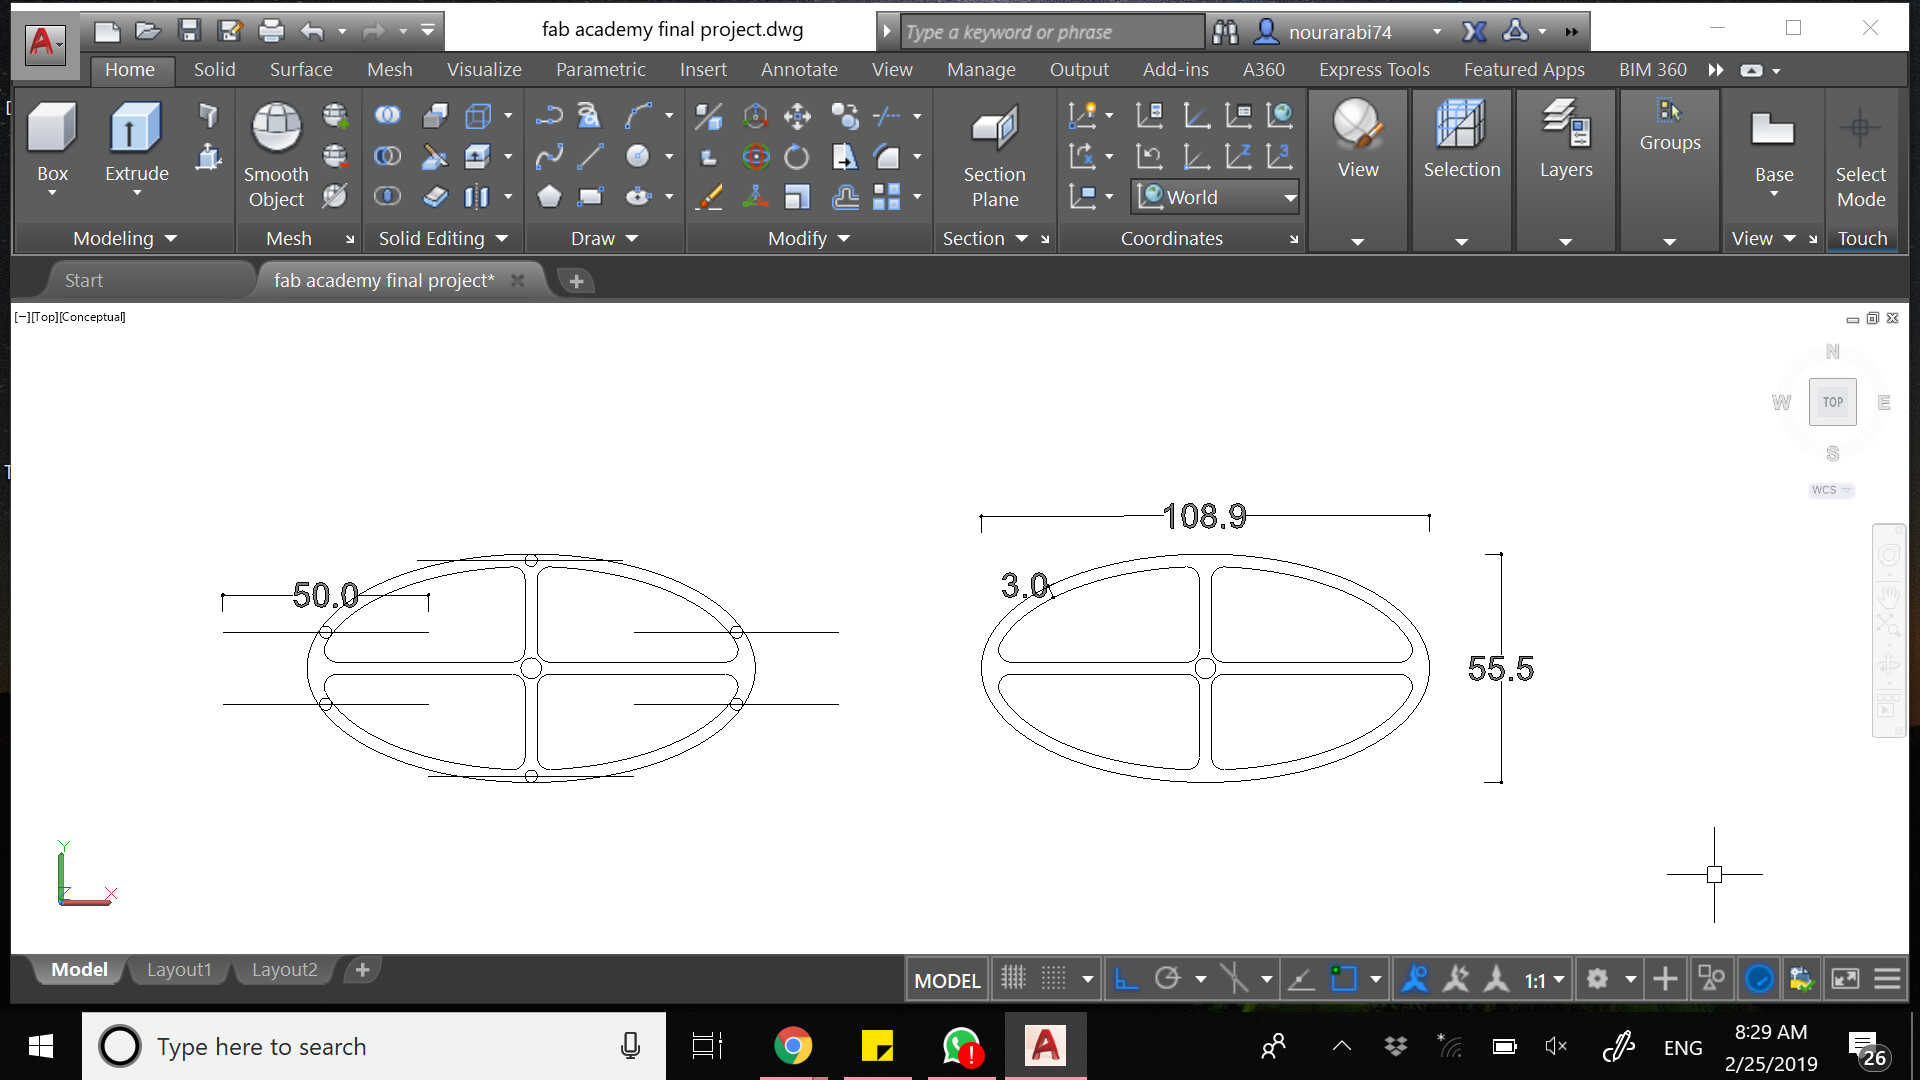
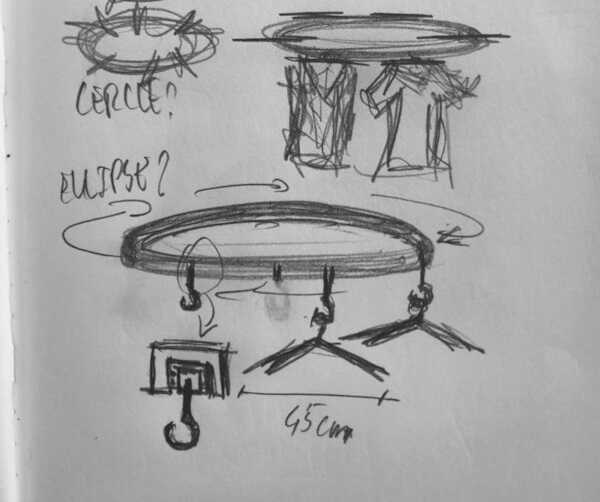
I have started by drawing my elliptical carousel that will be holding the hangers and the items. After several trials, and taking into consideration that the hanger will take around 50 cm clearance all around it, I have ended up with the above dimensions
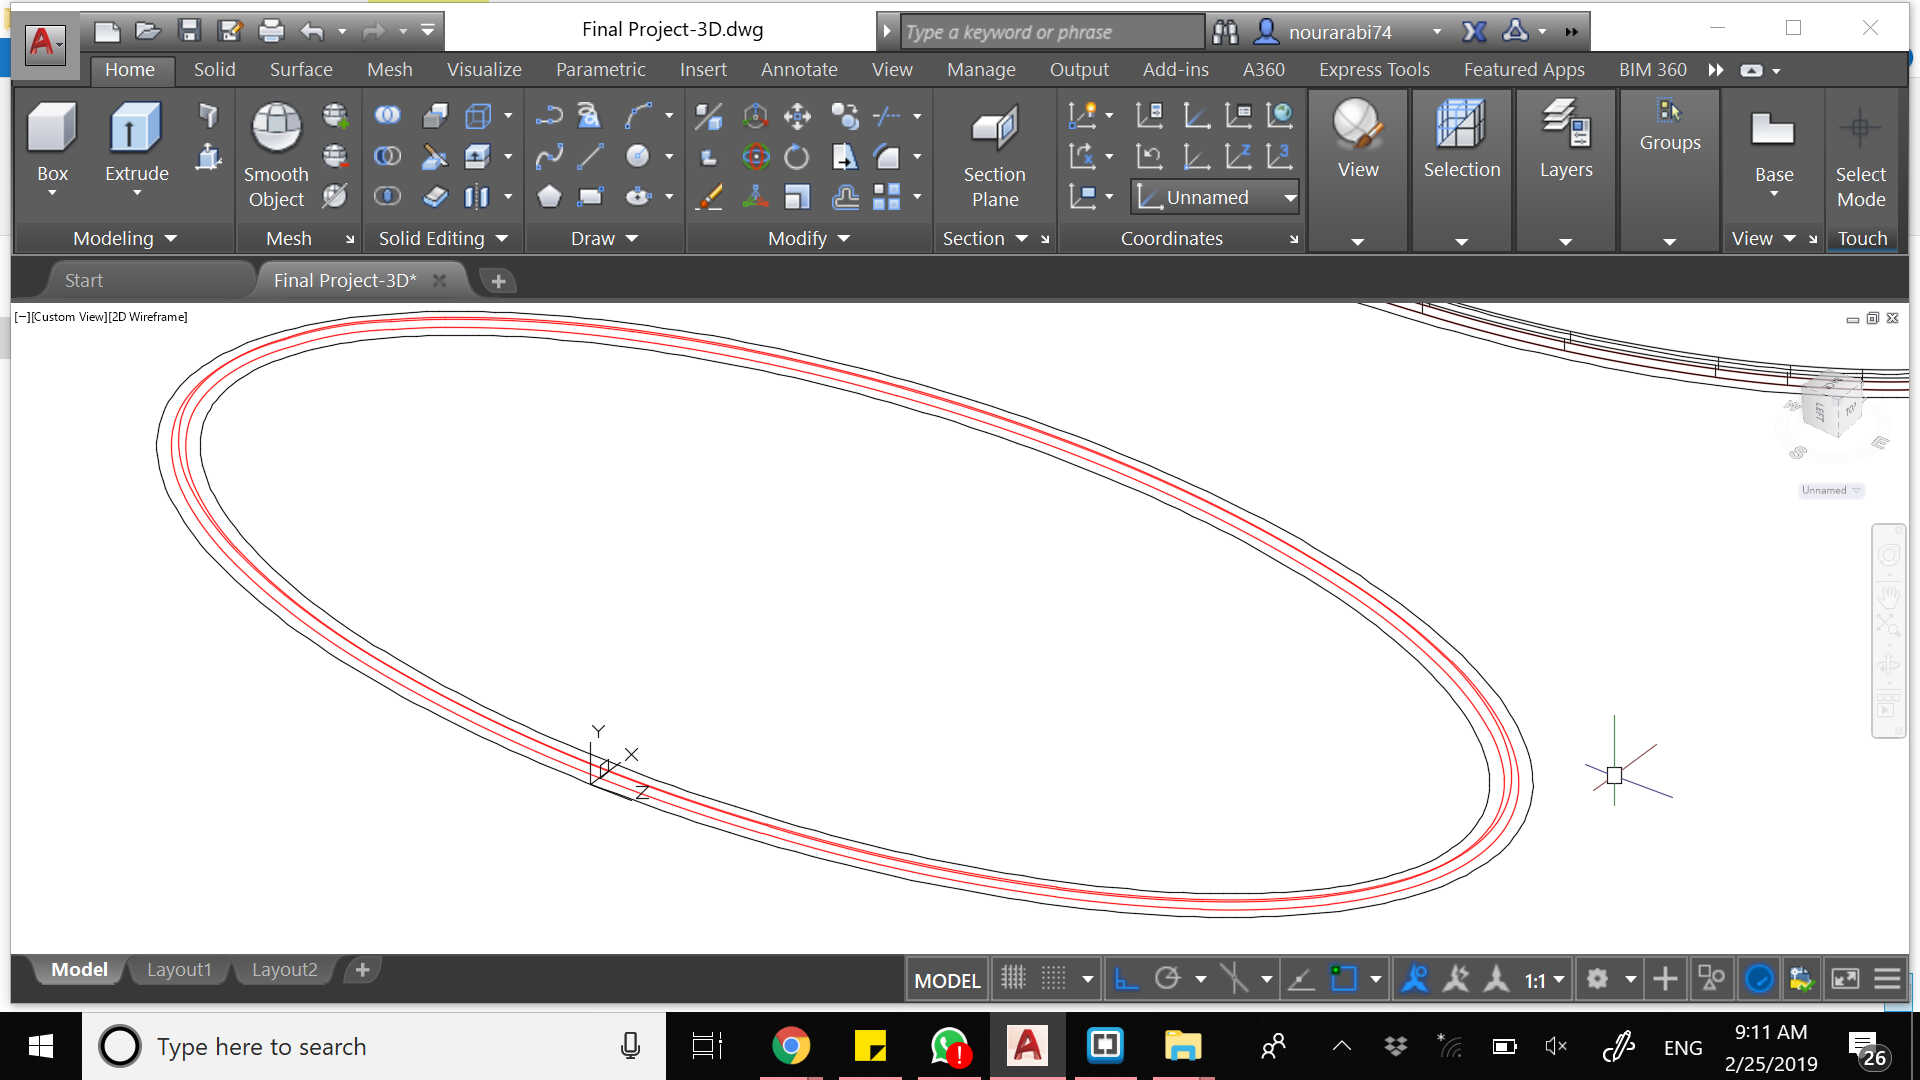
In order to draw the ellipse, you need to type "ellipse" and then specify your starting point and axis first. AutoCad will guide you through the commands by asking you to continue filling what you wish to achieve. Then you need to insert the width of your ellipse.
And then you offset your ellipse to give it some width; I made it 3 cm and thinking of producing it in wood later on. And for having the rounded edges, you use the fillet command in which you can specify the radius of the desired arc.
Finally you add some dimensions by picking "linear dimension" and they appear automatically after you select the start and end point of what you wish to measure.

The above drawing shows the four levels of my elliptical carousels as per stated before. This elevation is drawn by using simple lines, and adding dimensions.
Now for moving from the 2D drawing to the 3D modeling, you need to change the settings at the bottom right corner from Drafting & Annotation to 3D Modeling. You may then choose the orientation of your drawing with the top right cube or just orbit by using your mouse (click on the scrolling button + Shift).
It is preferable to have two separate files: one for 2D and one for 3D. So you copy your 2D file, and your start your 3D modeling.
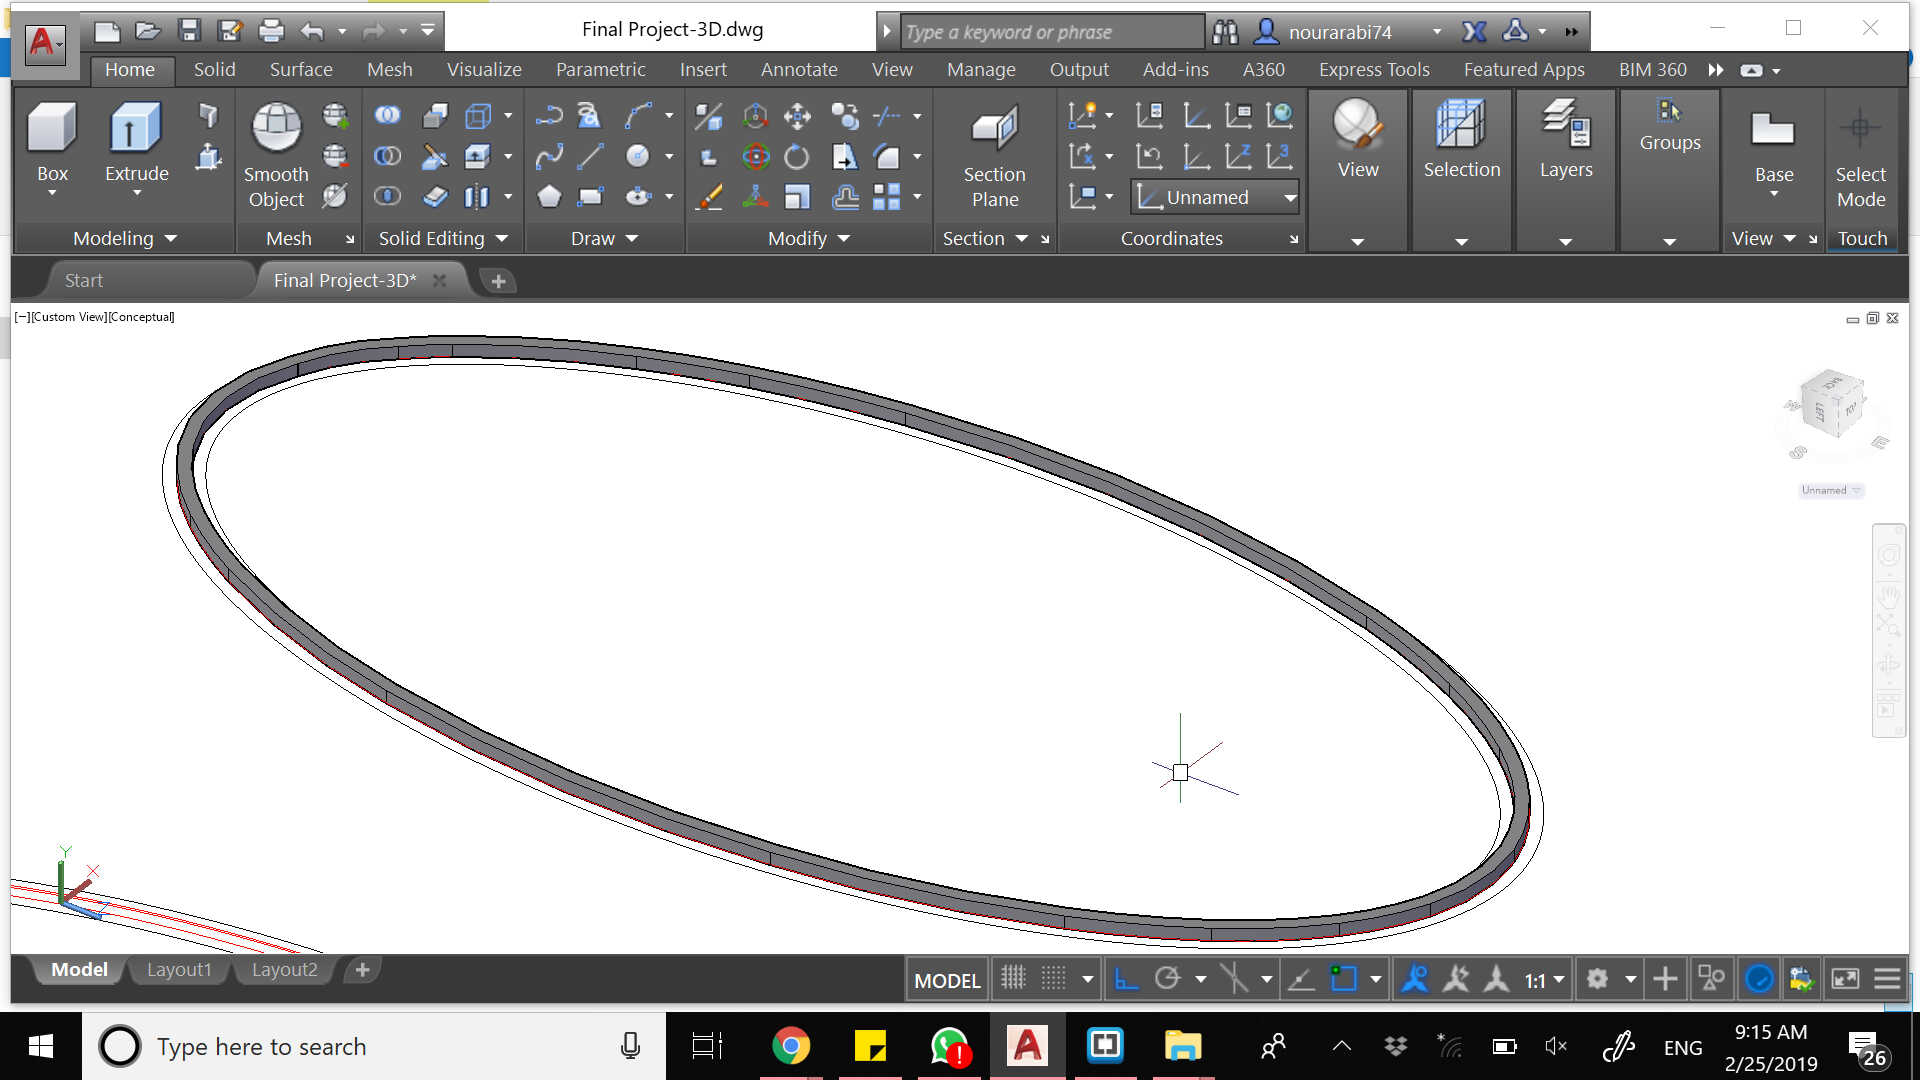
The basic command for having a 3D object is EXTRUDE. But you cannot use it unless your create a boundary; And a boundary cannot be generated unless you have polylines or continuous lines. So you type "bo" or "boundary" and you pick the internal area you wish to extrude. And then you extrude it according to the thickness you need so you can have the below
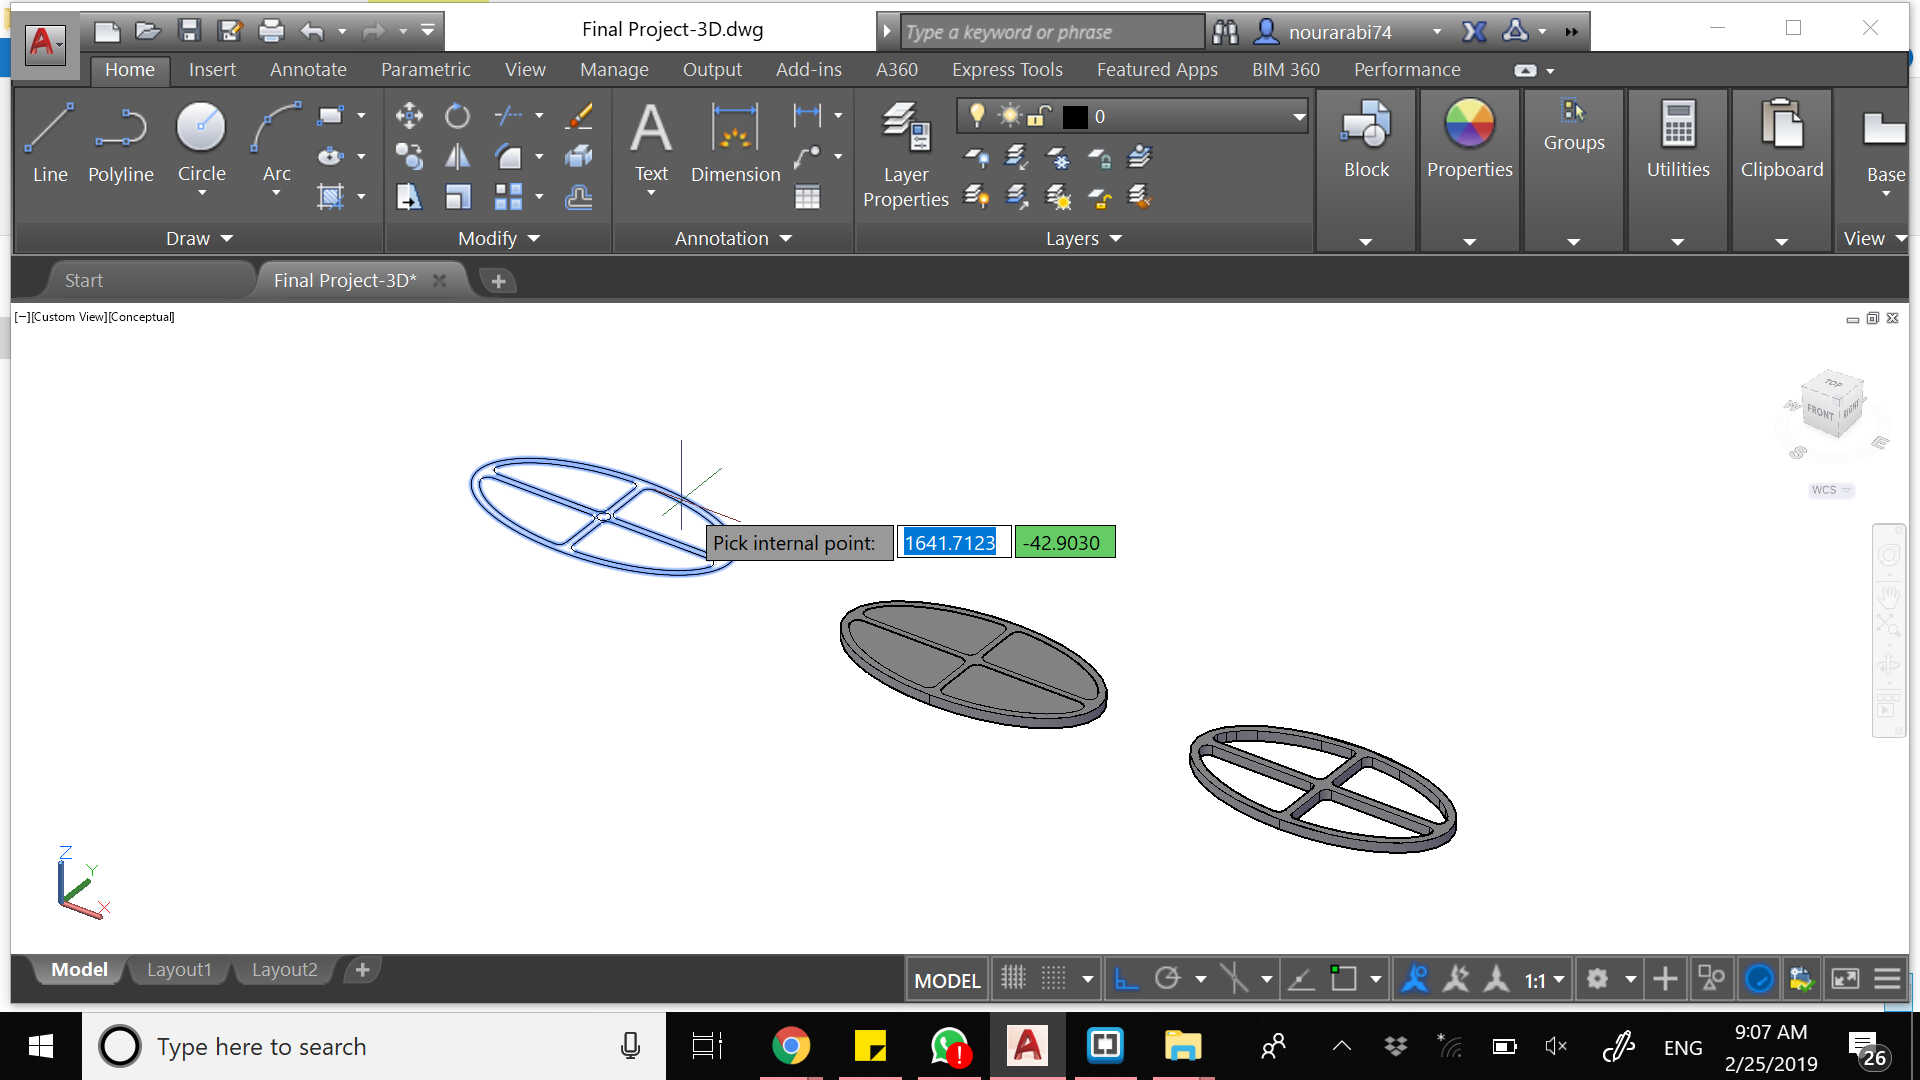
However, when you will extrude, you will have a full ellipse and the four parts inside it. So you will need to type the "subtract" command so you can get rid of the inner parts
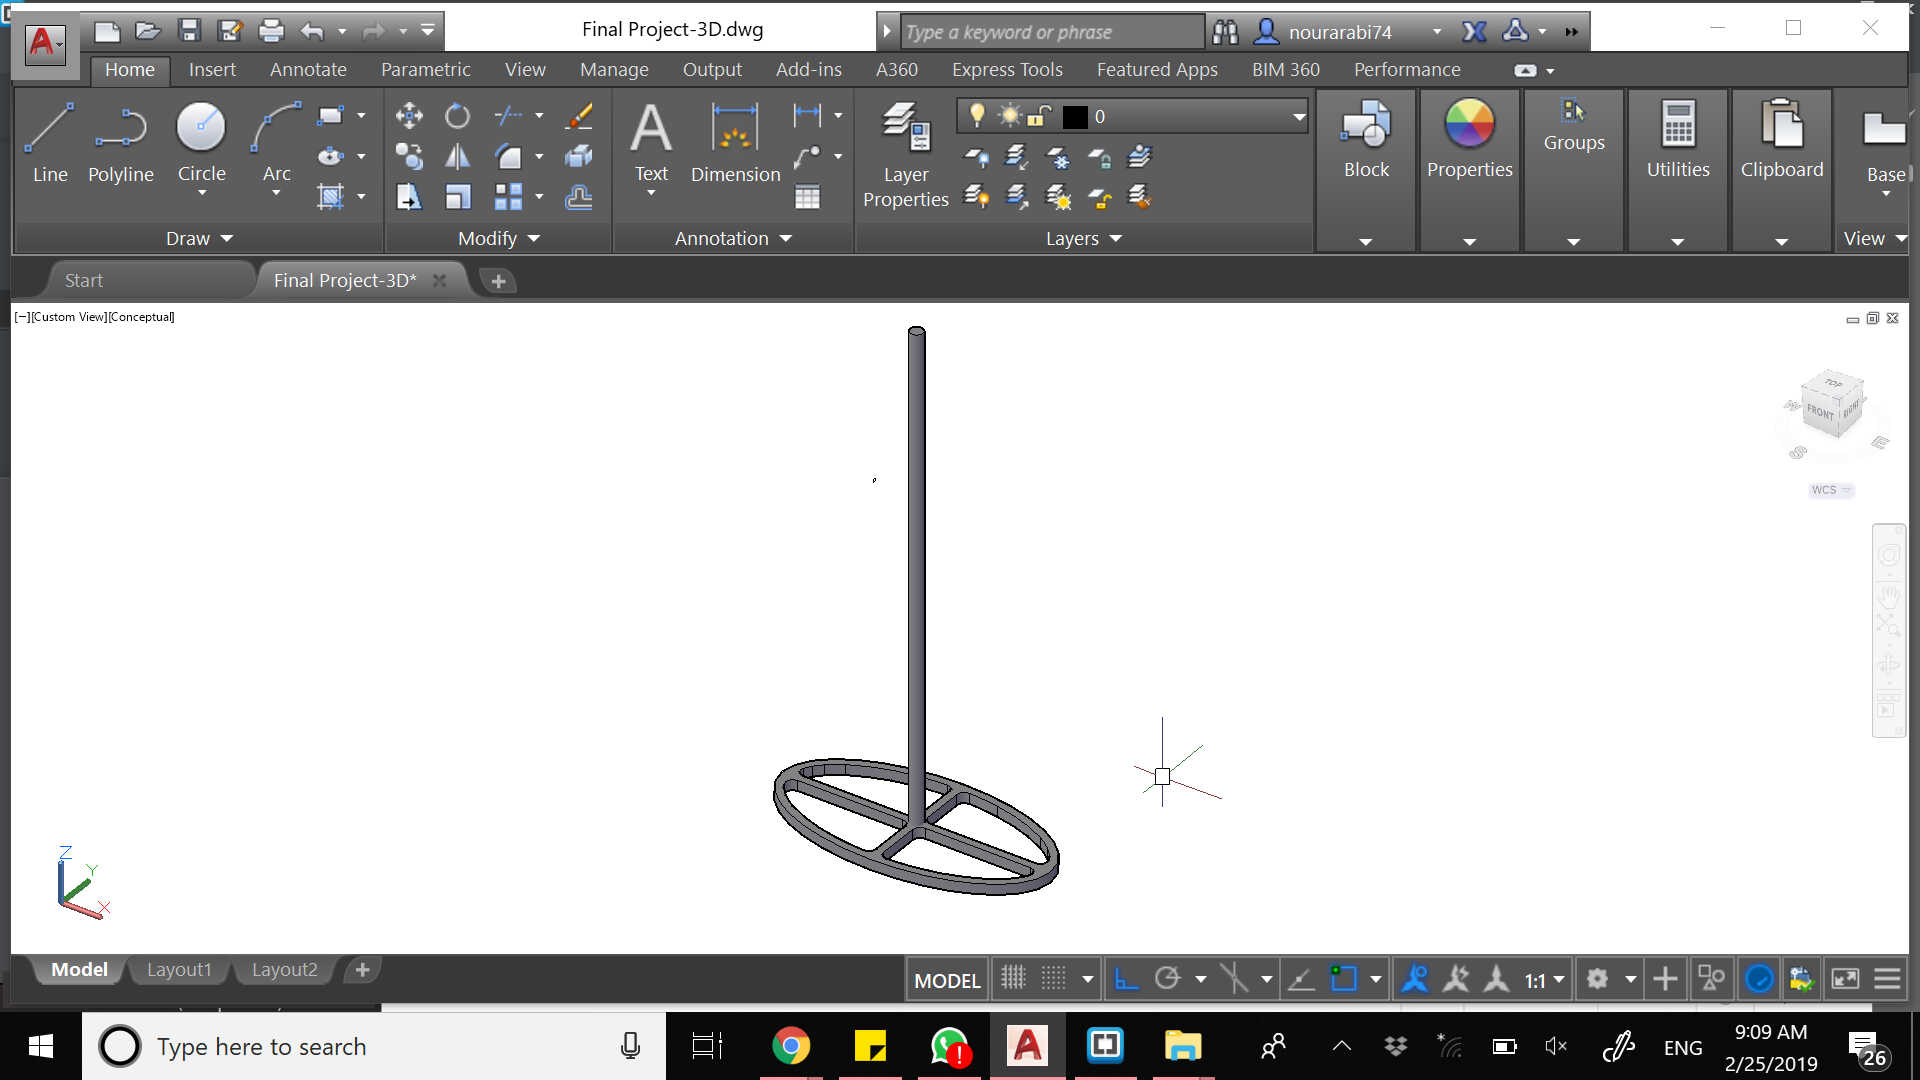
And for creating the pole, you draw your center cercle and you extrude it
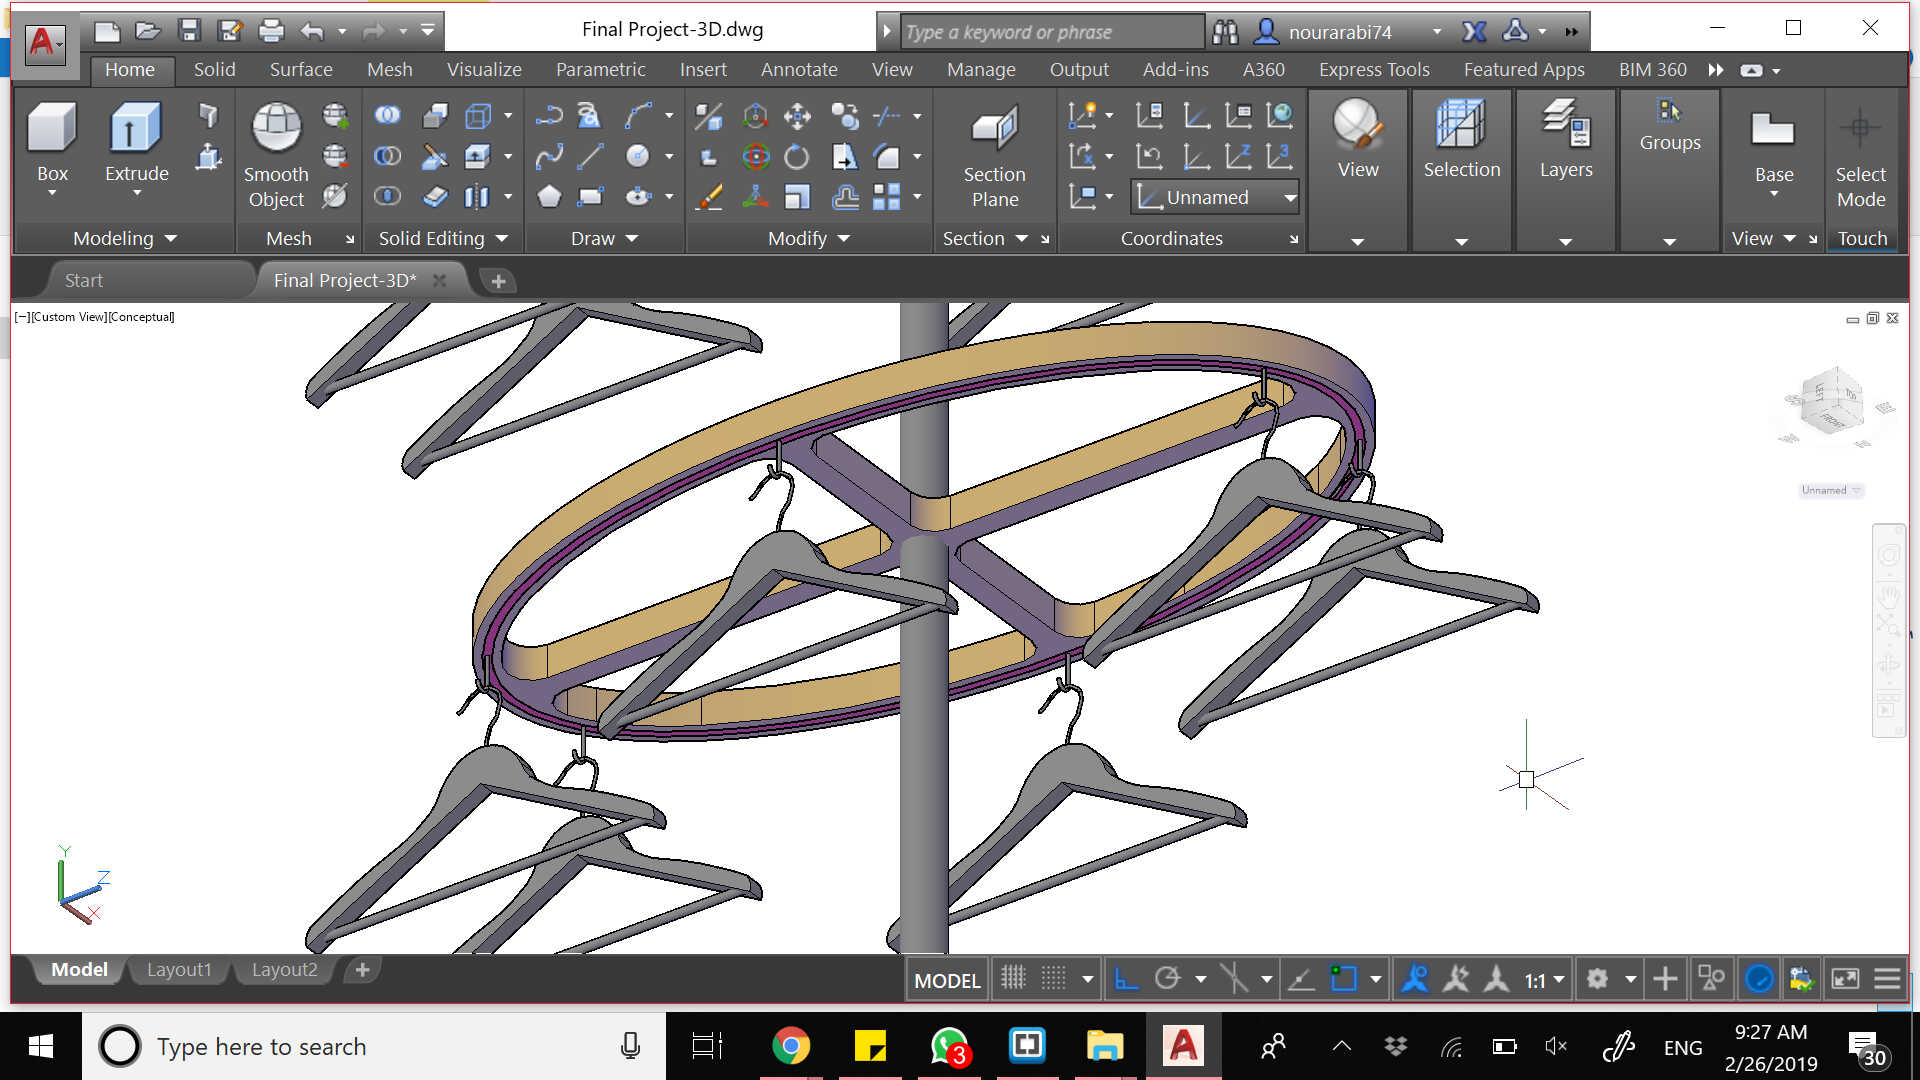
Then we will need to have a groove at the bottom of our elliptical carousel so that it contains the belt that will revolve while holding our hangers.
I used offset over the original elliptical 2D shape I have, and created the groove with 2 lines of 1 cm width. You will then need to SWEEP the cross section of your object along a path. Our groove is squarish (1x1 cm), so you need to draw a vertical square over the 2 lines and then draw the path line while offseting 0.5 cm and then moving it vertically 0.5 cm. You may then type SWEEP and choose the square and the path so you can have the below
Then you may place it at the bottom of your extruded elliptical carousel and use the subtract command in order to have the needed groove. You may then copy this extruded path again and insert it inside the groove.

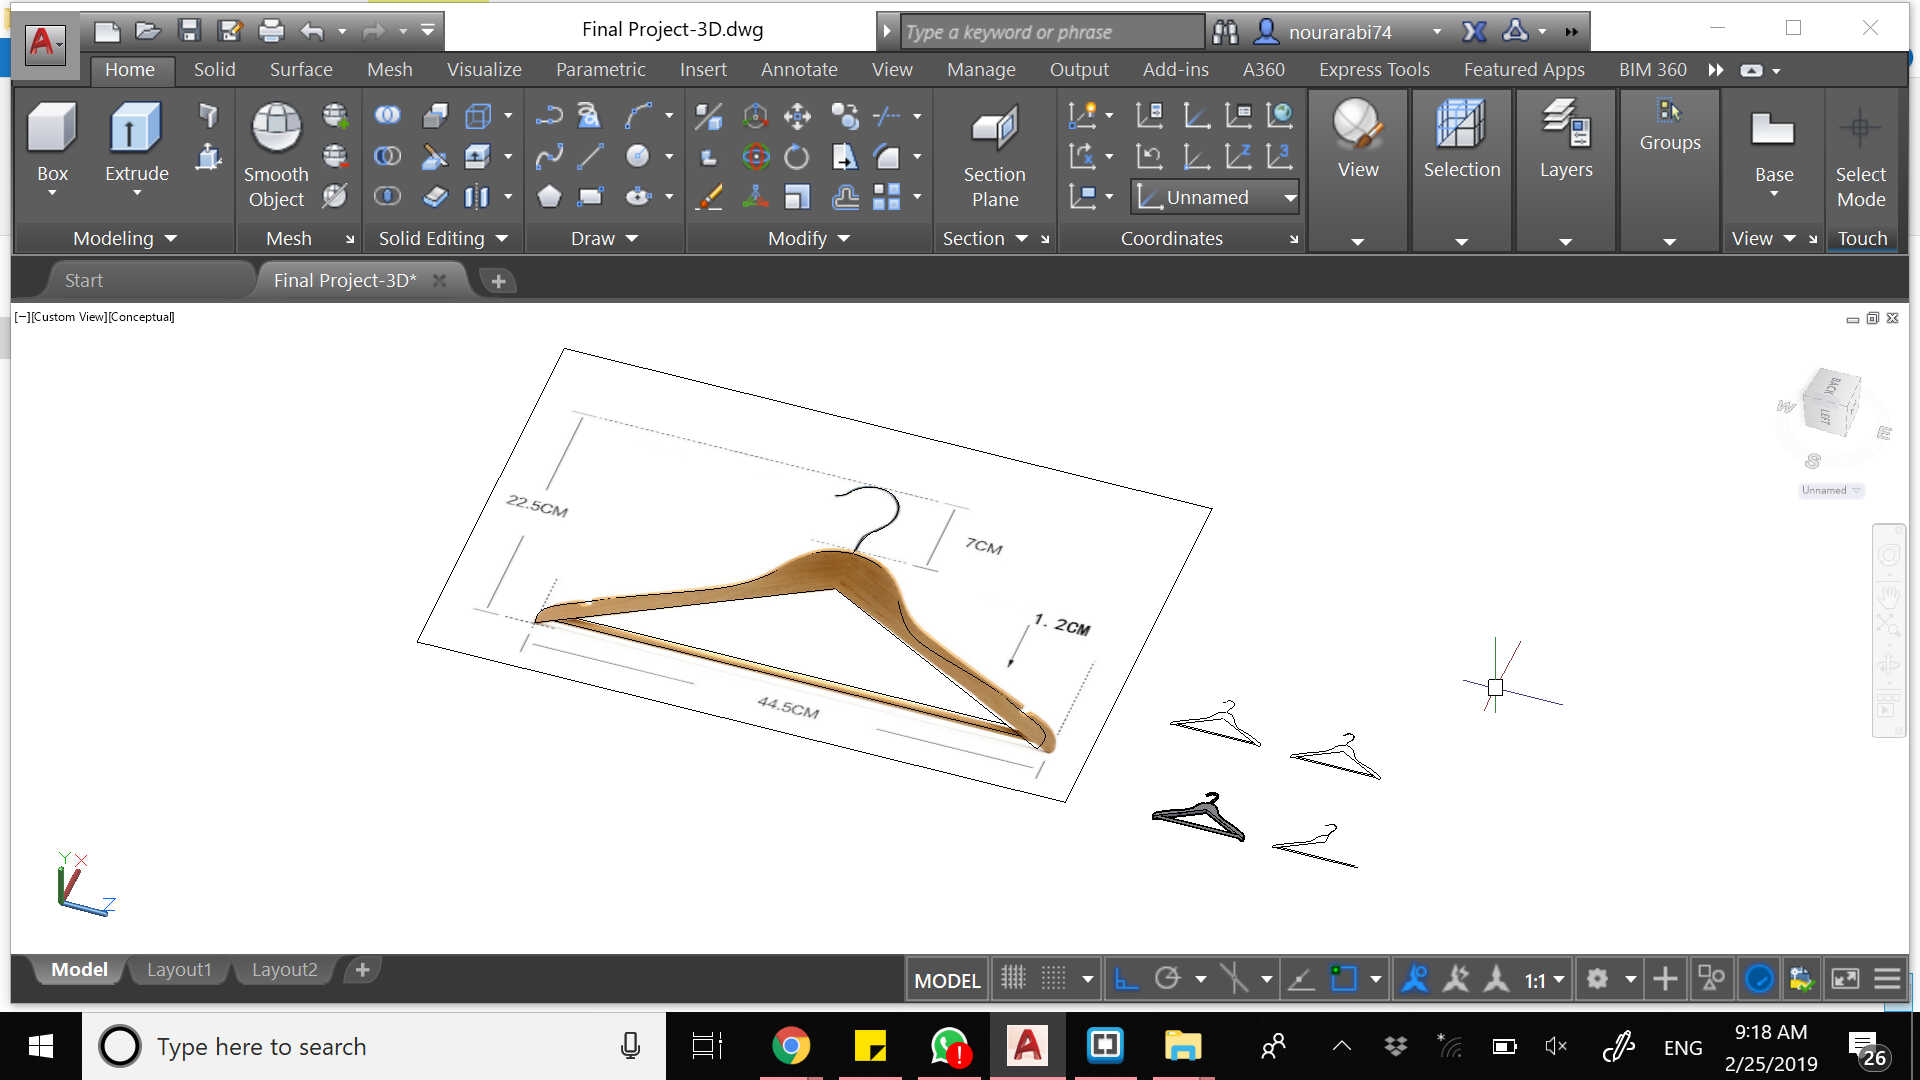
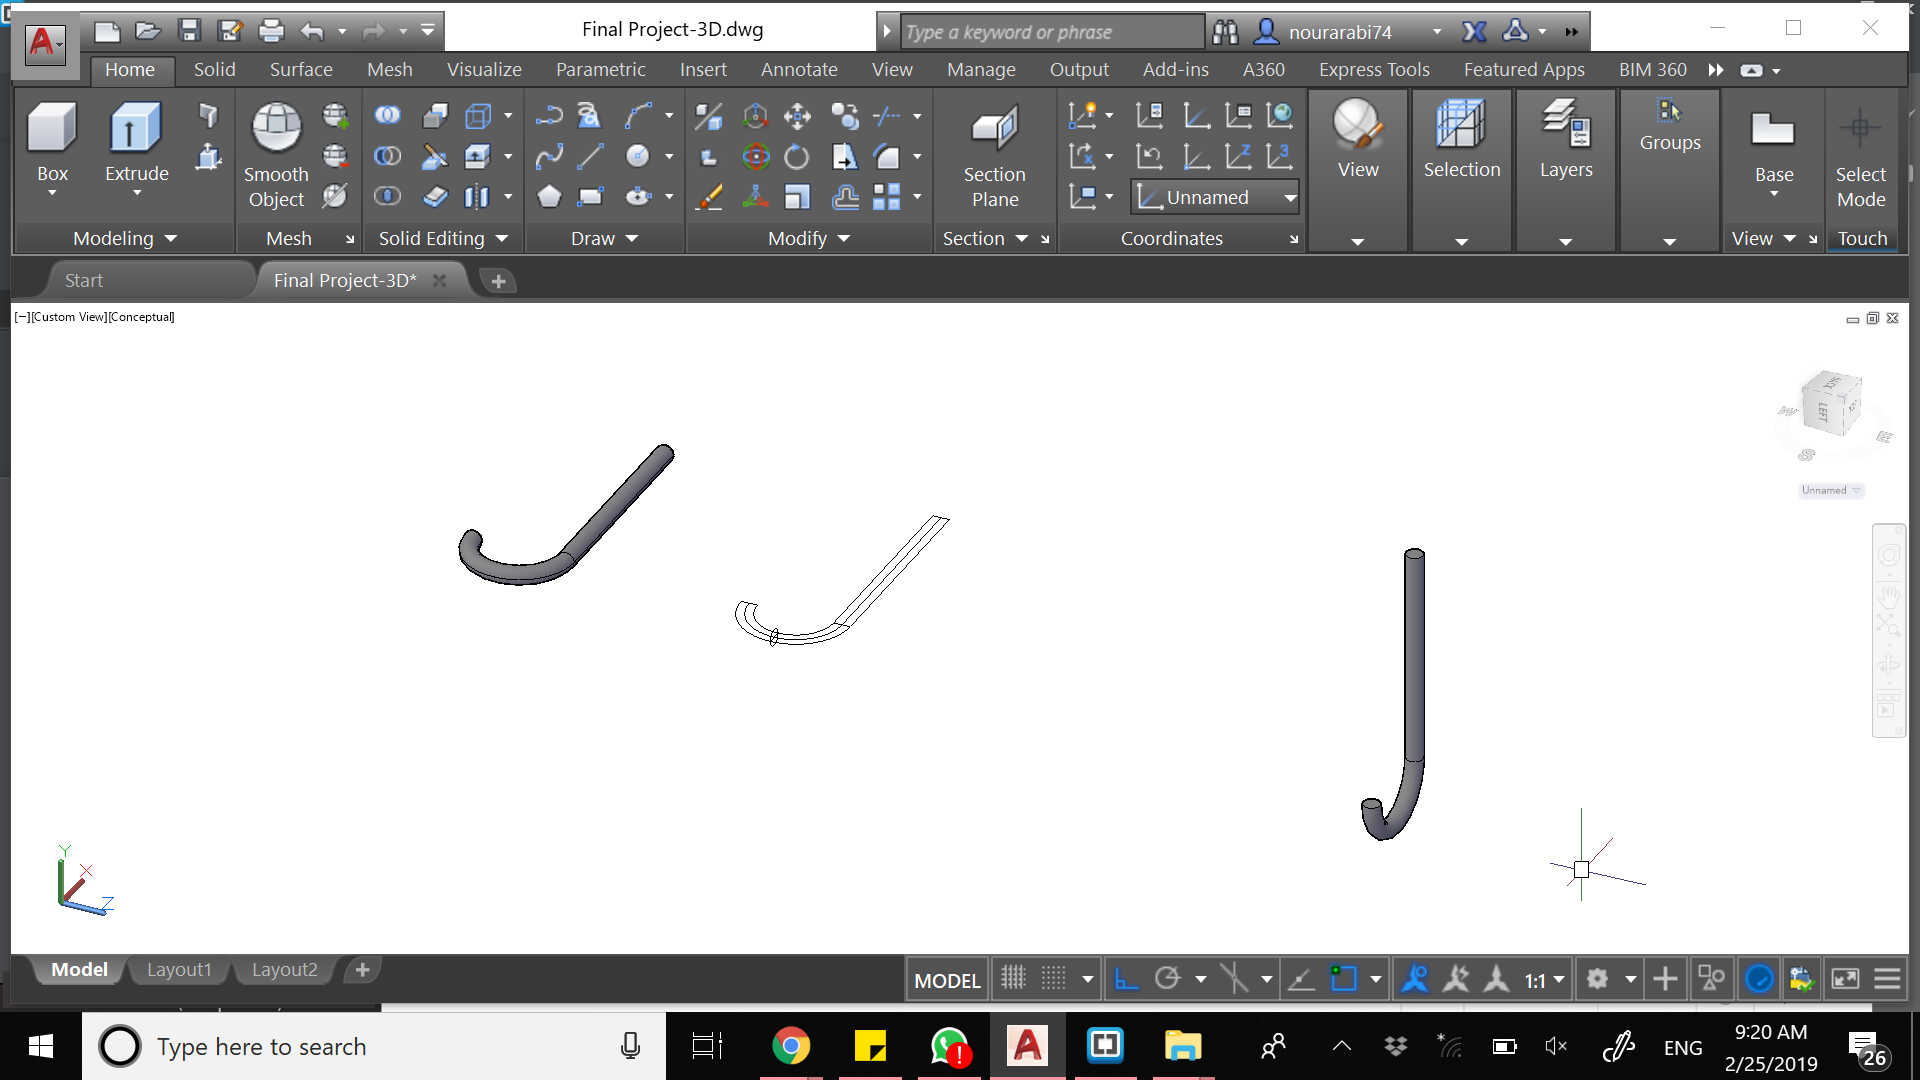
We now need the hangers. It is good that you can paste an image in AutoCad and just trace it using SPLINE then SCALE it to the desired size. The sweep command is used again for the hook part and the other parts are just extruded.
I have added some hooks for holding the hangers. So you draw it in plan first and then you SWEEP
And finally you move, copy and place your parts in order to assemble them together
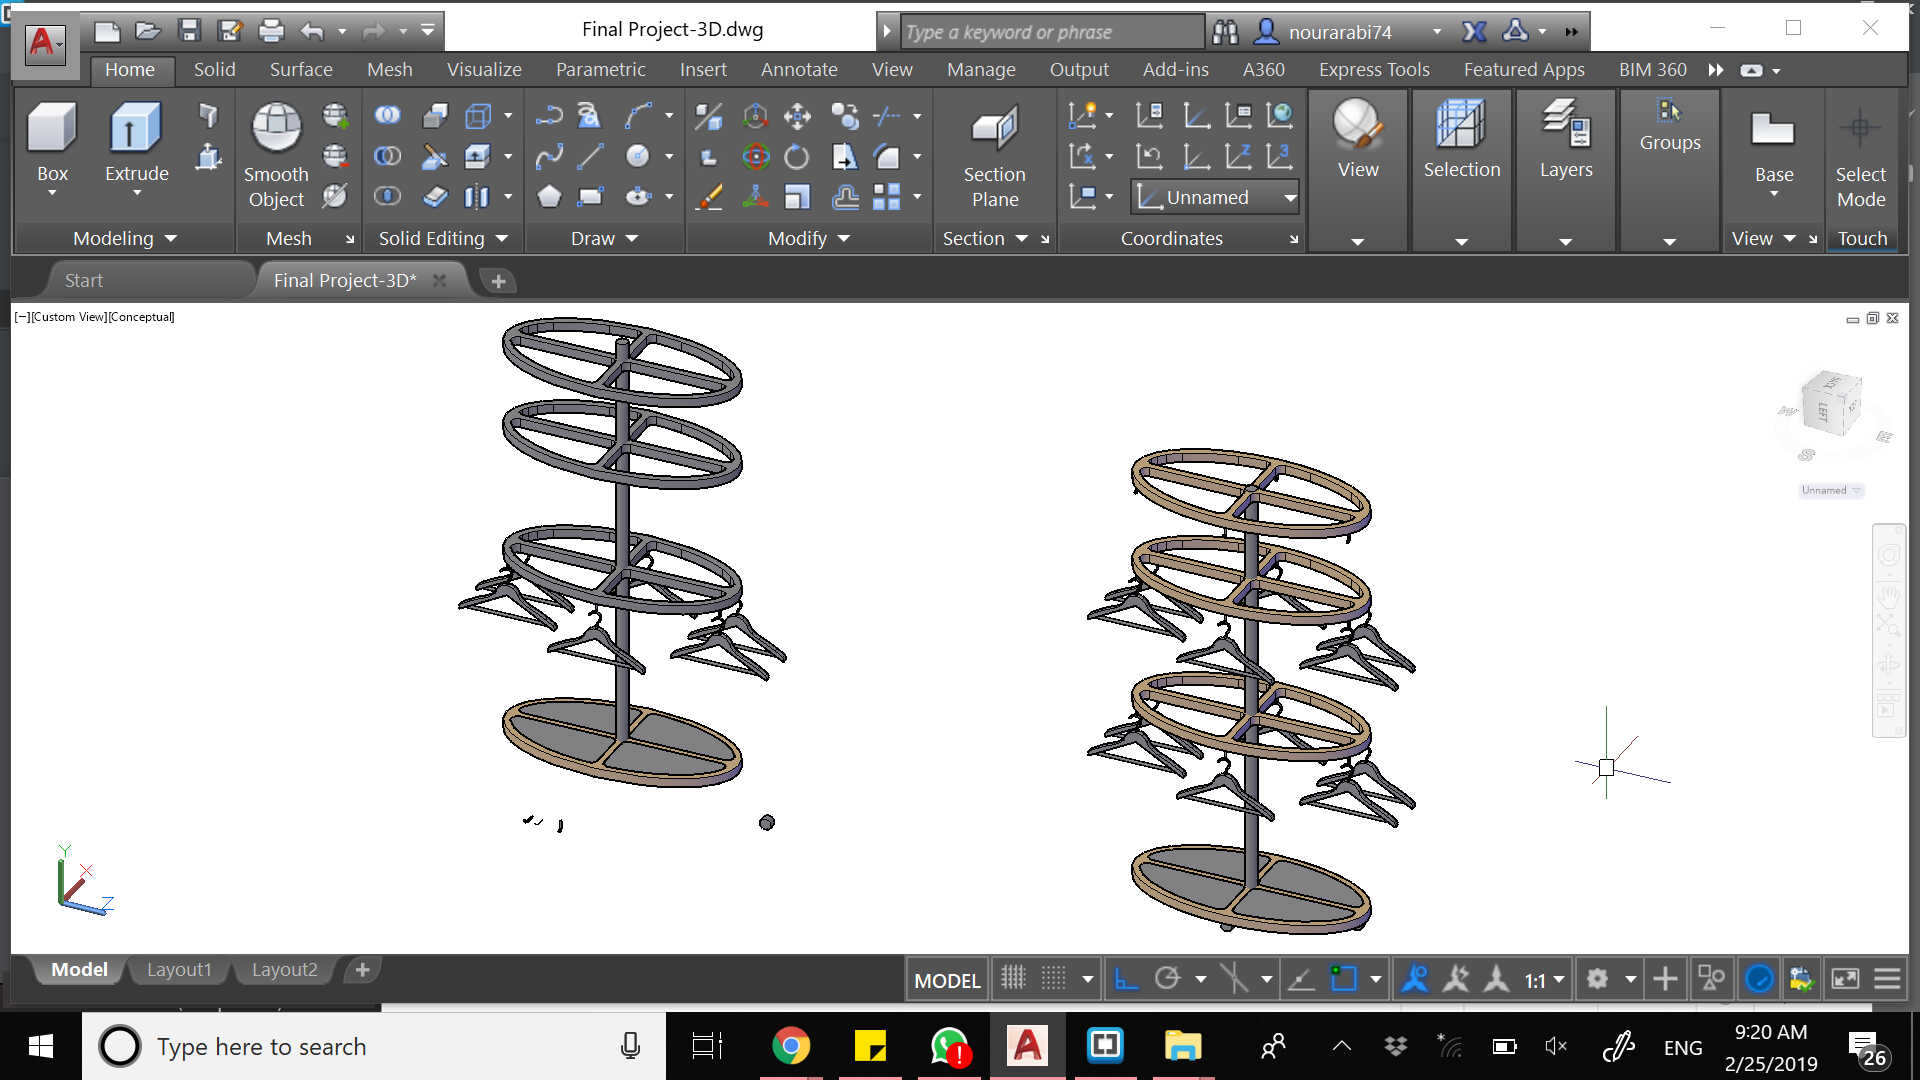
I have a huge library of 3d models, and in which I found some ready drawn clothes that I have used -and which you may find in the files to download at the bottom of the page

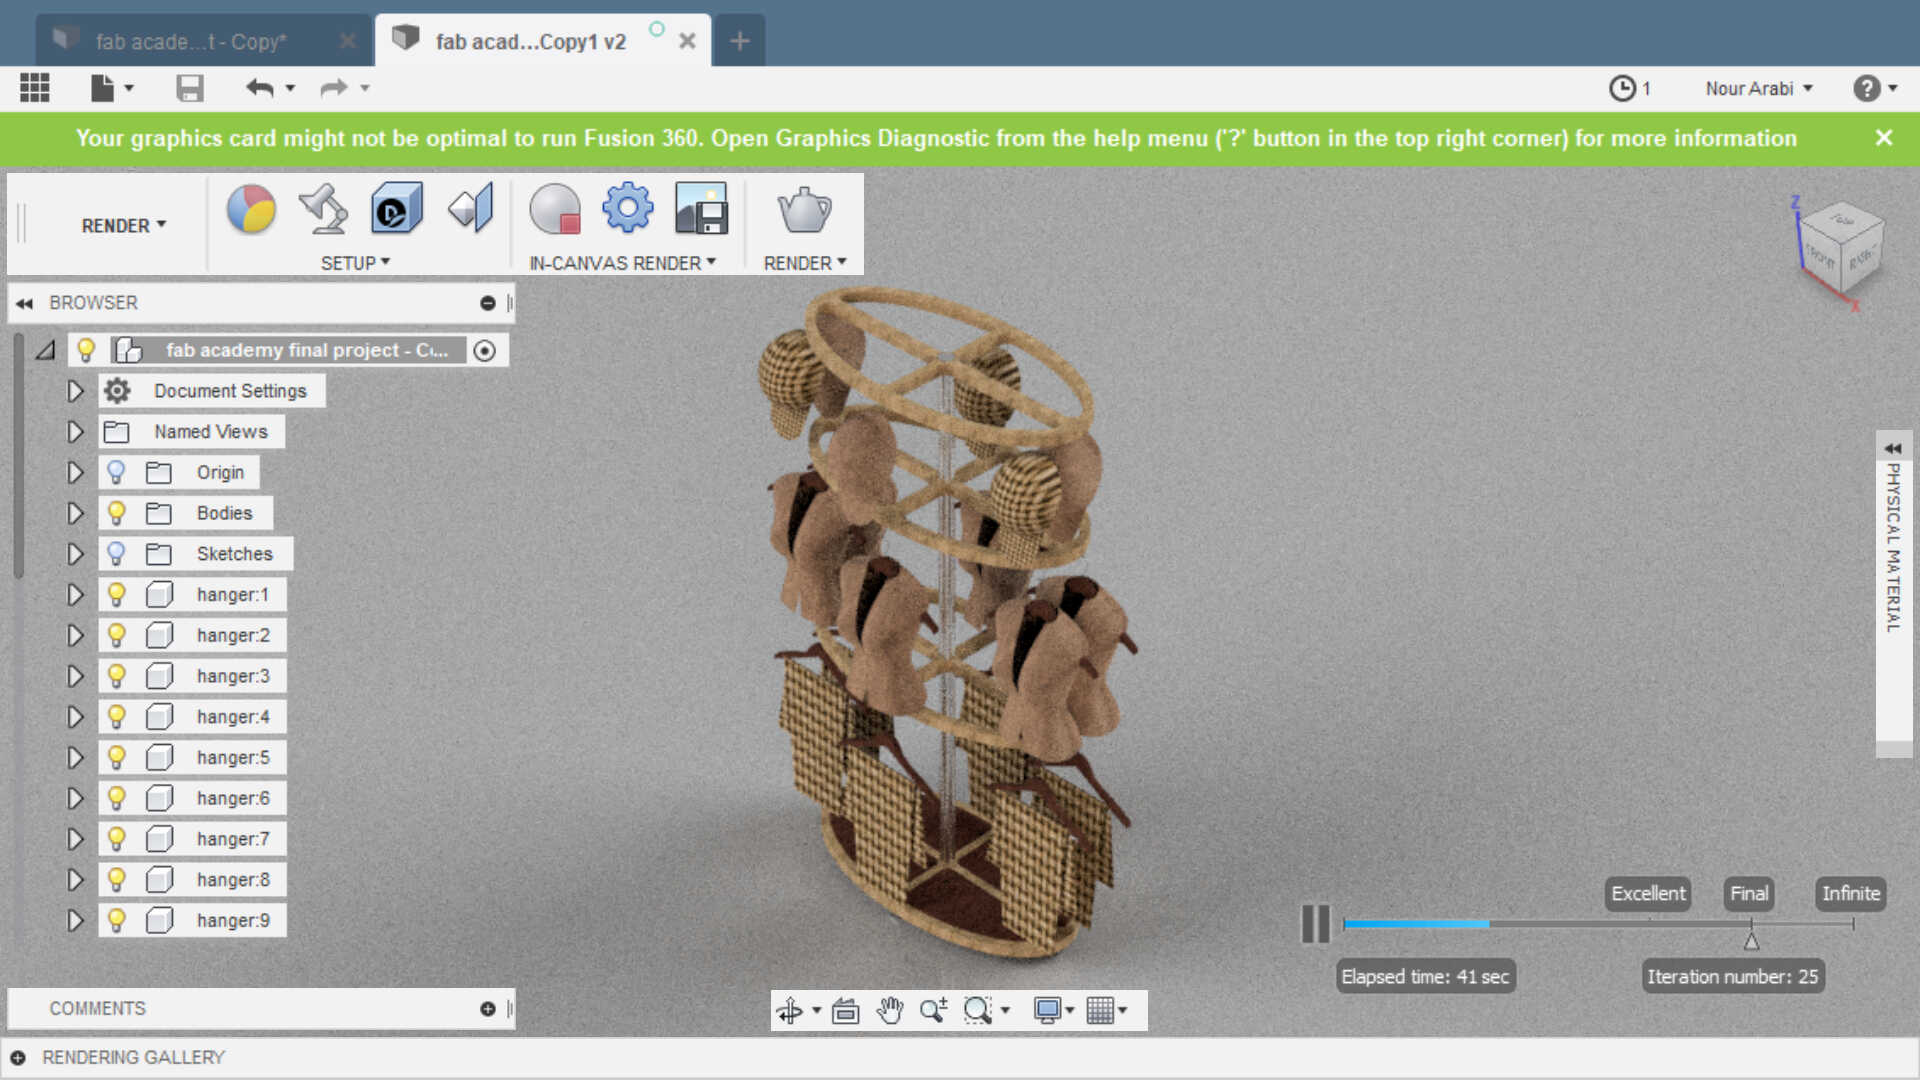
I had no previous experience with Fusion 360, which you can download from here
So I started playing with it by importing by 3D AutoCad file and render it, by adding physical material such as wood and fabric
Now it's time to practice on Fusion 360
I strongly recommend to watch the videos posted by Lars Christensen on youtube as they are really helpful especially if you are a beginner like me.
So I decided to design my own hangers. I was thinking of foldable ones so that it would be easier to hang the shirts. The animation and joints commands in Fusion were very interesting so I wanted to try them by having some mechanism in my design -even if it does not really work in reality
I started doing some sketches
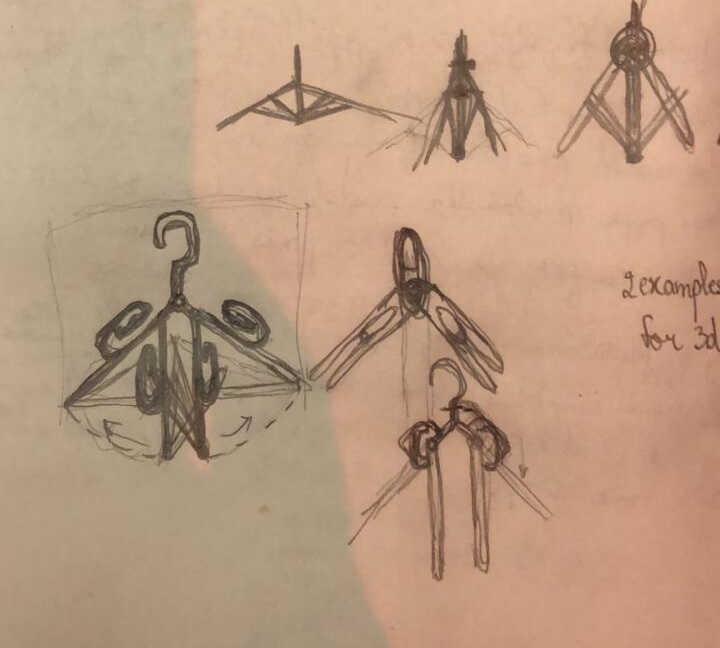
And some research

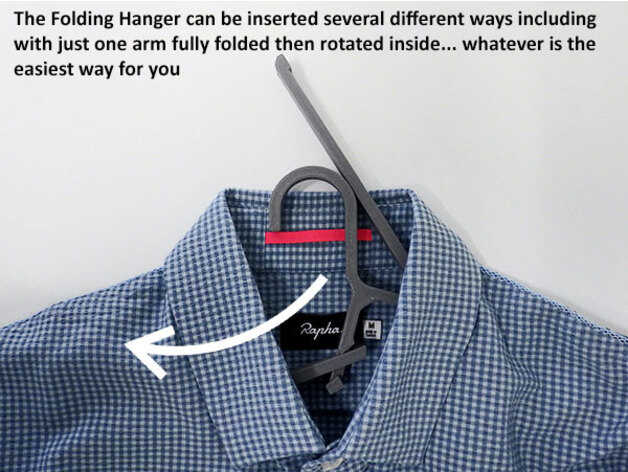
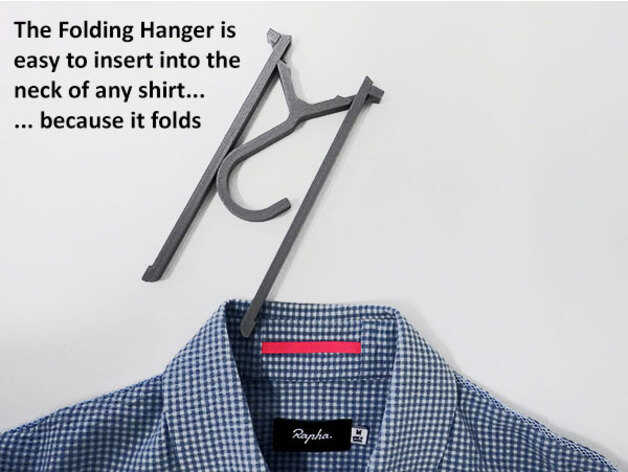
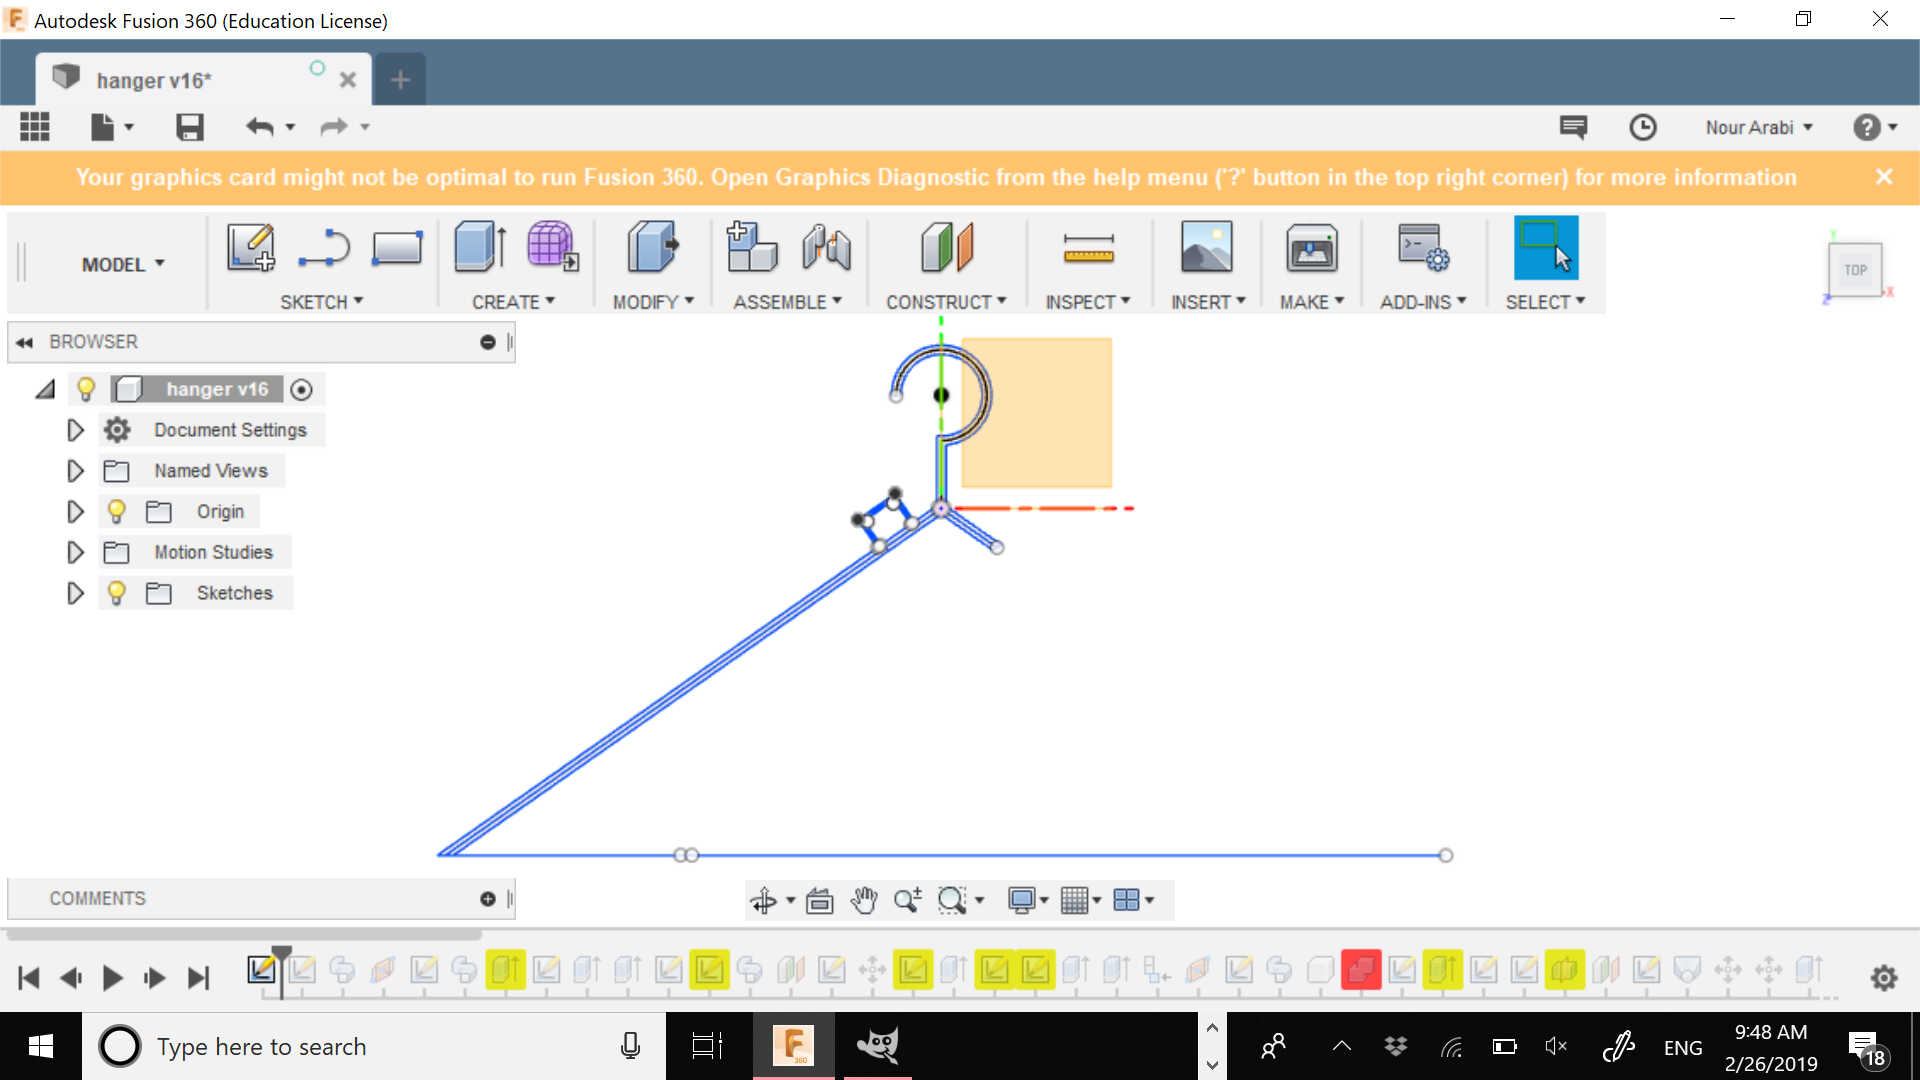
I wanted the hanger to fold upwards and not downwards. So I started drawing on Fusion 360 using simple sketch commands such as line and arc
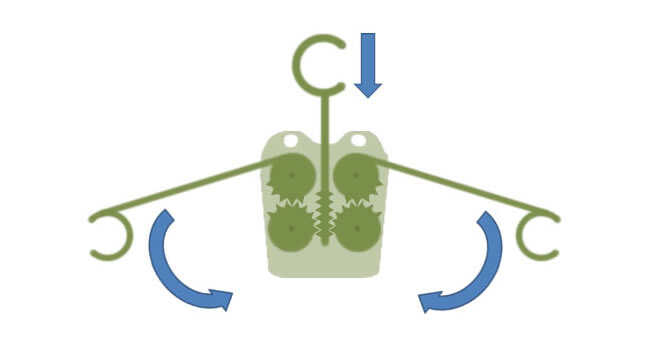
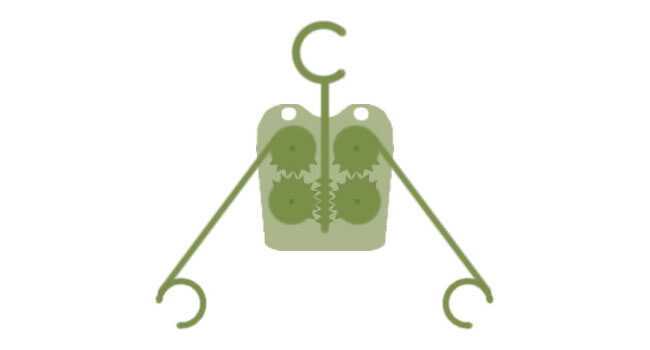
Then I started modeling using SWEEP command and EXTRUDE and made a groove with a pin so that the remaining part of the hanger can rotate around it

And added a bracket with a pin on the other part so that once the end part spins it can click and allow the hanger to open up
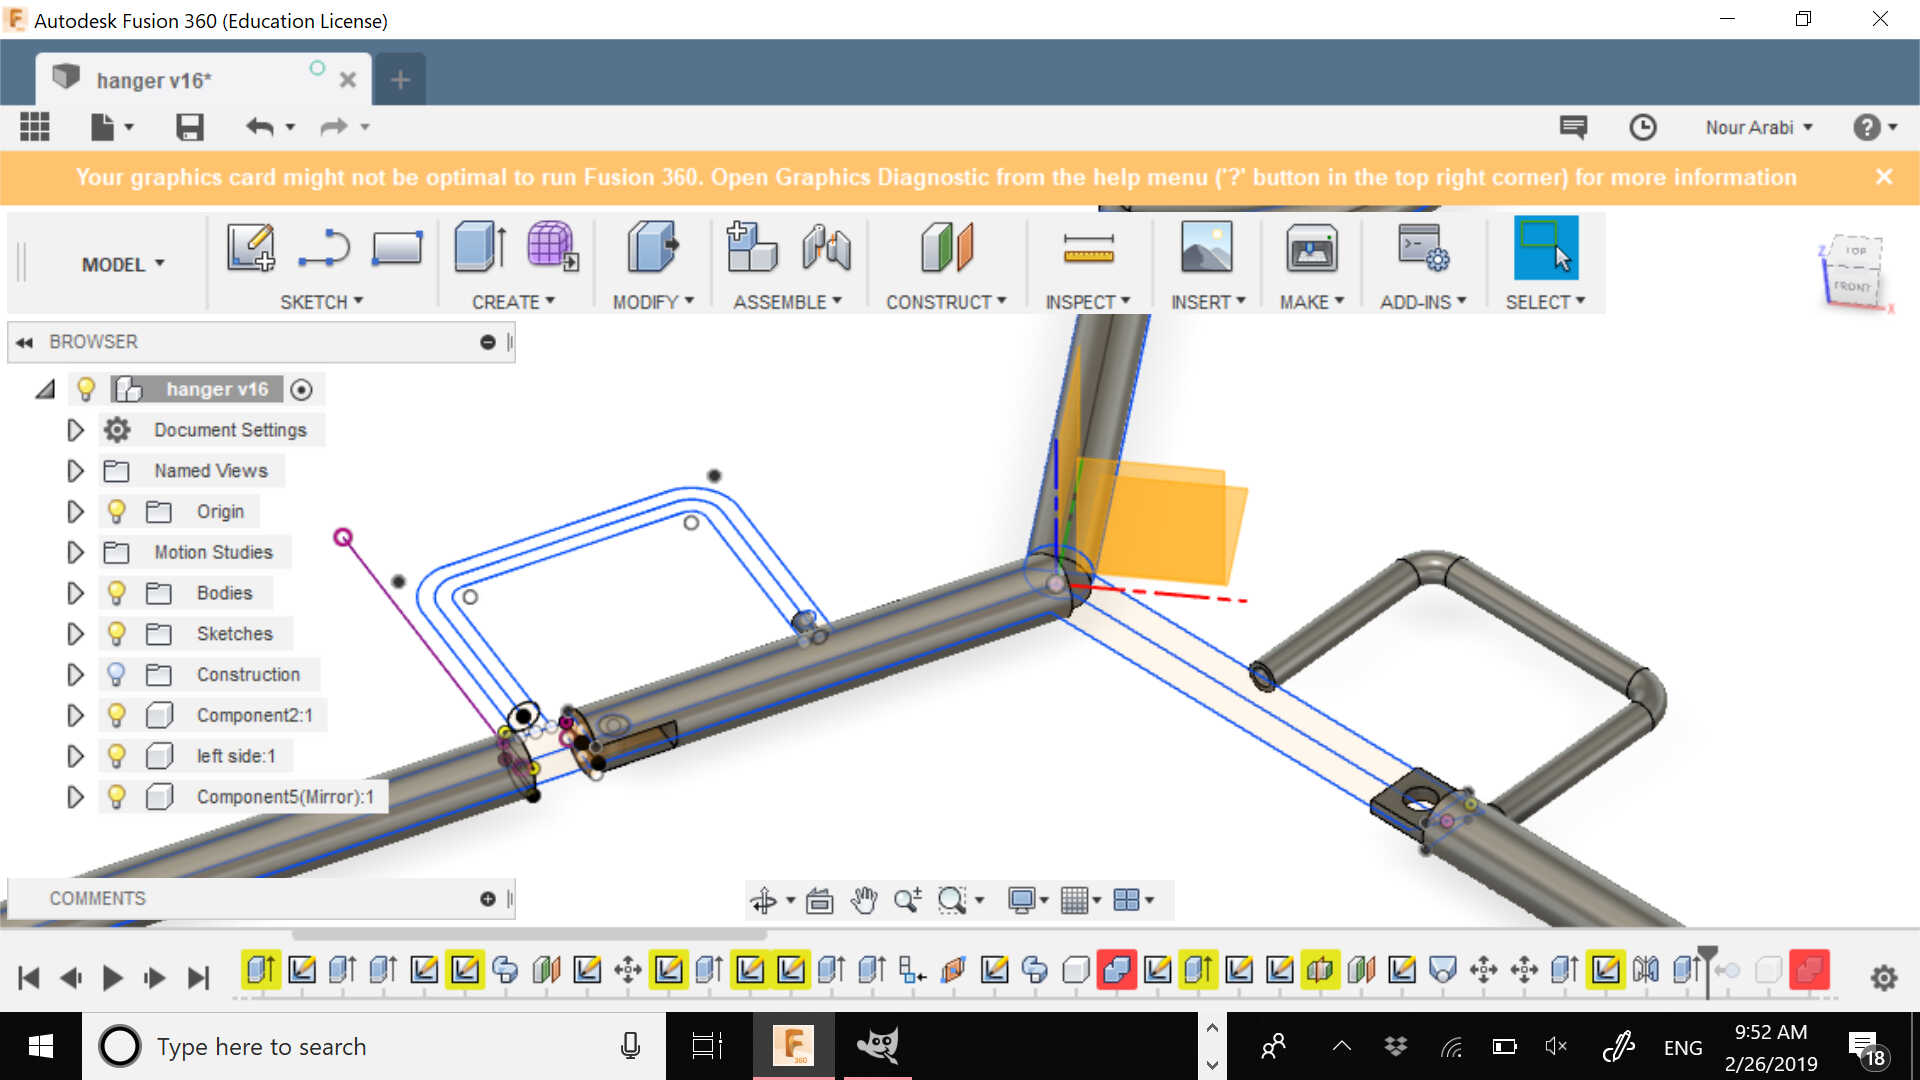
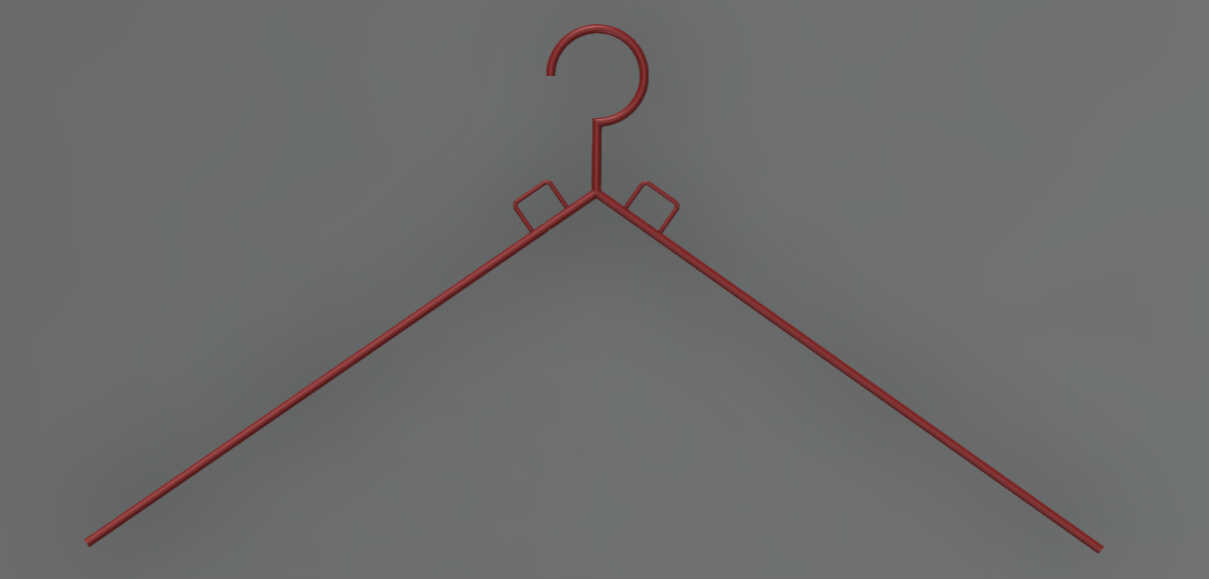
Then I rendered it in red ABS and started to play with the ASSEMBLE menu and applied the joints command so that the parts can revolve with the motion link

In the video below, you may find all the steps for drawing the hanger
And in the following one, you may check the animation of the motion
And finally you may just orbit it and play with it so that you can see it exploded or from different angles
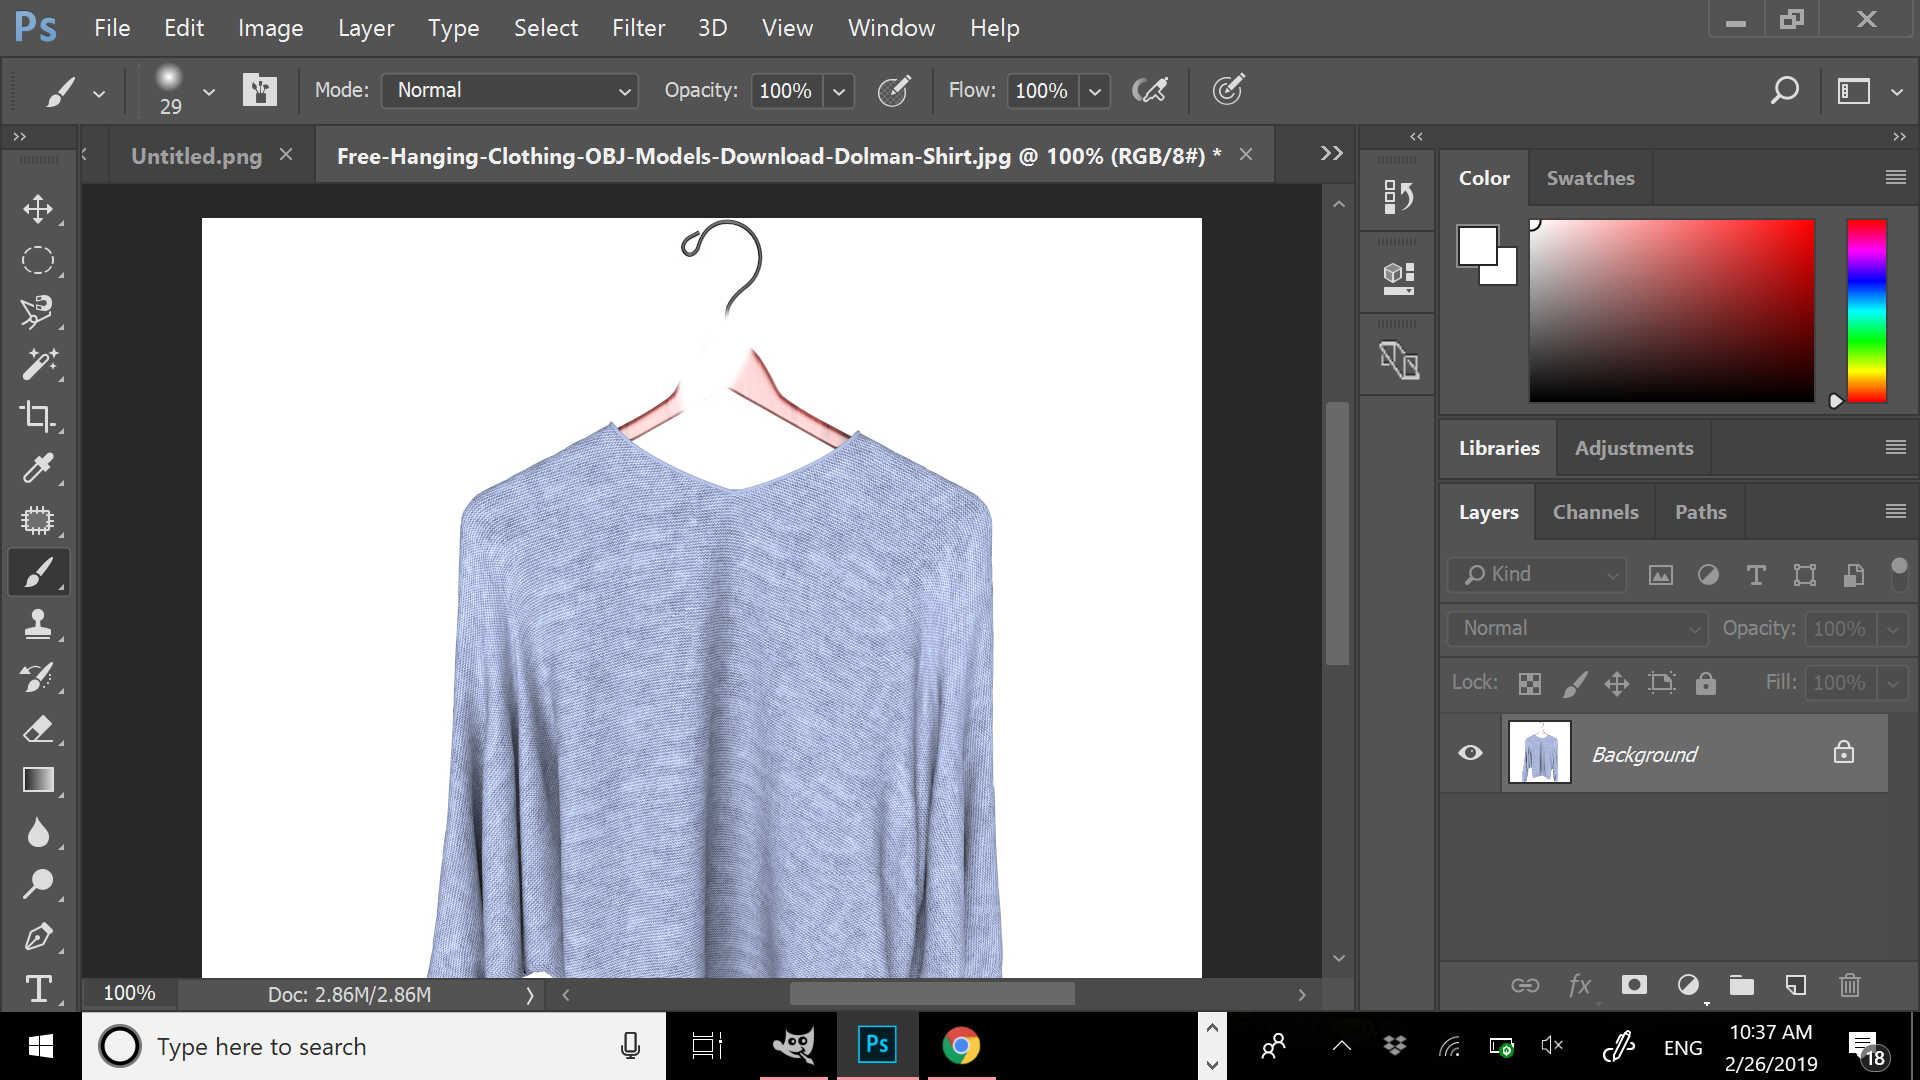
And it is time to play with PHOTOSHOP
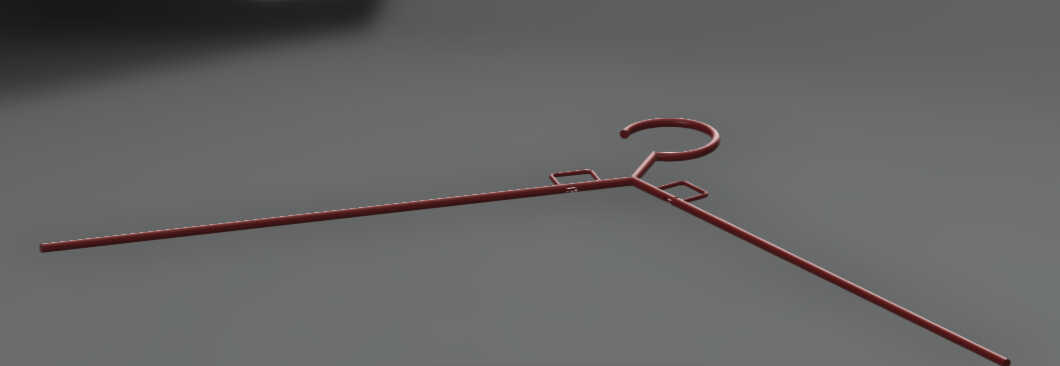
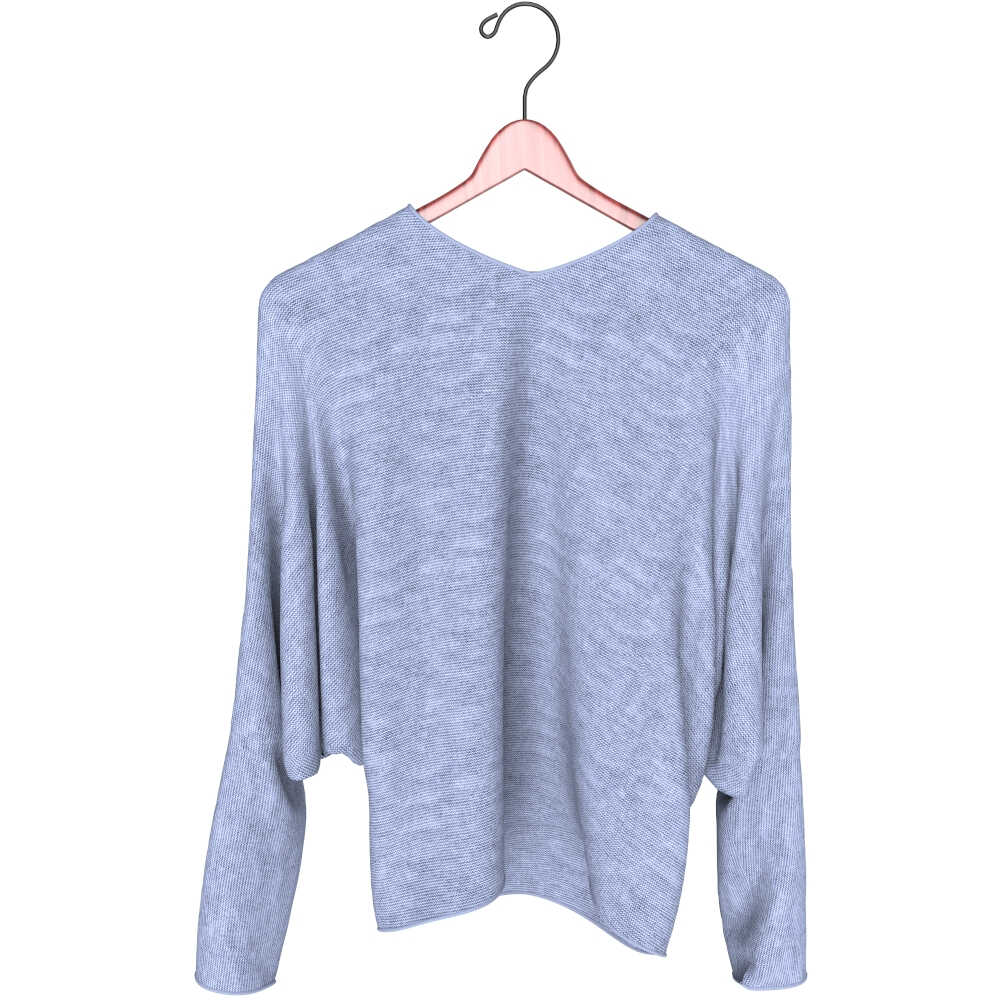
I have taken a screenshot of the hanger with the position needed
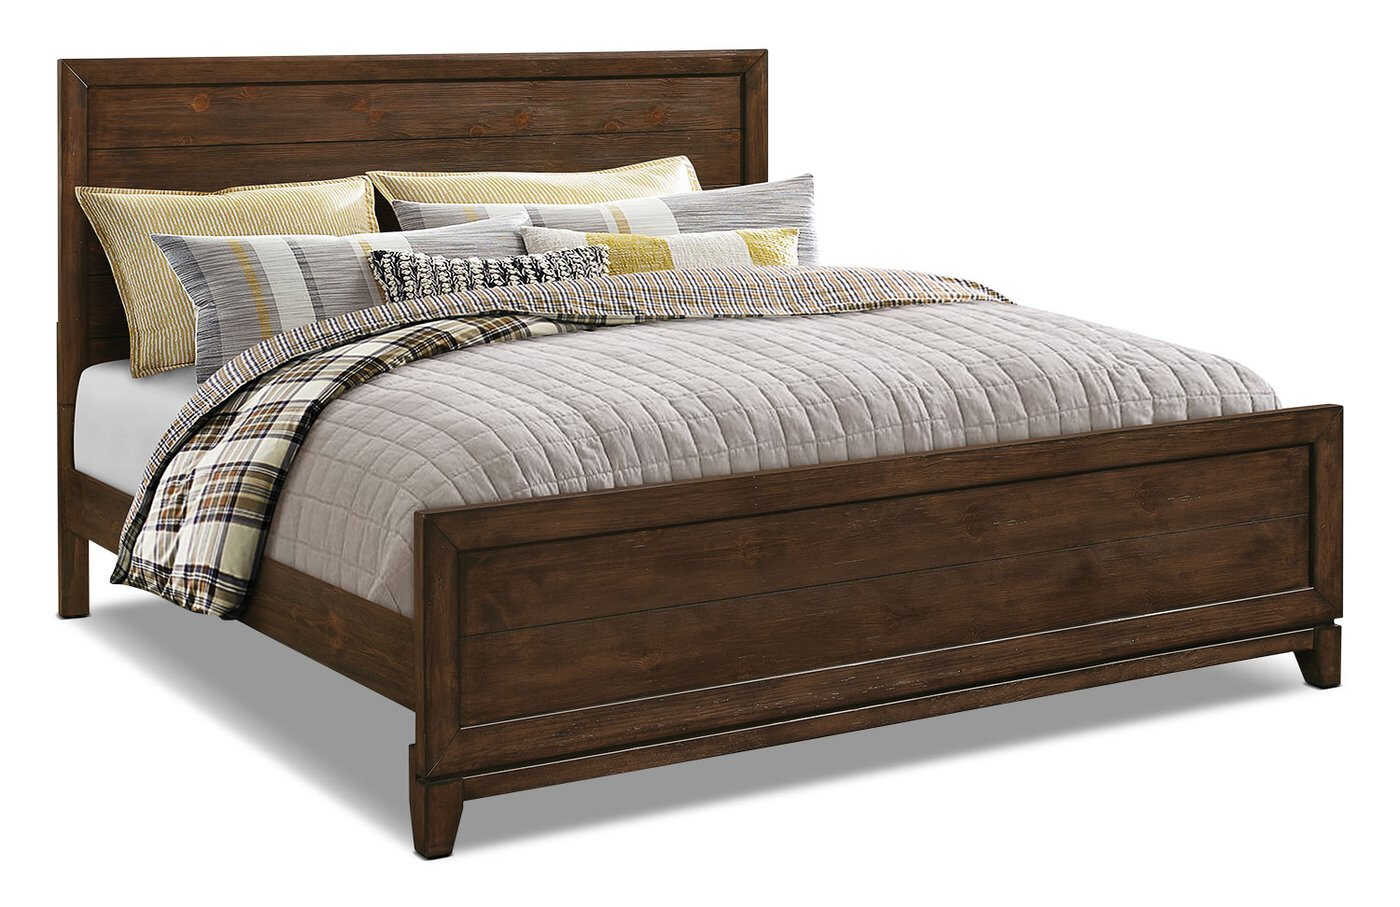
And downloaded a photo of a bed
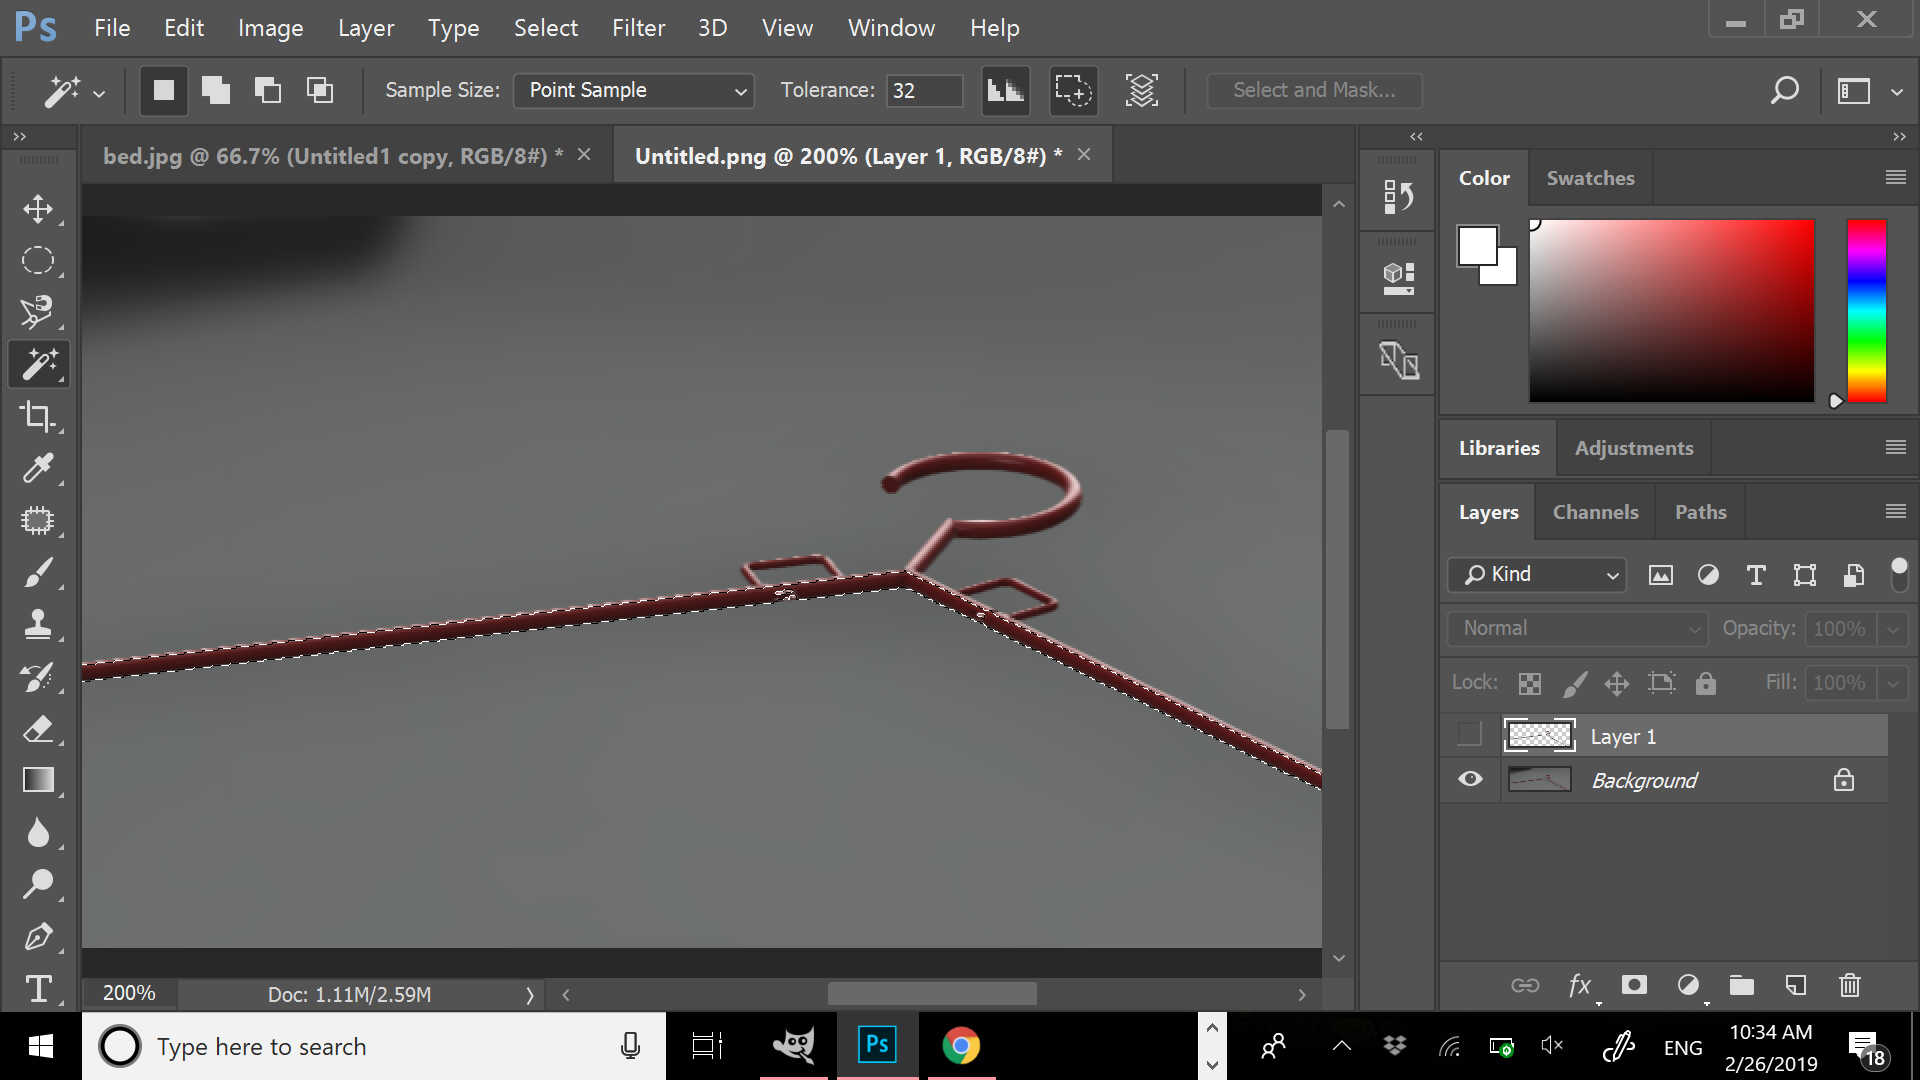
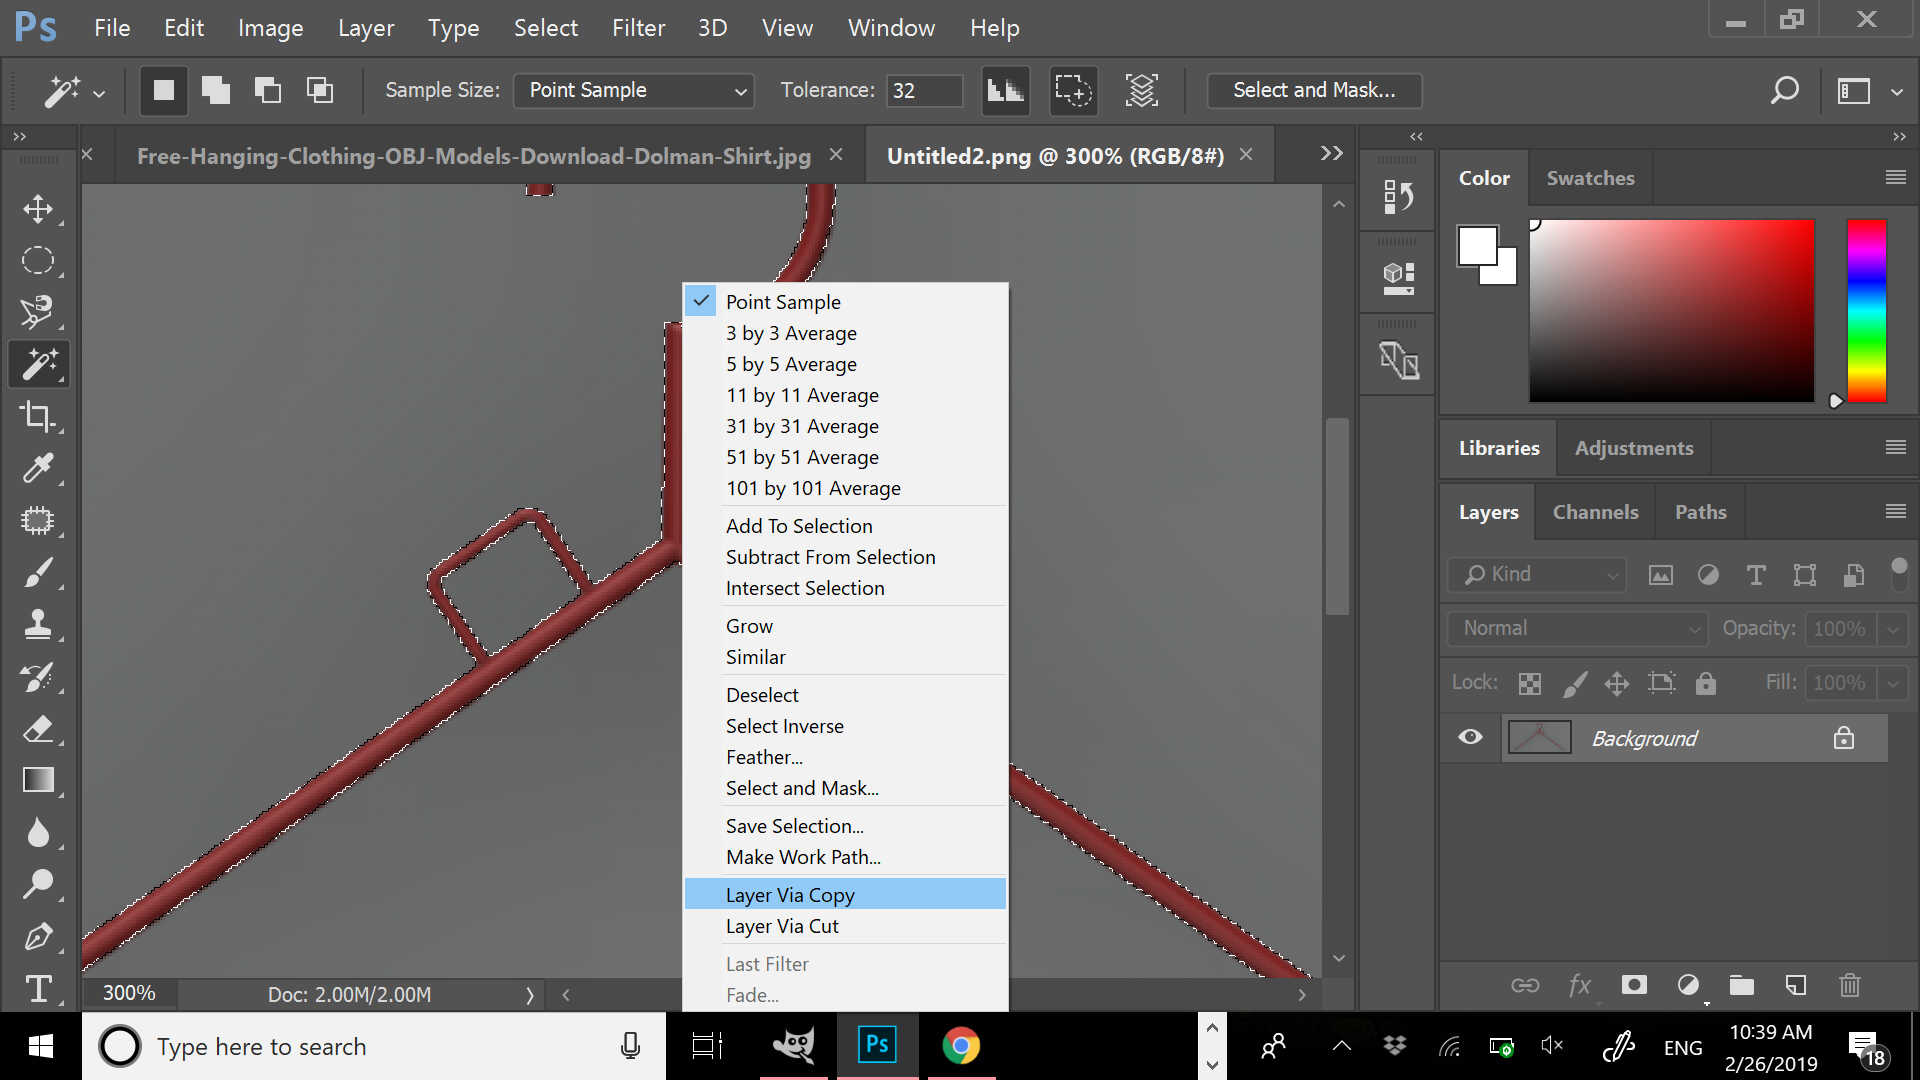
Then removed the grey background from the hanger's photo on Photoshop by creating a new layer and then turning it off

Then merged both images in a new file on photoshop
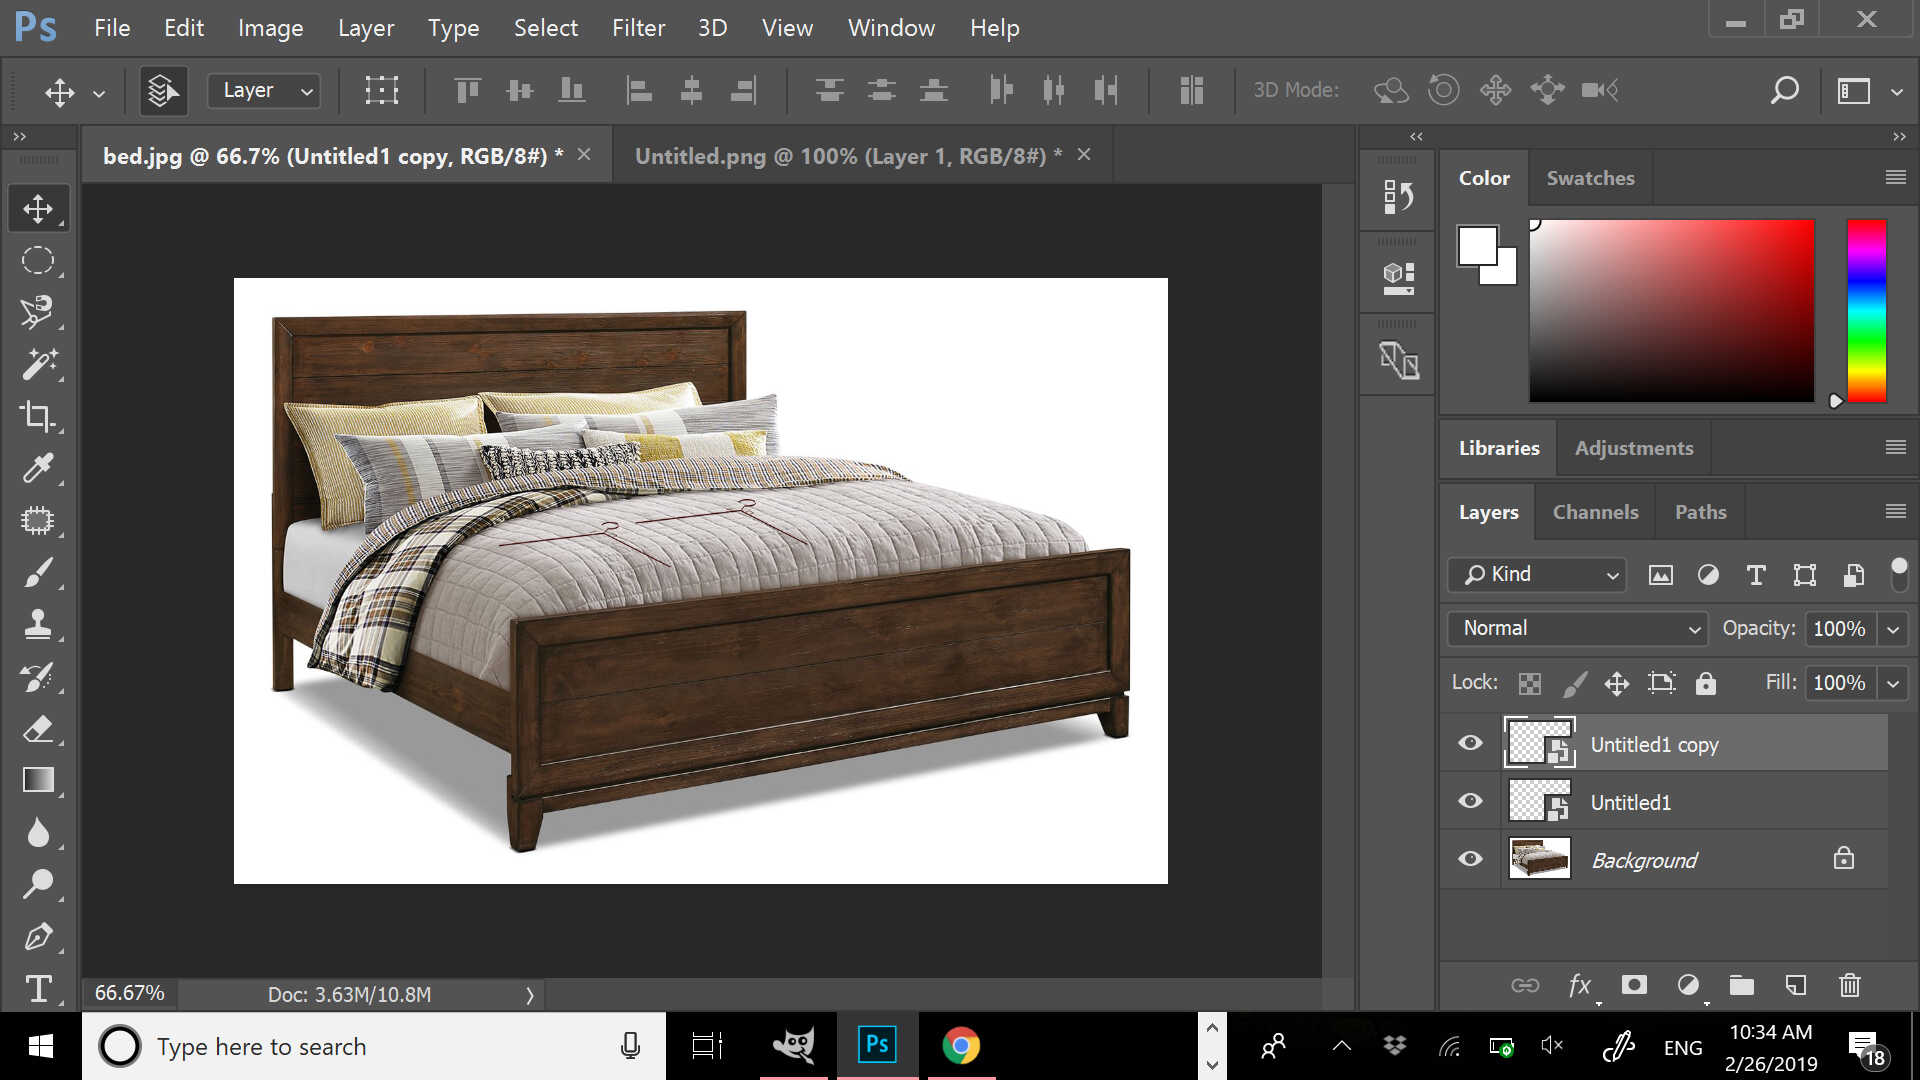
To have the below image

Then chosen another screenshot of the hanger with another image
And did the needed again on Photoshop
AUTOCAD 2D, 3D, 3D SHIRT, 3D TROUSERS, 3D CAP & FUSION 360 HANGER