Project Management
Week 02
In this week my assignment was to work through a git tutorial and to build a personal site in the class archive which describes me and my final project. It was also the start to document everything in the Fab Academy.
Starting with git & GitLab
Within the Fab Academy, all files must be accessible not only locally, but also globally. According to The Fab Charter the duplication of knowledge by contributing to documentation and instruction is an important goal. This is done by disclosing and accessing data, also known as open source. Here it is free to use this source code, to change documents but also to adapt their content. Within the scope of the Fab Academy, this documentation will serve as support and hopefully be of help to one or the other. My personal focus is on the realization of the final project and the enrichment of knowledge. I won’t give it back completely in this documentation, but hopefully it will reflect approaches.
A common way to make source code available to everyone is to use GitHub or GitLab. The first variant was last purchased by Microsoft, so recently a lot of people switched to gitlab. In addition, the free version includes the use of private repositories. The Fab Academy is not hosted on GitHub like the years before, but on gitlab starting this year. But what is git anyway?
Git is a free software for distributed version control of files initiated by Linus Torvalds. Out of necessity it was developed in 2005. A version control is a system used to record changes in documents or files. All versions are backed up in an archive with time stamp and user ID and can be restored any time. Thus, changes to each individual file can be tracked very well over the entire time, but even working with multiple people is easy to implement through branching and merging.
A variety of tutorials will help you to get started with git, as well as the following links helped me back then understanding how git works: Rogerdudler, git-scm, Marklodato, Pluralsight, Udemy-Video and so on.
The first task was to set up git. For this purpose I created a folder called Fab Academy, in which the site should be placed. Since I use a mac, I could config git directly via the terminal.
I switched with the command cd to the folder I wanted to go into. Then I was able to setup a git successfully with the following commands:
git config --global user.name "Your Name"
git config --global user.email "you@mail.com"
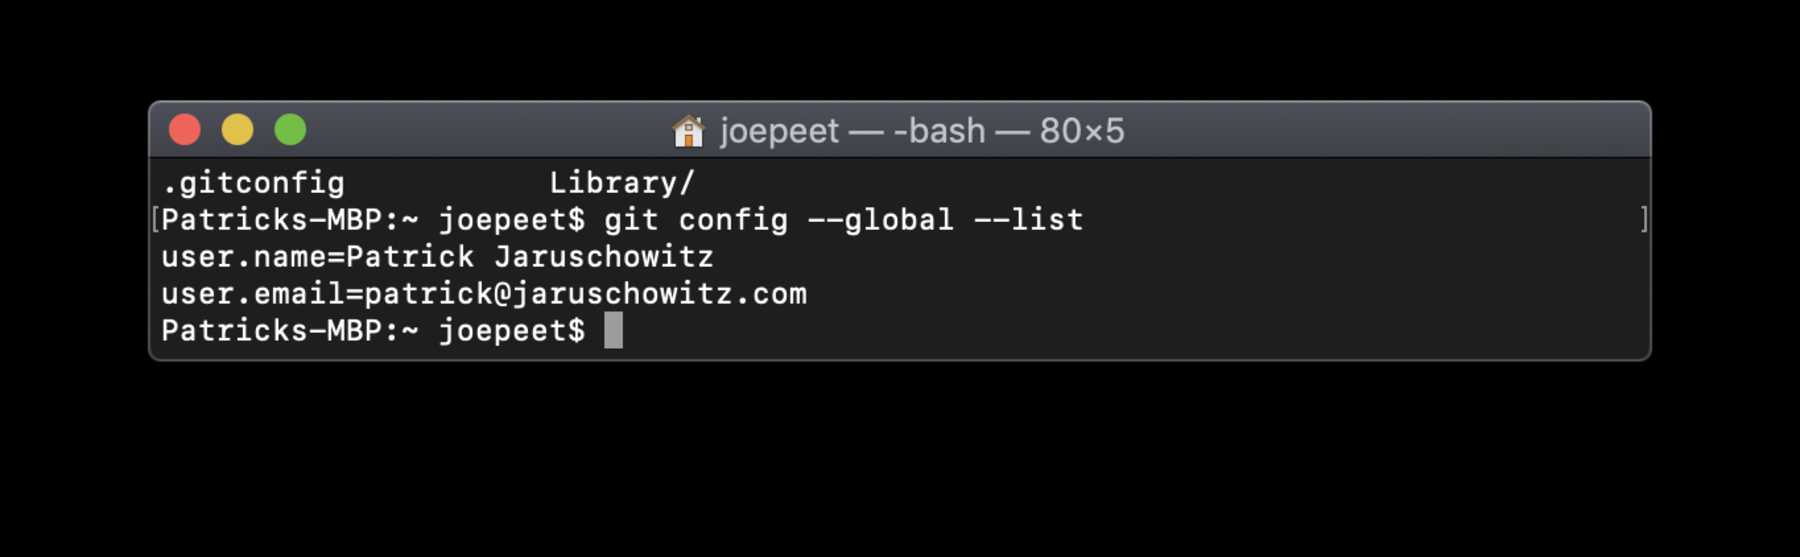
I used the following command to check that everything worked and that the correct user data was stored.
git config --global --list
The next thing on my to-do list was to connect git with the GitLab-Fab Academy repository. For this I had to create an individual SSH key from my system. This was done with the following command:
ssh-keygen -t rsa -C "you@mail.com"
Finally, I added the created SSH-key to the GitLab site and was able to establish a connection. Since there was already content on the server, I cloned the repository. So all files from the GitLab repository were available on my Mac.
git clone git@...
With git add , git commit -m "Message" and git push you can push the new version of your changed files to the git mediator. Voilà, it was done.
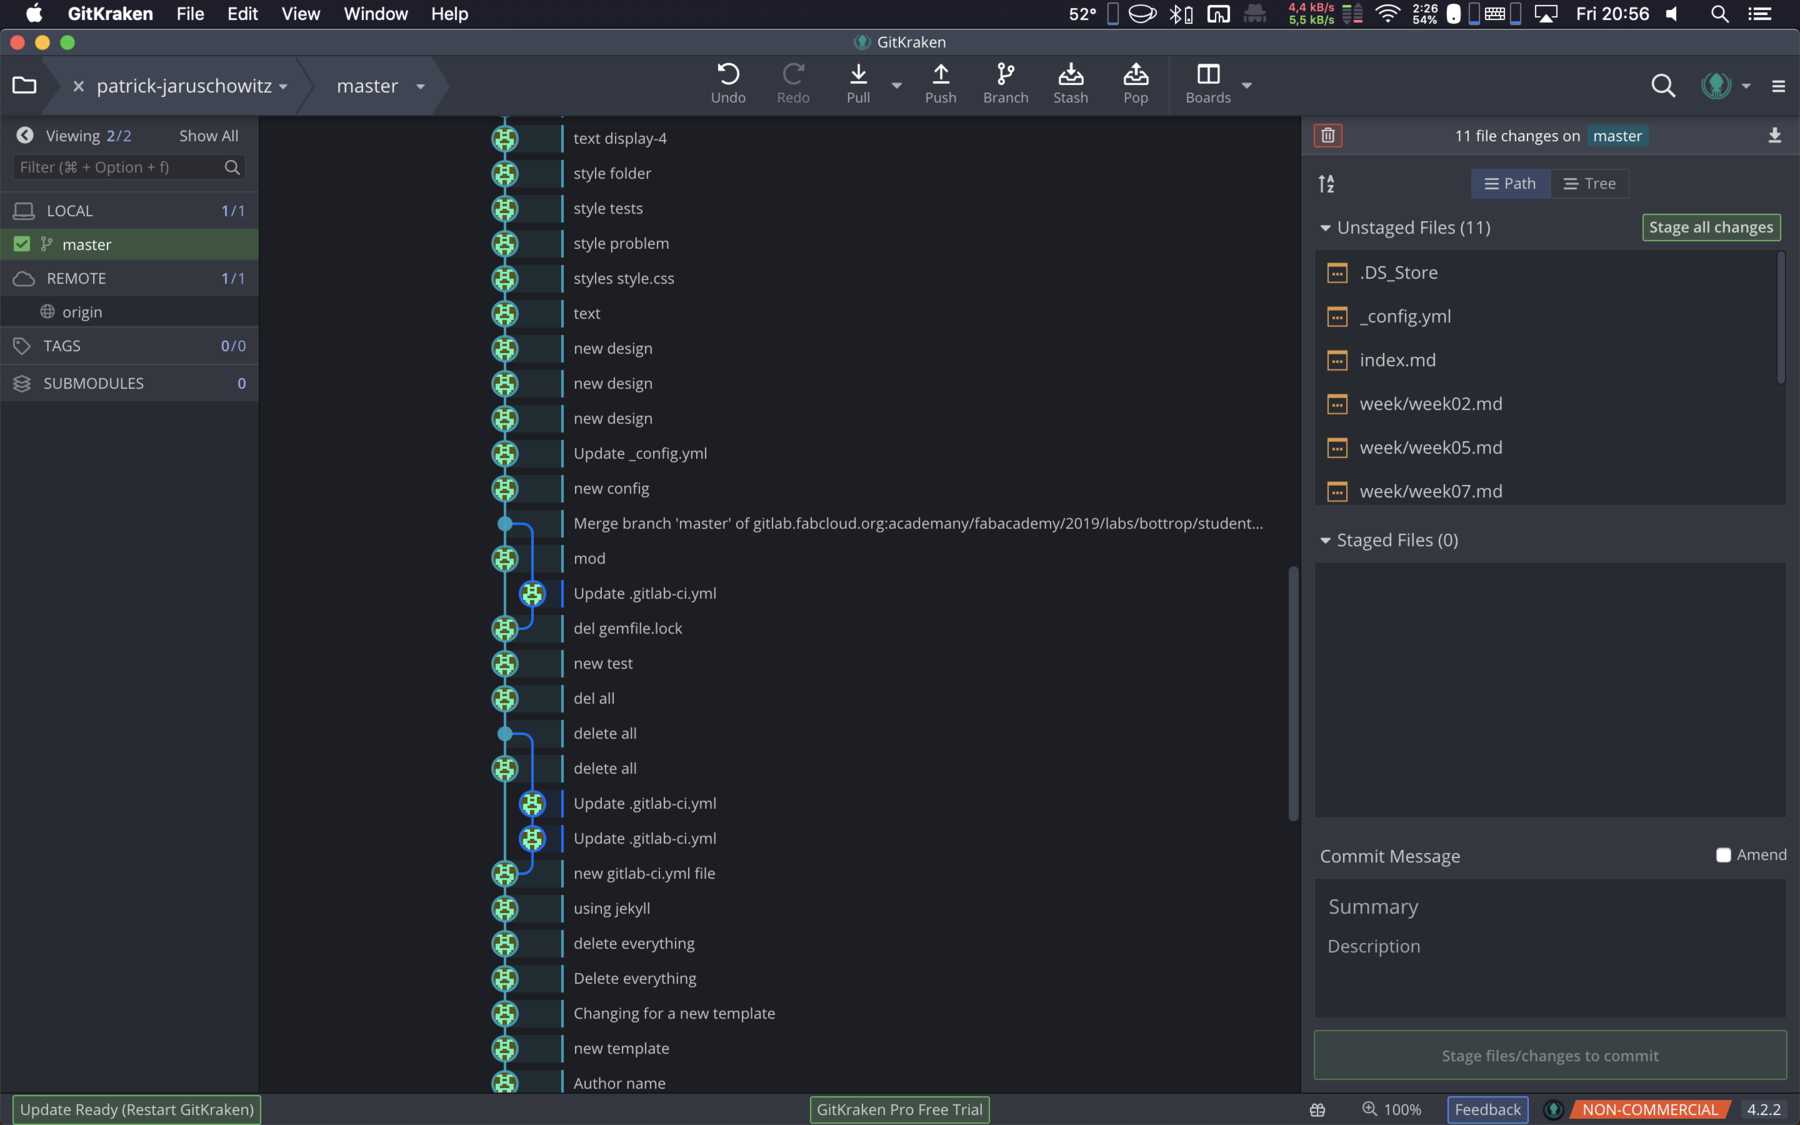
Another possible representation of git is the use of GitKraken, which is a visual representation of the changes. It is a very pleasant way of collaborating with several people.
Finally, in order for the uploaded markdown and html files to become a website, the system must be told that a website is to be generated from the uploaded markdown and html files and how to do this. For this we use GitLab Pages.
Sketching my website
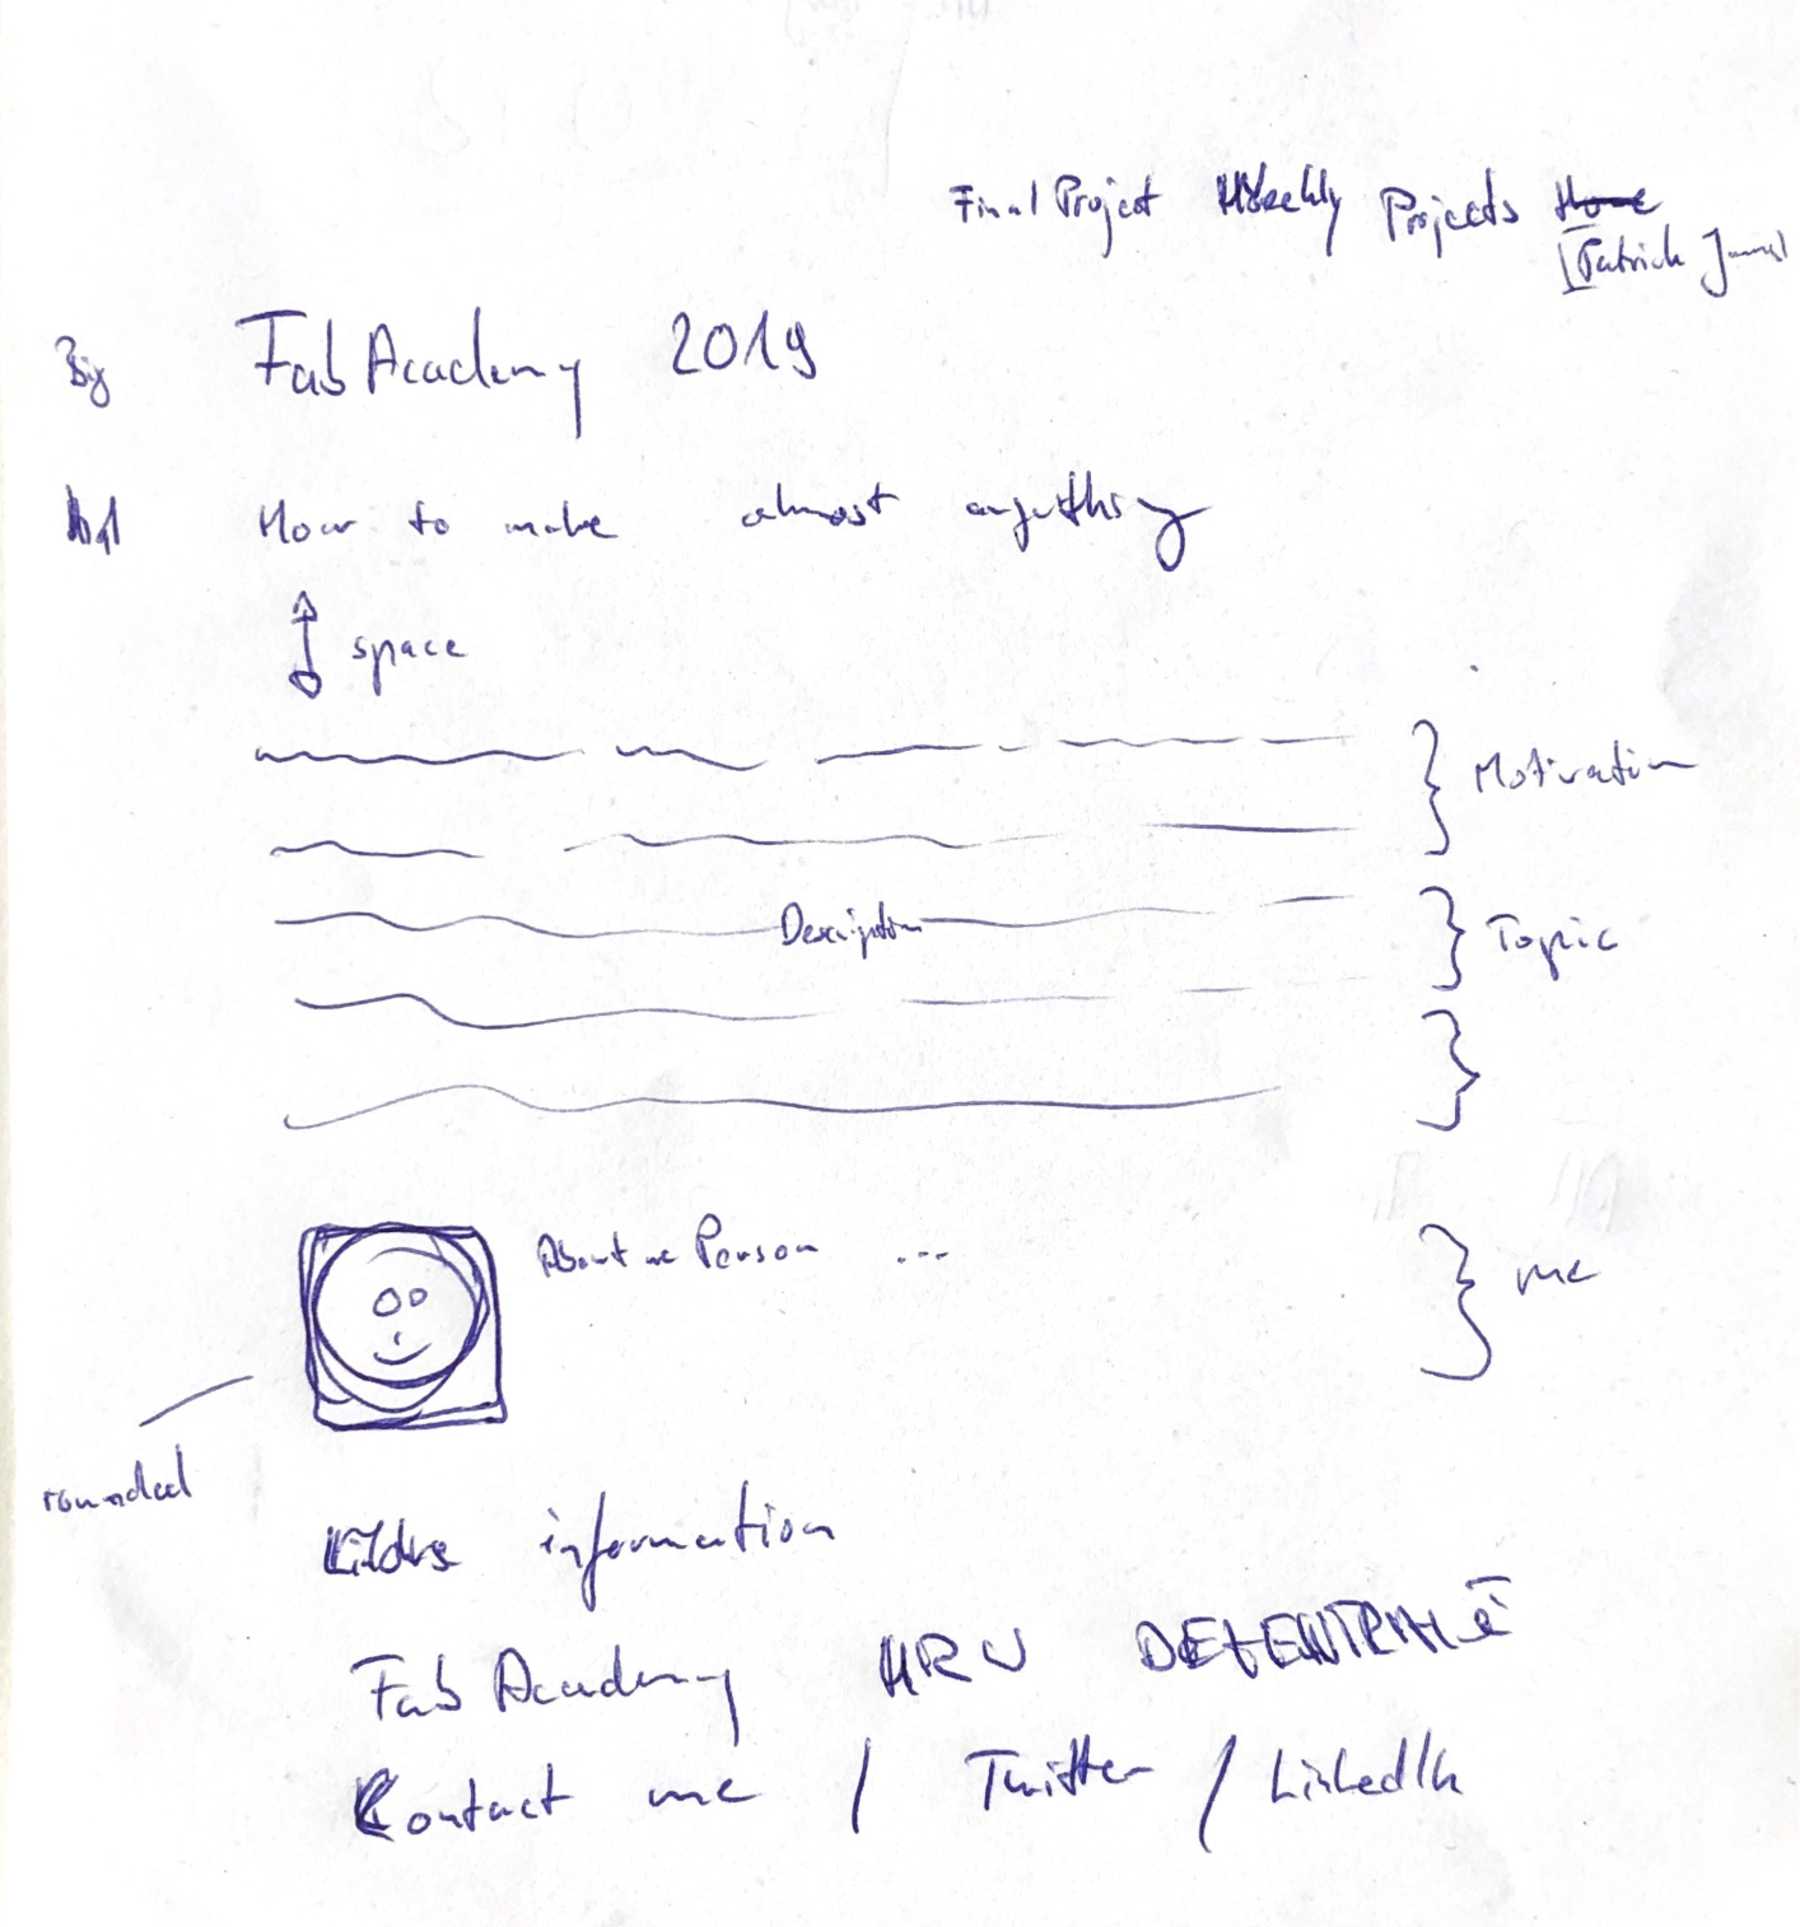
I didn’t like the standard design of the Fab Academy website and the restrictions imposed by MkDocs, so I deleted everything and wanted to start from scratch. The next step was to think about how my personal site should look like. Therefore I made the following sketch. It was important for me to program this independently, to use HTML / CSS and create a clean and minimal design.
Choosing the software
To realize these ideas, I had to create the basis for it. Three editors that are exciting for me are Atom, VSCode and Sublime Text. For this week’s task I decided to use the Atom software. As soon as you switch in the Atom editor to the Fab Academy folder where the clone of the repository is located, you can commit the changes directly with Atom and then push them to the GitLab-repository. Especially helpful packages like the Atom live server or emmet make the software easy to use. If you work a lot with different software, you often also mix the hotkeys. I like to work fluently and found for myself the software CheatSheet on the Mac really helpful. How do you simply duplicate lines? cmd-shift-d. How can I comment on a line in a flash? cmd-shift-7. The best thing about it: Keep your hands the whole time on the keyboard.
Choosing the framework
In the next step I wanted to make it easier by using an existing framework for my personal site. I compared several frameworks, such as Bootstrap, Foundation, Semantic, Pure.css, Bulma, UIKit, etc. with each other. In the end, I wanted to choose one that had a large community behind it, supported responsive design, and was useful to create a clean and minimal design at the same time. I choose Bootstrap 4 because it suited best for my needs.
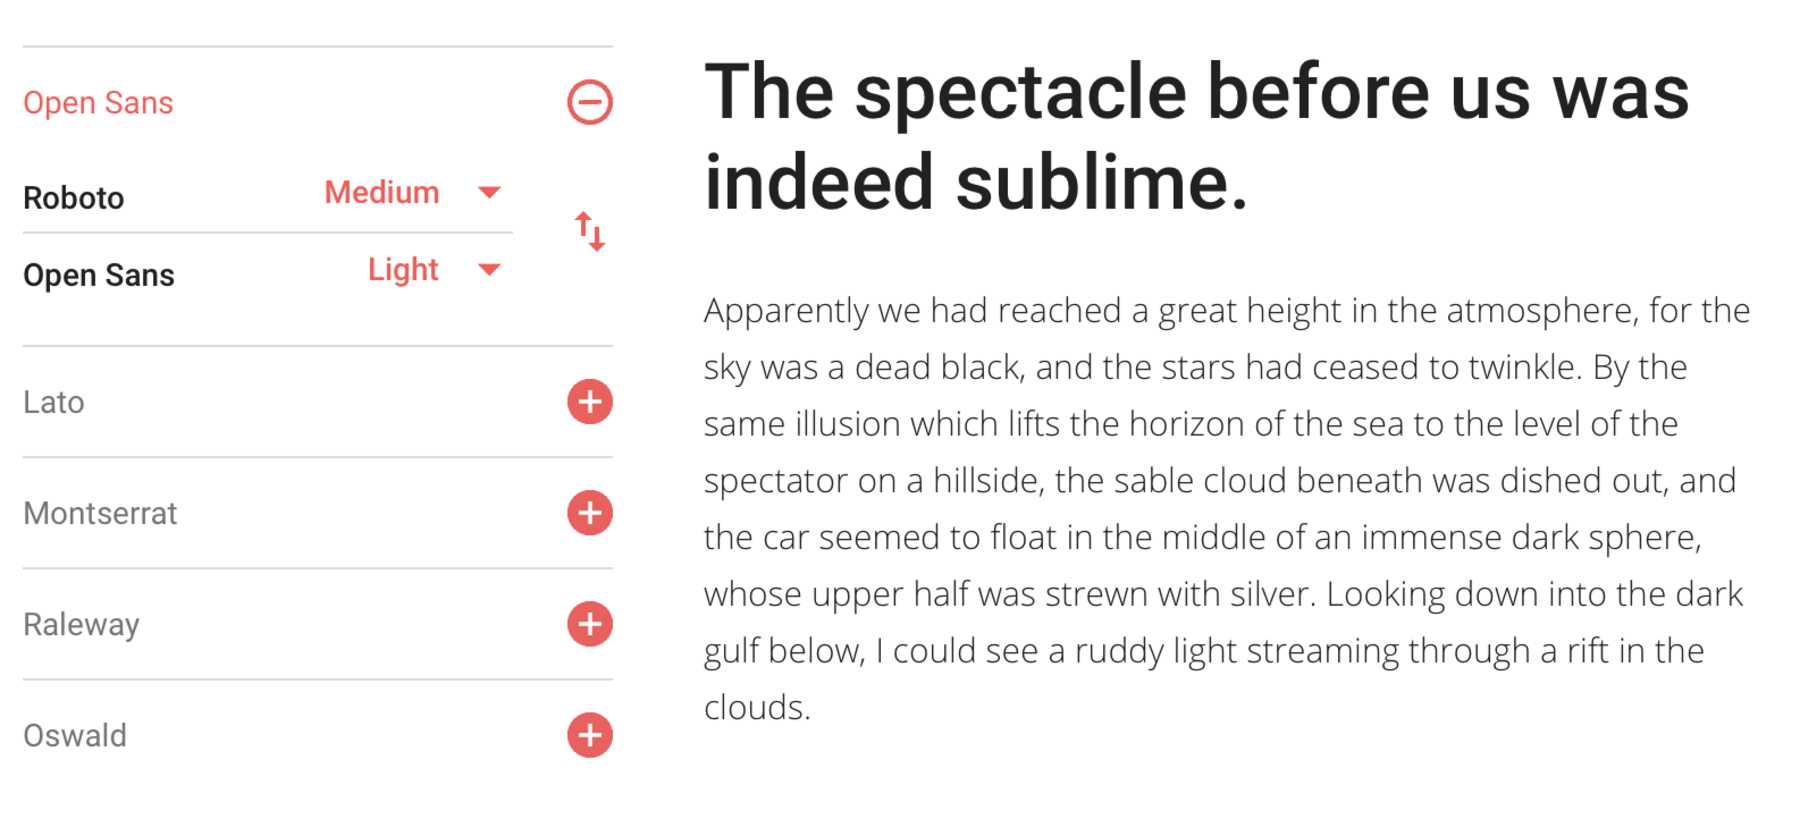
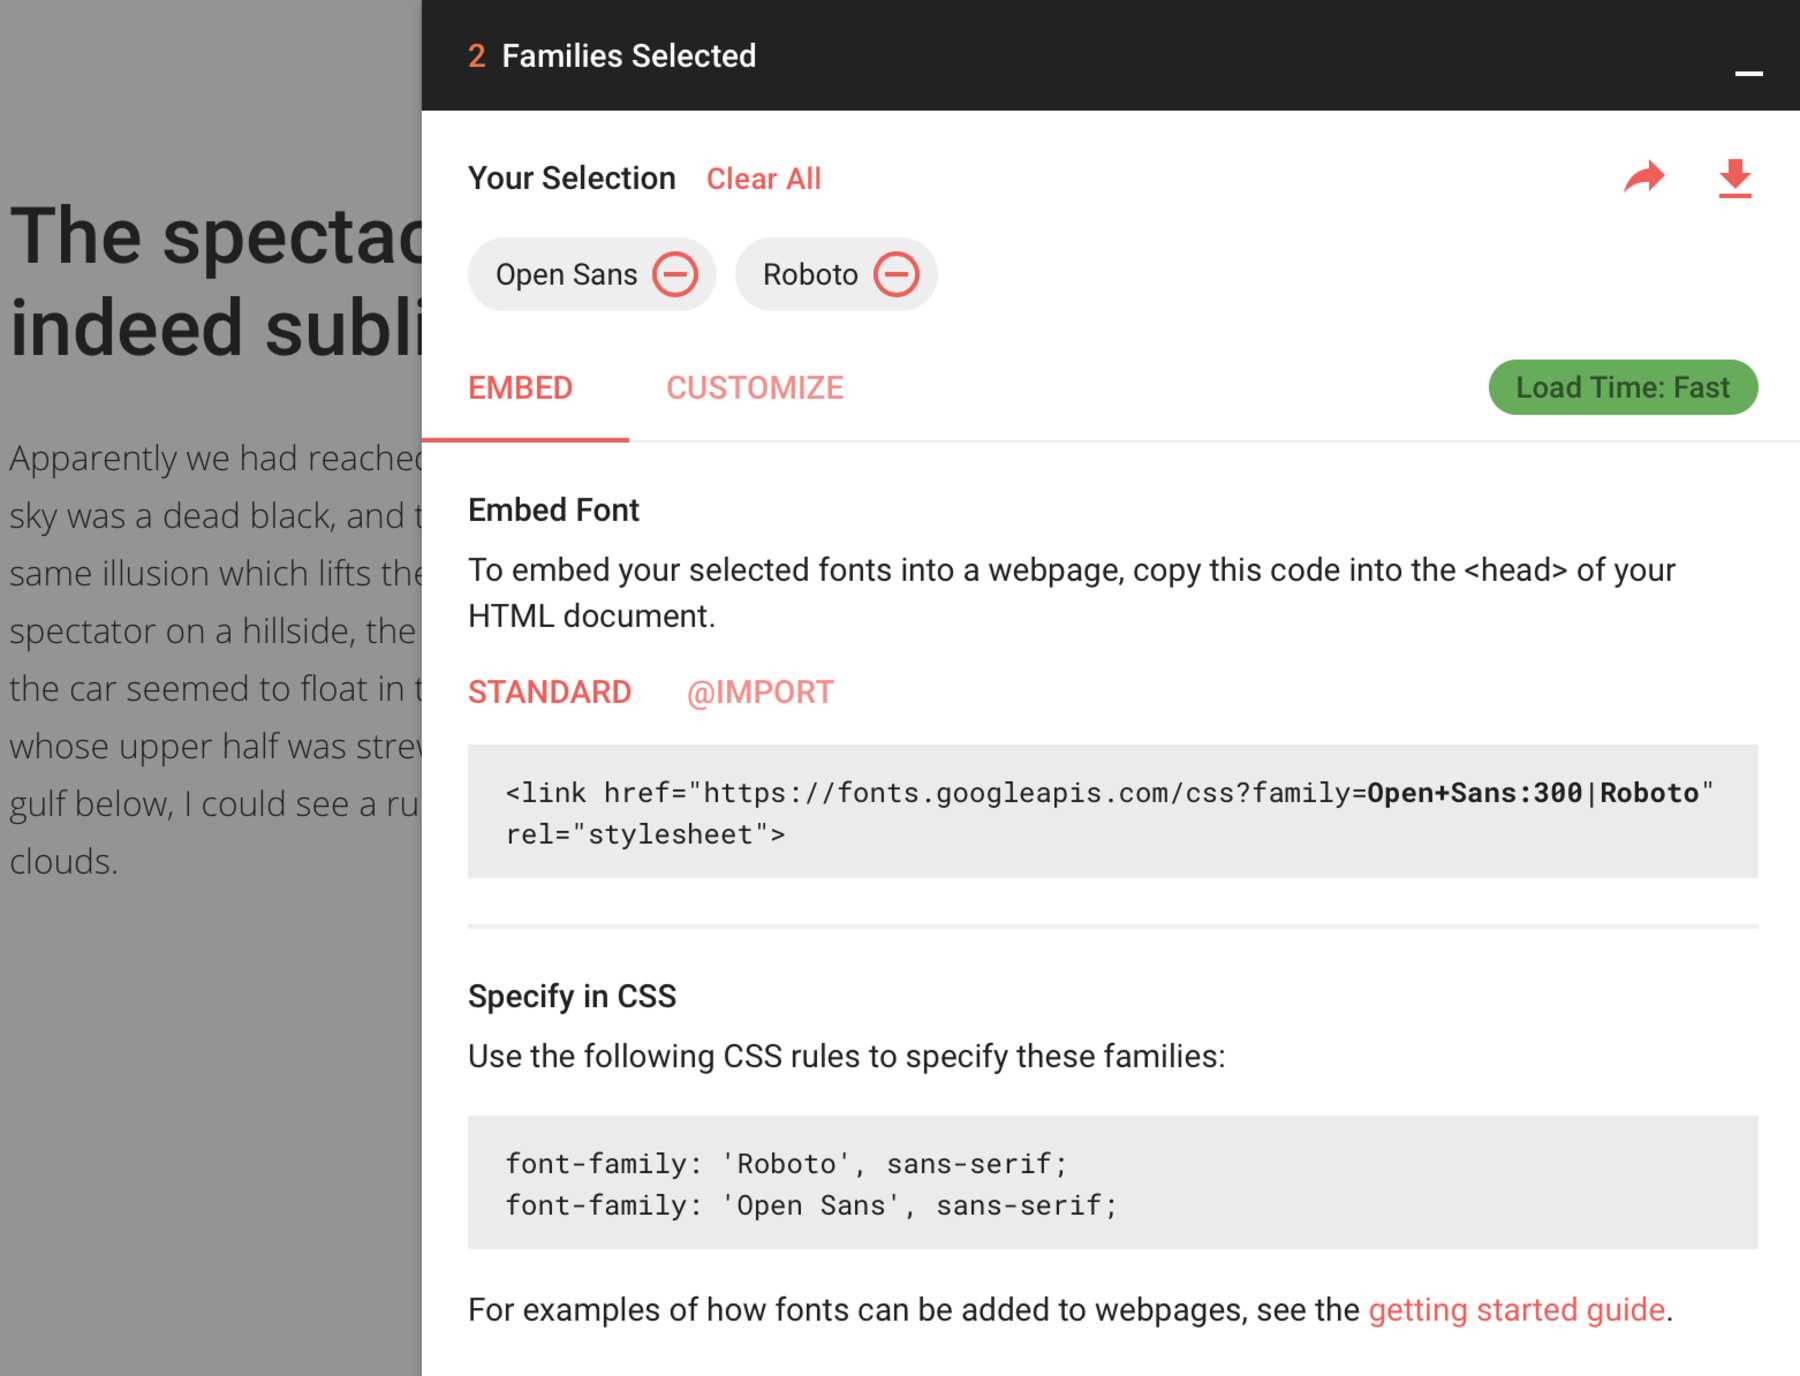
For the fonts I used Google Fonts and searched for beautiful and simple fonts. I decided to use Open Sans for the text and Roboto for the headlines. The implementation is done by a simple line in the header and one line in the css. As you can see on the following picture:
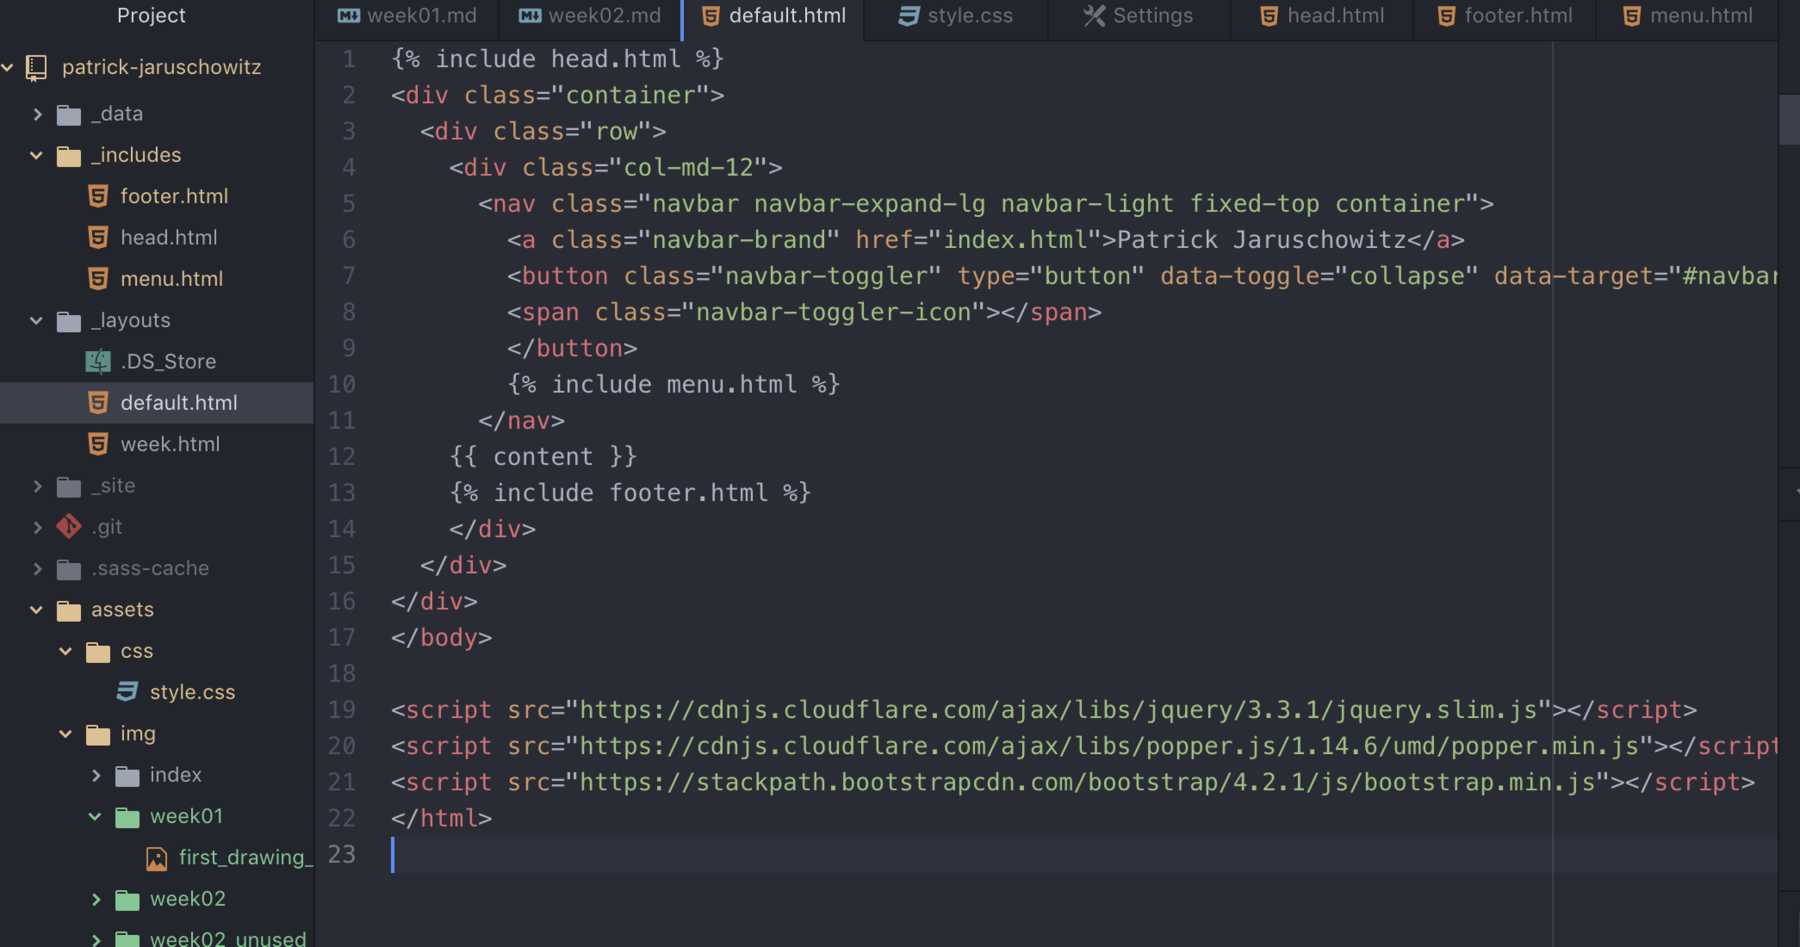
Coding my site
The hours after that I spent some time with the implementation. I wanted to create a template which I can use for the static page generator. It’s been years since I programmed websites. Now everything has changed: You can use static website generators like Jekyll, Middleman, Hexo, Hugo, Pelican, MkDocs or anything else in connection with gitlab Pages. There are more, you can find a very good overview at www.staticgen.com. Just define the requirements for you. There are also excellent WYSIWYG editors that work perfectly. For bootstrap there are excellent UI editors nowadays, like for example Pingendo, Layoutit! or Bootstrap Studio. Since the documentation and the functionality of MkDocs is not sufficient, I decided to use the static generator Jekyll. Here you’ll find, especially in connection with Bootstrap, some help by the community that should get me to my goal. After the installation I could simply start a live server via the terminal using the command jekyll serve, where I could build the website locally. A good documentation can be found on jekylllrb.com. Finally, after a few hours, I was finished and satisfied with the design.
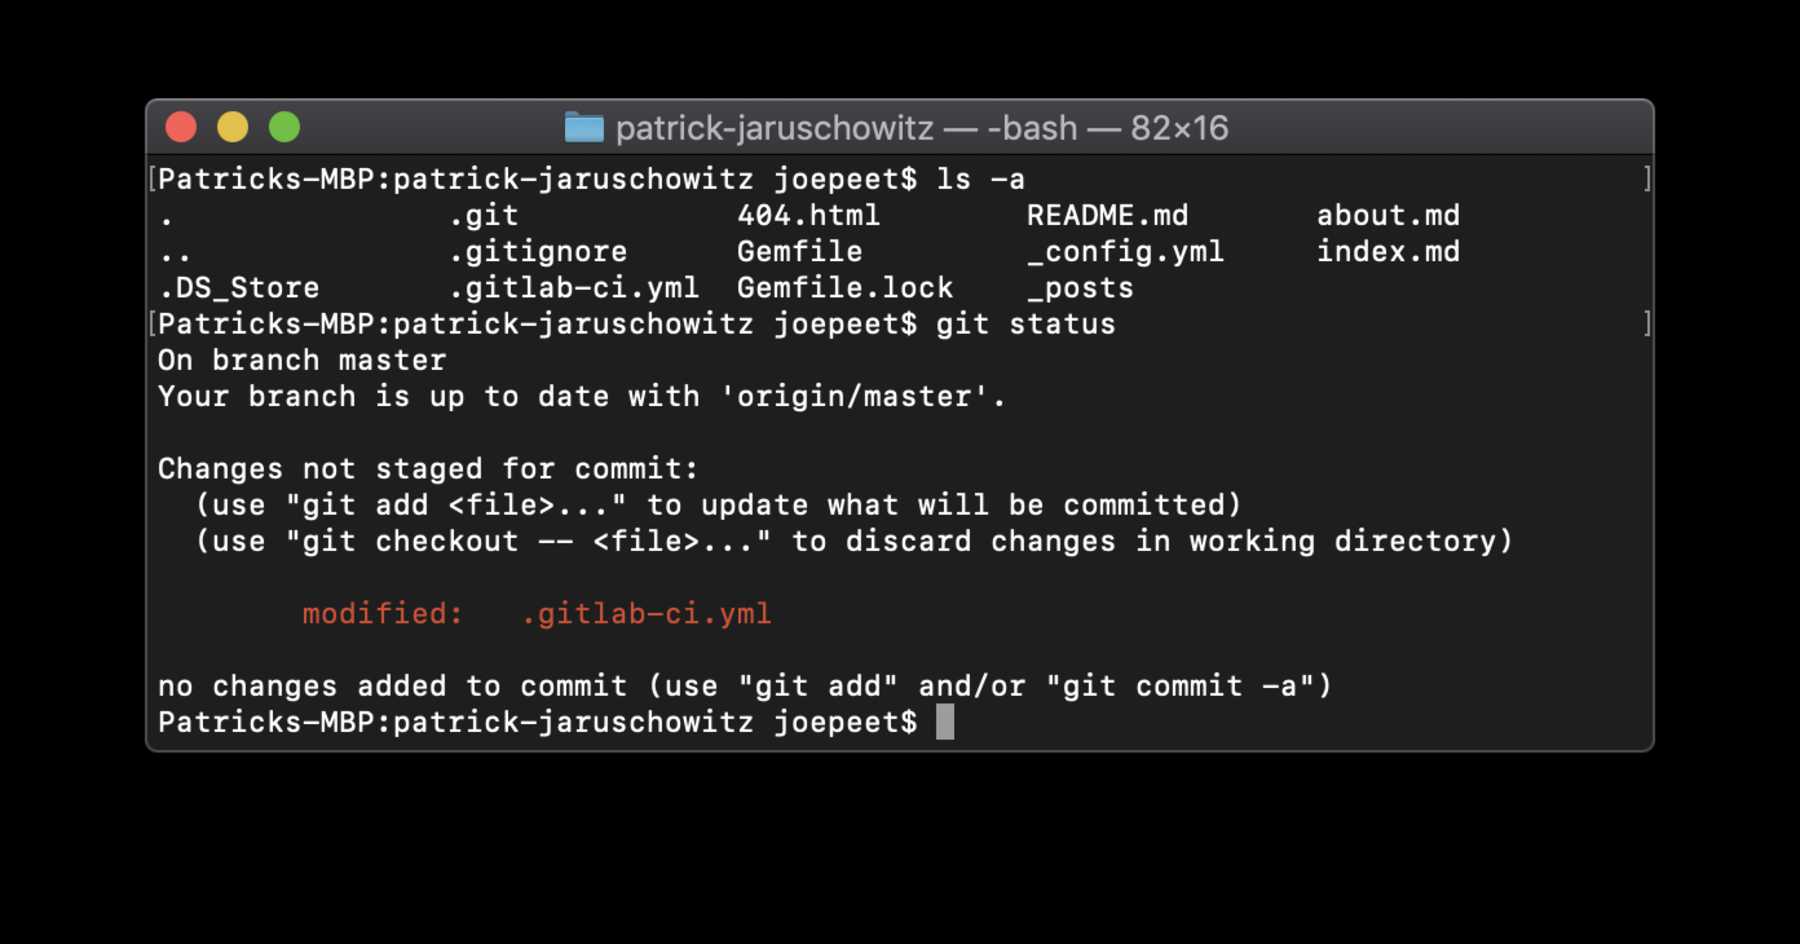
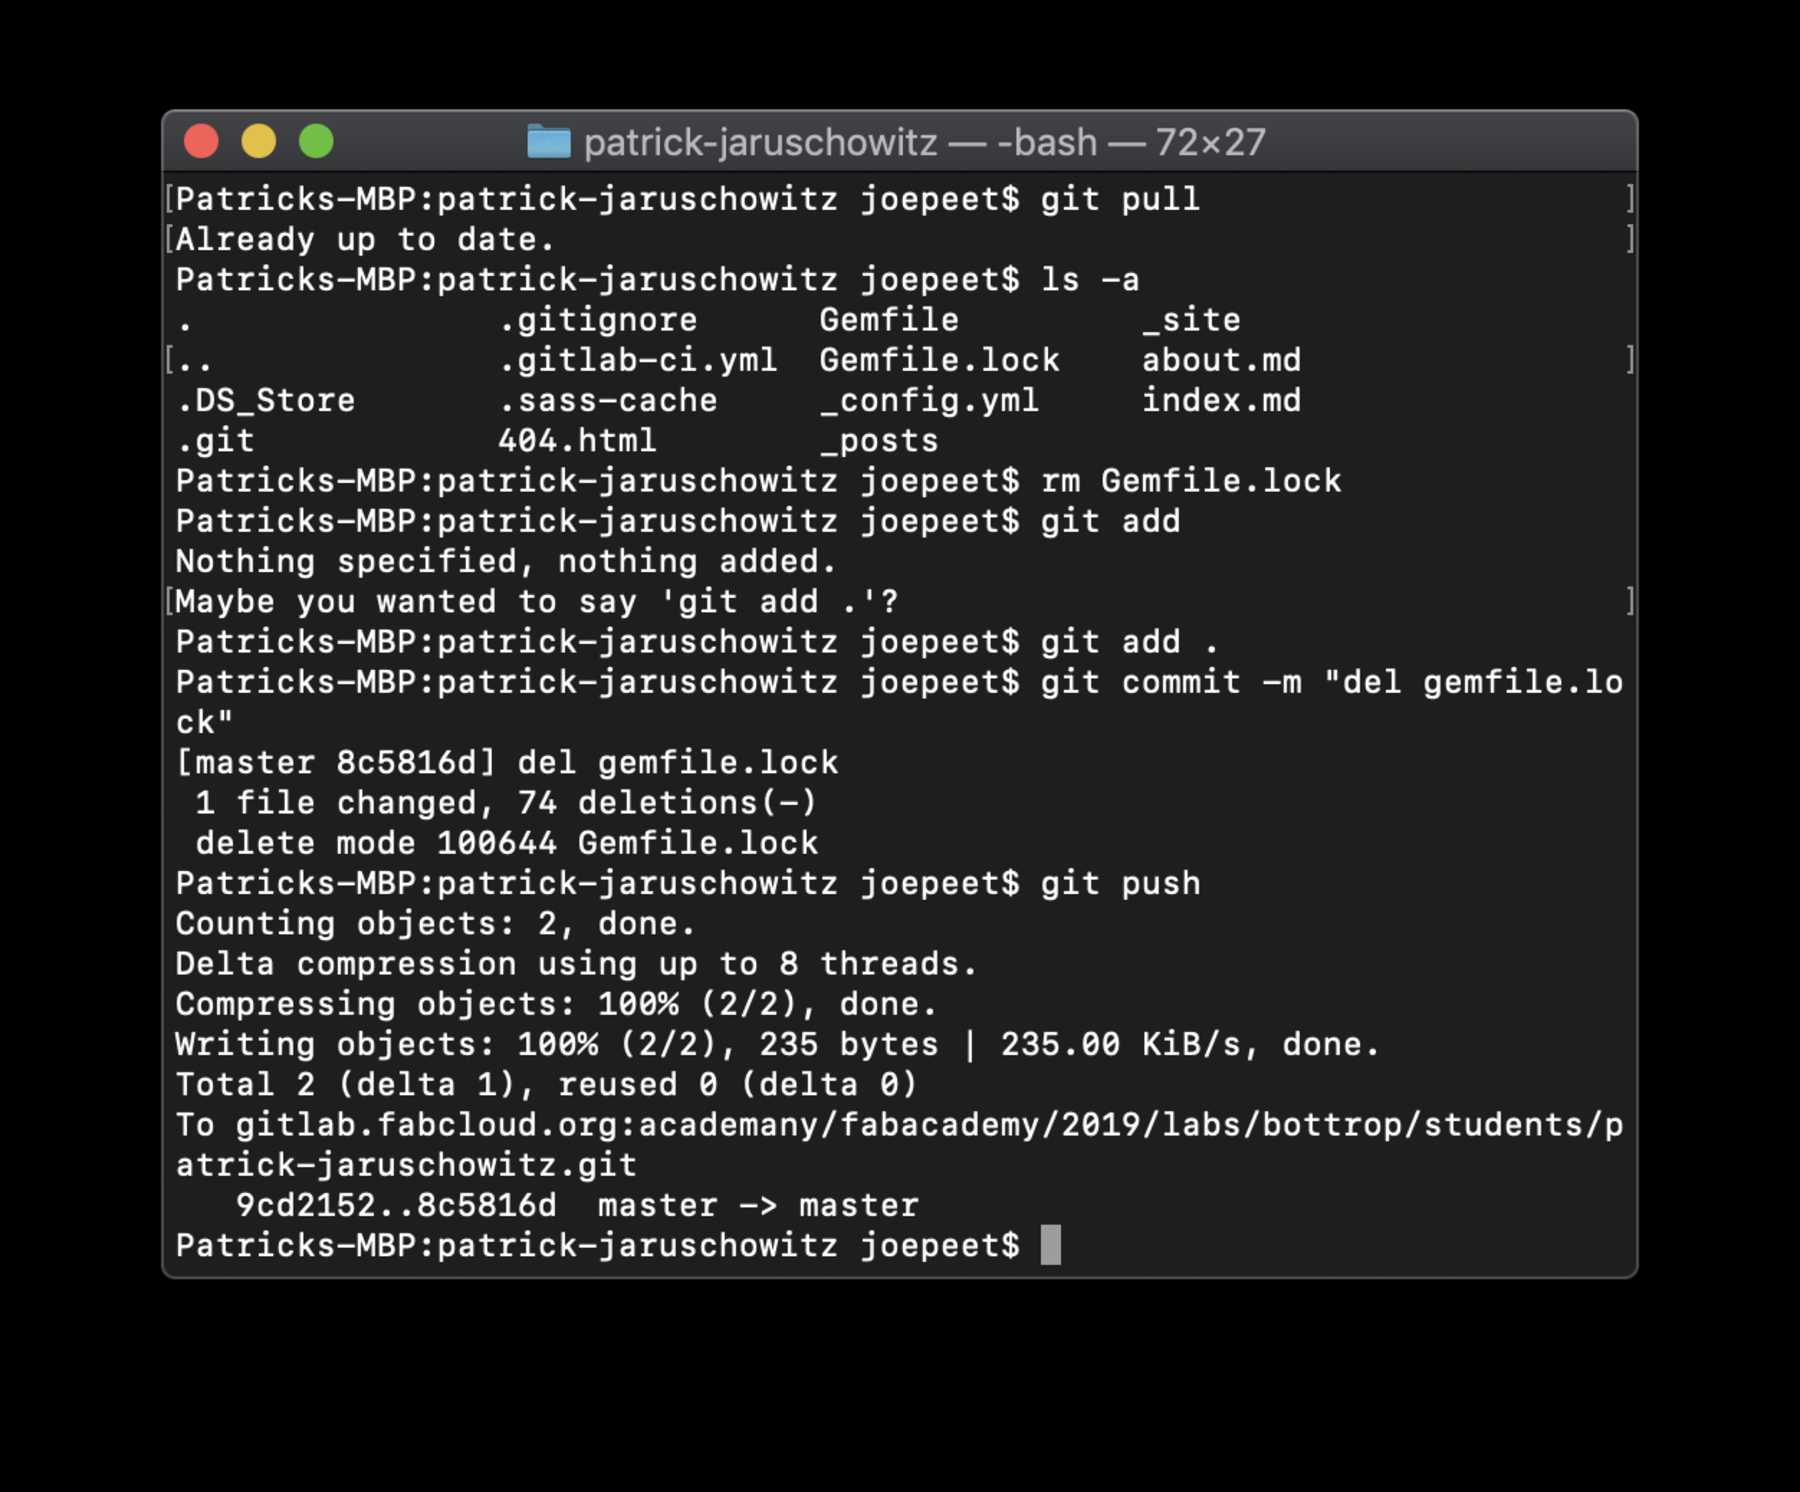
Finally I had to delete all existing files from my repository and push that to the repository. Some files are hidden, so pay attention to it.. With the terminal command ls -a also the hidden files become visible and can be deleted by the command rm.
Problems faced and solutions
Then I copied my files from the Jekyll folder into the local repository and pushed it. After uploading I got the error-message that “Your pipeline has failed” with the following hint:
$ bundle install
You must use Bundler 2 or greater with this lockfile.
ERROR: Job failed: exit code 1
After researching in the internet, I quickly found a solution: Delete the >gemfile.lock</code> before you upload. After I implemented this, everything worked out well.
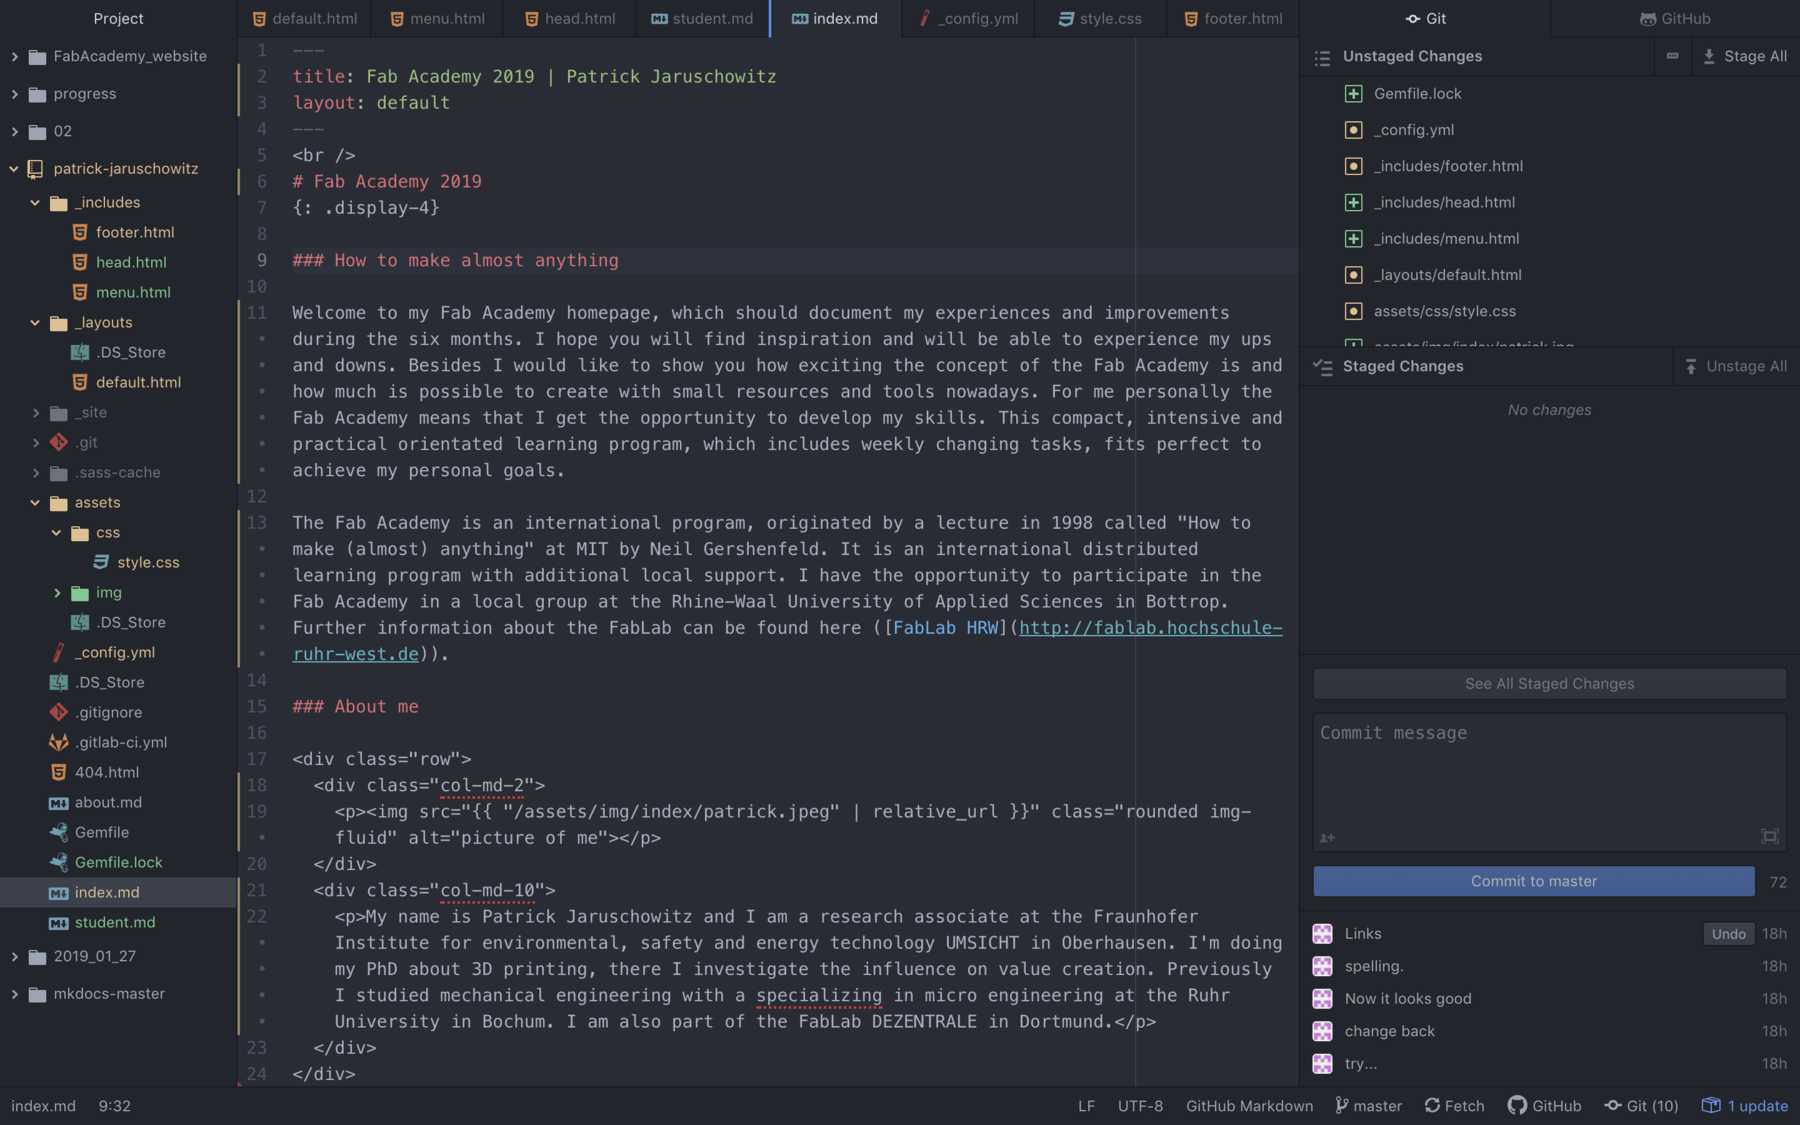
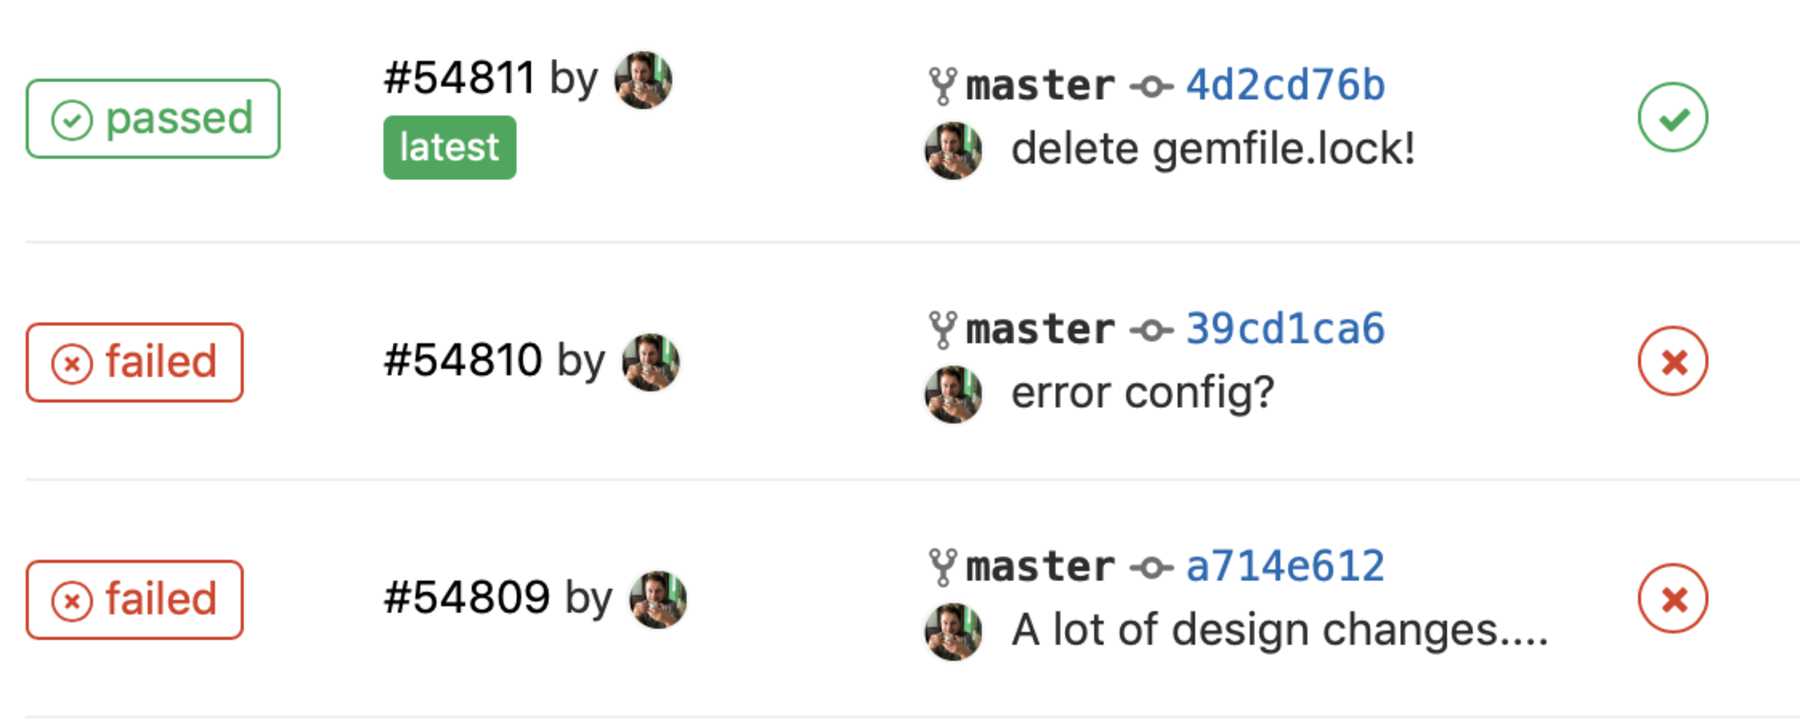
After that change you could see the magic happen:

Add a lightbox
Add the end I was not satisfied with the presentation of my integrated images. The solution I head in mind was to use a modal plugin to implement a lightbox gallery. I directly found fancybox a perfect lightbox for bootstrap with a GPLv3 license. It is really easy to implement and comes with a lot of feature. You can find here a helpful documentation.
Changing the size of the images
I used ImageMagic to change the size of the images and to convert files from PNGs to JPGs. With the following command I changed the maximal width of the images to 3000px and the quality to the preview-version to 50 %.
mogrify -format jpg -quality 75% -resize 3000 *.*
The previewed images should have less quality (50 % of the original file) and a maximal width with 1800px:
mogrify -format jpg -quality 50% -resize 1800 *.*
File structure
Add the end I created a lot of code, which is sorted with the structure you can find below:
.
├── README.md (automatically the readme-file)
├── _config.yml (config settings for )
├── _data
│   └── navigation.yml
├── _includes
│   ├── footer.html
│   ├── head.html
│   ├── menu.html
│   ├── script.html
│   └── week_overview.html
├── _layouts
│   ├── default.html
│   └── week.html
├── assets
│   ├── css
│   │   └── style.css
│   ├── download
│   └── img
│       ├── index
│       │   ├── patrick.jpeg
│       │   └── patrick.jpg
│       ├── logos
│       │   ├── dezentrale_logo.png
│       │   ├── hrw_logo.jpeg
│       │   └── ic_logo.png
│       ├── week01
│       │   ├── first_drawing_smofa.png
│       │   └── small
│       │       └── first_drawing_smofa.png
│       ├── week02
│       │   ├── atom_with_git.png
│       │   ├── code.png
│       │   ├── design_automatic_menu.png
│       │   ├── design_fonts.png
│       │   ├── design_fonts_script.png
│       │   ├── design_site.png
│       │   ├── git_remove_everything_ls_a.png
│       │   ├── git_test_setting.png
│       │   ├── gitlab_fail_gimfilelock.png
│       │   ├── gitlab_fail_test.png
│       │   ├── gitlab_fail_test_worked.png
│       │   ├── lightbox.png
│       └── weeks
│           ├── week01.jpg
│           ├── week02.jpg
│           ├── week03.jpg
│           ├── week04.jpg
│           ├── week05.jpg
│           └── week06.jpg
├── final
│   ├── idea.md
│   └── storyline.md
├── index.md
├── student.md
└── week
    ├── overview.md
    ├── week01.md
    └── week02.md