Week 2 - Project Management
Assignment
- Make a website and describe how.
- Add an introduction to the site
- Document steps for uploading to the Archive
- Push to Archive
- Sign and add student agreement
Documentation:
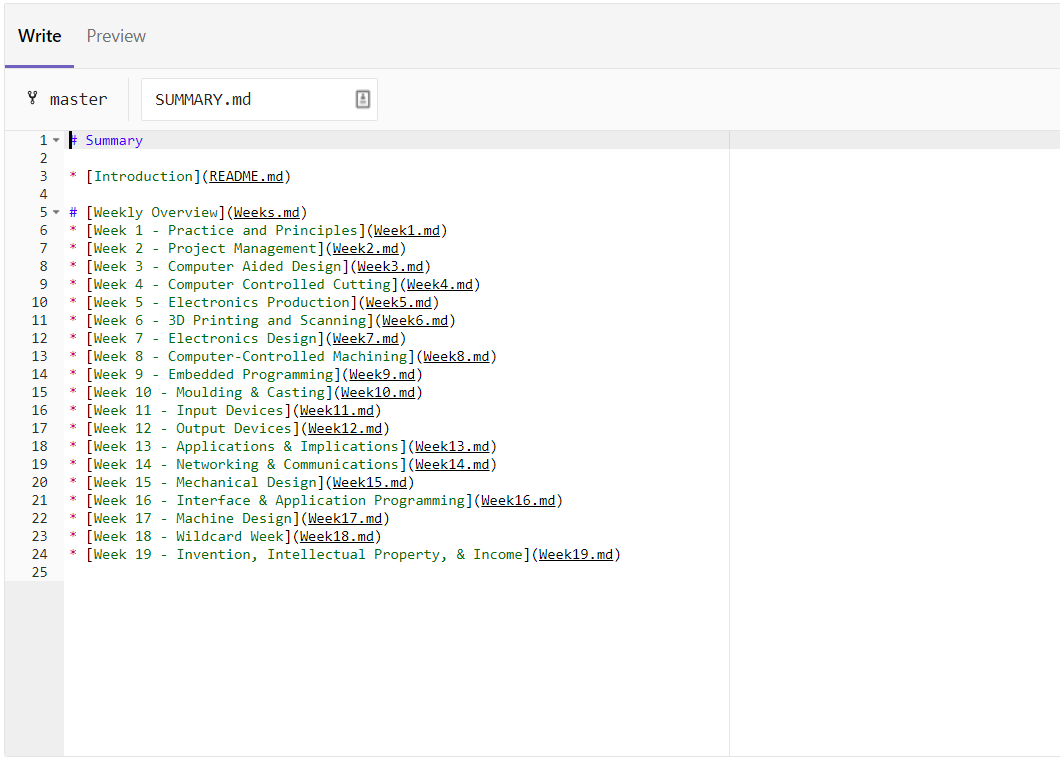
I had been working last week on setting up a gitbook compiler instead of writing a html website from scratch. I made this decision based on my experience last year of observing the beginning of the fabacademy process. During that time I tried my hand at html coding to build a navigable site.

I found myself constantly losing track of what I had done, and forgetting to check whether my styles and menus were staying consistent across the board. I felt like there was a lot of opportunity to go wrong and have things break on me in unprecedented ways. To avoid unnecessary strife from my side. I decided from a momentary interest last year to a quick google this year to go with using gitbook and write in markdown.
After creating the basic layout of the site and setting up the .gitlab-ci.yml file to compile my site on the fabacademy site.
With my site up and running, it was time to set up my client side work environment to work with it. Part of the reasoning for using markdown was the simplicity of the 'coding' style, and that I can do it through notepad and the git gui part of gitbash.
Dreamweaver from last year
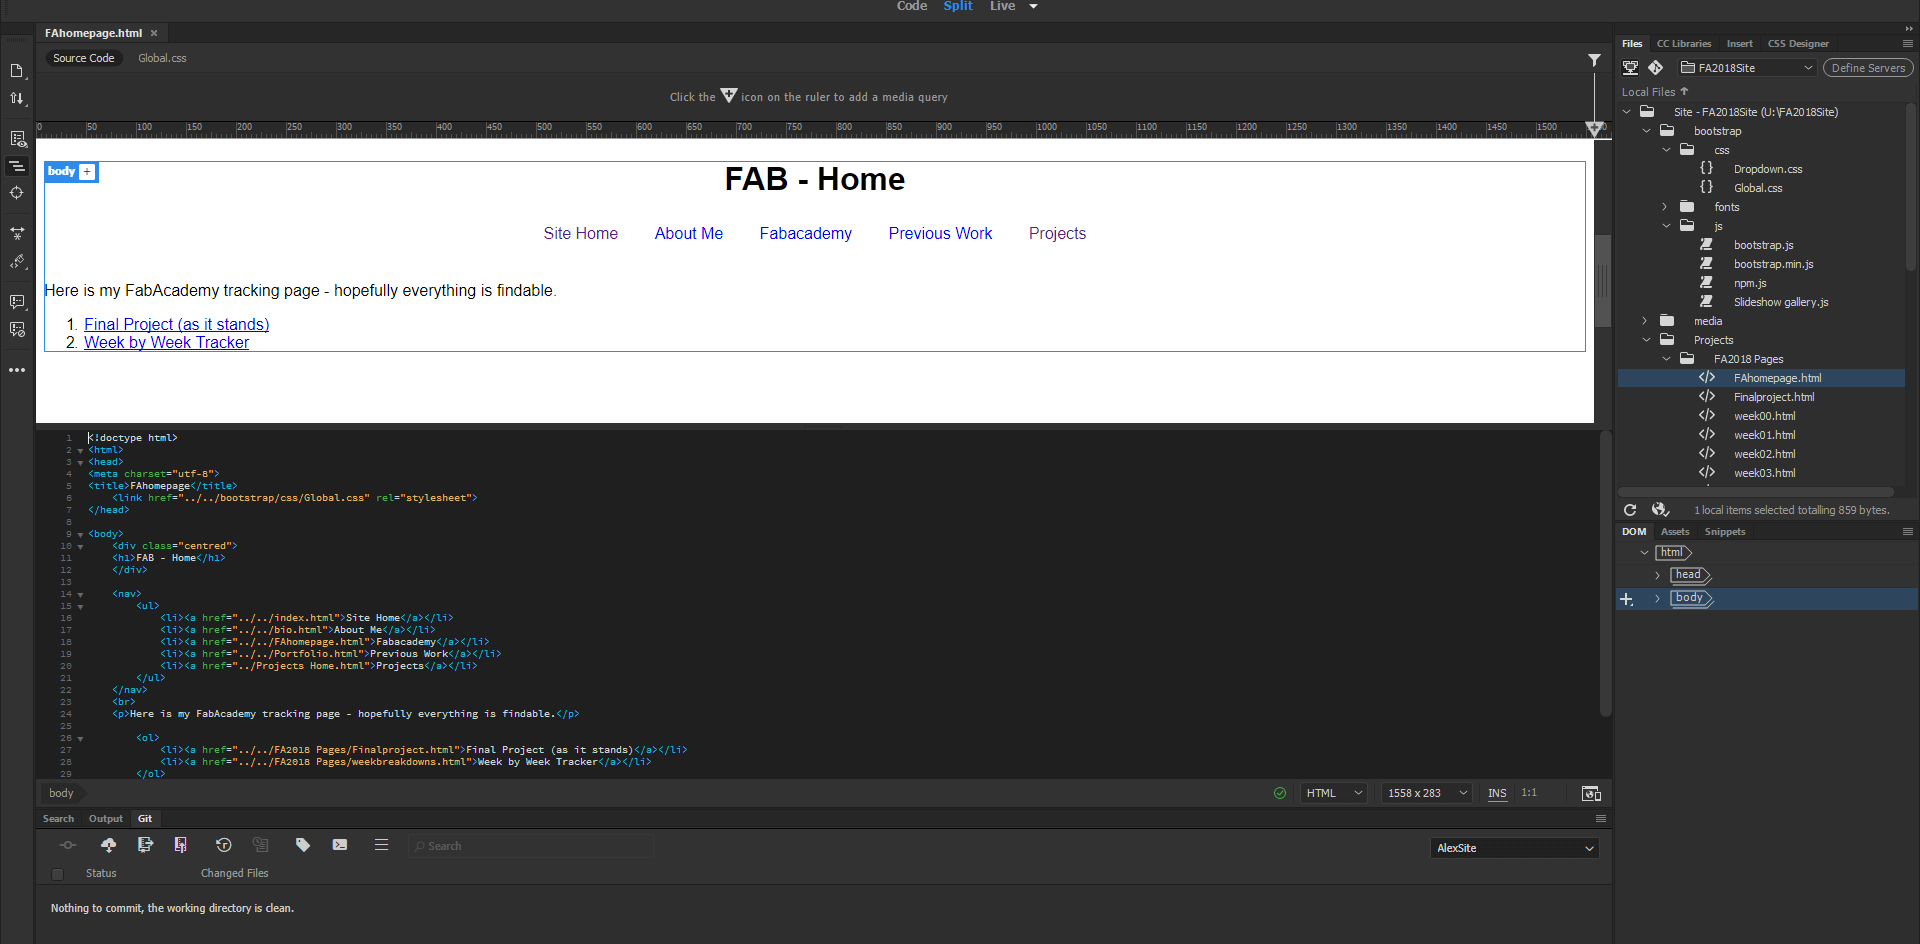
Working environment from within Dreamweaver - working in html. This is from my last years website development.
Environment for this year
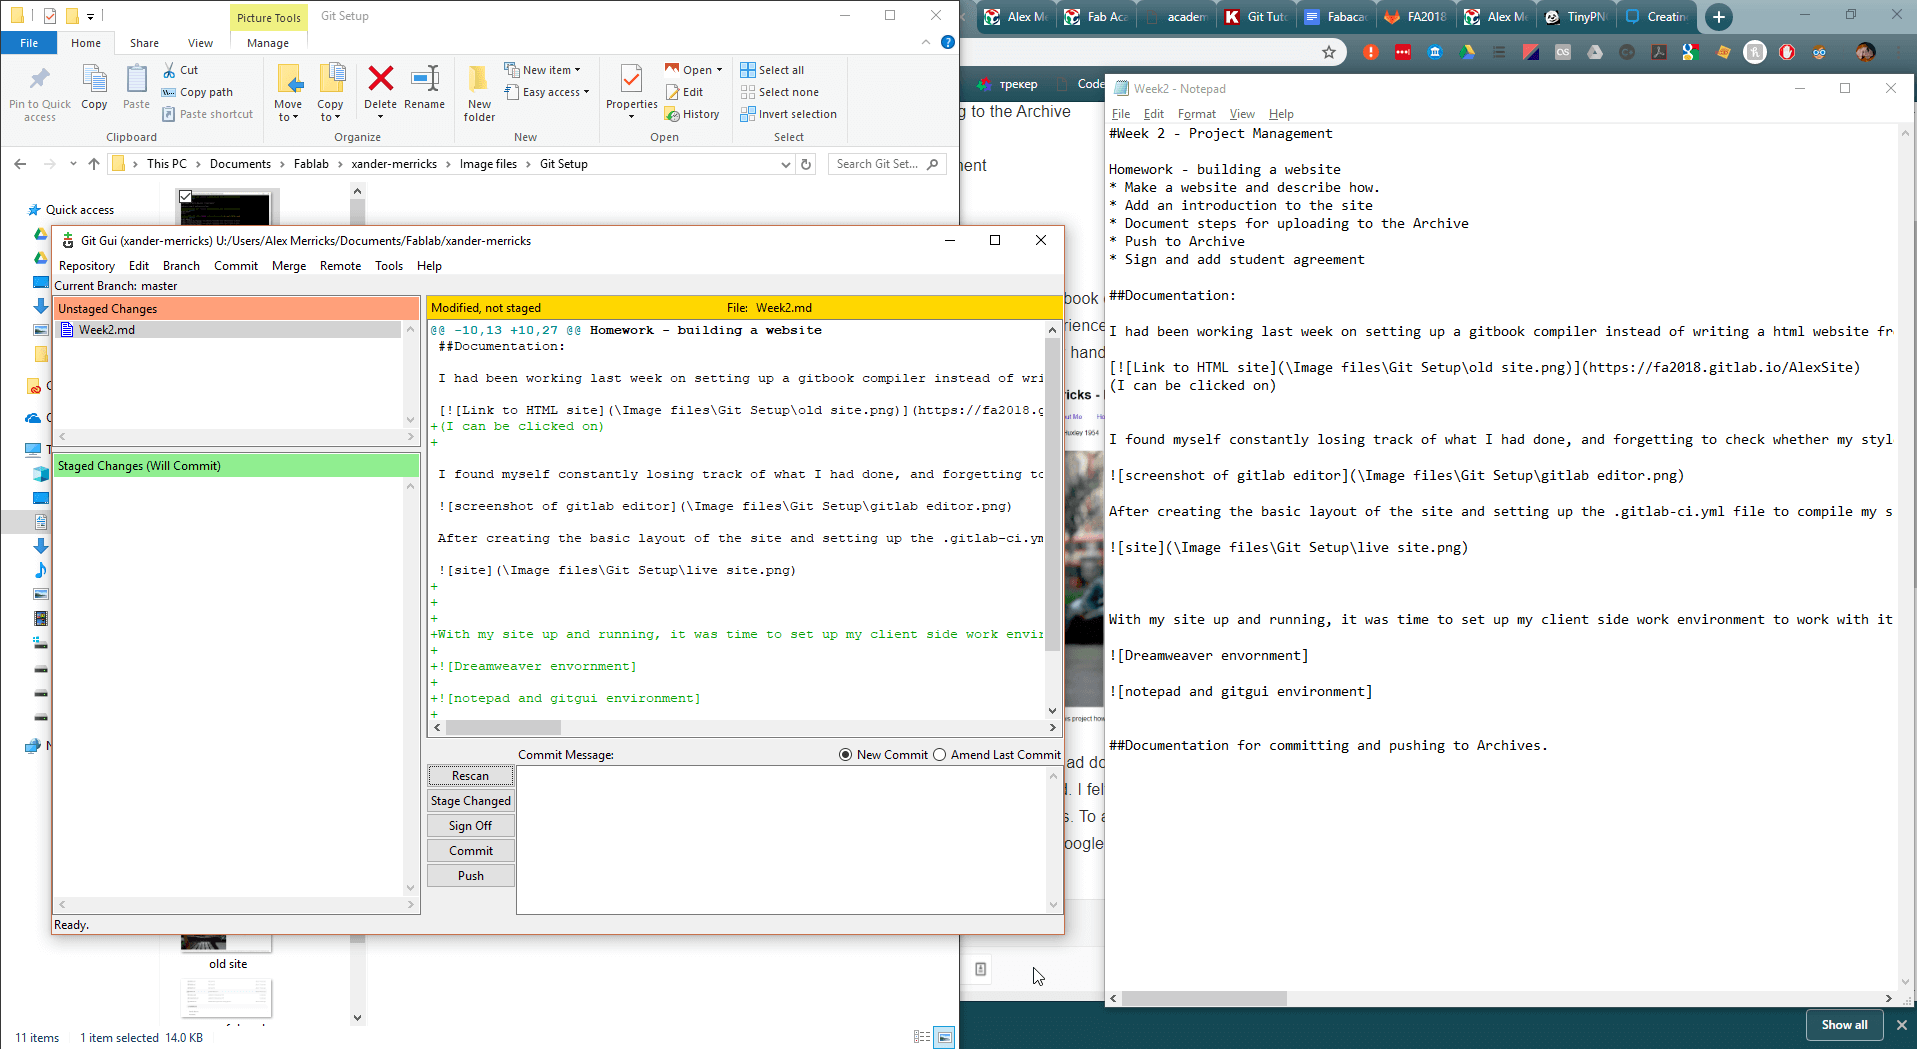
This year I am working with the git bash terminal and notepad/other basic text editors. (this might be causing problems to do with file types something to do with LFS or CLFS)
Documentation for committing and pushing to Archives.
I had started very briefly last week working on a html version of this site, as I was going to port the material from last year to this year. Upon closer inspection this was going to take more work than just putting together the content afresh.
To start with I needed to recall the basic commands for remote connections.
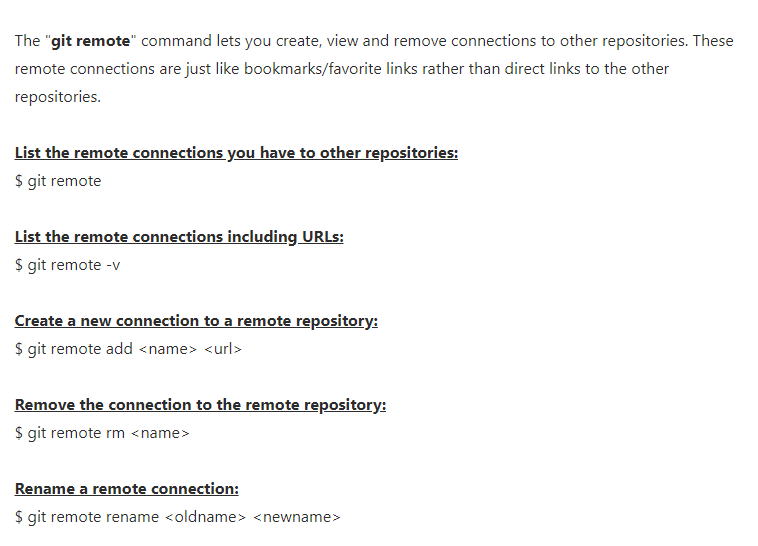 I googled a git cheatsheet as I had an understanding of what I would need to do without knowing any of the specifics.
And initially checked my remote connections.
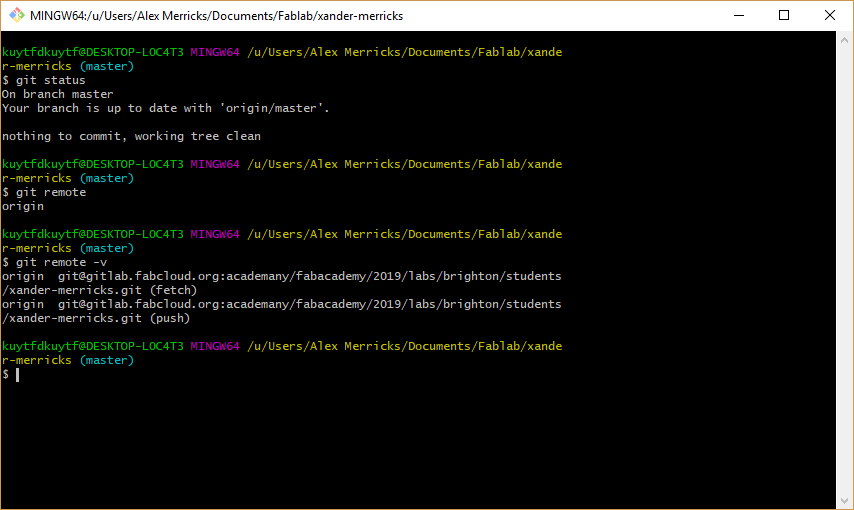
Apparently I had already set this up last week, and am already connected to the fabcloud remote site for Archiving my work.
This is a case of using
$ git remote add origin git@gitlab.fabcloud.org:academany/fabacademy/2019/labs/brighton/students/xander-merricks.git
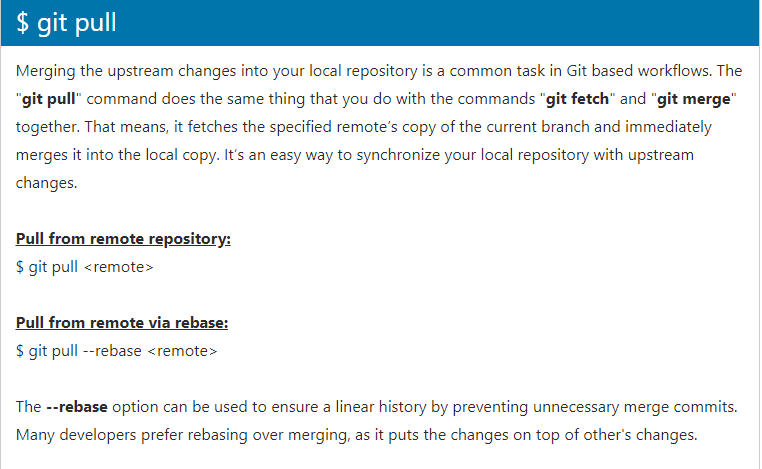
I then needed to pull my existing work down from gitlab to my local repository (folder).
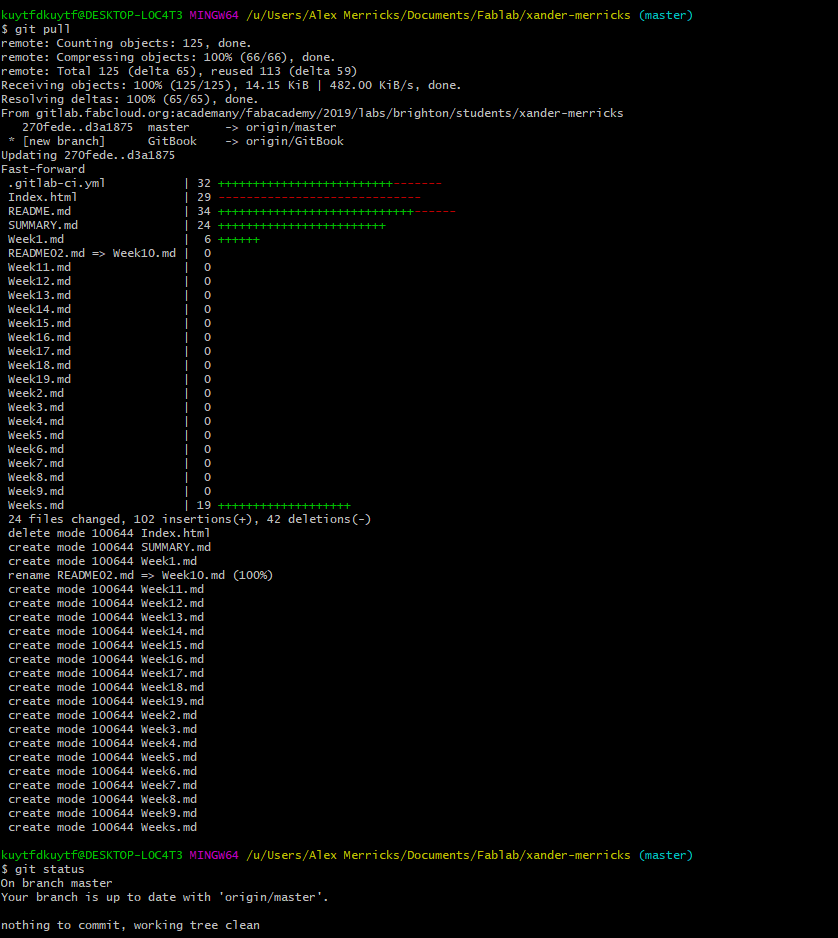
And in gitbash
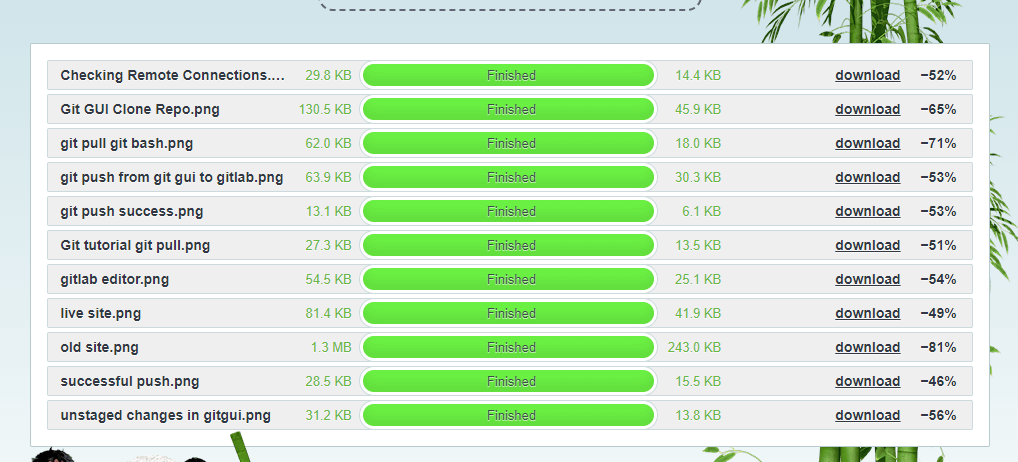
I then made some edits, and collated my screenshots for documentation. To get myself into the habit of reducing my image sizes I headed to Tinypng to cut some kilobytes.
Student Agreement
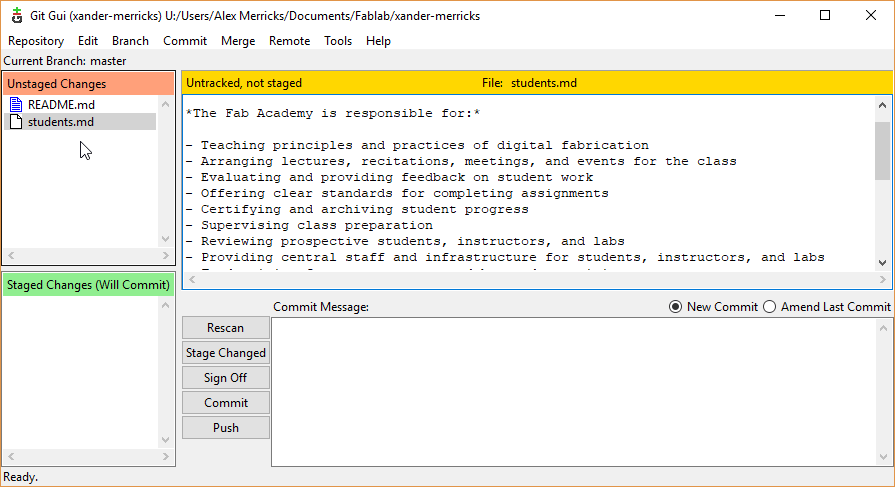
I added the student agreement to my repository, and prepared to push my changes through to the live site.
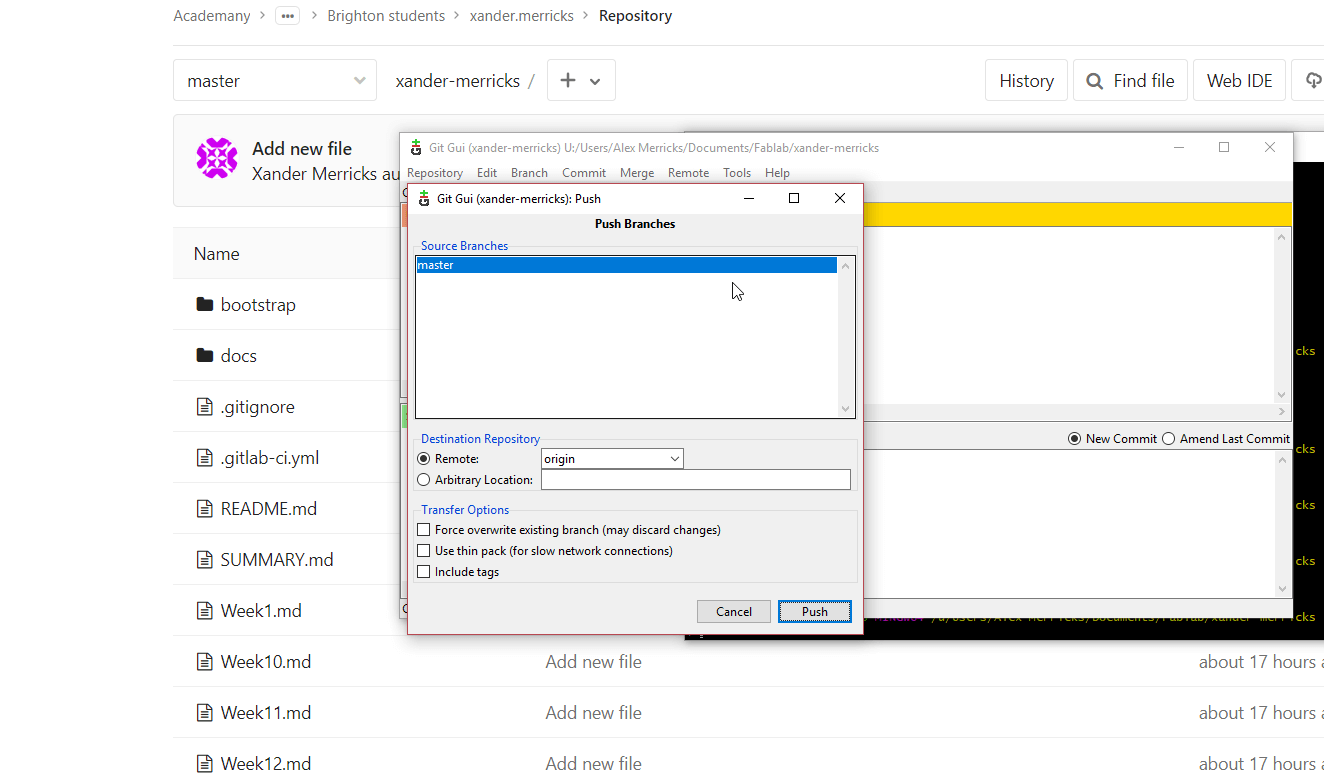
I then pushed the branch through to master on origin.
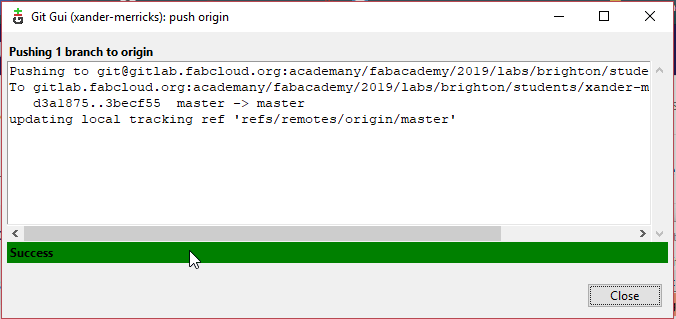
which succeeded.
I then checked through the pipeline jobs to see how it was getting on (I'm going to add the gitbook documentation to the Week 1- Principles and Practices page as that's when I did that, and to also avoid excess clutter on this page.)
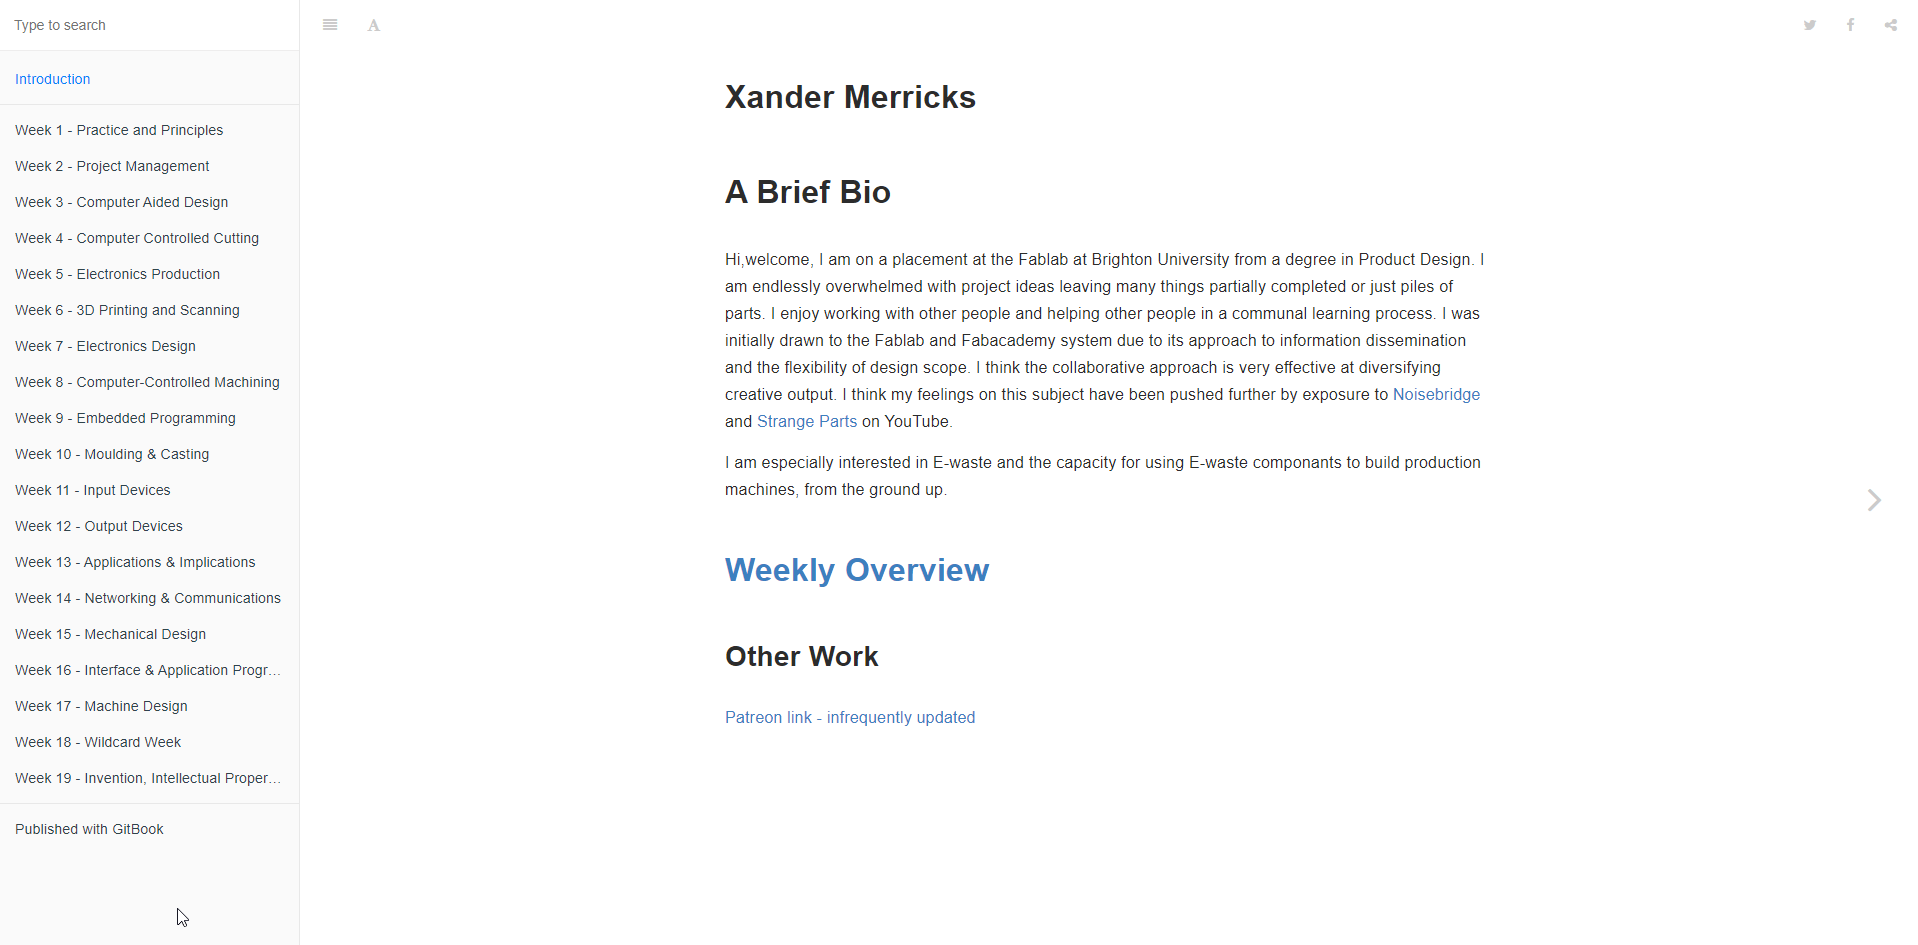
And to my mild surprise, my site is live with content and some documentation as to how I got there.

Finally I went back to the top of this page after thinking that having such an obvious link to my previous site wasn't quite what I wanted, so I had a look into how to get an image to be a link in markdown, so I googled the html code for that in a markdown version.
And now the image of my site's homepage links through to my site's homepage!