Research
Since I never worked with git and website making before as I belong to architecture background. All these terms like Git, SSH, HTML, Repository were alien to me.
I started searching about git and other things.
Below is the list I reffered.
What is Git and GitLab?
GitLab Basics
GitLab CheatSheet
Getting Started: GitLab
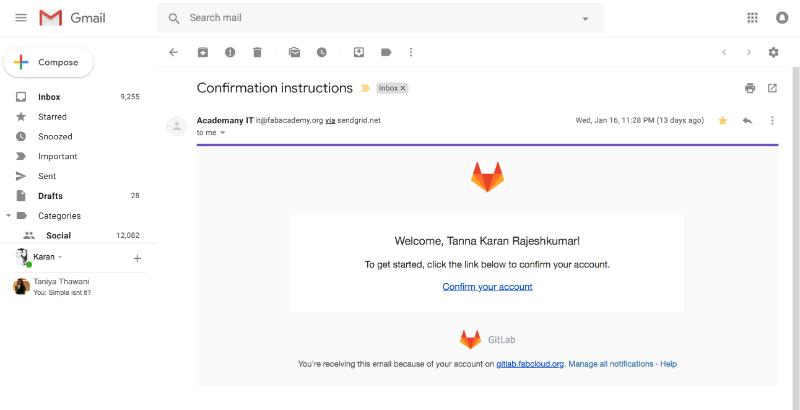
I signed into GitLab account through provided by Fablab. Then I started navigating through GitLab.This helped me to understand user interface of GitLab.
If you don't have GitLab Account, you can register it from here.
Understanding GitLab
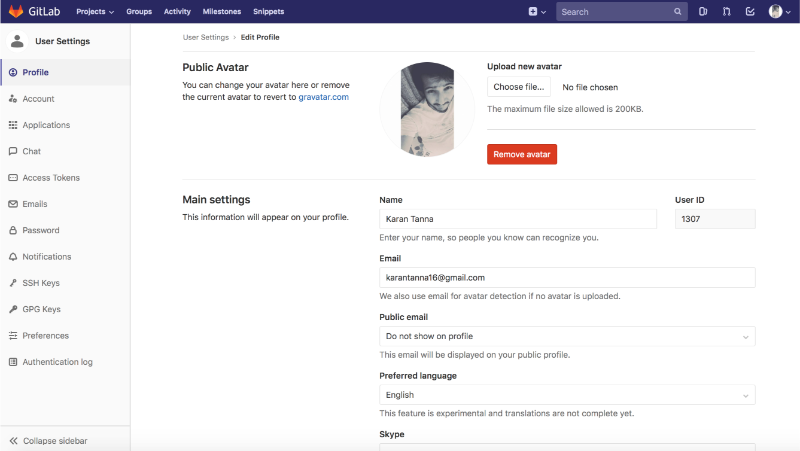
I began with setting up my Git profile and completed my profile.
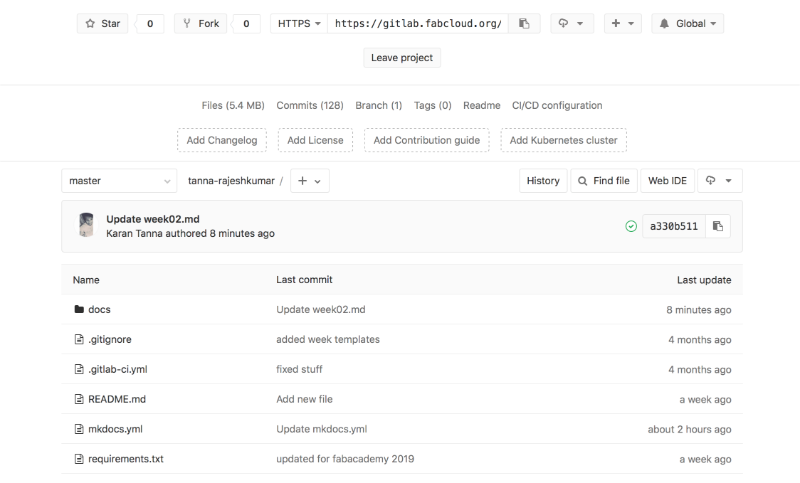
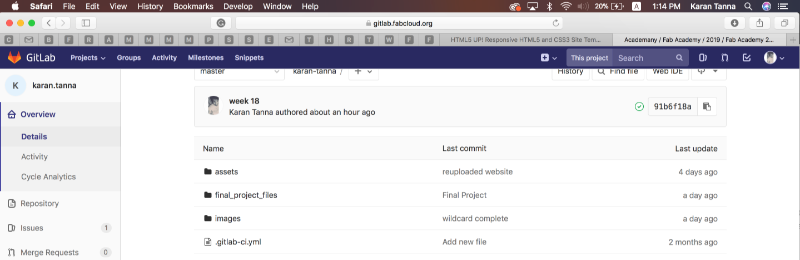
Then I opened my repository and started understanding Git Coding enviornment.
The above image shows file system of website.
MKDocs (Mark Down)
The MK Docs template was given by Fab Academy. Under spiral developement,
I started editing MKDocs online and then offline. After that I would try HTML.
But before getiing hands on markdown, we need to know what is it and how to code it and know its syntax.
I reffered links below.
Mastering Markdown
Markdown CheatSheet
Editing the MKdocs Template Online
Open .md file from repository and use Web IDE to edit the file.
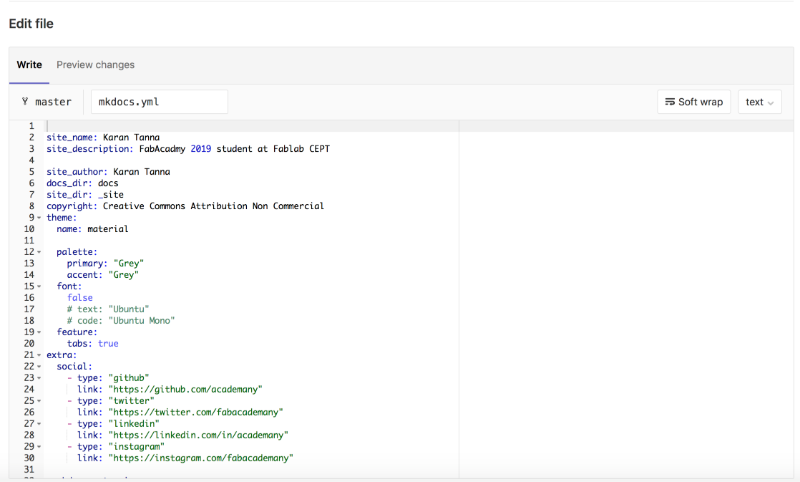
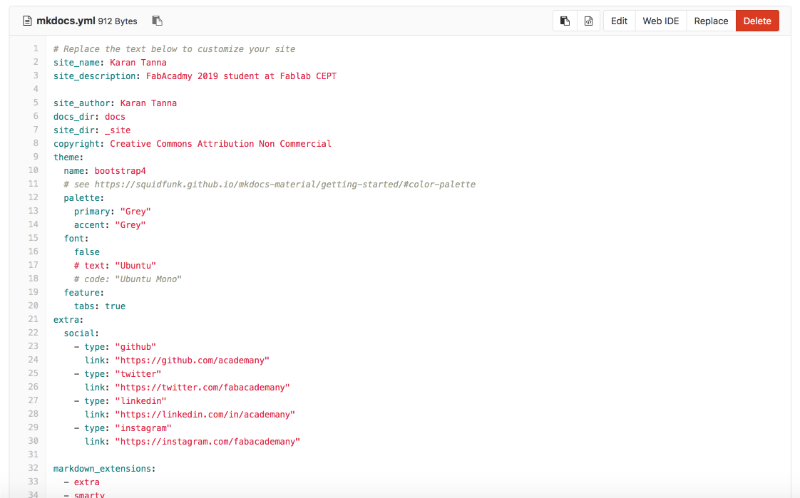
I first edited 'mcdocks.yml'. This file contains all the required stuff to costomize your mkdocs website.
You can modify, theme, website name, colour etc. You can get all that info from this link.
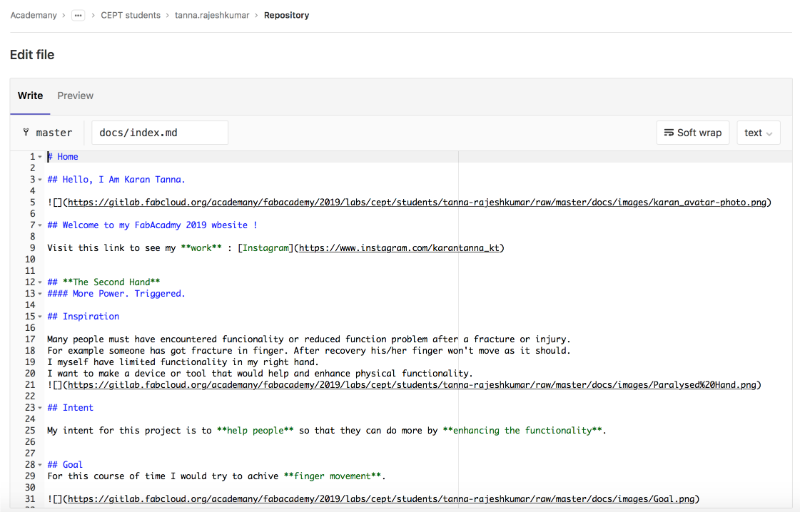
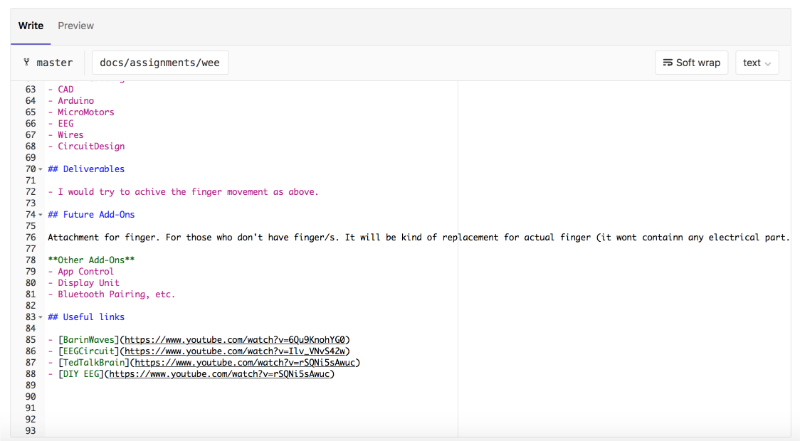
Then I edited 'index.md' as above.

The above image shows its preview. 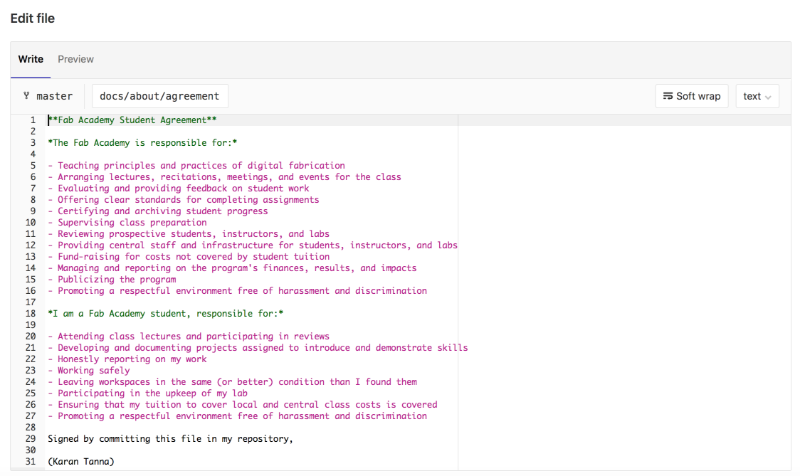
Then I added aggreement.md as given.

Then I added the final project proposal as given above.
Same way edited week01.md.
Changing the Theme

I added theme library as above in requirements.md file.
Following that I edited mkdocs.yml file. (Note: change name: Add 'cinder' instead of bootstrap if you want cinder as below.)
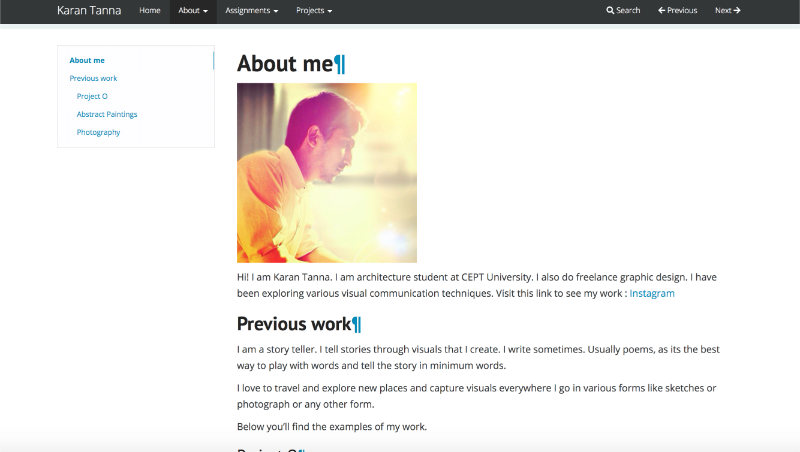
Note : Here I uploaded individually to images folder. It was bad idea. It is much more conviennient to do all this locally. which takes less time.The above image shows preview of Cinder theme after applying.
You'll find how to do that below on in this page.
Installing Git on Mac
There are various methods to install git on Mac, Using HomeBrew, Macport and GitPackage.
I installed using installer from Git Website. You can use this for link for Windows, Linux and Mac to use other methods.
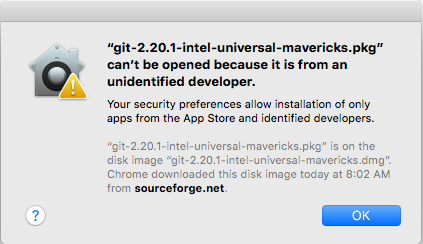
Step 1: Go to the Git website and download package.
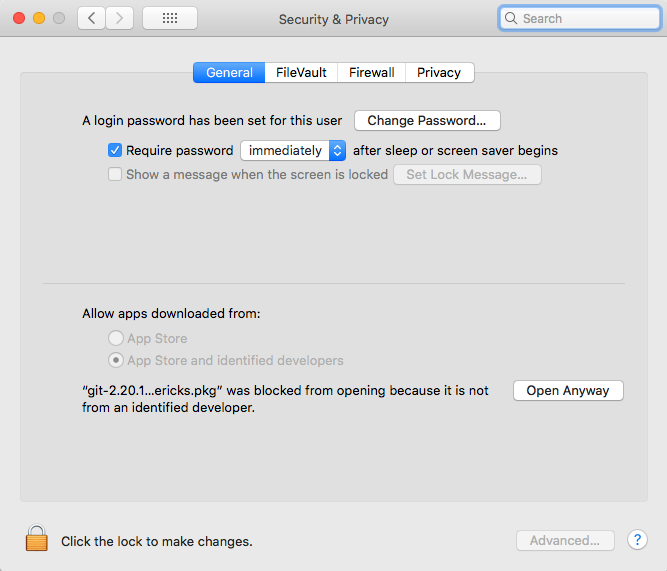
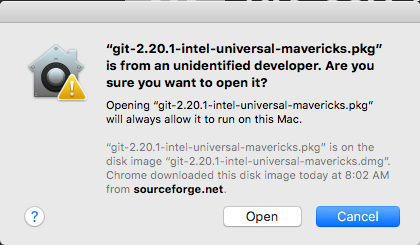
After downloading open it. If installation dilogue box doesn't open and dilogue box as below comes,
Follow step 2. if not go to step 3.
Step 2 : Go to apple logo on left corner > System Preferences (then click button with eight squares on left.)> Security & Privacy > General > Click Open anyway.
Step 3: Follow along with dilogue box till you finish installing.
Setting Up Git and SSH Key
Step 1: Go to your gitlab repository in git lab from browser
Step 2: Open Terminal and Write following commands
$ git config -- global user.name "your name"
$ git config -- global user.email "your email"
You'll be able to operate this account locally now.
Step 3: Now we have to clonne the repo to our computer. We need to copy URL given in repo. And then type following.
$ git clone git@gitlab.fabcloud.org:academany/fabacademy/2019/labs/cept/students/karan-tanna.git
Now a folder was created in my PC of my repo name. You can edit and preview file locally and Push it.
You can make MKDocs file into in with the help of Visual Studio Code.(It is a text editor for editing code, programming, scripting and markup languages. This is one of the best platform for editing the html code.)
To operate git using terminal you need to know commands. Following are important commands to start with. Navigate to directory using cd and ls commands.
when you reach your repo directory.
use followung commands to push.
git status : This command shows the status of files if any file is added to the folder and the changes made in the files.
add -A : This command adds the changes made in the folder.(use git add . to add all files.
git commit -m “message” : This command commits the changes made in the files. You can write the changes made in the commas. Here -m stands for message.
git push : This command pushes/uploads all the the changes made in the file.
To learn more about git commands go to List of Git Commannds
Note : I am going to change to HTML soon, I would keep adding things as I learn below.
HTML and GIT
After getting hang of Mark Down, next step was to explore HTML with GIT. Thus I started with downloading an HTML template and modifying it.
I downloaded it from the website below. Template is called 'Stories'. I changed the layout a bit and the divided into several pages. Because it was single page website.
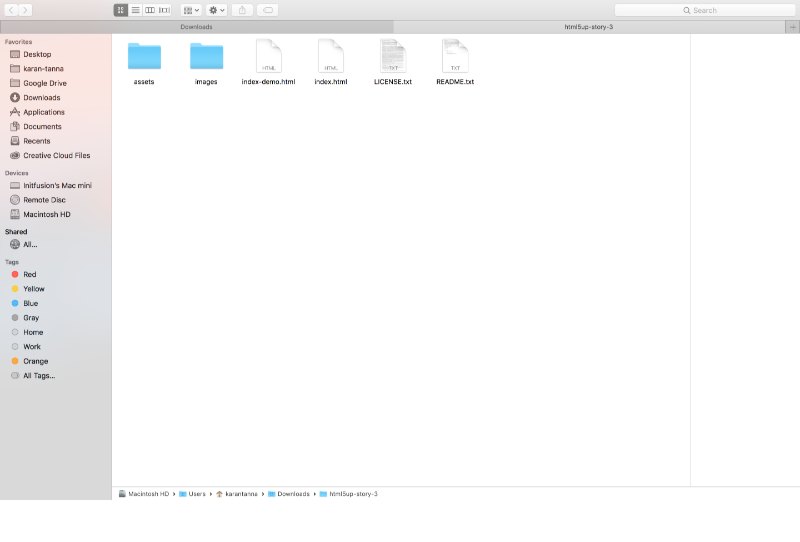
Above image shows folder of template.
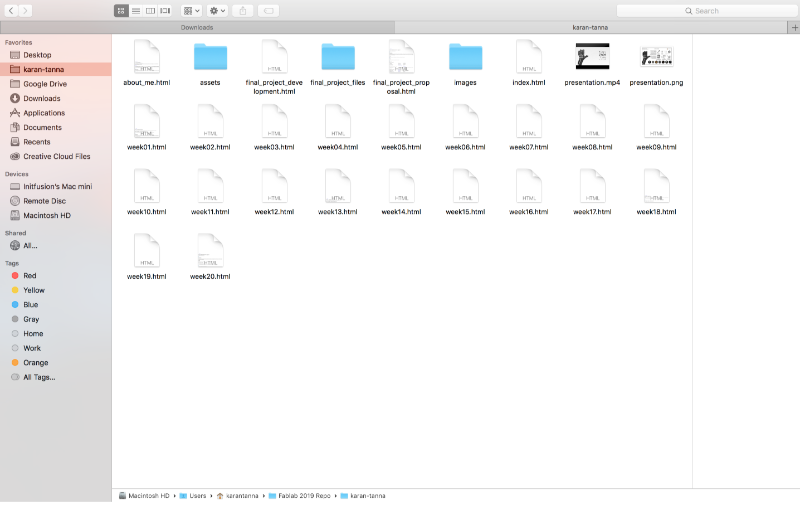
Above image shows folder of repo after editing. I added new html files for each week.
Wiping Up MKDocs and using HTML
Here index.htm file is for reference and you can learn from it. Assets folder contains CSS and JavaScript files. Which you can modify and edit it. Use the link below to learn more about it.
To set up your own html website, we first need to delete everything in our repository. To do that use following codes in terminal (mac).
git rm --cached * -r
git commit -m "deleting everything"
git push
With this our repository should be wiped.
If you still go to your website, the old MKdocs template should still be there.
This is because, GitLabs is not just a hosting, it is like a virtual computer and it sets up your environment before serving it on the hosted address.
To reconfigure out GitLab repo for hosting HTML files, we need to delete the gitlab-ci.yml file. Which can be done from the web interface.
Creating a new gitlab-ci.yml for our HTML website
In the web interface, click on the '+' icon to create a new file. Select git.yml as the type and select HTML.
Now we should be ready to use our gitlab repository to push our own html website.
Building Website
I preffered then using Visual Studio Code for editing.
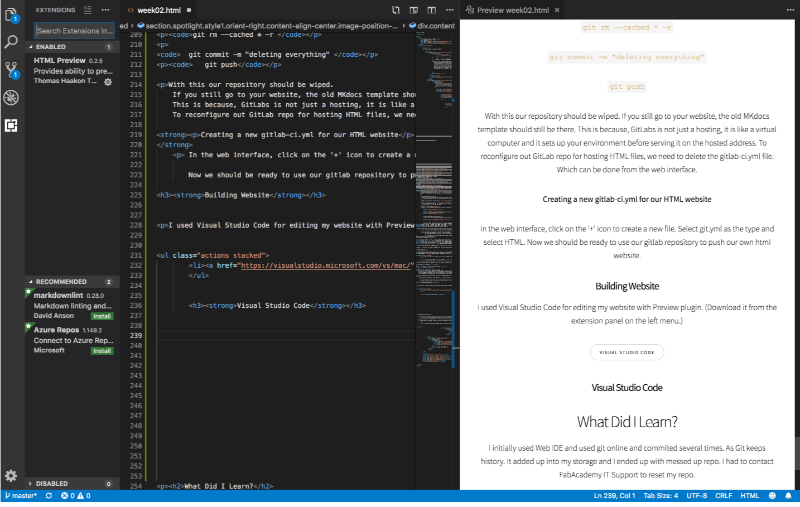
Visual Studio Code
I used Visual Studio Code for editing my website with Preview plugin. (Download it from the extension panel on the left menu.)
The image above shows extension panel.
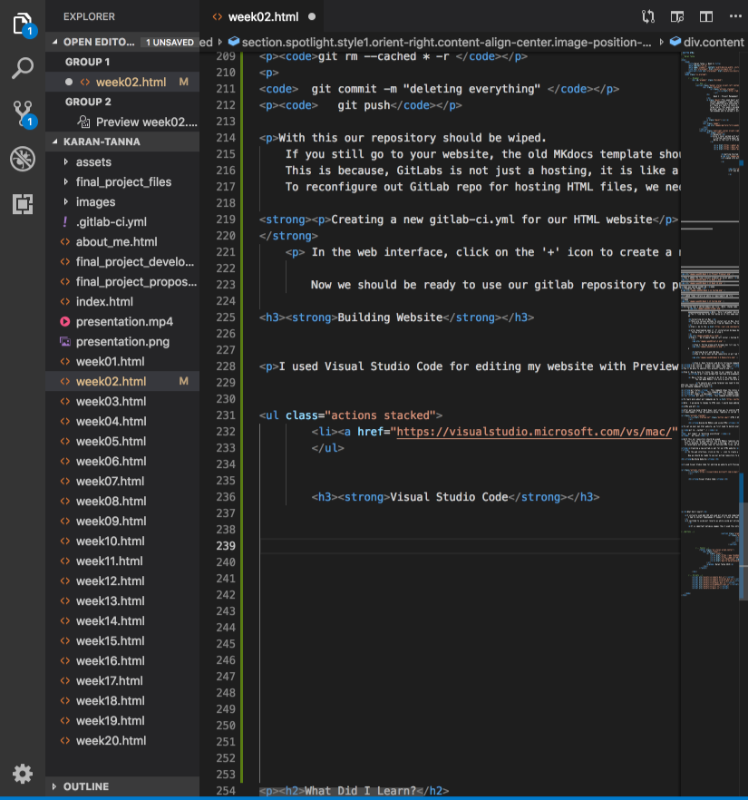
The image shows interface of Visual Studio Code.
This editor gives live update of changes. The nuber in circle shows number of changes.
Yellow dot if modified, Green dot if newly added.
Understanding the Code
The index-demo.html file was very useful in understanding the codes. I reffered it all the time till I fully understood it for my wbsite.
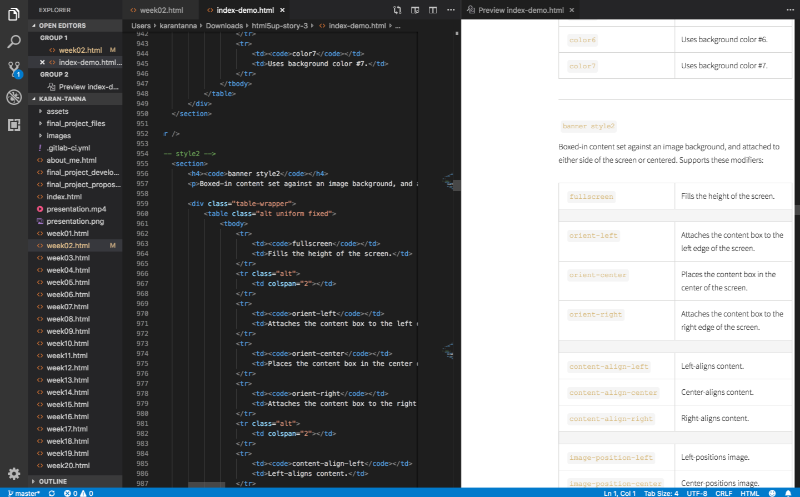

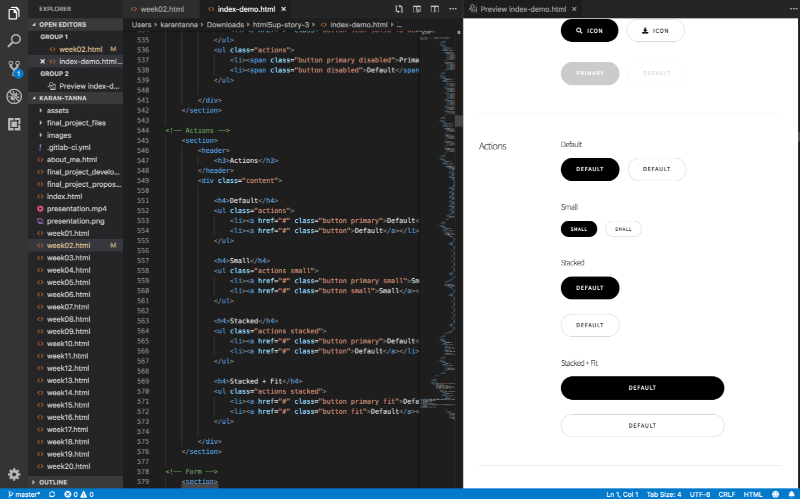
Above images shows code and its output. This is a good way to learn. By practicing it you learn more.
How to push website ?
Use the below commands to push local repo into the git.
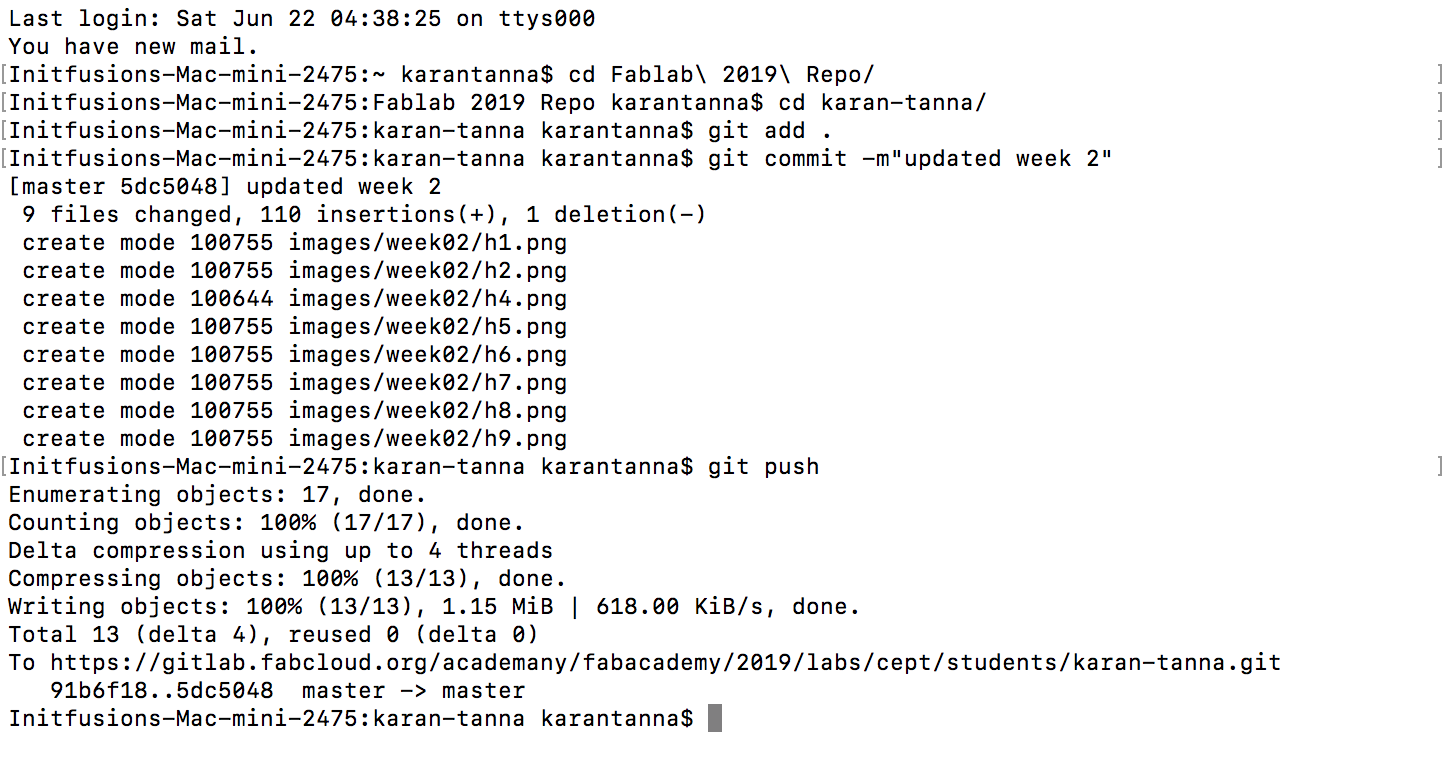
The above image shows screenshot while pushing.
		cd Fablab\ 2019\ Repo/
		cd karan-tanna/

		//Go to directory Using cd command

		git add . // Adds all data to your git repo.

		git commit-m"add message here"

		git push
Thats how I updated my website to HTML from MKdocs
What Did I Learn?
I initially used Web IDE and used git online and commited several times. As Git keeps history. It added up into my storage and I ended up with messed up repo.
I had to contact FabAcademy IT Support to reset my repo.
I switched to using git locally as while using git online I had to upload images inndividually to repo. That was time consuming.
It is important optimise images thus I used this online tool called Bulk Resize Photos.