What is Computer Controlled Cutting?
It is a method where cutting is done via generating code for computer controlled machine and sent to it and cut the things. Common machines for that are Laer Cutter, Vinyl Cutter etc.
We were asked to do two things for this week assignment.
First, to cut something on vinyl cutter (Stickers machine)
Secondly, to design and cut a press fit construction kit, and you might wonder what this means ?
Press fit construction kit: is something that's somehow similar to the LEGO bricks, yet this one
from 2D parts so you design a particular item and cutted several times with some small parts to
assemble different types of shapes.
Making The PressFit Kit
Since I never used Fusion 360, I tried my hands on Fusion 360 for Parametric Design.
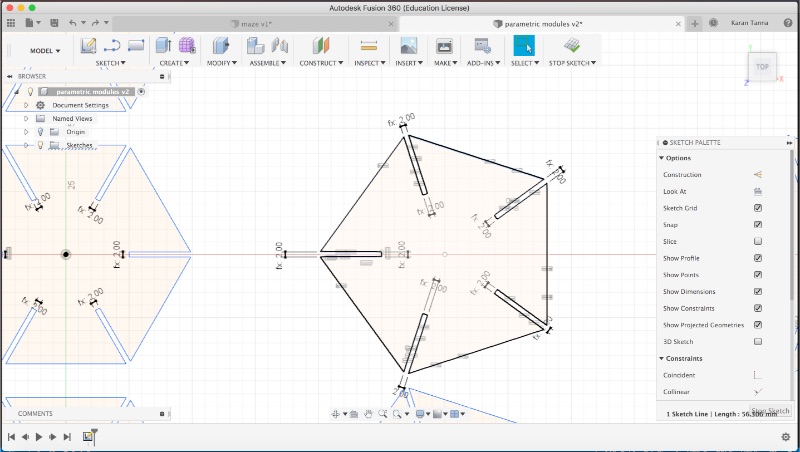
Step 1 : Open Fusion 360. Create Pentagon and Hexagon. (Inscribed - (R-Radius that you want) )
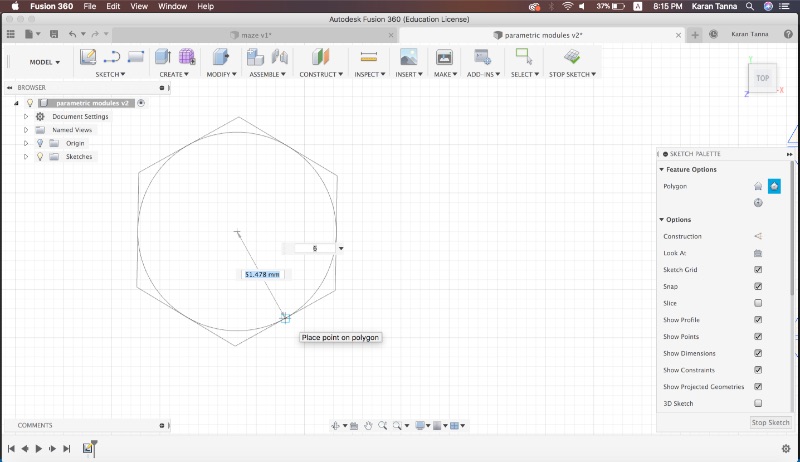
Go to Modify > Change Parameter. Add Parameter Radius 'r'.
Press D.(Dimension) Select the dimension and write r and select it. Repeat on other radius too.
Step 2 : Create Line (L) from a corner to mid point between center. (at R/2 mm)
Step 3 : Offset (O). On both side with the half distance of thickness of notch/ material 't'. Offset by t/2.
Step 4 : Connect both inner ends with Line (L). Trim extra part (T).
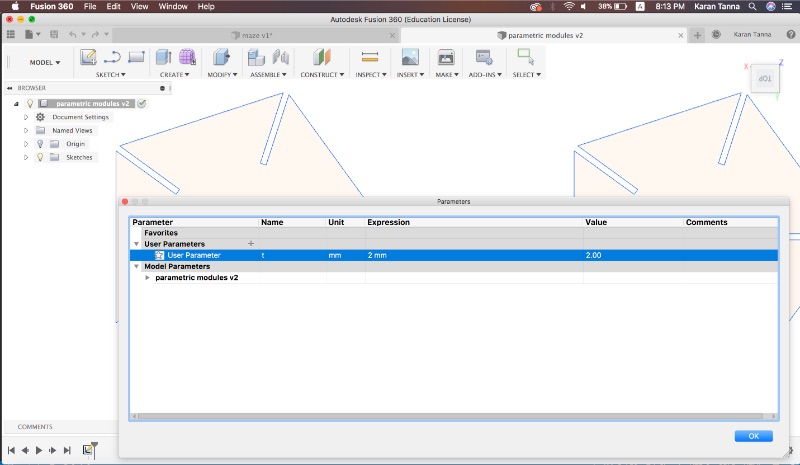
Step 5 : Add parameter 't'. Thickness of material . Assign it to notch distance. Assign both parellel lines , parameter 'parallel' from right hand side menu.
Note : Refer Kerf Calculation For Exact Dimension. Here I used 2mm WWhich is Kerf Dimension. Material was 2.15 mm.
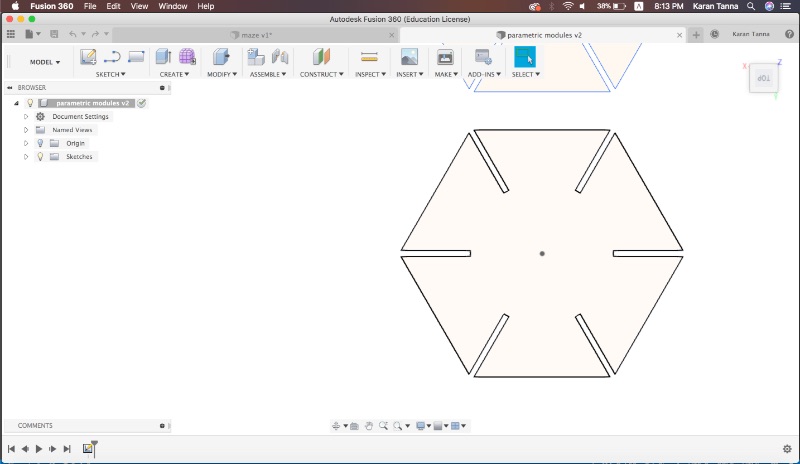
Step 6 : Select slot area and go to Modify> Circular pattern. ( For hexagon -6 and pentagon -5 times ). Trim extra lines.
Step 7 : Add parameter Sides 's'. Press D and assign it. Repeat with all sides.Now basic modules are ready.
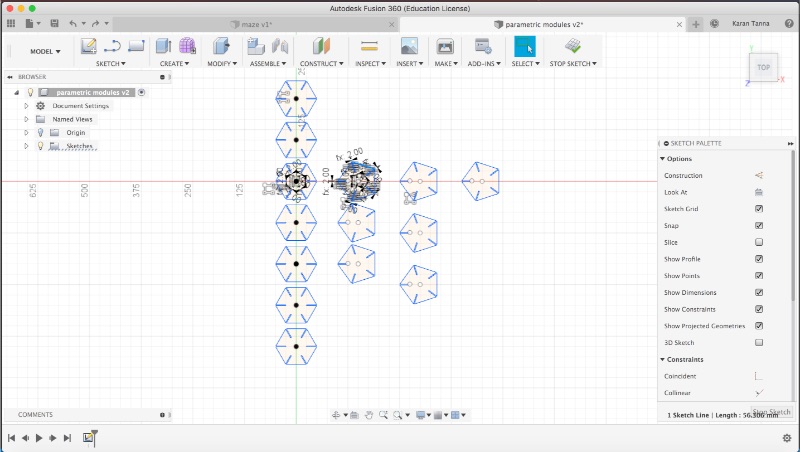
Step 8 : Repeat each with Rectagular Pattern option. Make the module of Fabric Pattern Living hinge and repeat it.
Copy Half the Hexagon and attach between it in abouve pattern.
Press D and give the width of hexagon parameter 'W' and same to The living hinge.
Click Sketch on the left corner and right click > export as dxf. Then I added fabric pattern manually as it was very messy to make it parametric. Thus I added it in AutoCad. Now you are ready to laser cut and assemble it.
Using Laser Cutting Machine and RD Works (Step by Step)
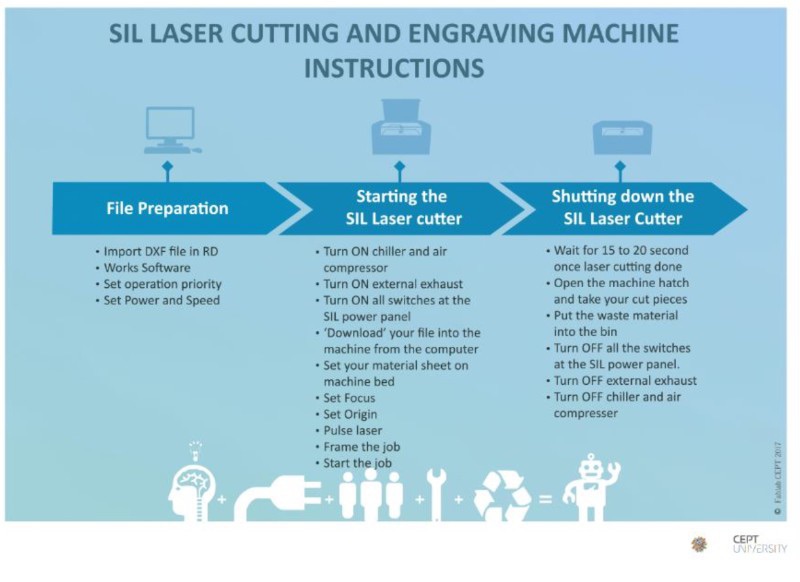
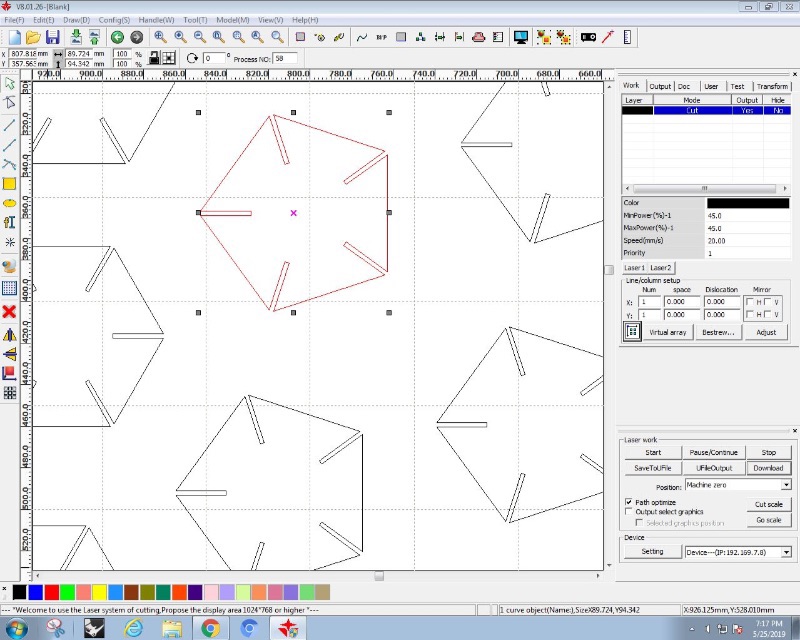
Step 1 : Import DXF into RD Works.
Step 2 : Fix the parameters like Speed and power on Right Side Menu. And Click Download.
Step 3 : Focus the Nossel using 6mm Acrylic piec. (Distance between nossel and material must be 6mm.) Use Z Menu for that.
Step 4 : Then set Origin. Go to file and press Enter. Then Frame it. Then Start.
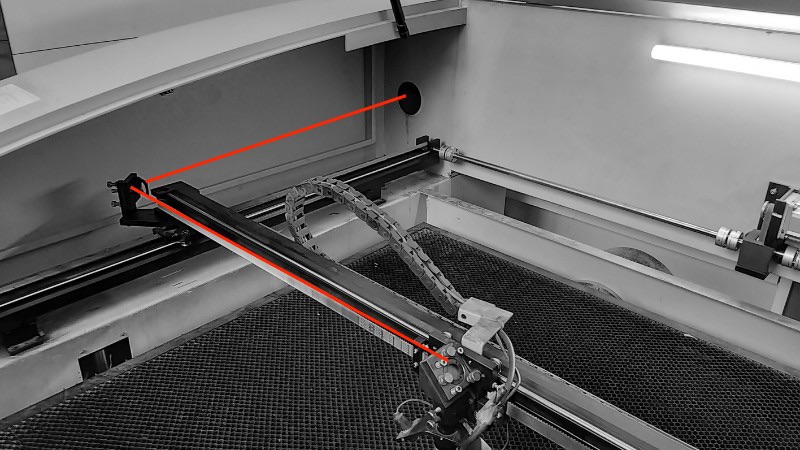
( Note : Do not open the lid while cutting. As the the laser is fired through as diagram below. )
To know more about how specifications and characterisation of machine. Go to our group assignment.
Kerf Calculation
One of the most important aspect of Press-Fit is that it should lock properly. But laser has some tolerance ie Kerf which means if slot is 2mm (Depends on material thickness) and tolerance is X(Kerf). Achieved Slot would be 2+X mm. Thus to compensate it we need to make slot as 2-X so that it could fit into 2mm material.
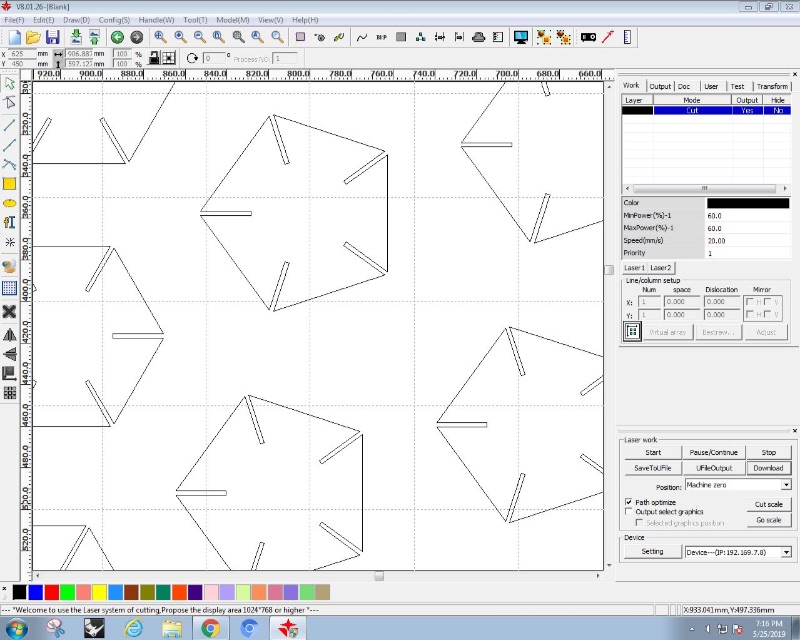
I tested on 1mm material. But it wasn't exact 2mm. Thus I decided to check how it fits.
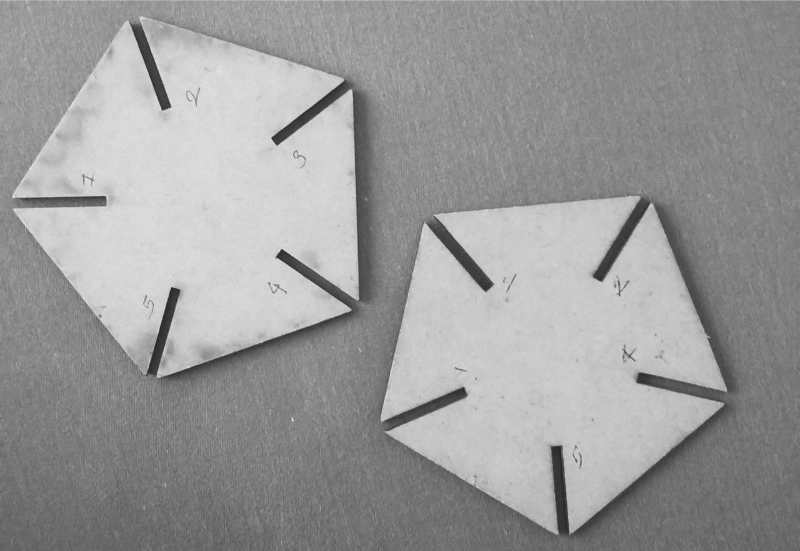
I used template of my module. I made each slot different with corresponding numbers. I made two of these ranging 1.7mm (1), 1.85mm (2), 2mm (3), 2.15mm (4), 2.25mm (5)
The one on Number corresponding to (3) fit well. Thus it means material was slightly bigger than 2 mm. It was 2.157 when measured. Thus kerf value comes to be 0.15 mm.(Varies by material and focus.)
Thus I used 2mm as parameter in above process.
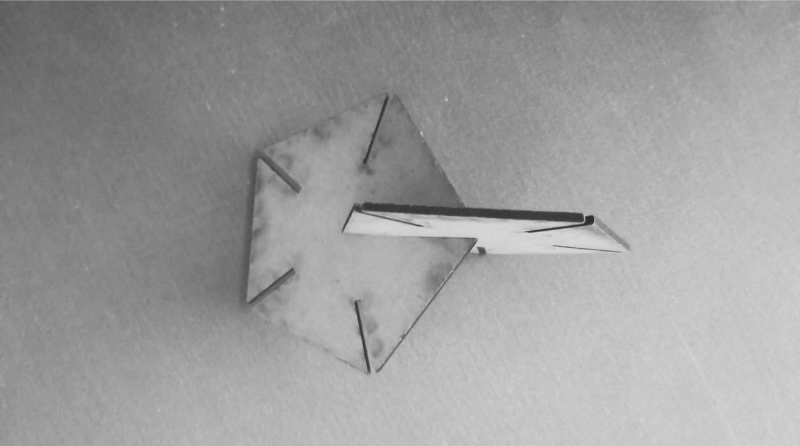
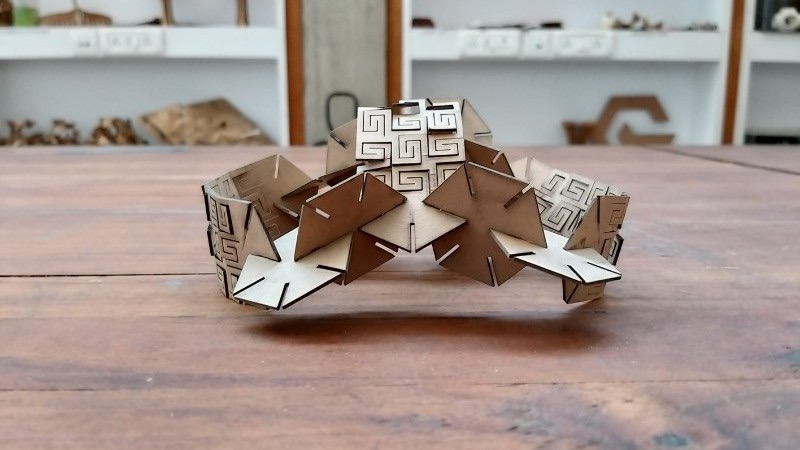
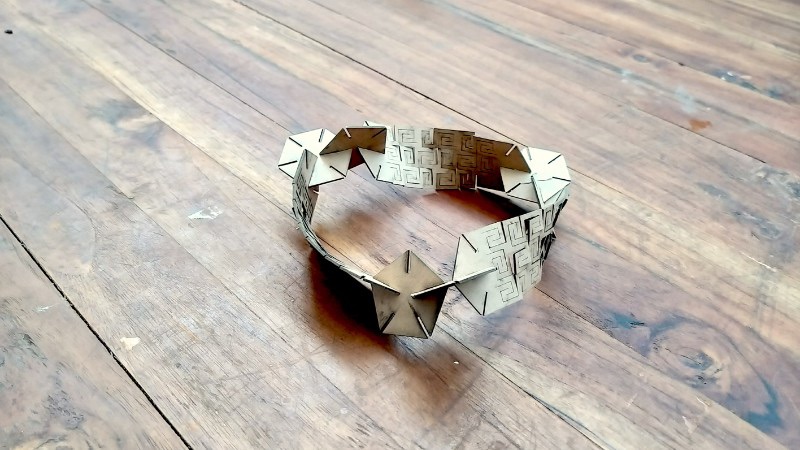
Final Output

Vinyl Cutting
Since I had a very little experience with vinyl cutting before, I wanted to try something else except just sticking the vinyl on a surface.
So I started to explore it by simply cutting and tryinng to understand machine and forces. I went through some test cuts. Then I started cutting various logos annd graphic that I made.
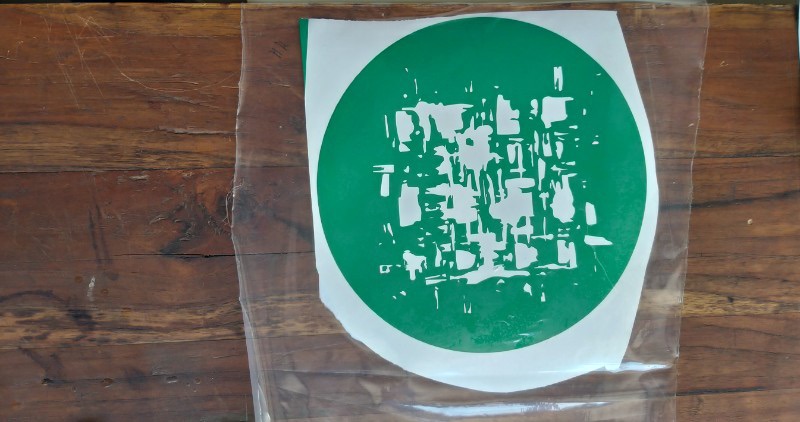
Then I decided to cut more complex design on vinyl and use it as stencil and then paint it on a t shirt or any other surface.
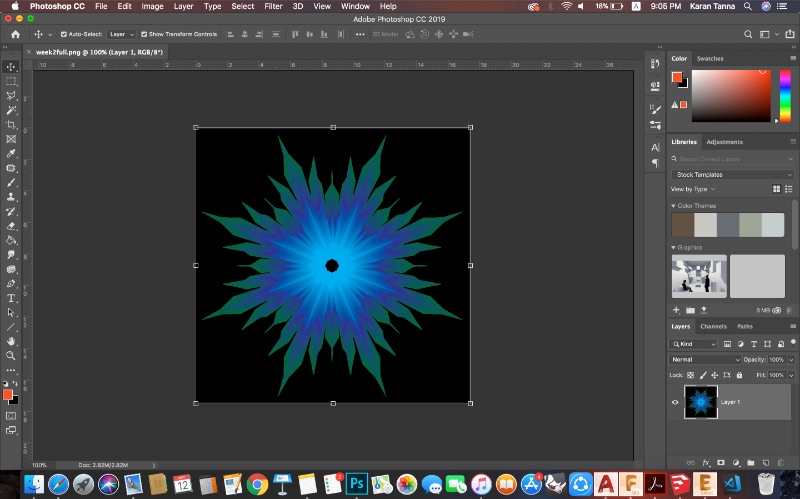
Using Illustrator to make ArtWork
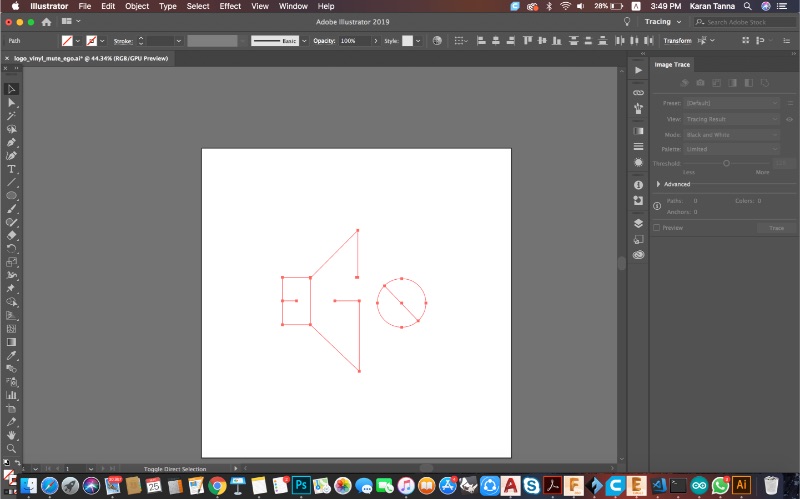
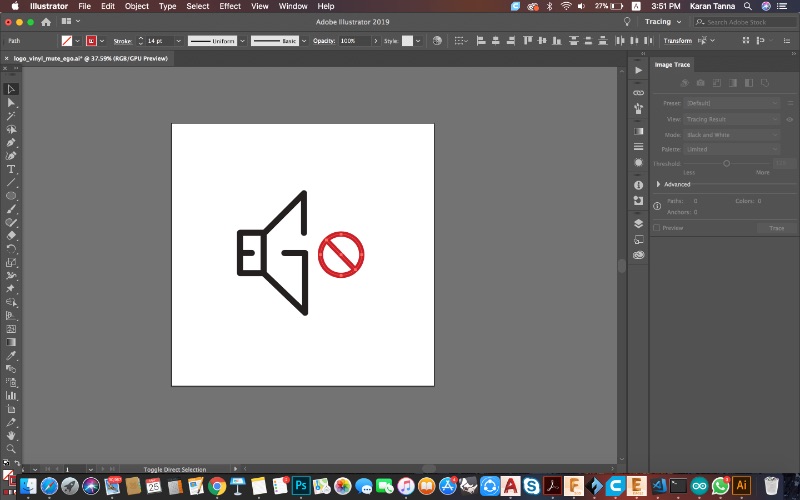
I opened Illustrator. Then Using Pen tool make line drawing of the logo I wanted to make as below.
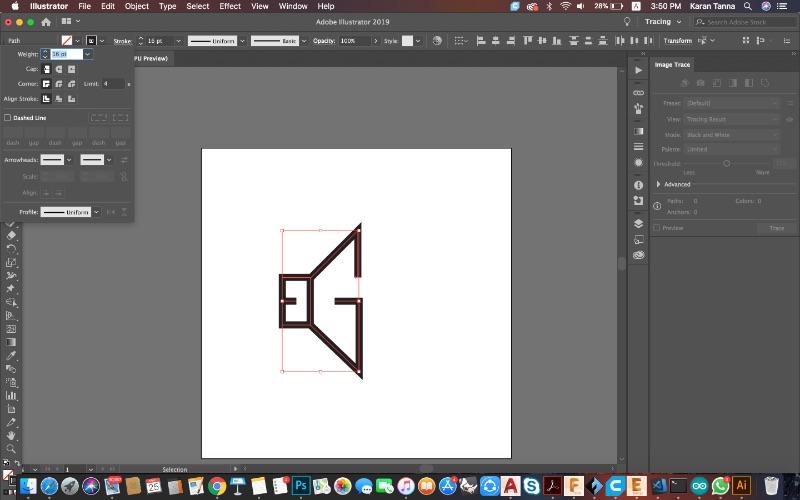
Then Used Stroke panel on top left and gave stroke width 14. Then I made edges rounded as below. Then changed colour.
The artwork is ready. Then I eported it into PNG.
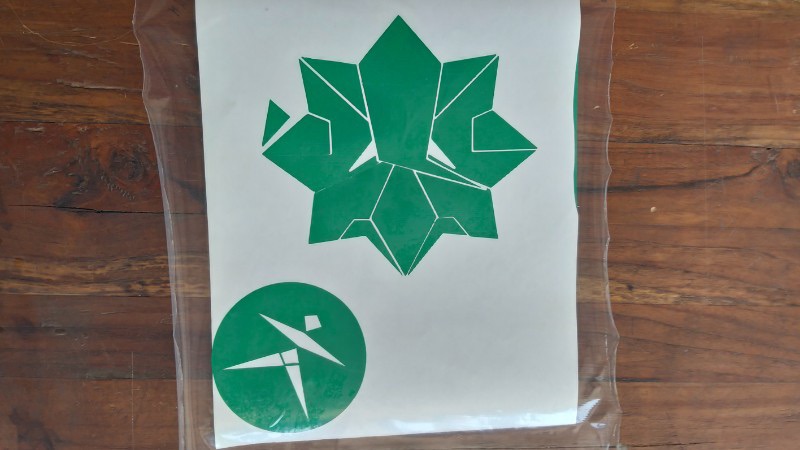
Artwork
The artworks that I made and used for this project are as below.

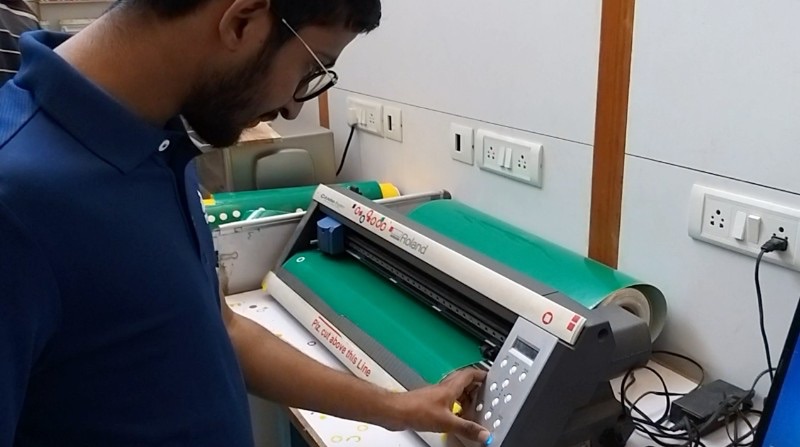
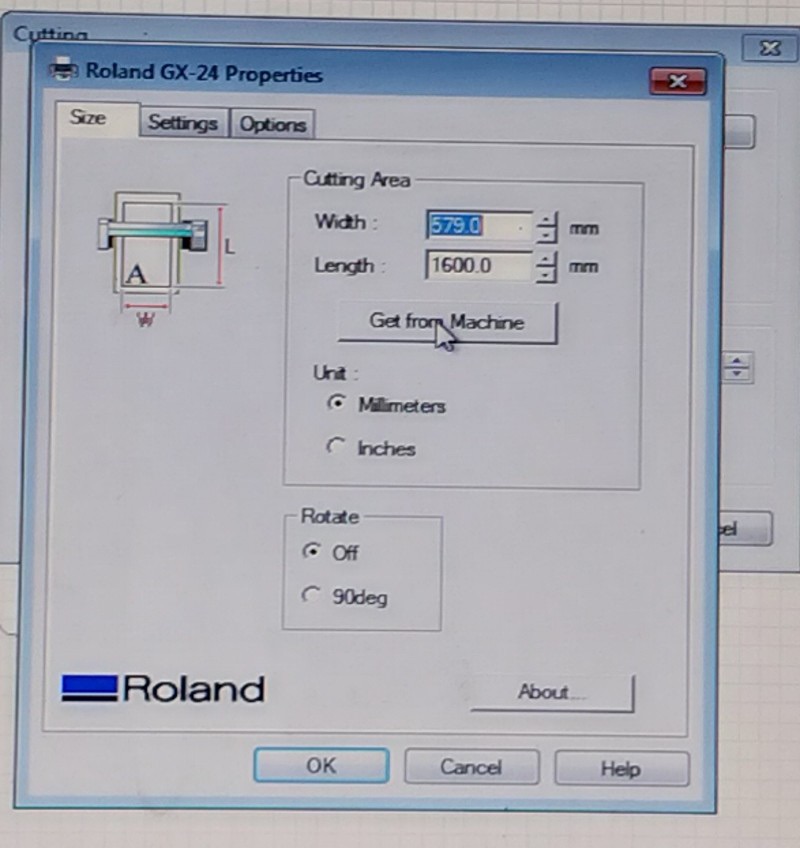
Using Roland GX-24
First of all I made files for the vinyl cutting. As above. The machine which I used 'Roland GX-24'. The software used was 'Cut Studio'.
Below is the list of various buttons on machine and what it does.
Step 1 : Loading the roll and checkinng the settings in the machine.
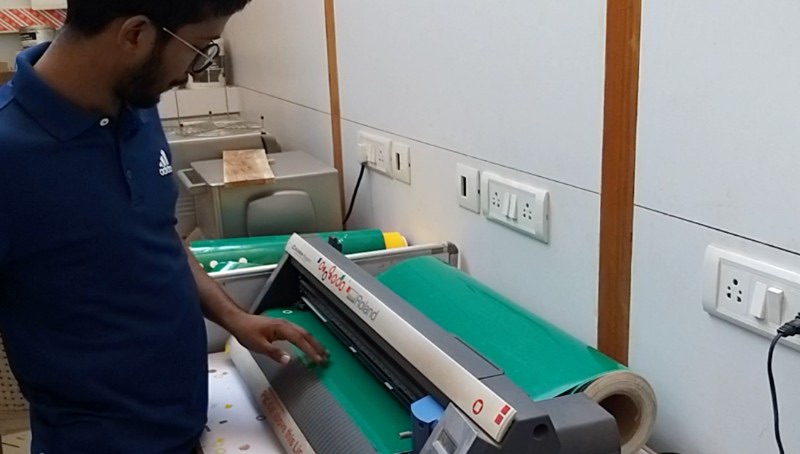
Set Origin and Select paper type 'Roll, Piece etc..
Get Size.
(Note : The paper must be within range of roller. The roller must lie in the white markings on the machine.Also be careful while )
Step 2 : Import the file into the 'Roland Cut Studio'. If you have vector file you need not to do anything and just go to next step.
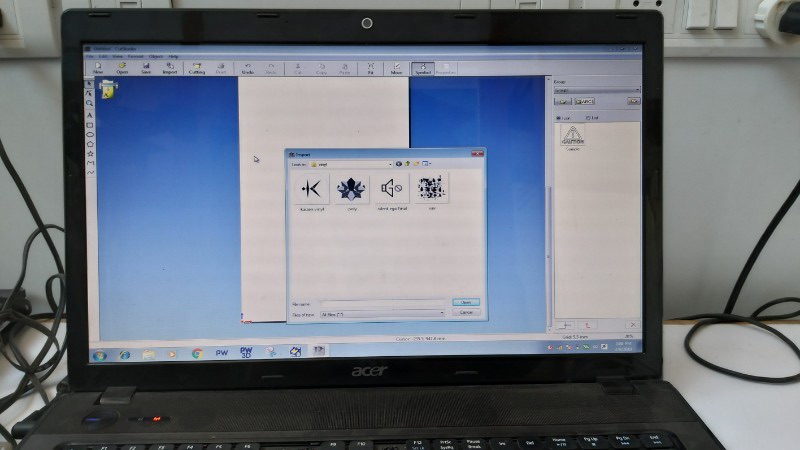
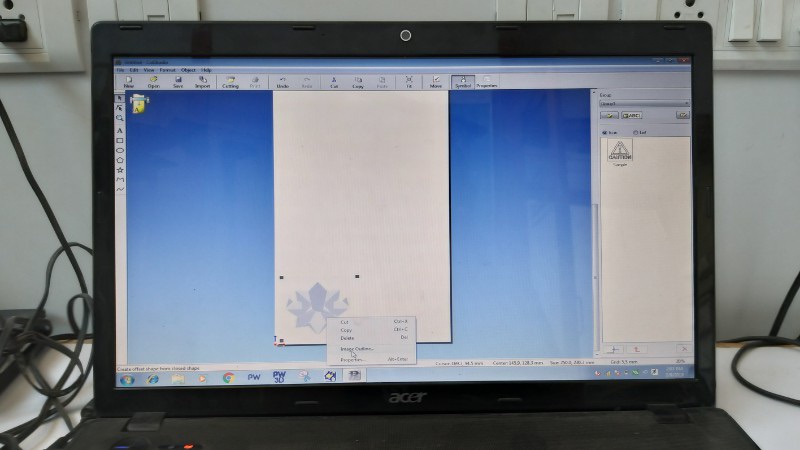
(If you have jpg or bmp file (raster/ image) right click on the file and Create Image Outline. Select the amount of detail you want in your vinyl cutting.)
(To resize image, right click and go to properties and write the size you want.)
Printing On T-shirt
Things Required : Any T shirt or Fabric, Fabric Paint, Sponge Roller, Transfering Tape.
First of all transfer the negatiive part into transfering tape as shown below. It is the most cruicial part. It requires lot of care.
Then Paste the transfered stencil onto surface you want to paint, then take paint on a waste board and paint over stencil using sponge roller.
Be mindful about the position of stencil while pasting.)

Be careful while removing the tape as it doesn't stick well on fabric.
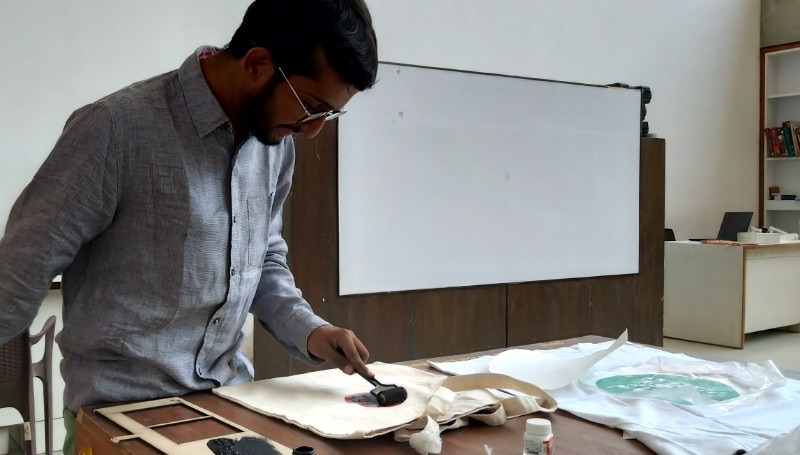
I painted on various surfaces.
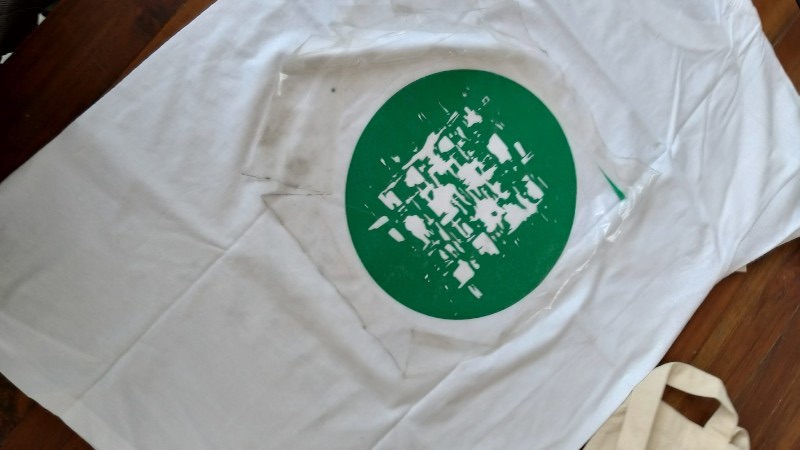
Vinyl - Final Output
The final out put looks like below.
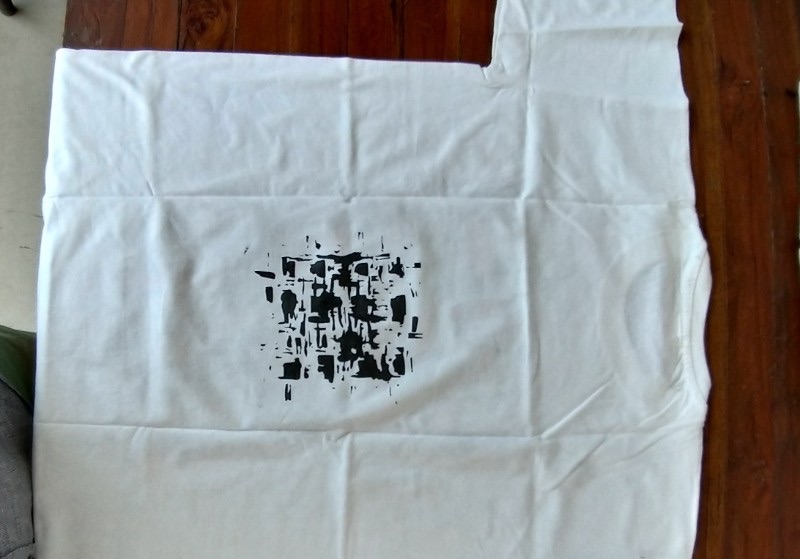
(On Cotton T-shirt.)
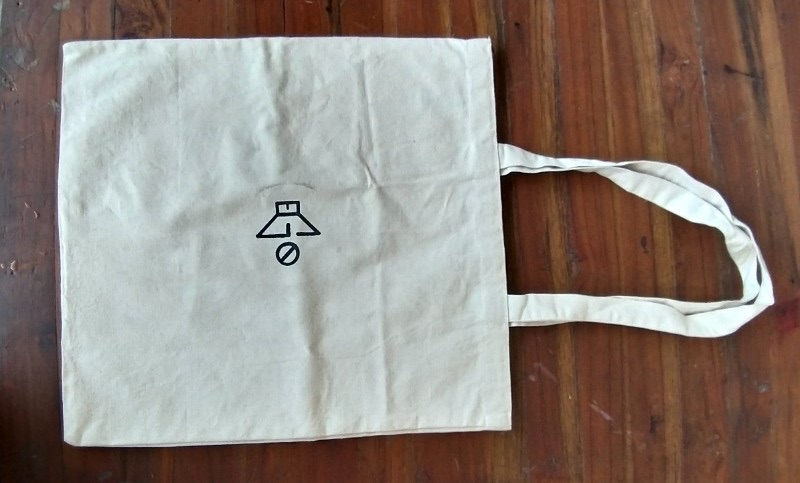
(On Jute Fabric Bag.)
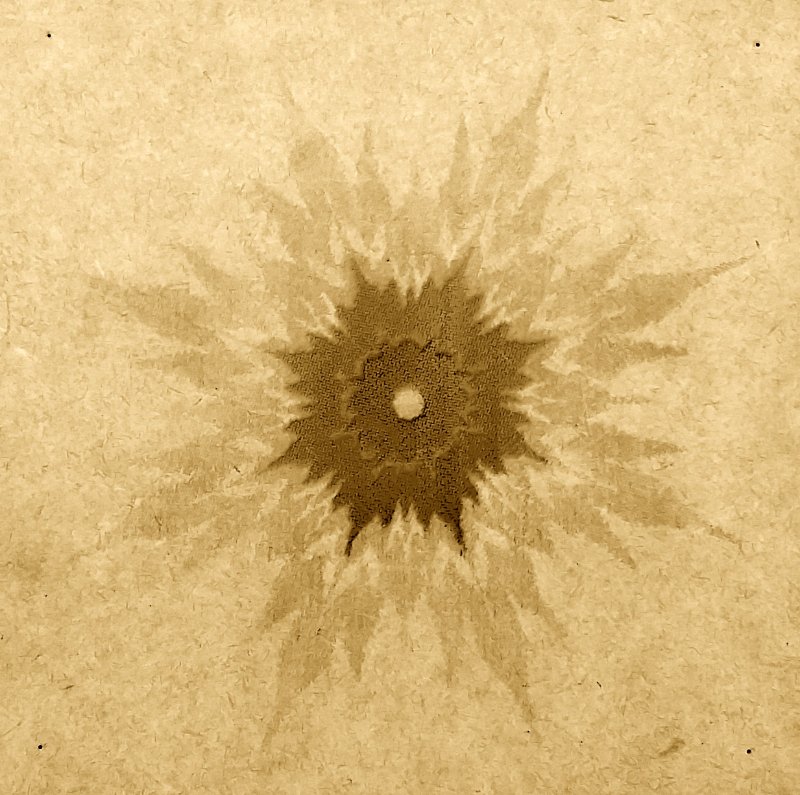
Achieving Gradients Using Laser Machine
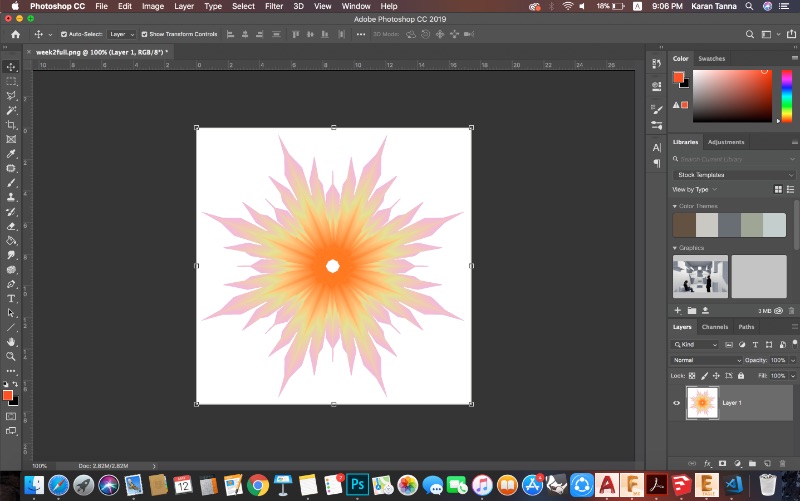
Since I made an artwork using Blend tool in week 3 in Illustrator, Ohad gave me challenge to achieve gradient and print the same on MDF using Laser Machine.
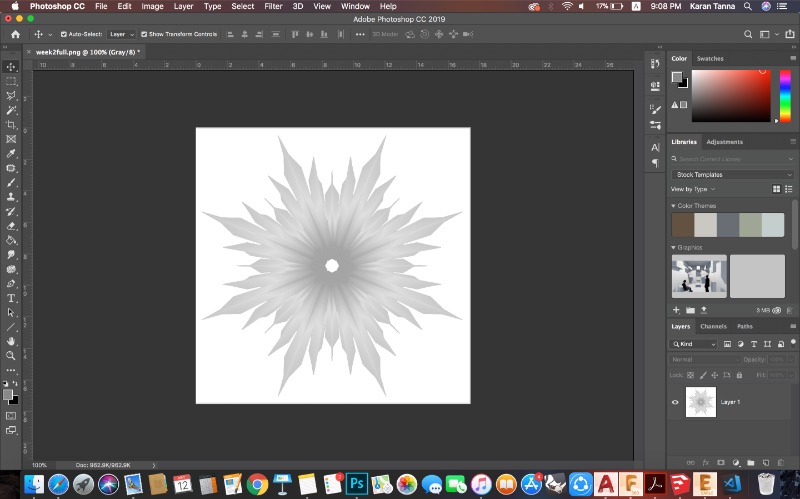
I made various attempts by convering it to vector. But then I found a hack for it. I coverted image into densely dotted image using photoshop.
Step 1 : Open image in photoshop. Then Invert it.
Command + I
Step 2 : Convert to Black and White Mode.
Command + 4
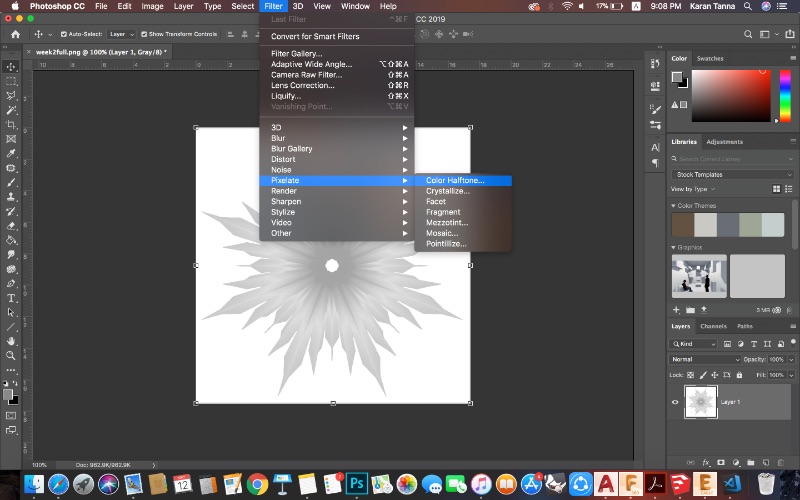
Step 2 : Go to Filter > Filter Gallery > Halftone. Set Parameters According to intensity you want. (More Dense = Better Result. You can tewak contrast to achieve perfect gradient.)
Step 3 : Import the image into RDWorks and then follow previous tutorial on cutting. (Note : Keep Speed High and use in Scan Mode. Use Highest Power and Lowest Power feature for best results.

Results
The image below shows various attempts to achieve accurate gradient grom image.
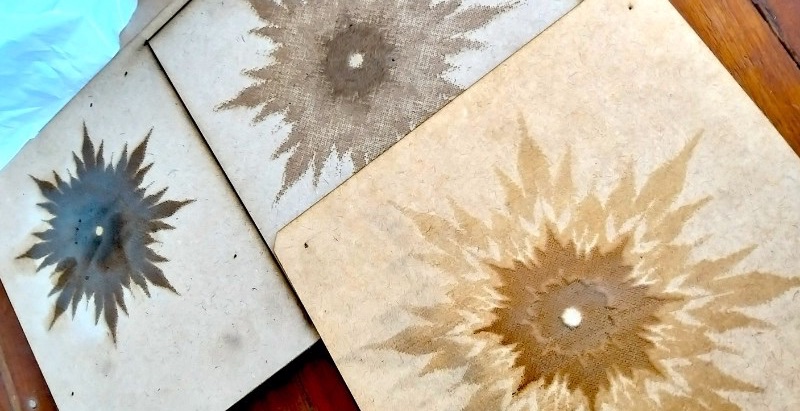
In the first one I burned it completely as power was same. (20%) (High and Low).
In the second one I increased the gap between high and low power. (10 to 15%)
In the final one I further reduced it to 5% to 15%. Also I changed to better MDF thus I could achieved better result.
Contribution to Group Work
This week I contributed in designing the templates for various materials / cutting files. I used Autocad to make files.
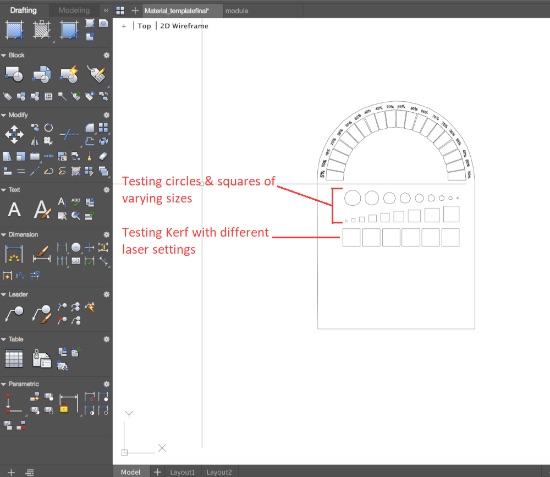
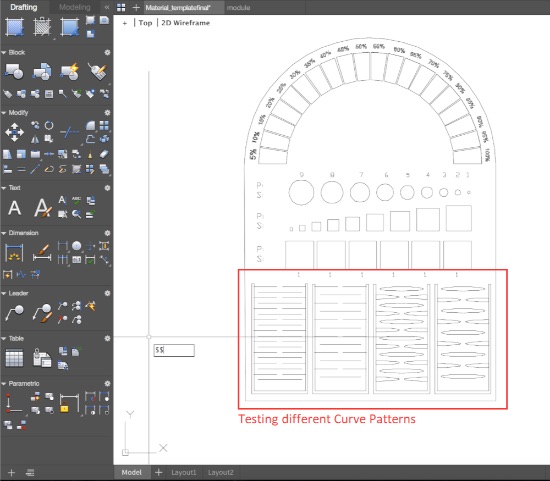
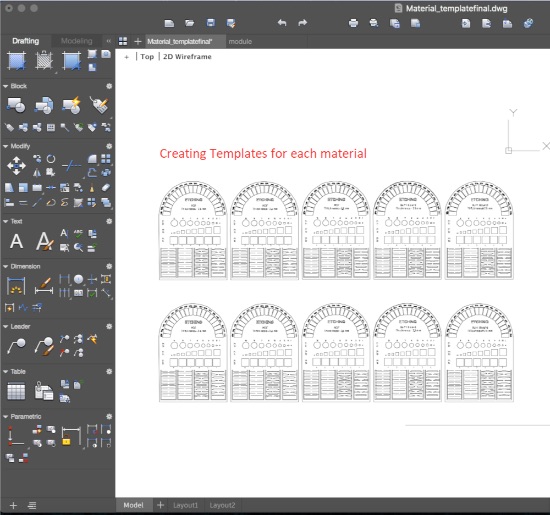
I designed the template so that it covers most range of parameters ie. speed, power and scan mode. This universal template would help us understand at what parameter what material gets cut perfectly.
What Did I learn ?
This week I learned about tolerence of machine from Group Project. As I took part in the designing the files and actual output slightly deviated.
Also I learned how to manupulate machinne parameter to achieve various types of results.
In Vinyl Cutting, I learned that while doing multiple passes in roll mode, it gets deviated and exact thing doesnt come out. Thus sheet mode works better. Also I manually adjested Pen Force to cut small details.