18. Wildcard week
assignment
- Design and produce something with a digital fabrication process (incorporating computer-aided design and manufacturing) not covered in another assignment, documenting the requirements that your assignment meets, and including everything necessary to reproduce it. Possibilities include (but are not limited to) composites, textiles, biotechnology, robotics, folding, and cooking.
Design and produce something with a digital fabrication process (incorporating computer-aided design and manufacturing)
Food Engraving
-
Laser is commonly applied in the processing of containers and packaging bags in the food industry. As the matter of fact, Laser can also be applied in food to create special effects. In the past, GCC LaserPro Application Laboratory has shown you a series of food processing applications. Examples like cookie engraving and the fruit serial number marking etc., these techniques have been successively and widely applied in the food industry. The use of Laser in food processing can save your cost from making and maintaining your molds. In addition, it can create the best effect that satisfies customers’ needs. The laser engraver is definitely a tool that you cannot miss in your food processing.
-
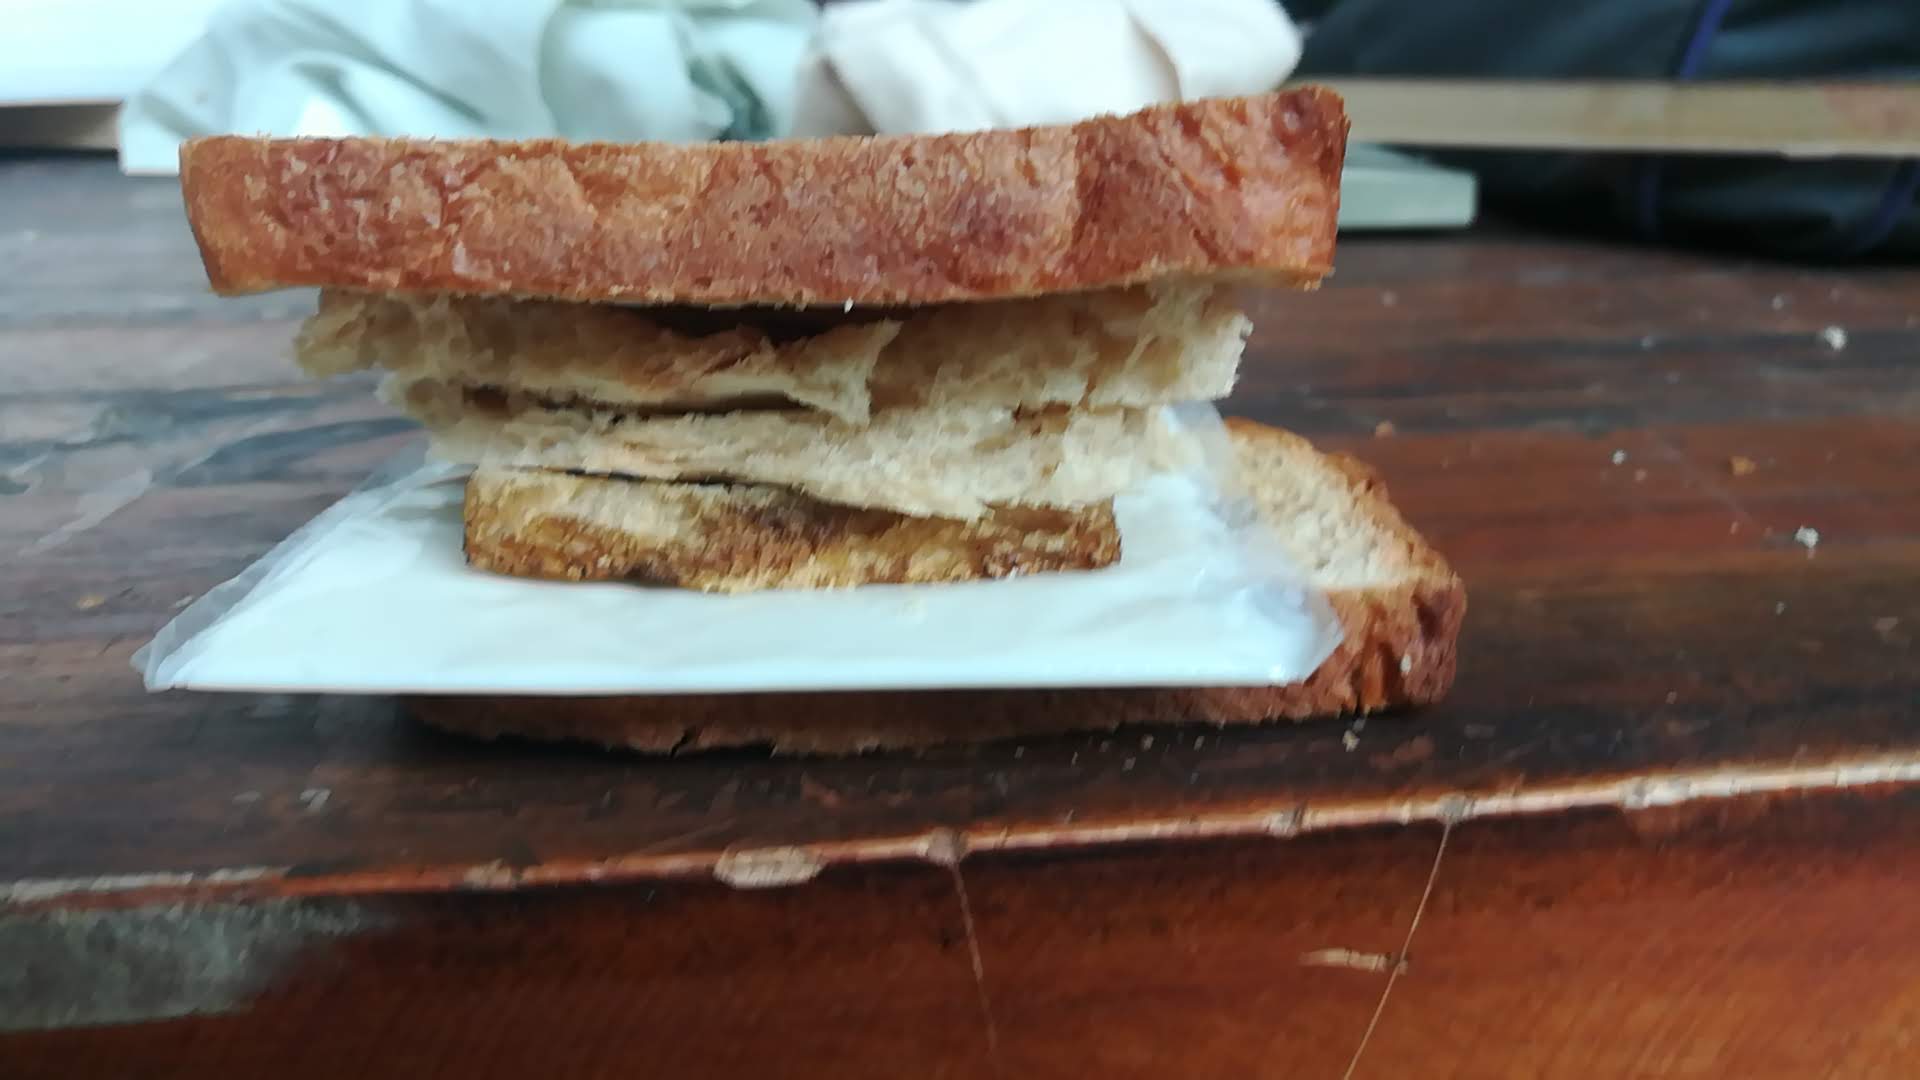
This Week, Wildcard week need some intresting featured assignment that include digital fabrication.– engraving on the bread and make sandwich with Laser.
-
Materials:
- Bread
Testing results
| Engraving | Power | Speed |
| Test 1 | 8 | 150 |
| Test 2 | 30 | 100 |
| Test 3 | 55 | 100 |
| Test 4 | 50 | 100 |
Designs
-
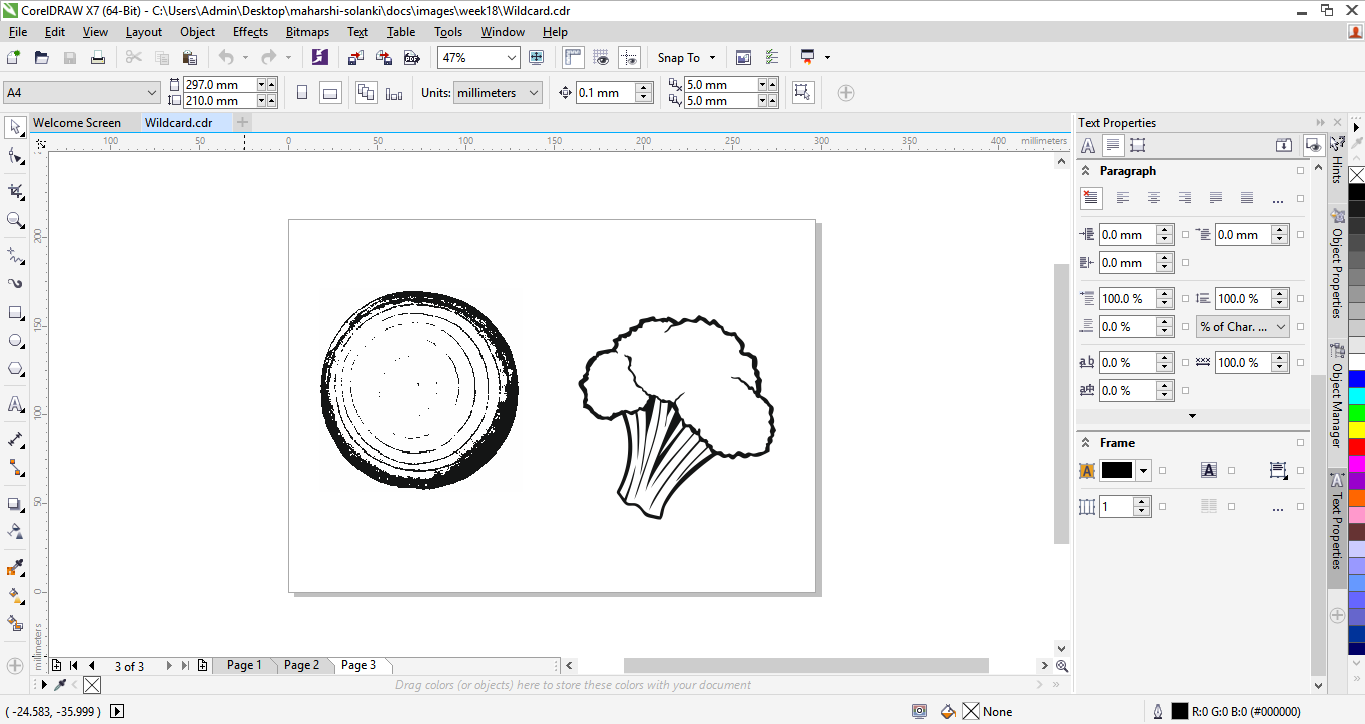
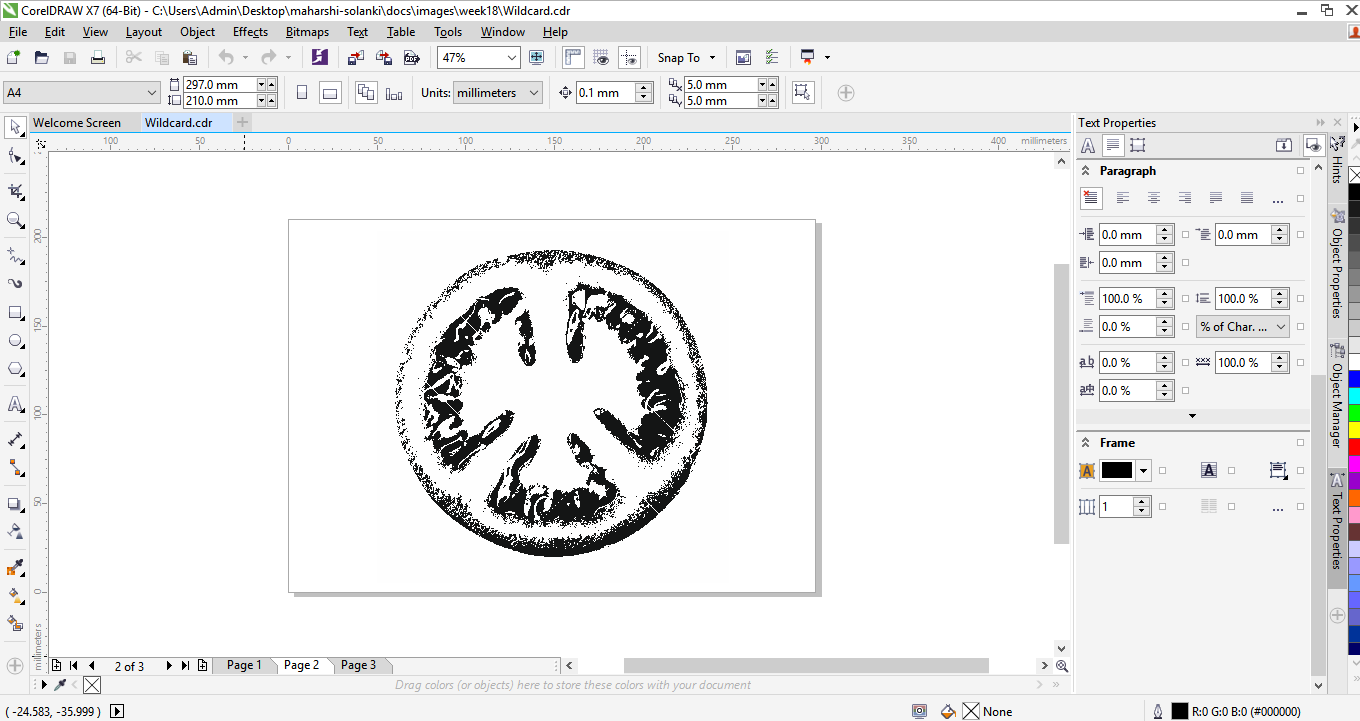
For engraving i need a design with feature of black and white. For that i use corel draw to make that file.
-
Here I,m making laser engraving sandwich… I used 4 bread and one cheese slice.
- 2 bread for Top and Bottom
- 1 Tomato
- 1 Onion and Herbs
- 1 Cheese Slice
Requirement
- 1 Packet Bread (Recommended White Bread)
- 5 Cheese Slices
- Design - Onion, tomato, herbs, etc things which you need.
- Plate for serve
Steps as follows:

- Getting Fresh Bread and add Flovour cheese
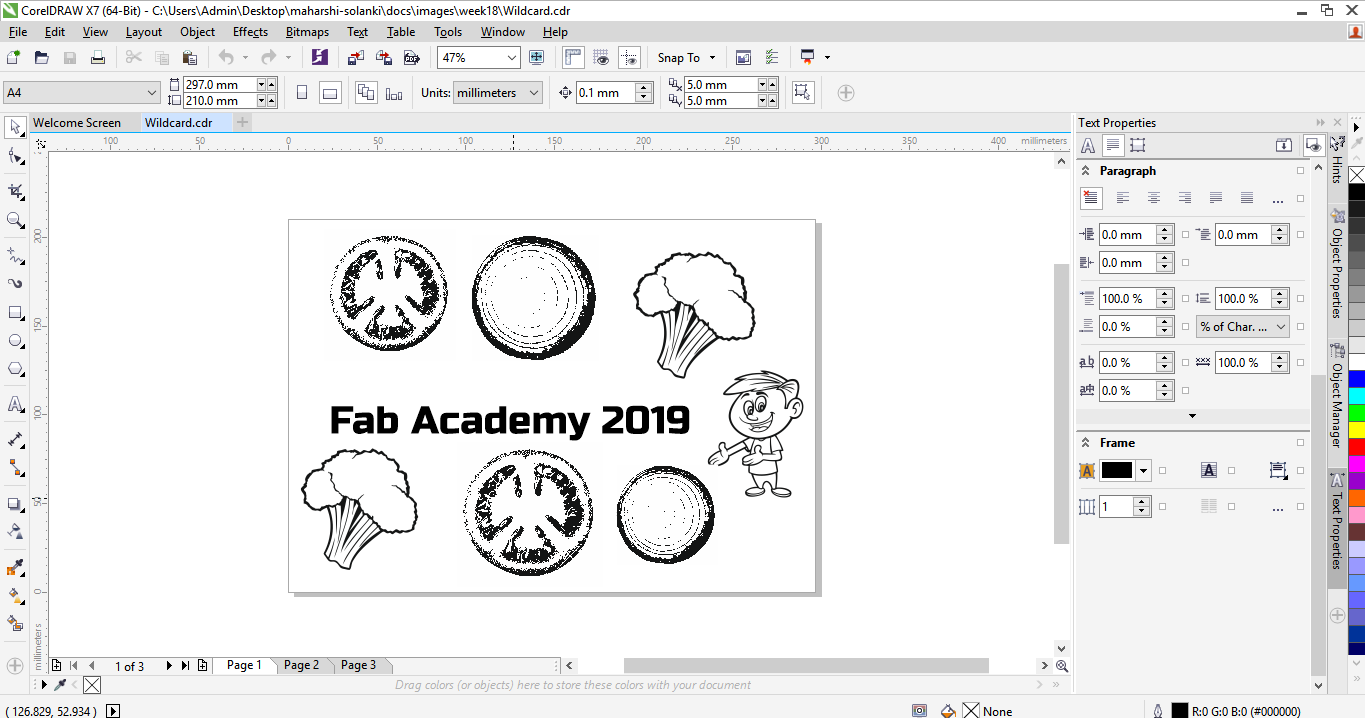
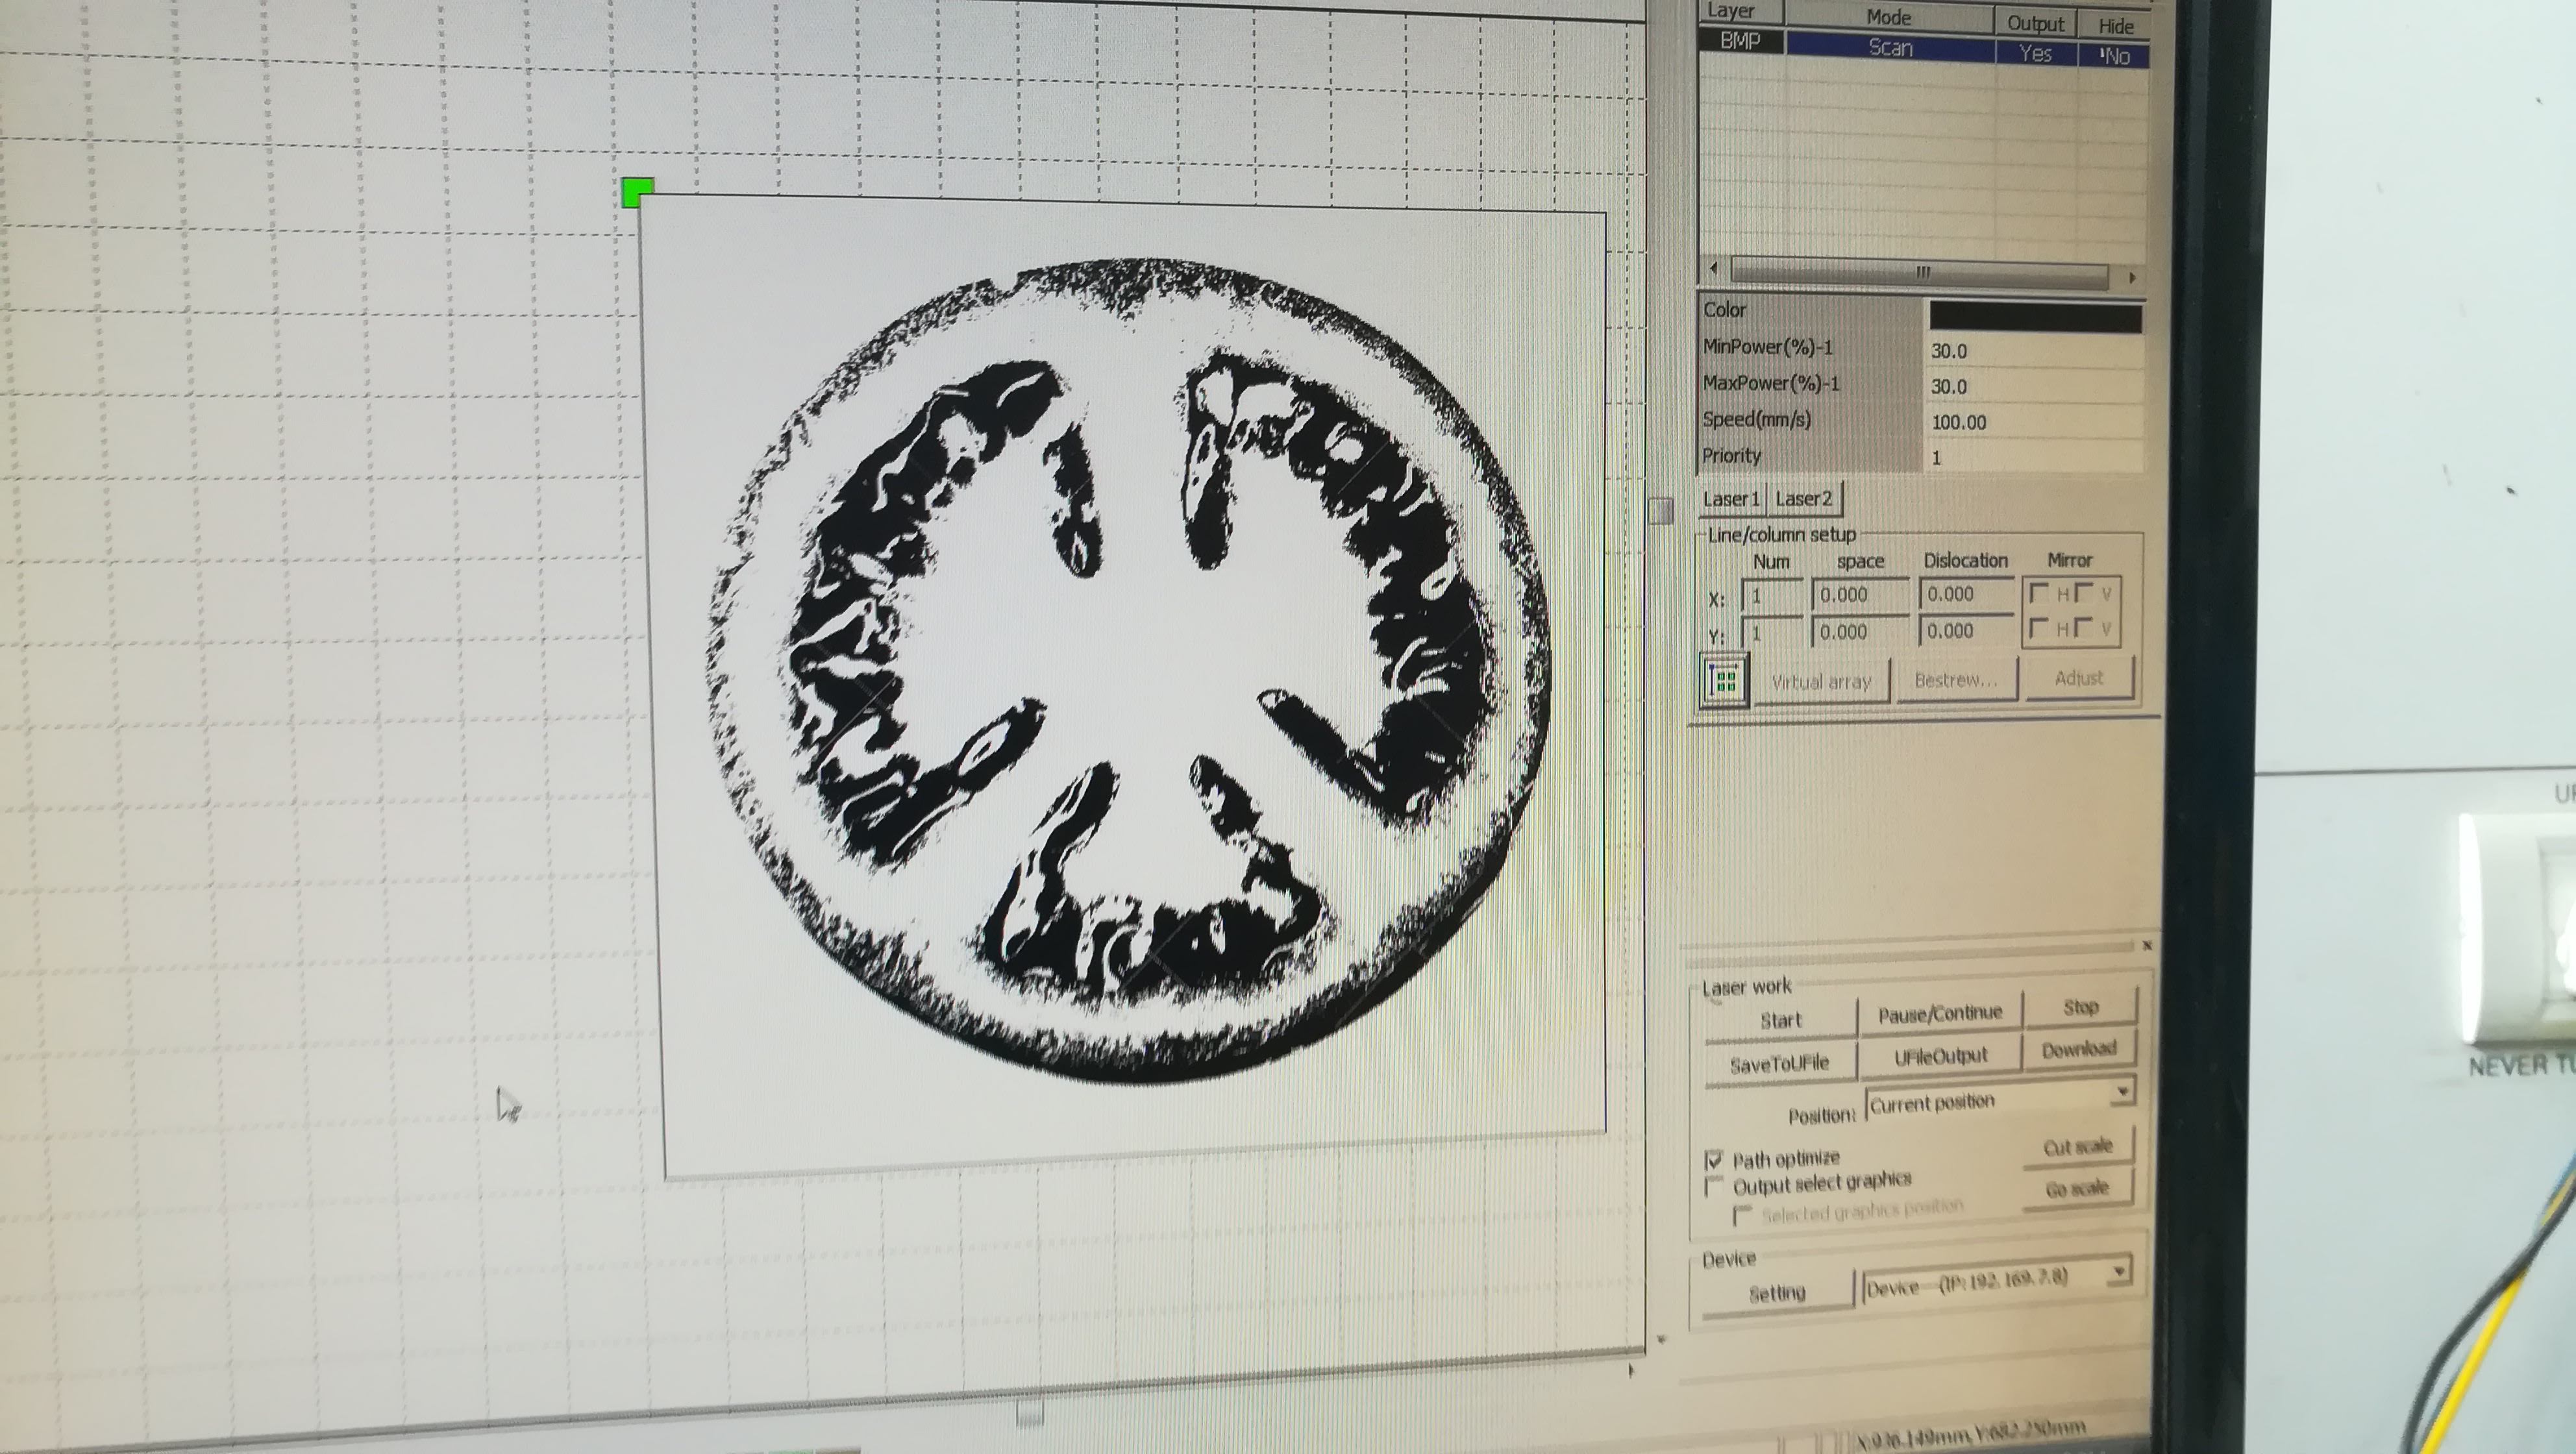
- I’m using corel draw for making design, for laser engraving we need Black and white images. For cartoon i got a vector file but for tomato and onion i use bitmap feature it will give me an black and white traces for engraving
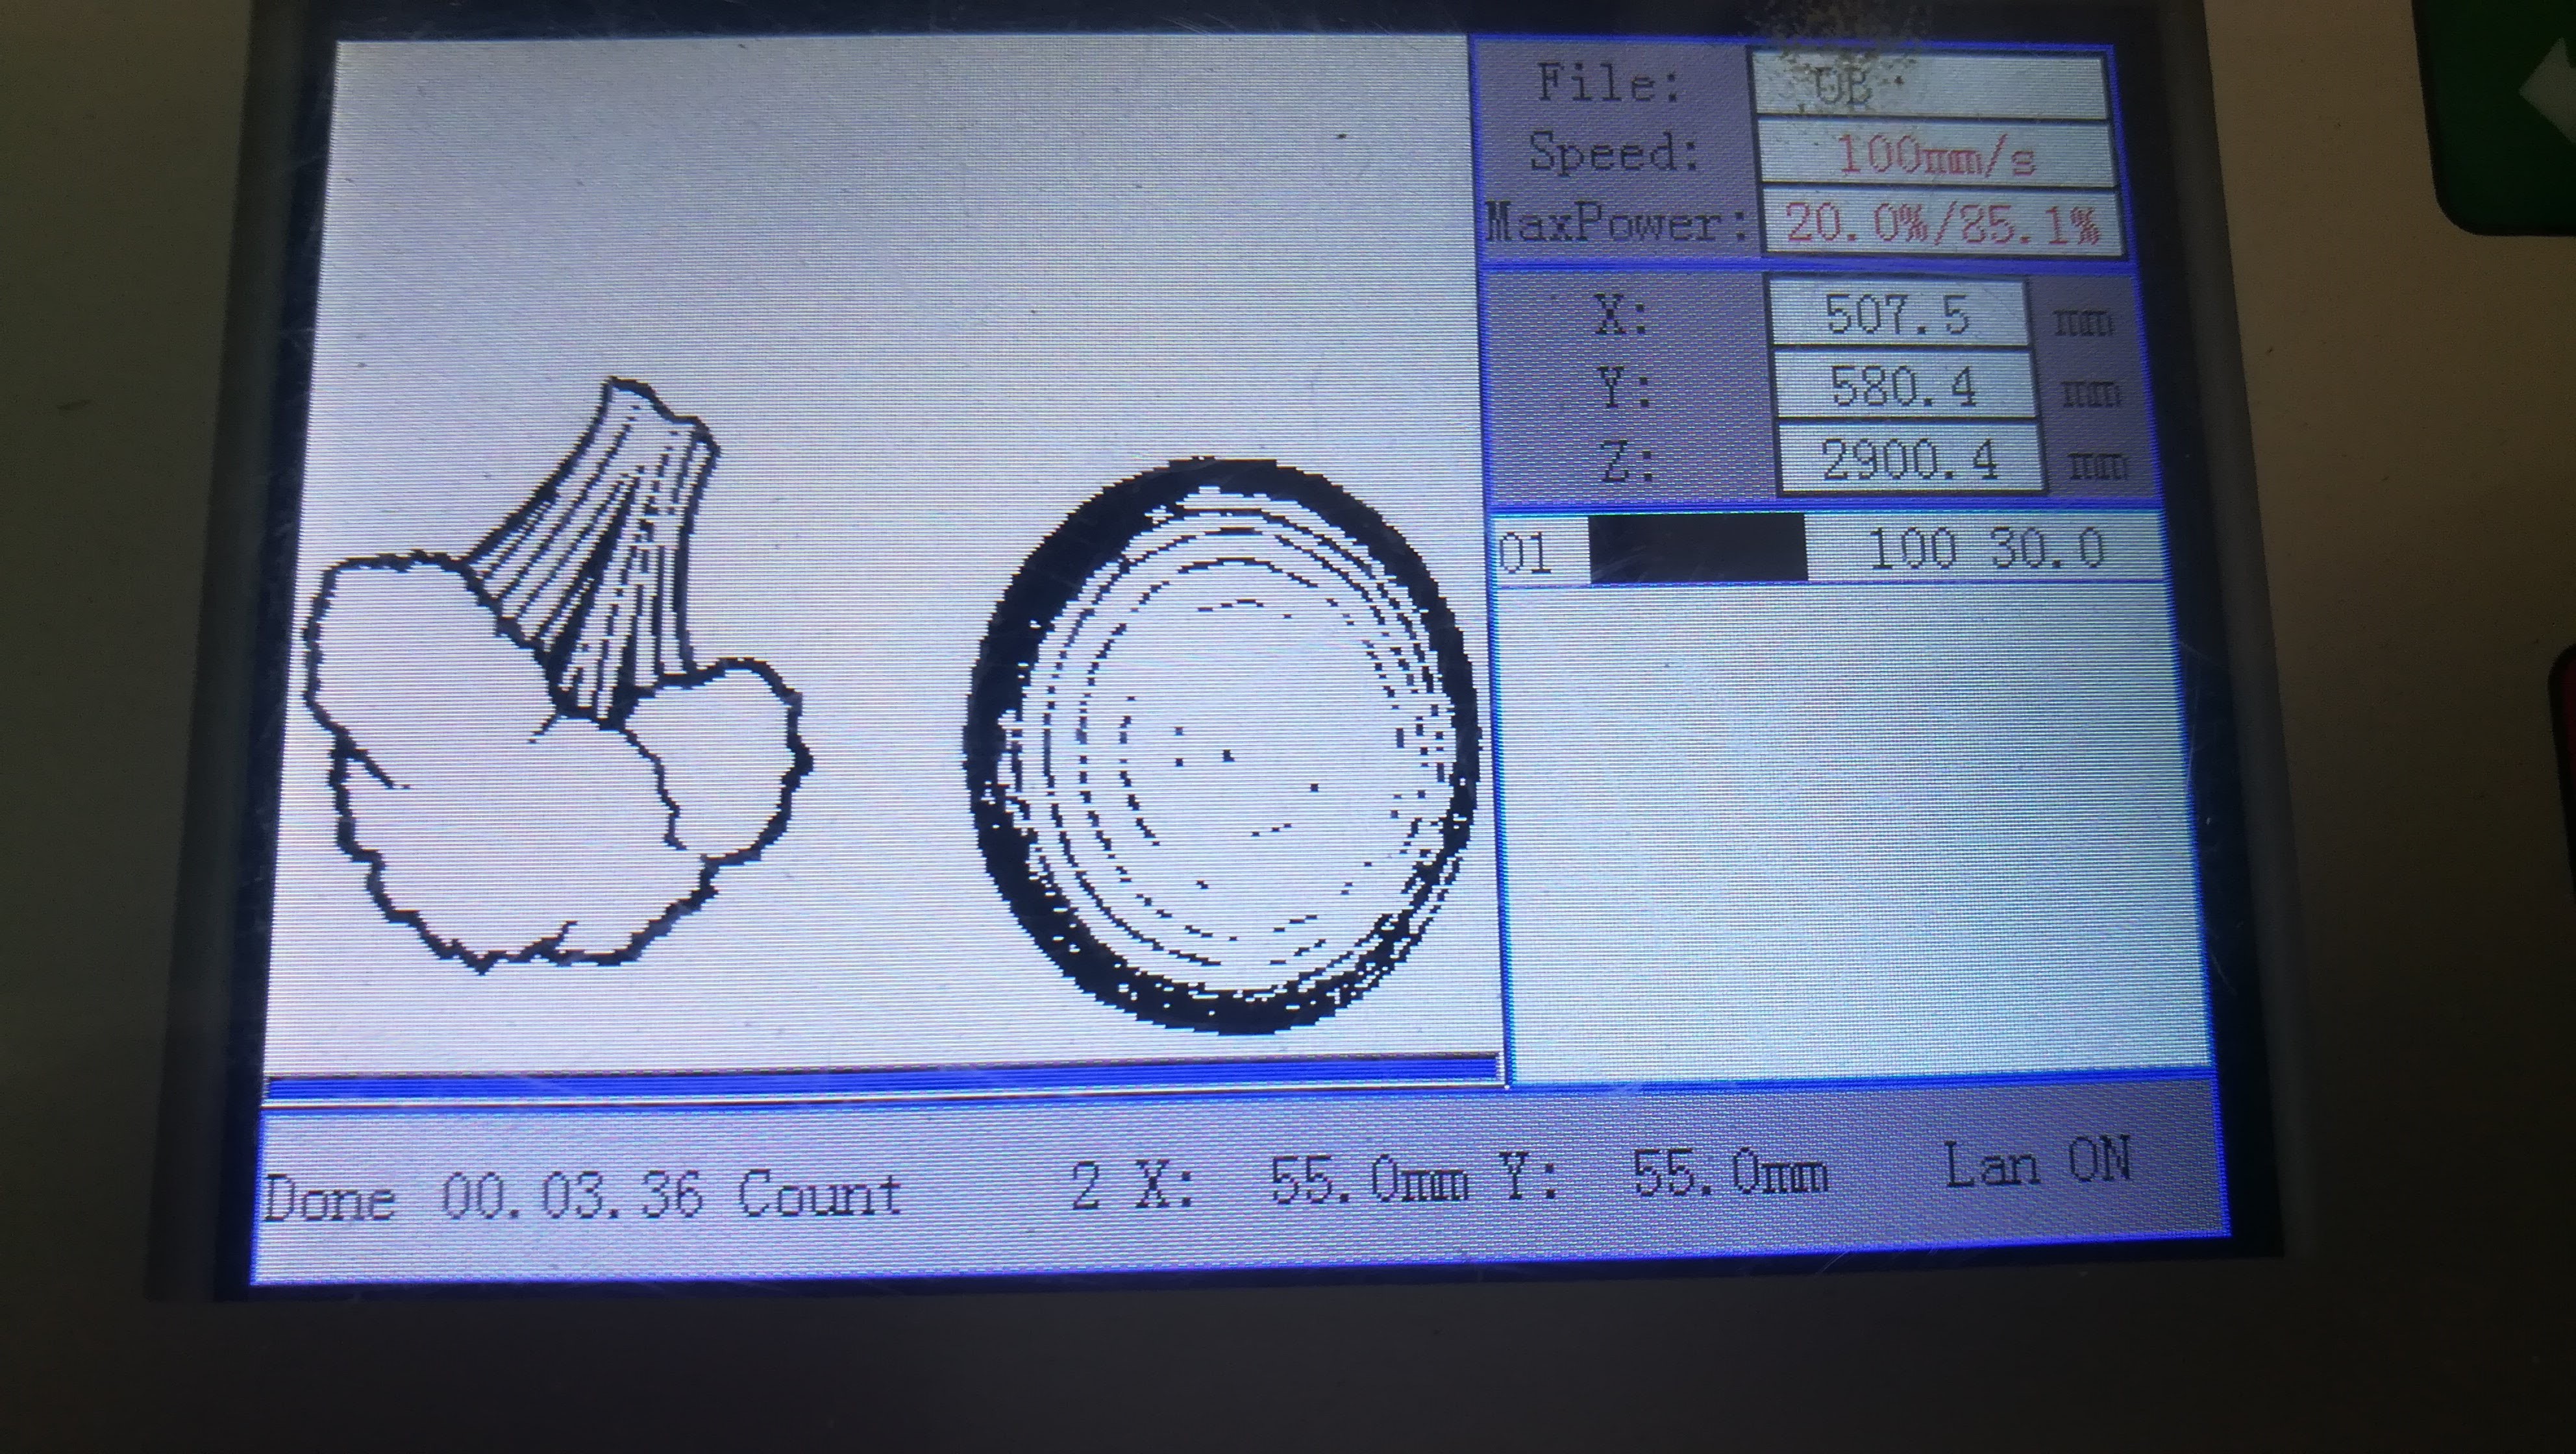
 - Similiar I used Corel for this, first of all i download an images for herbs and onion and then bitmap with black and white that a 2 steps process.
- Similiar I used Corel for this, first of all i download an images for Tomato and then bitmap with black and white that a 2 steps process.

- Now that image will Export in .jpg form that should in 1- bit images.
- Open RD Works which is laser cutter machine software that wil help me to get that engraving images on my food (Sandwich).

- Now Load the files and go to setting and put that images in scan mode and settings will given upside.
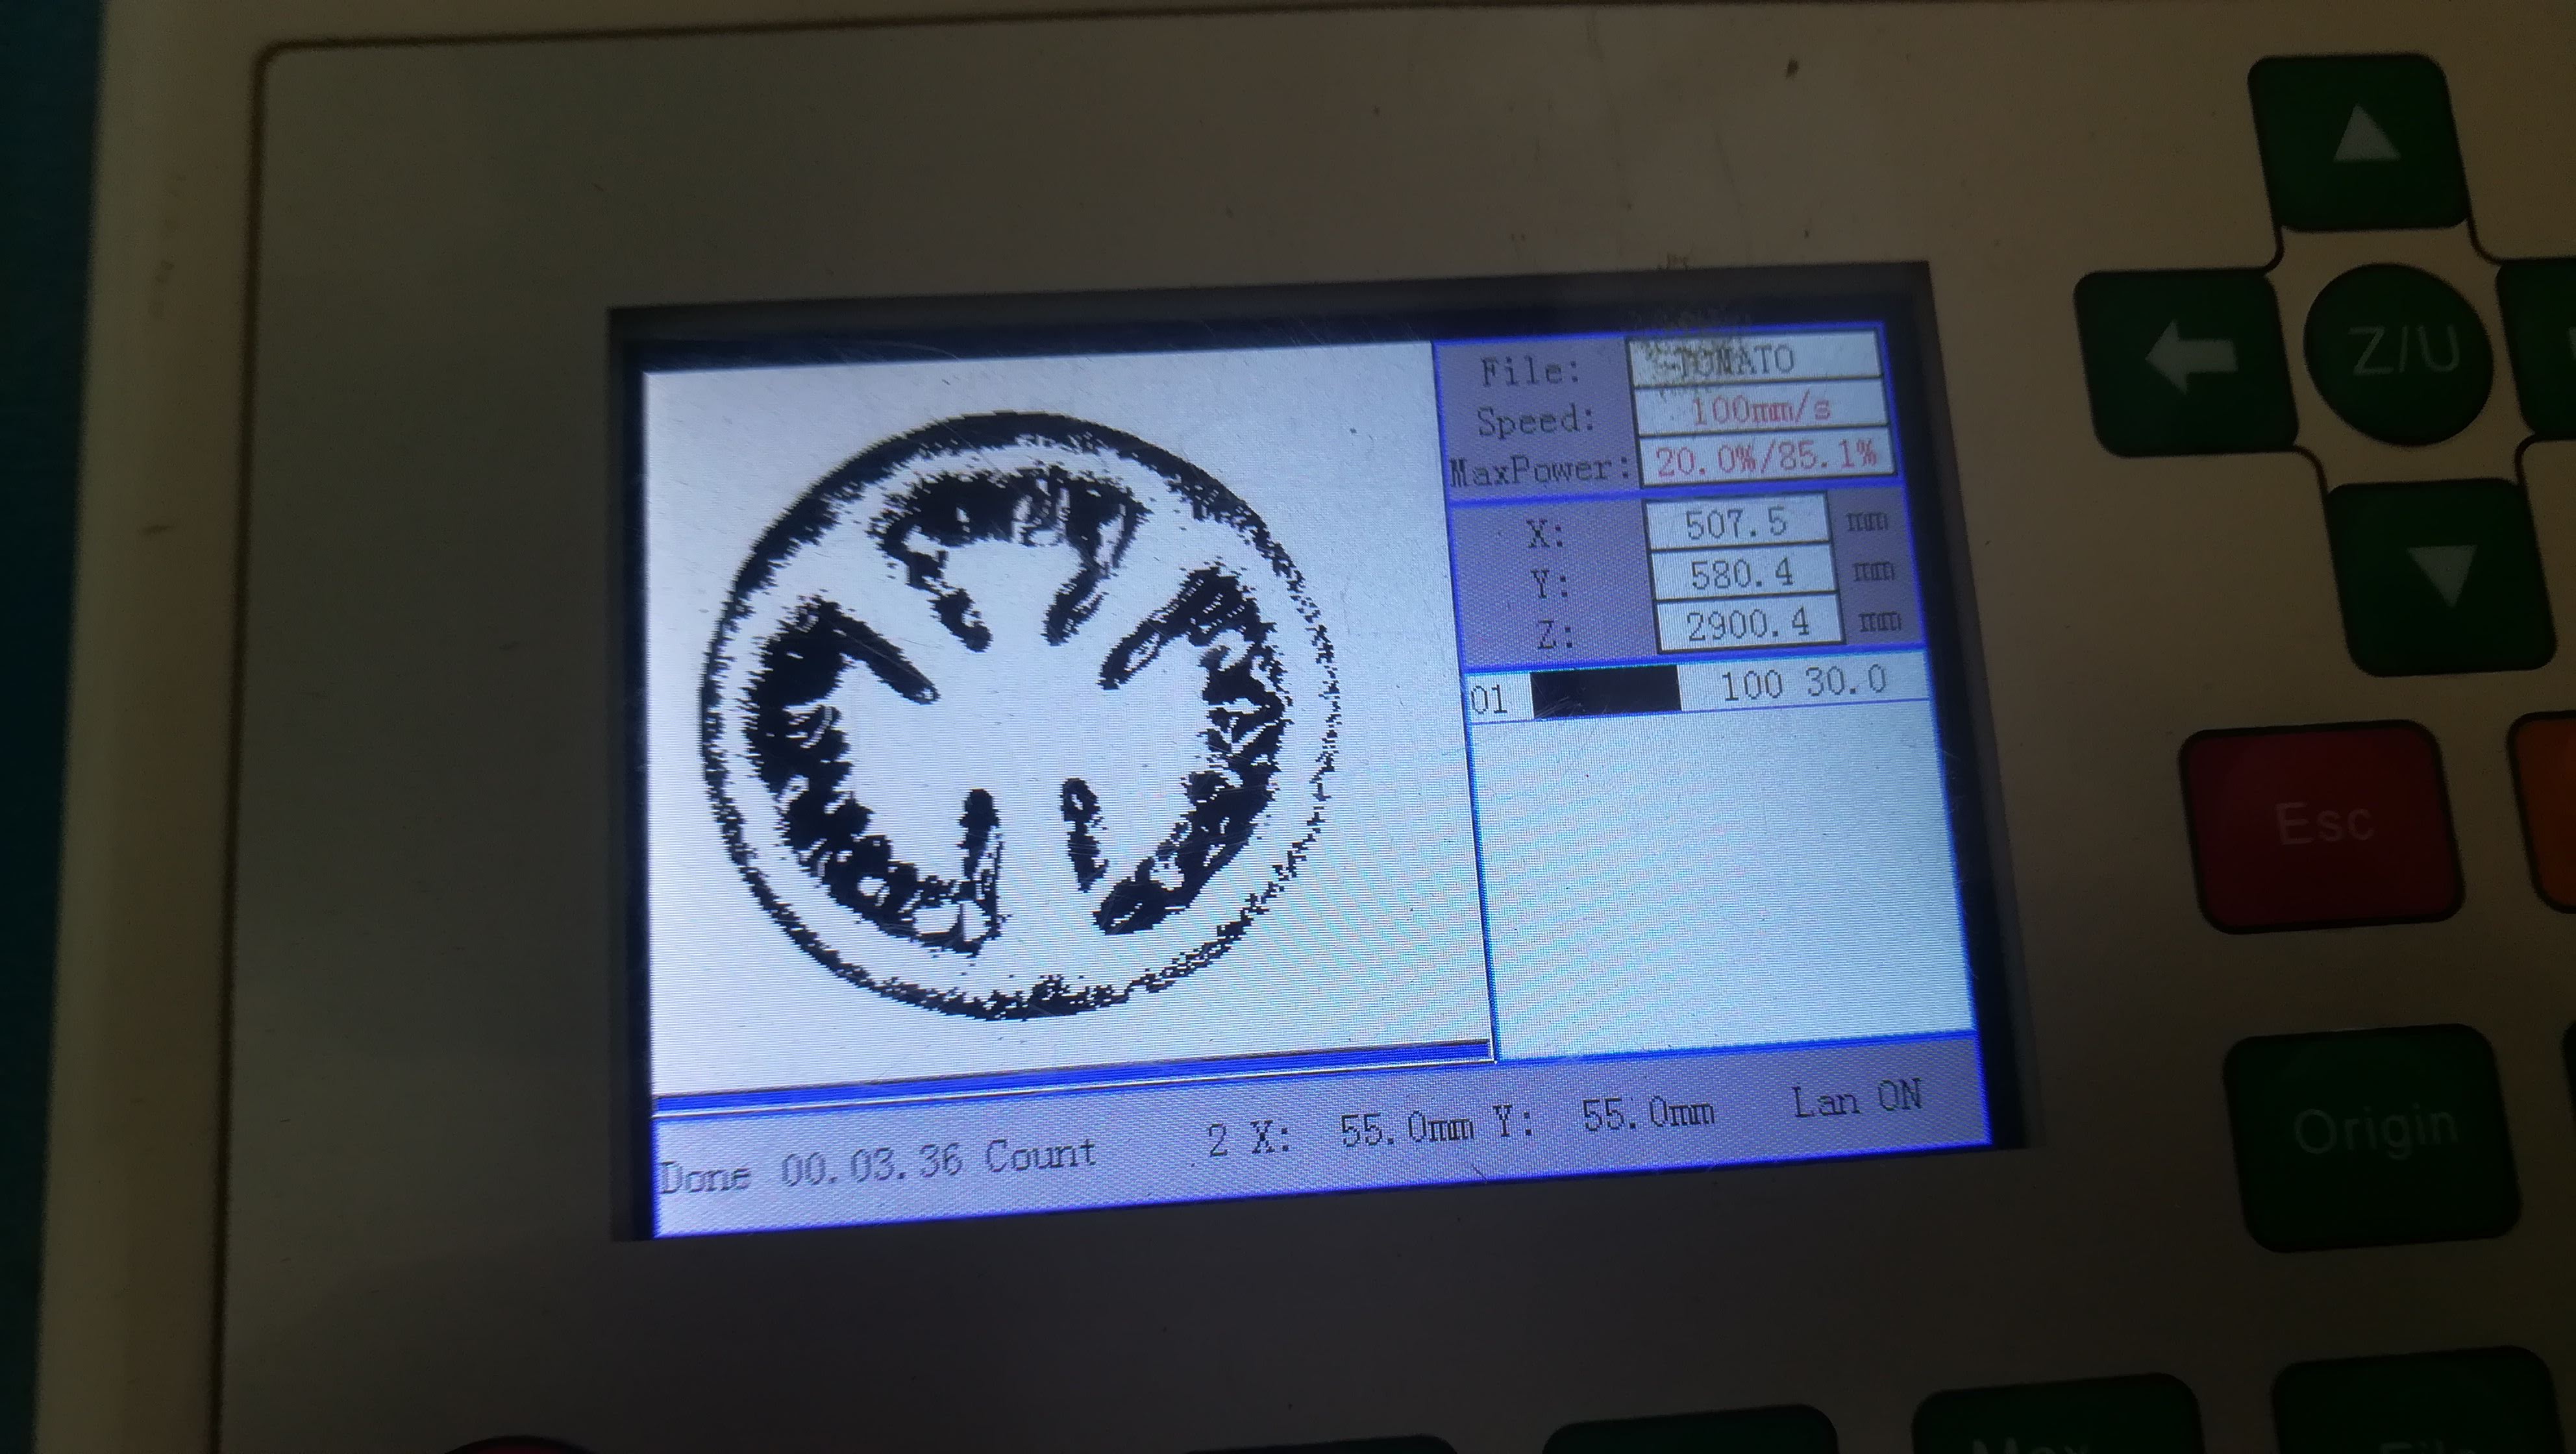
- Bread are hollow so it burn 2-3 times then i put scanning in power 50 and speed 100 which gives me better result.
 - For cutting border i use power 35 and speed 25.
 - This are the final output to get food engraving.

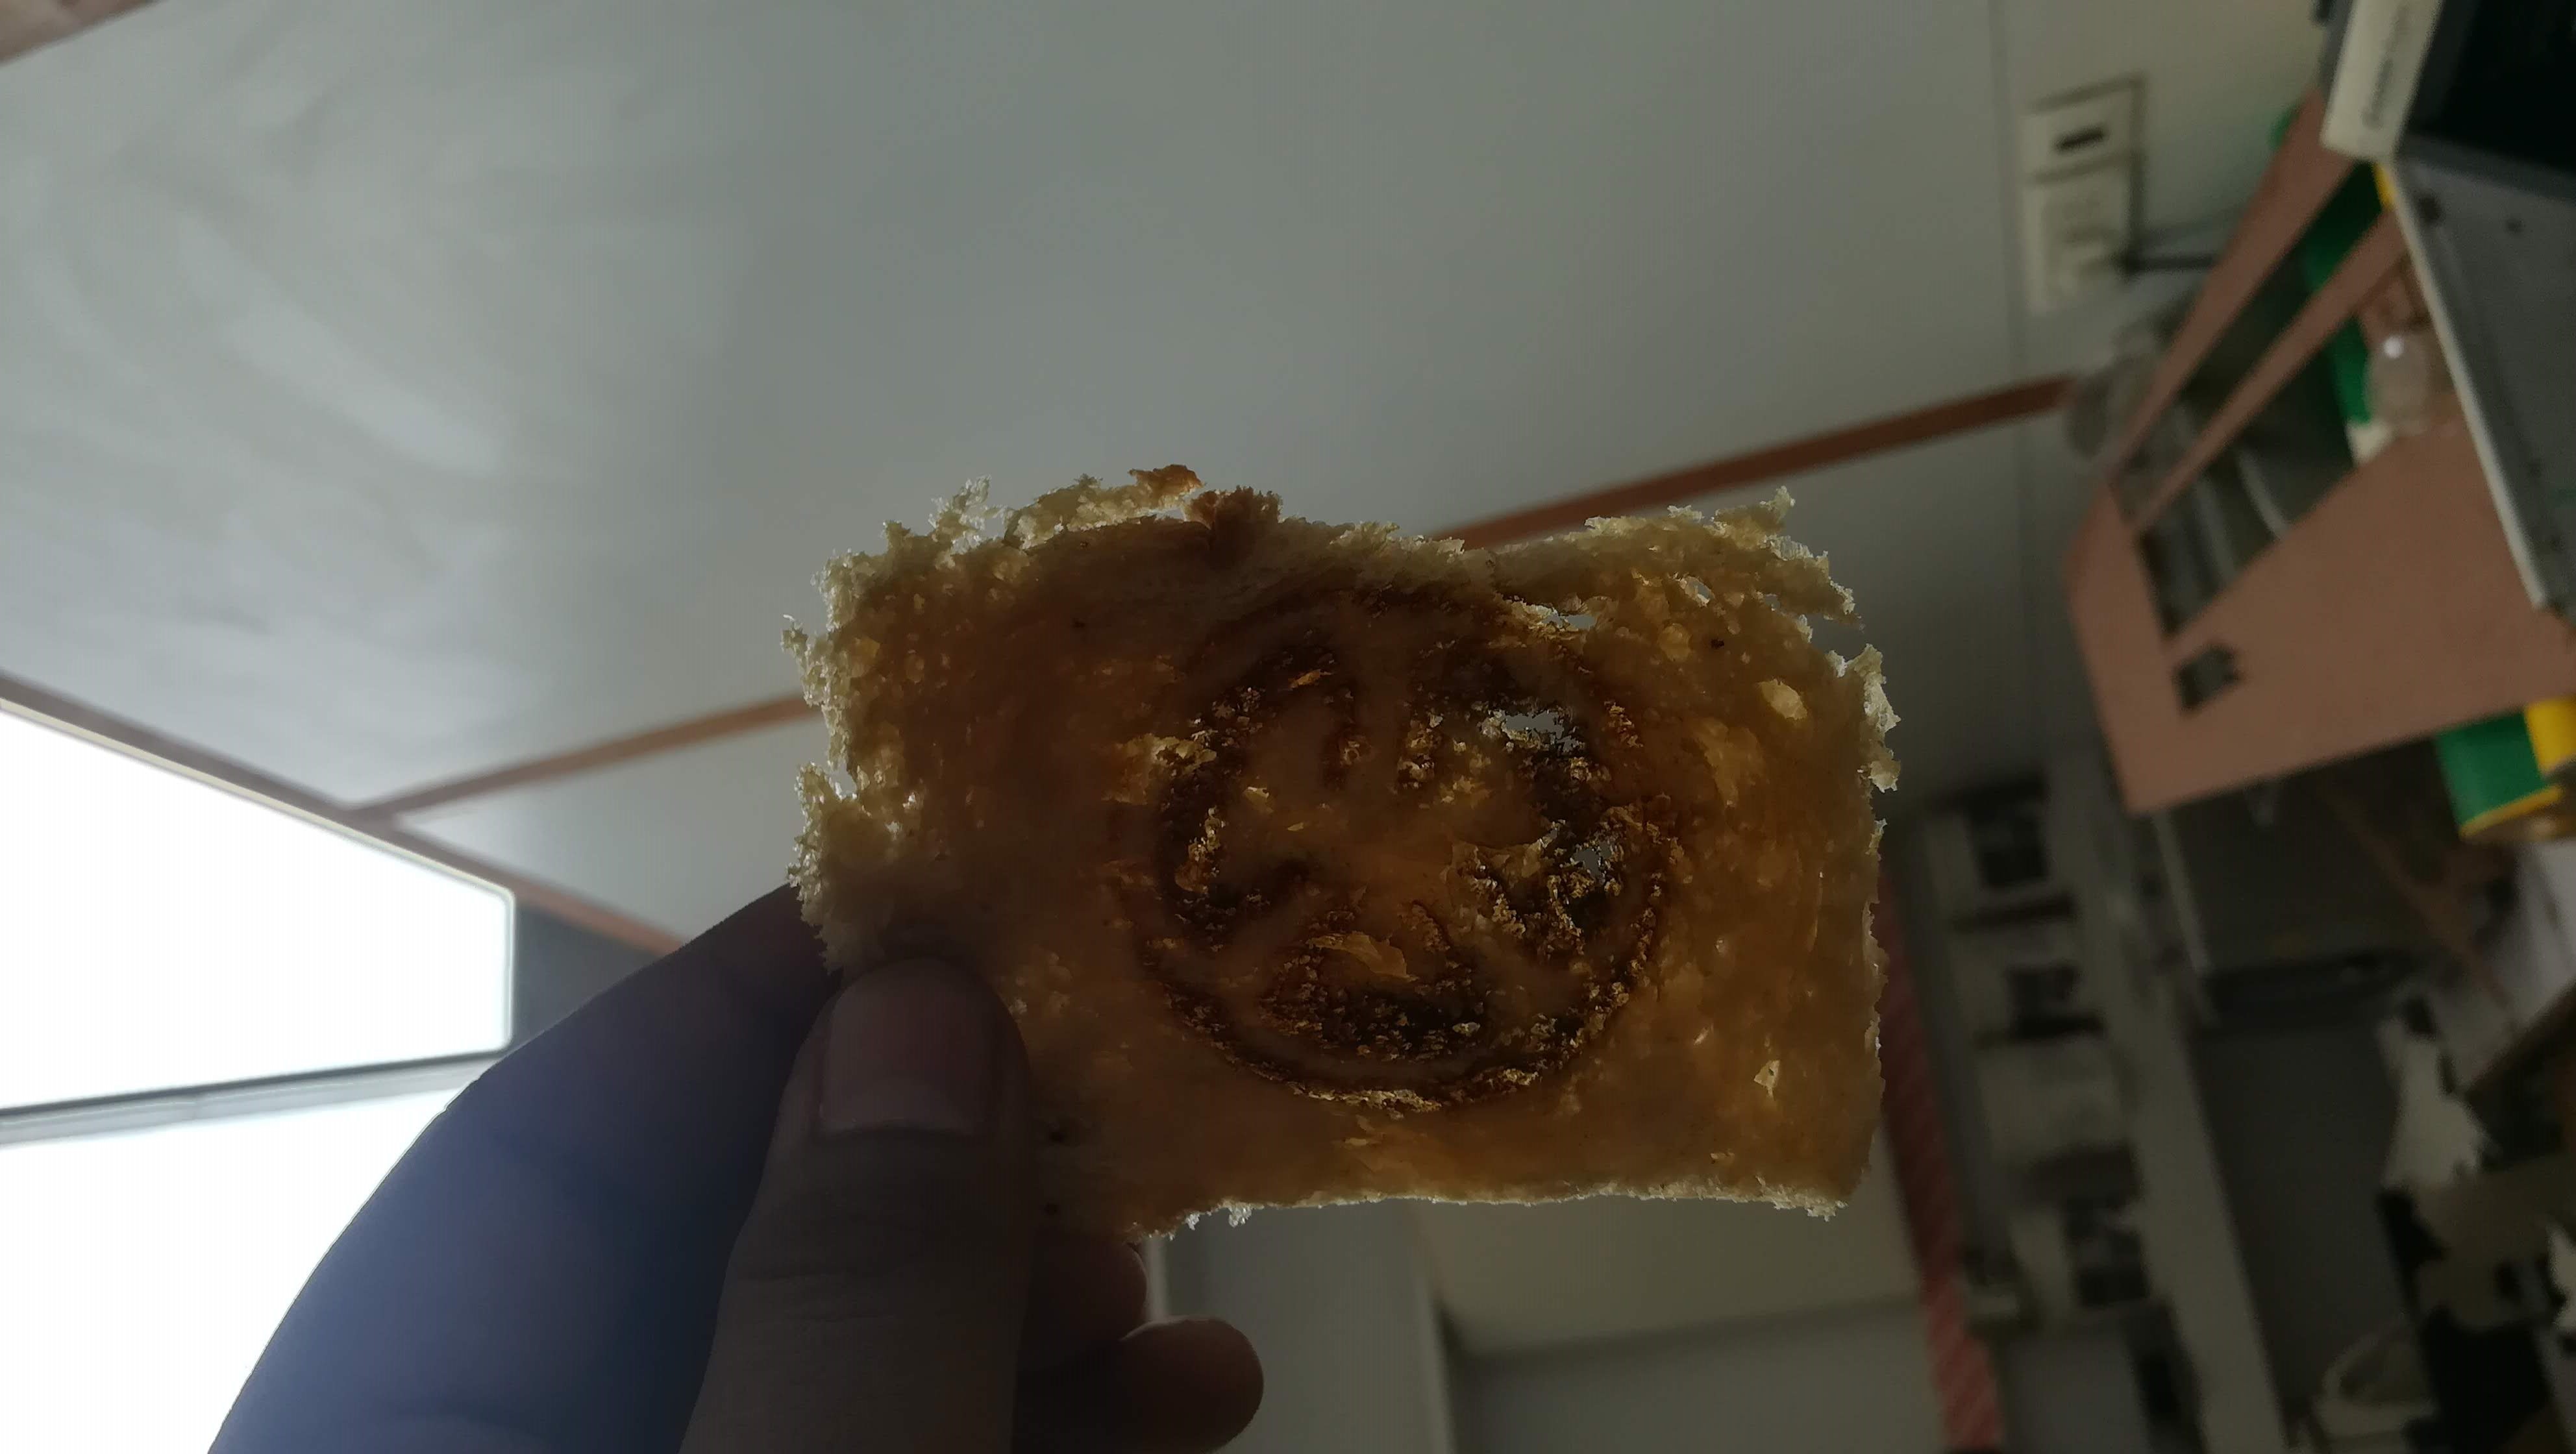
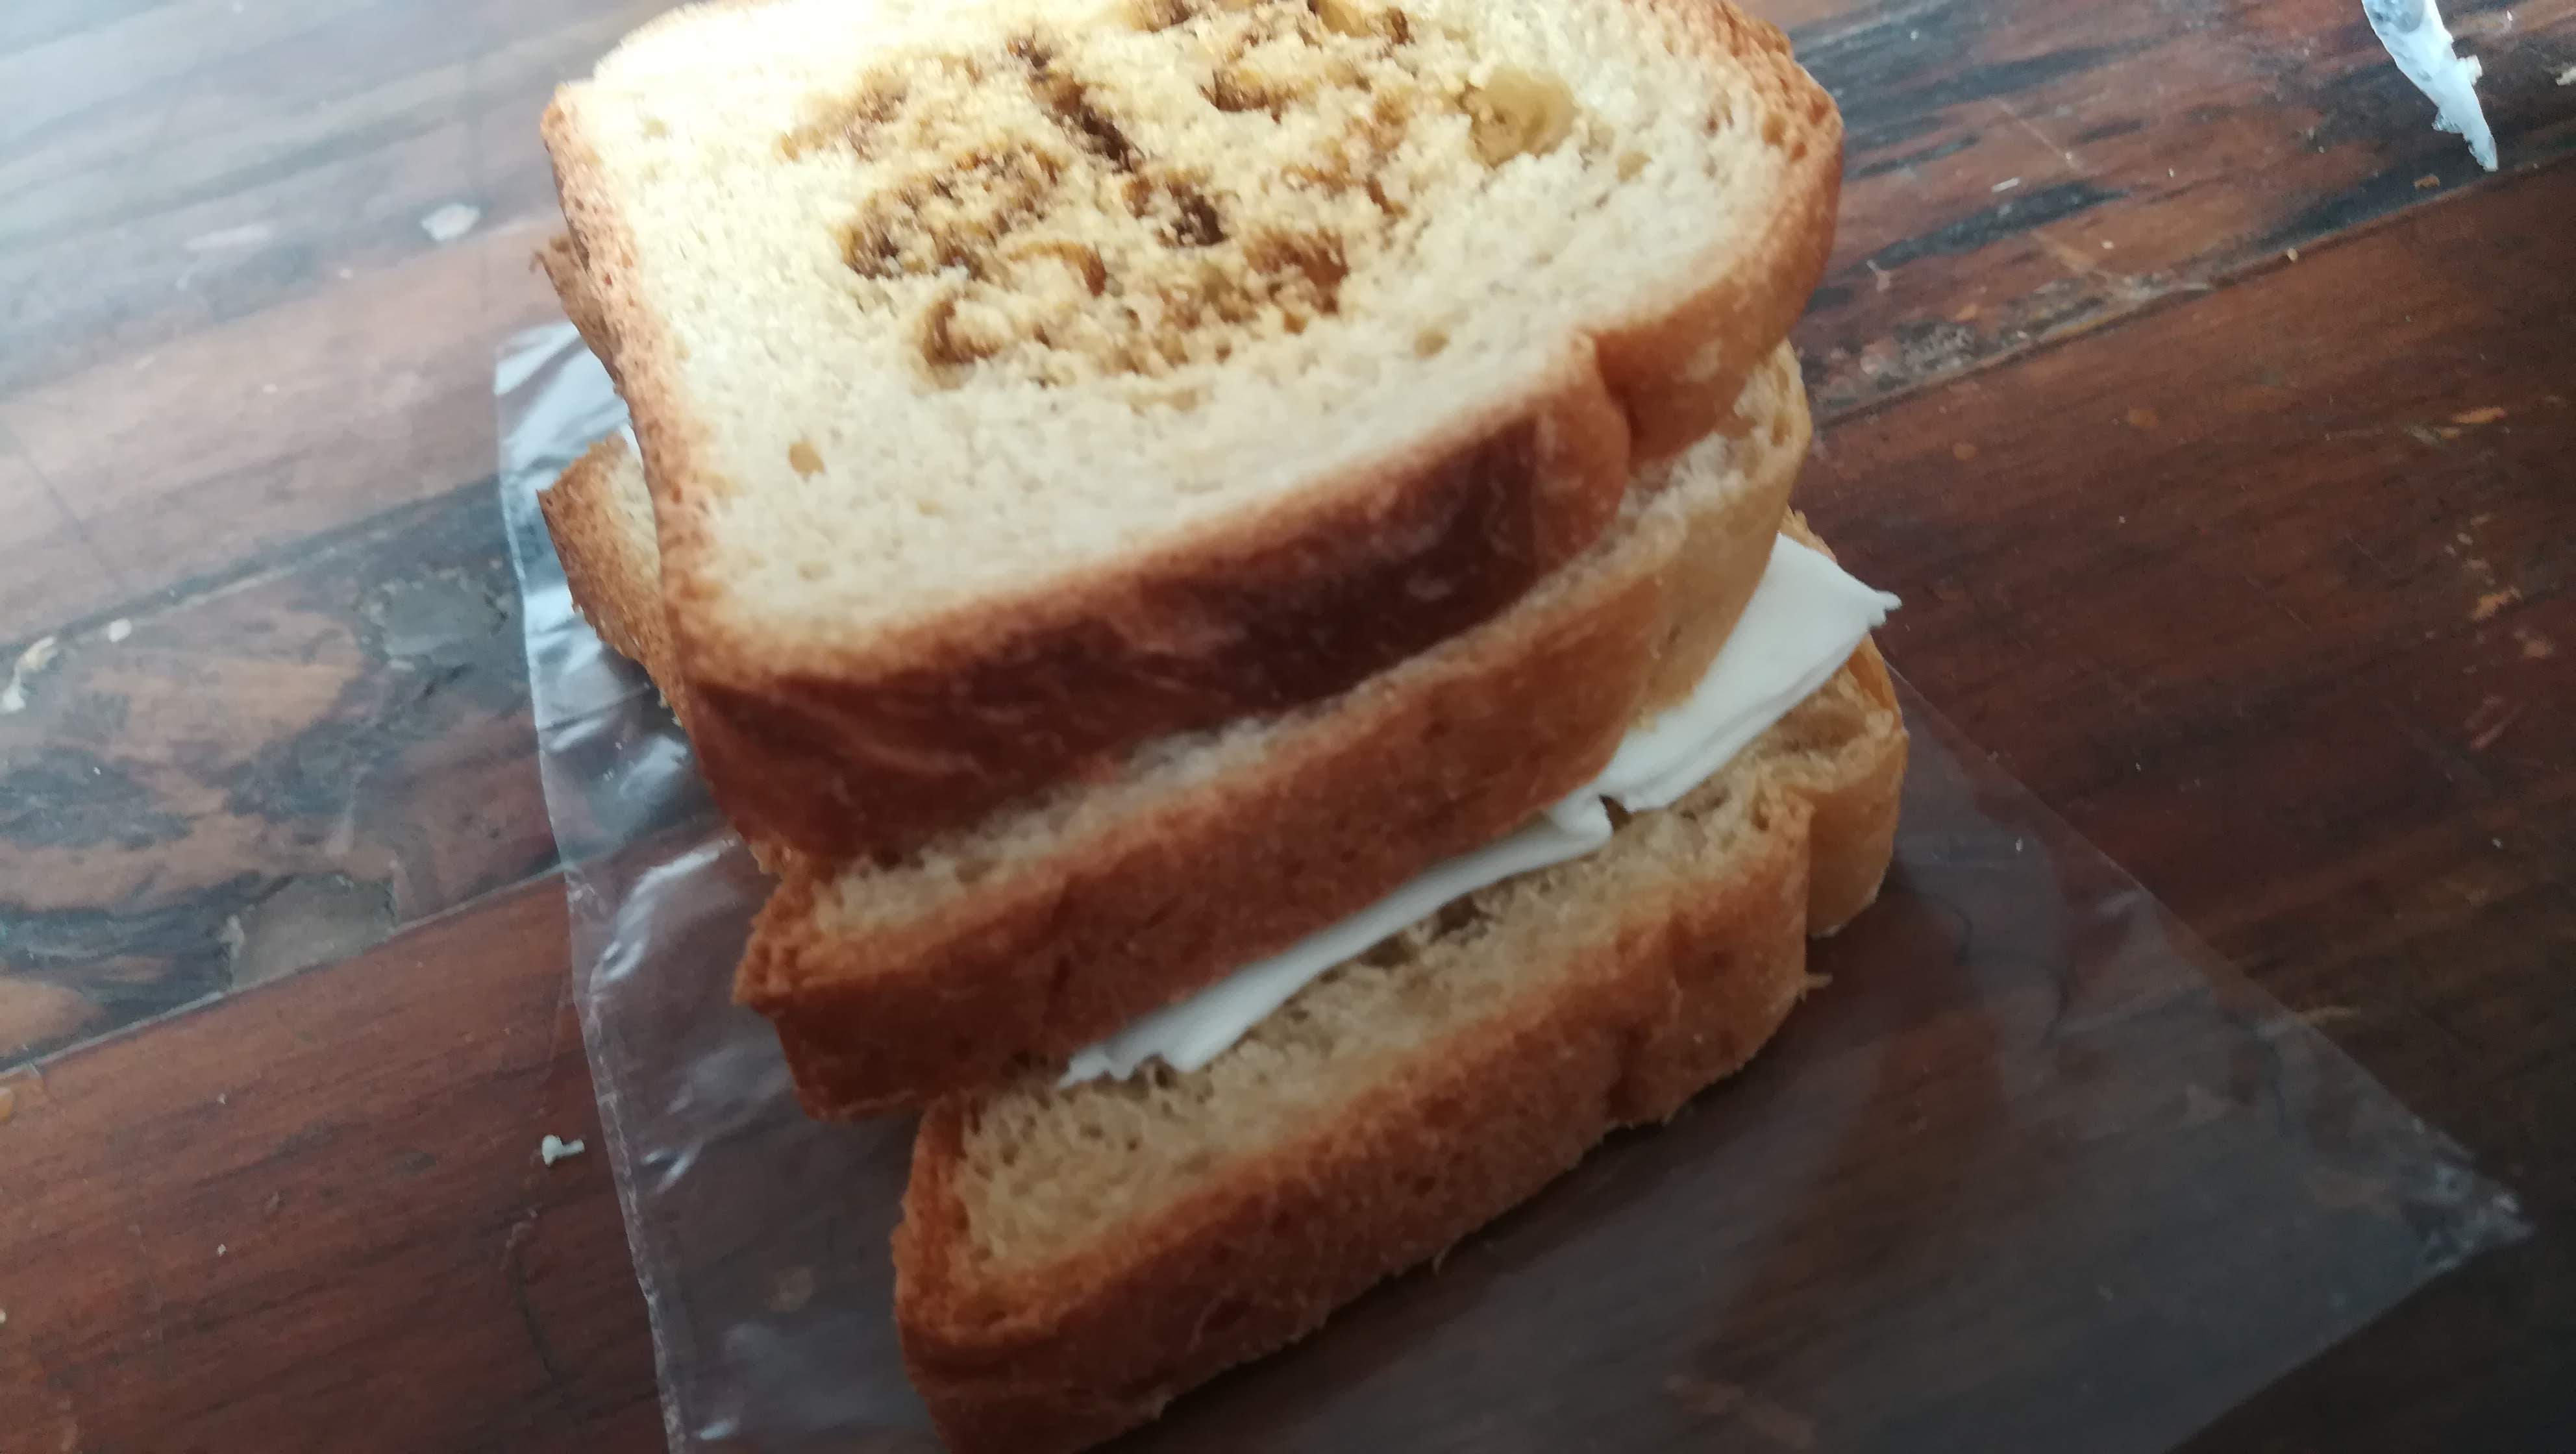
- Lets prepare and decorate the food to serve or eat.
-
Finally Yummy Cheese Sandwich with Wheat Brown bread.
-
This is Whole processes which i follow to engraving food,.
WHAT IS SCREEN PRINTING? A STEP-BY-STEP GUIDE
-
Screen printing is the process of pressing ink through a stencilled mesh screen to create a printed design. It’s a popular technique used in a whole range of different industries, so even if you’ve never heard of the term before today, it’s likely that you’ve worn or used a screen-printed product at some point without even realising. The process is sometimes called serigraphy or silk screen printing, but all of these names refer to the same basic method.
-
Screen printing is an effective technique for creating bold canvases, posters and artwork, but the method can also be used to print fabrics and textiles, so it’s great for creating all sorts of custom clothing and products
What is screen printing?
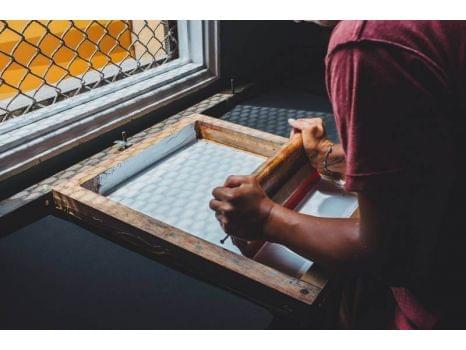
Screen printing is the process of transferring a stencilled design onto a flat surface using a mesh screen, ink and a squeegee. Fabric and paper are the most commonly screen-printed surfaces, but with specialised inks it’s also possible to print onto wood, metal, plastic, and even glass. The basic method involves creating a stencil on a fine mesh screen, and then pushing ink (or paint, in the case of artwork and posters) through to create an imprint of your design on the surface beneath.
The process is sometimes called ‘silk screening’ or ‘silk screen printing’ and while the actual printing process is always fairly similar, the way the stencil is created can vary, depending on the materials used. Different stencilling techniques include:
- Using masking tape or vinyl to cover the desired areas of the screen.
- Painting the stencil onto the mesh using ‘screen blockers’ such as glue or lacquer.
- Using a light-sensitive emulsion to create a stencil, which is then developed in a similar way to a photograph (you can read more about this in our step-by-step guide).
- Designs made using the screen printing technique may use just one shade of ink, or several. In the case of multicoloured items, the colours must be applied in individual layers, using separate stencils for each ink.
Why is screen printing used?
-
One of the reasons that the screen printing technique is so widely used is because it produces vivid colours, even on darker fabrics. The ink or paint also lies in layers on the surface of the fabric or paper, which gives the print a pleasingly tactile quality.
-
The technique is also favoured because it allows the printer to easily reproduce a design multiple times. Because the same stencil can be used to replicate a design again and again, it’s very useful for creating multiple copies of the same garment or accessory. This makes screen printing a very efficient technique for creating large batches of custom clothing for sports teams or work uniforms.
-
When carried out using professional equipment by an experienced printer, it’s also possible to create intricate multicoloured designs. While the complexity of the process does mean there’s a limit to the number of colours the printer can use, it does allow for more intense colouring than is possible to achieve with digital printing alone.
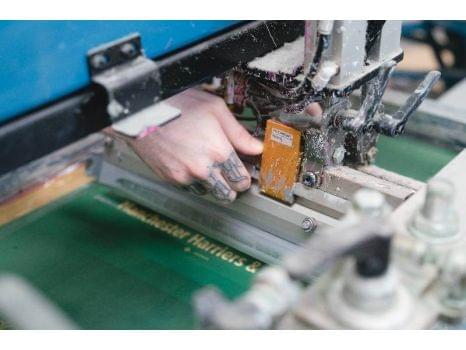
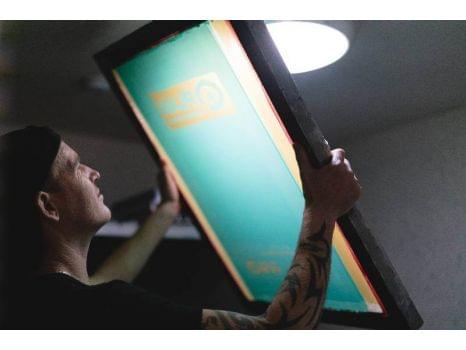
The screen printing process step by step
-
There are different methods of screen printing, but they all involve the same basic technique. The form of printing we’ll talk about below uses a special light-reactive emulsion to create a custom stencil; this tends to be the most popular type of commercial printing, as it can be used to make intricate stencils.
-
Here, we’ll talk you through the screen printing process step by step. We’ve also put together a video of the process taking place in our workshop, so you can see how we create our top-quality custom screen-printed clothing.
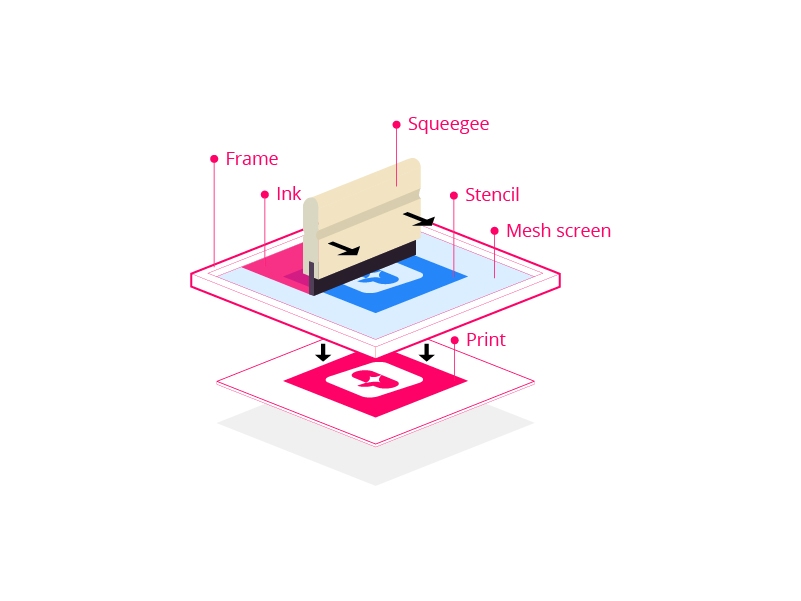
STEP 1: THE DESIGN IS CREATED
Step 2: The screen is prepared
Step 3: The emulsion is exposed
Step 4: The emulsion is washed off, creating the stencil
Step 5: The Item Is Prepared For Print
Step 6: The ink is pressed through the screen onto the item
Step 7: The product is dried, checked and finished
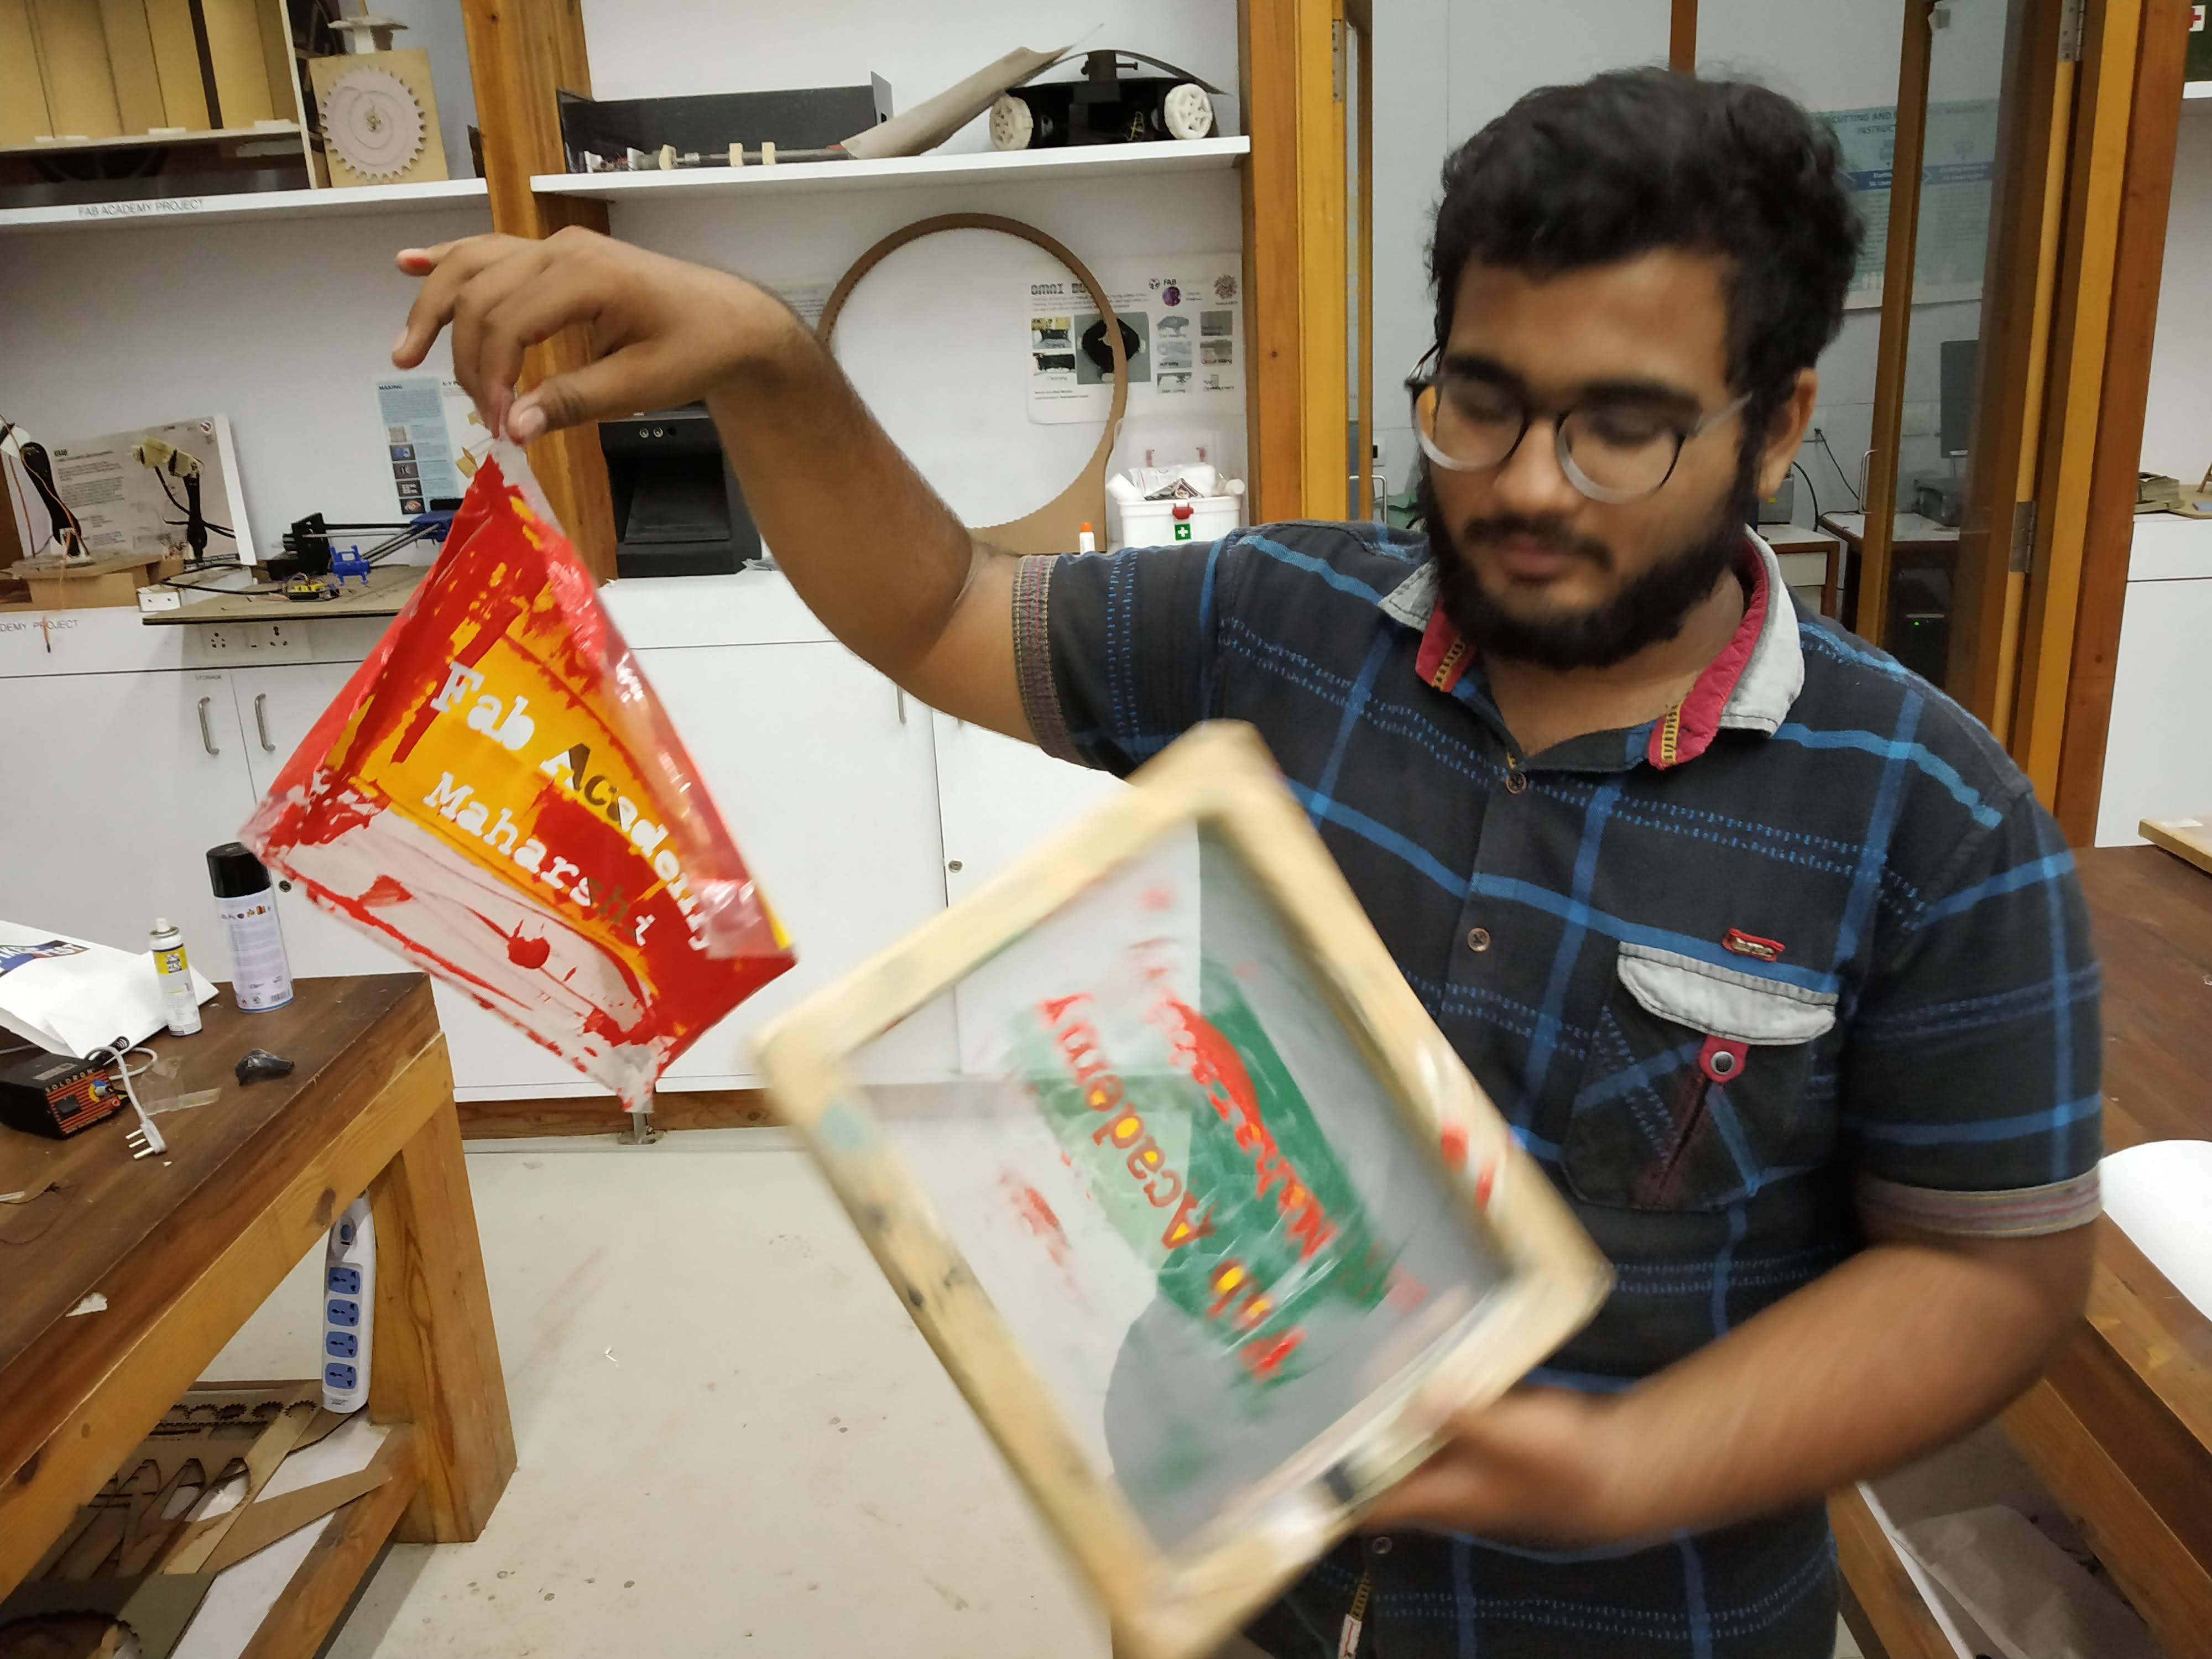
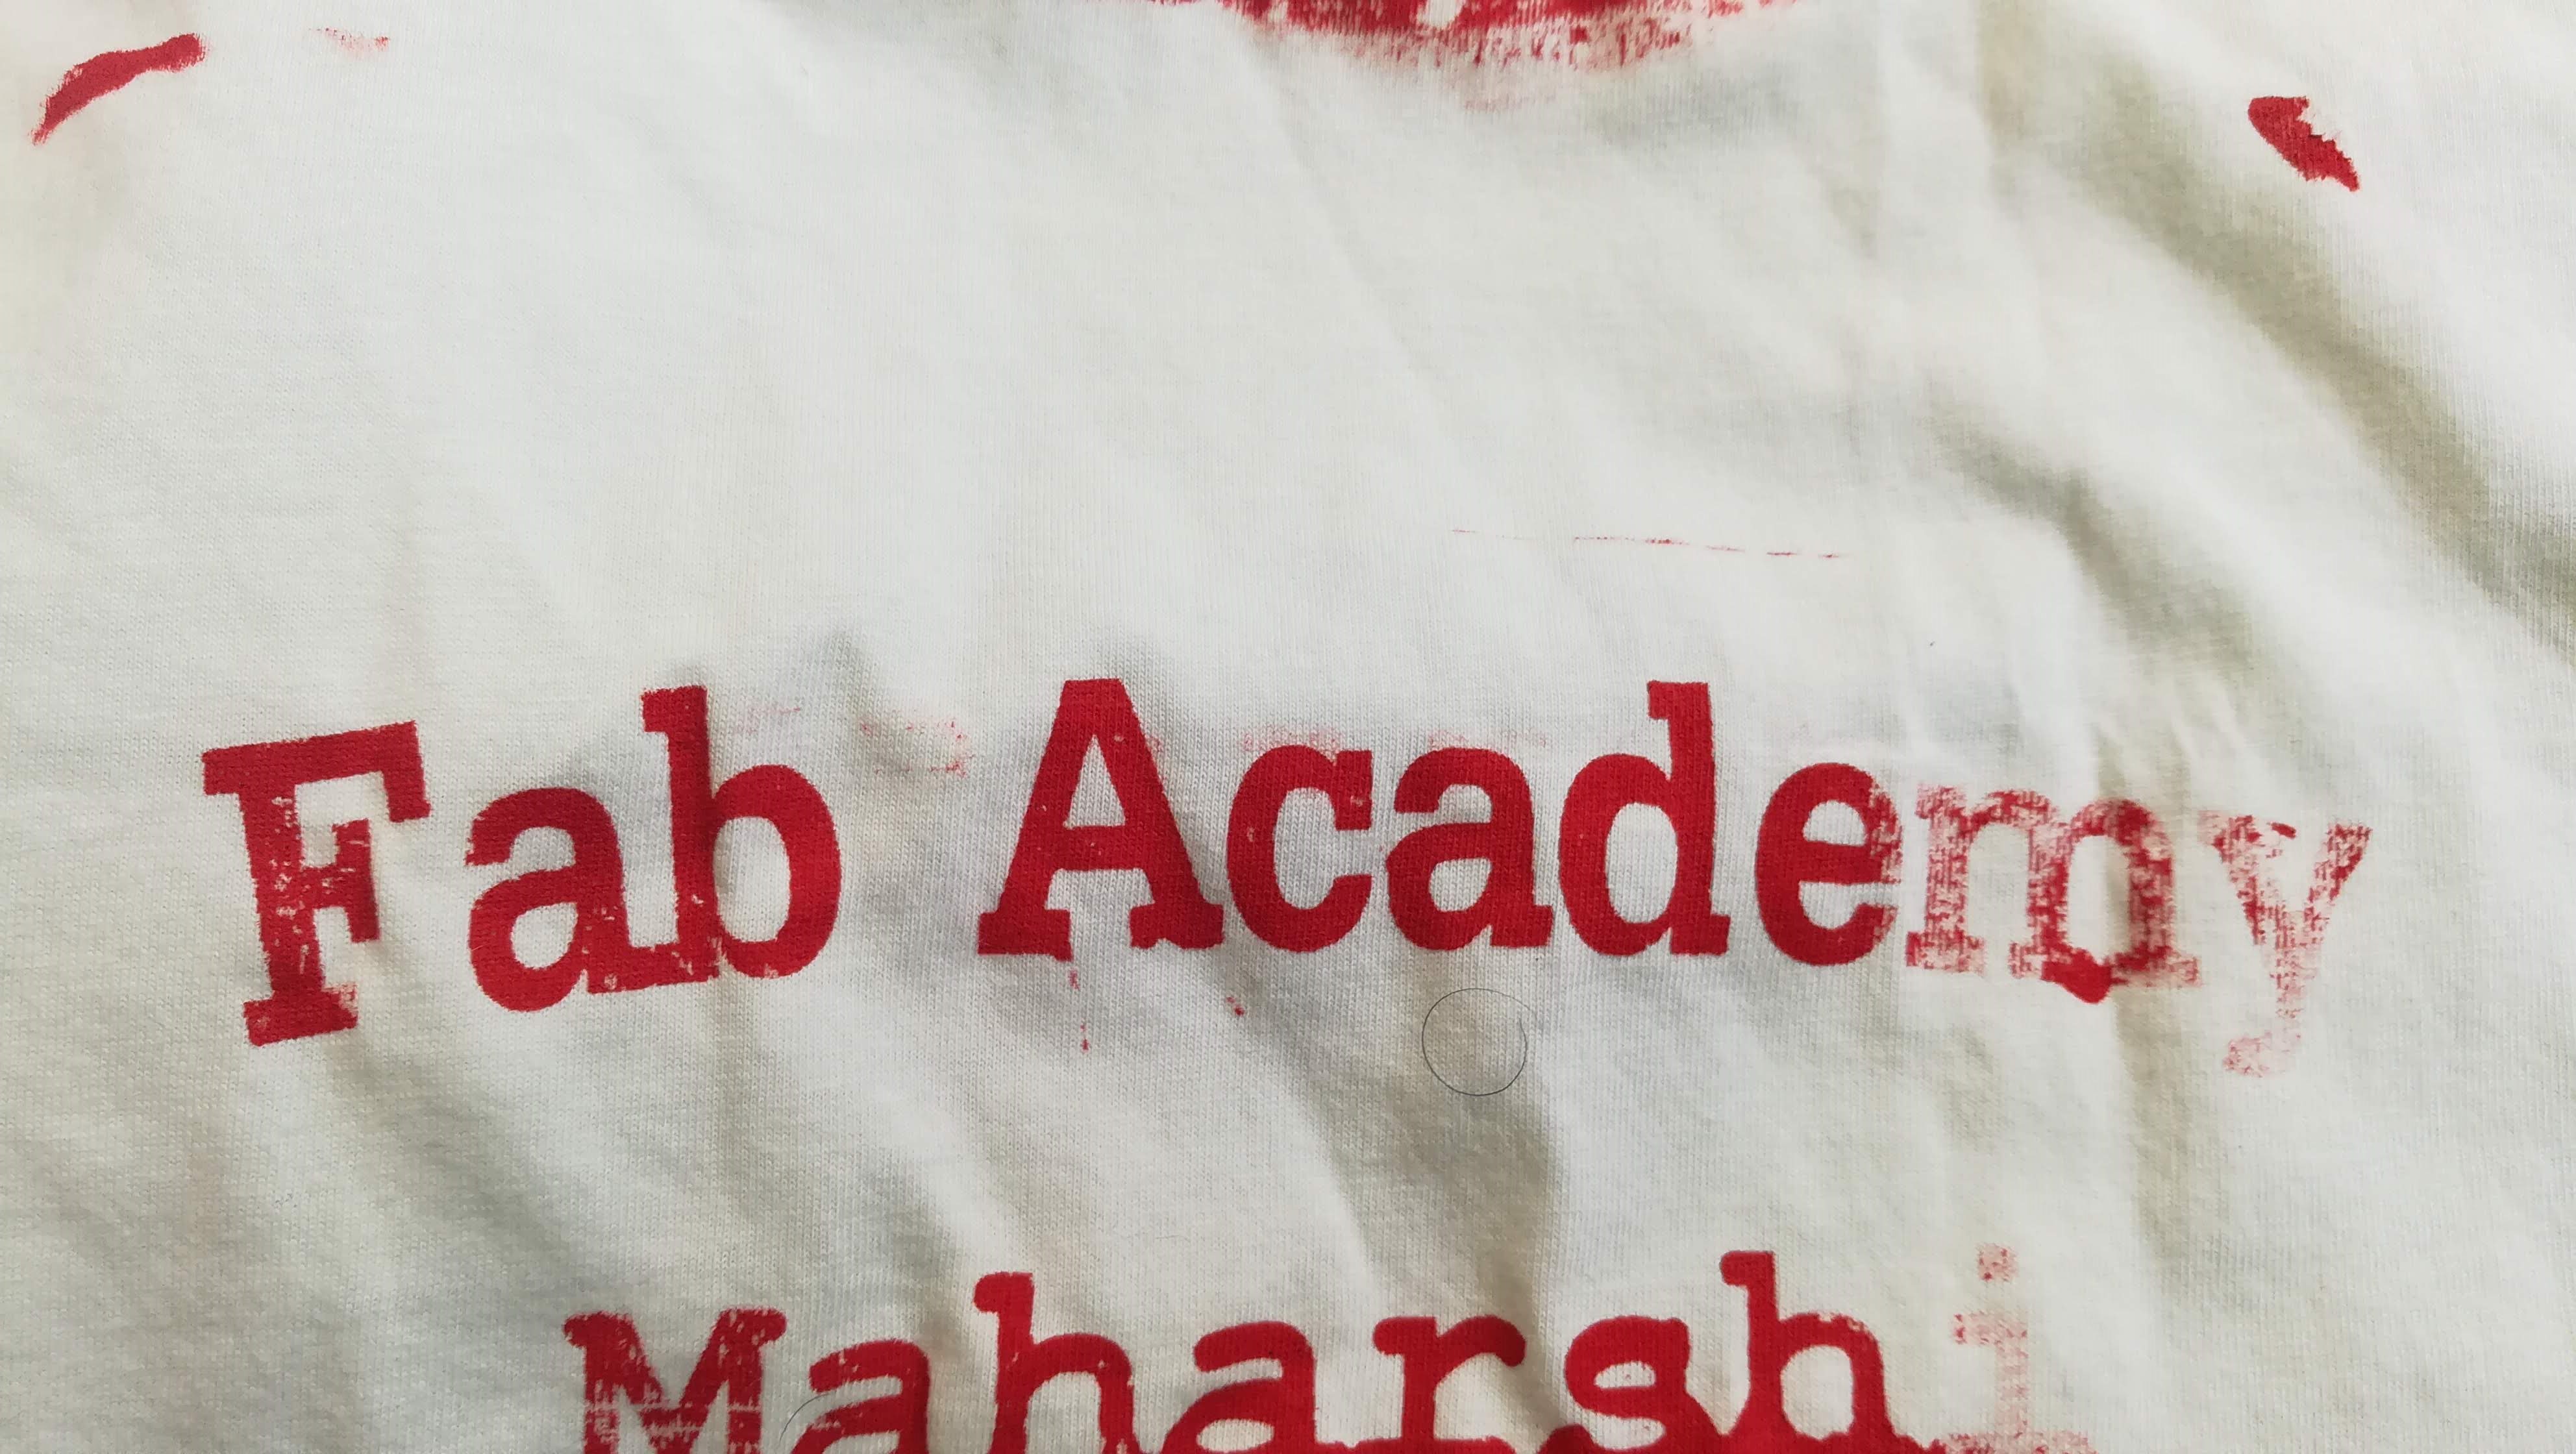
Random Testing
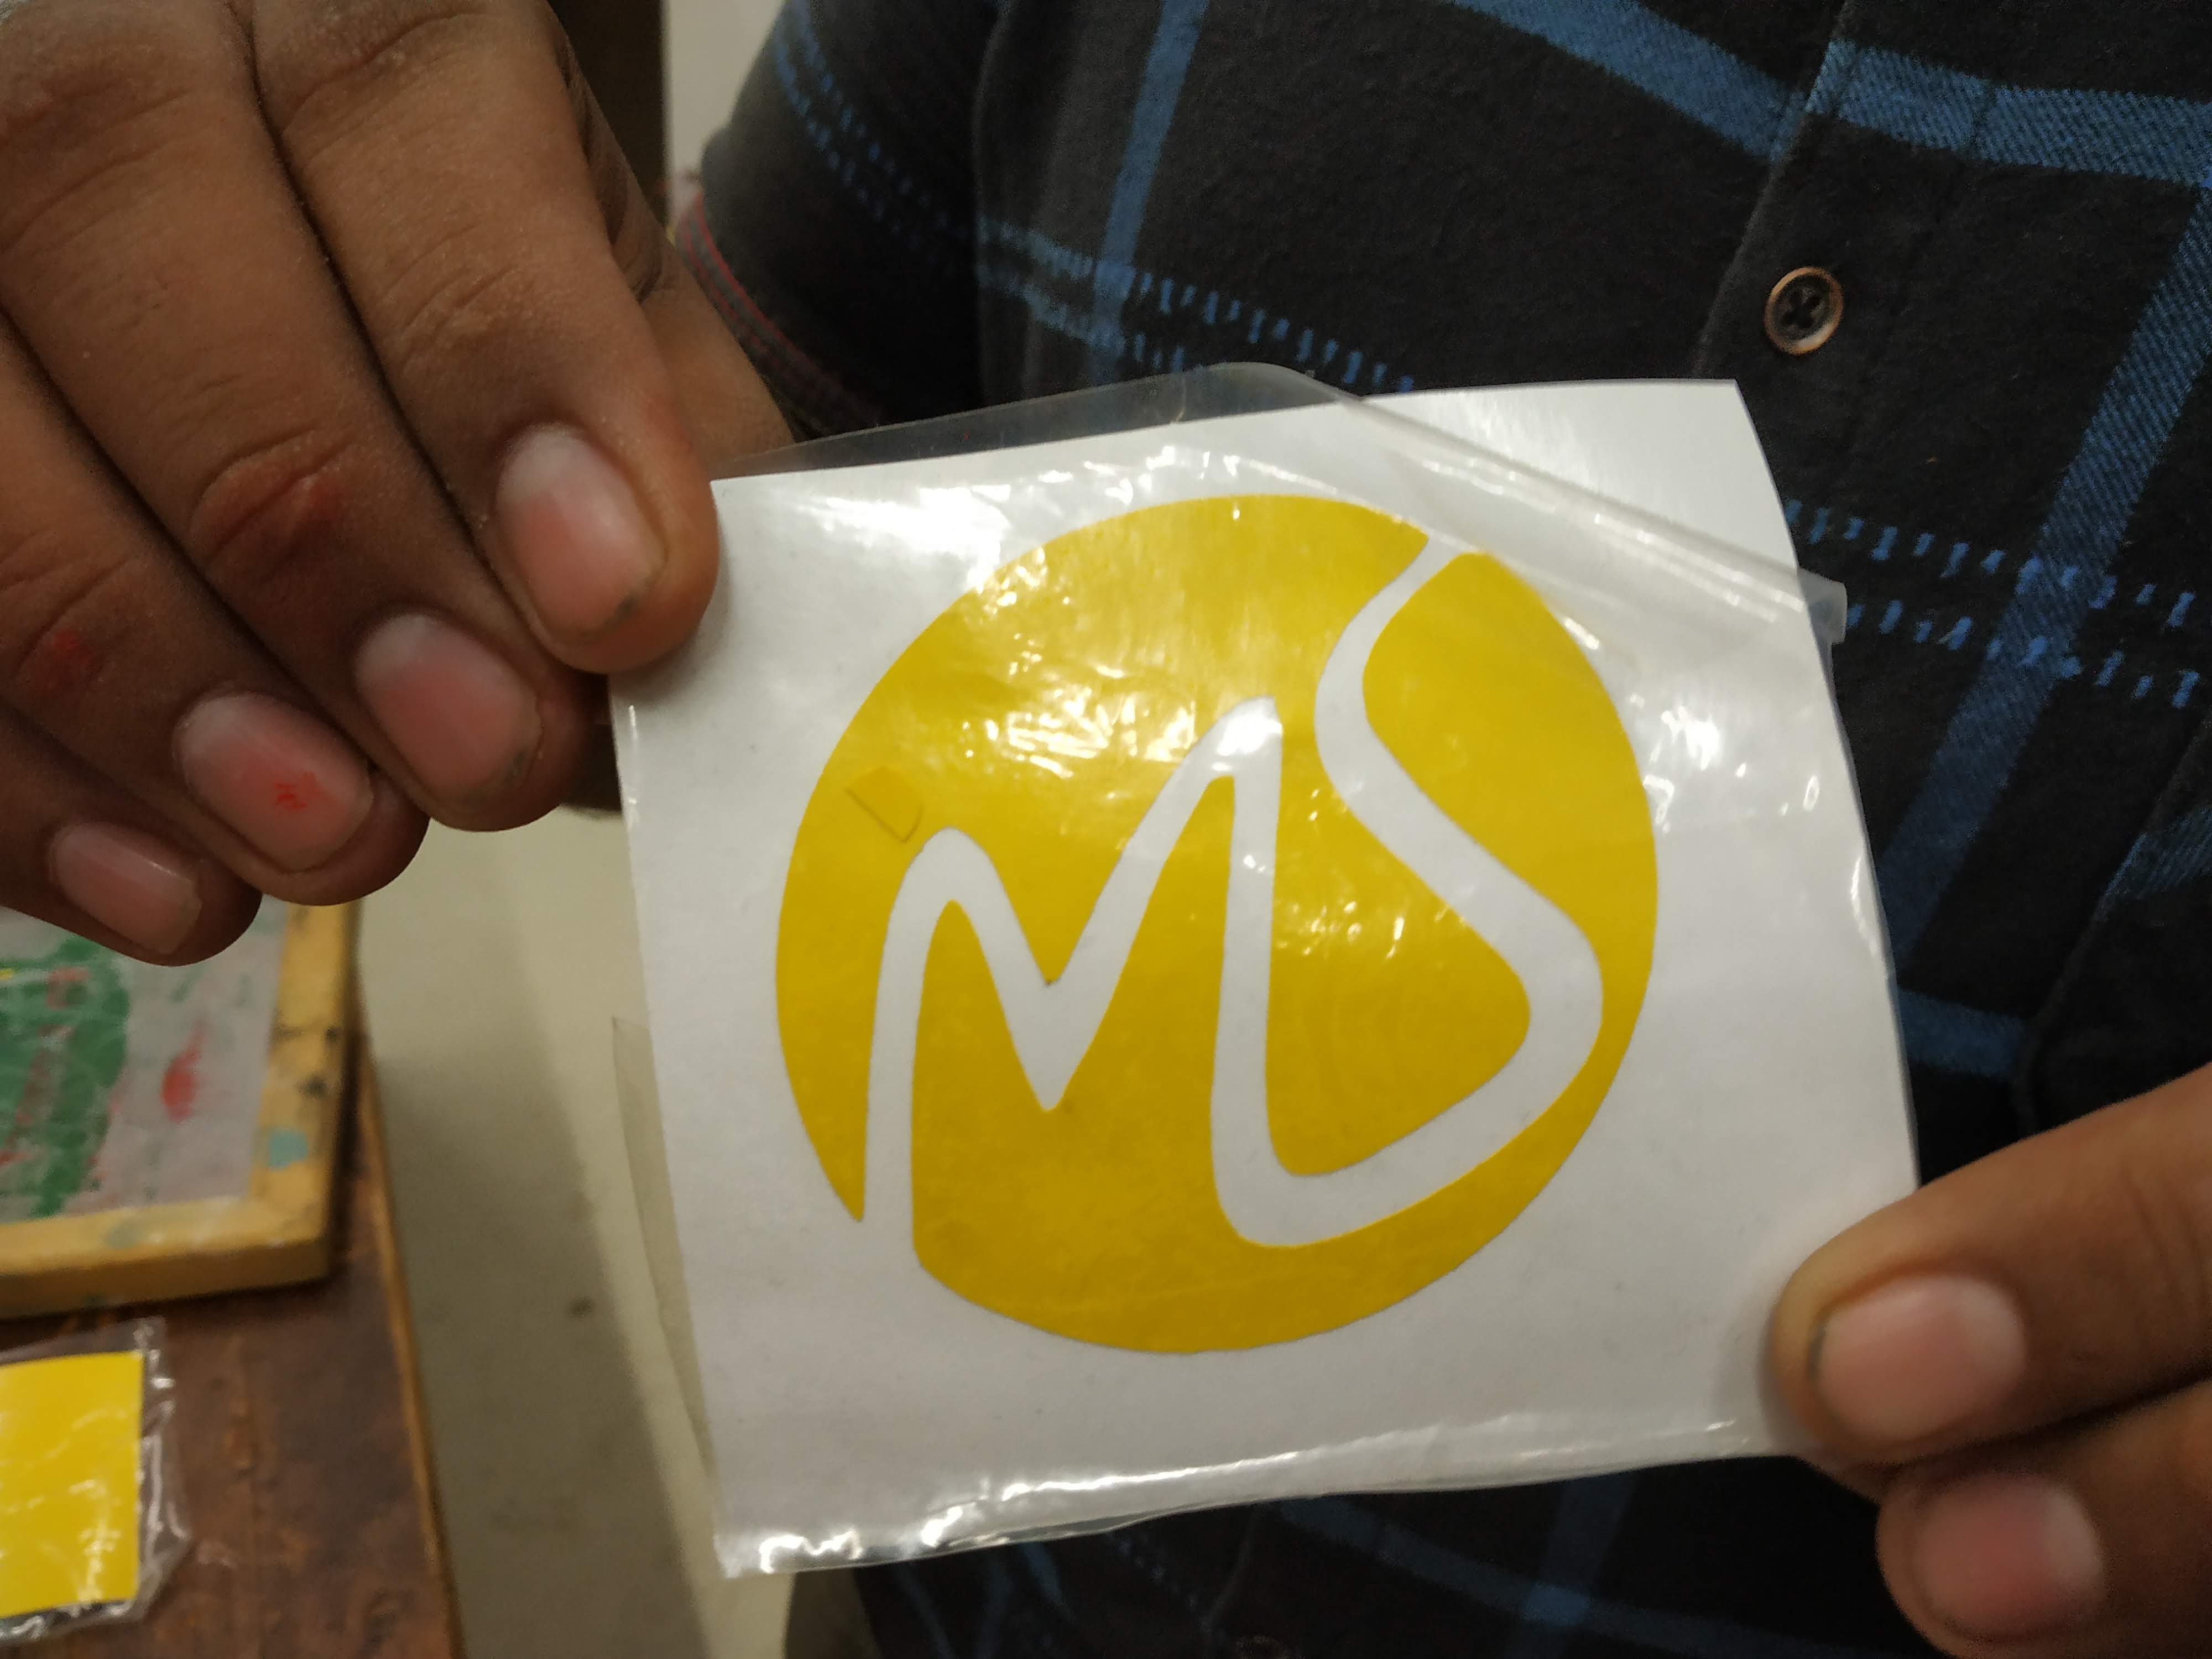
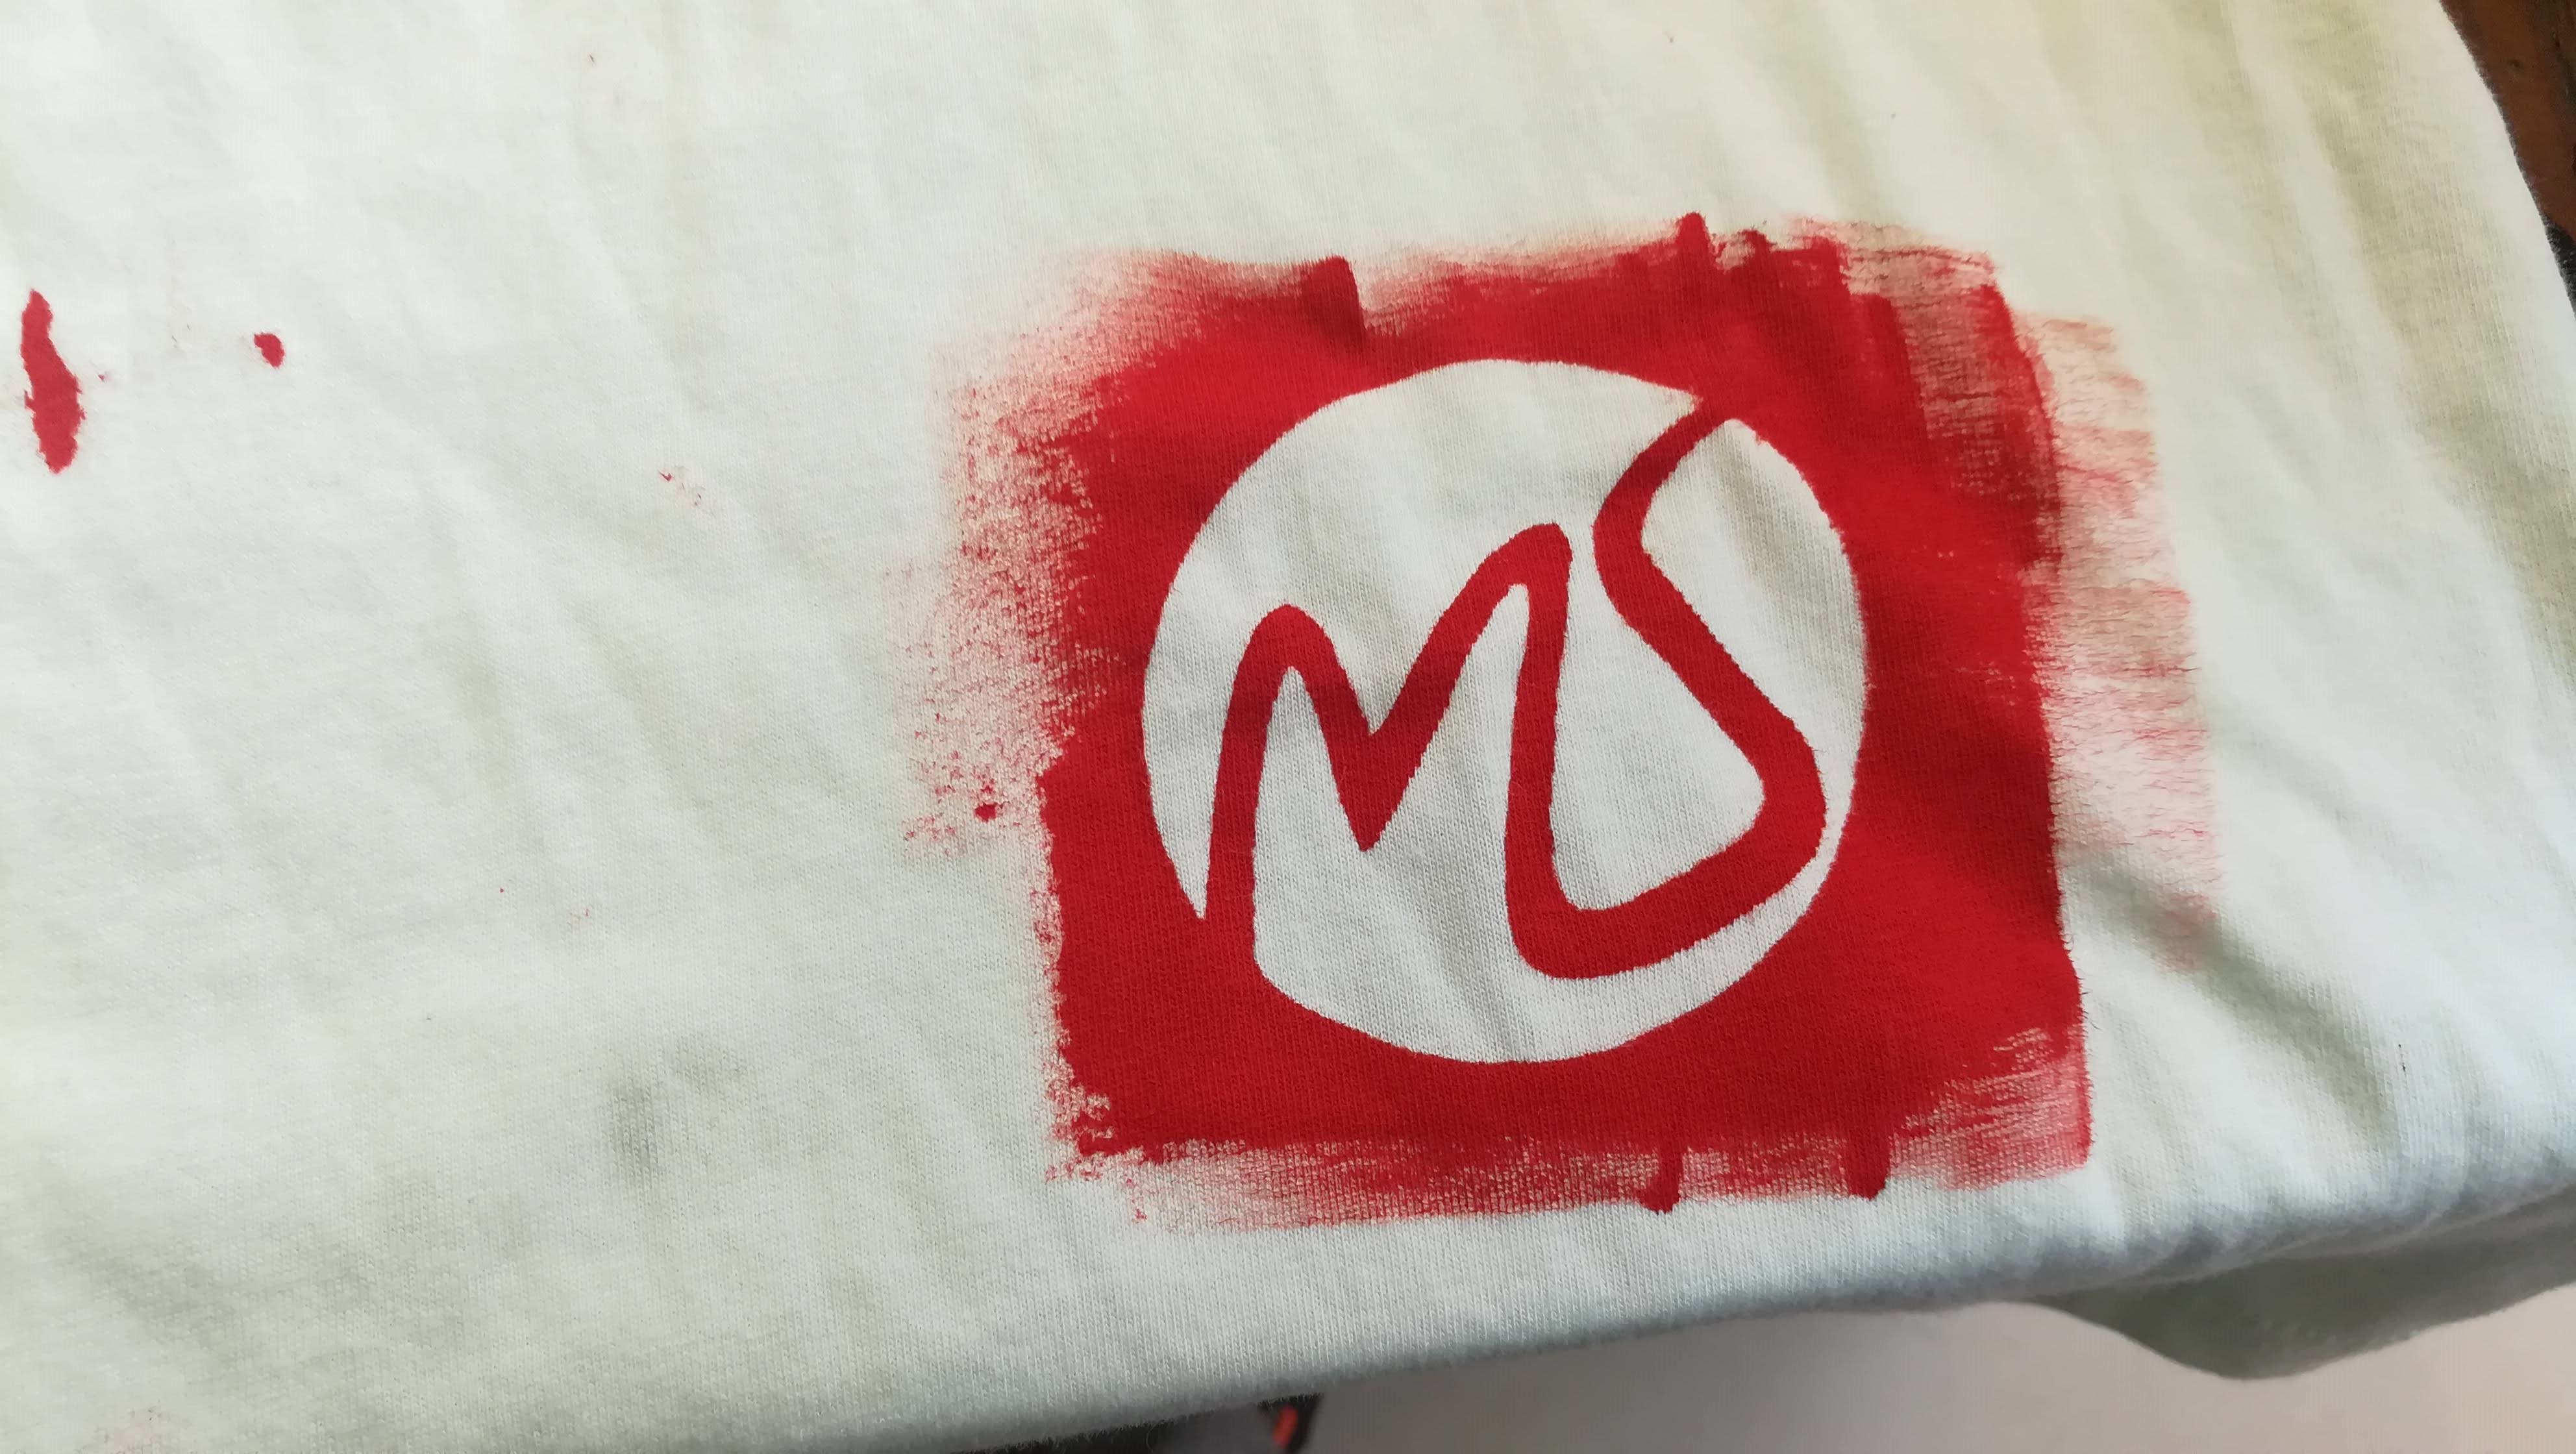
- Colour testing on T-shirt
Final Implementation Using Frame
Other Trial