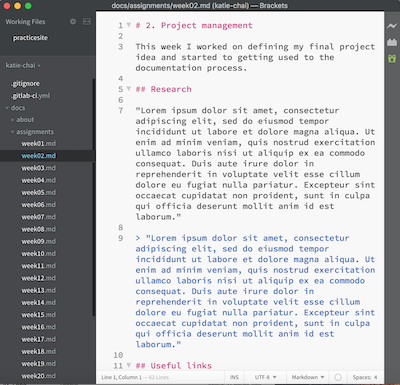
2. Project management
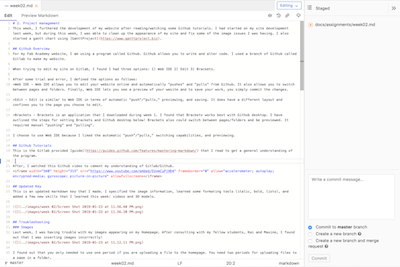
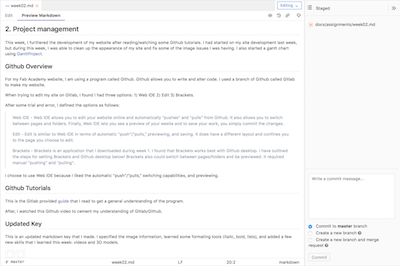
This week, I furthered the development of my website after reading/watching some Github tutorials. I had started on my site development last week, but during this week, I was able to clean up the appearance of my site and fix some of the image issues I was having. I also started learning about gantt charts using GanttProject.
Github Overview
For my Fab Academy website, I am using a program called Github. Github allows you to write and alter code. I used a branch of Github called Gitlab to make my website.
When trying to edit my site on Gitlab, I found I had three options: 1) Web IDE 2) Edit 3) Brackets.
After some trial and error, I defined the options as follows:
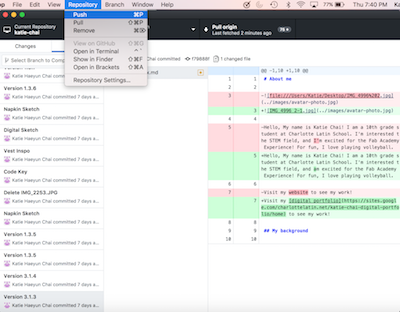
Web IDE - Web IDE allows you to edit your website online and automatically “pushes” and “pulls” from Github. It also allows you to switch between pages and folders. Finally, Web IDE lets you see a preview of your wesite and to save your work, you simply commit the changes.
Edit - Edit is similar to Web IDE in terms of automatic “push”/”pulls,” previewing, and saving. It does have a different layout and confines you to the page you choose to edit.
Brackets - Brackets is an application that I downloaded during week 1. I found that Brackets works best with Github desktop. I have outlined the steps for setting Brackets and Github desktop below! Brackets also could switch between pages/folders, but I could not find a way to easily preview it like the Gitlab options provided. Plus, it required manual “pushing” and “pulling”. Still, this was the most powerful option.
I choose to use Web IDE and brackets because I liked the automatic “push”/”pulls,” switching capabilities, and previewing. While brackets is more powerful, Web IDE is more convenient in my opinion. I will probably switch between the two during the course
Github Tutorials
This is the Gitlab provided guide that I read to get a general understanding of the program.
After, I watched this Github video to cement my understanding of Gitlab/Github.
Updated Key
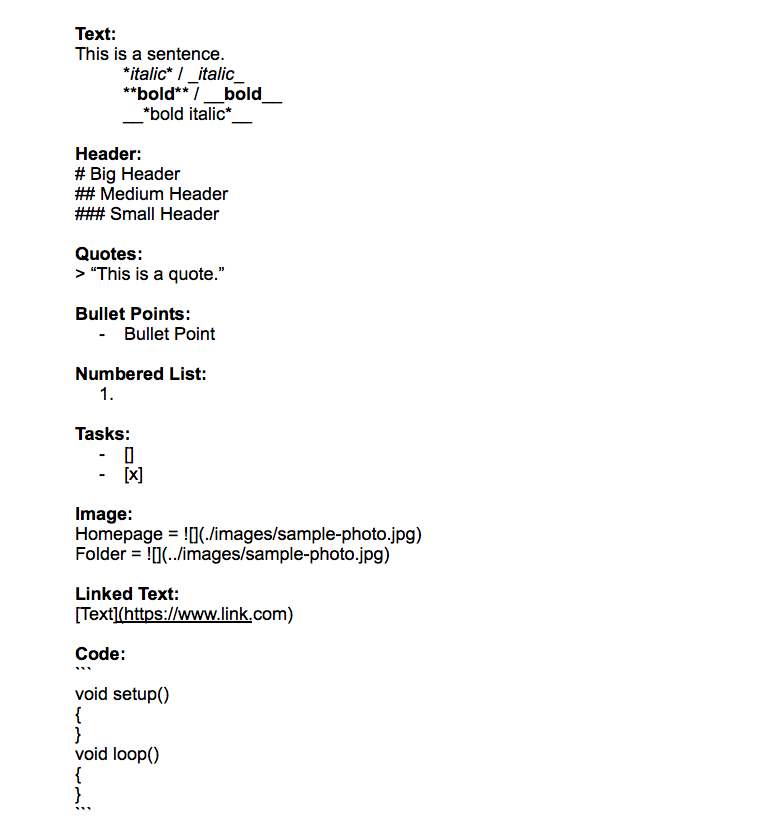
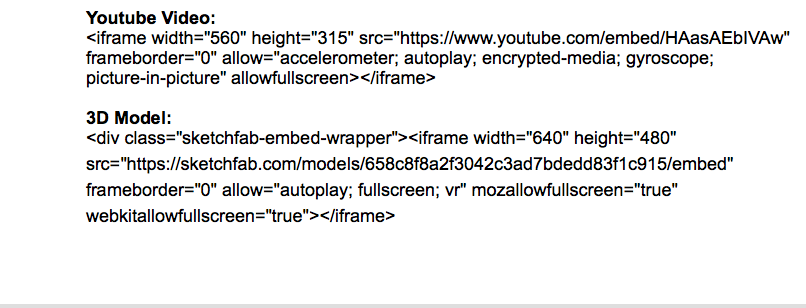
This is an updated markdown key that I made. I specified the image information, learned some formating tools (italic, bold, lists), and added a few new skills that I learned this week: videos and 3D models. (I did not insert a 3D model this week. I only used a picture)
Troubleshooting
Images
Last week, I was having trouble with my images appearing on my Homepage. After consulting with my fellow students, Kai and Maxine, I found out that I was inserting images incorrectly!
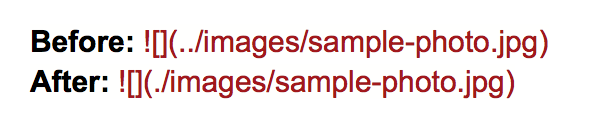
I found out that you only needed to use one period if you are uploading a file to the homepage. You need two periods for uploading files to a page in a folder.
Youtube
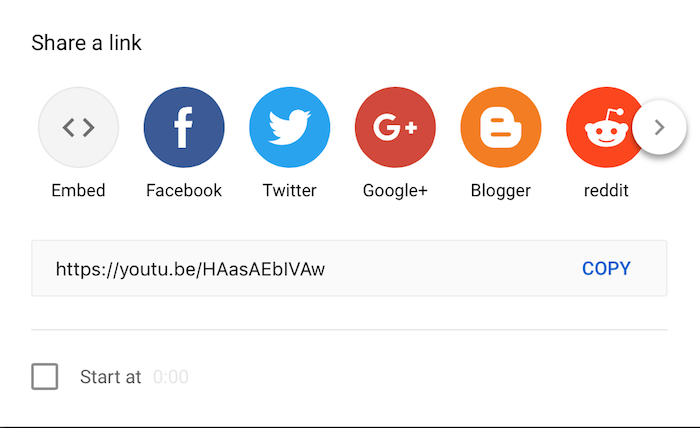
This week, I wanted to upload the youtube video tutorials I watched as reference. To upload the videos, I had to get the embedding information from the video. I had to embed a python program for my computer science class and found this process was similar. Here’s how I got my embedding information. After you copy the information, I found that you could just paste it into Github. I practiced by embedding this James’s Charles video, but I took it off my site to save room!

3D Models
In addition to Youtube videos, I started learning how to upload 3D models to Github using embedding information.
Github Desktop
Also, I setup a backup method for editing my website without wifi. Here are the steps that I followed (paraphrased):
-
Download GitHub Desktop. https://desktop.github.com
-
Go to GitLab. https://gitlab.fabcloud.org
-
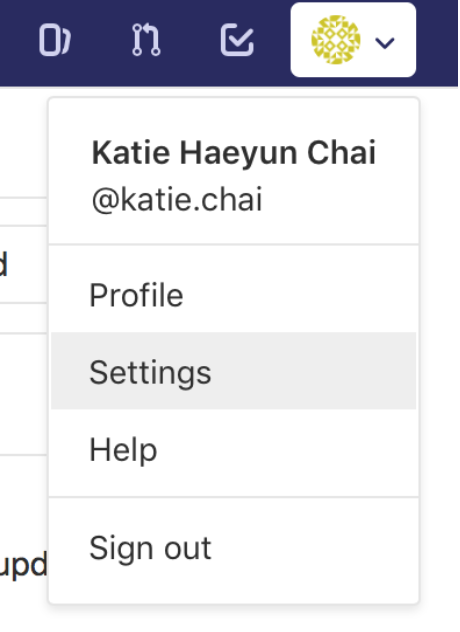
Select settings from your profile picture.
- Select Access Tokens.
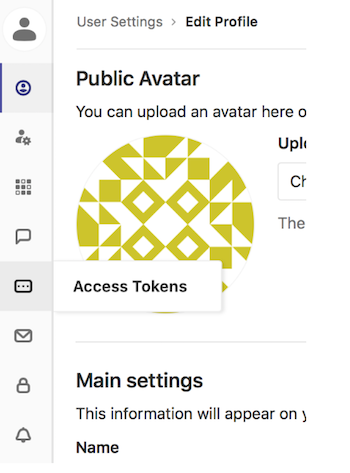
- Create Access Token and store it somewhere permanently!

- Go to your repositories and select HTTPS.
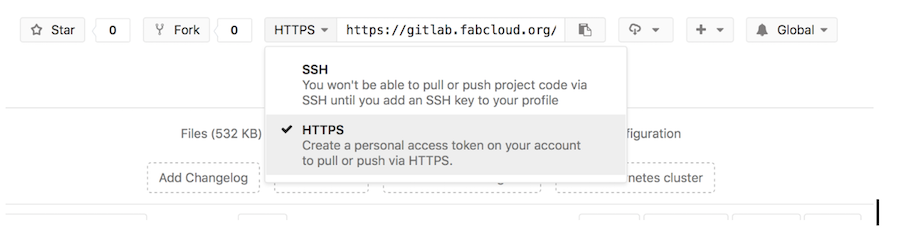
- Copy this link.
- Open GitHub Desktop.
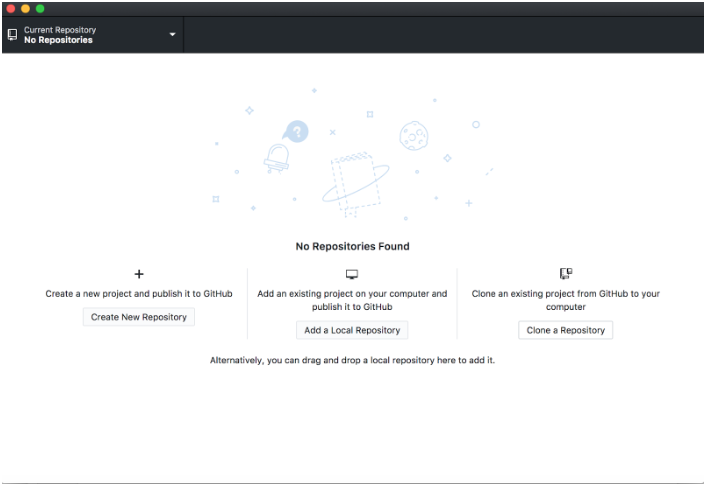
- Select Clone Repository.
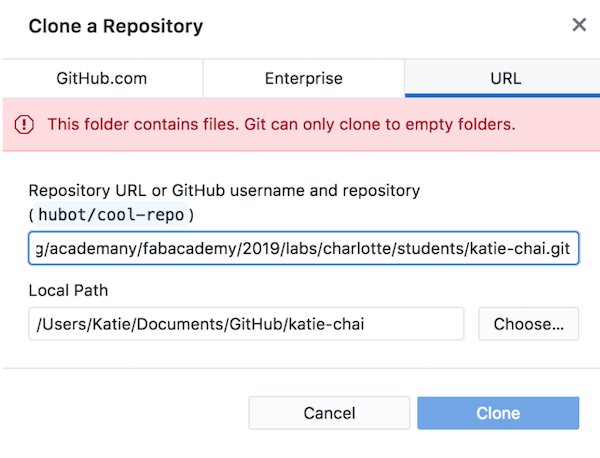
- Paste HTTPS link into the popup.
- Authenticate your account by clicking push.
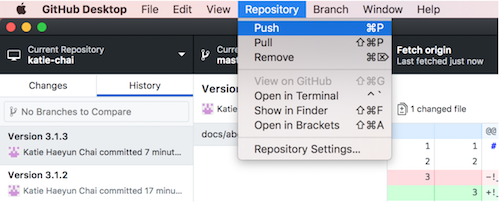
- Put in your username and password (access token).
- Open Brackets.
- Open your project folder.
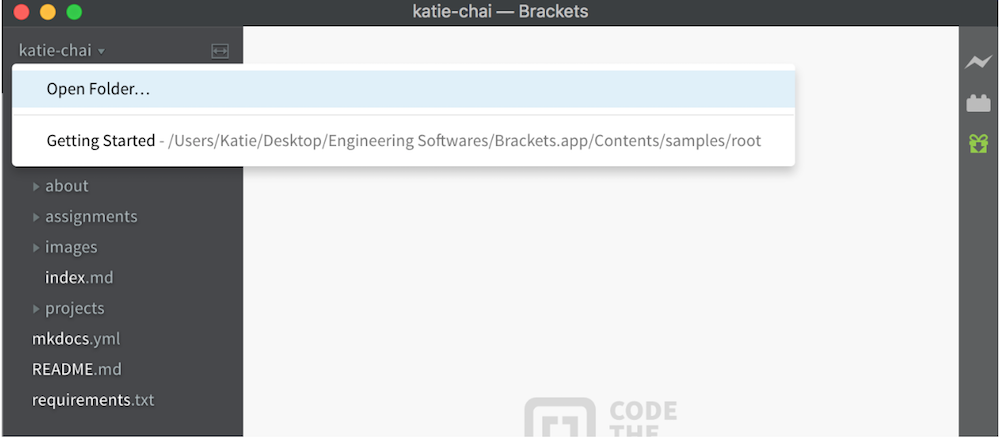
- Edit your website!
HTML
I decided to look at the HTML language in addition to Markdown. One year ago, I worked through the Code Academy HTML lesson, but to refresh my memory, I watched this video.
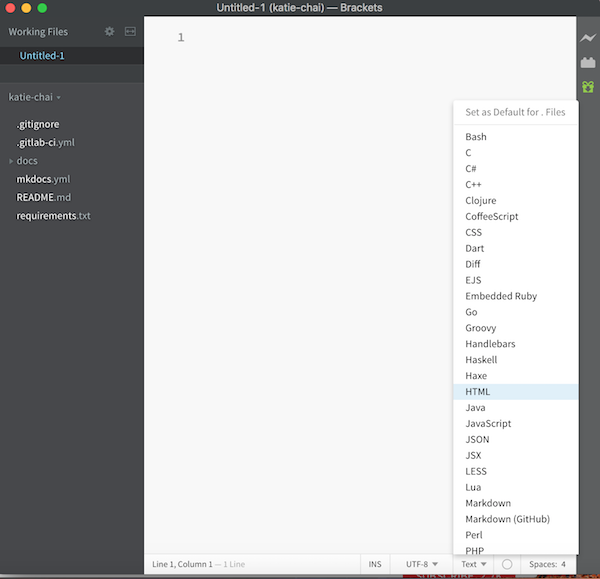
I started by changing the brackets default for .files to HTML.
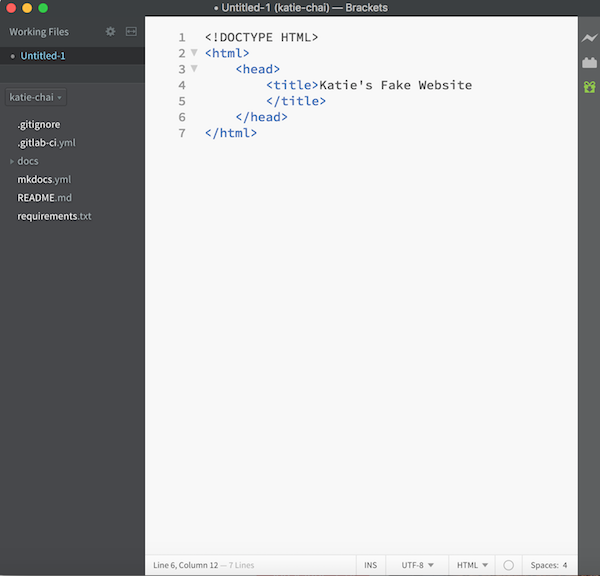
After, I set up the doctype to HTML as well.
Next, I created a header for my site.
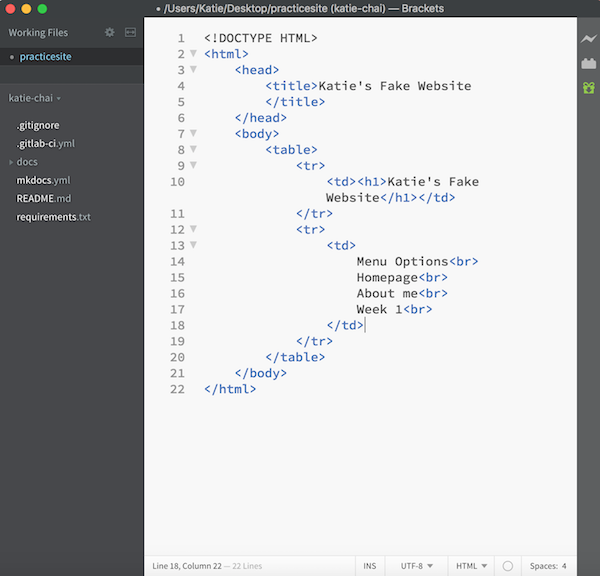
Then, I created a menu. The menu is not live, because I did not provide links to different pages.
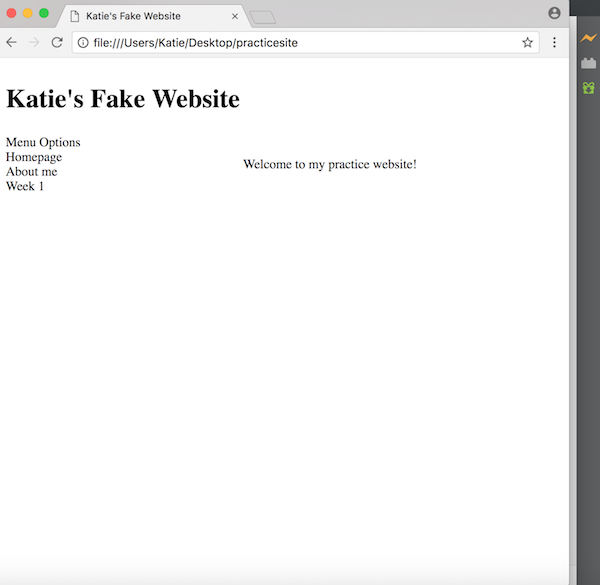
Finally, I wrote a description paragraph.
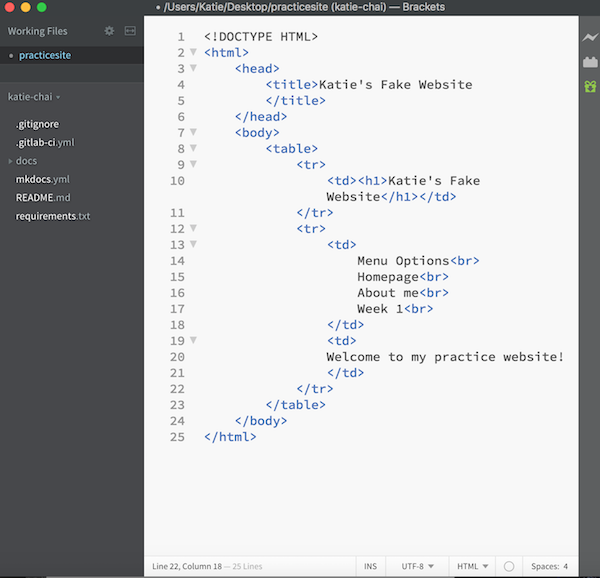
This is my extremely simple website!
Gantt Chart
I watched this video to learn about gantt charts.
I have used gantt charts in past projects, but I have never used this software. I am more comfortable using Exel or Google Sheets, but I was excited to be exposed to this new program. I also think my gantt chart will help me pace myself and serve as a nice final, documentation visual.
Computer Aided Design
Next week is my school’s dance, so I wanted to work ahead on the Week 3: Computer Aided Design homework. I started creating the basic shapes of my 3D model. I have worked with AutoDesk Fusion 360 in my freshman engineering class, but I watched this video to learn more general information about the program.
I decided to learn about another software called FreeCAD which was recommened by Fab Academy. To get a foundational lesson in the program, I watched this 3 part tutorial: (This week, I only watched video 1.) Part 1:
Part 2:
Part 3:
3D Rendering
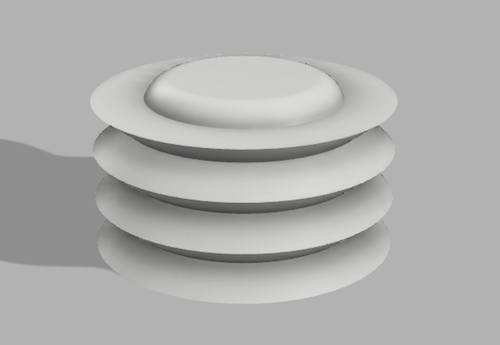
For my 3D Render, I used Fusion 360, which is another design software from my freshman class. I made the “lung air pump” based off of this walmart model.
This is my 3D model so far! There aren’t really any relavant dimensions in this design.