18. Wildcard week
It’s week 18 out of 20, I’ve got 28 days (after this week it’s 22) until I present my final project, and you might think that things are starting to wind down because we’re nearing the end. That couldn’t be farther from the truth.
This week is a fun one, though, and I think it will be the last opportunity I have to learn a new design process before the class comes to an end. The title of the week, as you may have seen above, is wildcard week. This means that we get to chose what our assignment will be for the week, and as of right now I’m either going to do composites, which is layered fibers in a resin cast, or the embroidery machine, which is exactly what it sounds like (a machine that embroiders things).
I’ve decided to go with the embroidery machine for my wildcard project choice. I don’t know much about the machine at all right now, but the idea of being able to put my own designs on clothes that I could wear seems really cool.
The Actual Assignment
So, this week I have to make my own assignment for myself rather than being given an assignment to fulfill. I’ve chosen the embroidery machine as my project for this week, but now I need to create requirements to fulfill. Rather than setting the bar to high for myself and failing to reach that point later in the week, I think I’ll follow the words of my teacher Mr. Dubick and start with simplicity, then add complexity.
After some pondering, here’s the requirements that I am setting for myself.
-Learn how to use inkscape and inkstitch proficiently and demonstrate correct workflows.
-Demonstrate correct workflows for the embroidery machine operation.
-Create an embroidered patch that uses multiple colors as well as two different types of stitching patterns.
Inkscape/Inkstitch
Installation
The first part of this assignment will be to learn how to use and how to be proficient in Inkstitch. Inkstitch is actually just a plugin for Inkscape that lets you create files that the embroidery machine can use. I went to the site for Inkstitch, clicked the space for downloads, and once I was taken to this page I downloaded the version that was right for my computer.
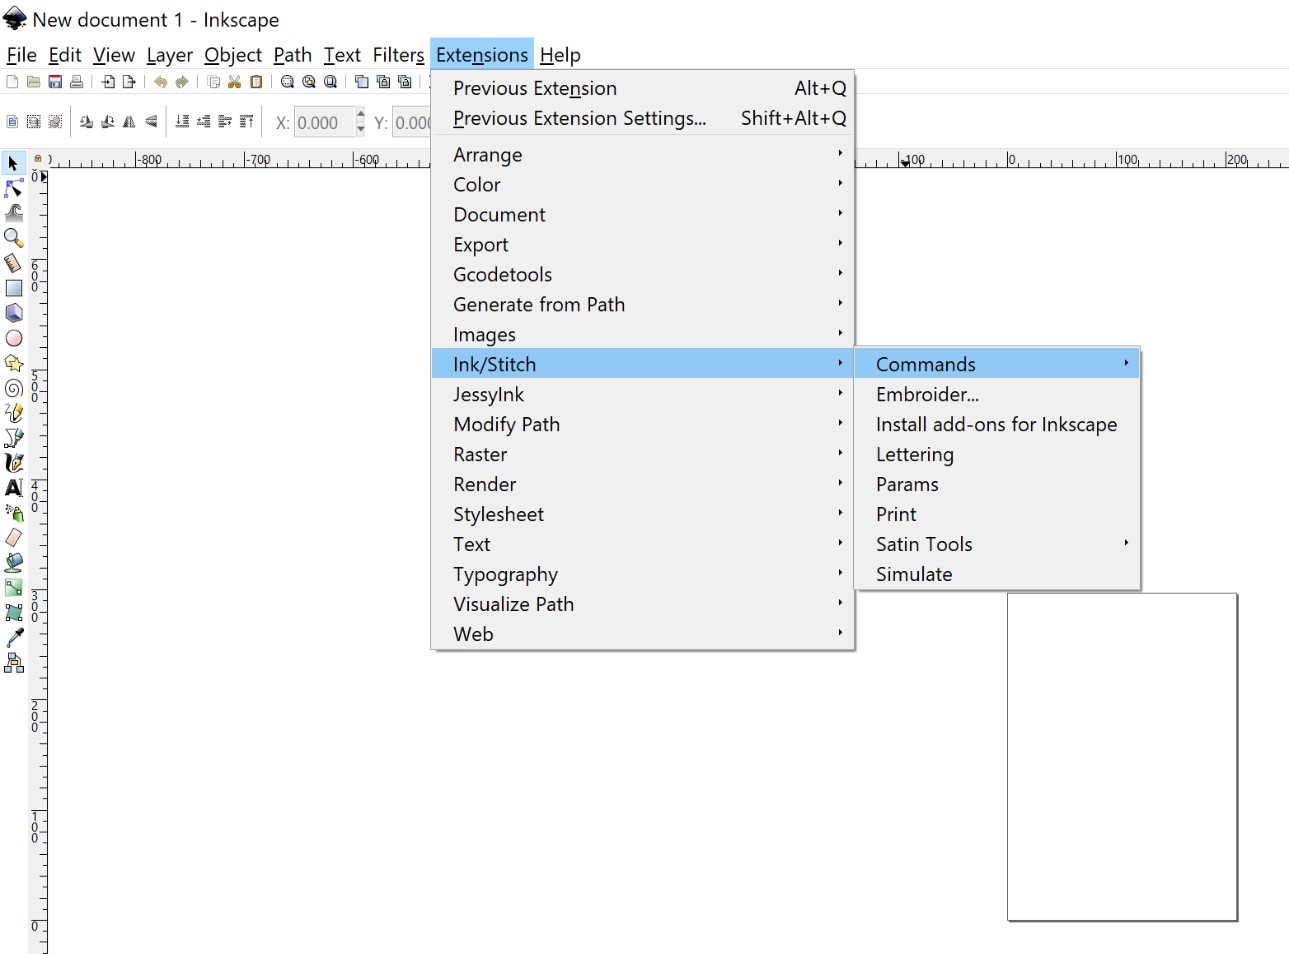
Once I got the plugin downloaded, I looked at this page for help with the installation process. It’s actually easier than I expected it to be to install. Just copy the path to your inkscape extensions folder from inside of the inkscape settings, then when you extract the files from the download, paste in that path so that they are all extracted into the right folder. Once that was done, I just restarted inkscape and was able to find Ink/stitch under the extensions tab.
Creating A Design
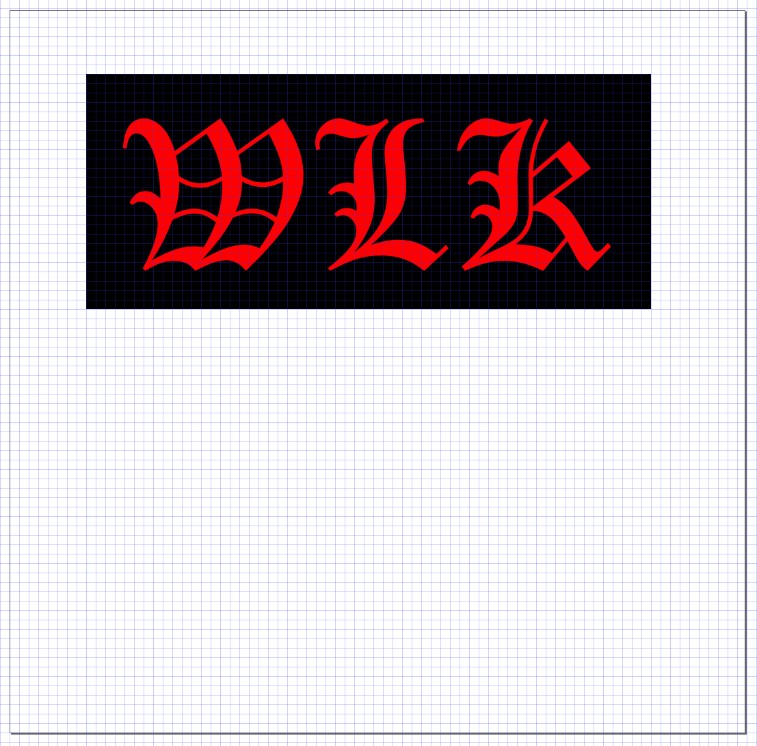
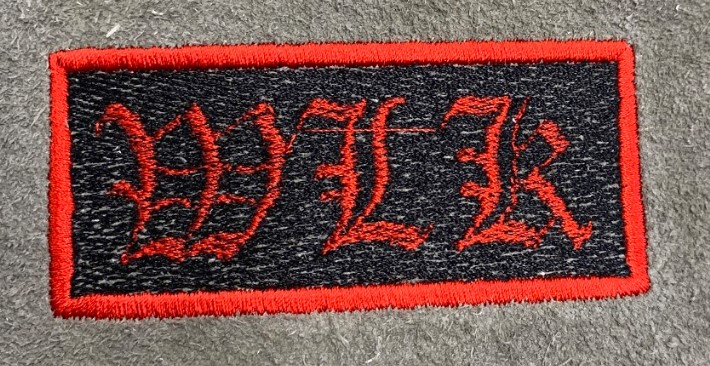
I haven’t used inkscape very much at all, so getting into it was a little tough at first. The first thing I did was change my document size to match the size of the embroidery area that I will use, which is 3.9 by 3.9 inches. Next, I created a solid black box and added my initials on top in red.
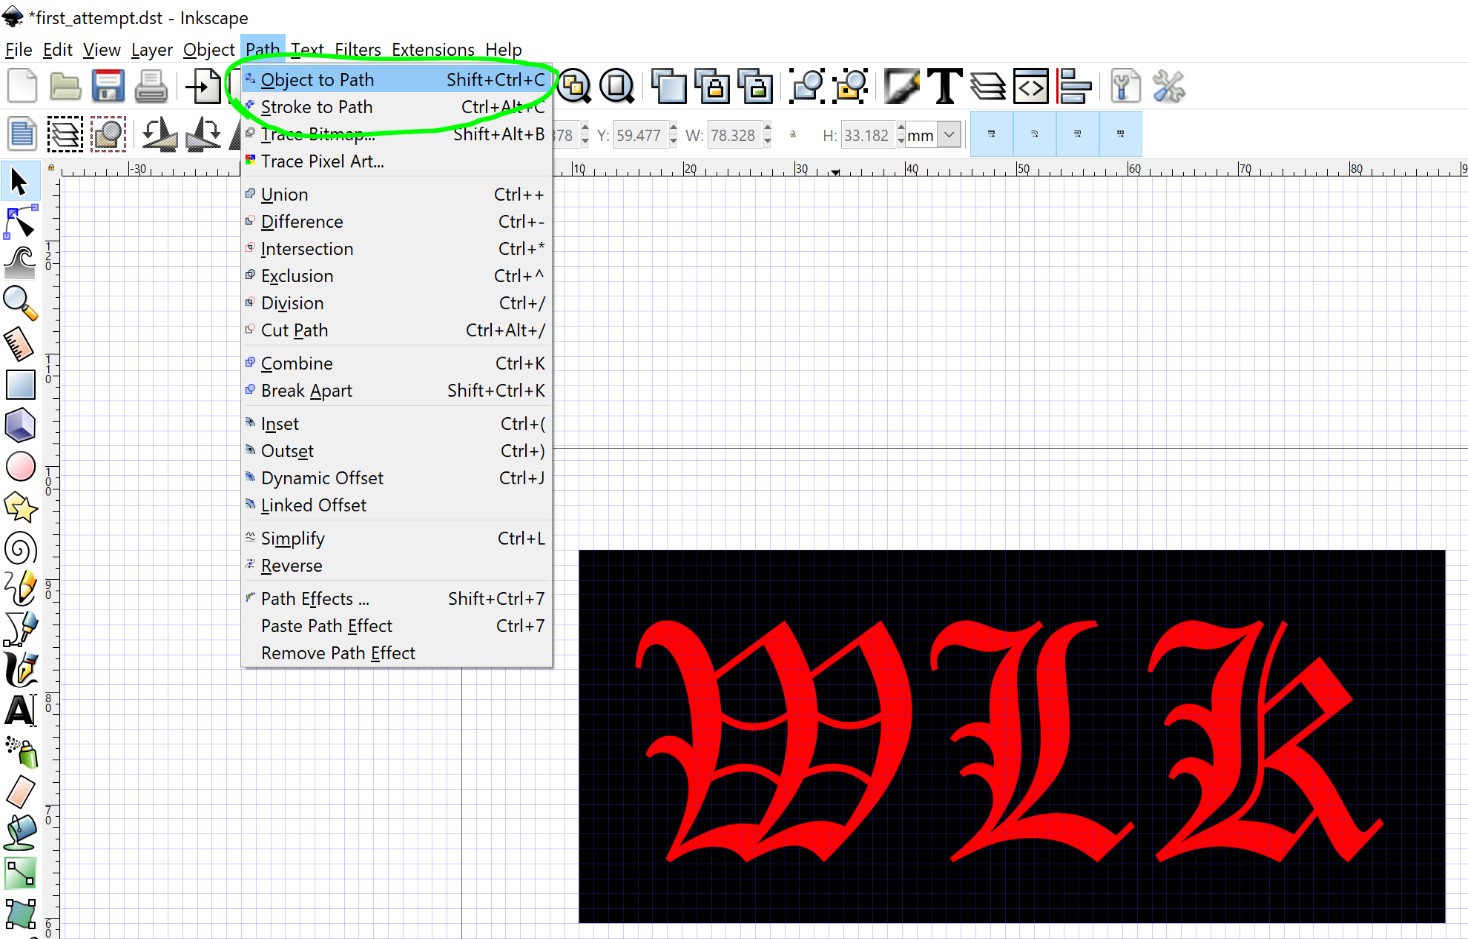
Then, I selected all of the design and clicked, “path”, “object to path” on the top toolbar. This turned the image into set of readable paths for the embroidery function to work with.
Next, I selected the object again and chose the “params” ioption.

I was taken to this page.
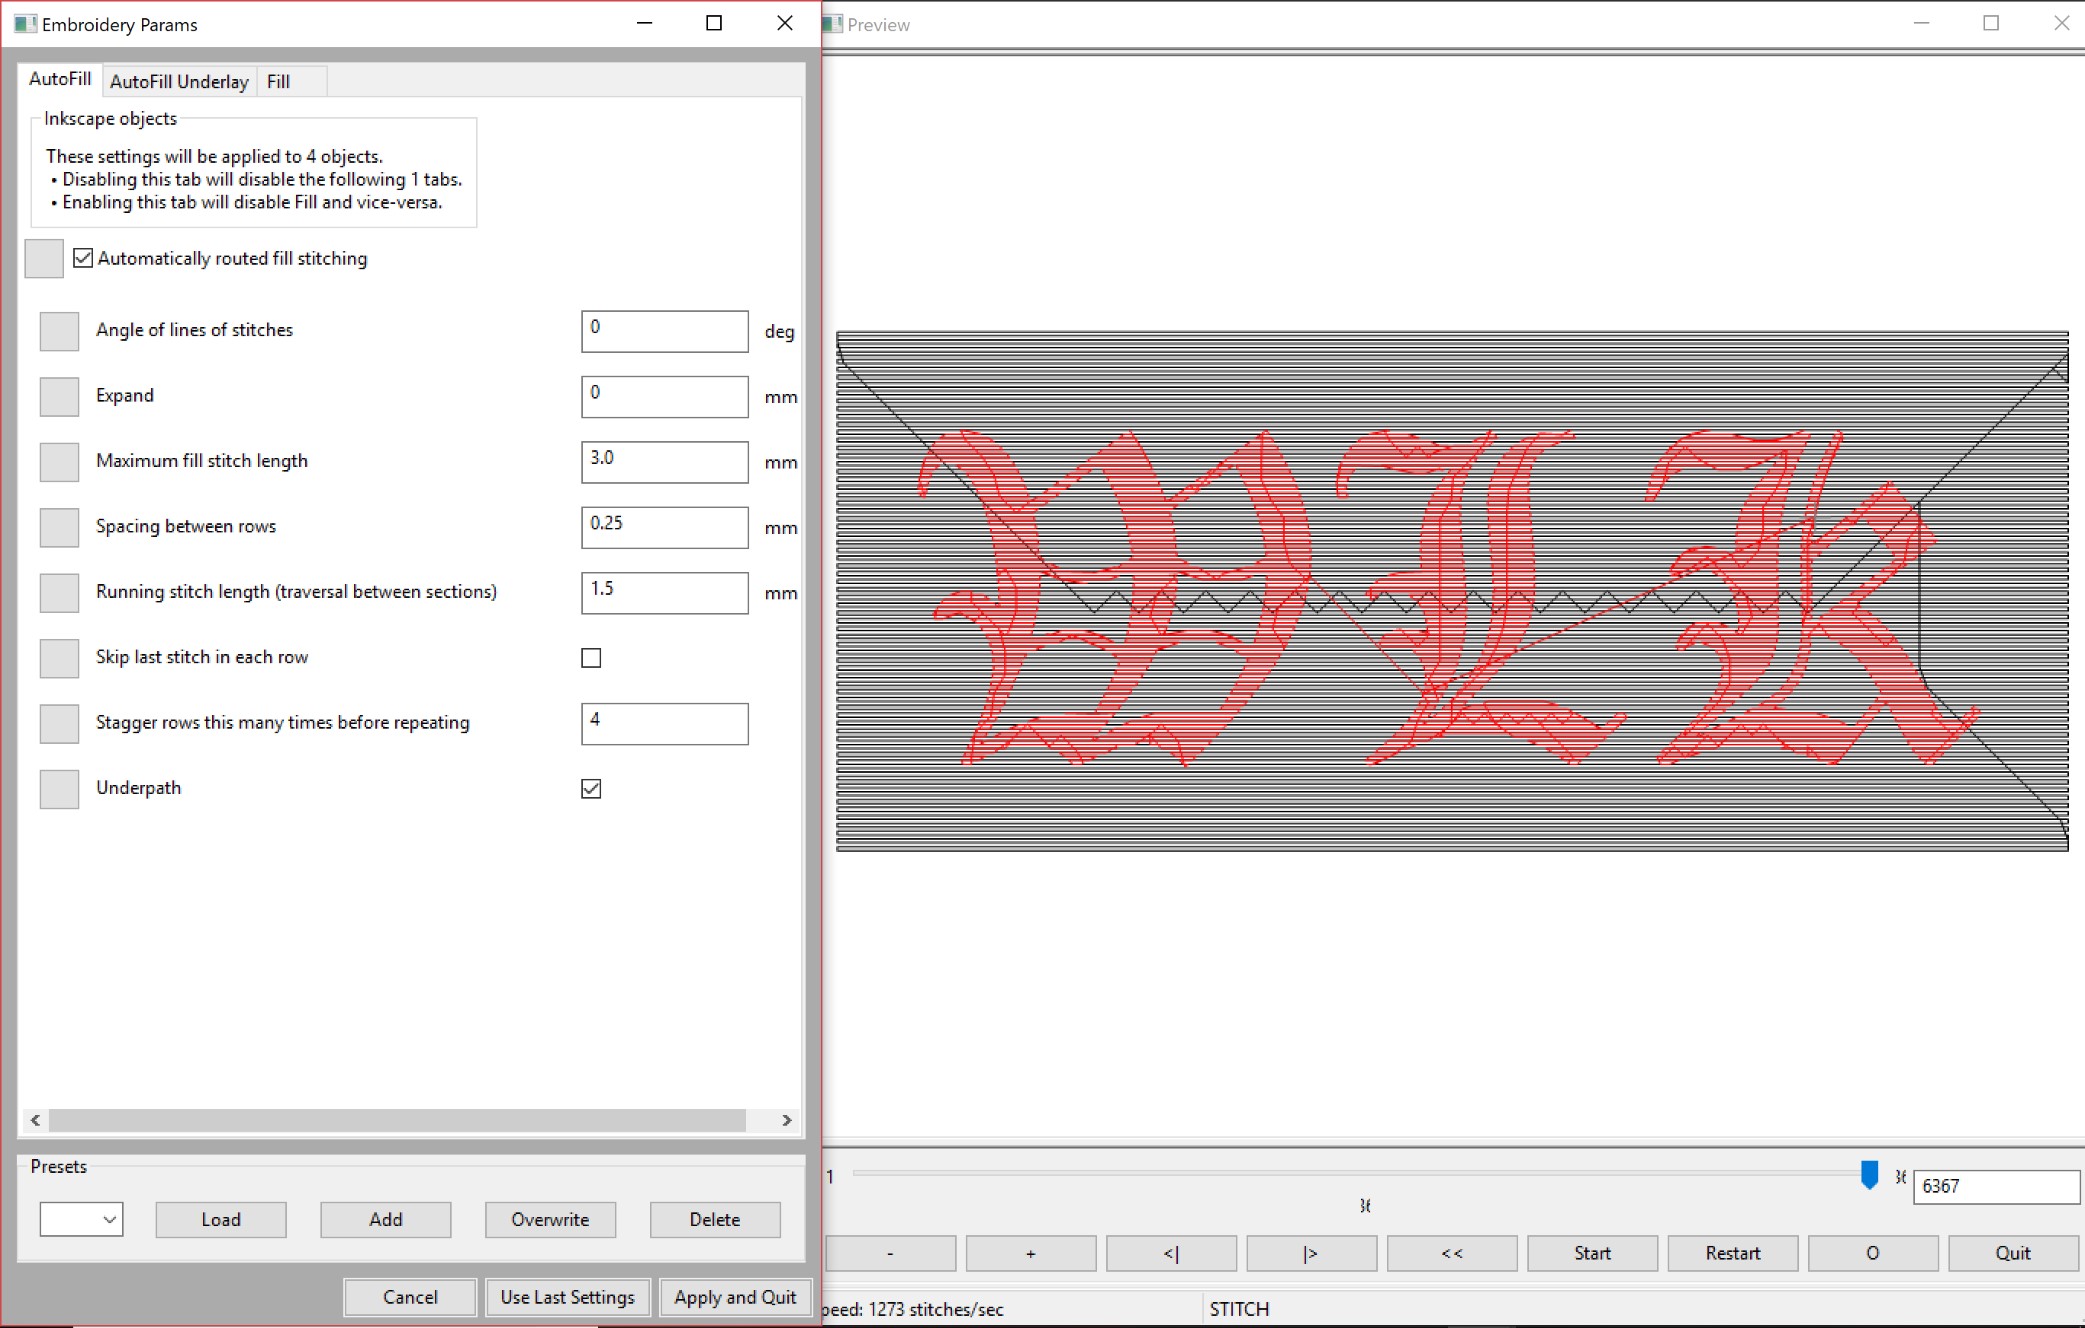
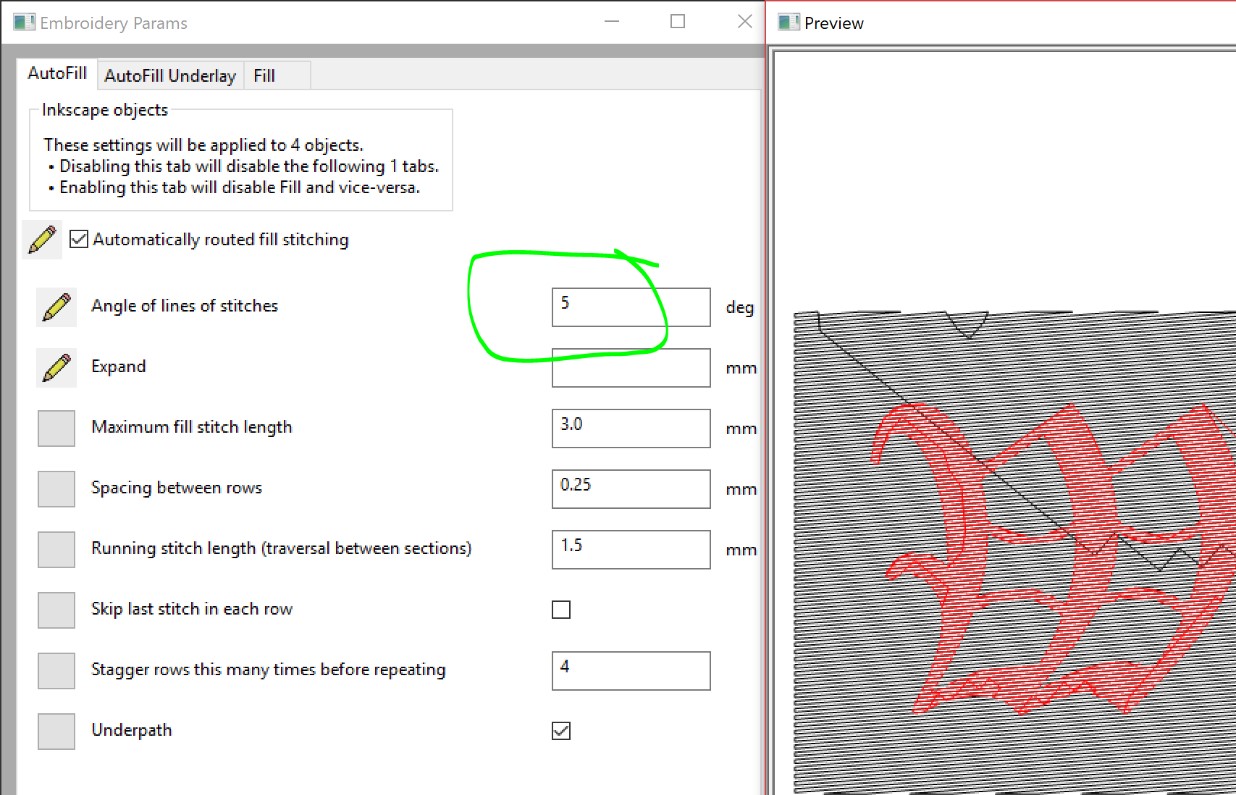
Then, I chose to have the fill stitching automatically routed and I added an angle of 5 degrees to the stitching lines.
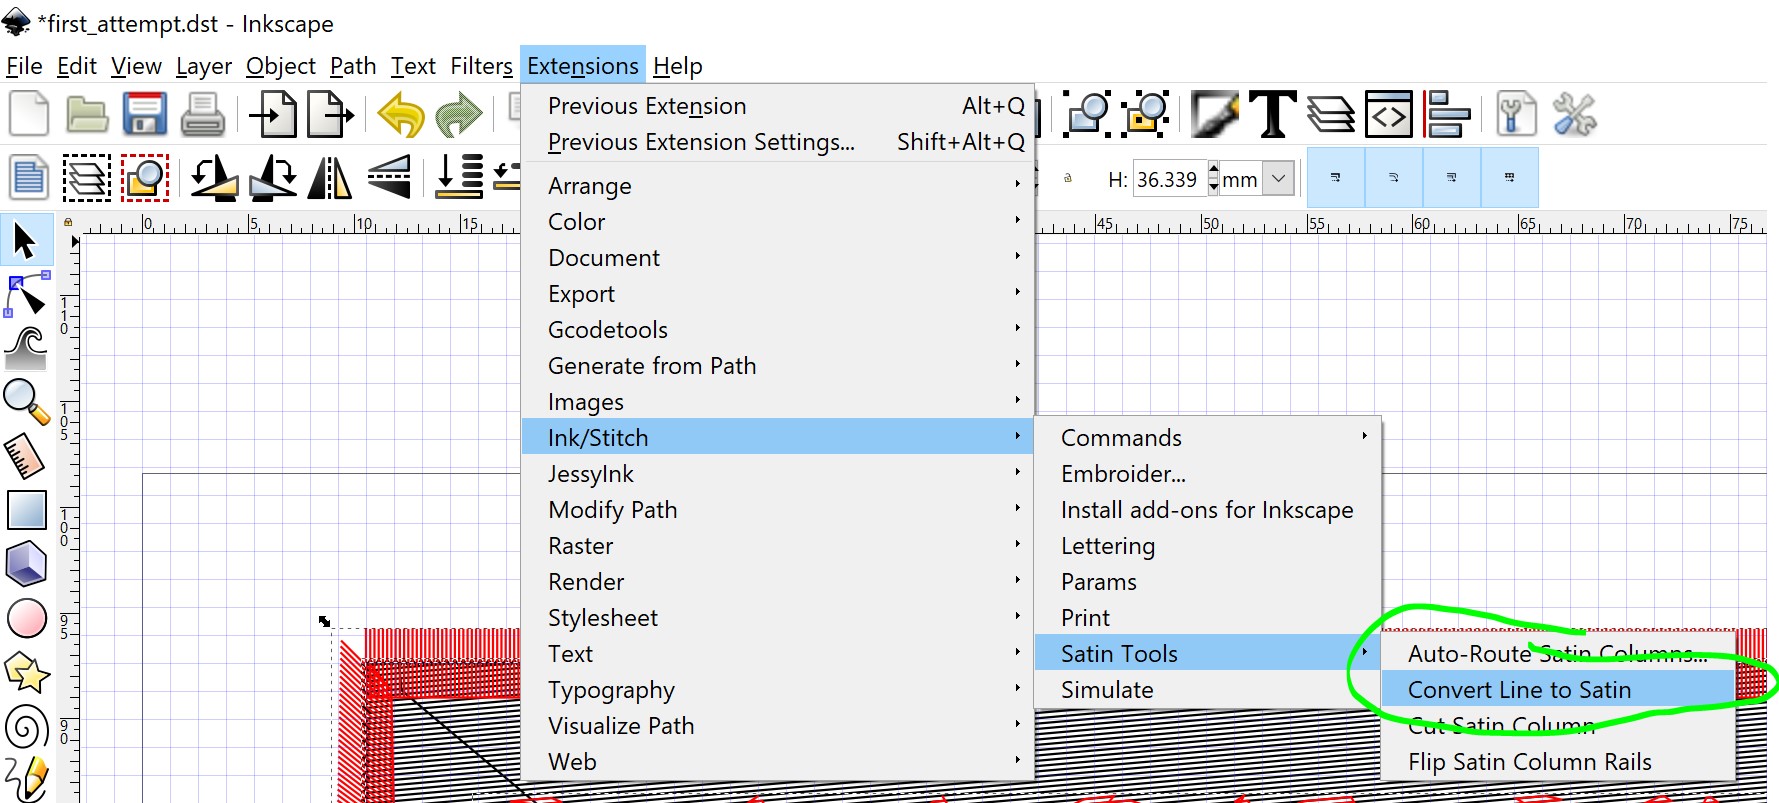
Then, I added a red borderline around the edge and chose to use the satin option for that. Satin is a different type of stitch that looks good for defined lines.
Then, I selected the whole thing and chose the embroider option.
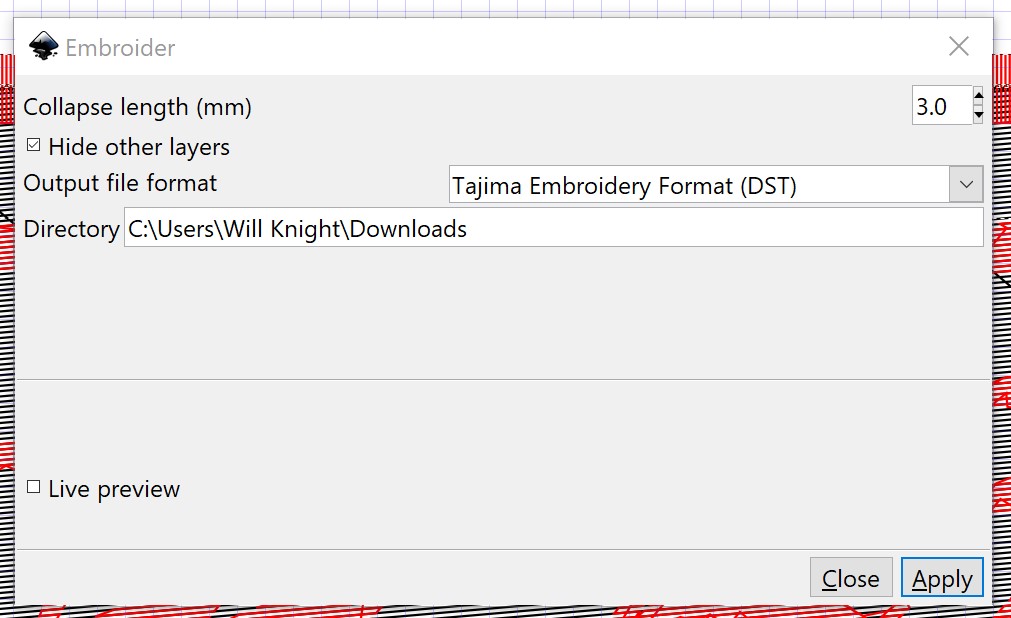
After that, I was able to save the file as a DST, the format that the embroidery machine uses, and then I put the file on a flash drive to use with the machine.
The Embroidery Machine
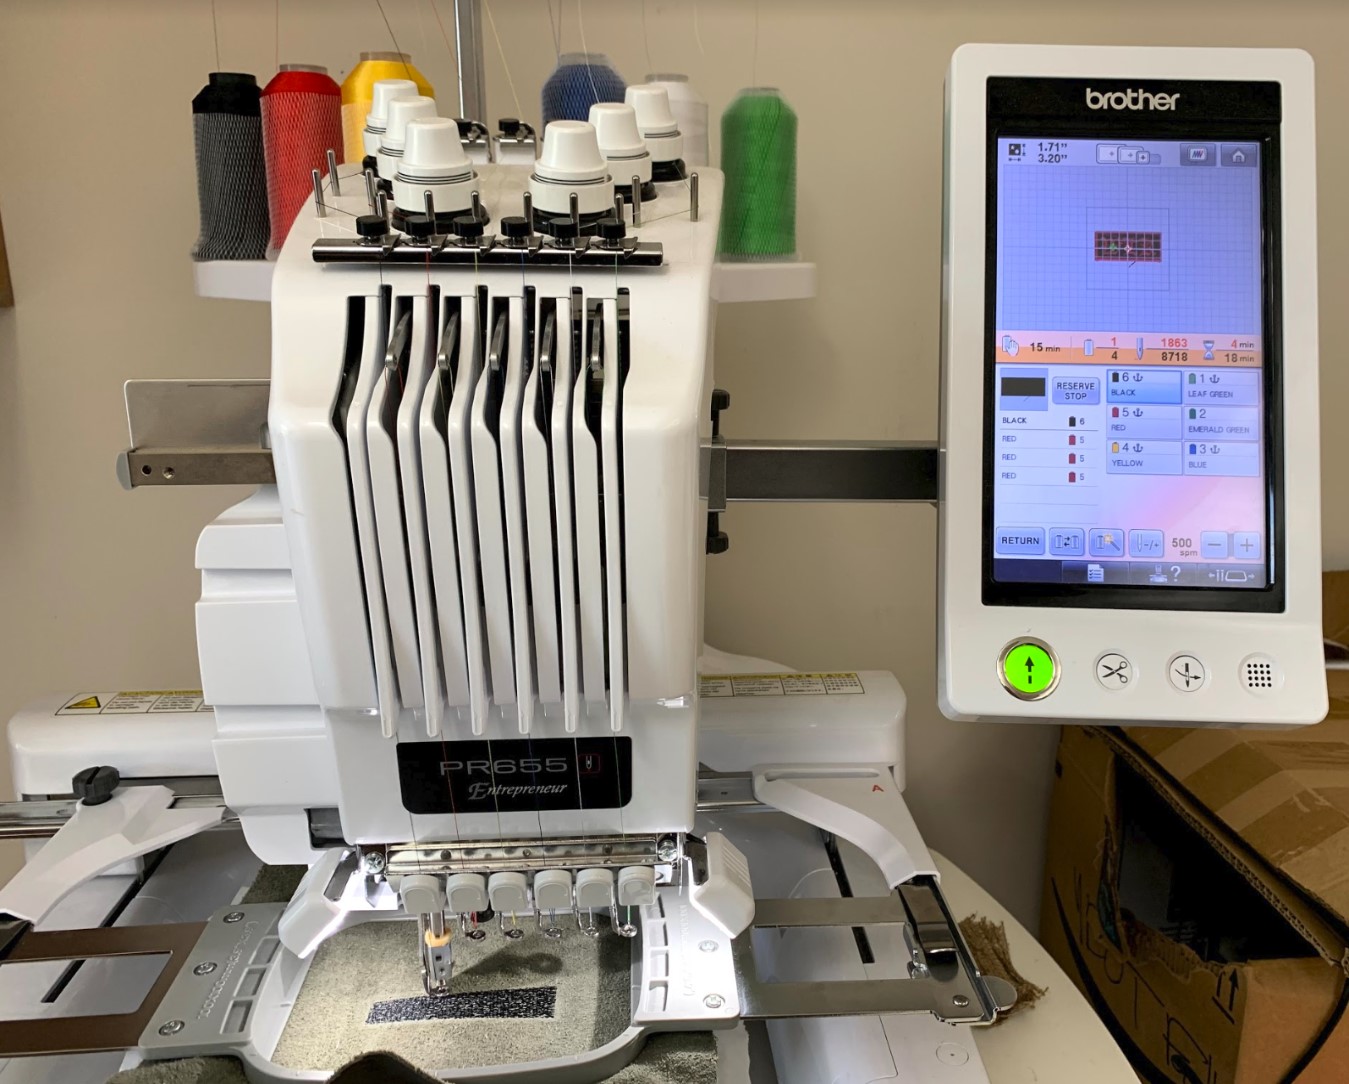 I started by getting my “canvas” ready. I used the 3.9 by 3.9 inch frame and got out a patch of leather as well as some of the underlay fabric that goes beneath the material that you are embroidering.
I pulled it up on the machine next, then I navigated to the tab that allows you to adjust the colors for each part of the embroidery. Since I was only going to use red and black, I only had to be sure that those two were correct.
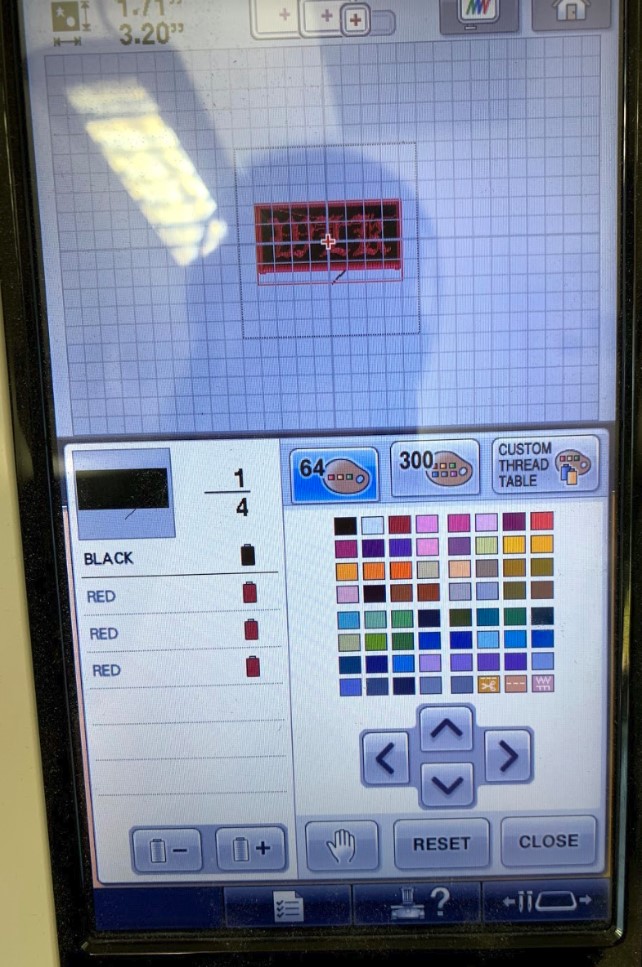
Then I checked this page to be sure that the colors were assigned to the correct rows.

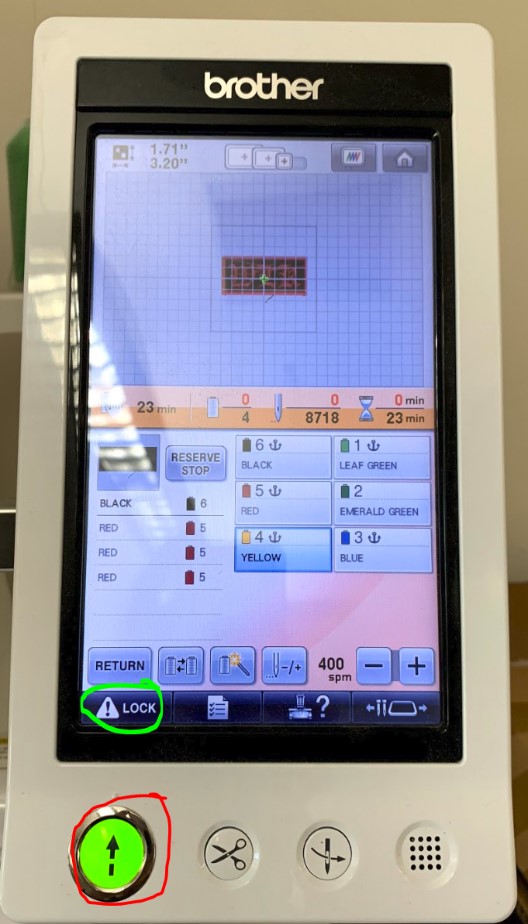
Lastly, I unchecked the “lock” button at the bottom that allows me to press the other green button at the bottom to start the embroidery.
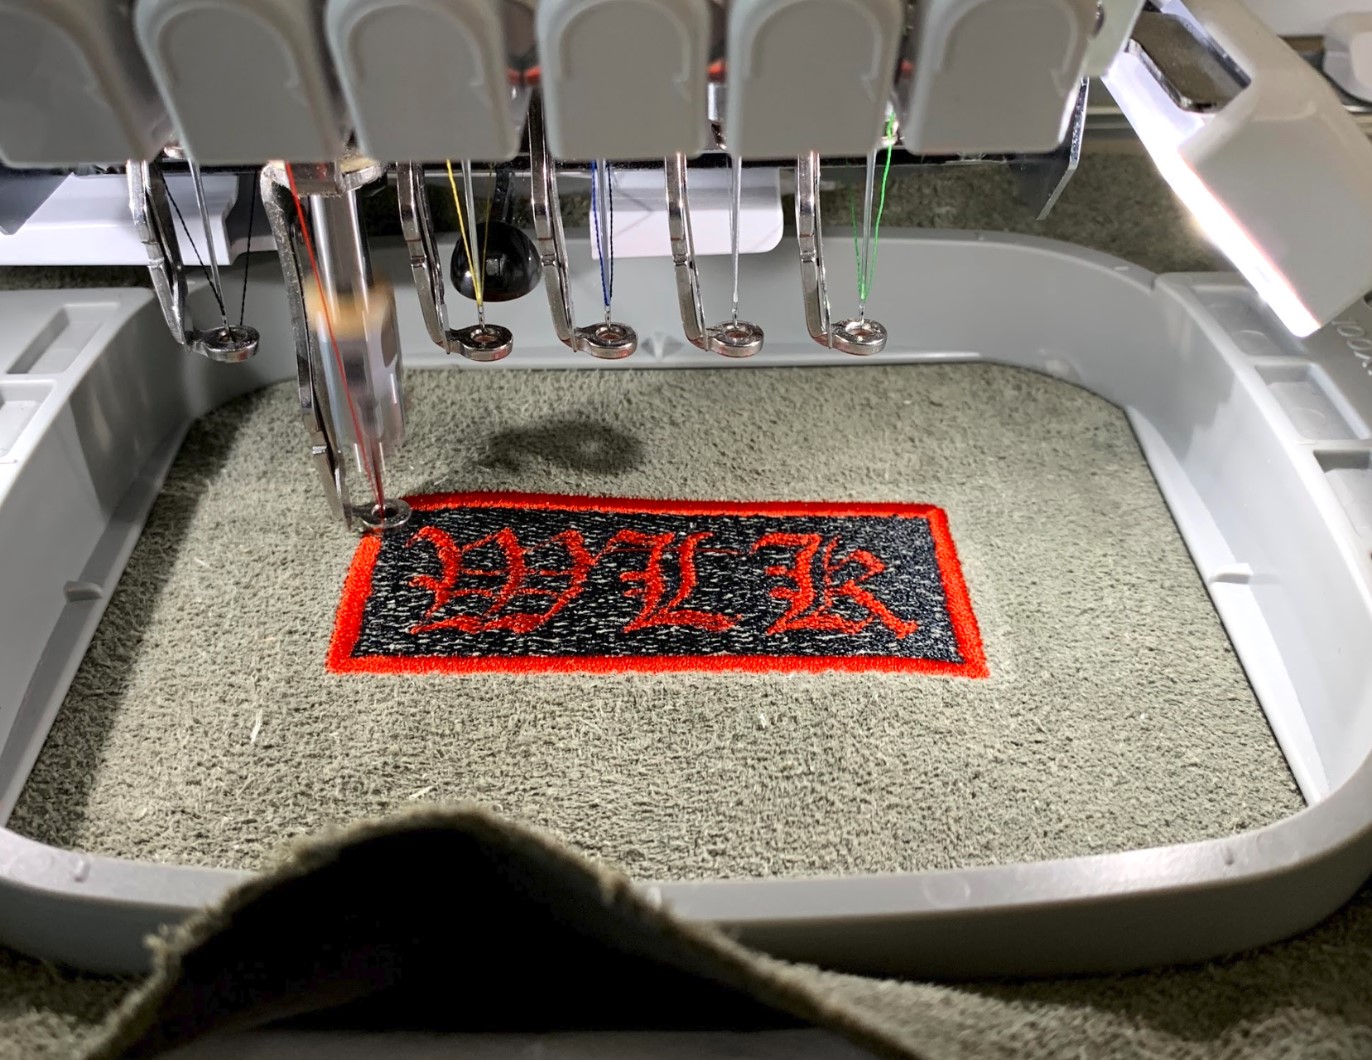
The embroidery started, and I was able to watch as my tag was stitched into existence.
Eventually, the machine switched colors to red and started making the letters.
Once it finished making the letters, it had to switch to a different stitching type, Satin Columns, and make the outline.
Next, I popped the canvas out of the frame and tore off the paper backing.

I was really happy with how it came out, I thought everything looked great!
Making It Into A Tag
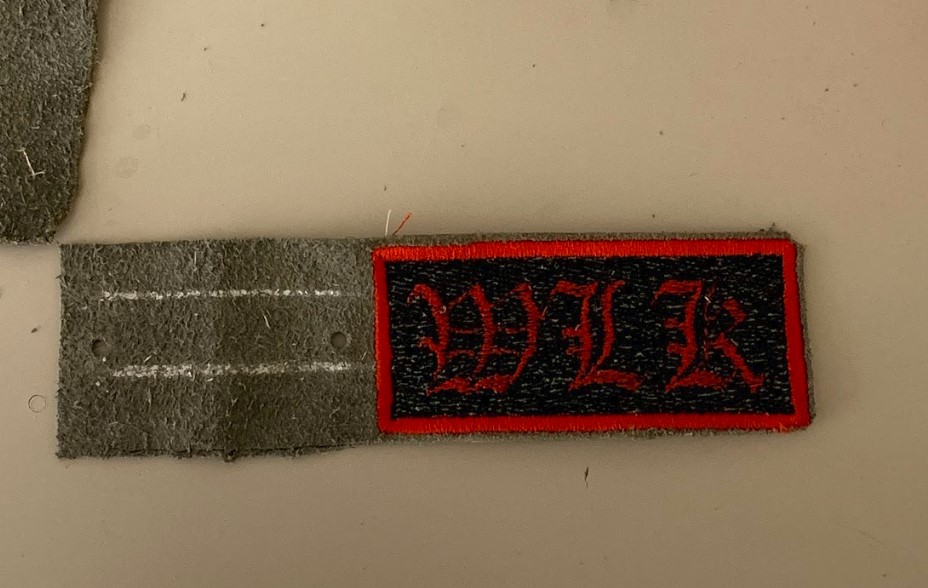
So I had my embroidered initials with a nice outline and everything, but how was I going to turn this into a functional name tag? The answer was actually pretty simple. I was going to use a rivet to hold together two ends of the leather creating a loop that I could attach to stuff.
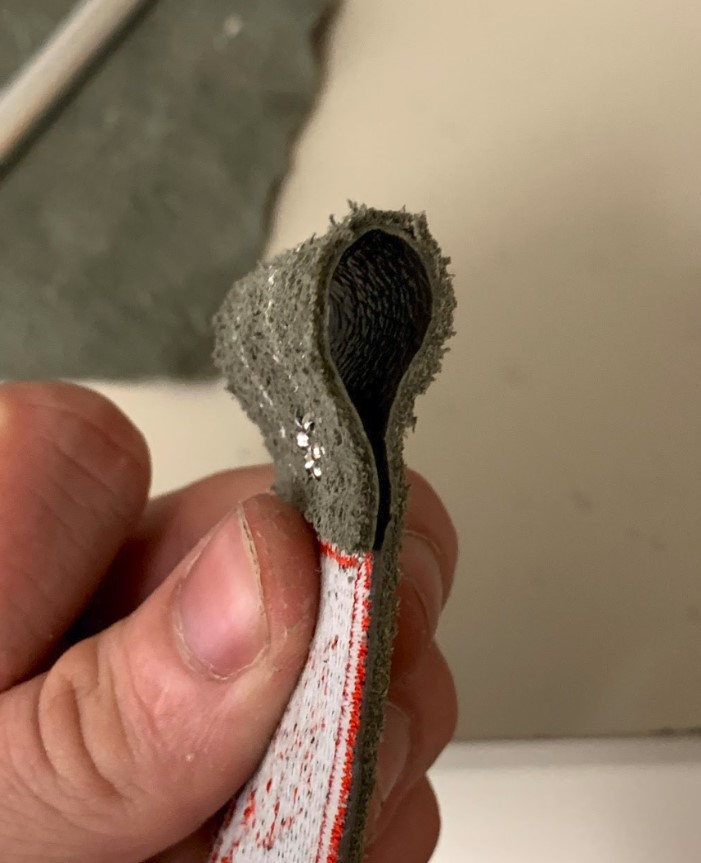
I started by using a piece of tailors chalk to draw out rough estimates of the lines that I would need to cut.
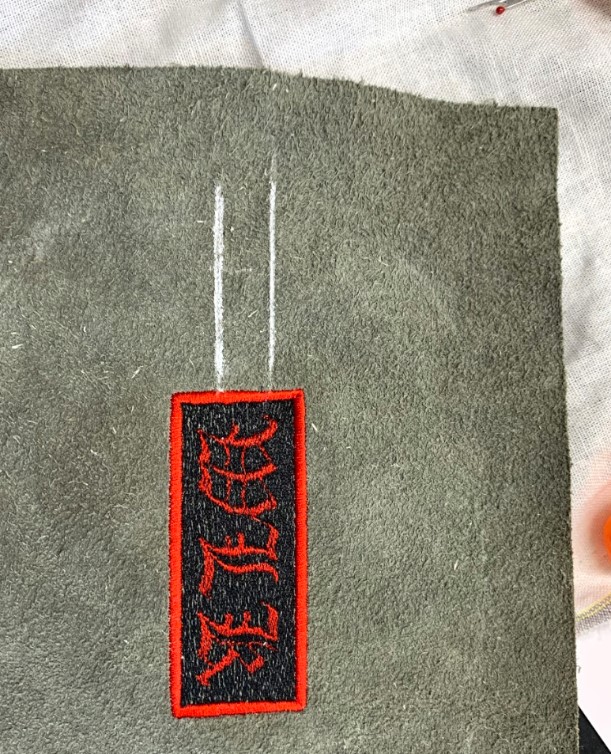
Then I cut out all of the other edges, leaving just that space untouched.
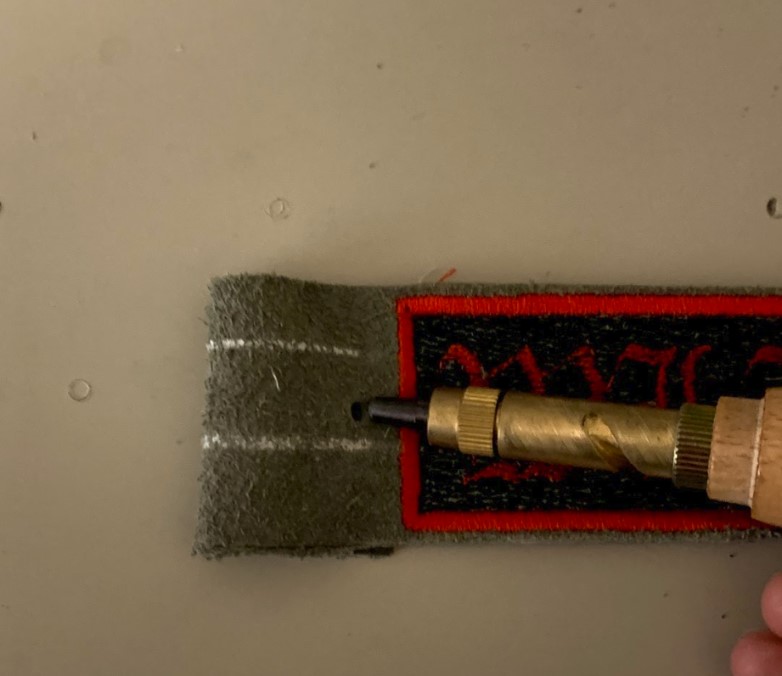
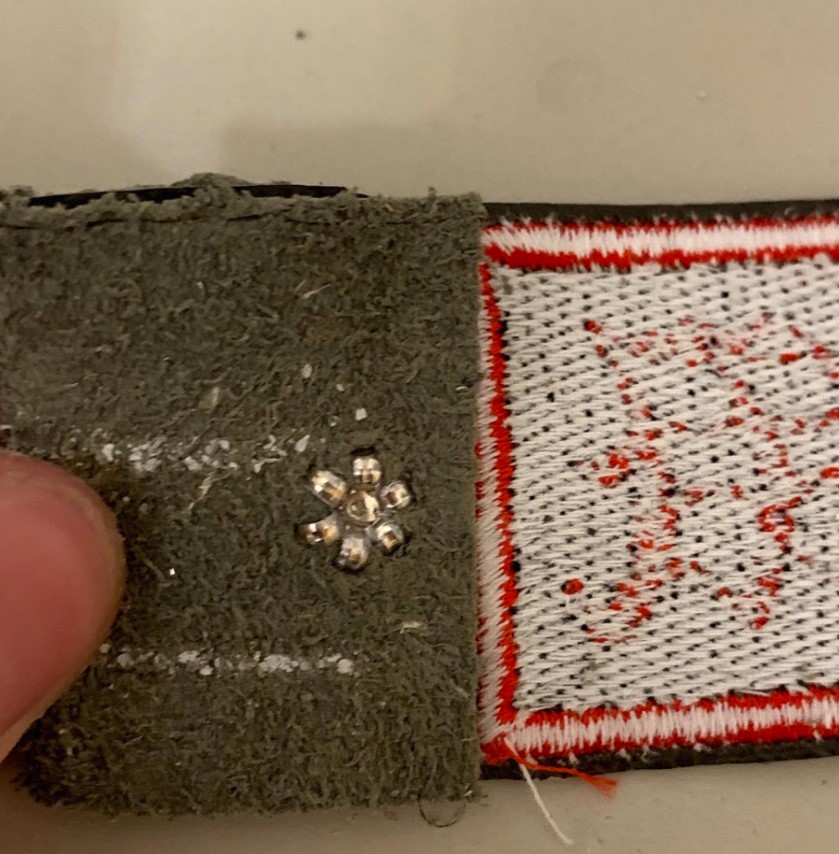
Next came the fun part, learning to use some new tools. The first of these was basically a really sharp hole puncher that I used to cut out the two holes that the rivet would go through.
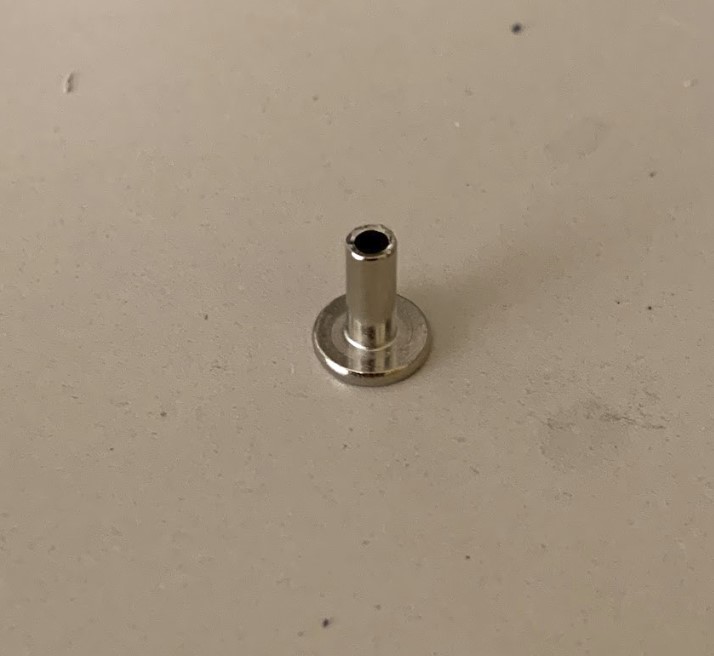
Here’s what the rivet itself actually looks like before it gets pressed.
The next tool was the vice that helps compress the rivet and split the sides so that they can curl back and hold the leather in place.

I placed down the rivet, then I pulled down on the lever and compressed it into the leather.

All it took was one hard press, and the tag was secured.
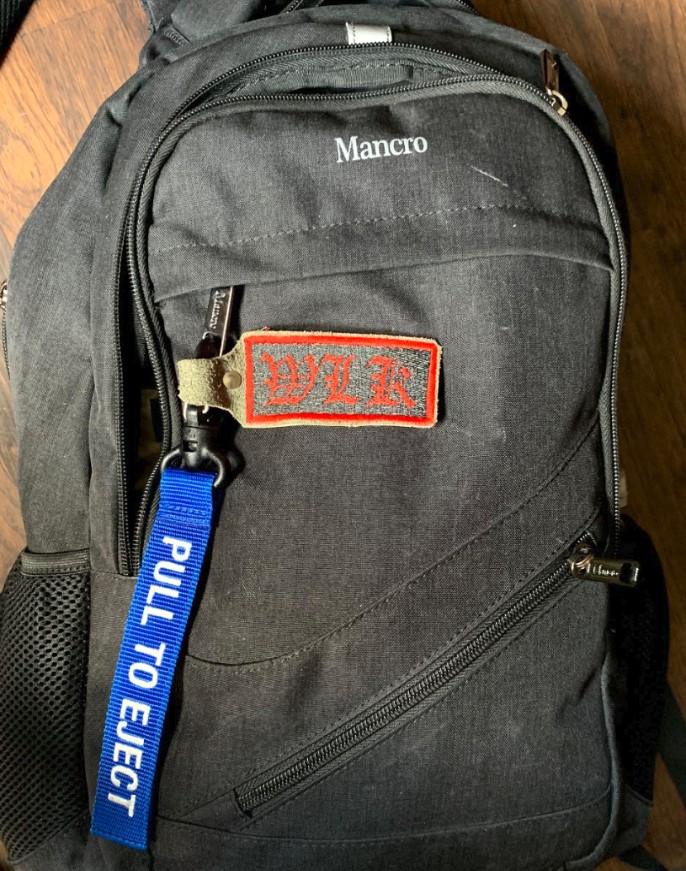
The last thing I did was attach the tag to my backpack. Since it has my initials on it, I figure the tag will be good to keep on there incase my backpack ever gets lost.
Here are all of my files from this week.