Week 05 assignments:
- Test the design rules for our 3D printer
- Design and print a 3D object that could not be made subtractively
- 3D scan an object
Test the design rules for our 3D printer
To test one of our 3d printer (a Makerdreams iNvent One)
i choose a stress-test model
from Thingiverse and sliced it with Cura.
I was already familiar with this slicer: it's the standard choice here @ Crunchlab.
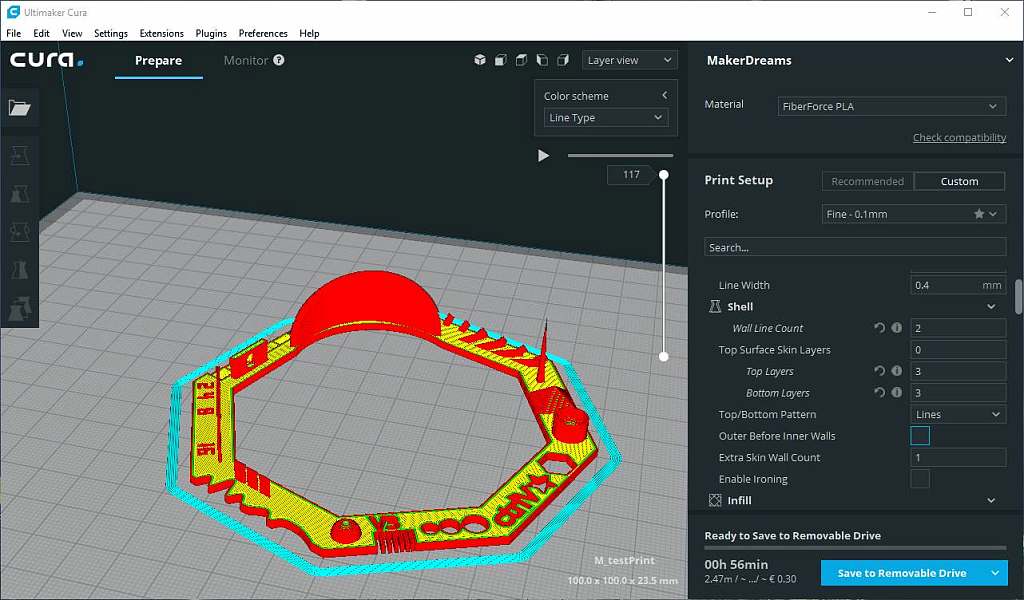
Layer path preview.
This test model is shaped to test critical features like overhang angles, bridging, spikes, minimal distances, holes in walls and rounded (spherical) surfaces.
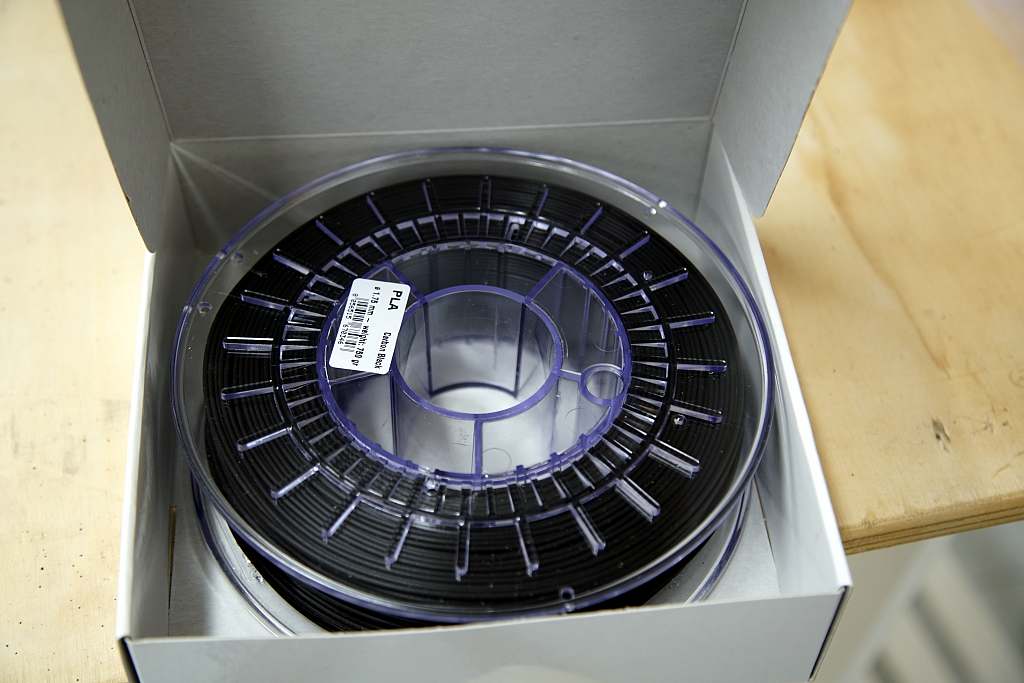
Black PLA spool.
Slicing parameters:
- Layer height: 0.1mm -> 0.2mm
- Infill: 30% (not a lot of volume to fill in this model)
- Hotend temperature: 205°C (as raccomanded by PLA manifacturer)
- Wall thickness: 0.8mm -> 1.2mm
- Print speed: 30mm/s -> 60mm/s
- Retraction: 4mm
- Line width: 0.4mm (also the nozzle is 0.4mm)
- Supports: Not enabled (to test overhangs)
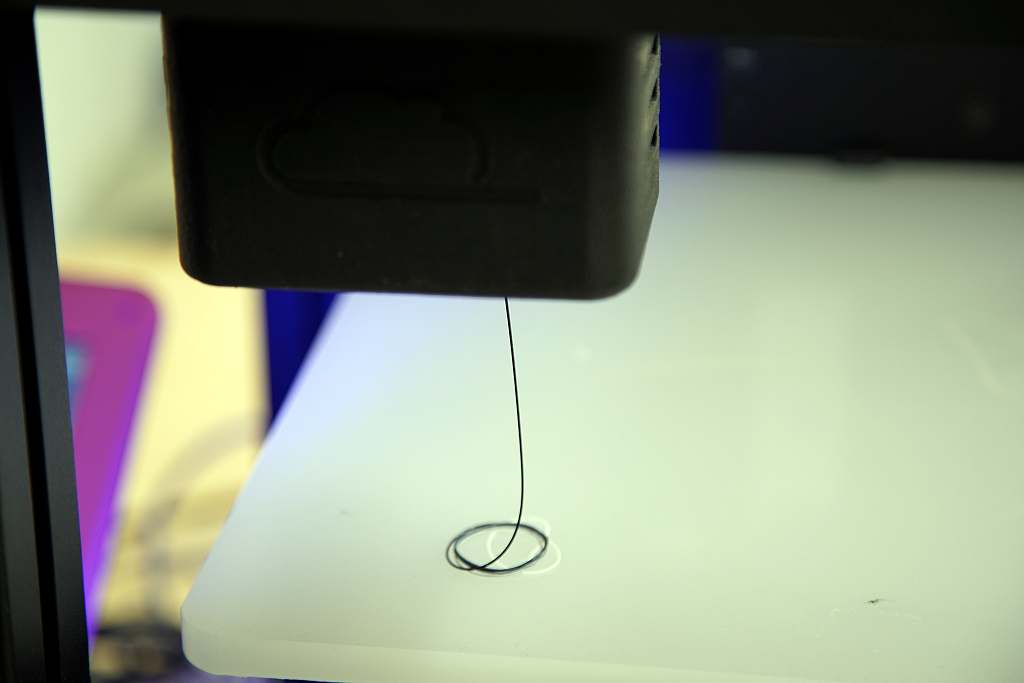
Nozzle purge.
Before the first print i purged the nozzle to remove old PLA residue in the hotend.
I also checked the print bed level calibration with the old paper sheet "trick":
put a sheet between the nozzle and the bed and calibrate the bed until pulling the
sheet there is just a bit of friction.
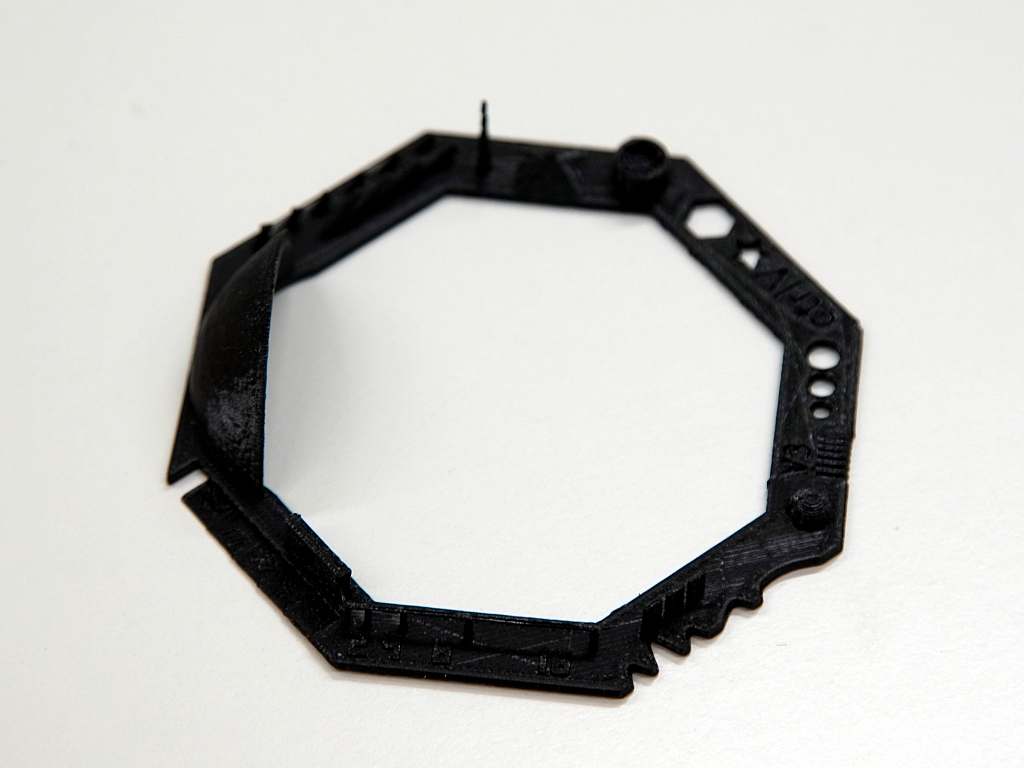
One of the printed tests.
Final considerations:
The minimum distance between two wall achievable with this printer is 0.2 mm.
Overhangs without supports are good until 50°, layer height is the key parameters
for slightly inclined surfaces and for walls estetics.
Print speed is a key parameter and has direct effect in printing quality.
Design and print a 3D object that could not be made subtractively
I decided to print something useful and not just a demonstration of the capabilities
of 3D printing.
Last year I bought a new Sony mirrorless but it's a bit too small for my hands :)
There are official battery grips but they are a bit expensive and not really useful
with usb charging so here is my lightweight improved grip.
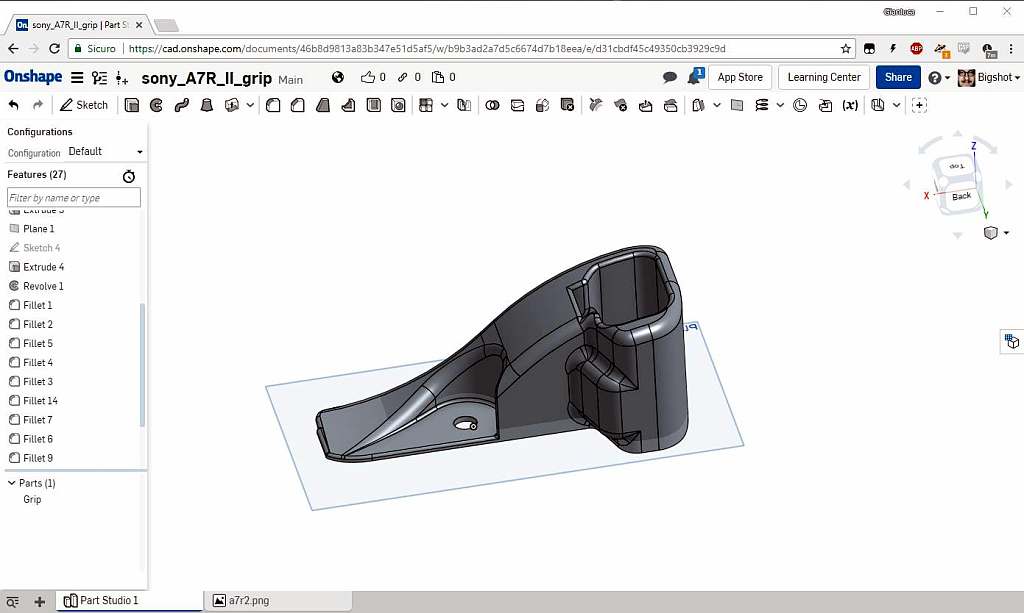
I designed it in onshape.

Sketching over a photo of the bottom of the camera.
USB charging is good but i still might want to change the battery so i designed it
with a recessed slot for the battery lid.
I know this is not an extreme feature to showcase 3D printing capabilities like
an hollow twisted tube but I think this recessed slot isn't machinable with a 3-axis
CNC and it may be too hard even for more advanced milling machines.
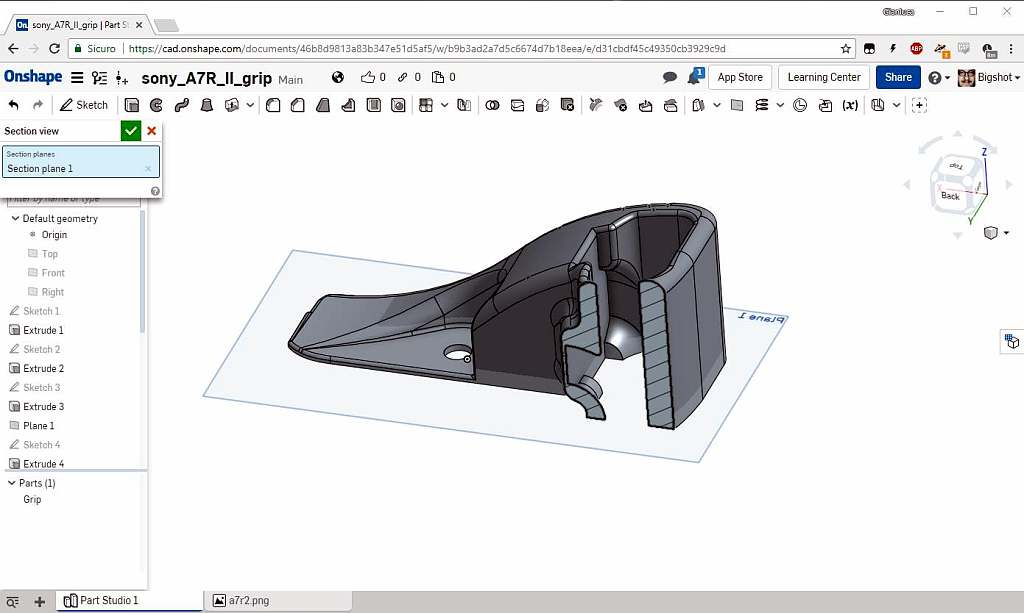
Section view.

Section view.
Then i sliced the exported STL file with a new slicer suggest by a friend: IceSL.
The interface seems still a bit rought but it has nice features like dynamic layer
thickness/infill/supports + native multicolor/material support.
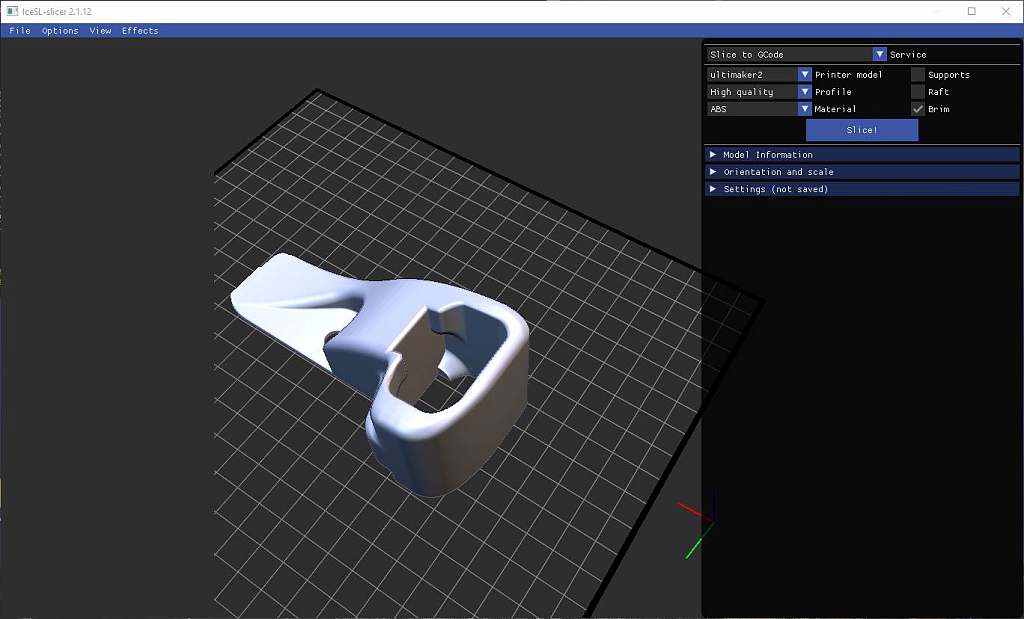
IceSL interface.
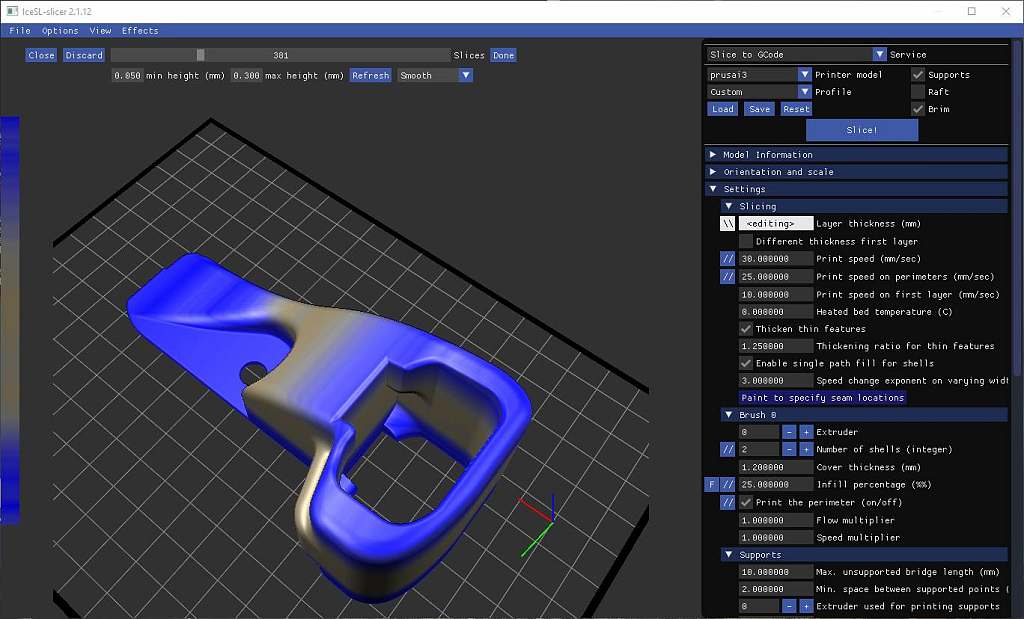
Dynamic layer thickness parameters.
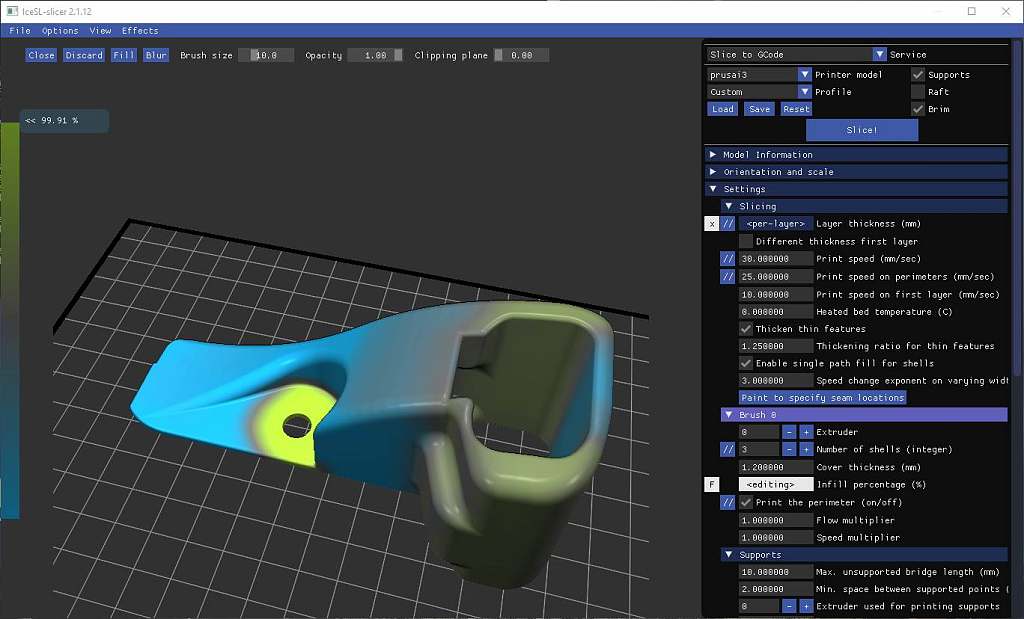
Infill percentage topography can be select with a "brush".

Final gcode preview.
I used a black PLA for the print test but i don't really liked it so a tried the
orange one.
I discovered that different color from the same manifacturer may have different
temperature response: with this orange PLA at the same 205°C temperature I was able
to get much more precise prints!
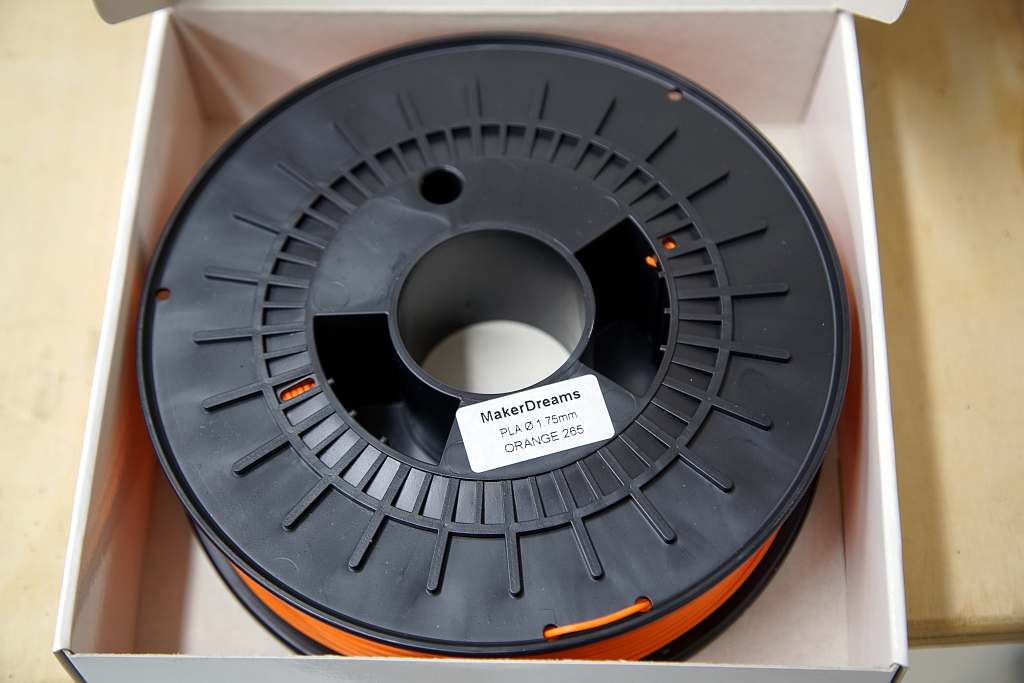
Orange PLA spool.
I was ready to print but... Murphy law applies even to 3D printing: the hotend was clogged!
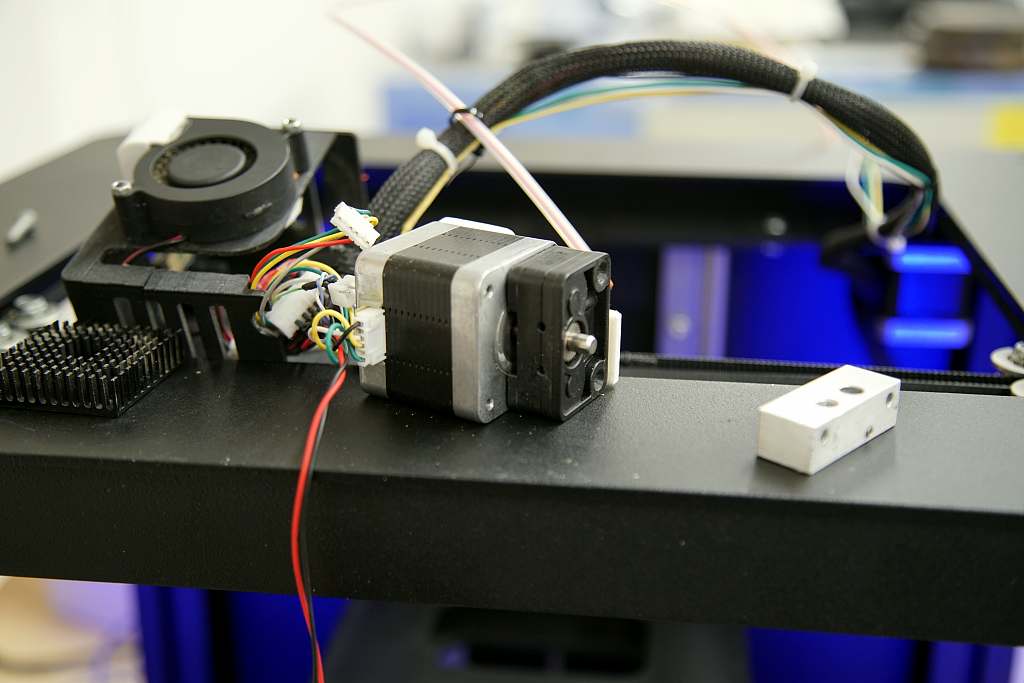
Disassebled extruder.

This is the culprit: the PTFE liner inside the hotend was eroded and twisted preventing even cold pulling attemps.

Hotend repair kit :)
Hotend maintenace was succesfull so here come hero shots!

Printing in progress...
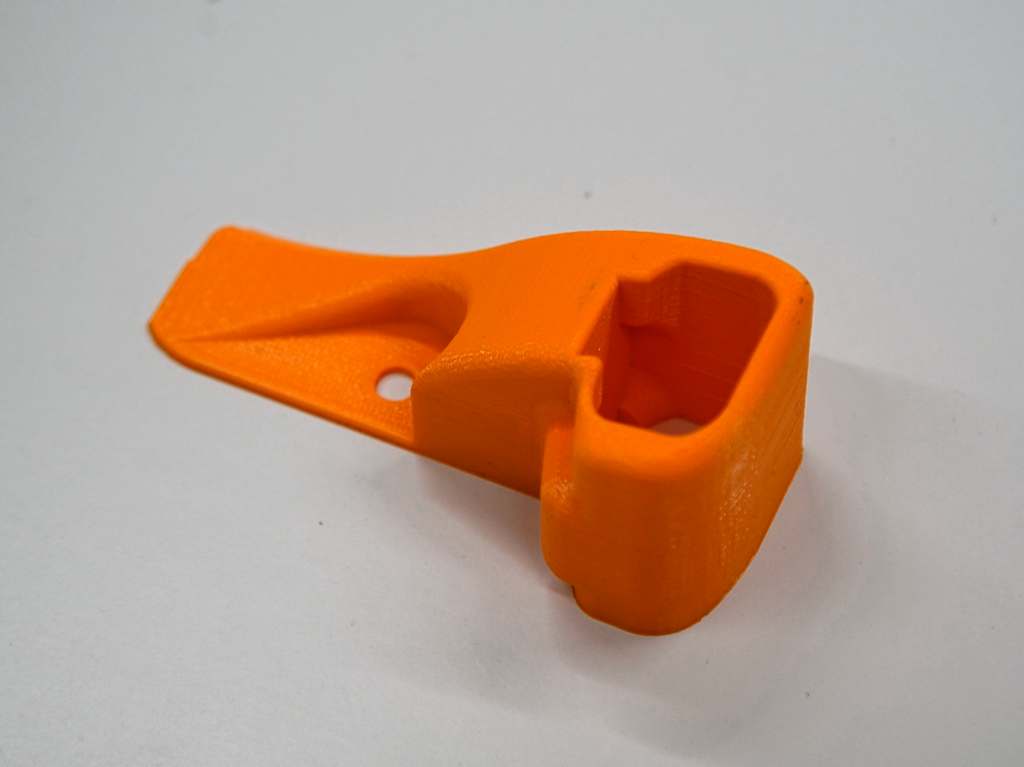
The completed 3d printed grip.
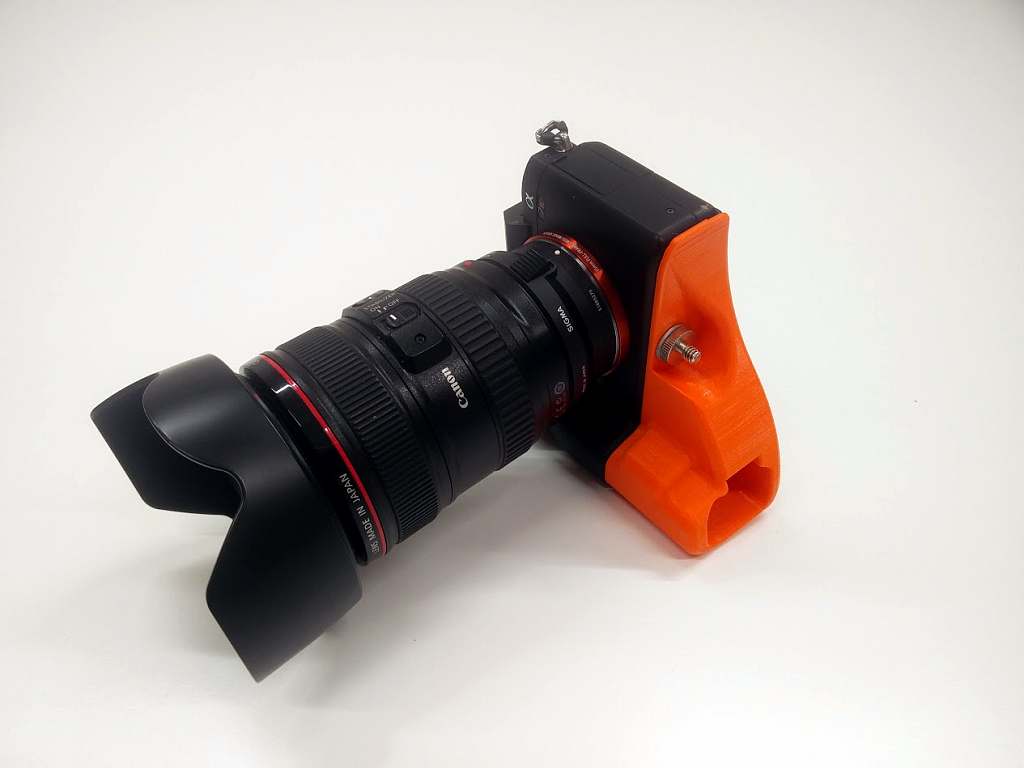
The grip assembled with a standard tripod fastener.
OnShape project
Grip Iges 3D model
Side panel (Solidworks)
No STL: it was a bit to heavy for FabAcademy repo! Anyway it's easy to get it importing Iges or sldprt files or exporting it from OnShape!
3D scan an object
I'm not a real fan of 3D scanning and i looked for easly scannable stuff.
Crunchlab's Maneki-Neko was nice enough.
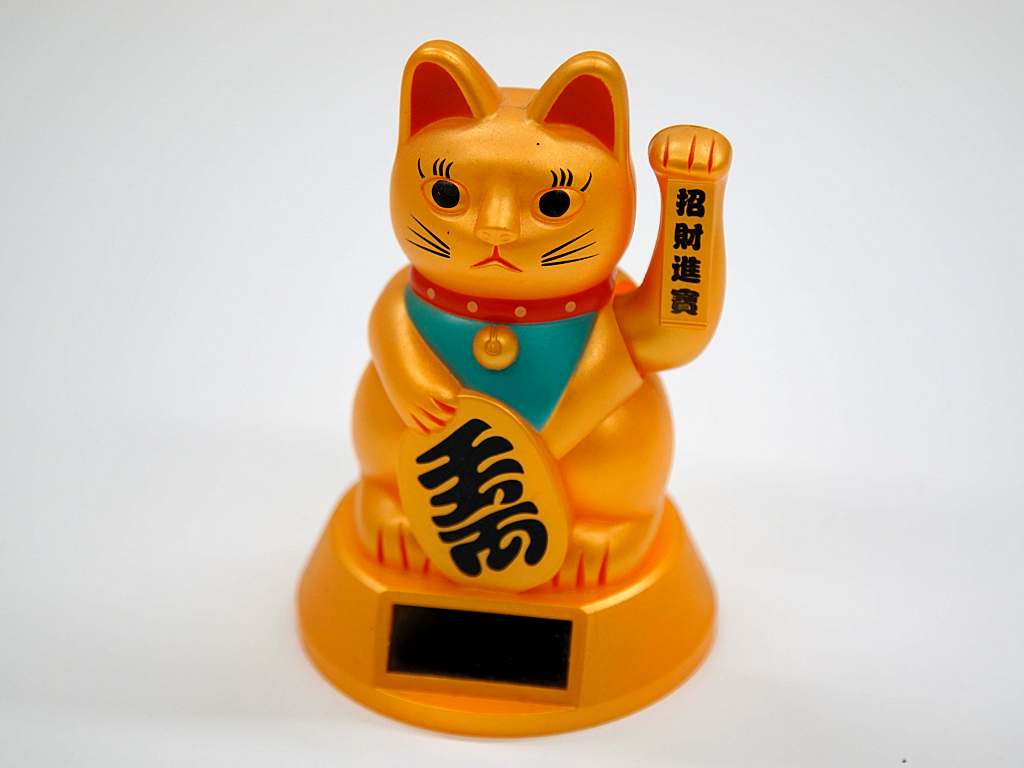
Good luck to me!
I tried a photogrammetry Android app: SCANN3D.
The scanning process was very easy: take a picture when dots on the screen are green.
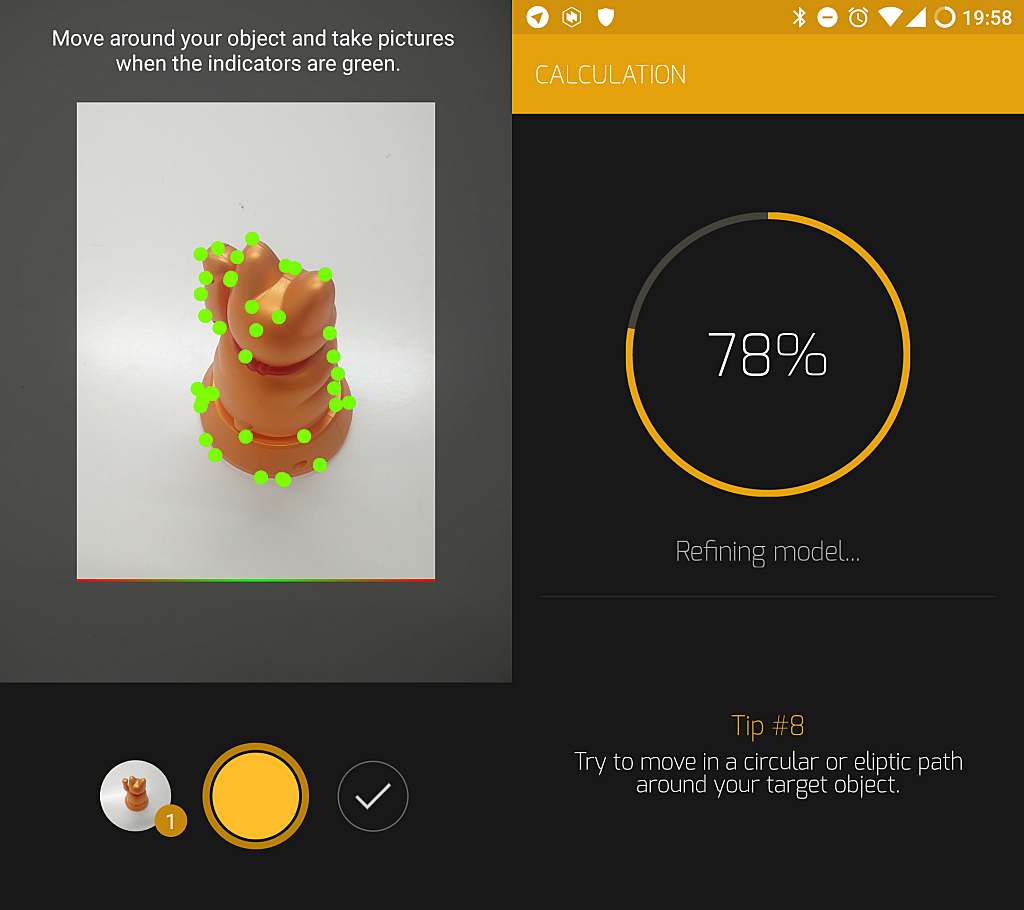
Scanning in progress...
But then disaster!
I wasn't able to get a single nice 3d model with SCANN3D! Only weird meshes even
with simple objects like a marking pen!
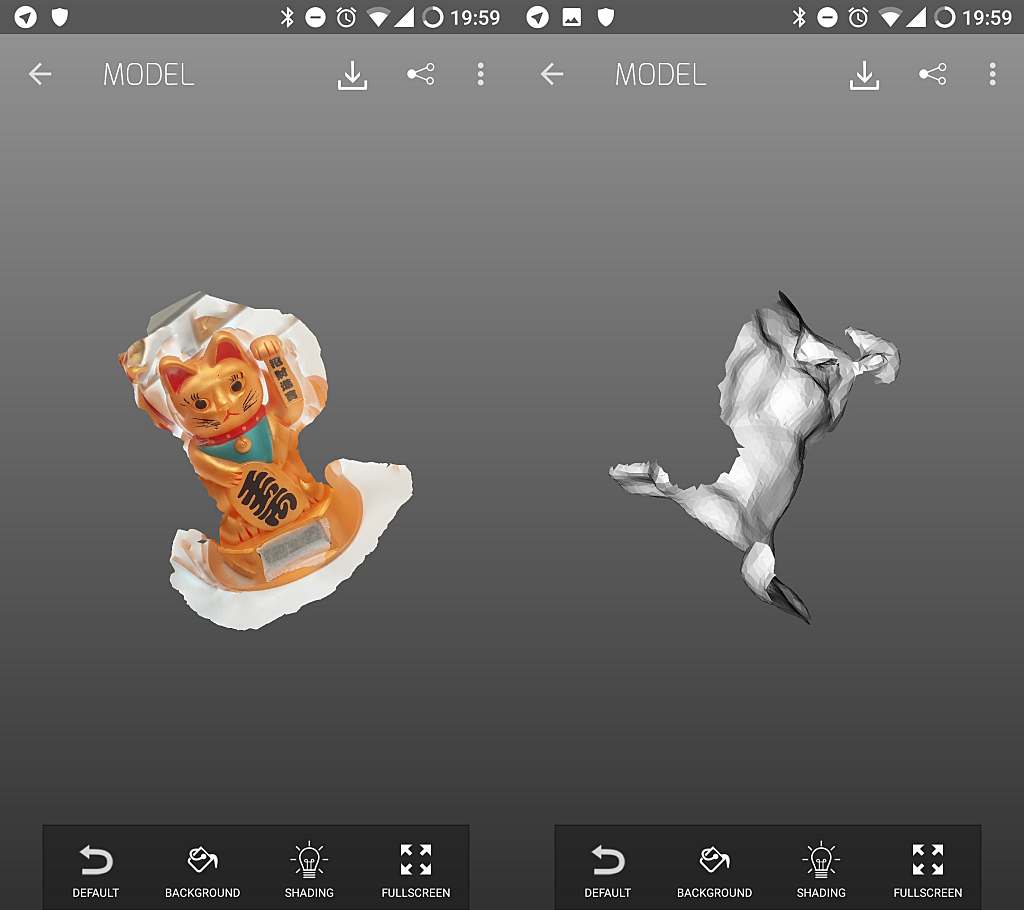
Cat fail :(
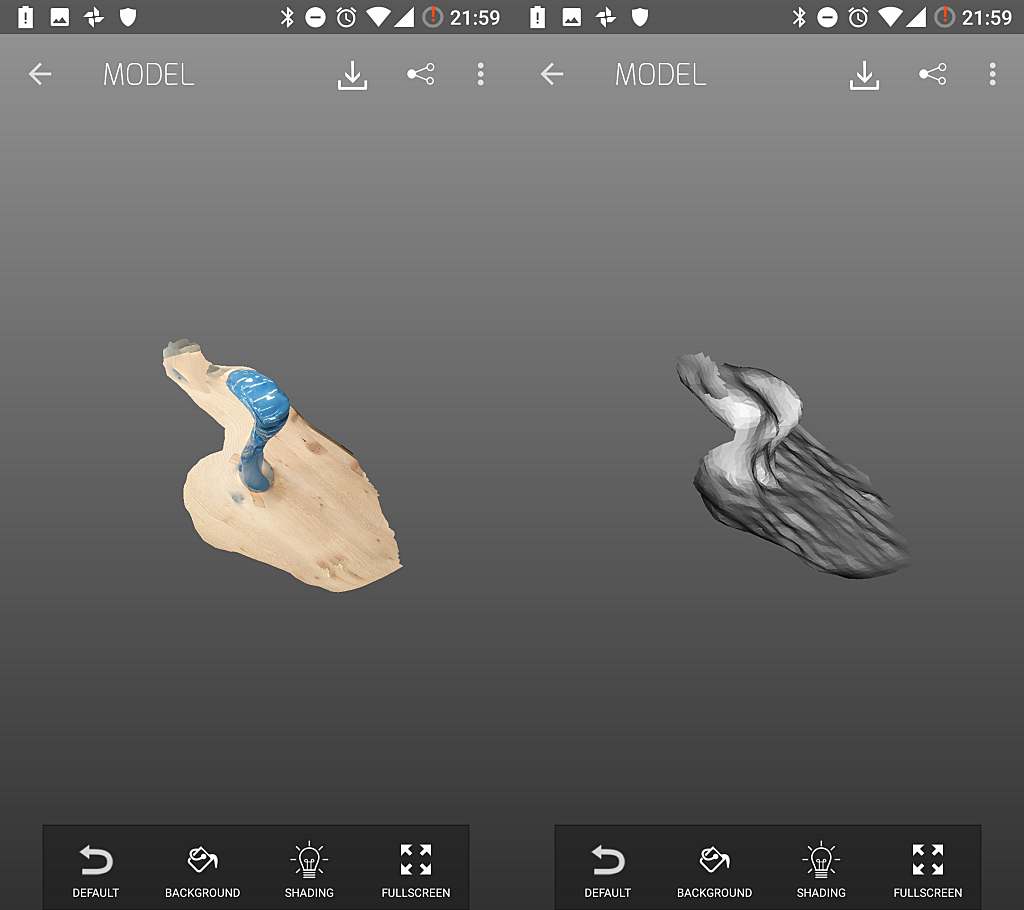
Simple blue ceramic jar fail :(
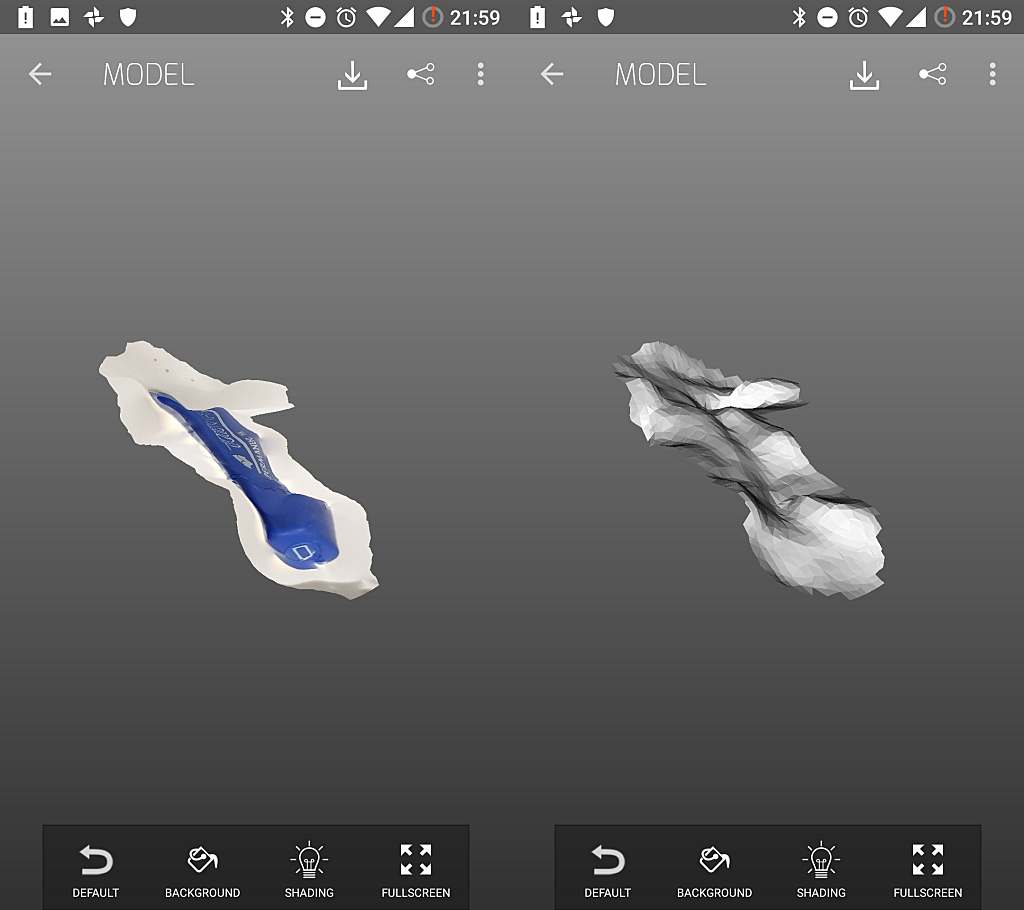
Marking pen fail :(
I'm planning to try another photogrammetry software, this time windows based: Zephyr.
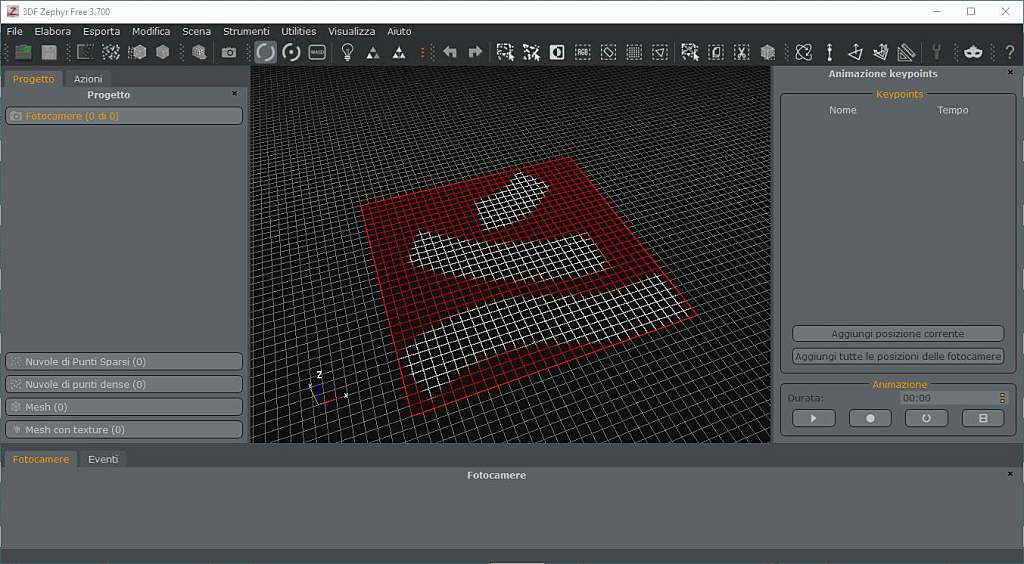
Zephyr interface.