7. Electronics design
Daniel and Jose Luis did a good job summarizing the group work here
Electronics design! Learned Eagle. Straightforward from the tutorials 1 and 2. Rehashing what I did from there is a trivial exercise. Basically the tricky part is making sure you remember to set your wire thickness to 16 and to set the permissions. I like to do it manually everytime to make sure it is correct, but you can download the Design Rules Check file.
UPDATE: As I’ve gone through the course, it can be a bit of trouble to find the proper footprint of stuff and to get the proper libraries in. This was a good summary of how to do it that helped me out.
Before I did that I went rogue and made my first attempt. I was gonna be super ambitious with multiple buttons that did stuff when you pressed one or both. One issue though - I didn’t include a line from the power source to the button, it was only coming off of the controller. Oops! Back to the drawing board, which was just following the damn tutorial.
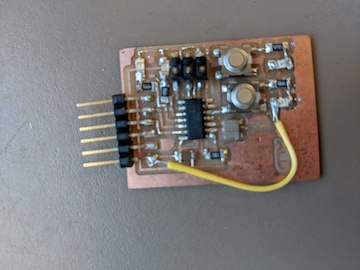
The second board worked fine. Used the multimeter to make sure connections and components were fine, and I included an LED that turned on no matter what when you press the button to make sure it works.
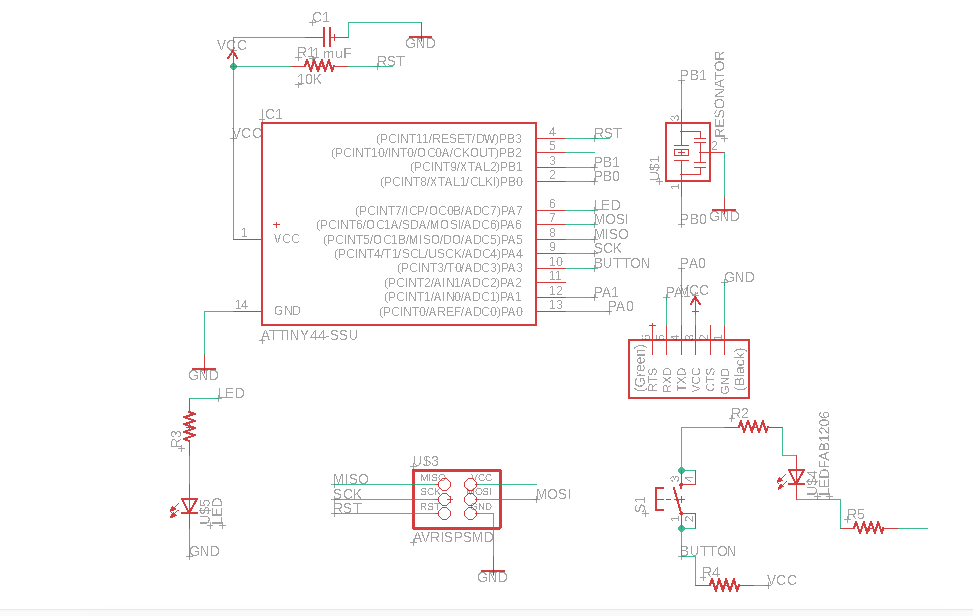
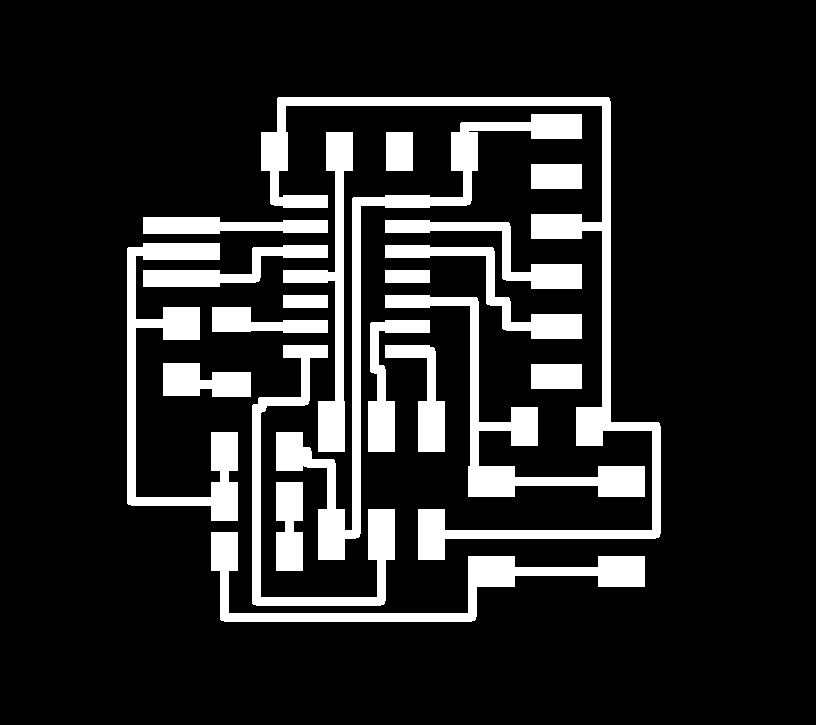
Schematics are straightforward and the cutout is seen below with the schematic. And the board with it lighting up!
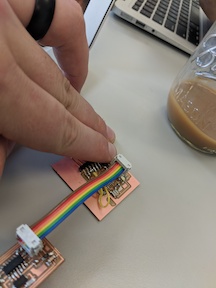
Let’s get to programming - I used the Arduino program, and went through the tutorials
It worked! The light was on, then turned off when the button was pressed. I even switched it (not pictured here) so that it turned on with the button pressed.
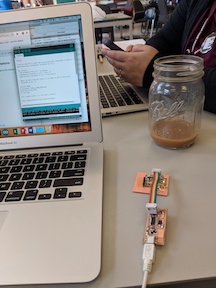
Sweet. Now let’s get it blinking! Or not so much. When I went to change the program to get it blinking, it decided to stop working. I need to troubleshoot that part, huh?