10. Molding and Casting
Learning outcomes Design appropriate objects within the limitations of 3 axis machining Demonstrate workflows used in mould design, construction and casting
Have you? Explained how you designed your 3D mould and created your rough and finish toolpaths for machining Shown how you made your mould and cast the parts Described problems and how you fixed them Included your design files and ‘hero shot’ photos of the mould and the final object Reviewed the safety data sheets for each of your molding and casting materials, then made and -compared test casts with each of them
Background
Chemistry and molds- my time to shine! I took a polymer class in grad school. I know this stuff.
Model
With Game of Thrones coming back, I figured make a Hand of the Queen/King pin for my wife and I.

Cool. 3D model found on thingiverse. I took this model, knowing I would have to modify it slightly in order to be able to get it the molding state. I did have some issues with the file type though, given the complexity of the shape and the triangle mesh that it has, particularly on the bottom where it would not completely close. It took some converting in Fusion 360 that had mixed results, but ultimately I loaded into the FlashPrint (the slicing software I typically use) cut off a part of it to make the bottom flush. I exported that as an .stl, and then brought it into Fusion to make the box for the molding process.

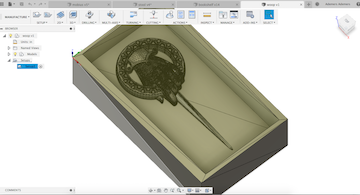
I tested a couple different machining methods. Cleared it all out, then settled on a morphed spiral for the finish. Used Fusion’s manufacturing tools for it.
Milling Wax
I used a Roland MDX-15 run through the command line to send the file, since the software compatible with the MDX-15 is old and doesn’t want to work for my needs. (Note - get command to add later. On computer my milling machine.) Photo dump time!
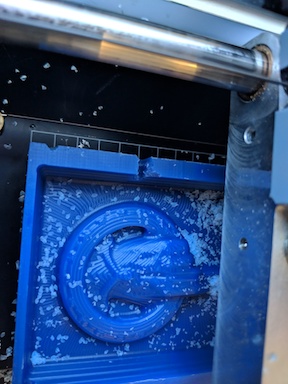
Came out good!
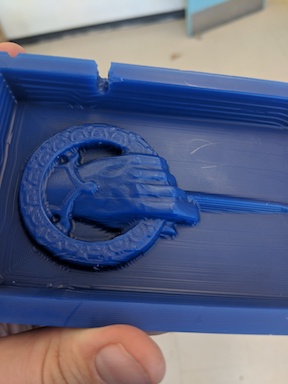
Making the Mold
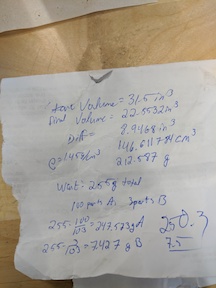
I decided to use Mold Max 60, since it is very heat resistant. This was cool but required some math. Fusion calculated the volume taken out be the milling of the wax, so I knew the volume of what this mold would be. Just used the density to convert to mass and figured out the respective gravimetric requirements of the individual components. See math!
Sweet. Put it in let it set!
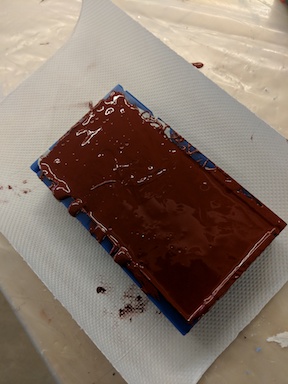

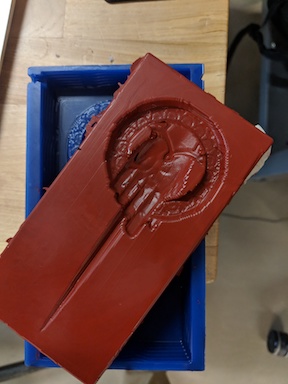
The stuff was really viscous and could have hung out in the vacuum longer to get it more dispersed, but still came out very detailed.
Melting Metal
The ingots did not fit in the crucibles, I melted them in a toaster oven in an aluminum boat.

Poured a bunch, and tried to keep it minimal.
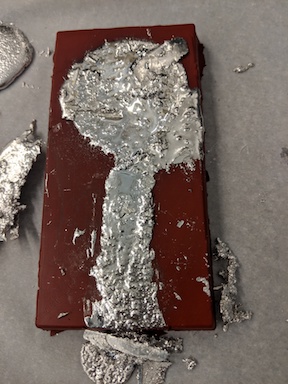

Didn’t work the best, but now I know how much metal I need to melt to get it to work!

Do it again with the appropriate amount of material, melt it in a crucible in a furnace, and pour!
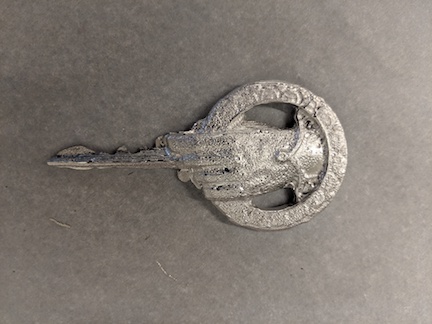
Awesome! Next time, I would adjust the model so that the pin comes out a little higher with a straight drop, so the detail and tip of the sword can be fully shown.
Conclusion
Casting and molding things is a great way to quickly make a bunch of one product - once you have the mold, that is. This week was a good mental refresher of a lot of plastic chemistry, so that was nice for me.
Valar Morghulis.