17. Machine Design - Rube Gershenfeld Part 2
This week we finalized our Rube Gershendfeld Machine. Here is our final video:
We continued to develop the mechanical aspects of our machine while also integrating electronics into various parts, including sensing the ball passing by to start DC motors and solenoids. We struggled with detecting the ball, likely because it was too small and moving too fast. More documentation these problems can be found on Jose’s and Aleza’s pages.
Integrating the Components
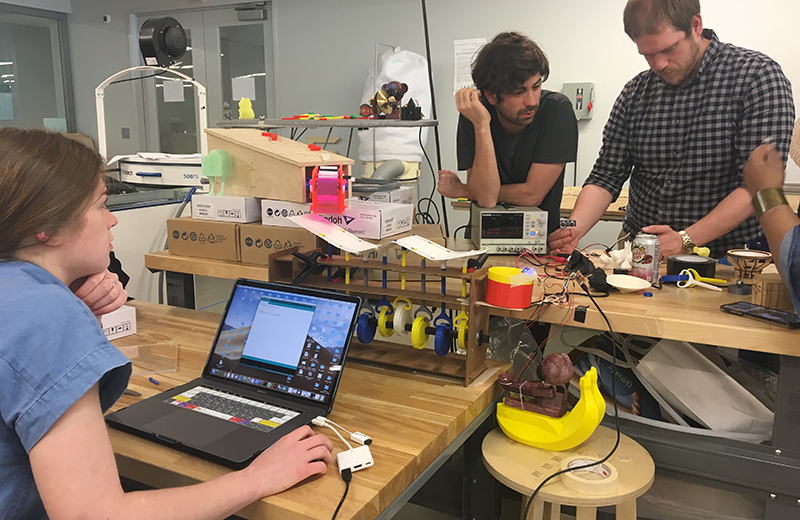
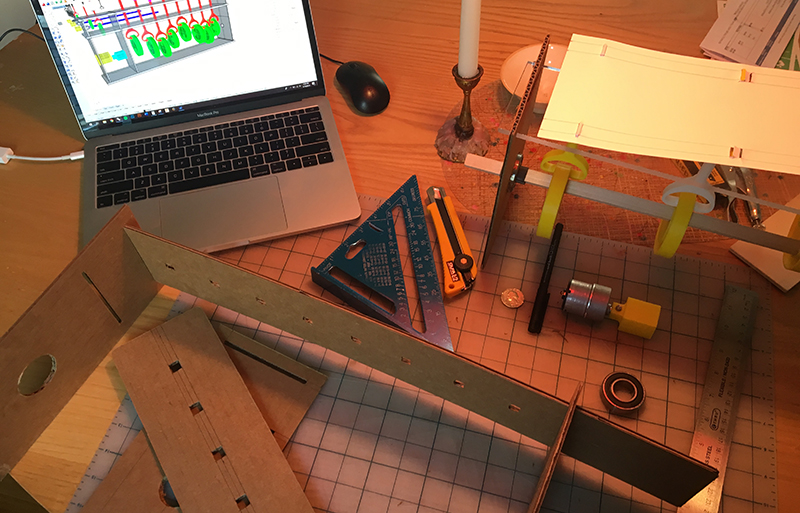
 Here’s our individual components placed together for the first time. We did attempt to build a single box to contain and interconnect all the components, along with wire management, however completing our individual components became more of a focus. Essentially we ended up making 3-4 separate machines that could work together (pass the ball) instead of making one integrated machine. Another approach could have been for 1 person to focus on mechanical design, another person to focus on electrical, another on programming, etc.
Final Prep
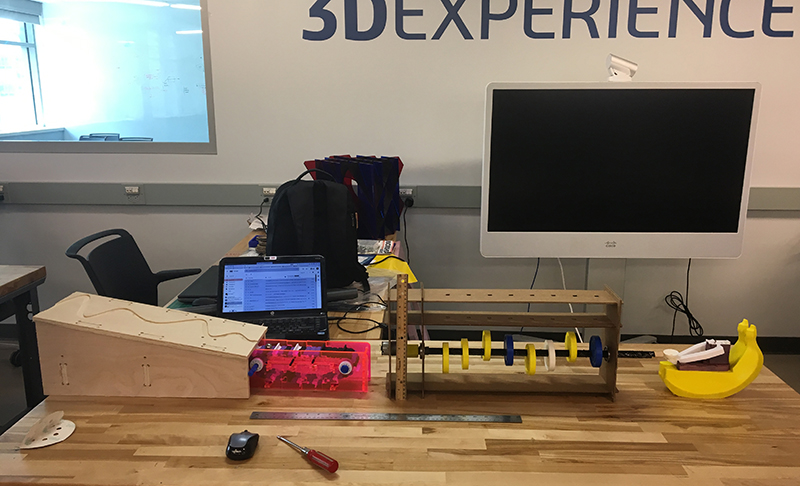
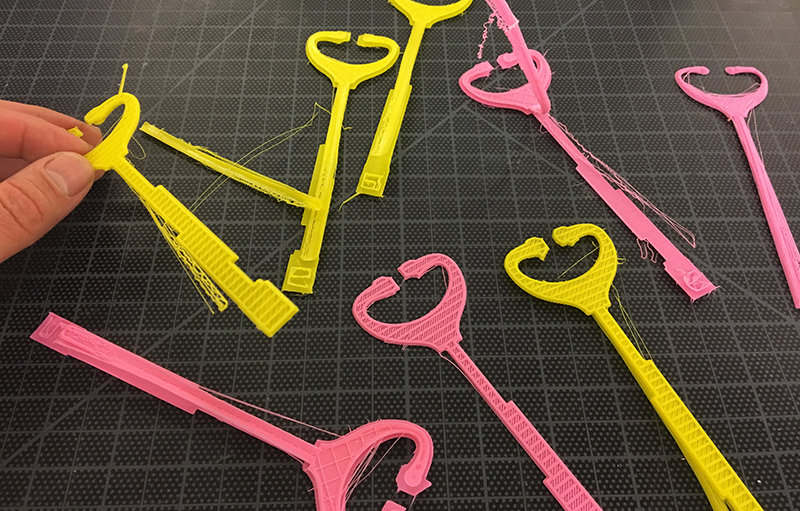
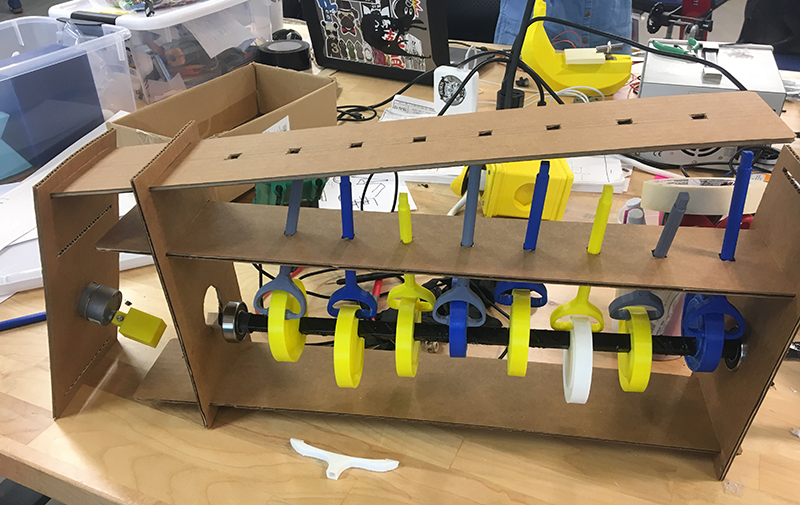
 This picture is of the final last few hours of setting up our Rube Gershenfeld machine! A lot of work was still to be done to get the timing right between the sensing and the motot activitation.
Input and Output
Here’s some video showing tests before our final video:
We successfully got the monkey to sense sound to begin clapping. More details on the components can be found on Jose’s page. We also got the motion sensor to detect the ball rolling past down the ramp and for that to trigger the guillotine monkey to begin chopping the rubber band. More documentation on those components can be found on Aleza’s week 15 and week 17 pages. After the final video, we did get the conveyor belt motor to start based on a motion sensor. Alex’s page has that documentation.
Wave Machine (individual contribution)
Prototype 2
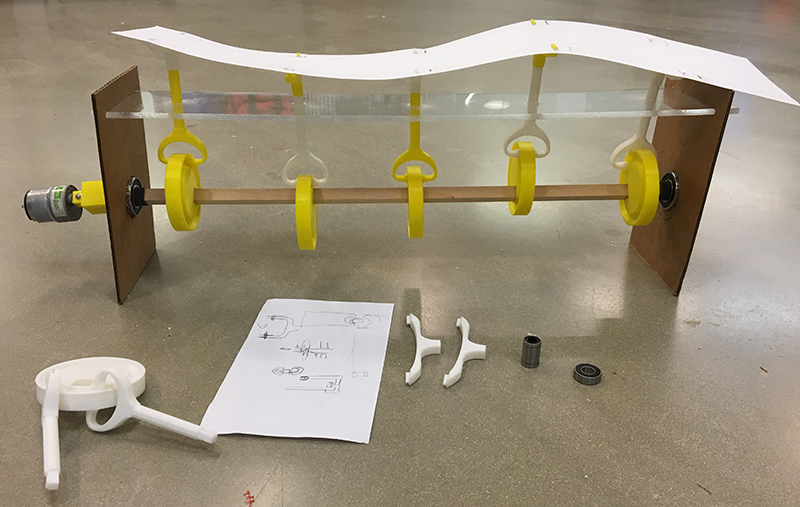
Building from the cardboard prototype, I knew I needed to stabilize the piston motion. I used an acrylic sheet guide the motion of the pistons and used cardboard uprights to stabilize the rotation. I integrated bearings within the cardboard. Our laser cutter was down so I had to cut it by hand. Not the best for accuracy, but close enough I thought to ensure the concept would work.
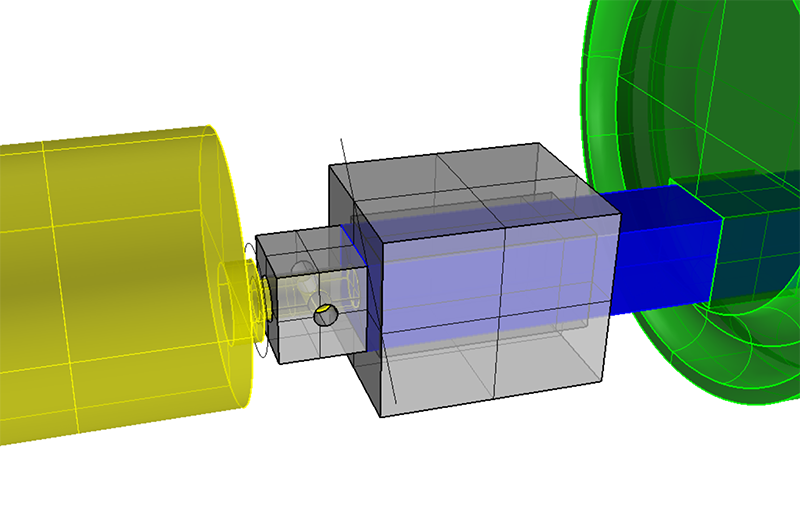
I designed the motor coupler.
I also redesigned the piston and surface mount arms to be 2 pieces, so that they could be inserted into the horizontal planes and then snapped together:
Prototype 3 - file download
I designed to machine structure in CAD, but our laser was still down so I had to manually cut everthing. Having the measurements did help and I’m pretty good with an exacto blade.
My main design improvement was extending the length of the piston to allow for having another stabilizing plane to hold them in the vertical position. I had a few failed prints along the way. These set-backs were stressful and caused delay in testing my component with my teammates. However my teammates helped by resending the prints while I was away from the lab - thank you!!
Assembly order was important to consider. It did get a little jambed in the assembly process.
I wasn’t convinced the wave would work after struggling to get it moving manually. Here’s a video testing the motion:
But it turns out my classmate’s intuition about trying it with a motor - perhaps interia would play to our advantage. Also, consistent force may help. Here’s a video of it struggling to turn manually. Definitely motion control was number 1 issue. The pistons still wanted to move out of vertical. In fact the cardboard began to give way after a while, make the problem even worse. Eventually we used clamps to contain the motion to vertical.
Here’s the Rhino file for the structure, cams, pistons, and surface arm mounts.
Next Steps
I will make the surface out of a laser cut living hinge, instead of from a cardstock paper. The paper worked, but didn’t allow for stretching. This is needed because the distance between pistons changes as they move up and down in relation to each other. The living hinge should excel at providing a smooth rolling motion, while also allowing for stretching. I will also redesign the vertical pistons to have 2 shaft as opposed to just one each. By having 2 I think I can further stablize the vertical motion.