2. Project management
Assignment
Work through a git tutorial build a personal site in the class archive describing you and your final project
| Documentation |
|---|
| 1. |
This week I’m going to uptade my student agreement, create my personal website, document the way I’ll be doing my documentation and plan my final project.
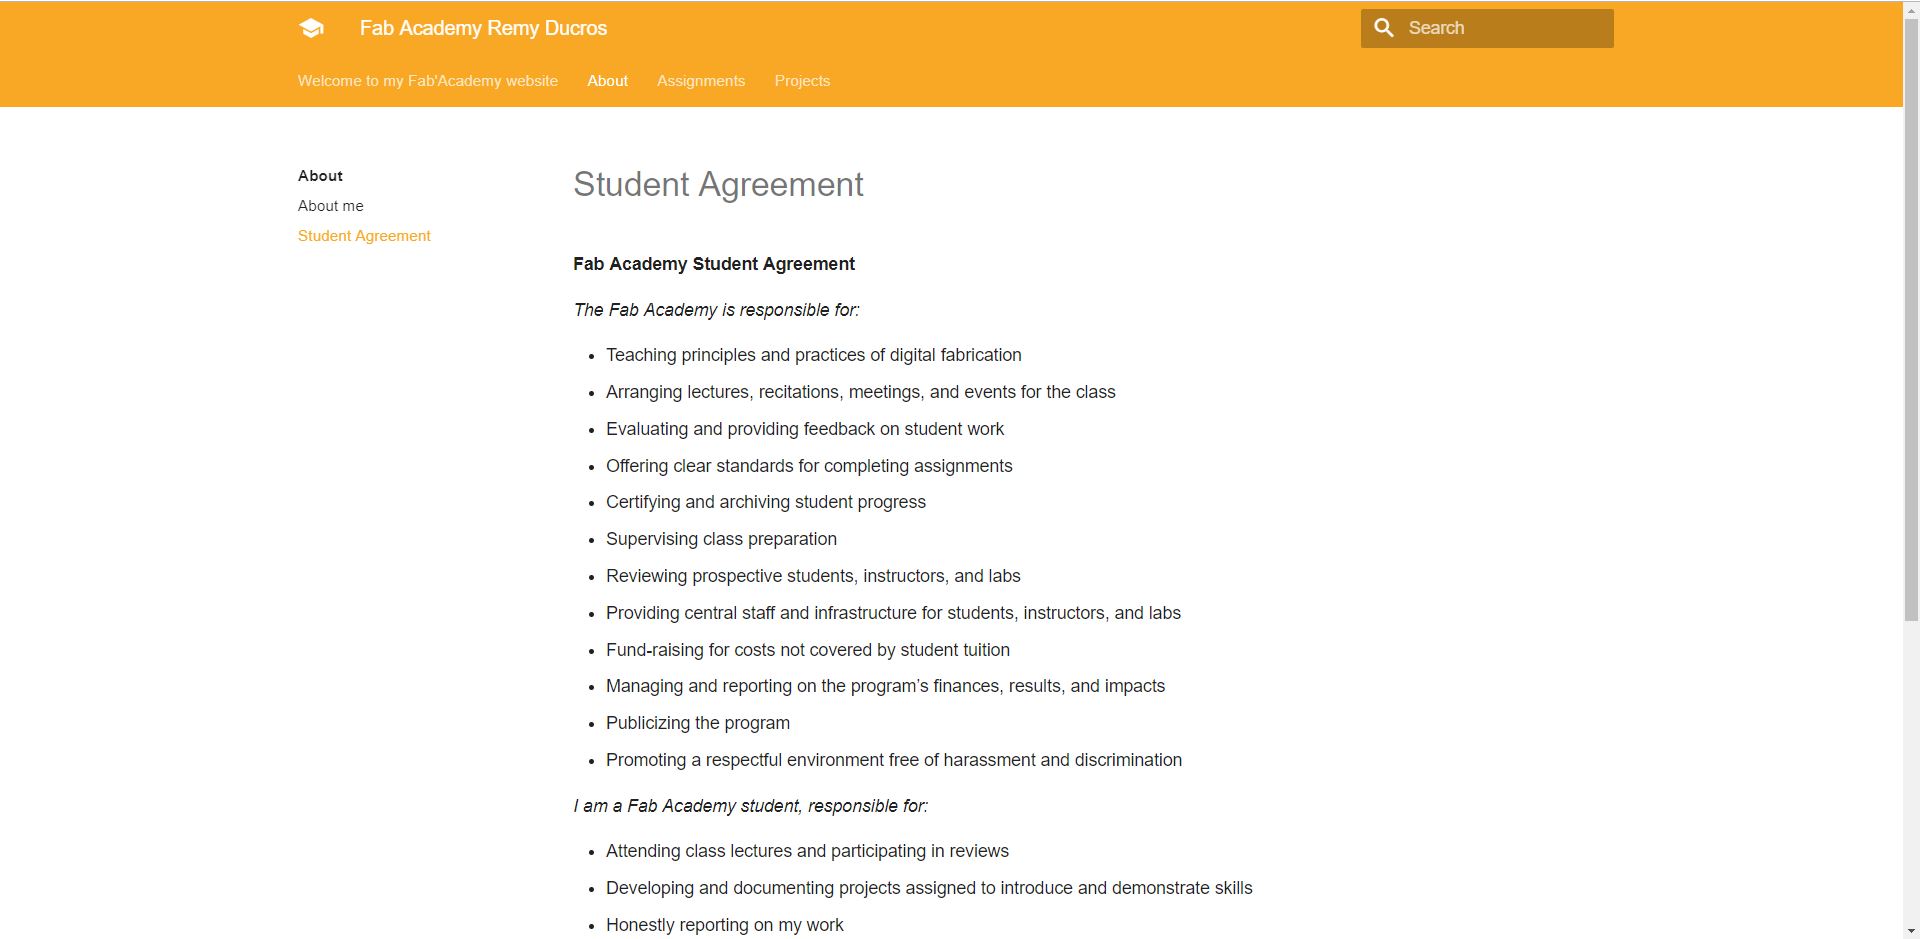
2.1 Student agreement
I first signed and commit my student agreement:
2.2 The documentation process
“Documentation is a love letter you are sending to your future self” Damien Conway
I’m going to document my whole Fabacademy experience. The first step is to get to know about the standard tools provided. I’m doing it first for myself to be able to remember what I’ve done but if it can help anyone else that’s very fine to me.
As we arrived we were provided with a gitlab repository with templates ready to use.
This is where all of our work is going to be stored online. This is where this website is getting its material from.
Setting up my local GitLab folder
To simplify the documentation process, I made a local clone of my Gitlab repository. This way, I’ll be able to work locally to update my documentation online.
Creating a SSH key
A SSH key is an access credential in the SSH protocol. Its function is similar to that of user names and passwords, but the keys are primarily used for automated processes and for implementing single sign-on by system administrators and power users. It’s needed to make the local clone.
With the Gitlab Help page and Romain’s guidance I managed to setup a SSH key for my repository.
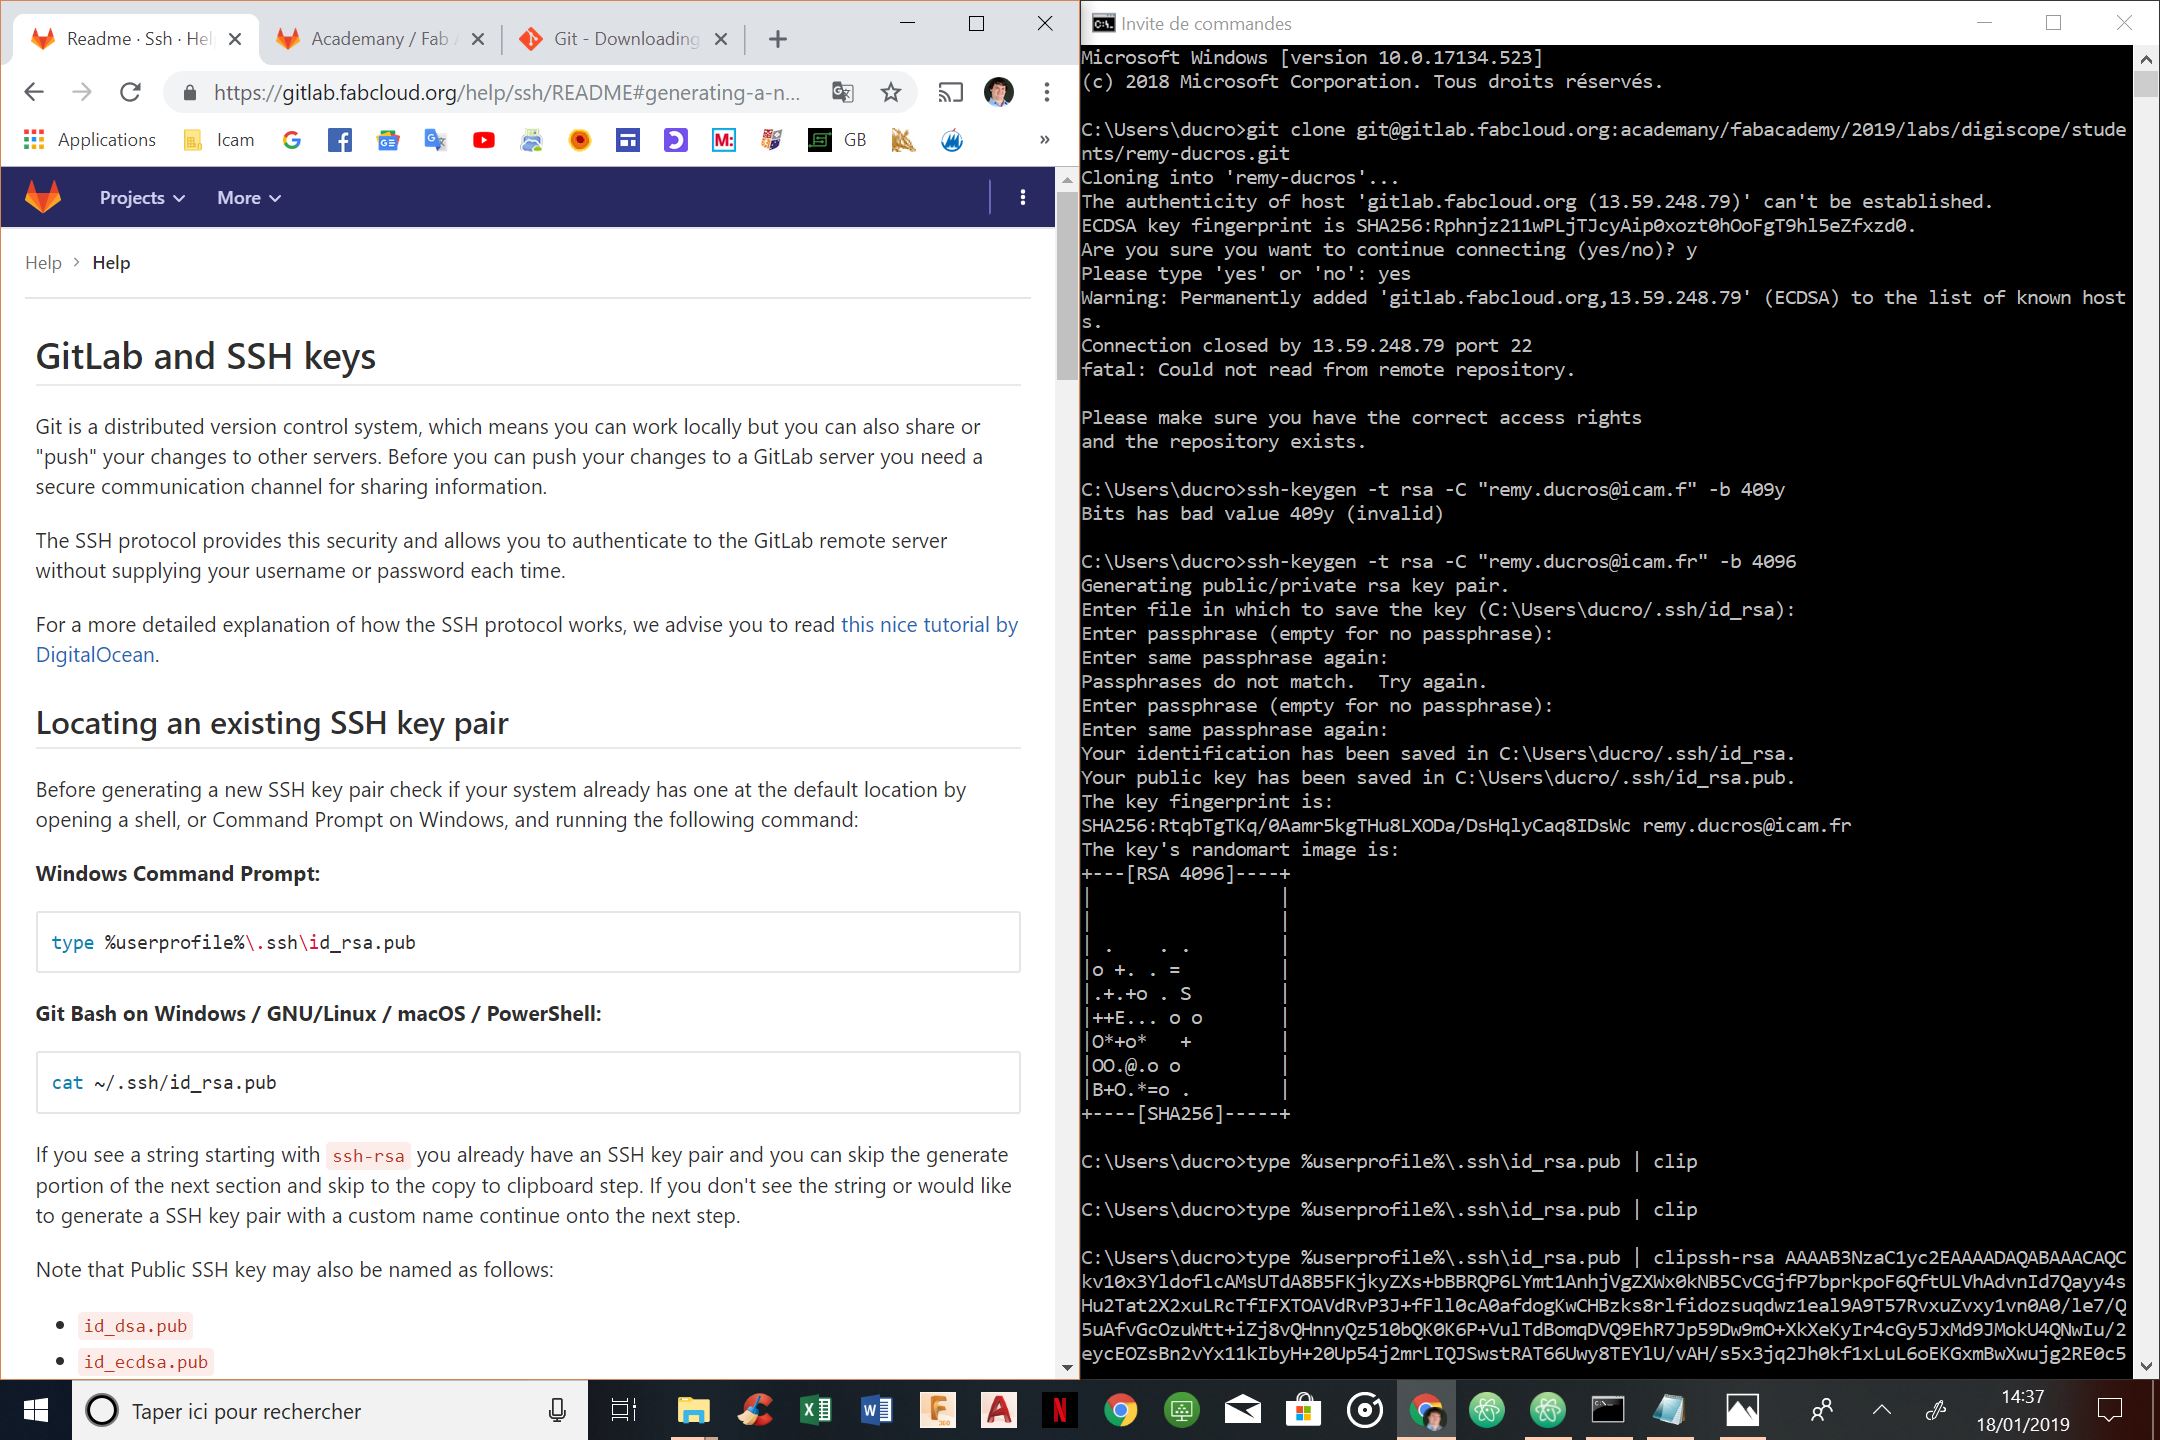
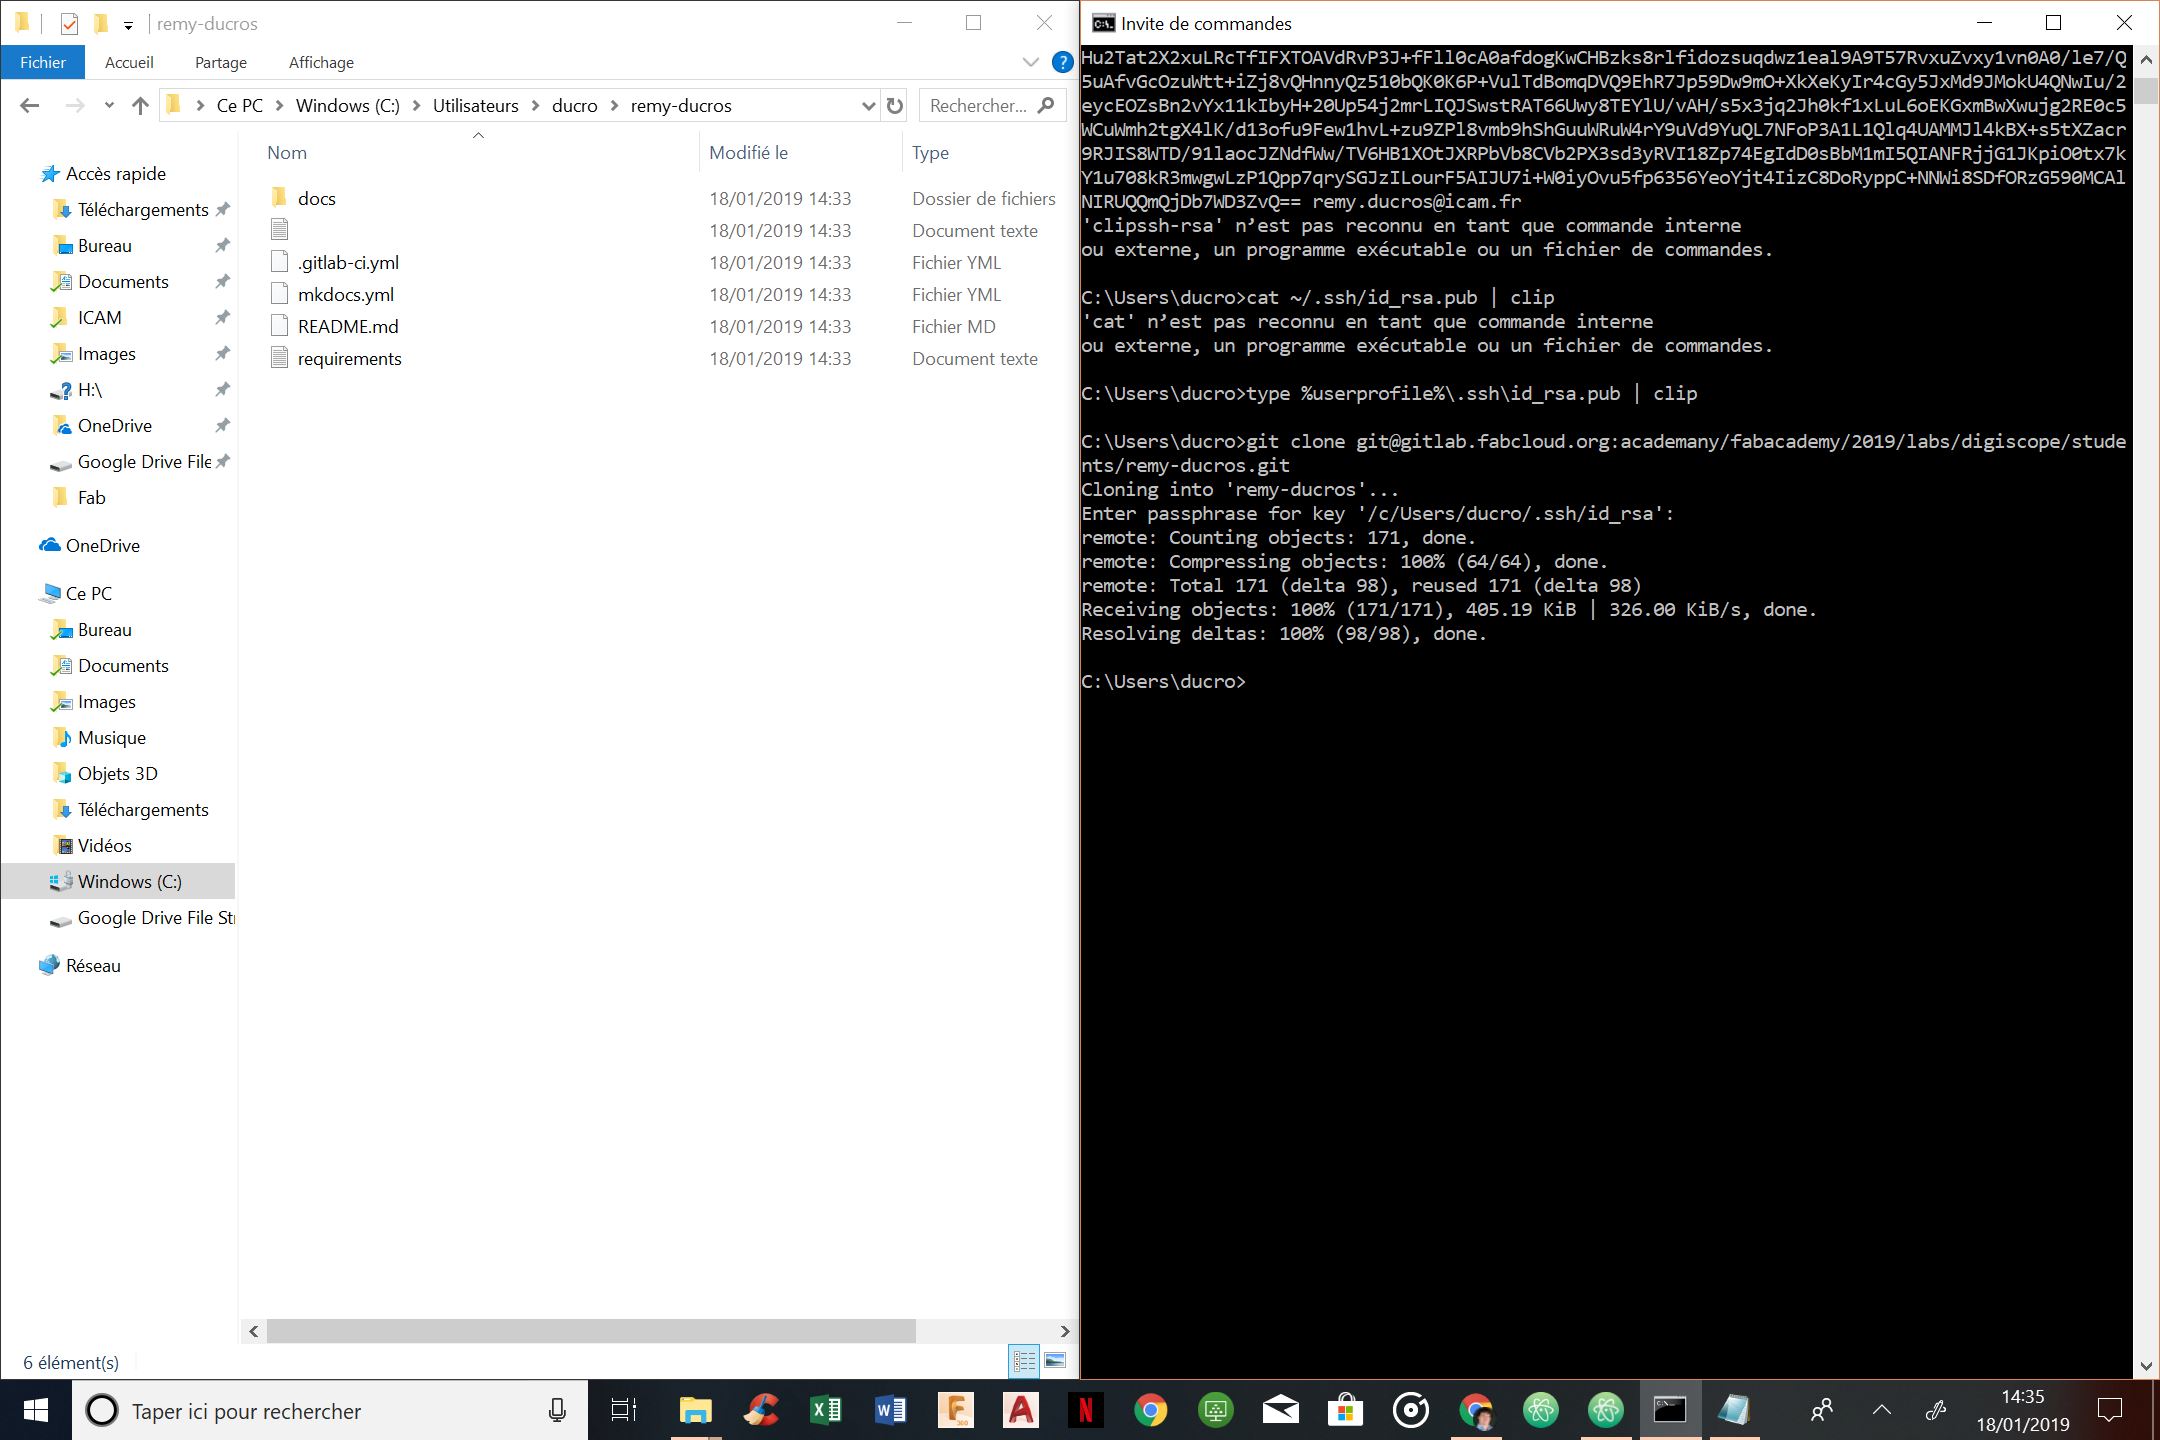
Note : I’m working on windows 10 OS and I had to install Git app to get the commands running properly in my CMD.
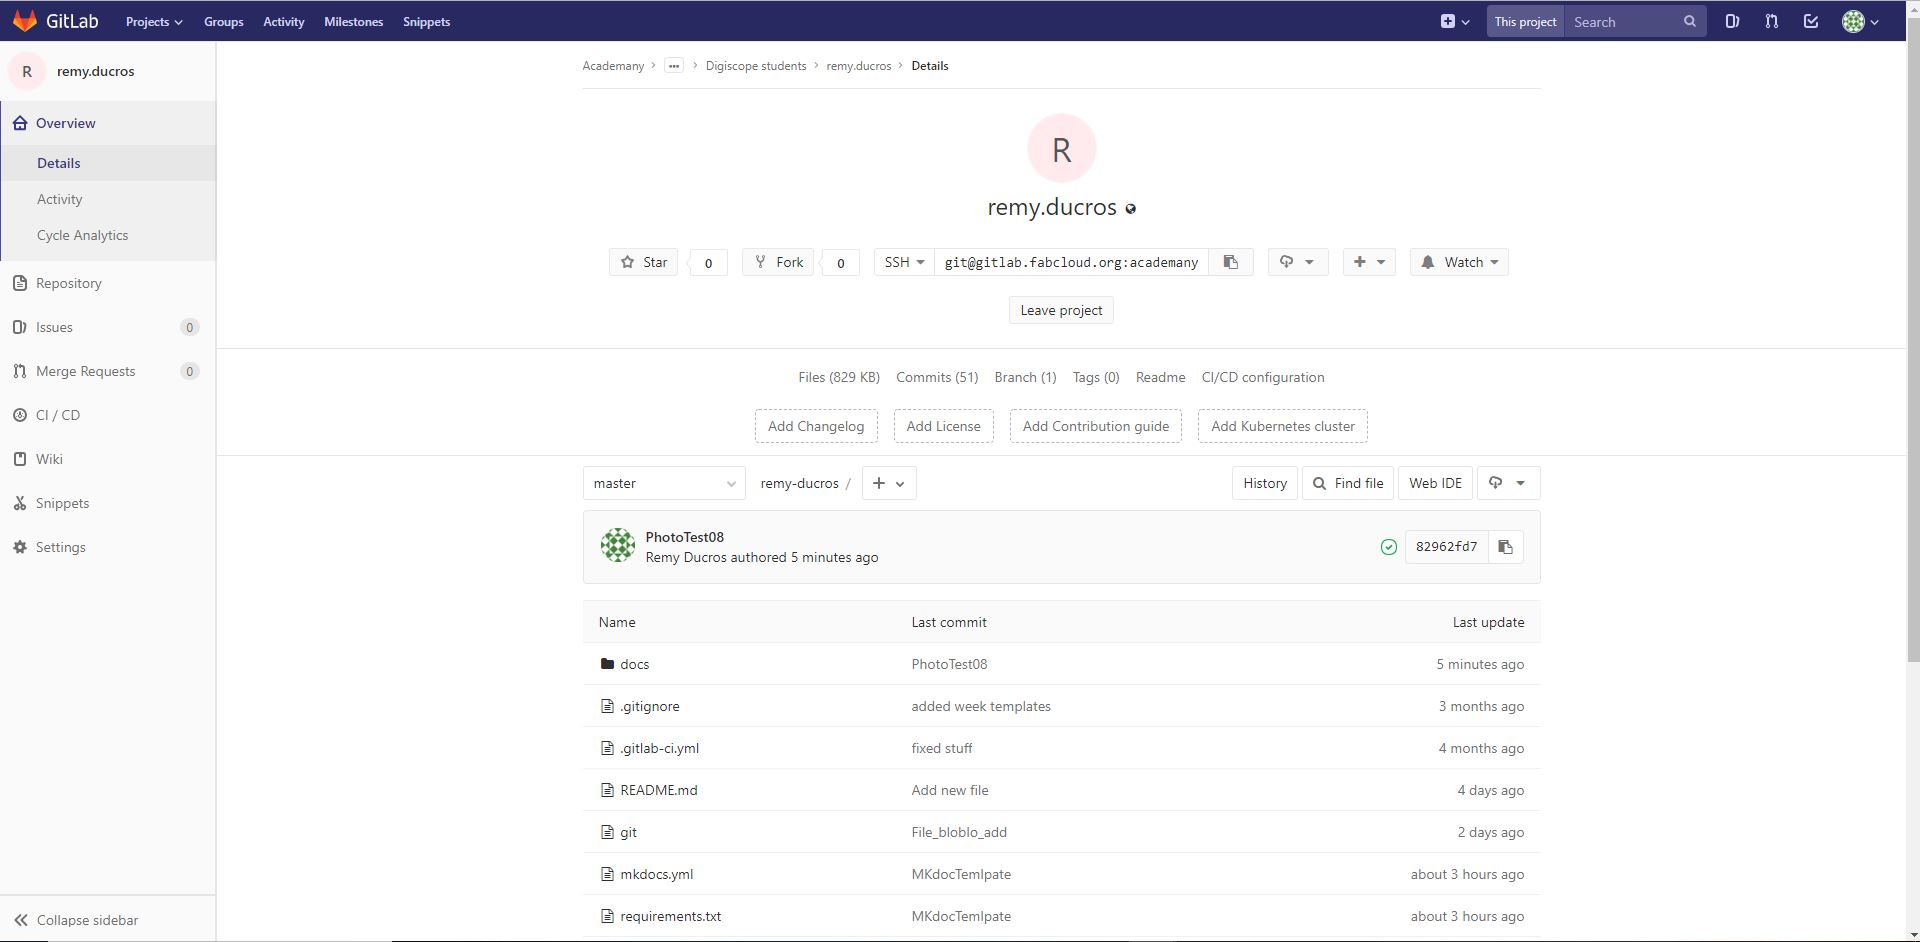
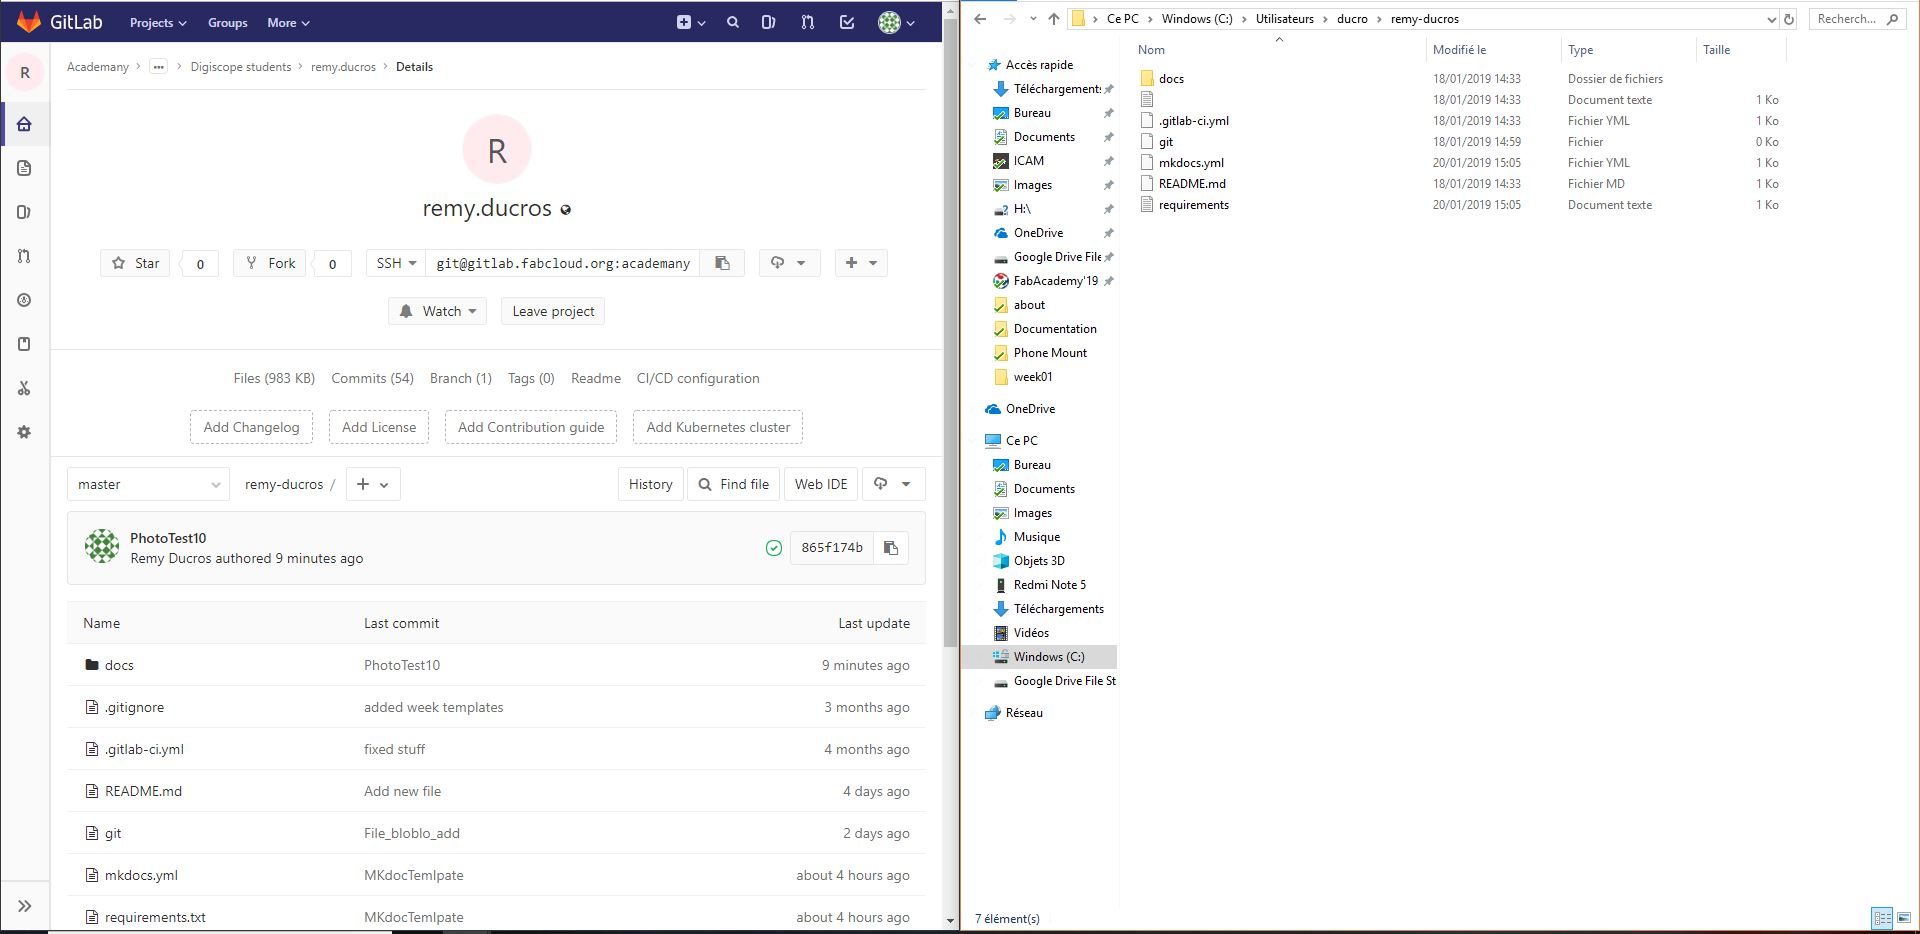
Creating a local clone
Thanks to the previous work to setup everything and using the git clone MyGitLabAdress command, I managed to create a local clone of my GitLab.
Note : I don’t like the fact we see the tabs open in my browser and the icons at the bottom of my screenshots. To crop all my screenshots/photos would take too much time. I have to take the time to get my photos and screenshot right the first time to just have to resize it (not crop it).
Testing the push commands
The push command permits to sync whatever work I’ve done locally on my online repository.
I have to follow a serie of commands to complete the process :
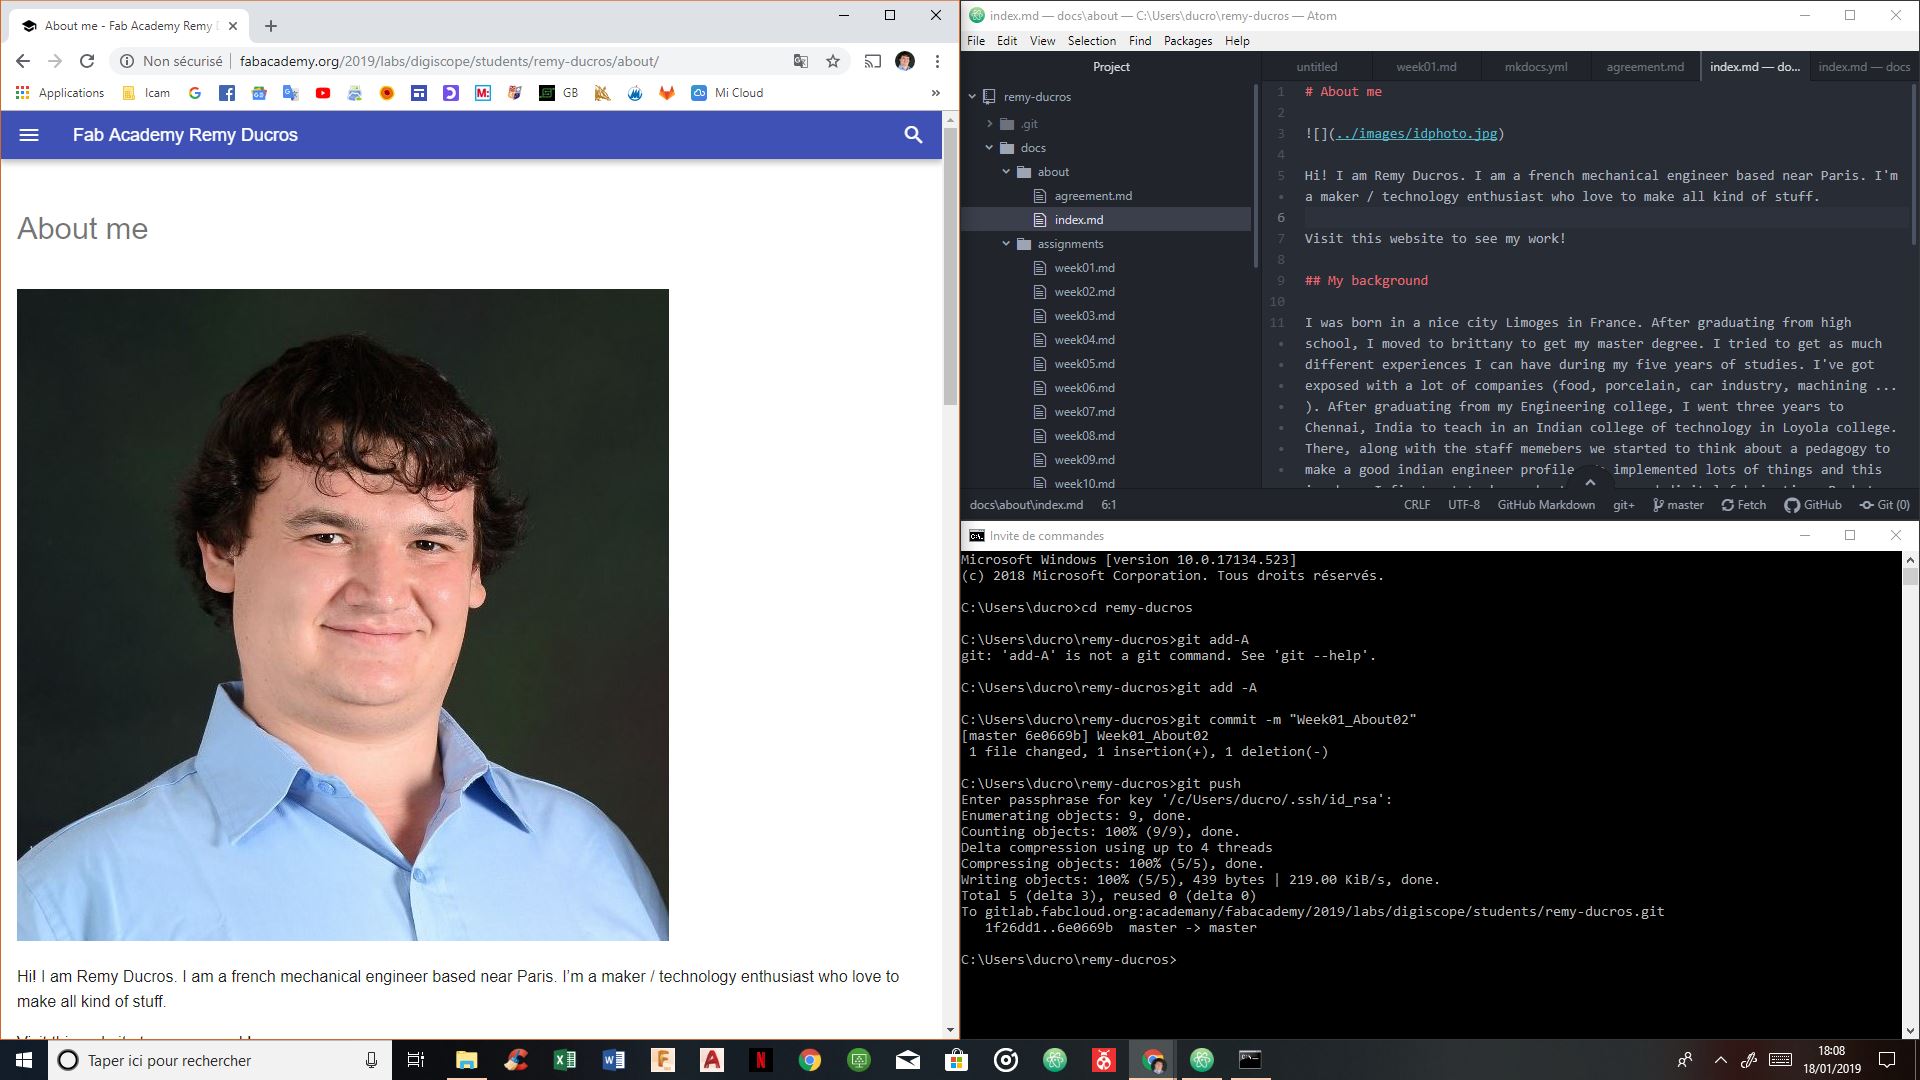
cd remy-ducros(to work on my local folder)git add -A(to select everything in the folder)git commit -m "UsefulNameForLaterReference"git push
After doing these commands, I can check online the status of the upload on the CI / CD - Pipeline page

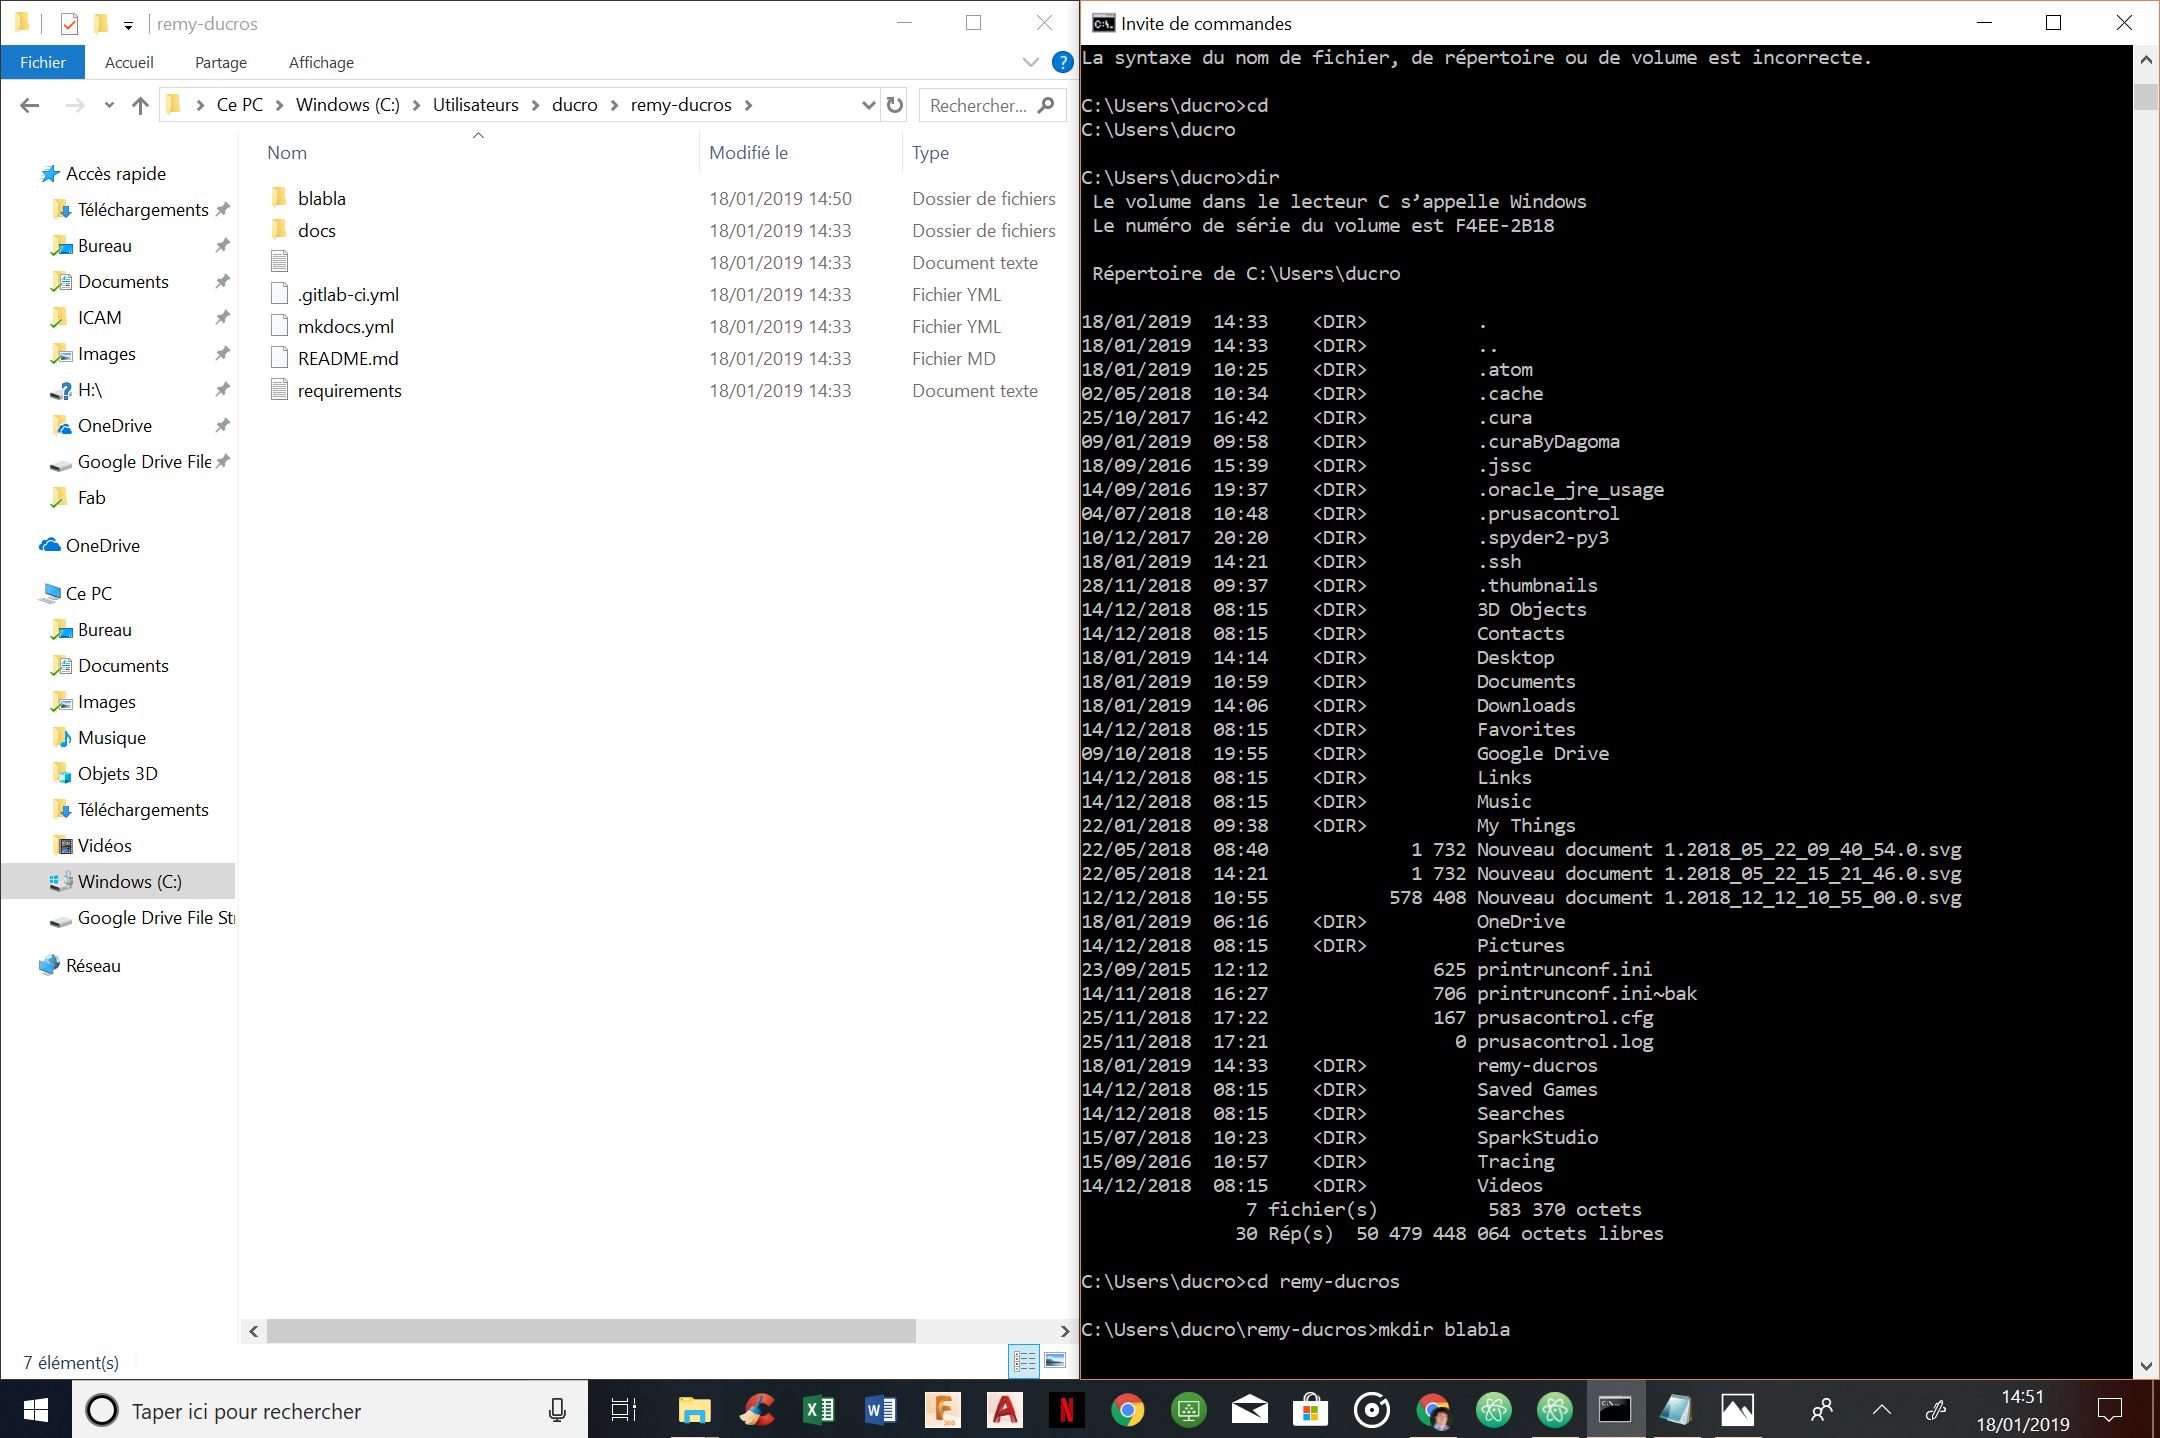
To beggin with, I’v created a blabla folder and a bloblo file to learn the process
Note : Here are some interesting commands to remember for later :
cd(change directory) : to work on the correct folderdir(directory ?) : to check all the files in a folder
Git tutorial
In addition, I’ve been through some online tutorial to be more familiar with git.
I’ve also been through this tutorial
Here are some interested commands that may be useful for later :
git logto view the history of my changesgit pullto update my local repositorygit merge <branch>to merge different version (collaboration)
Updating my personal information
I then started to work with Atoms (text editor) to start modify the text files and modify my personal info page on the website (I will keep modify it).
Mkdocs templates
I then started to modify my MKdocs template to start make my website look the way I wanted it to be. This step is purely a way to do visual modifications of the website. It won’t change the structure of it.
To modify the structure of my website, I wanted to try modifying my Mkdocs templates using a boostrap theme.

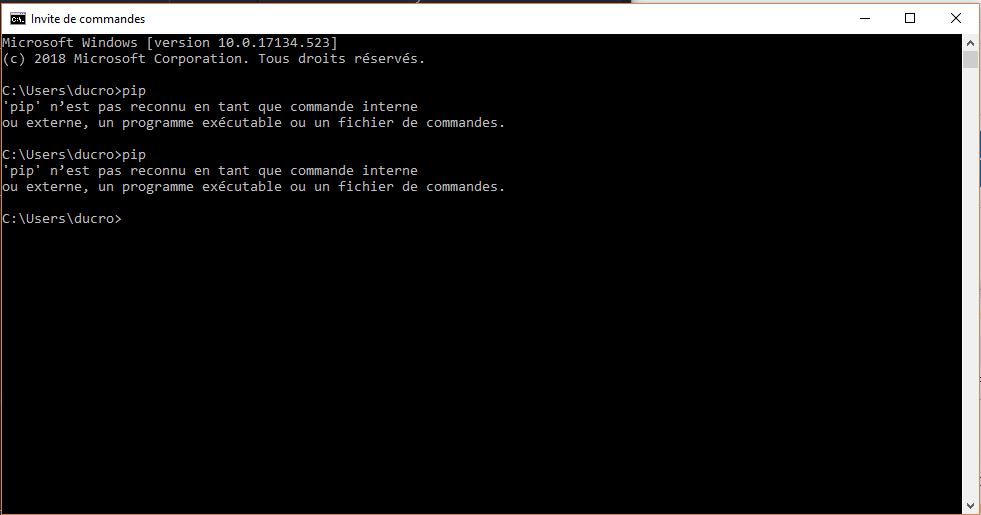
I first had to install pip. I had issues with the pip command, so I first had to install the latest version of the Python software.
I tried many times and different technics, I still didn’t get pip installed correctly.
I finally found a way to proper install it thanks to this video :
Pip was finally installed properly
I then installed the bootstrap template using the command pip install mkdocs-bootstrap
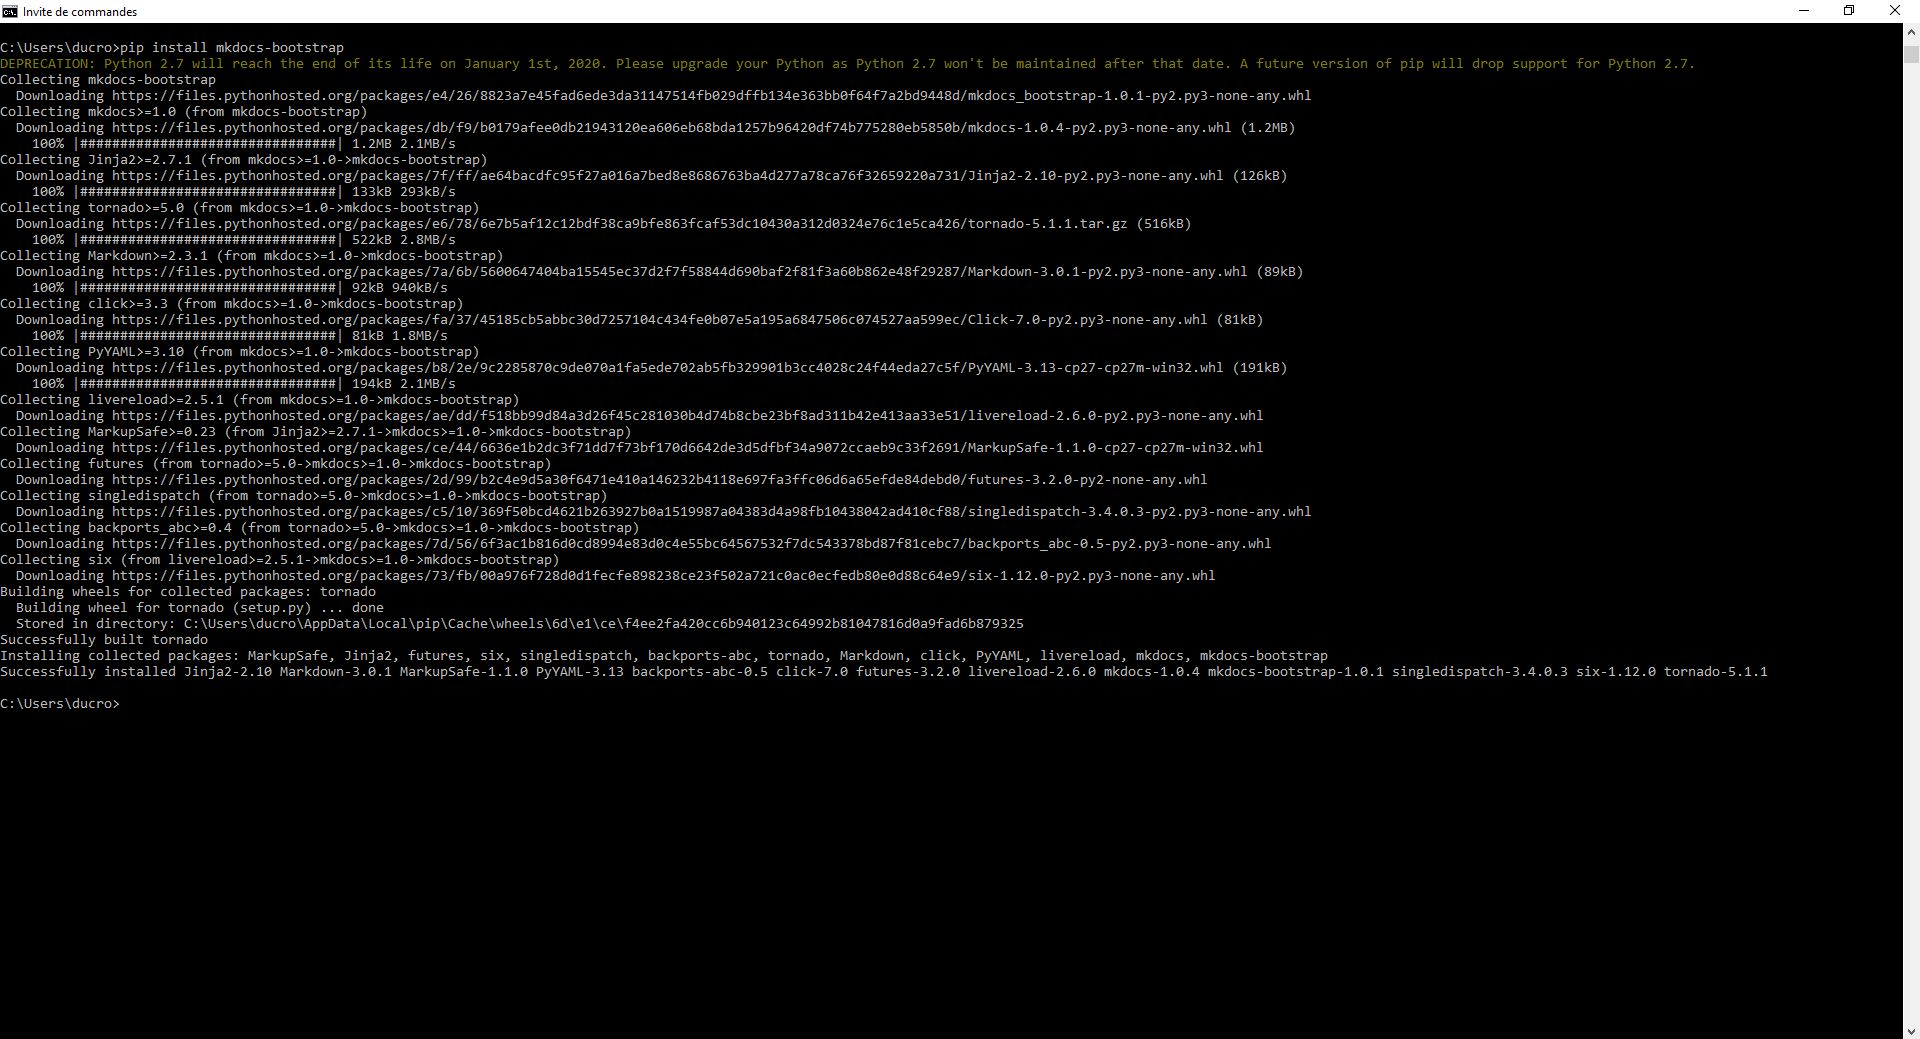
Finally I modified my mkdocs.yml file and set the theme name to bootstrap.
I changed my website design but finally came back to the previous one as I wasn’t pleased with the result.
Customizing my website
I went through last year students websites to find inspiration and features to put on my website.
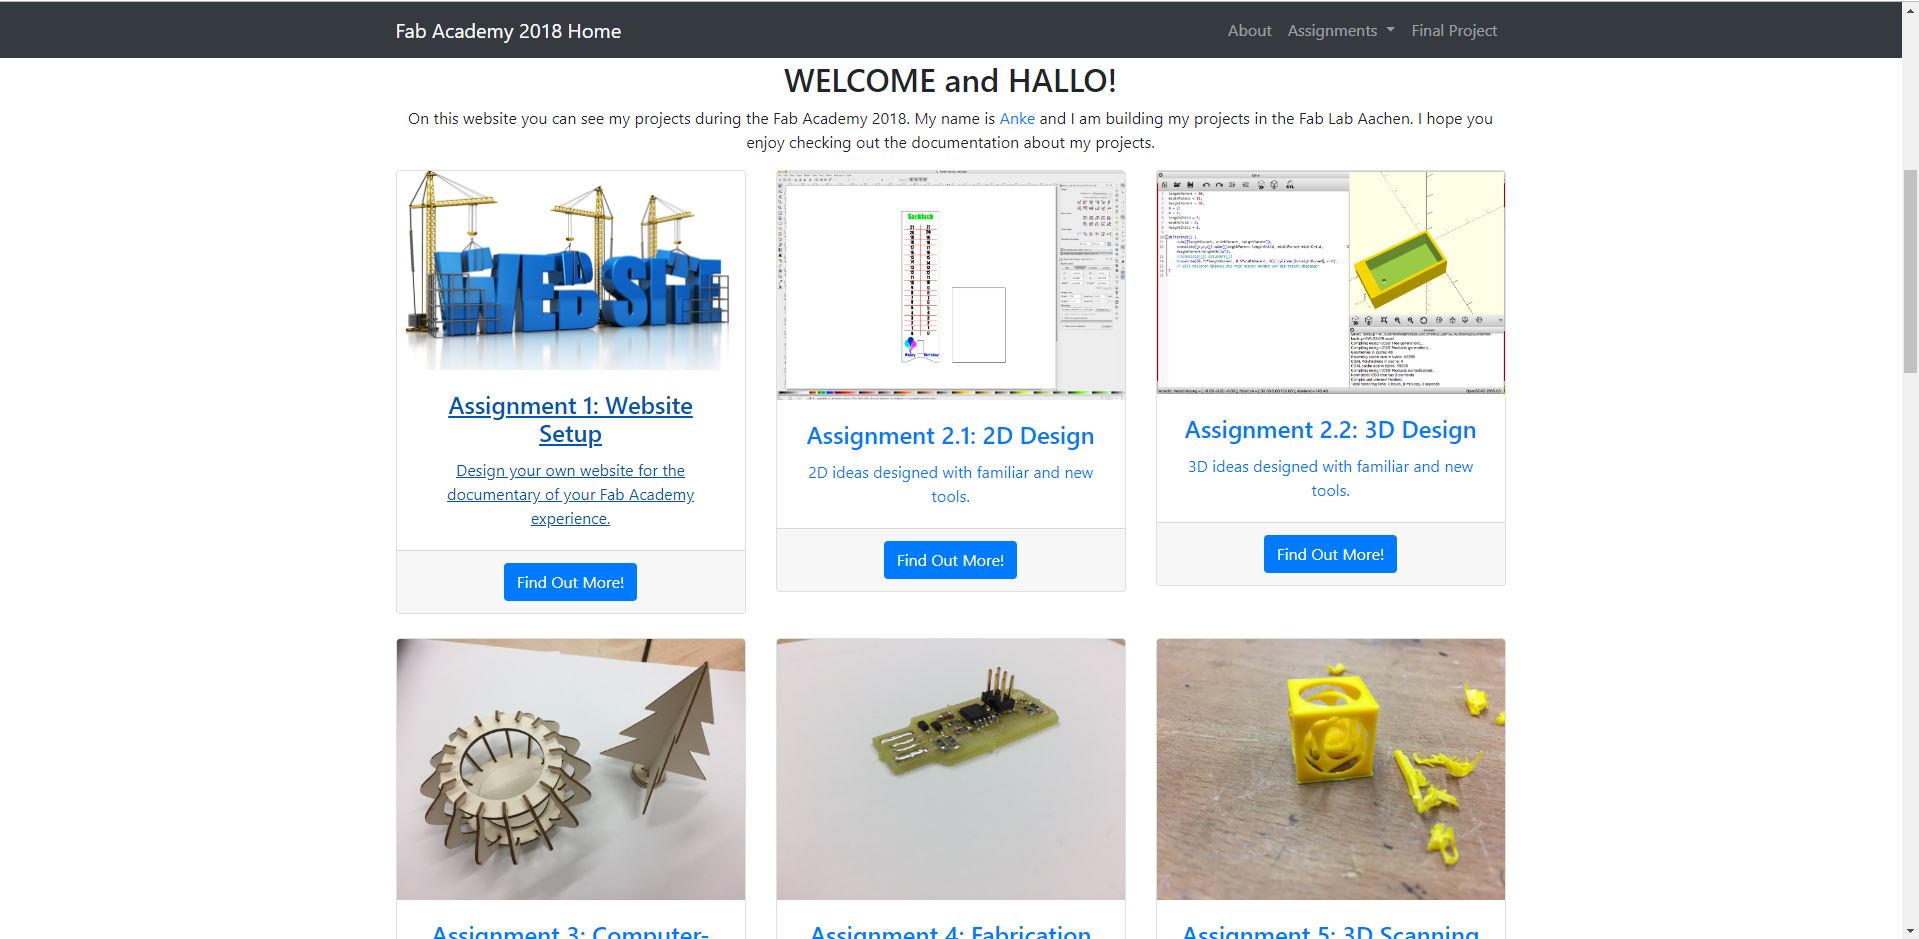
A cool feature I wanted to add was a way to display images and get links to other things in my website (a specific page for example).
Here is the example of Anke’s page :
I didn’t find a way to do it using markdown. The only option I found was to take a boostrap theme and replace all my website, then code it in pure HTML, java, css.
I didn’t commit to this solution as I’ve already spent a week making this website and getting confortable with markdown.
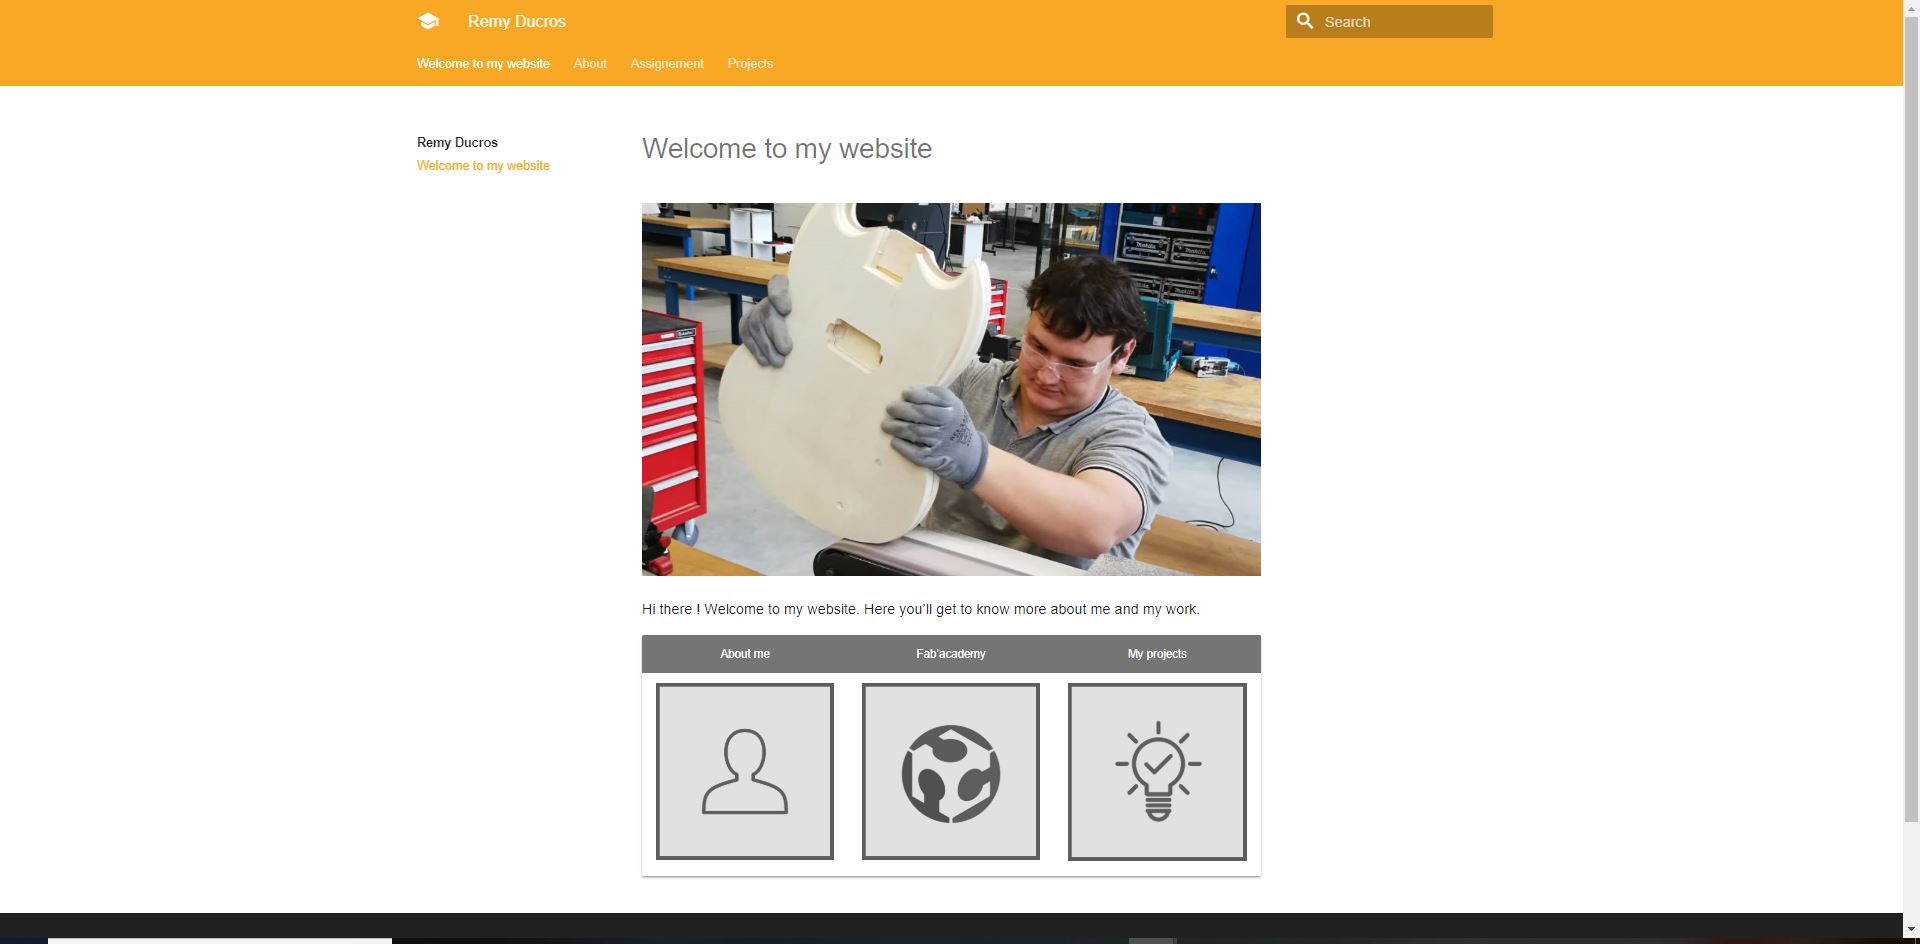
I thought a good alternative would be to put images in a table and then links in the images to go to the different pages of my website.
First I’ve taken open source logos online. I wanted to make three logos :
- About me
- My fabacademy experience
- My projects
I’ve used the Photofiltre software to edit the logos in order to have the same design
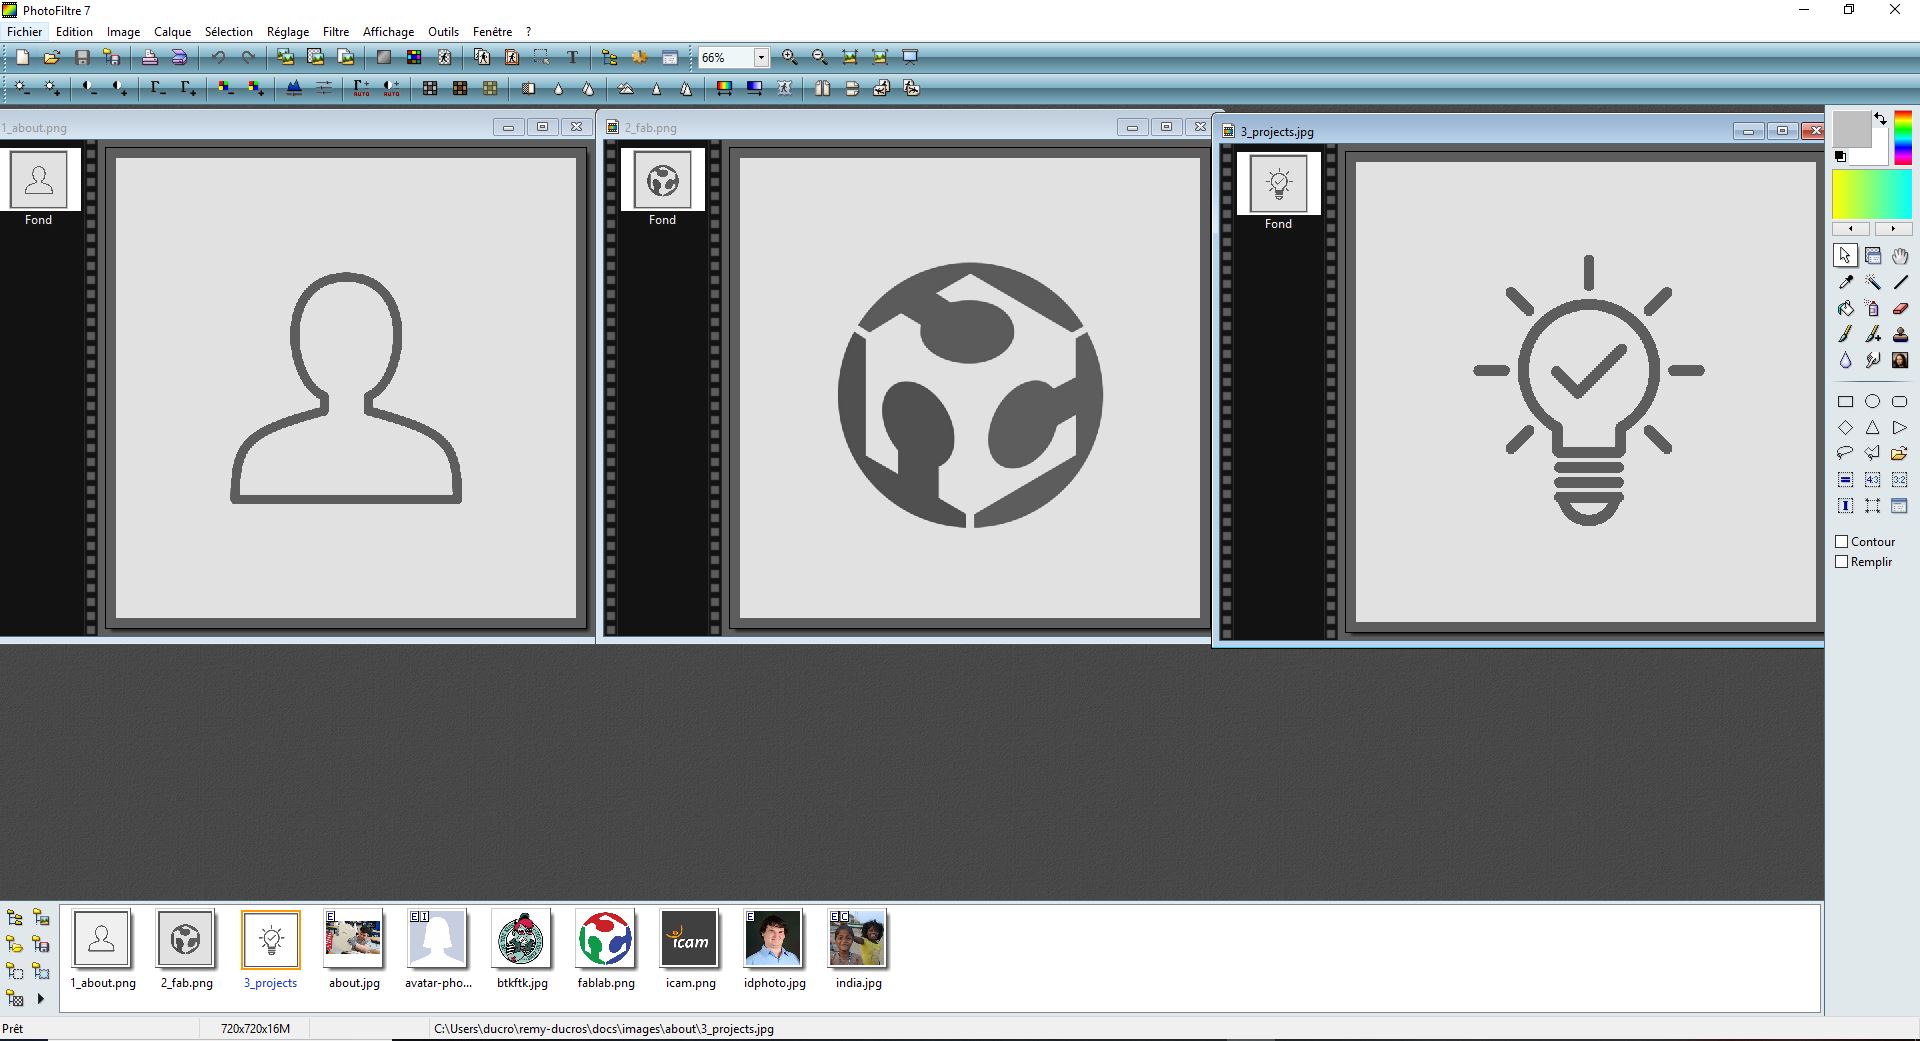
Then I managed to make a markdown code of what I wanted :

Finally it looks like the way I wanted :
Note : There’s one thing I didn’t managed to do so far, it’s to change the tabs names. In my case I want to change Assignment into FabAcademy
Here are the things that didn’t work :
- Change the folder name locally and then push it
- Change the folder name using the
git mv <old name> <new name>command and then push it
I’m now pleased with the way my website looks and I’m confortable with the process I have to follow to upload content in it. I may be adding features or make some big changes in it but I thing it’s a good base to work with.
Photo Management : ImageMagick software
To make a good documentation I need to take lots of photos and videos. I also need those photos and videos to be light enough on my website so you don’t need a massive web connection to access the content of my work. I’m using Mi-Cloud to sync directly my photos and videos on my laptop and I’m using ImageMagick to convert all my photos into a suitable format for internet.
First, it’s important to make a copy of the original photos in a folder on my desktop. Then, again I have to follow a succession of commands :
cd desktop(to work on my desktop)cd photos(to go in a folder where I put a copy of my photos)mogrify -quality 50% -resize 1000 *.jpg
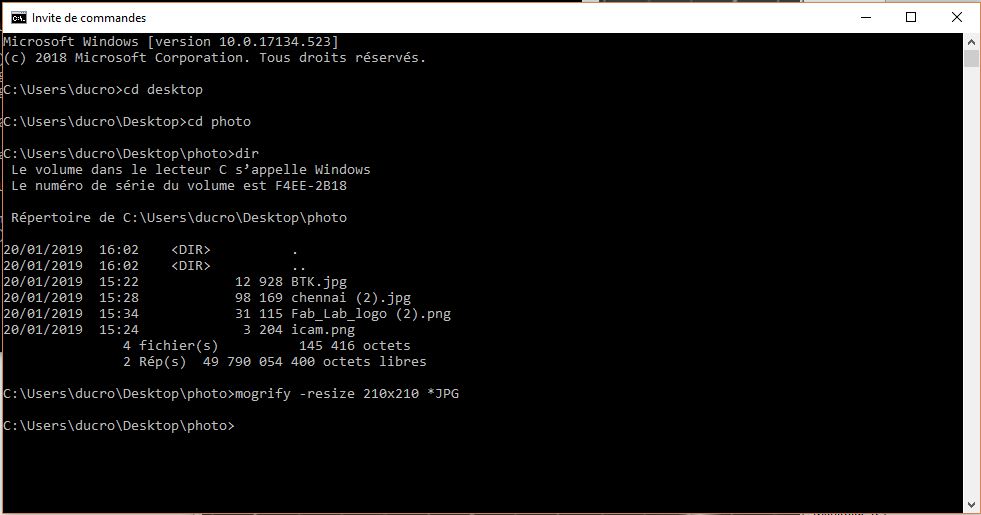
Note : I’m still not quite sure about the format of the photos. I’m going to use it more to have tRhe best results. I still have to do some tests.
Edit : After some tests, it seems that with the command works great.
Video management : Windows app
To record my screen I use the windows 10 embedded software.
- First I used
WIN + gto open the record Interface - Then I used
WIN + Alt + Rto start and stop the record
The thing I like about this system, is that it’s already installed on my computer and It only records the software I’m using, not the background.
Then to compress the video I use FFMPEG and the command ffmpeg -i input_video.mp4 -b:v 1000k -vf scale=-1:1080 -an output_video.mp4
This command works well for the videos I do with my phone. For the screen recording of my computer, I upload the videos online via youtube.
2.3 Project management
Planification
I’ve made a gantt chart to have an overview of my whole Fabacademy experience.
I’ve divided my plan into three parts :
- Group assignement
- Individual assignement
- Final Project
This diagram gives me an overview of the work I have to do. I can also see what I have accomplished so far.
I will most probably not follow exactly the plan but I’ll review and update every week this diagram to adapt my project if necessary in order to finish on time.
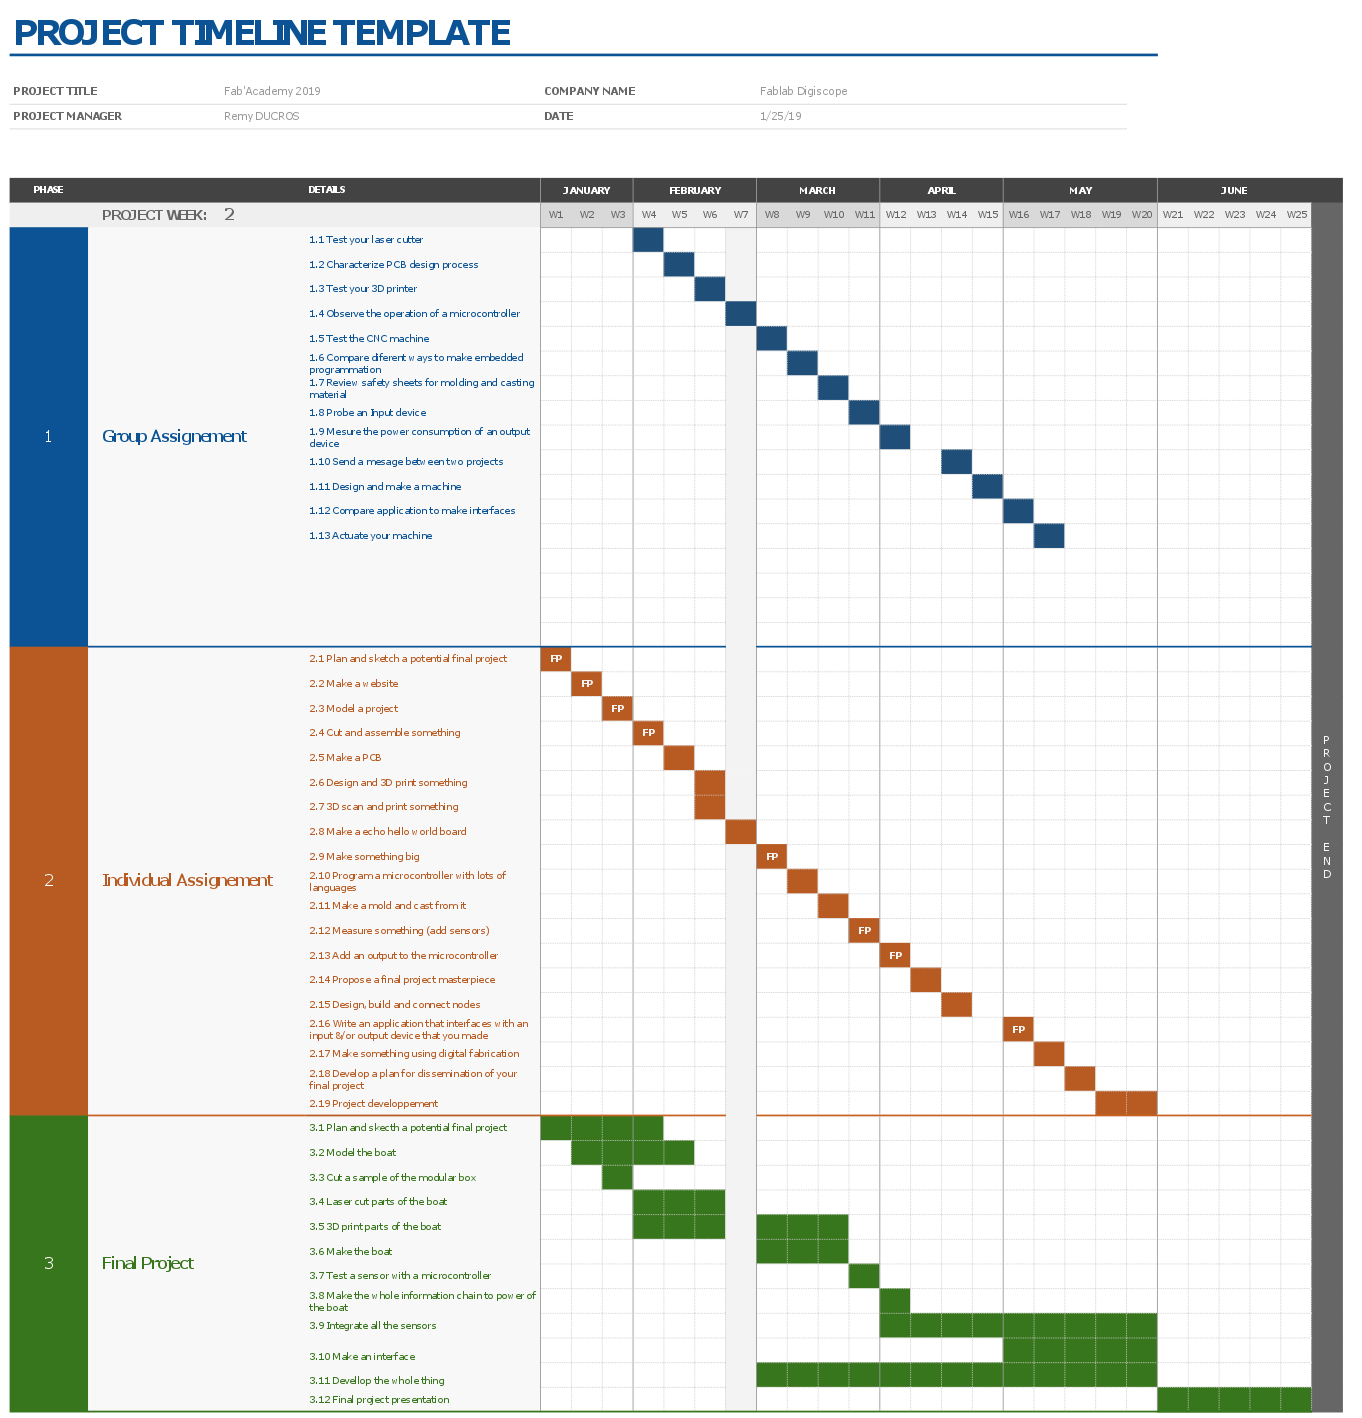
NOTE : We can see that everywhere I put FP in an individual assignement task, it means that this particular week assignement can match with my final project. Overall I’ve already identify eight compatible weeks.
Here’s a link to an updated version for comparaison.
The APTE method
Let’s use some of the tools from the APTE method to identify what we are supposed to do with this project.
Need Analysis
Here is a diagram to justify the need for the project and identify who’s going to use it and why.

Functional Analysis
With this diagram, I’m identifying technical functions the boat has to perform to reach the users expectations. In this case I supposed that the students are going to be the main users.
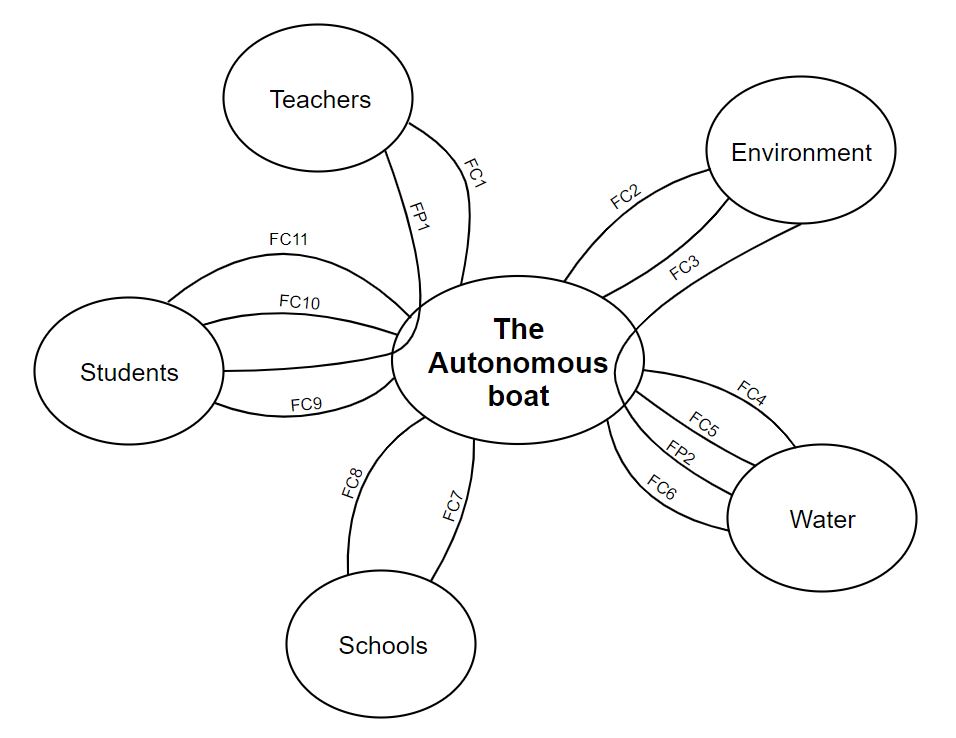
| Function Id | |
|---|---|
| FP1 | The Icam teachers have to use the boat as a pedagogical device for students |
| FP2 | The boat has to monitor its environment to sail autonomously |
| FC1 | The boat has to be modular, dismountable and reusable |
| FC2 | The boat has to get some of its enegery from its environment |
| FC3 | The boat has to monitor what’s going on in it |
| FC4 | The boat has to be waterproof |
| FC5 | The boat has to float |
| FC6 | The boat has to move on water |
| FC7 | We must be able to make the boat from equipements available in the schools |
| FC8 | The boat must be easy to move and store |
| FC9 | The boat has to be safe for the students |
| FC10 | The students must be able to remotly control the boat |
| FC11 | The students have to get datas from the about its behavior |
Specification
I’ll know go a bit deeper into the different function to see to which level each function has to perform. That way, I’ll get a better understanding about the possible technical solutions I’m going to use.
| Function | Criteria | Level | Flexibility |
|---|---|---|---|
| FP1 : The Icam teachers have to use the boat as a pedagogical device for students | Documentation | This website | F0 |
| FP2 : The boat has to monitor its environment to sail autonomously | Monitor its environment | salinity, turbidity, pH, dissolved oxygen, pollution, sun exposure, temperature (air and water), humidity | … |
| FC1 : The boat has to be modular, dismountable and reusable | Accessibility | Three tools needed max to access the boat | … |
| FC2 : The boat has to get some of its enegery from its environment | Electrical energy management | Smart electrical management and system to recharge the battery | … |
| FC3 : The boat has to monitor what’s going on in it | Monitor its internal system | drift, pitching, seating, yaw, tilt, battery level | … |
| FC4 : The boat has to be waterproof | Humidity in the boat | Same level as ambiant air | … |
| FC5 : The boat has to float | Stability | … | … |
| FC6 : The boat has to move on water | Speed | … | … |
| FC7 : We must be able to make the boat from the material available in the schools | Fablab standard tools | … | … |
| FC8 : The boat must be easy to move and store | Size, Weight | 1m long, 30 kg | … |
| FC9 : The boat has to be safe for the students | Use of material & equipement | … | F0 |
| FC10 : The students must be able to remotly control the boat | Communication | Wireless | … |
| FC11 : The students have to get datas from the about its behavior | Interface | … | … |
NOTE : I’ll keep filling the criterias and levels once I’ve got all the specifiaction from the pedagogical team in charge of the project.
The SysmL method
The SysmL methodology provides a set of tools/diagram to understand the behavior of a system on many different levels.
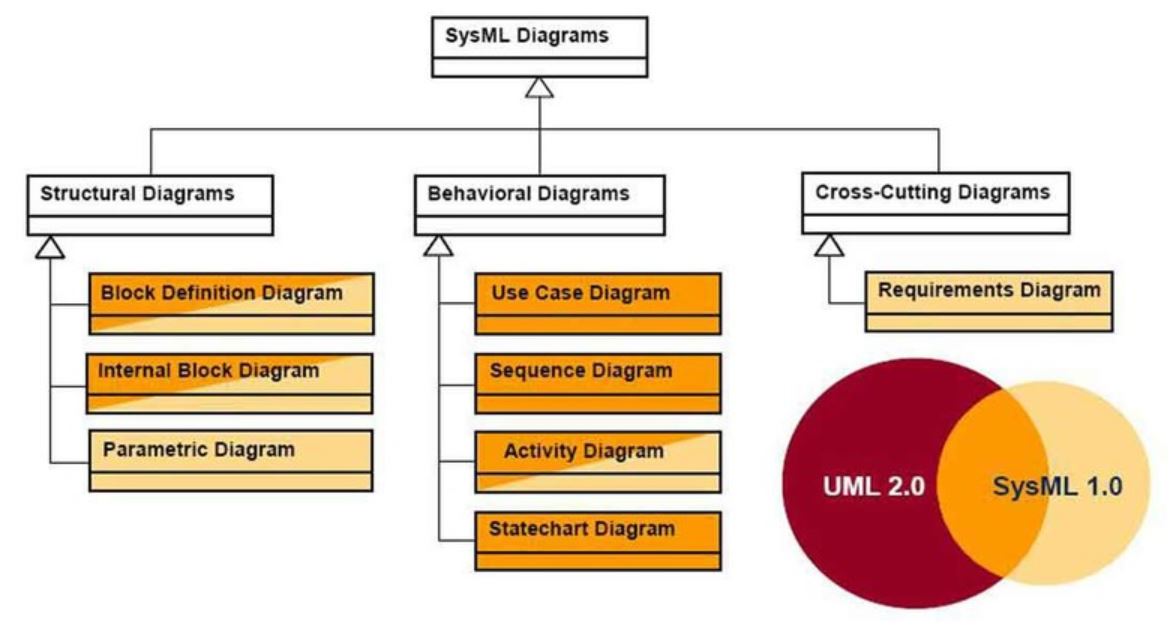
As we are now at the beggining of the project, I’ll focus on the use case diagram and the sequence diagram. Later on to analyse my product I can do all the other diagrams.
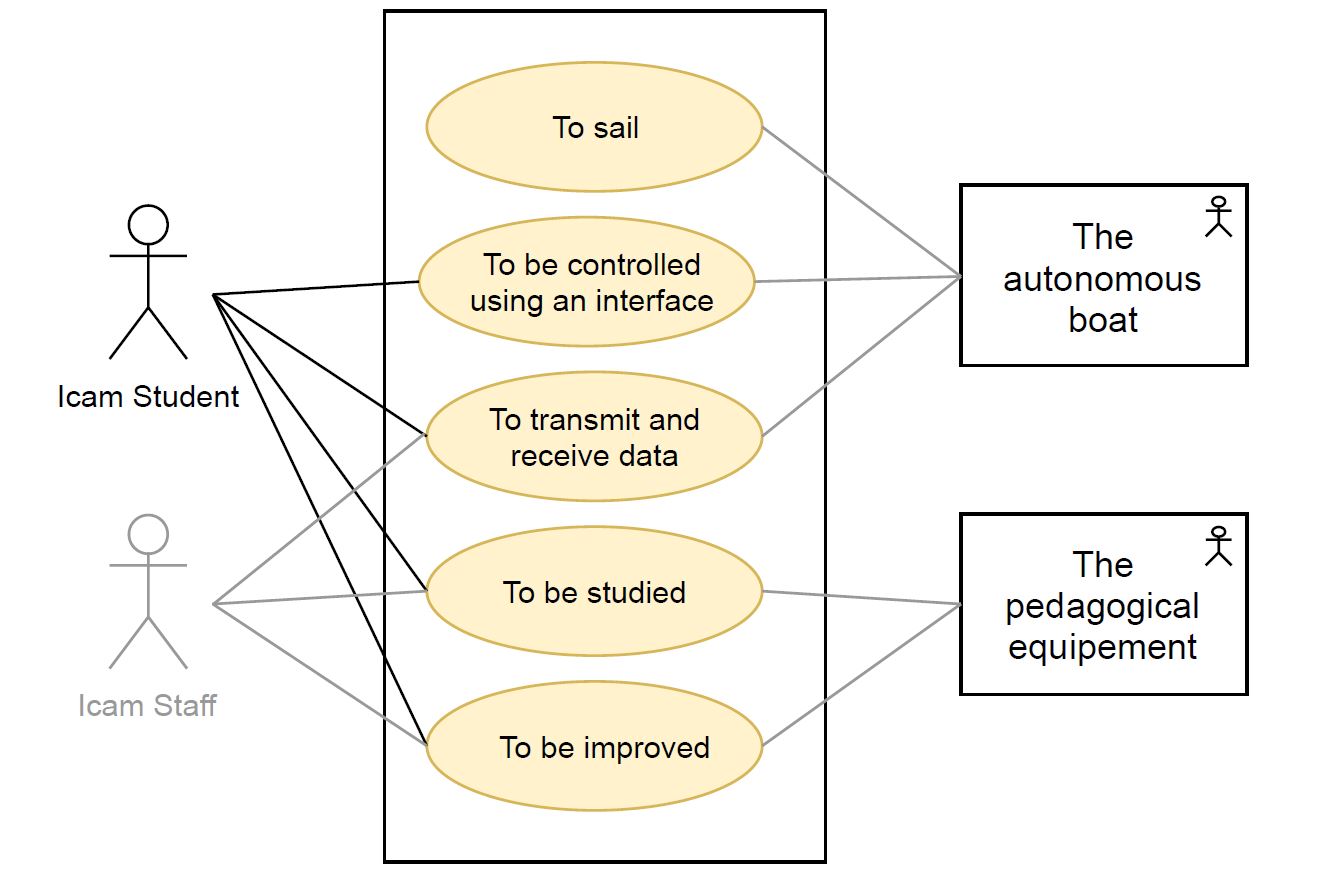
Use case diagram
The use case diagram is a diagram to describe the behavior of the system and the actors who are going to interact with it.
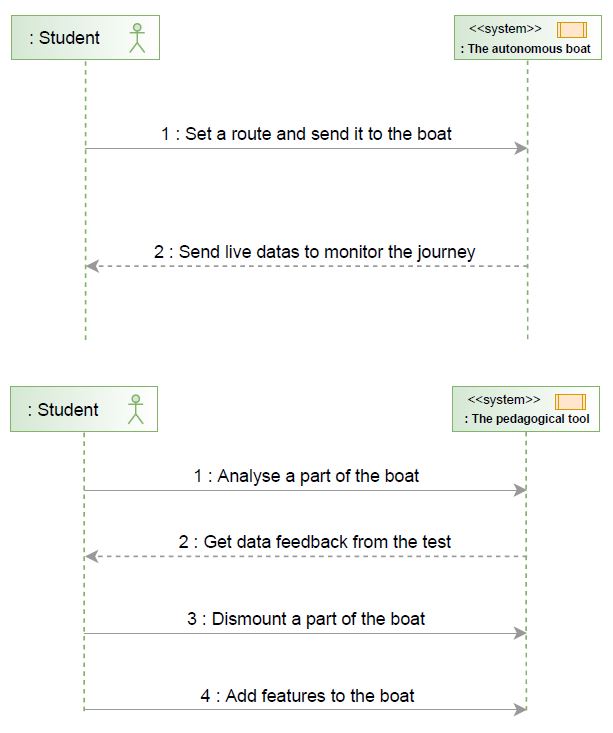
Sequence diagram
The sequence diagram is a diagram to describe how the user is going to interact with the boat.
I’ve made two diagrams in the case where the student is the user :
- When they’ll use it as a boat
- When they’ll use it as a pedagogical tool
More information
In adition to all the prior information, here is the Prezi presentation I’ve made as an assistant professor on project management and mechanical design in Loyola College, Chennai :
2.4 Recitation Version Control
Here are some more information from our first recitation.
Version control
- It’s a technique to manage files and the history of files modified during a project.
- We use git to communicate with the cloud platform (git-it is a desktop app to help you learn about git).
Fab cloud platform
- It’s the cloud where all our files/website/projects are host.
- It’s open to the whole fablab network.
- There are important things to now about Gitlab :
- Issues is a great way to communicate to everyone whithout sending/receiving lots of e-mails
- I can create/replicate new projects
Project management
There are many tools for team project management :
- Kanban boards & Trello for group management
- Setting milestones to plan things
- Agile project management to go fast into the action
- Wikis to keep informations
- Git API to scale projects (in different coding language)
- GIT CI (Continious Integration) allow us to interact inside and outside of gitlab using our content
Documentation
- Furie made a Jekyll template as an alternative for us (looking great)

Ce(tte) œuvre est mise à disposition selon les termes de la Licence Creative Commons Attribution - Pas d’Utilisation Commerciale - Partage dans les Mêmes Conditions 4.0 International.