18. Wildcard week
Assignment
Design and produce something with a digital fabrication process (incorporating computer-aided design and manufacturing) not covered in another assignment, documenting the requirements that your assignment meets, and including everything necessary to reproduce it. Possibilities include (but are not limited to) composites, textiles, biotechnology, robotics, folding, and cooking.
| Documentation |
|---|
| 1. Boat_moulds.stl |
| 2. BurlapCut.dxf |
This week I’m going to make the composite hull of my boat using burlap and epoxy resine.

Preparing the mold
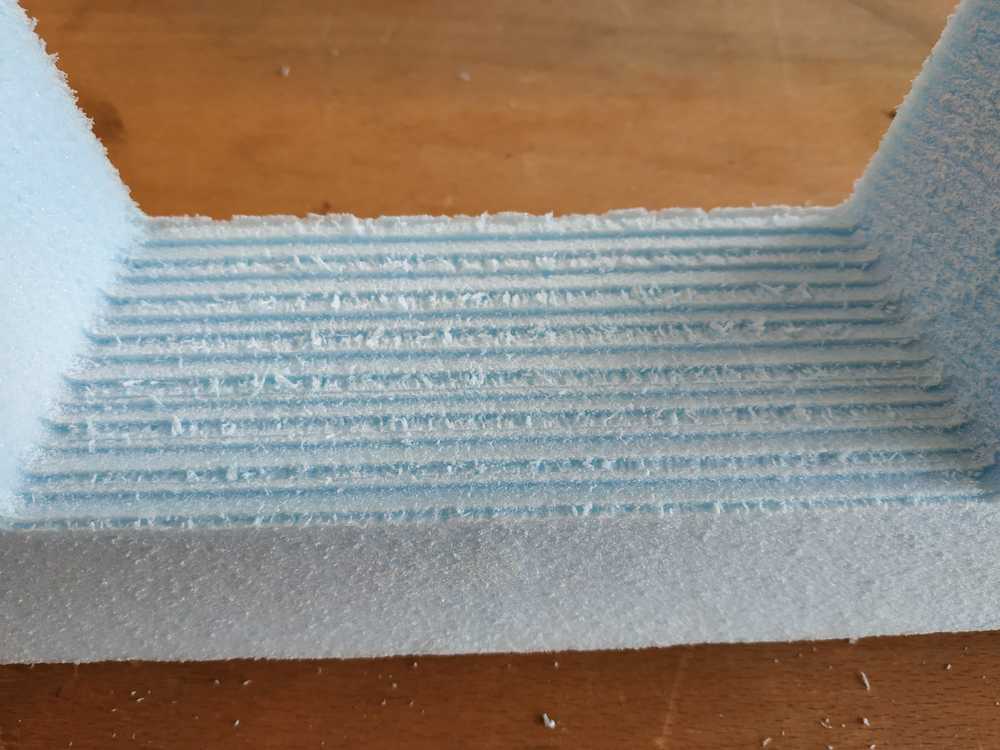
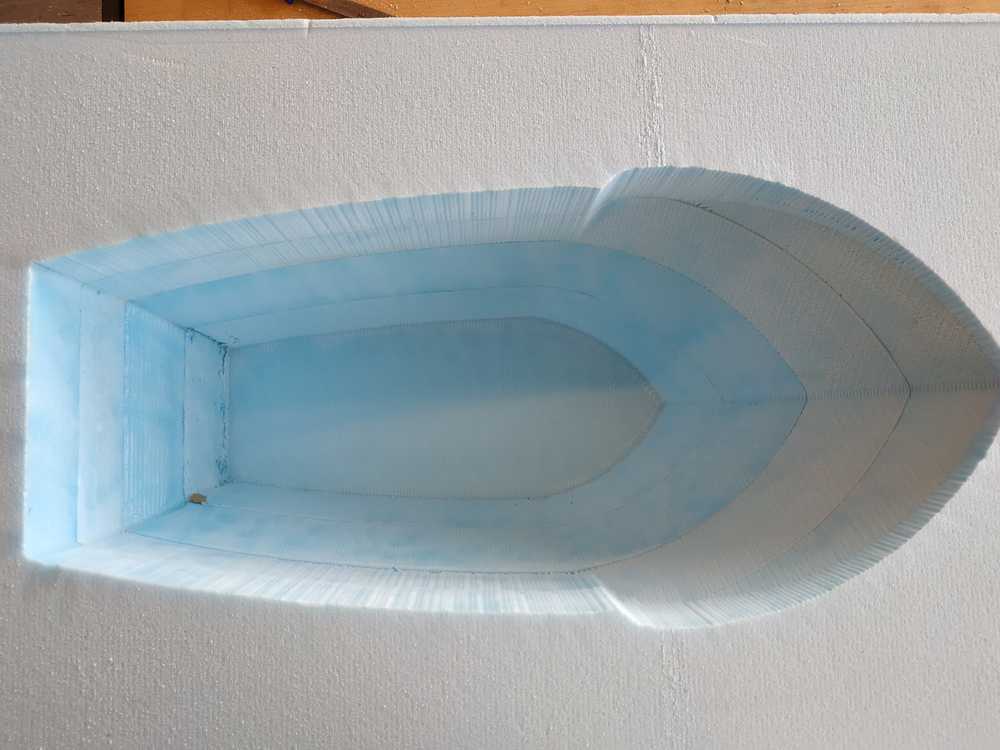
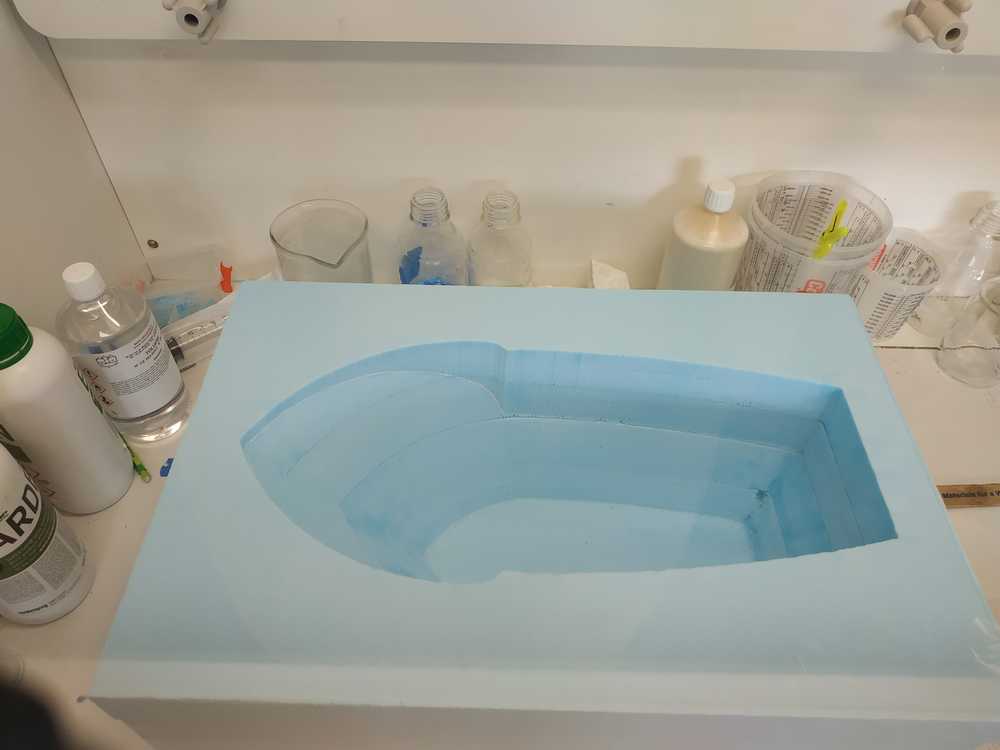
During the molding and casting week, I’ve prepared a 3D mold of my boat using four pieces of thick foam.
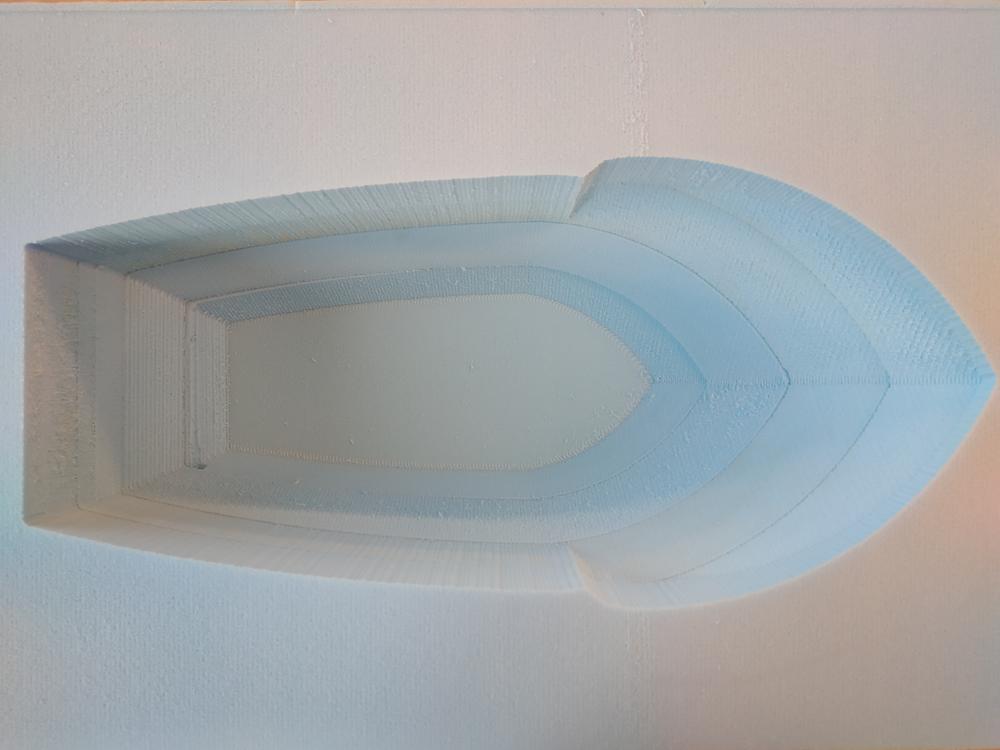
I had a pretty rough finishing in some of the edges so using a file and sand paper I smoothed everything.
 |
 |
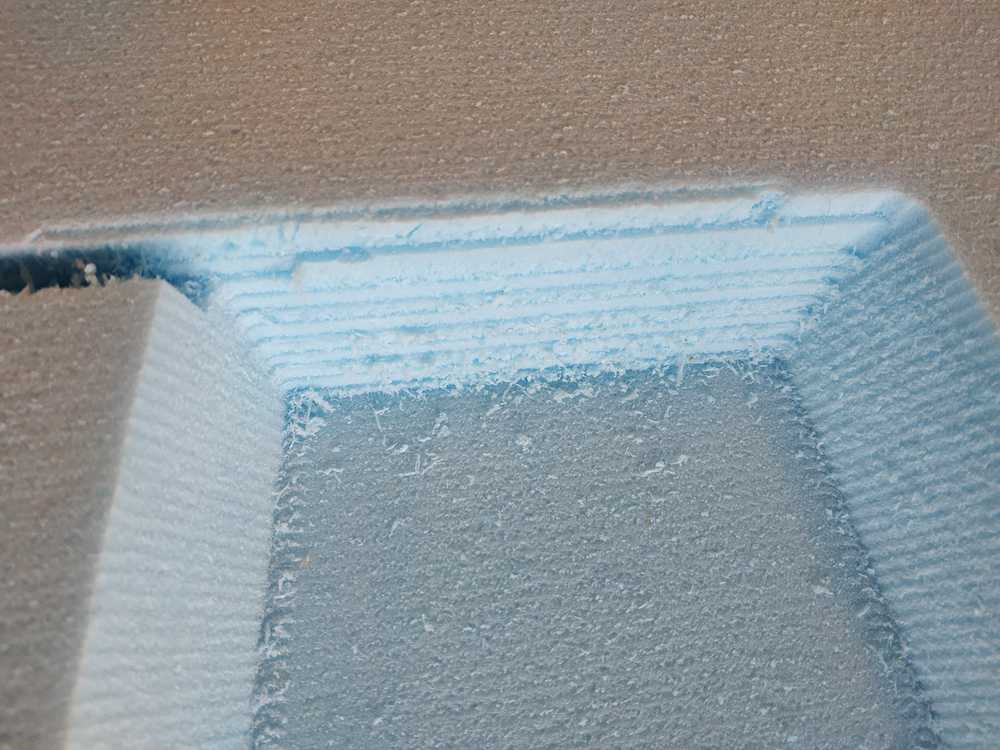
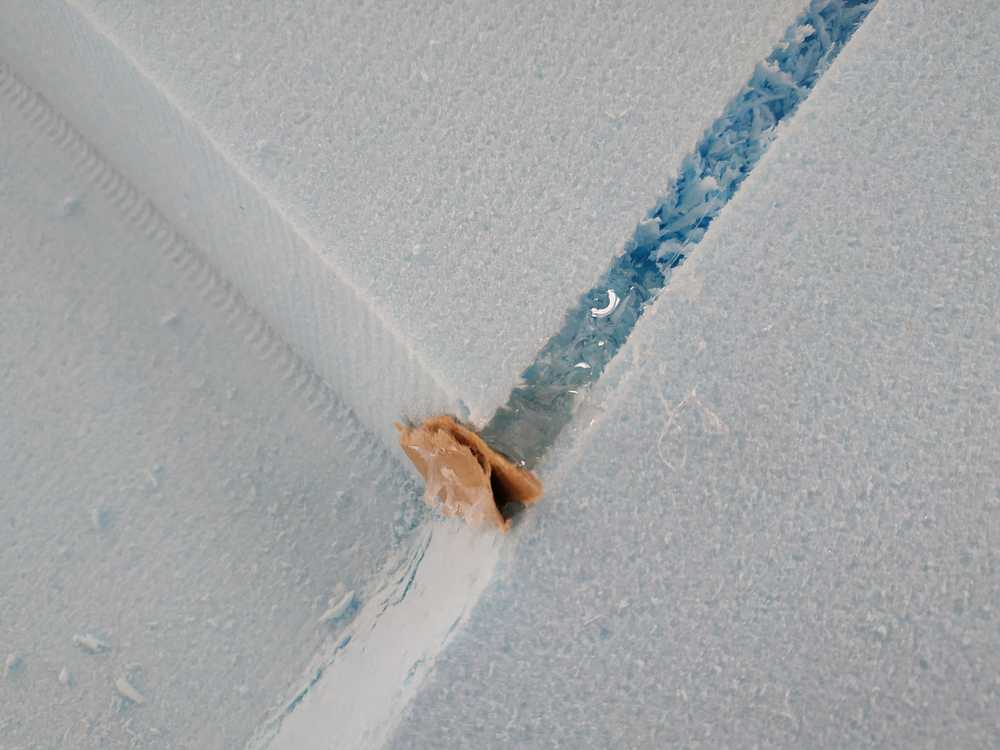
I also had an issue while machining, the bit went to far and let a hole in the foam. I fixed that by putting some hot glue to fill the hole.
 |
 |
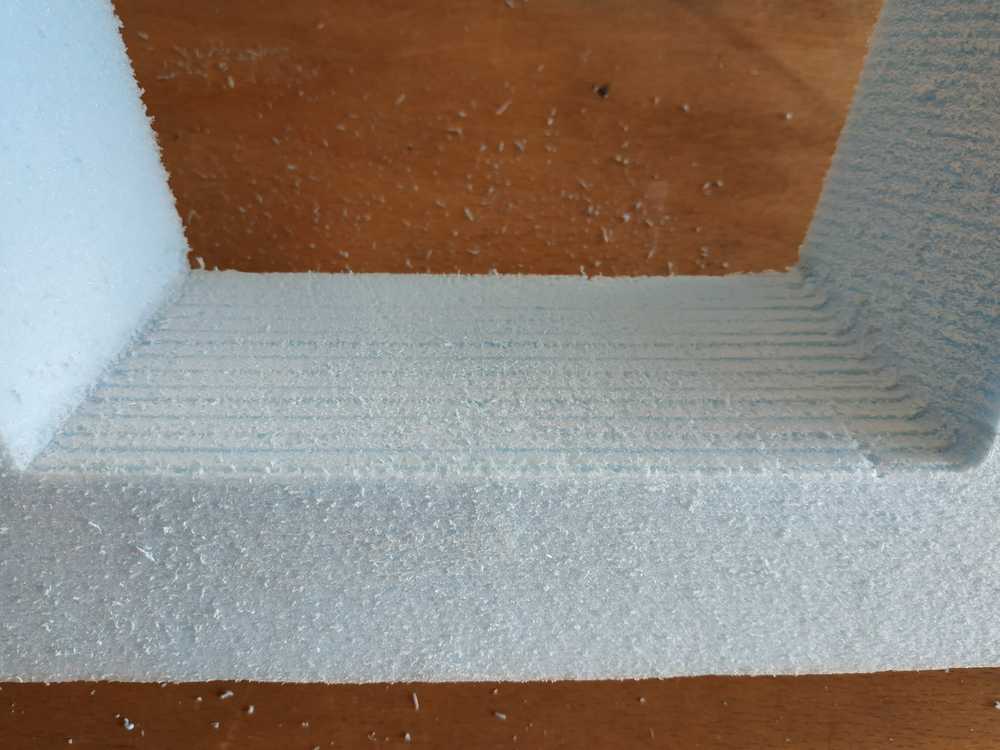
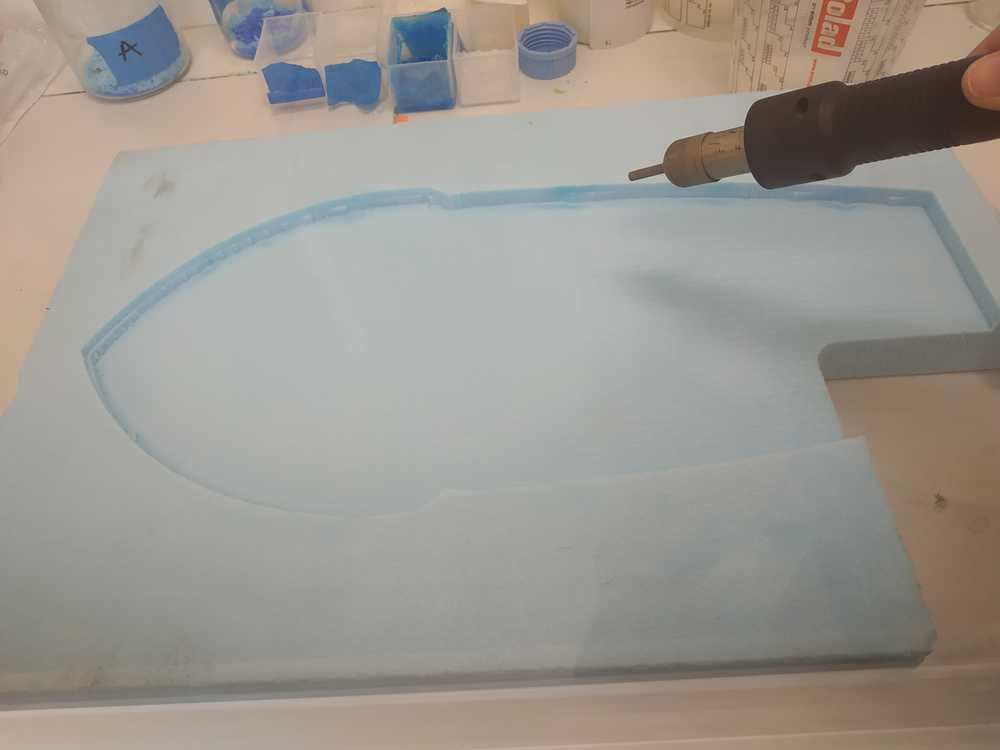
I used a hot air gun to slightly melt the surface of the foam. It has two effects :
- It smoothed the surface
- It hardenned the foam
NOTE : While using the hot gun I was below our vent to prevent from breathing the bad fumes.
 |
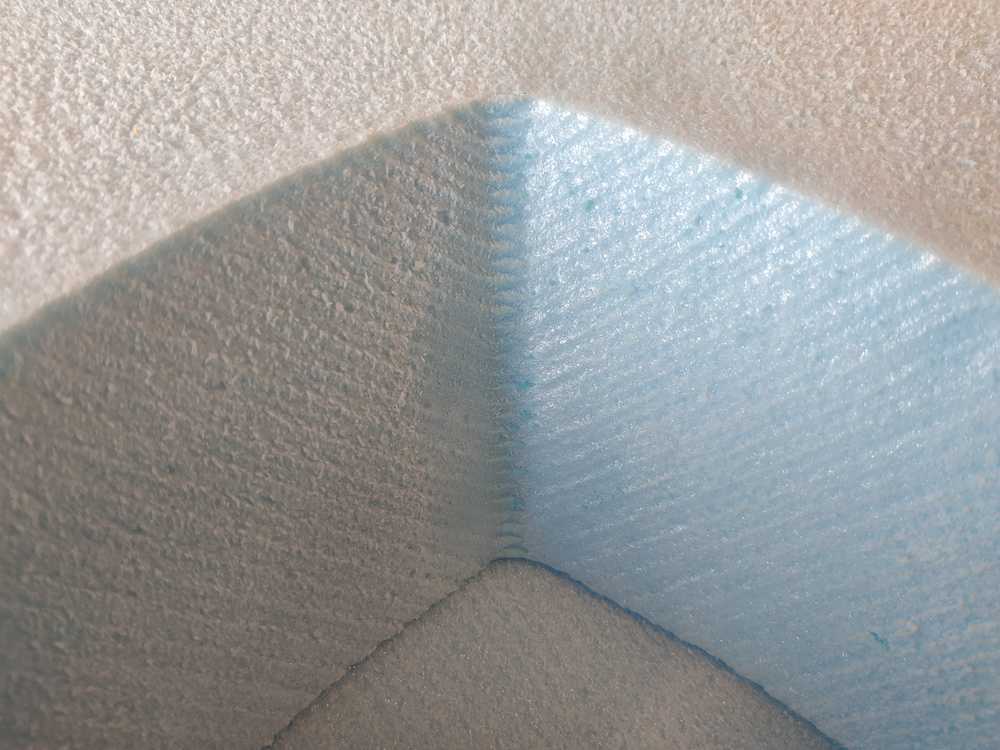 |
I used tape to fix the foam all together and after some more sanding I had an overall smooth surface all other the mold.
Preparing the burlap
I made my boat using burlap. My plan was to cut some layers from our burlap the shape of the boat to put the good quantity of fiber in the mold.
To do so, I needed to flatten the 3D model of my boat and I did it using Fusion 360 and the exactflat plugin.
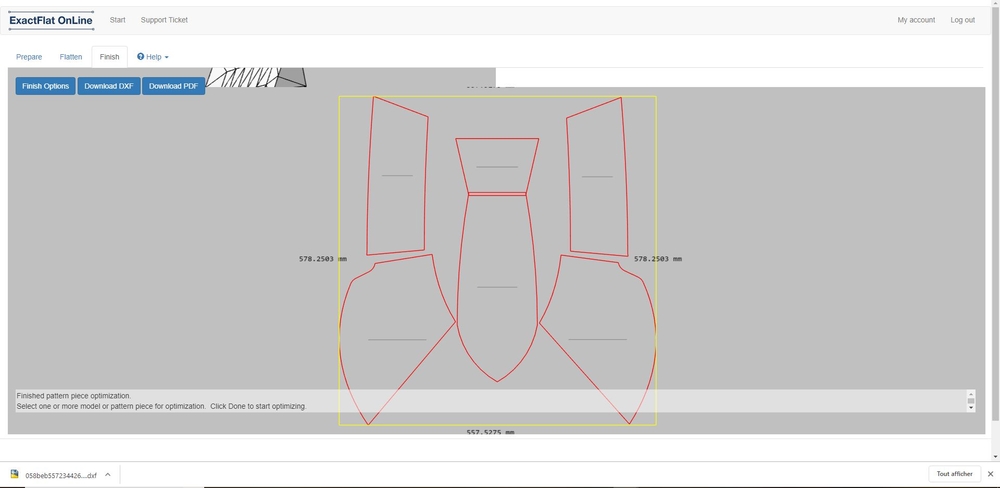
I exported my boat shape using the plugin and uploaded it to the exactflat website. Here are the steps to follow :
- Upload the OBJ of your model
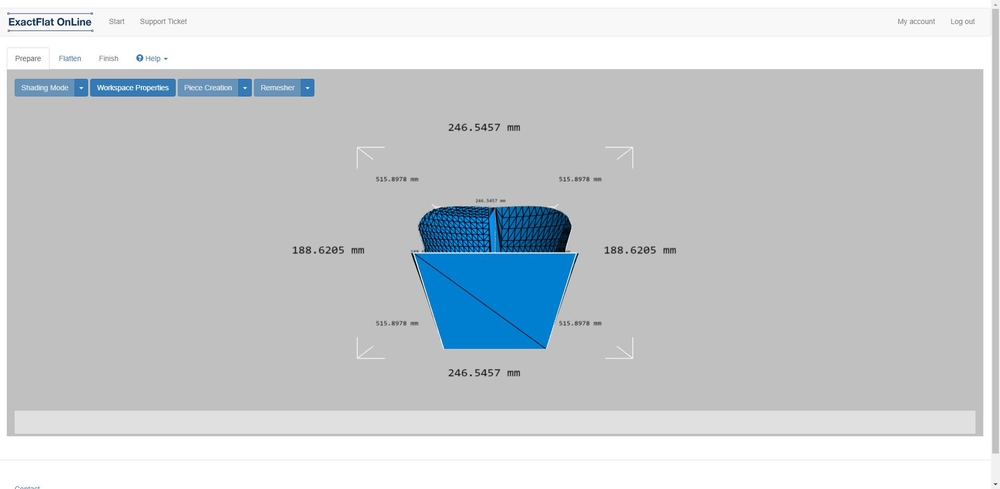
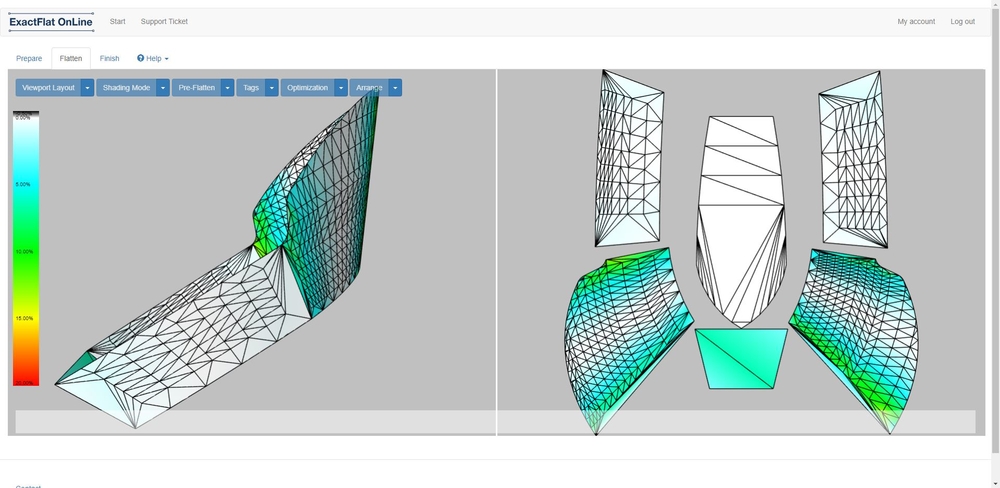
- Select the surfaces you want to flatten
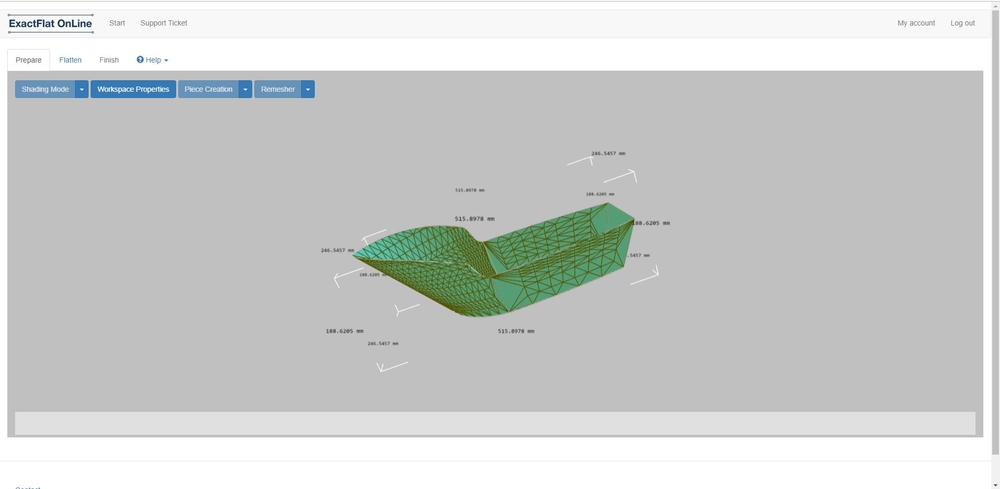
- Click on optimize and select all the surface, then click done
 |
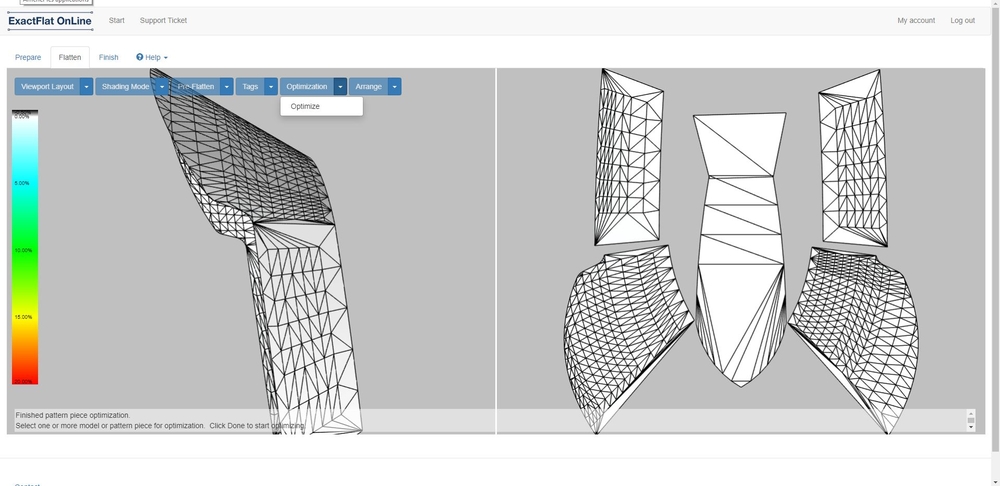 |
- Click on finish and then export your file (DXF or PDF)
I then uploaded my design to autocad and merged all the parts as I wanted one layer.
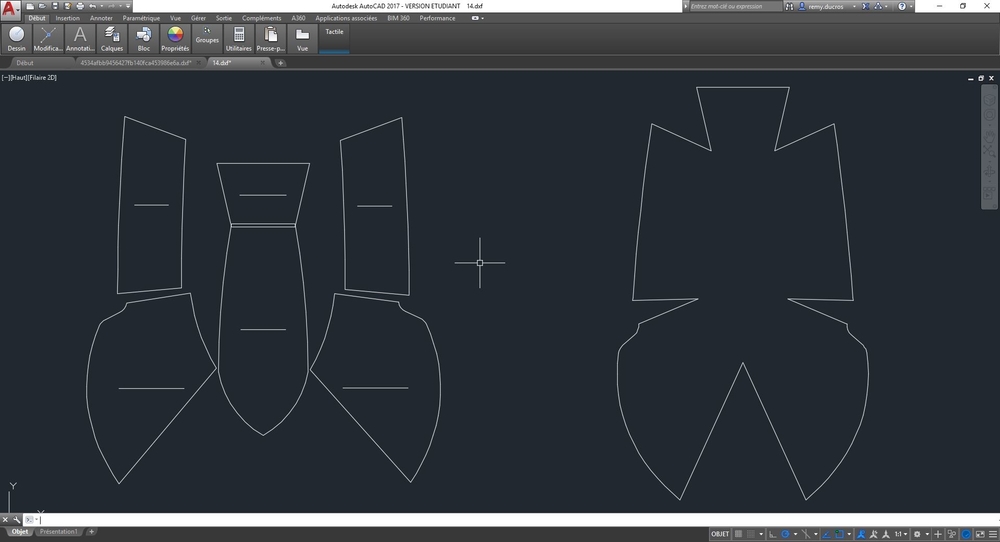
Once I had the pattern I was ready to cut it using the lasercutter.
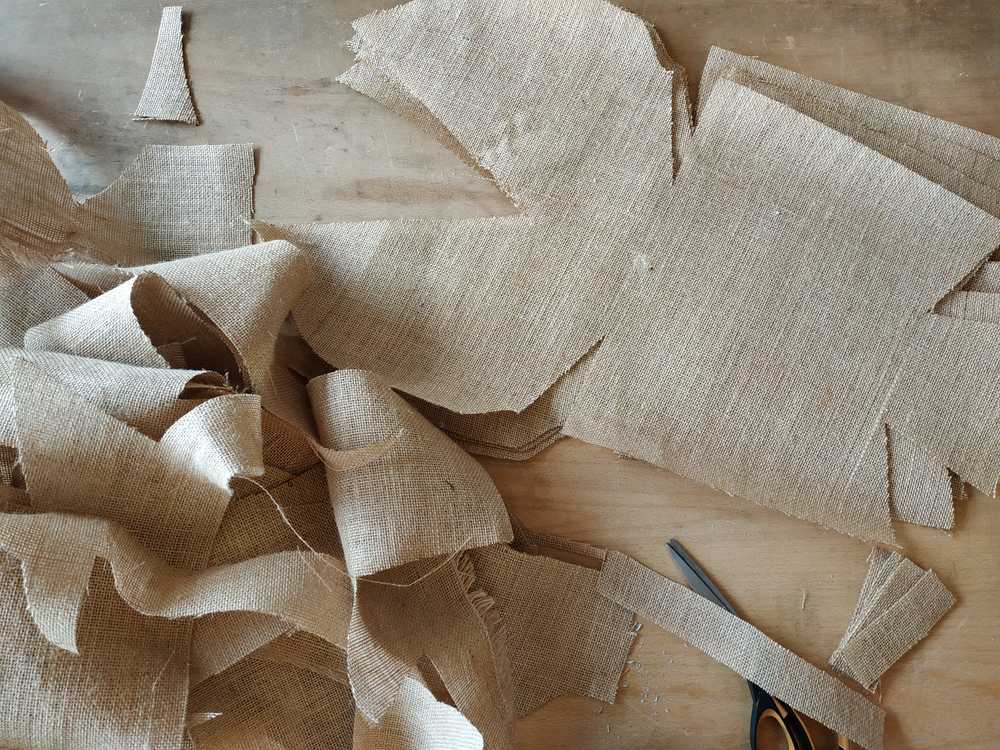
According to my design, I needed sheets of burlap of about 700x400mm. I cut those using scissors.
 |
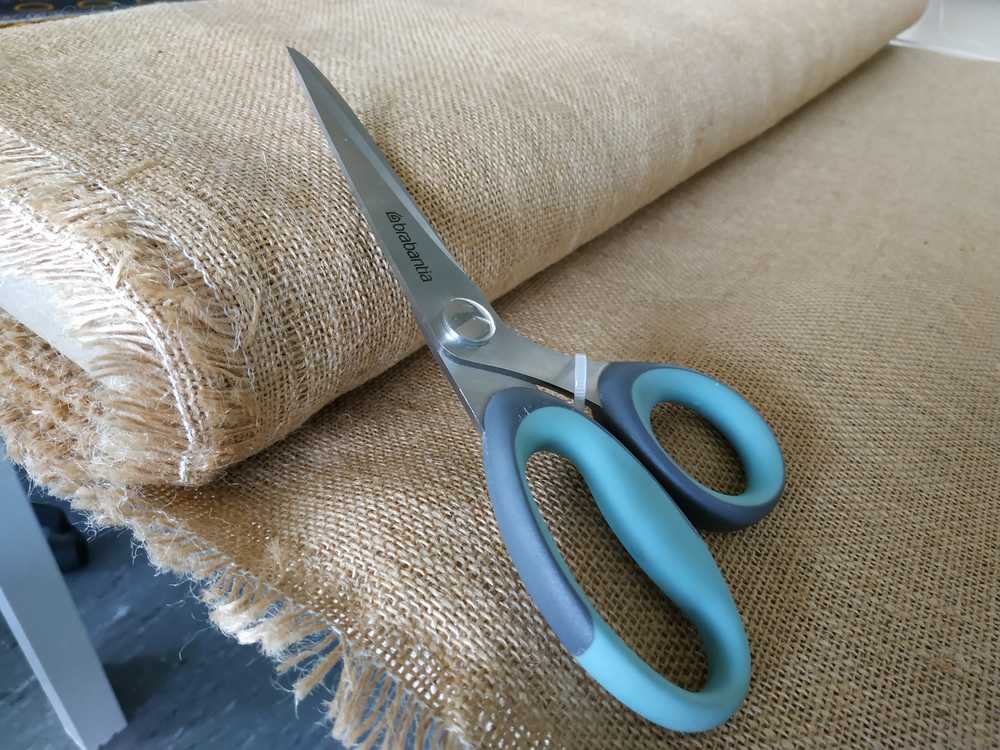 |
I then cut it in the lasercutter using the following parameters :
- Power : 12
- Speed : 12
- Frequency : 100
Some fibers didn’t cut so I finished manually using scissors.
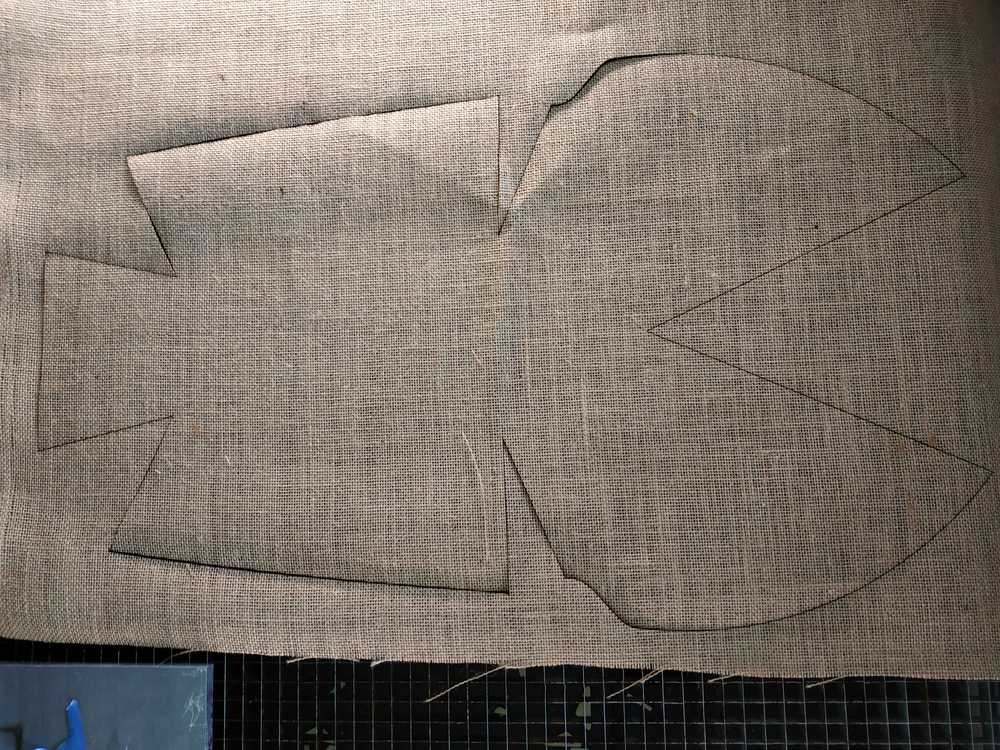 |
 |
I checked and it fit well in the mold, I was ready to go to the next step.
Preparing the process
Estimation of the quantity of resine to use
Before starting I wanted to make sure I had all the equipement needed and set. One of my questions was the quantity of resine to use. I’ve watch Neil’s lecture on composite from 2017 and he said that a good ratio of Resine/Fiber is 20% with a very efficient compression system. It can go upto 50% if you don’t have compression.
I’ve decided to make the hull using three layers of burlap. I checked the thickness of the three layers using a caliper. It was 7mm thick. I’ve used my DXF file to make a volume in fusion 360. Using the properties of the body, I saw that the body was 1.236 millimiters cube. 50% of it is around 600ml.
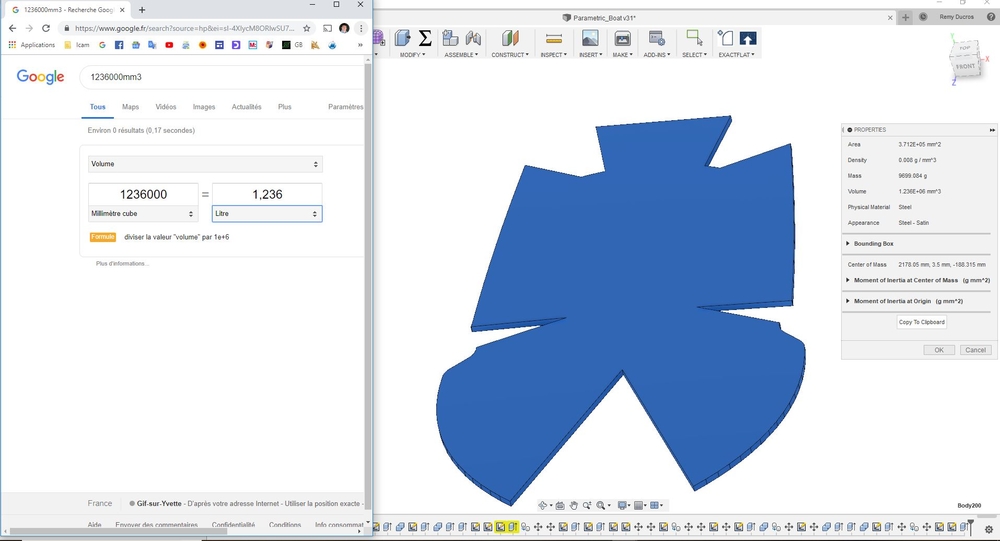
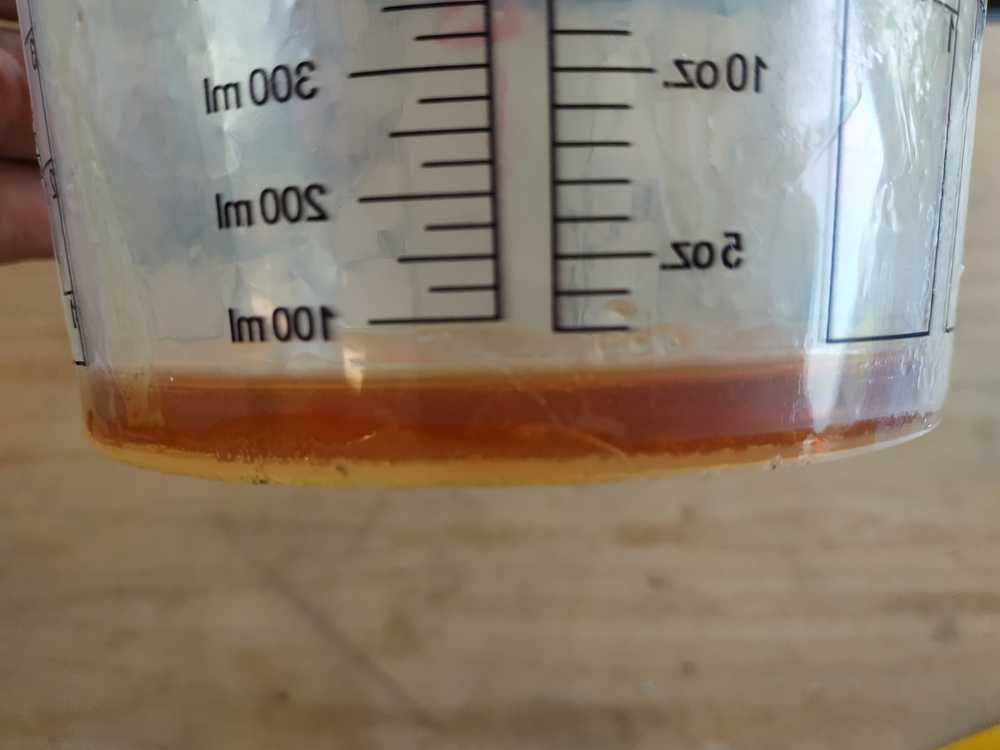
For this test, I’ll prepare 600ml of resine.
Equipment to use
Now I have my layers of burlap and I know the quantity of resine I’ll be using. Before starting I prepared everything.
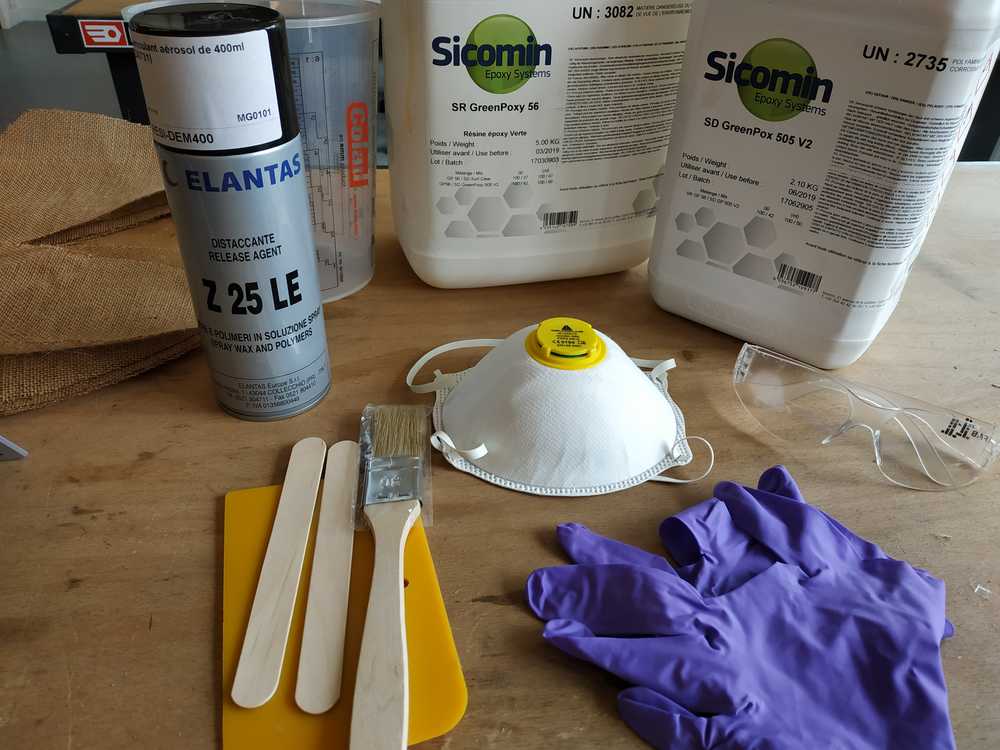
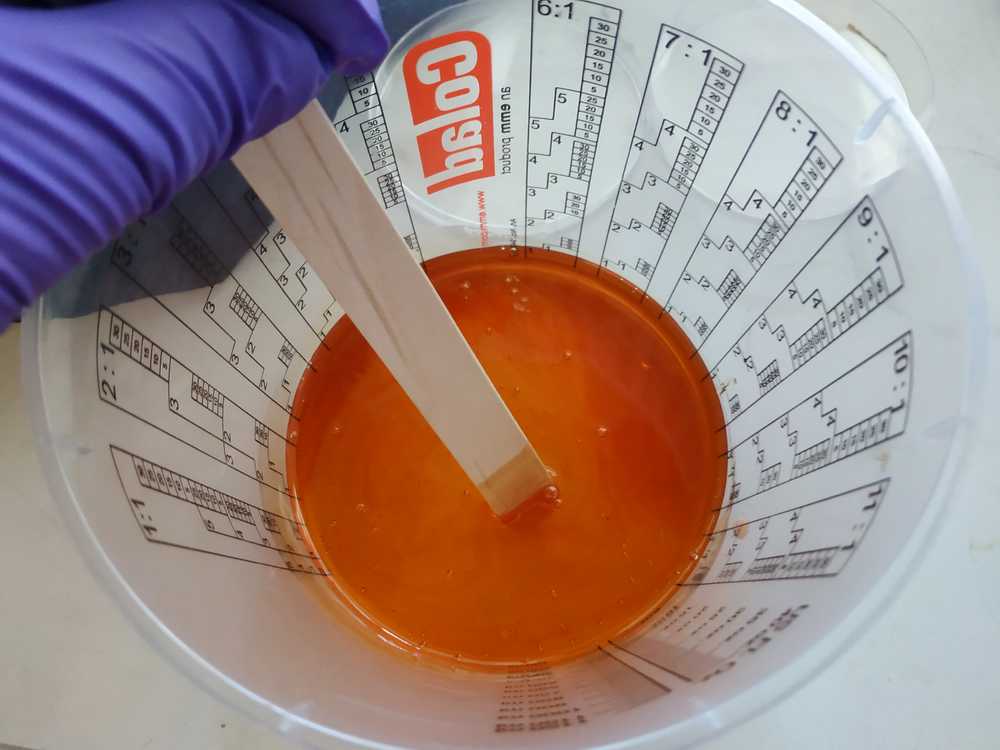
The resine I used is a bio resine made in France from Sicomin :
- SR greenPoxy 56
- SD GreenPox 505 V2 (catalizer)
I’ve been through the datasheets of the resine and I saw that :
- The mixing ration was two for one in volume
- The pouring time is 20 minutes
- The curing time is few hours
I’ve also used a release agent to prevent my boat to stick to the mold.
I’ve prepared some more equipements :
- A brush, a spatula, a mixing stick a bowl
- Some gloves, safety glasses and a mask
I took everything I needed and moved to the vent.
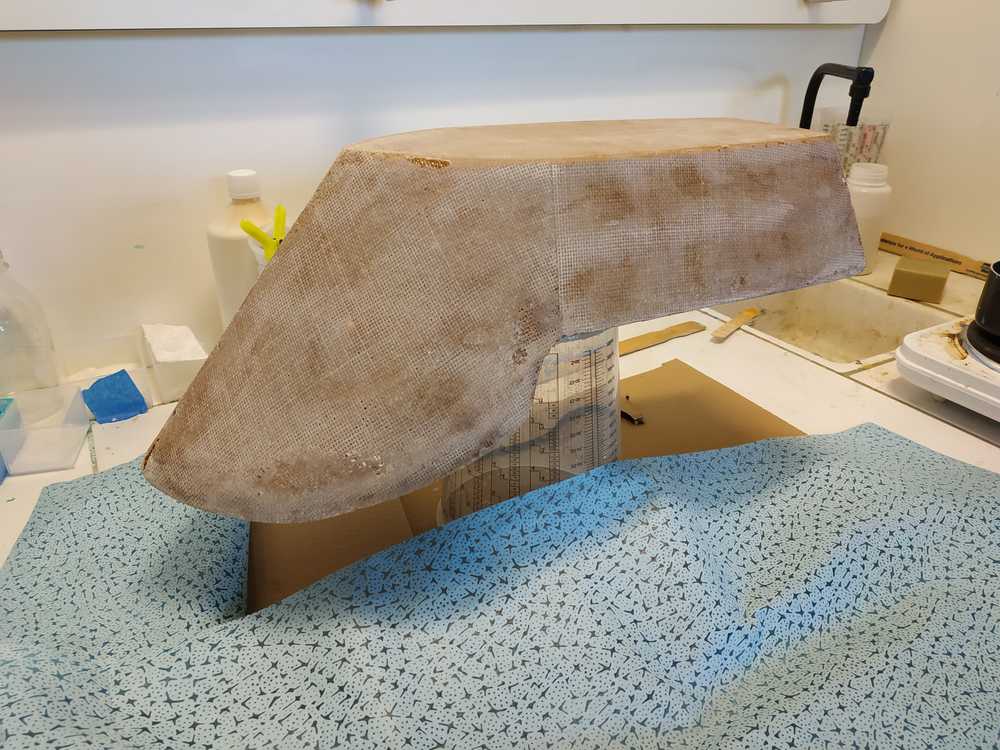
Making the boat
Here are the steps I followed to make my boat
- I put the safety equipement and switched on the vent
- I placed my mold in the vent and sprayed some release agent on it
- I mixed the resine and the catalizer
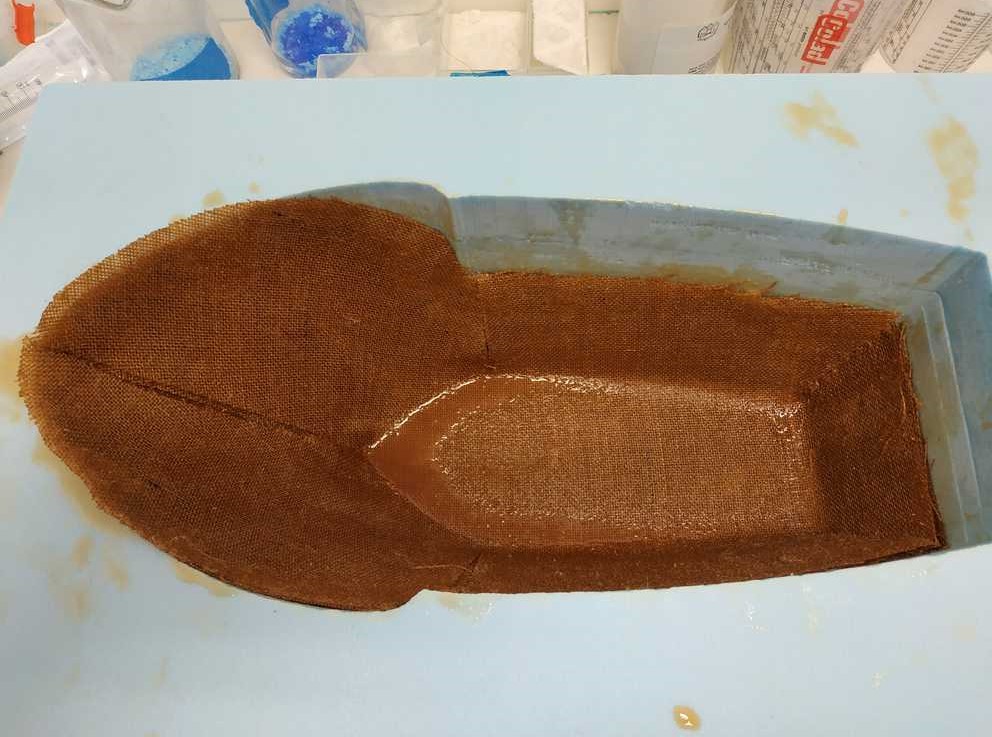
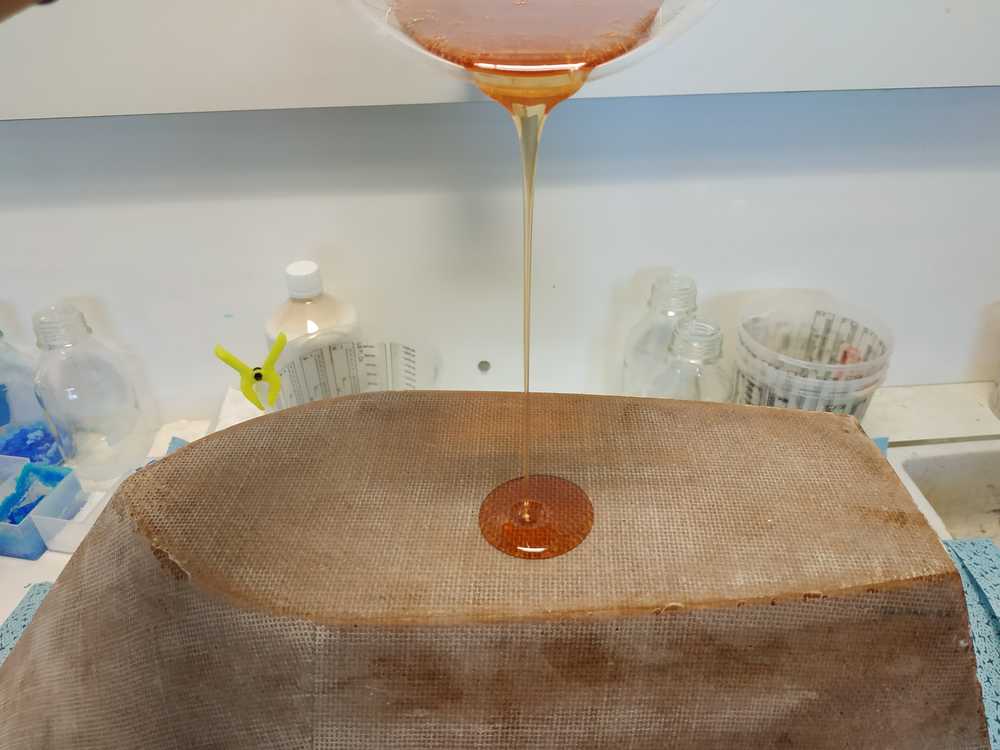
- I placed some resine in the mold
- I placed a layer of burlap in the mold and some resine
- I repeated the process three times
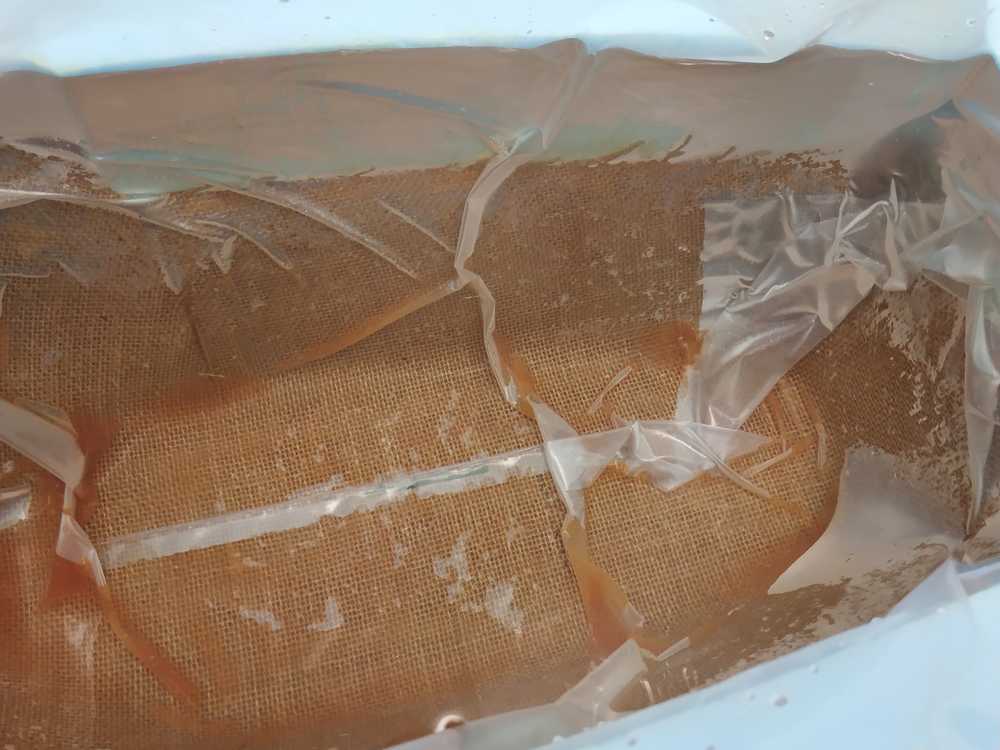
- Finally I filled a bag with water to compress the hull in the mold
NOTE : All the preparation and safety consideration make this process not very friendly. You are torned between taking your time to place the fiber perfectly and the time you have before the resine starts to cure.
Once I was done I had around 50ml of resine left.
Removing the boat from the mold
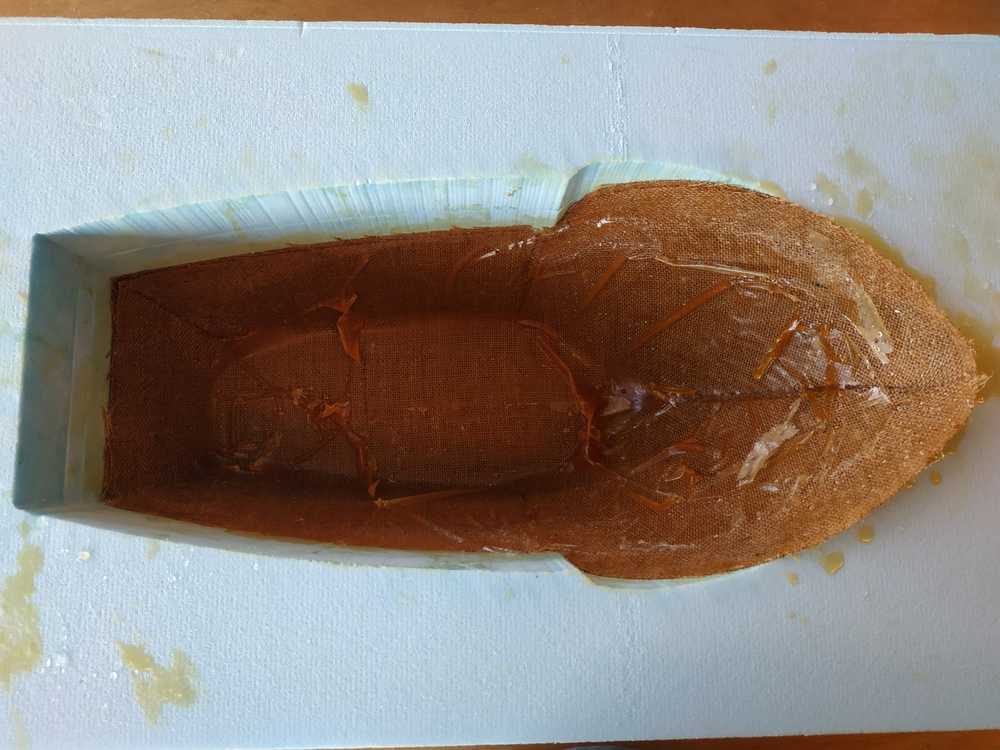
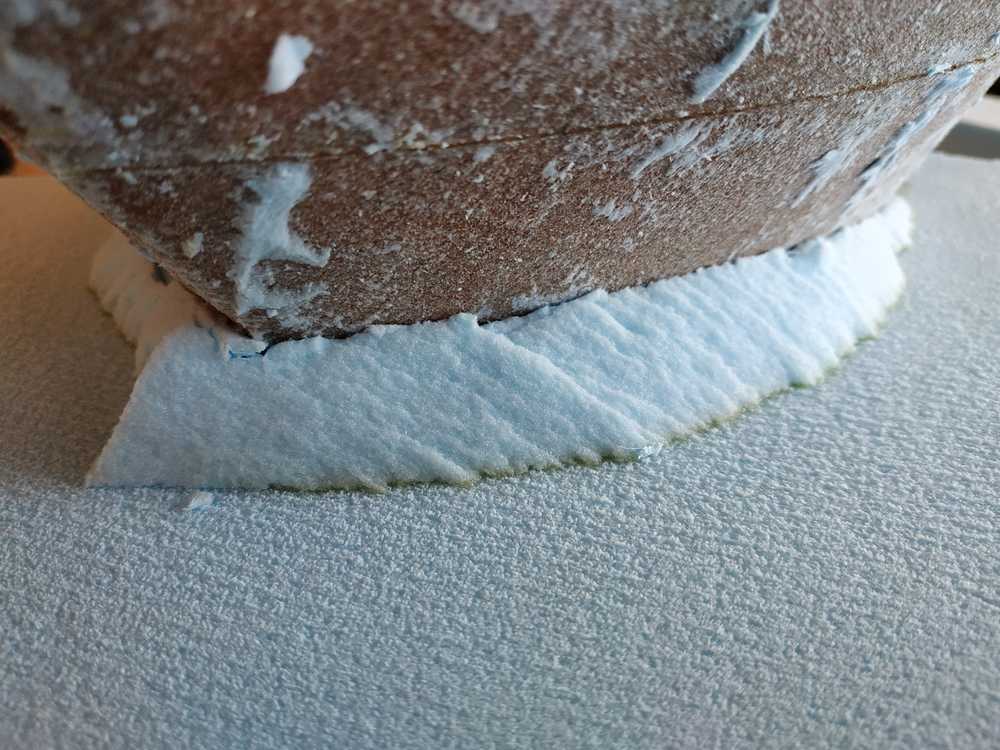
I let the resine set overnight and then tried to removed the boat from the mold.
- The bag of water was very easy to remove
- The boat was glued to the foam so I had to cut the mold in pieces.
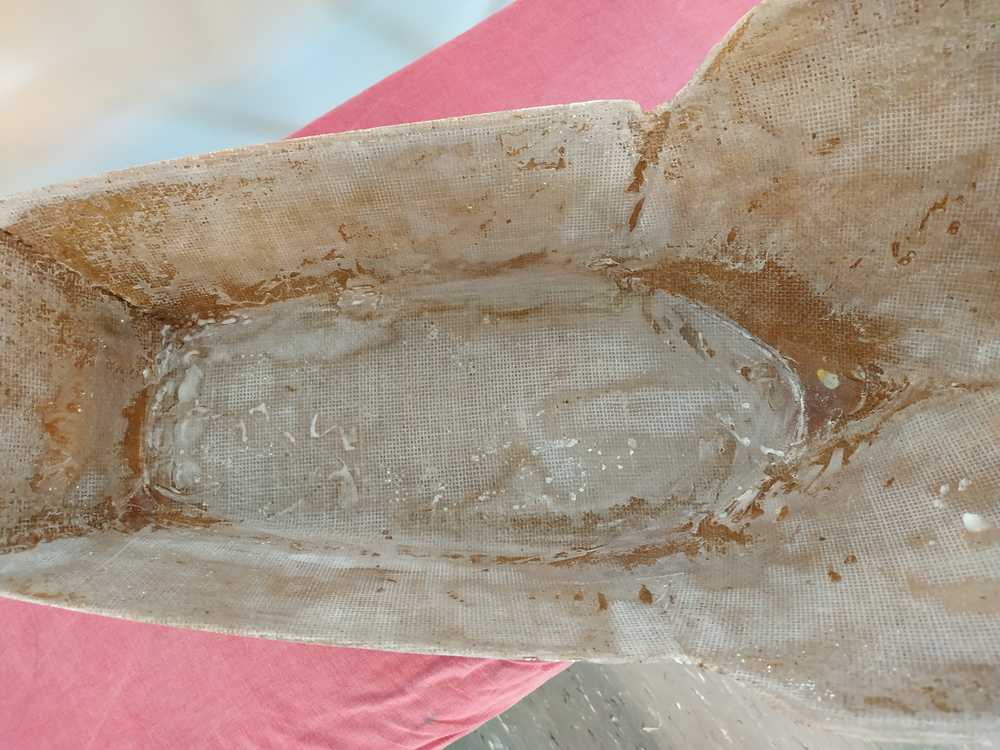
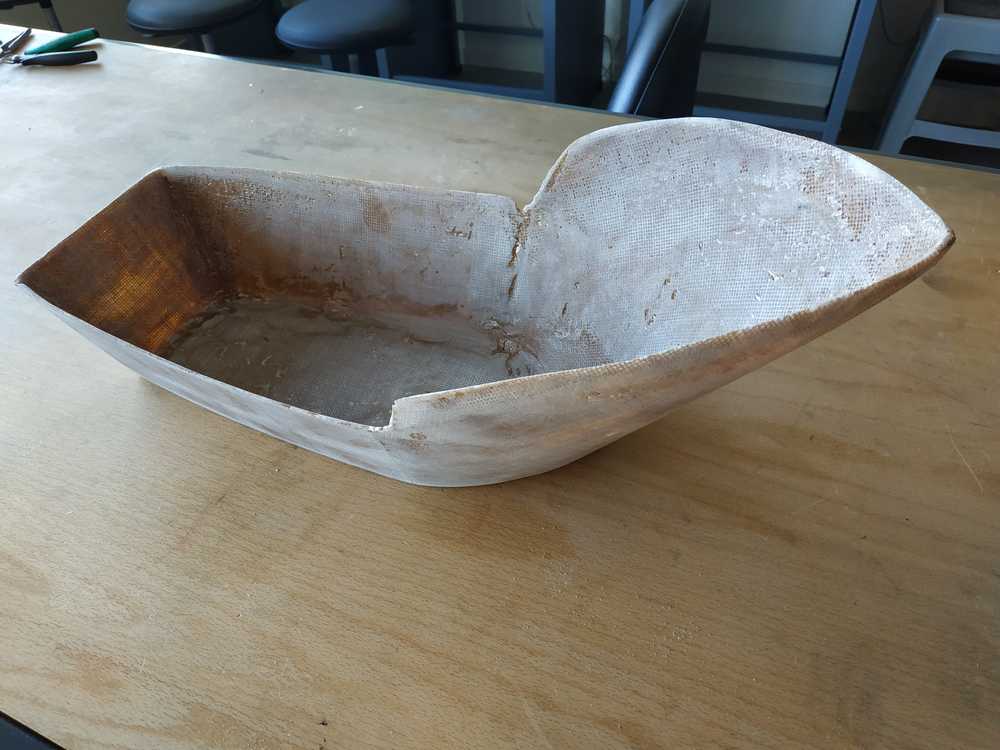
After removing the bag I could see a “bag footprint”.
NOTE : Regarding my estimation of quantity of resine to use between the remaining resine and the extra resine in the boat I think I could have saved around 100ml. The next time to estimate the quantity of resine, I’ll use the same method but prepare 40% of the overall volume.
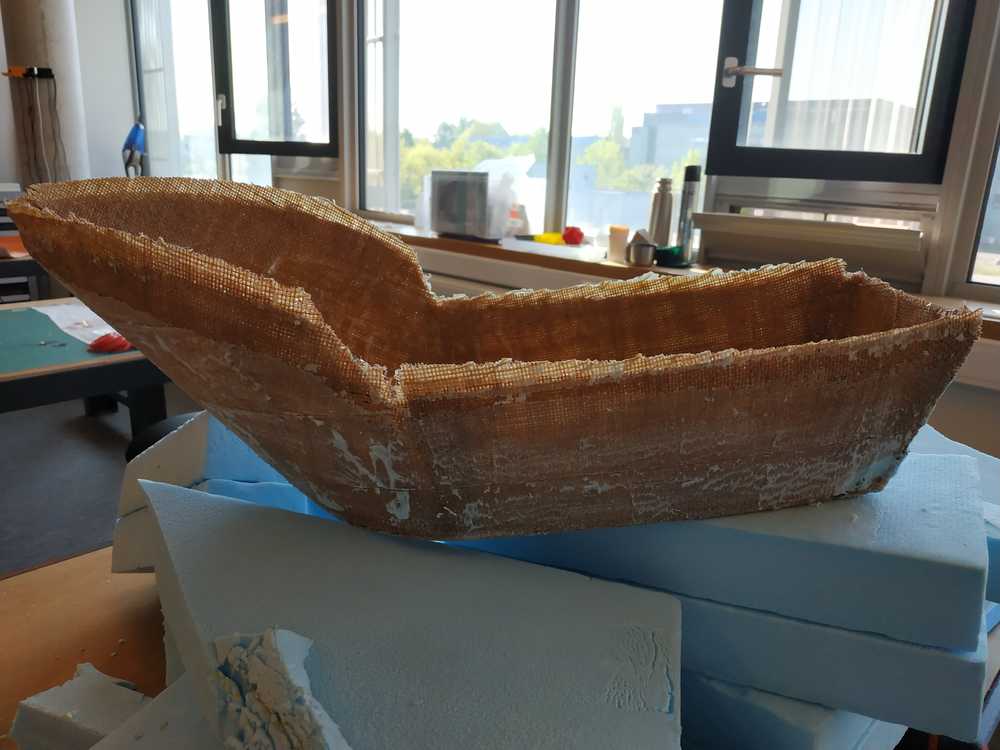
Here’s how it looked like after removing the bag of water.
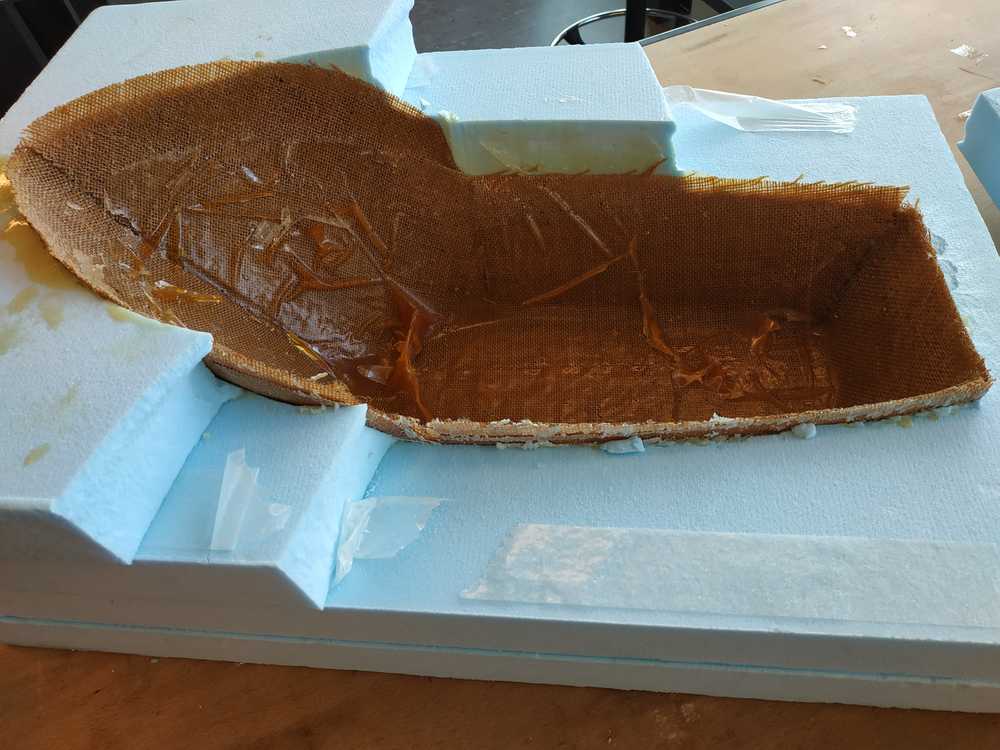
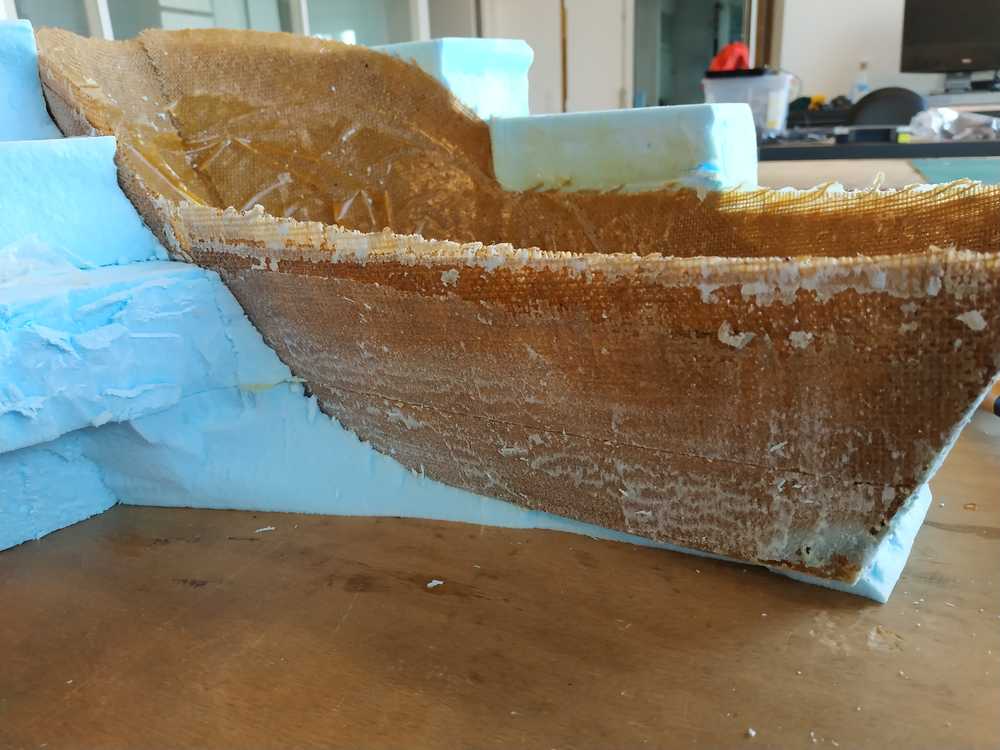
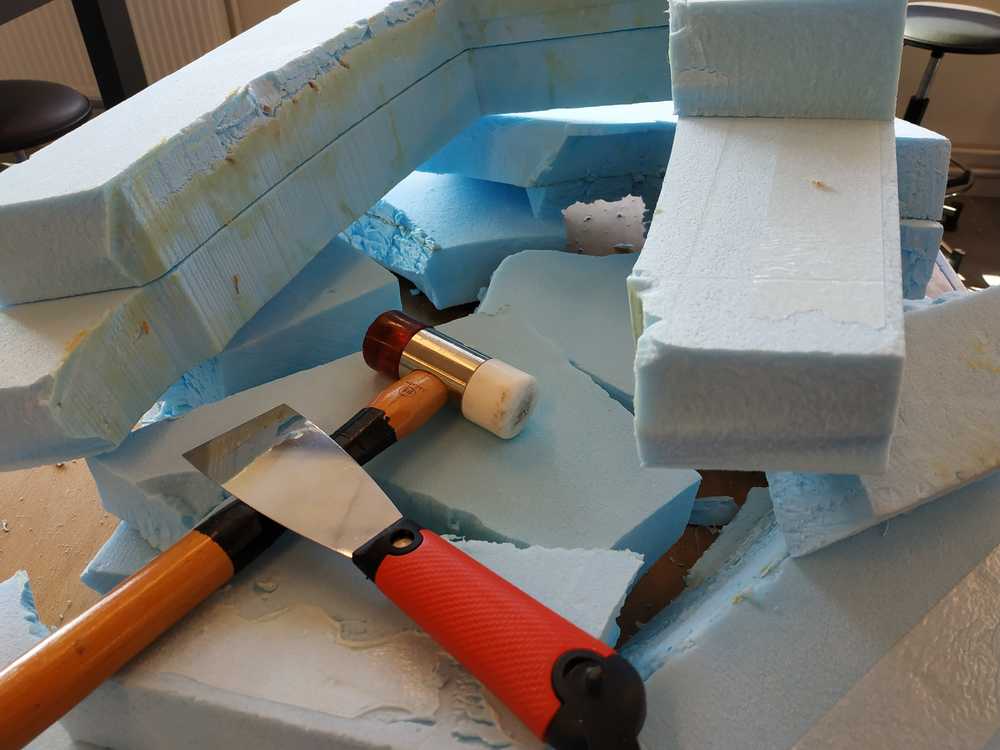
Cutting the mold in pieces was challenging. I’ve used a spatula to separate the boat from the mold.
 |
 |
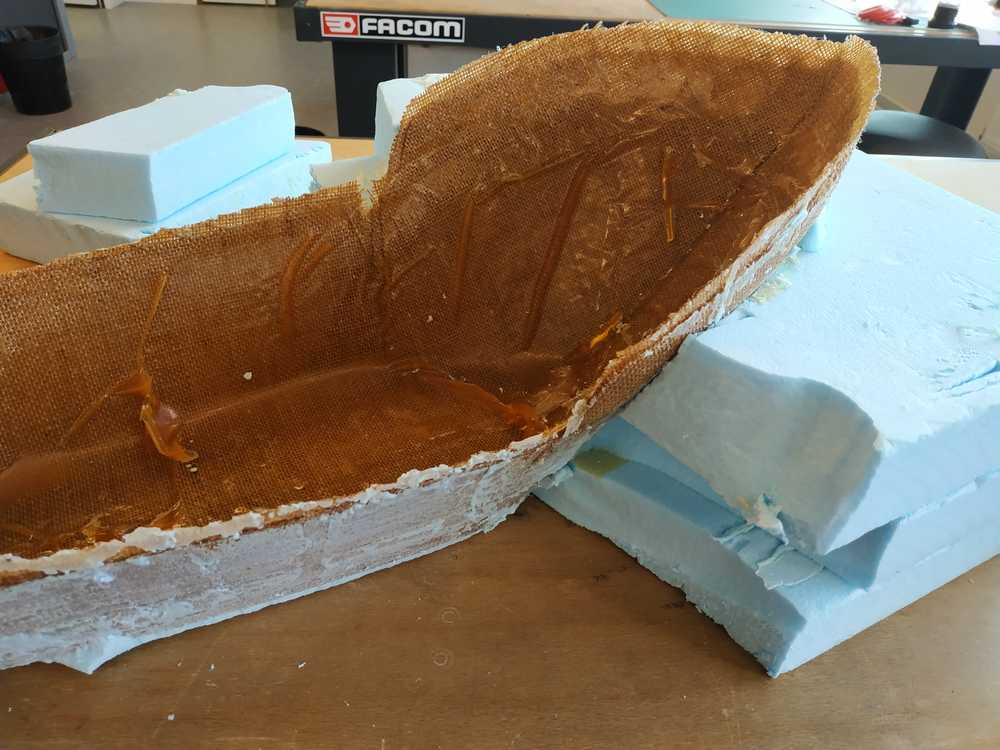 |
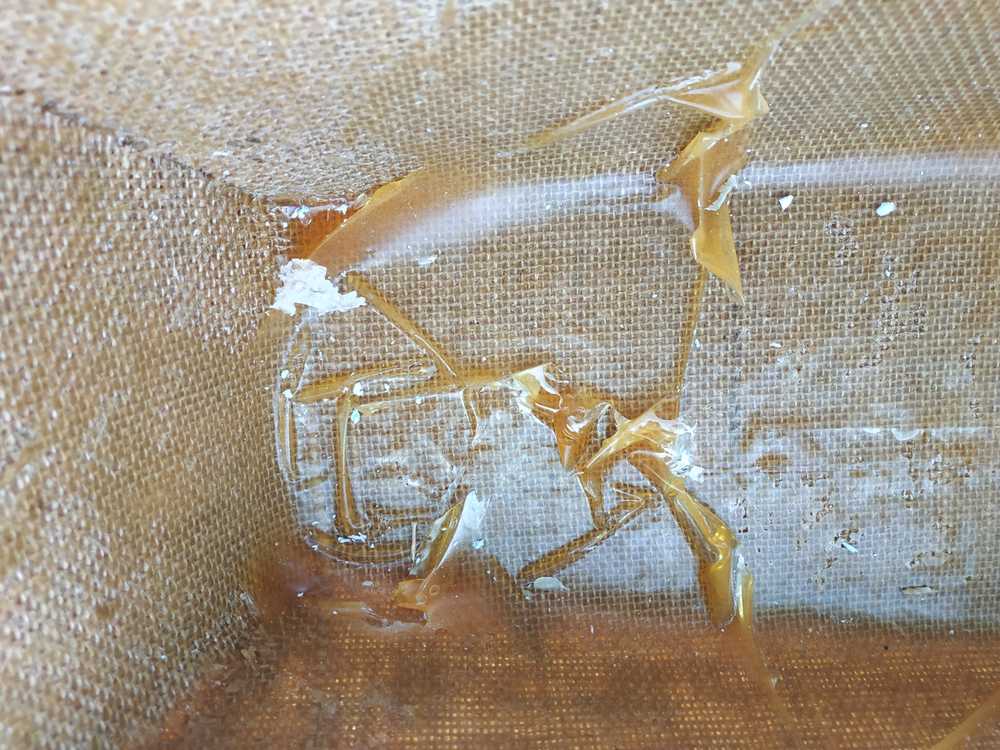
We can see on the photo below that the resine went in between the layers which helped the boat stick to the mold.
Here’s the boat victorious on top of the mold pieces.
Here are the tools I’ve used and the mold pieces.
Post processing
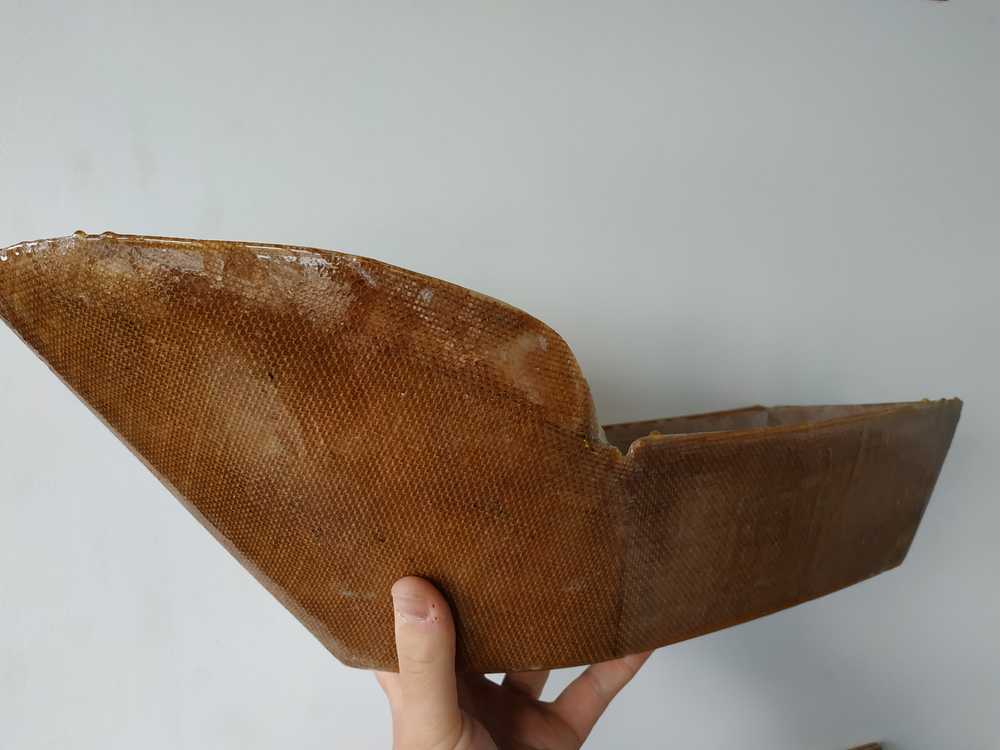
I used a sander and a dremel to remove the extra material from the hull.
 |
 |
NOTE : I used a vaccum sanding machine, protective glasses, gloves and a mask as the dust from sanding isn’t very friendly.
I then decided to have a finishing coat of resine to the outter part of the hull for a nice finishing (I wanted to see the fibers).
 |
 |
 |
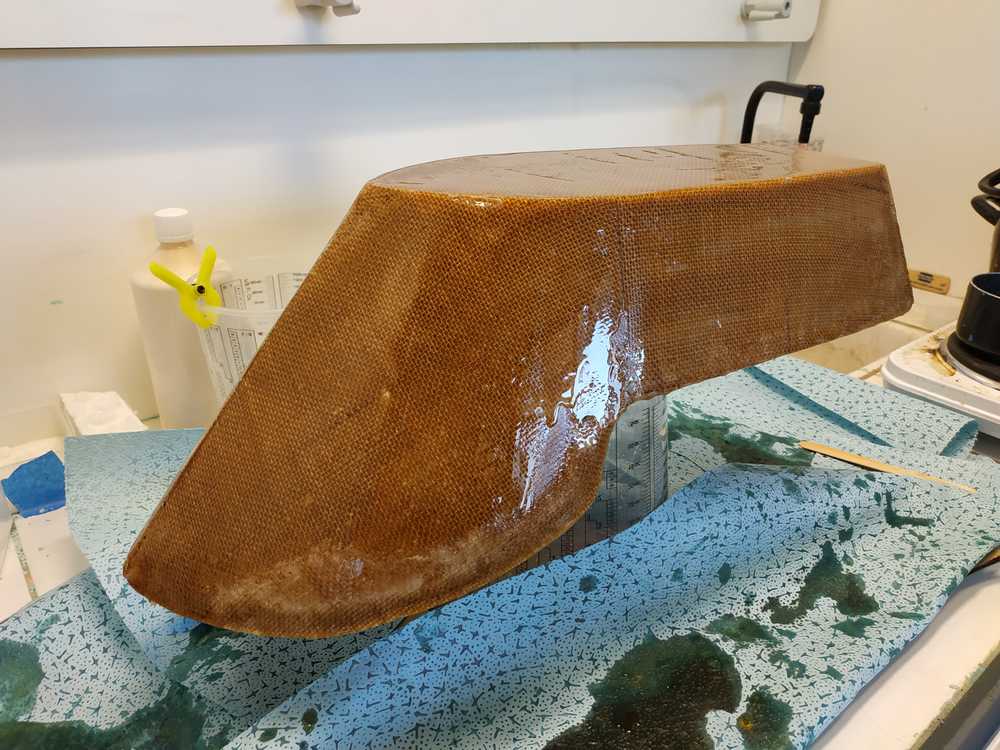 |
Finally I spray painted the inside of the boat :
 |
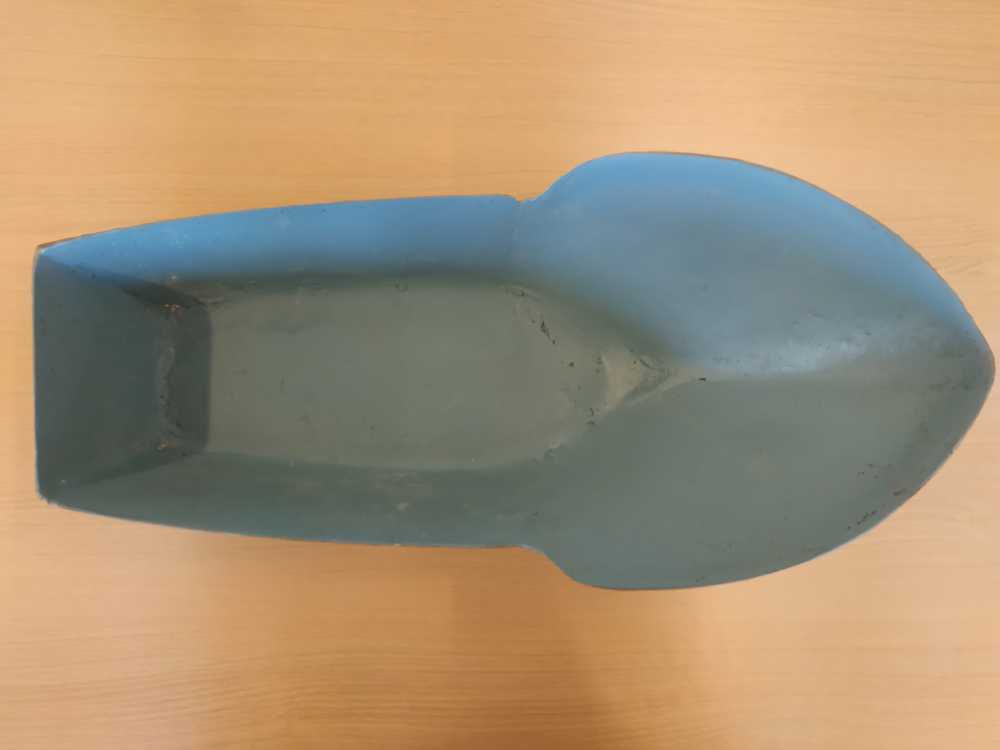 |
I went to a pond to test the boat and good news, it’s waterproof and it floats !
NOTE : To balance the boat I needed to put a rock on the back.

Ce(tte) œuvre est mise à disposition selon les termes de la Licence Creative Commons Attribution - Pas d’Utilisation Commerciale - Partage dans les Mêmes Conditions 4.0 International.