This week, we need to digitize a 3D object and design a piece and then print it in 3D. The part to be printed must only be producible with a 3D printer. The part must not be possible in substractive method.
Scan something in 3D
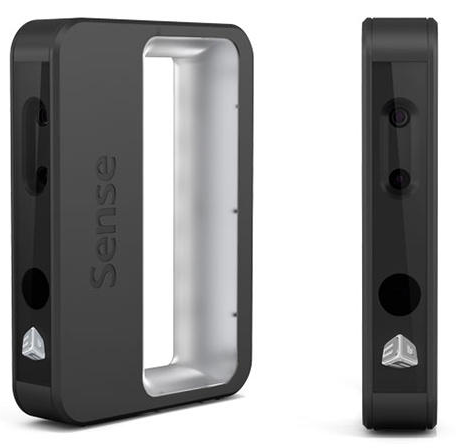
3D scanner
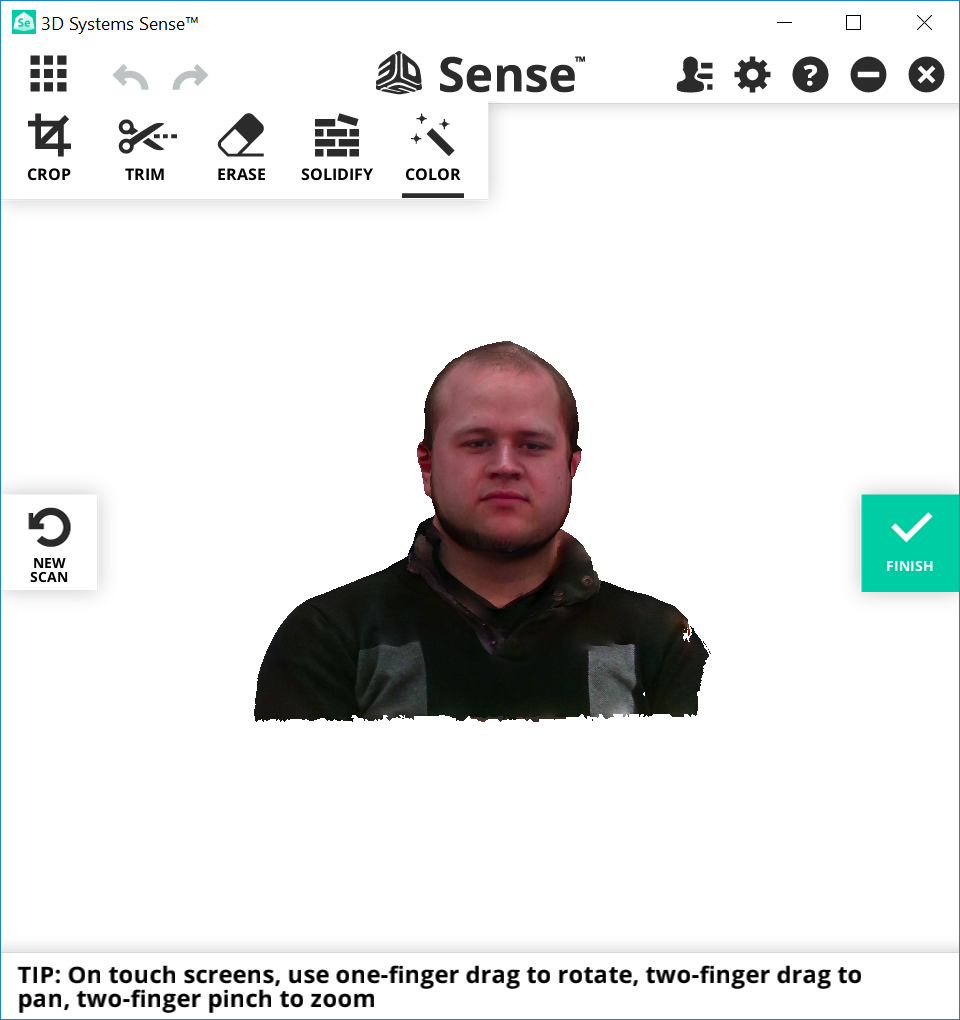
The 3D scanner that I used to scan my object is the Sense of 3D systems. This type of scanner is held in the hands and moved around the object to be scanned. Because we hold the scanner in our hands, it must move in space and this can be complicated during a scan because it often loses its origin. When the scanner loses its origin we must return exactly to the position before the loss of the origin so that it can continue to scan. I would say it was the biggest challenge with this scanner.
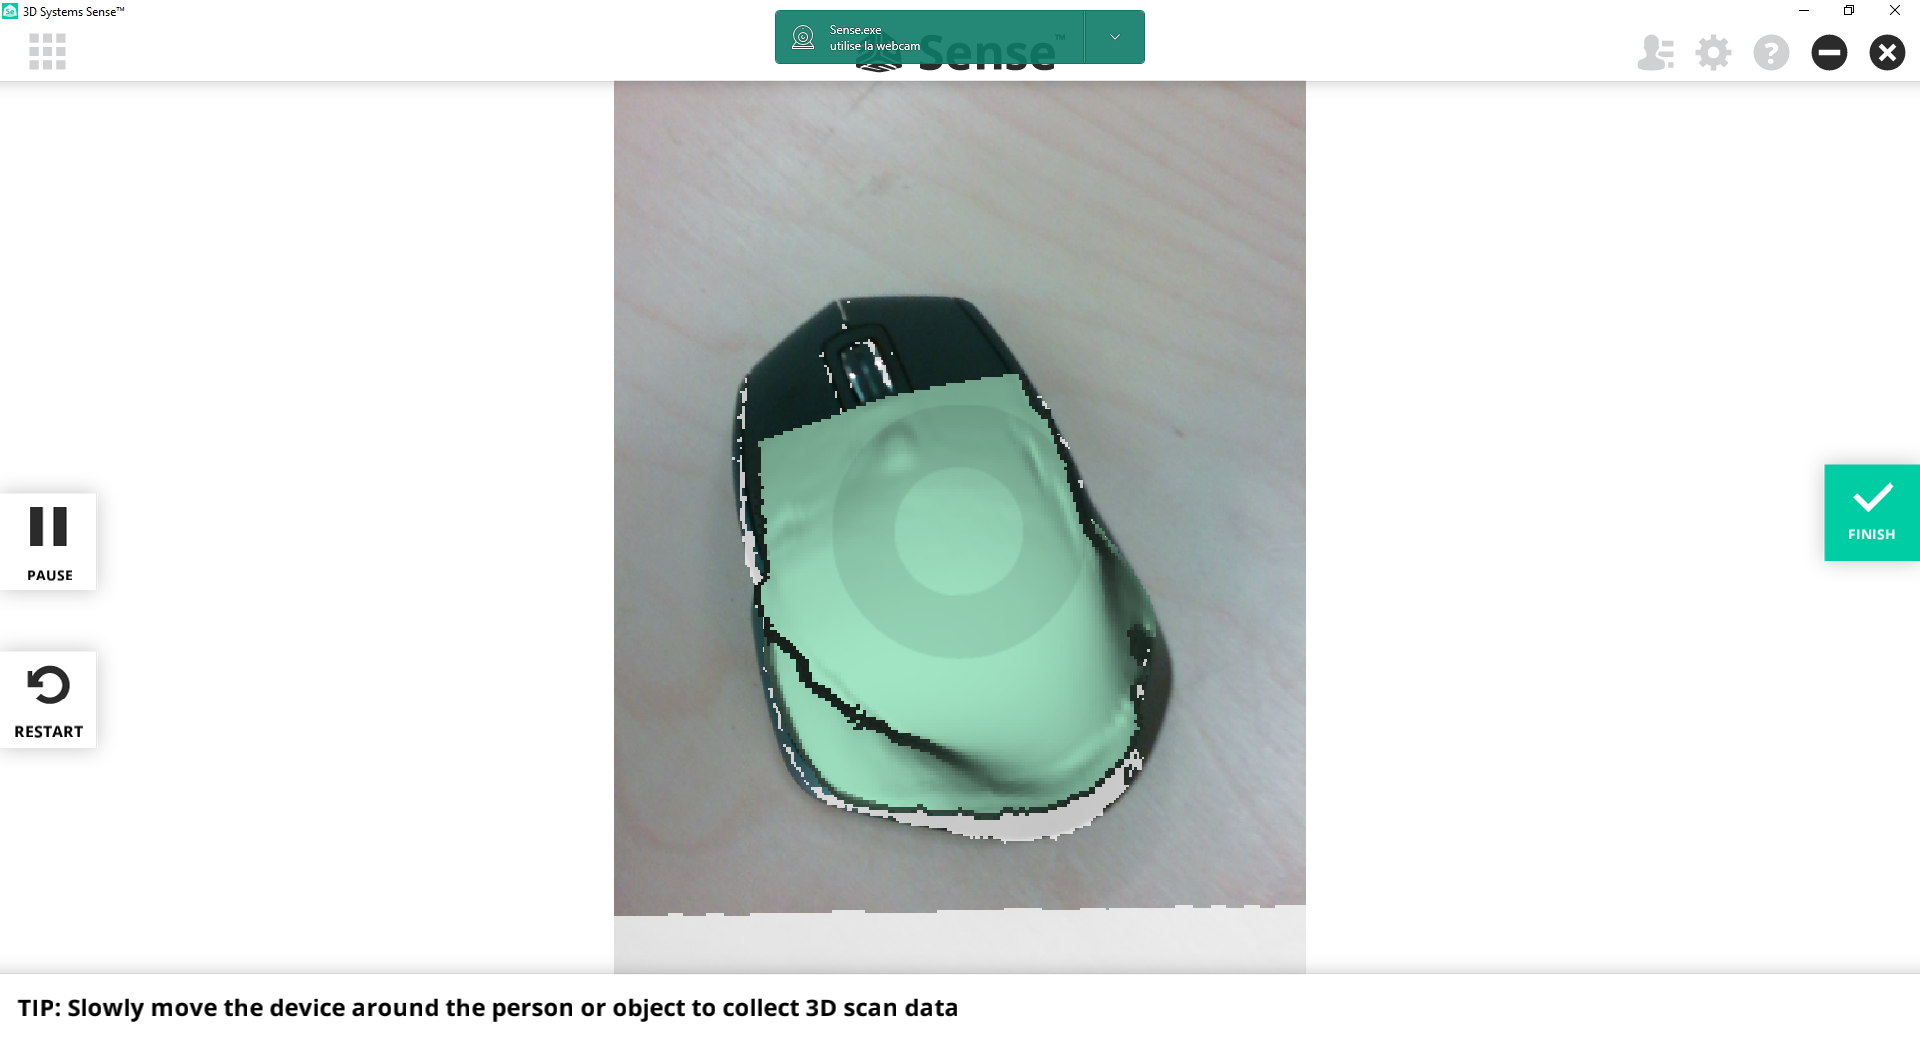
I tried to scan a computer mouse but unfortunately the result was not good because the scanner did not detect the mouse well and lost the tracking constantly. I did a little research and I found some advice to improve the scan. If the surface is reflective it advised to put powder on the object to make it matte. He also advised to increase or decrease the light on the object. I also try to put several colors in the background to prevent the scanner from taking the background to the places of my object.
Finally, I was to see the limitations of the 3D scanner on the site of the manufacturer. Here are the specifications. I found that the scan volume is 0.2m to 2m. My objects are therefore too small to have a good scan of my computer mouse.
Here is an image of the best result obtained but unfortunately the scan could not be complete
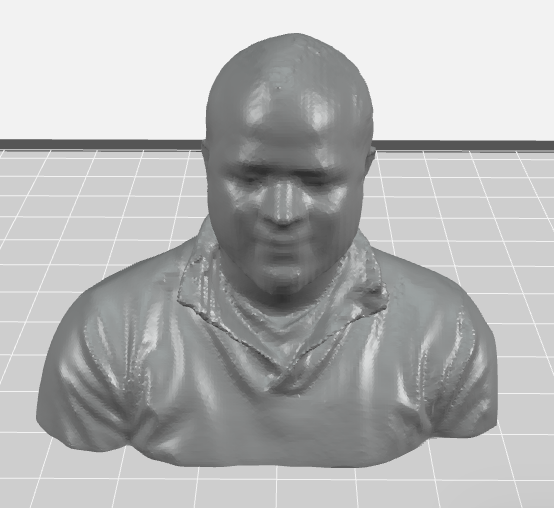
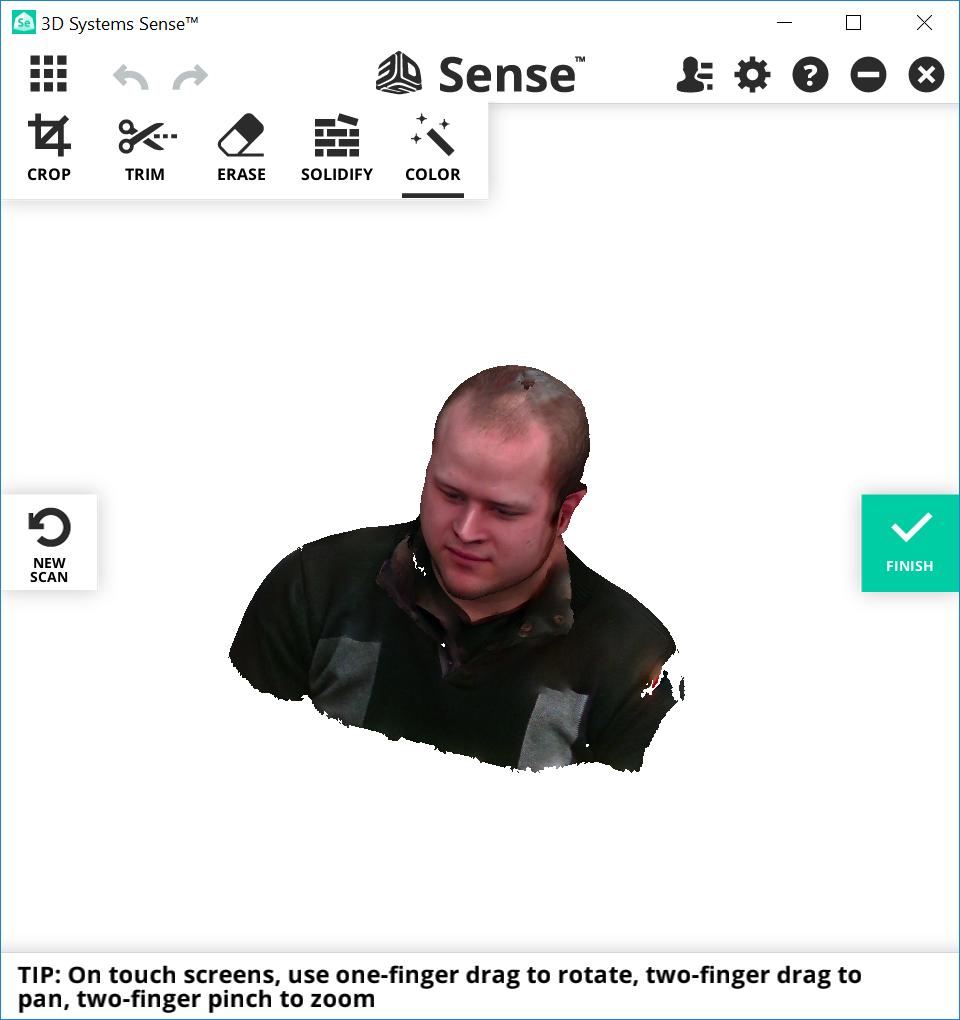
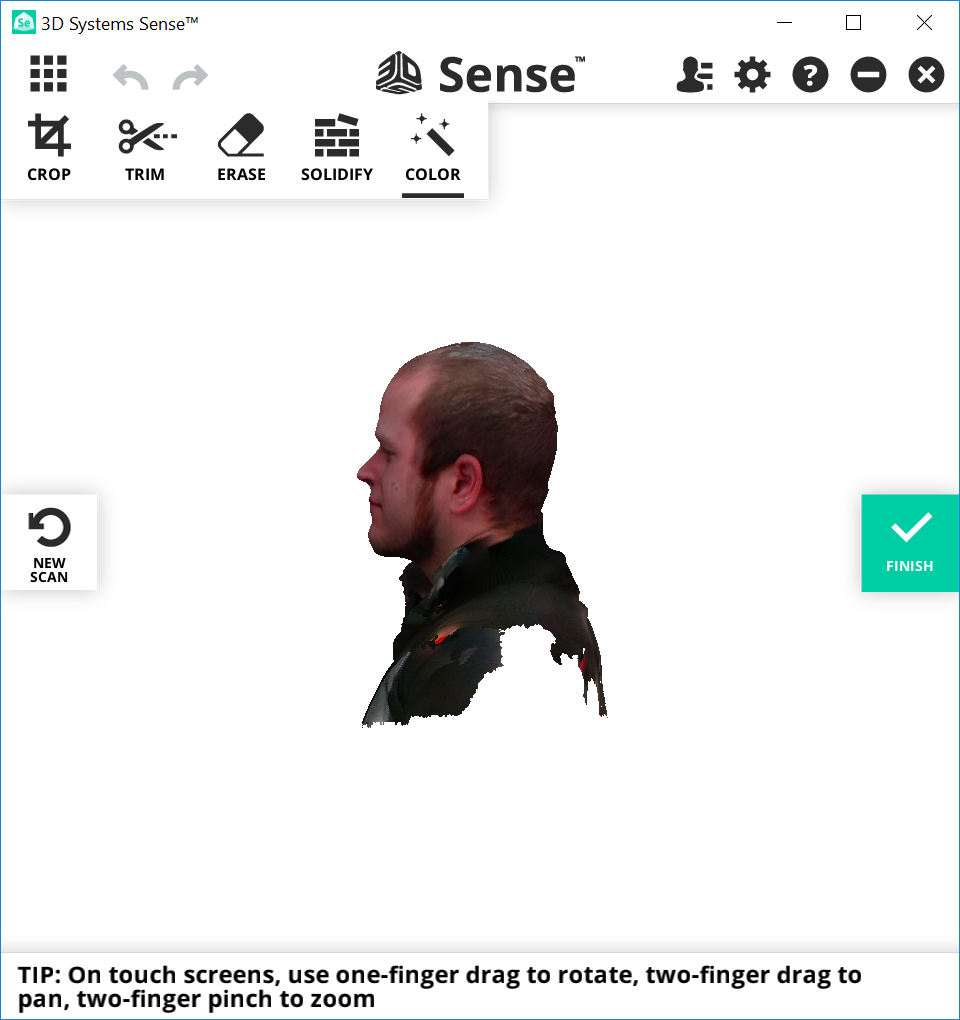
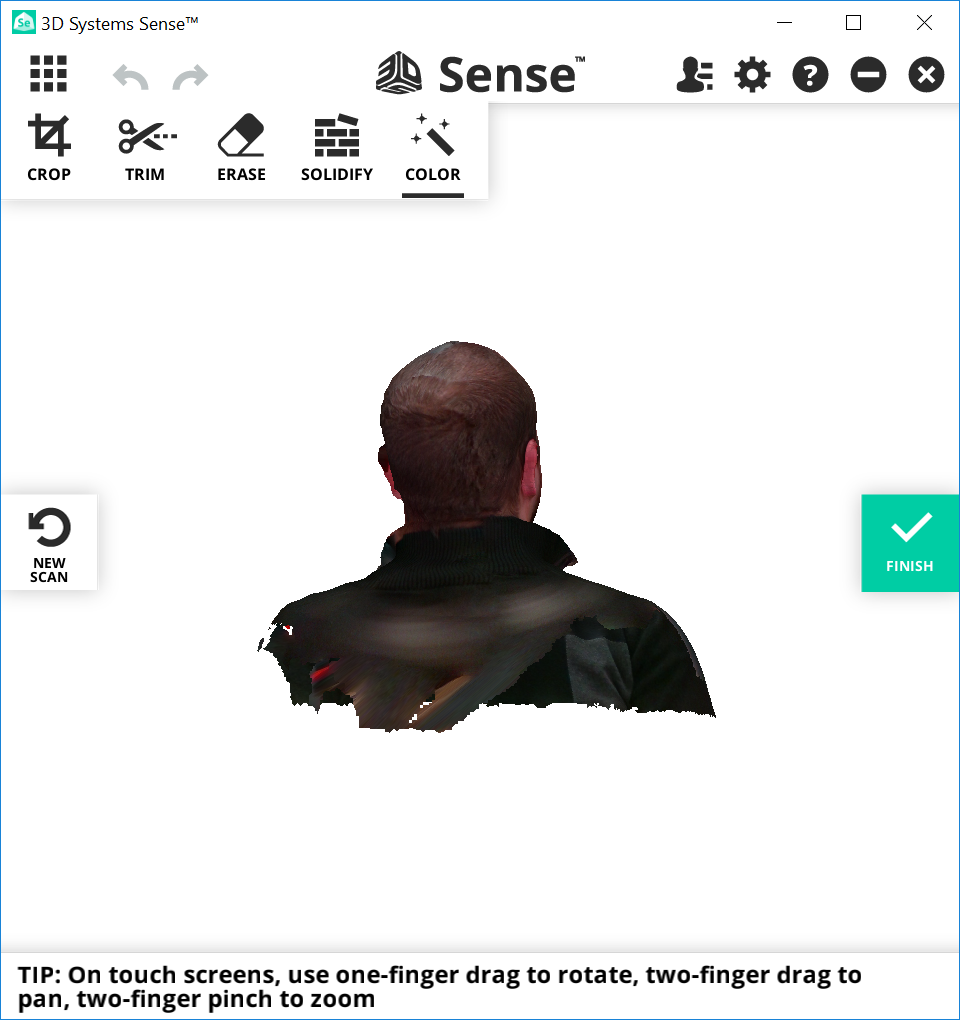
I decided to scan something bigger to see if I will get a better result. So I decided to scan my head. I asked a colleague to help me for this part and that's why I only have the final product because we had to hold the laptop in one hand and scan it in the other. It was therefore difficult to take pictures during the scan.
We can see that the result is better when the object, in this case which is me, is much larger. To make it easier to scan me, I sat on a wheelchair and I turned myself 15 degrees every few seconds.
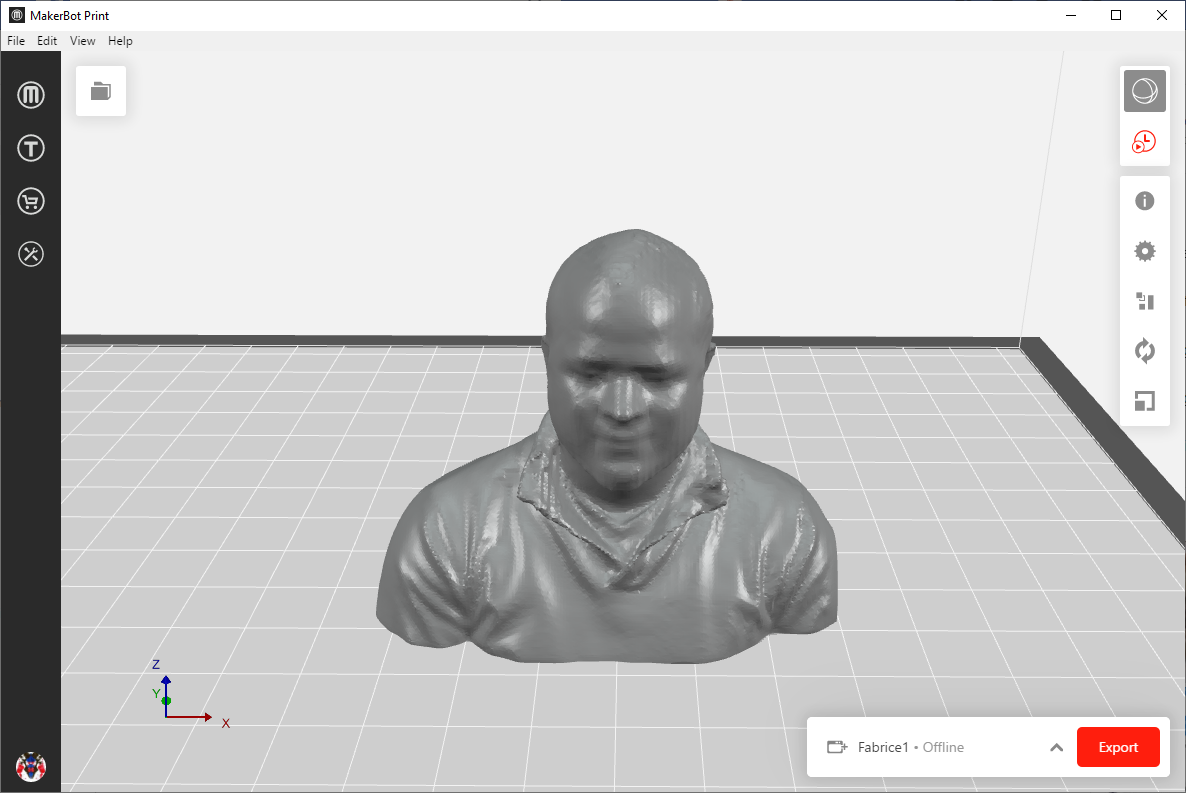
To be able to have a solid model and to be able to print the scan later, you have to click on solidify in the menu at the top. Here is now the same scan but it is not empty inside.
3D print the scan
It was optional to print the scan but I was really curious to see myself in a figurine. The result is well aware that the scanning was not perfect.
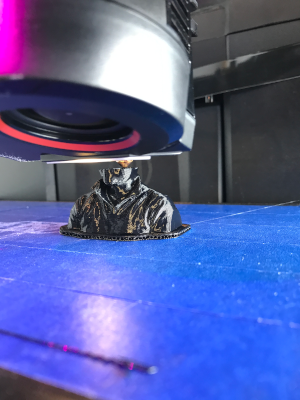
Here is the preview before printing. I used the recommended settings in the software to print PLA. The recommended temperature for our PLA is 215 degrees celcius.I explain the limitations of the 3D printer below.
Here is my head during printing. You can see that the interior is 10% infill.
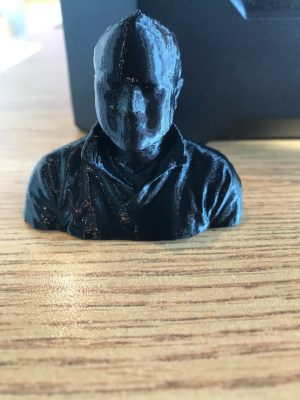
Here is the final result. I am very satisfied with the result because I was afraid that the filament or chin would fall without the supports. Finally everything was perfect.
Print something in 3D
Design something
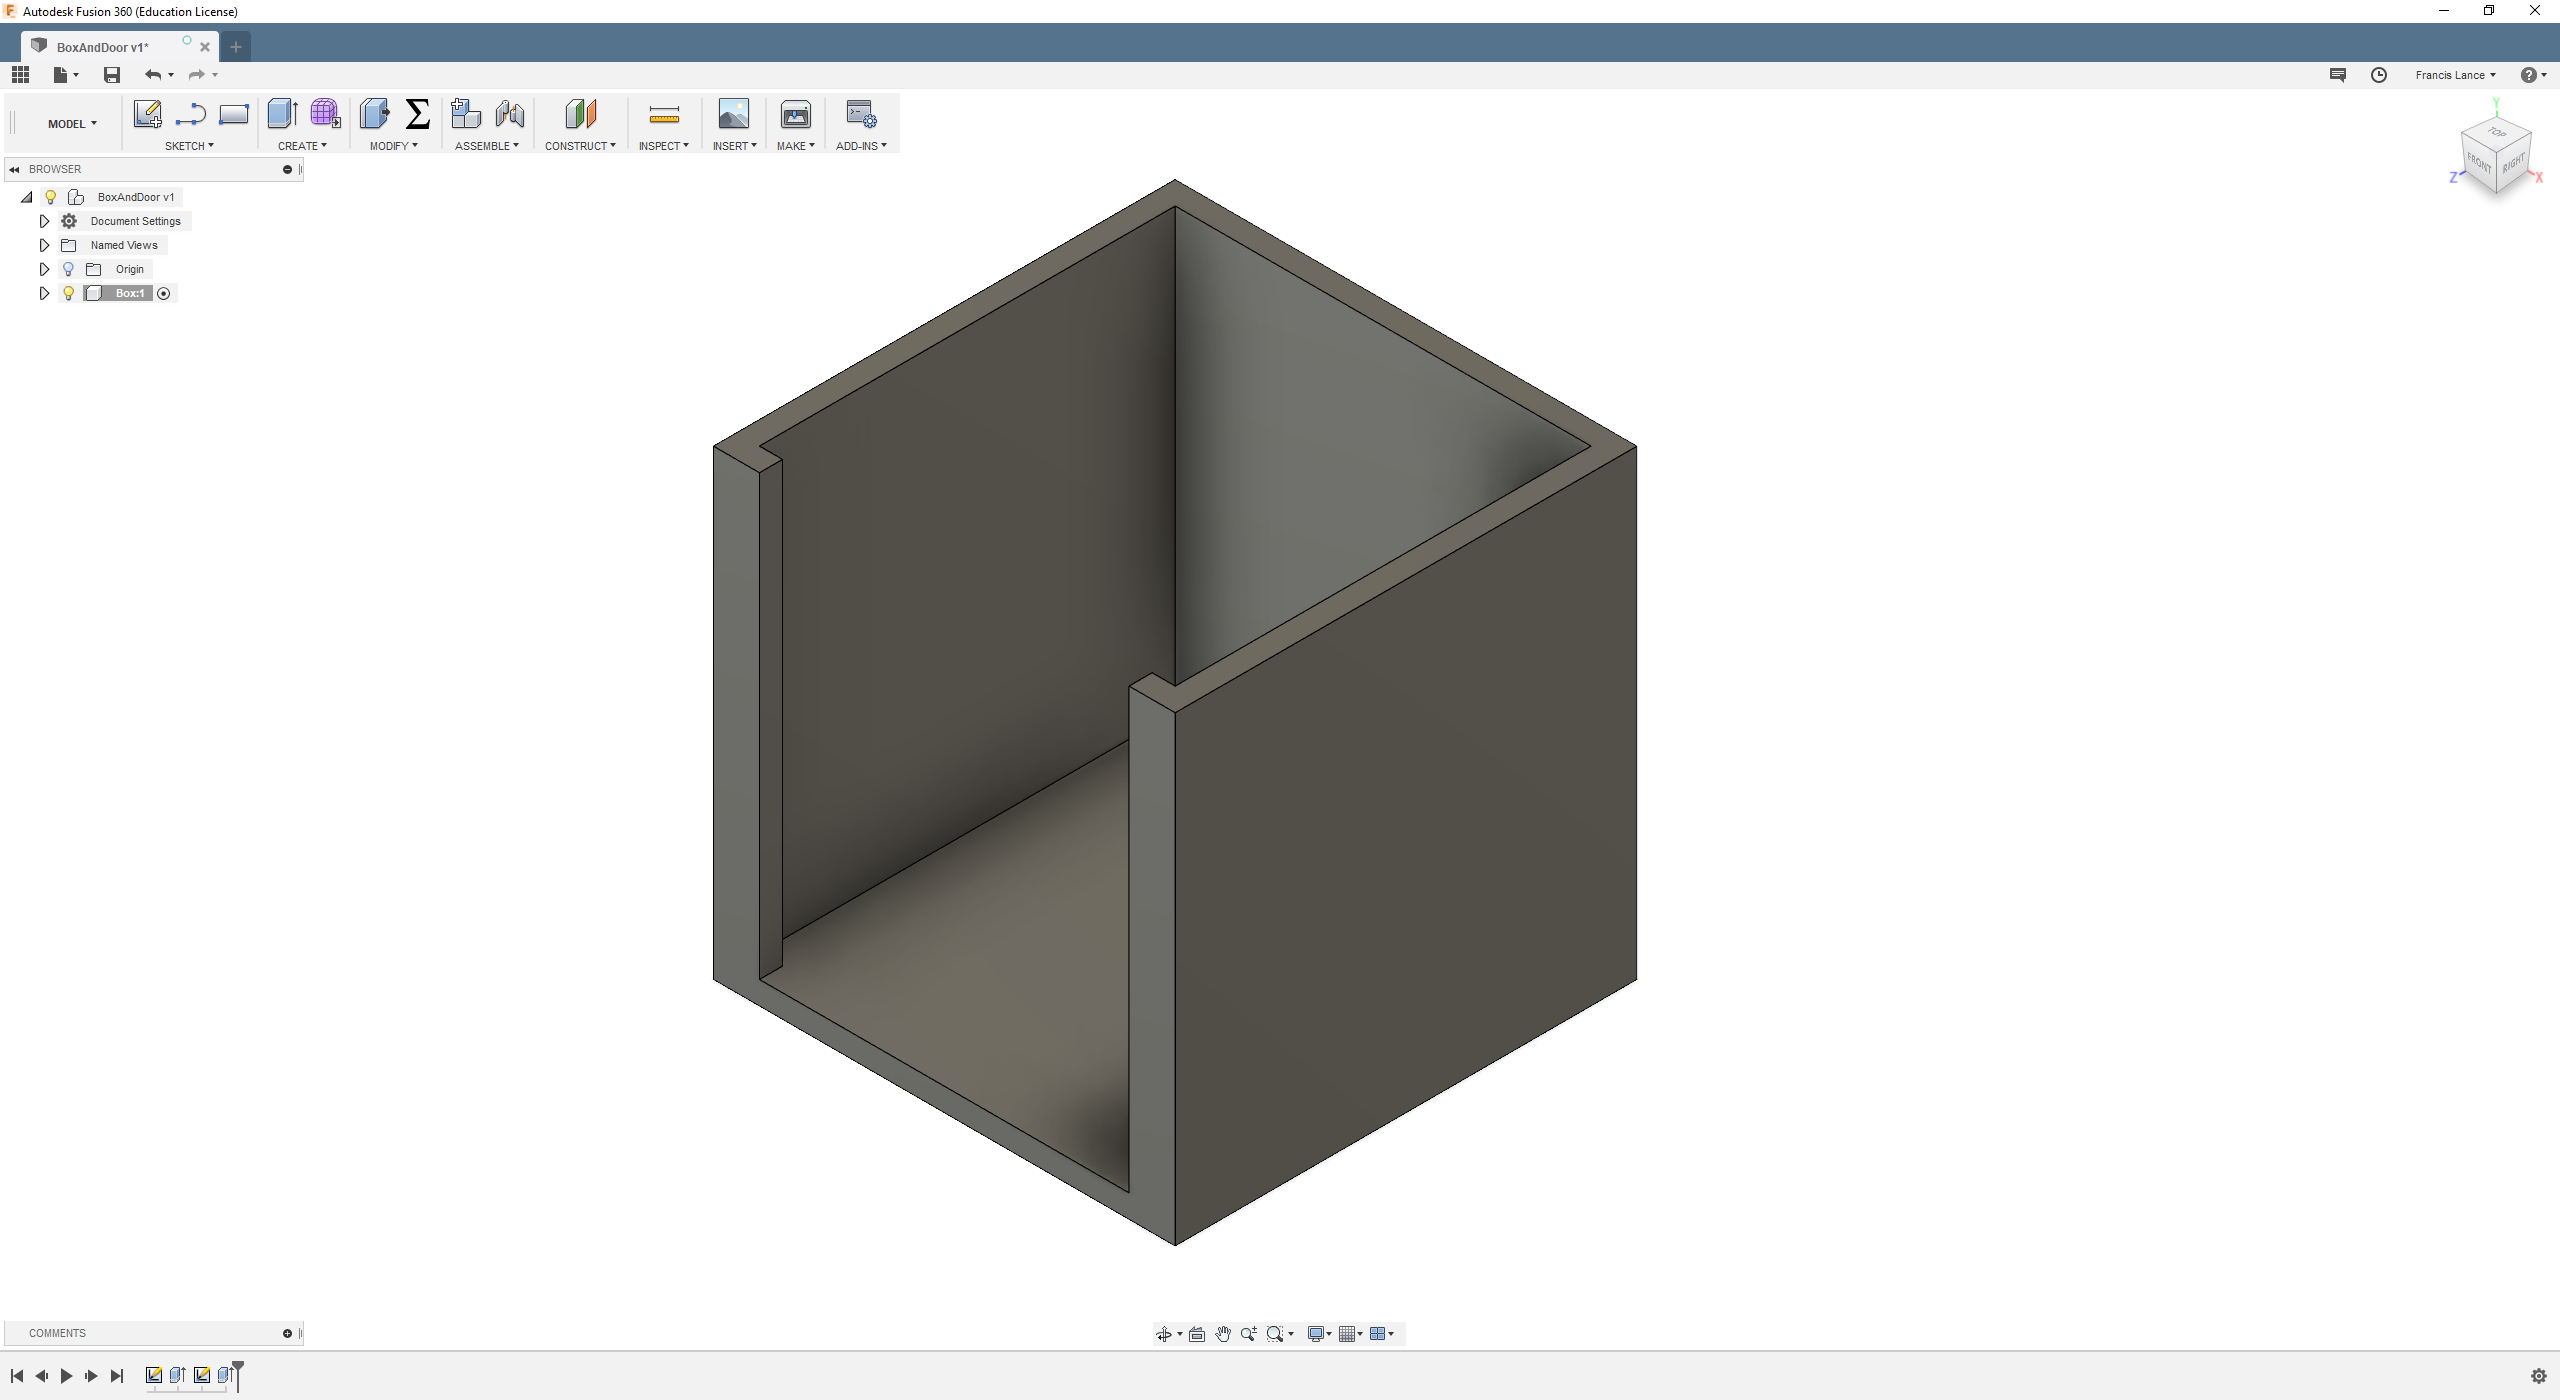
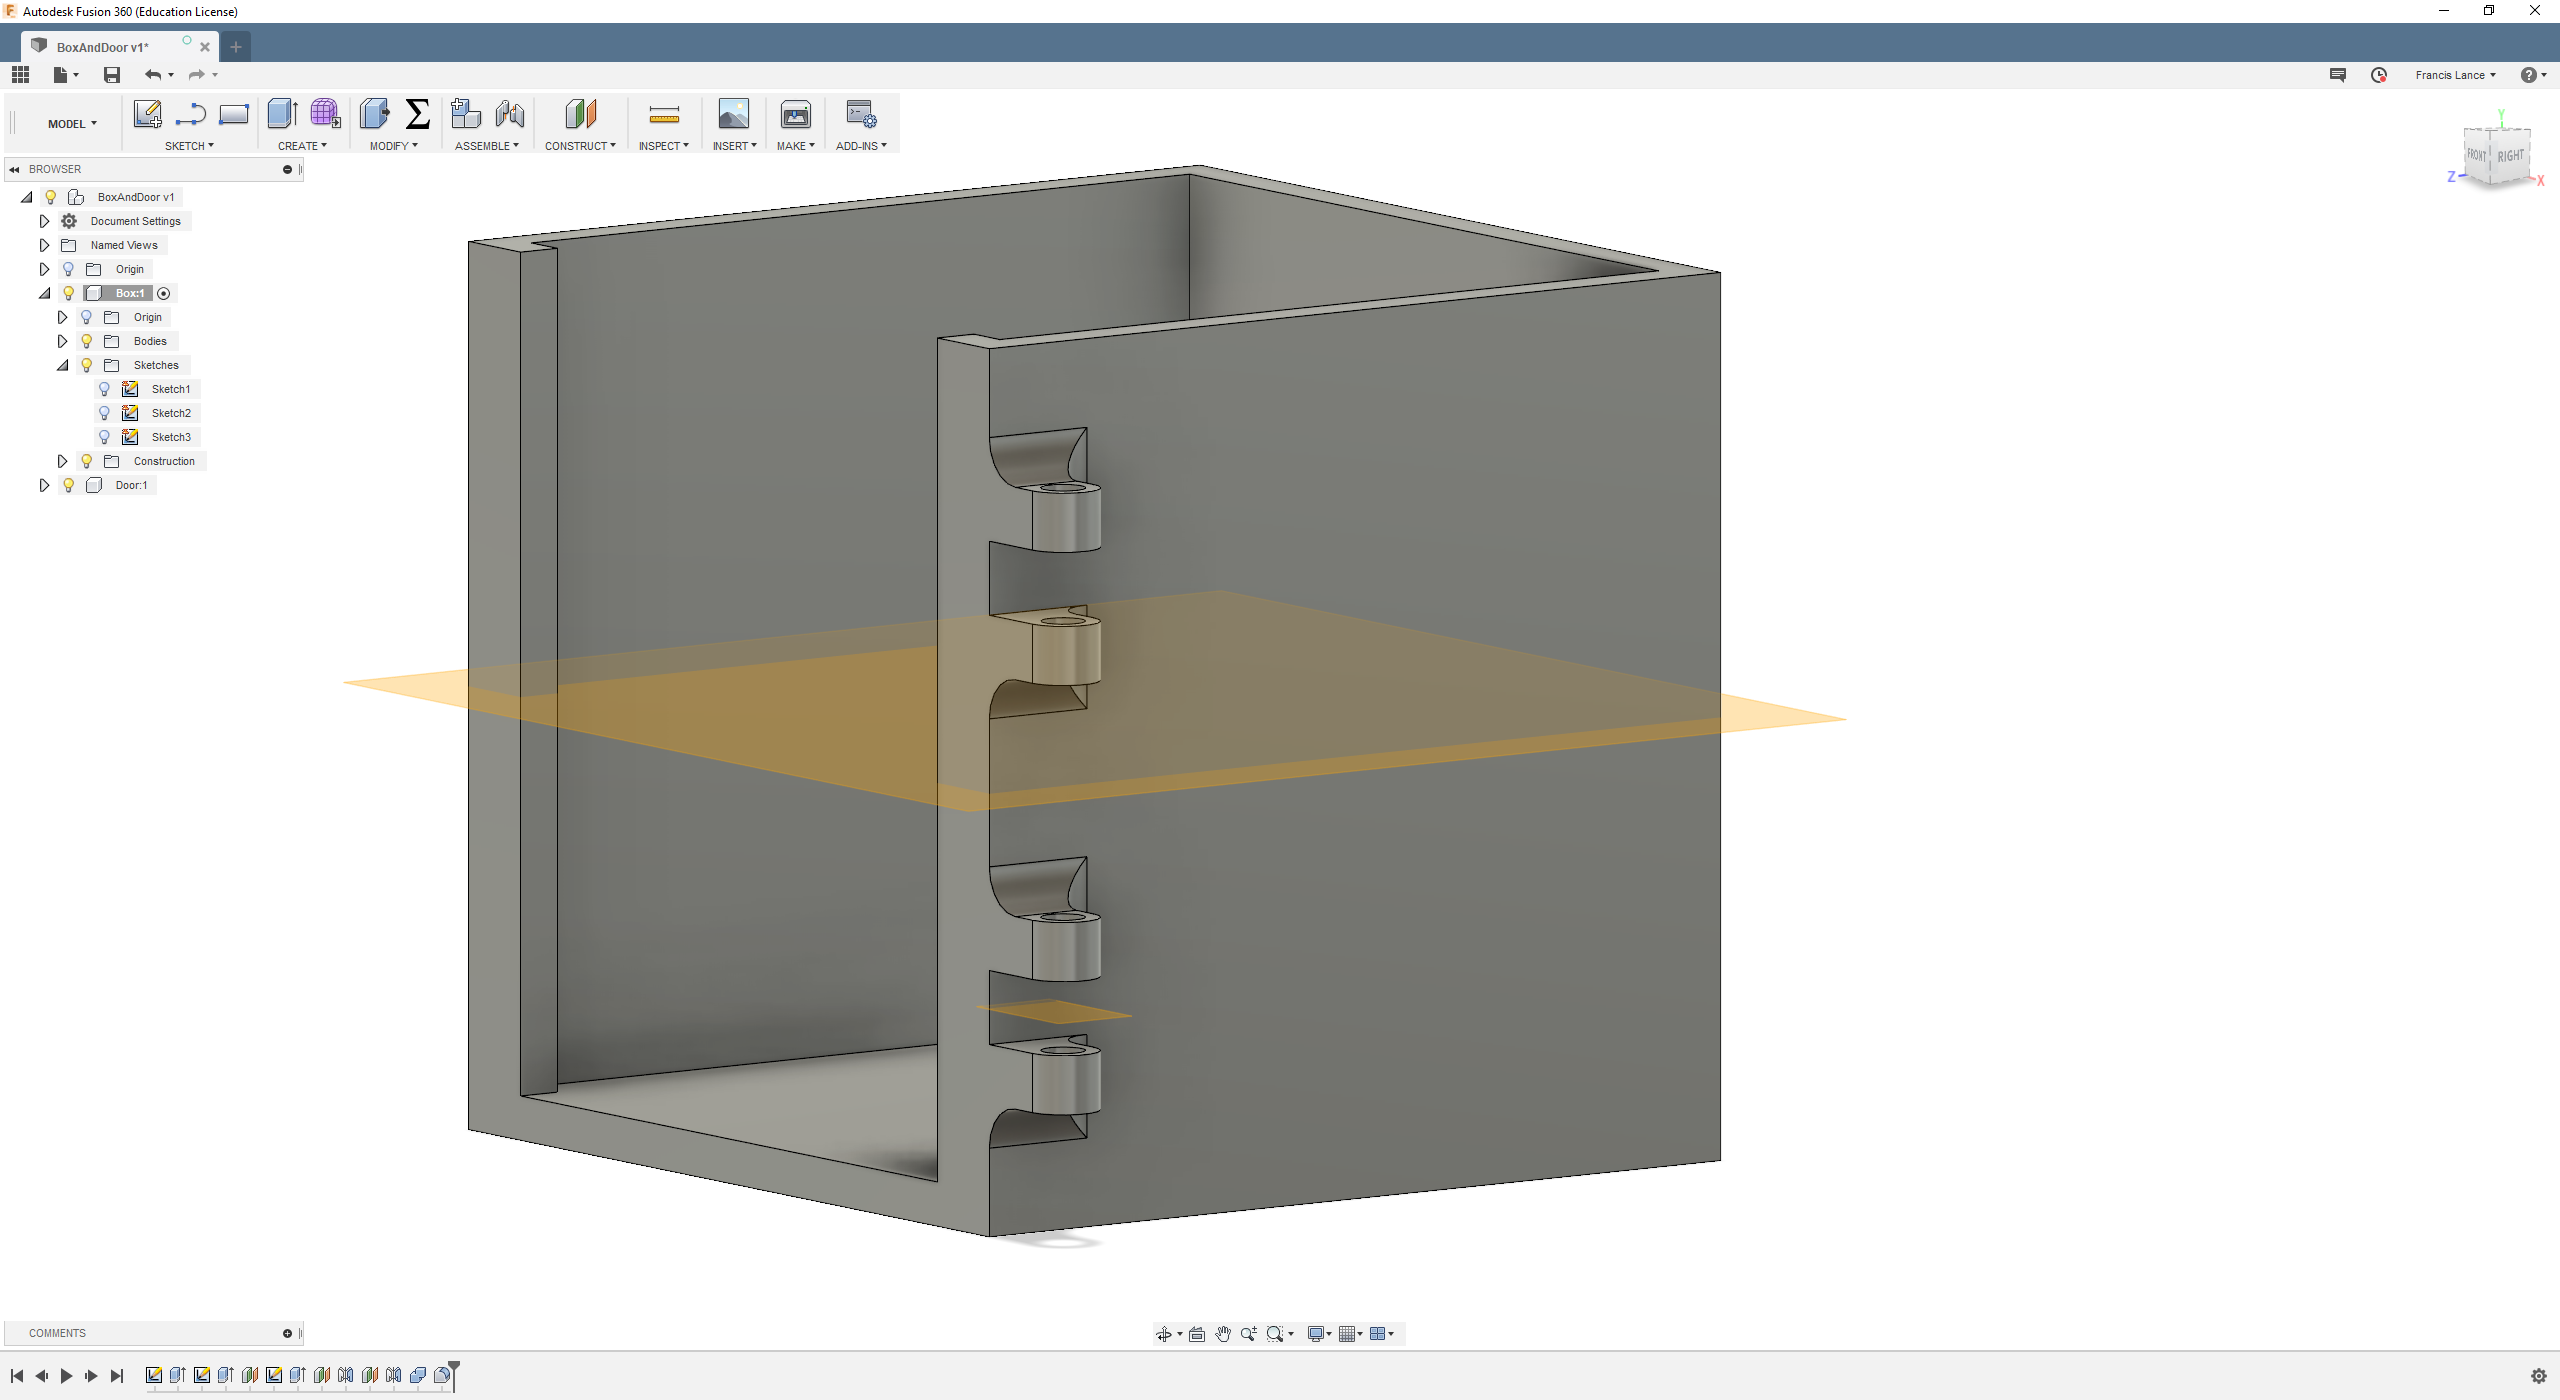
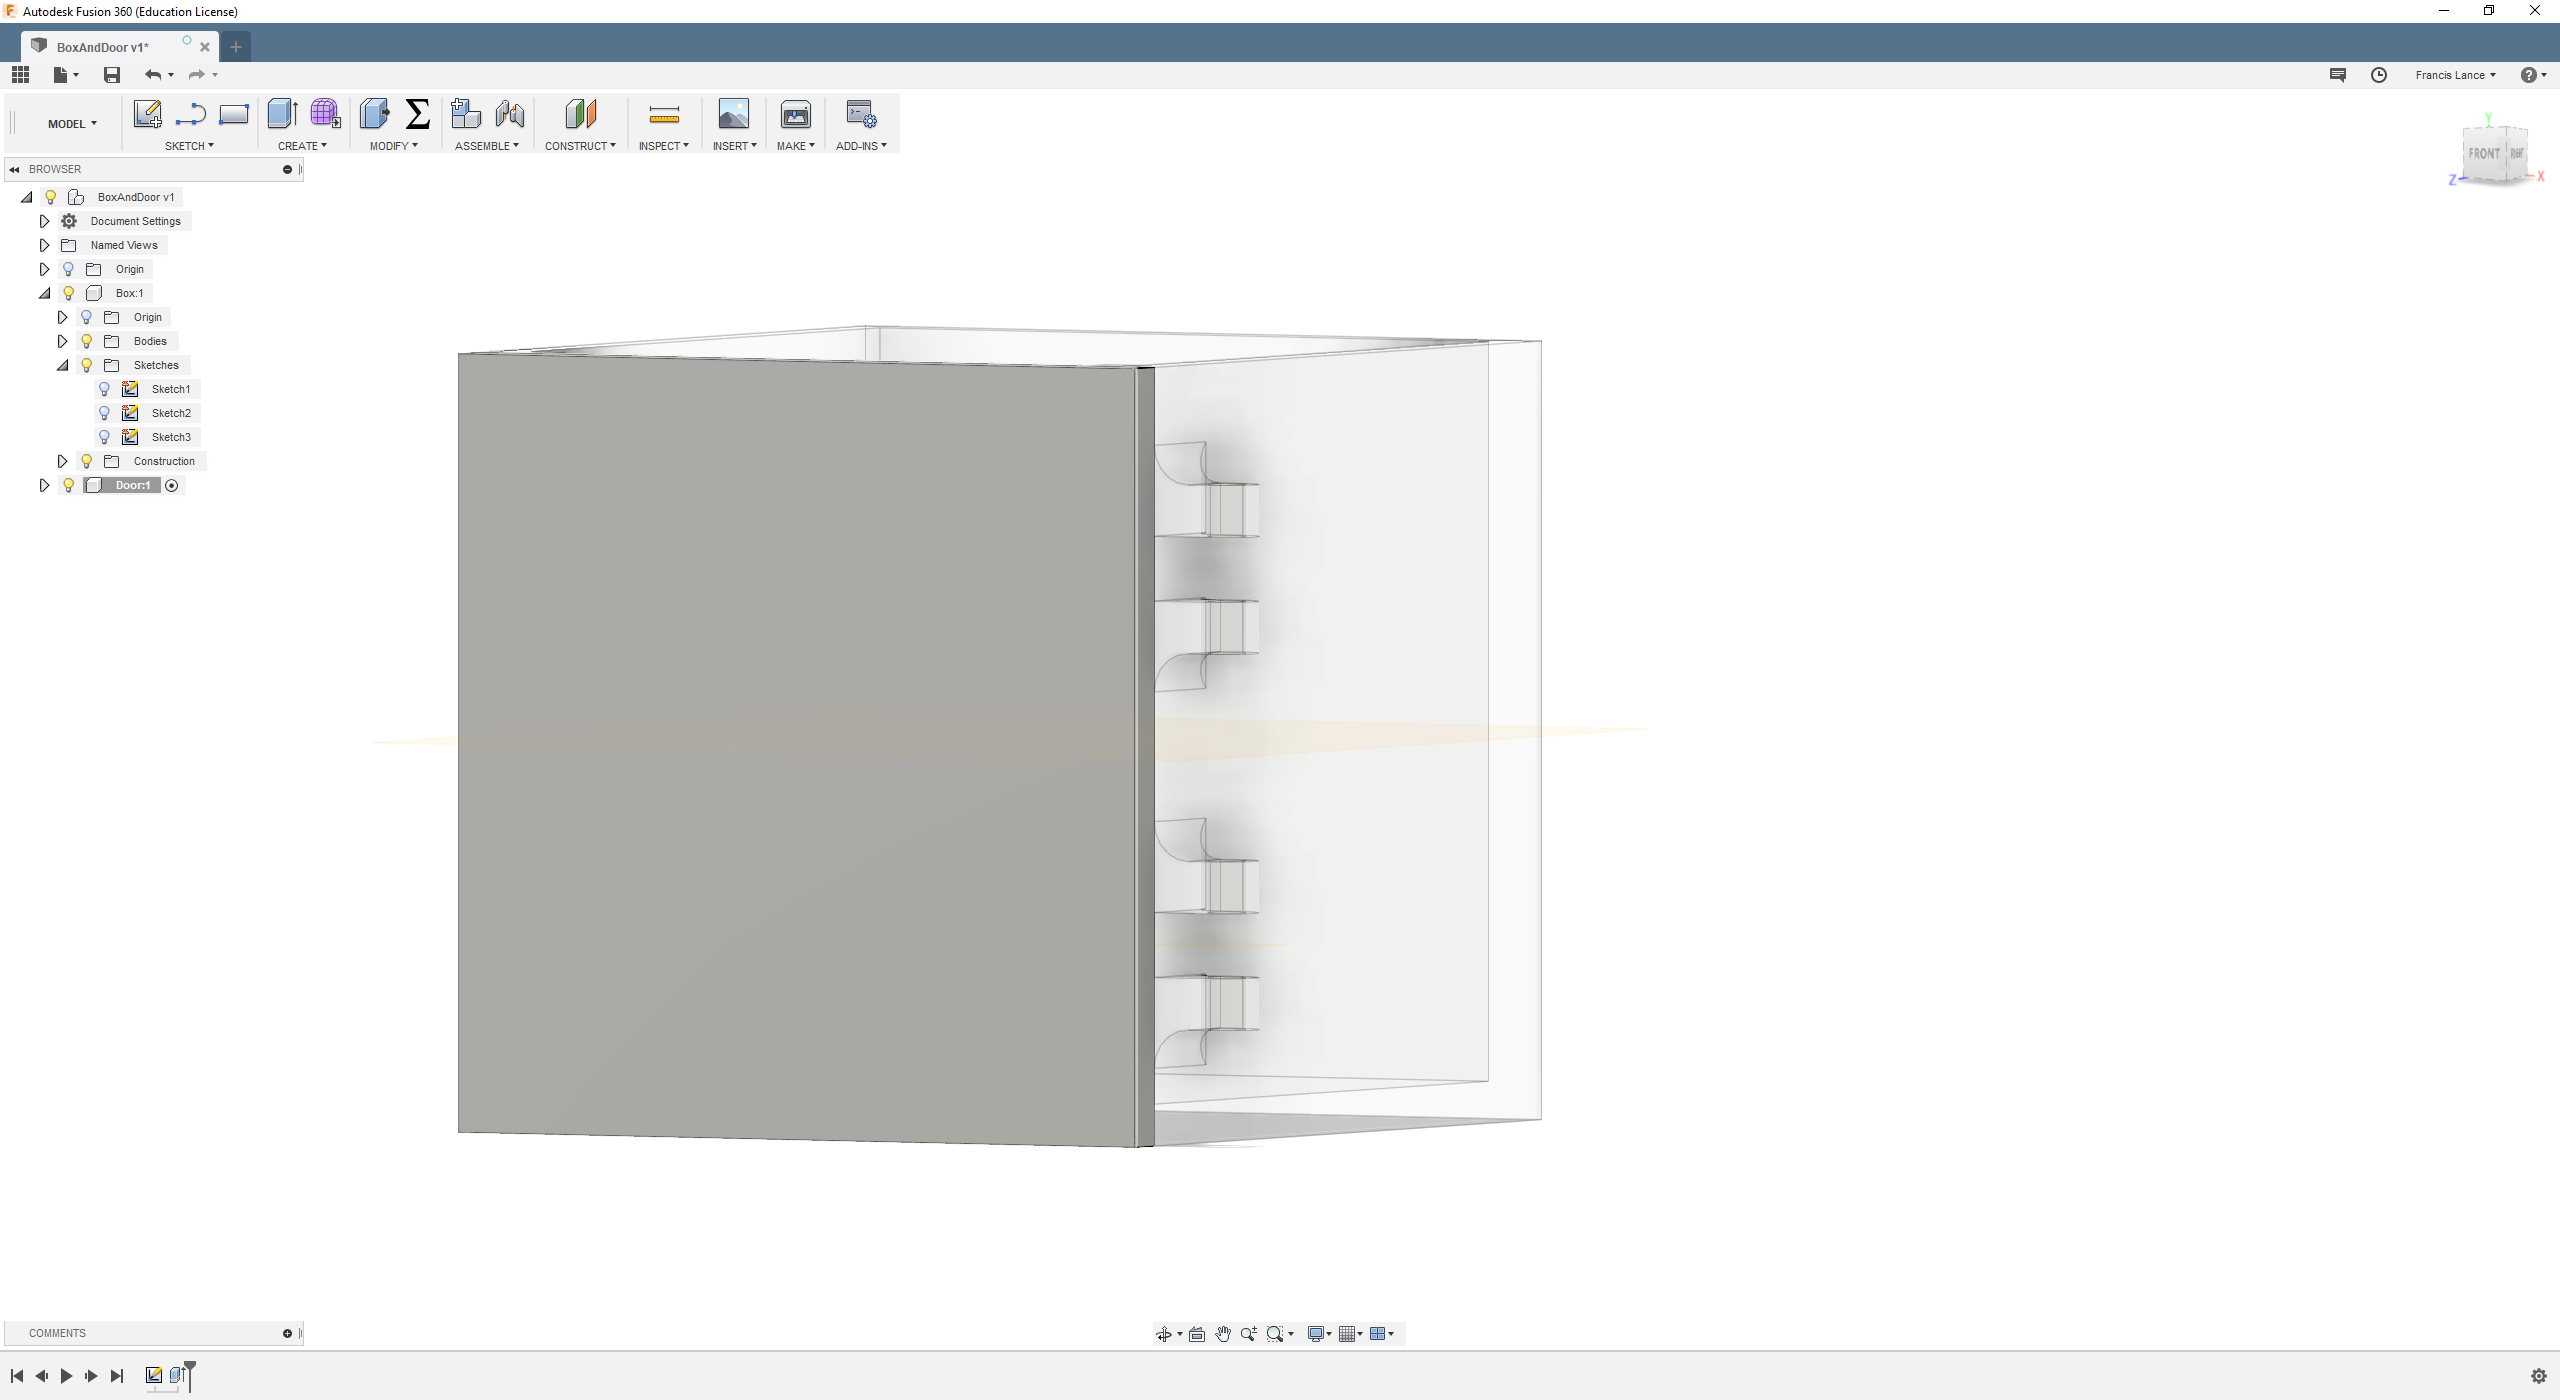
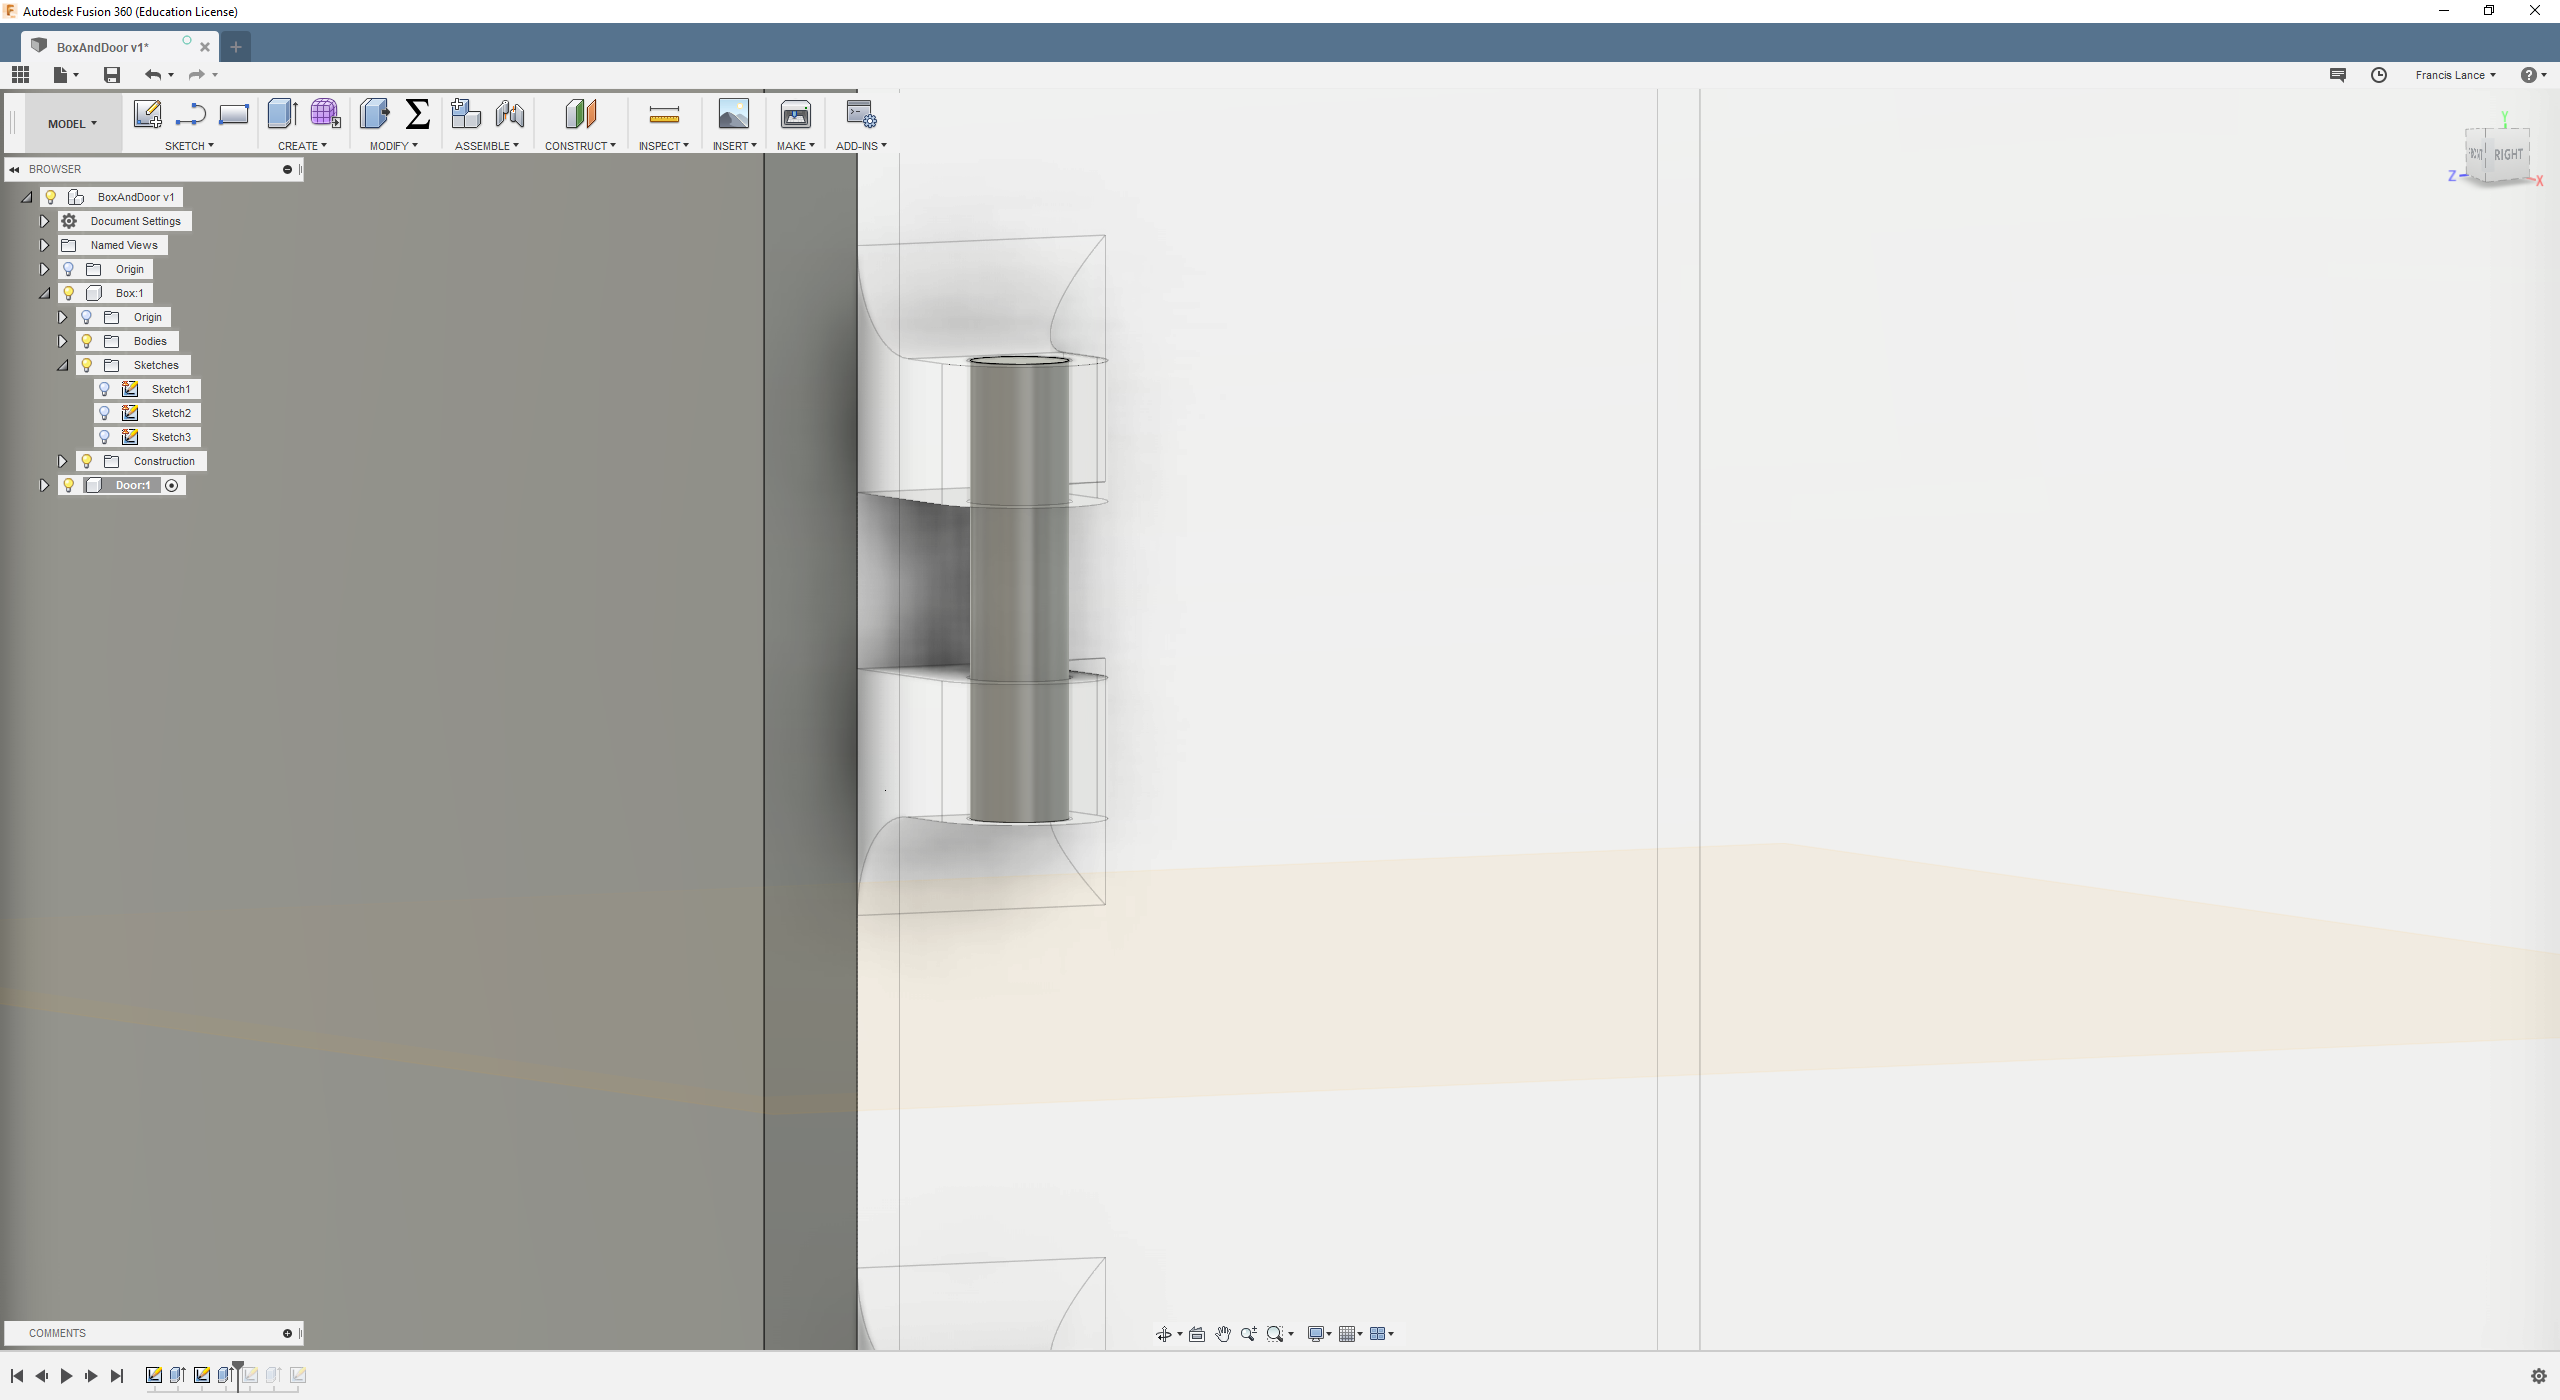
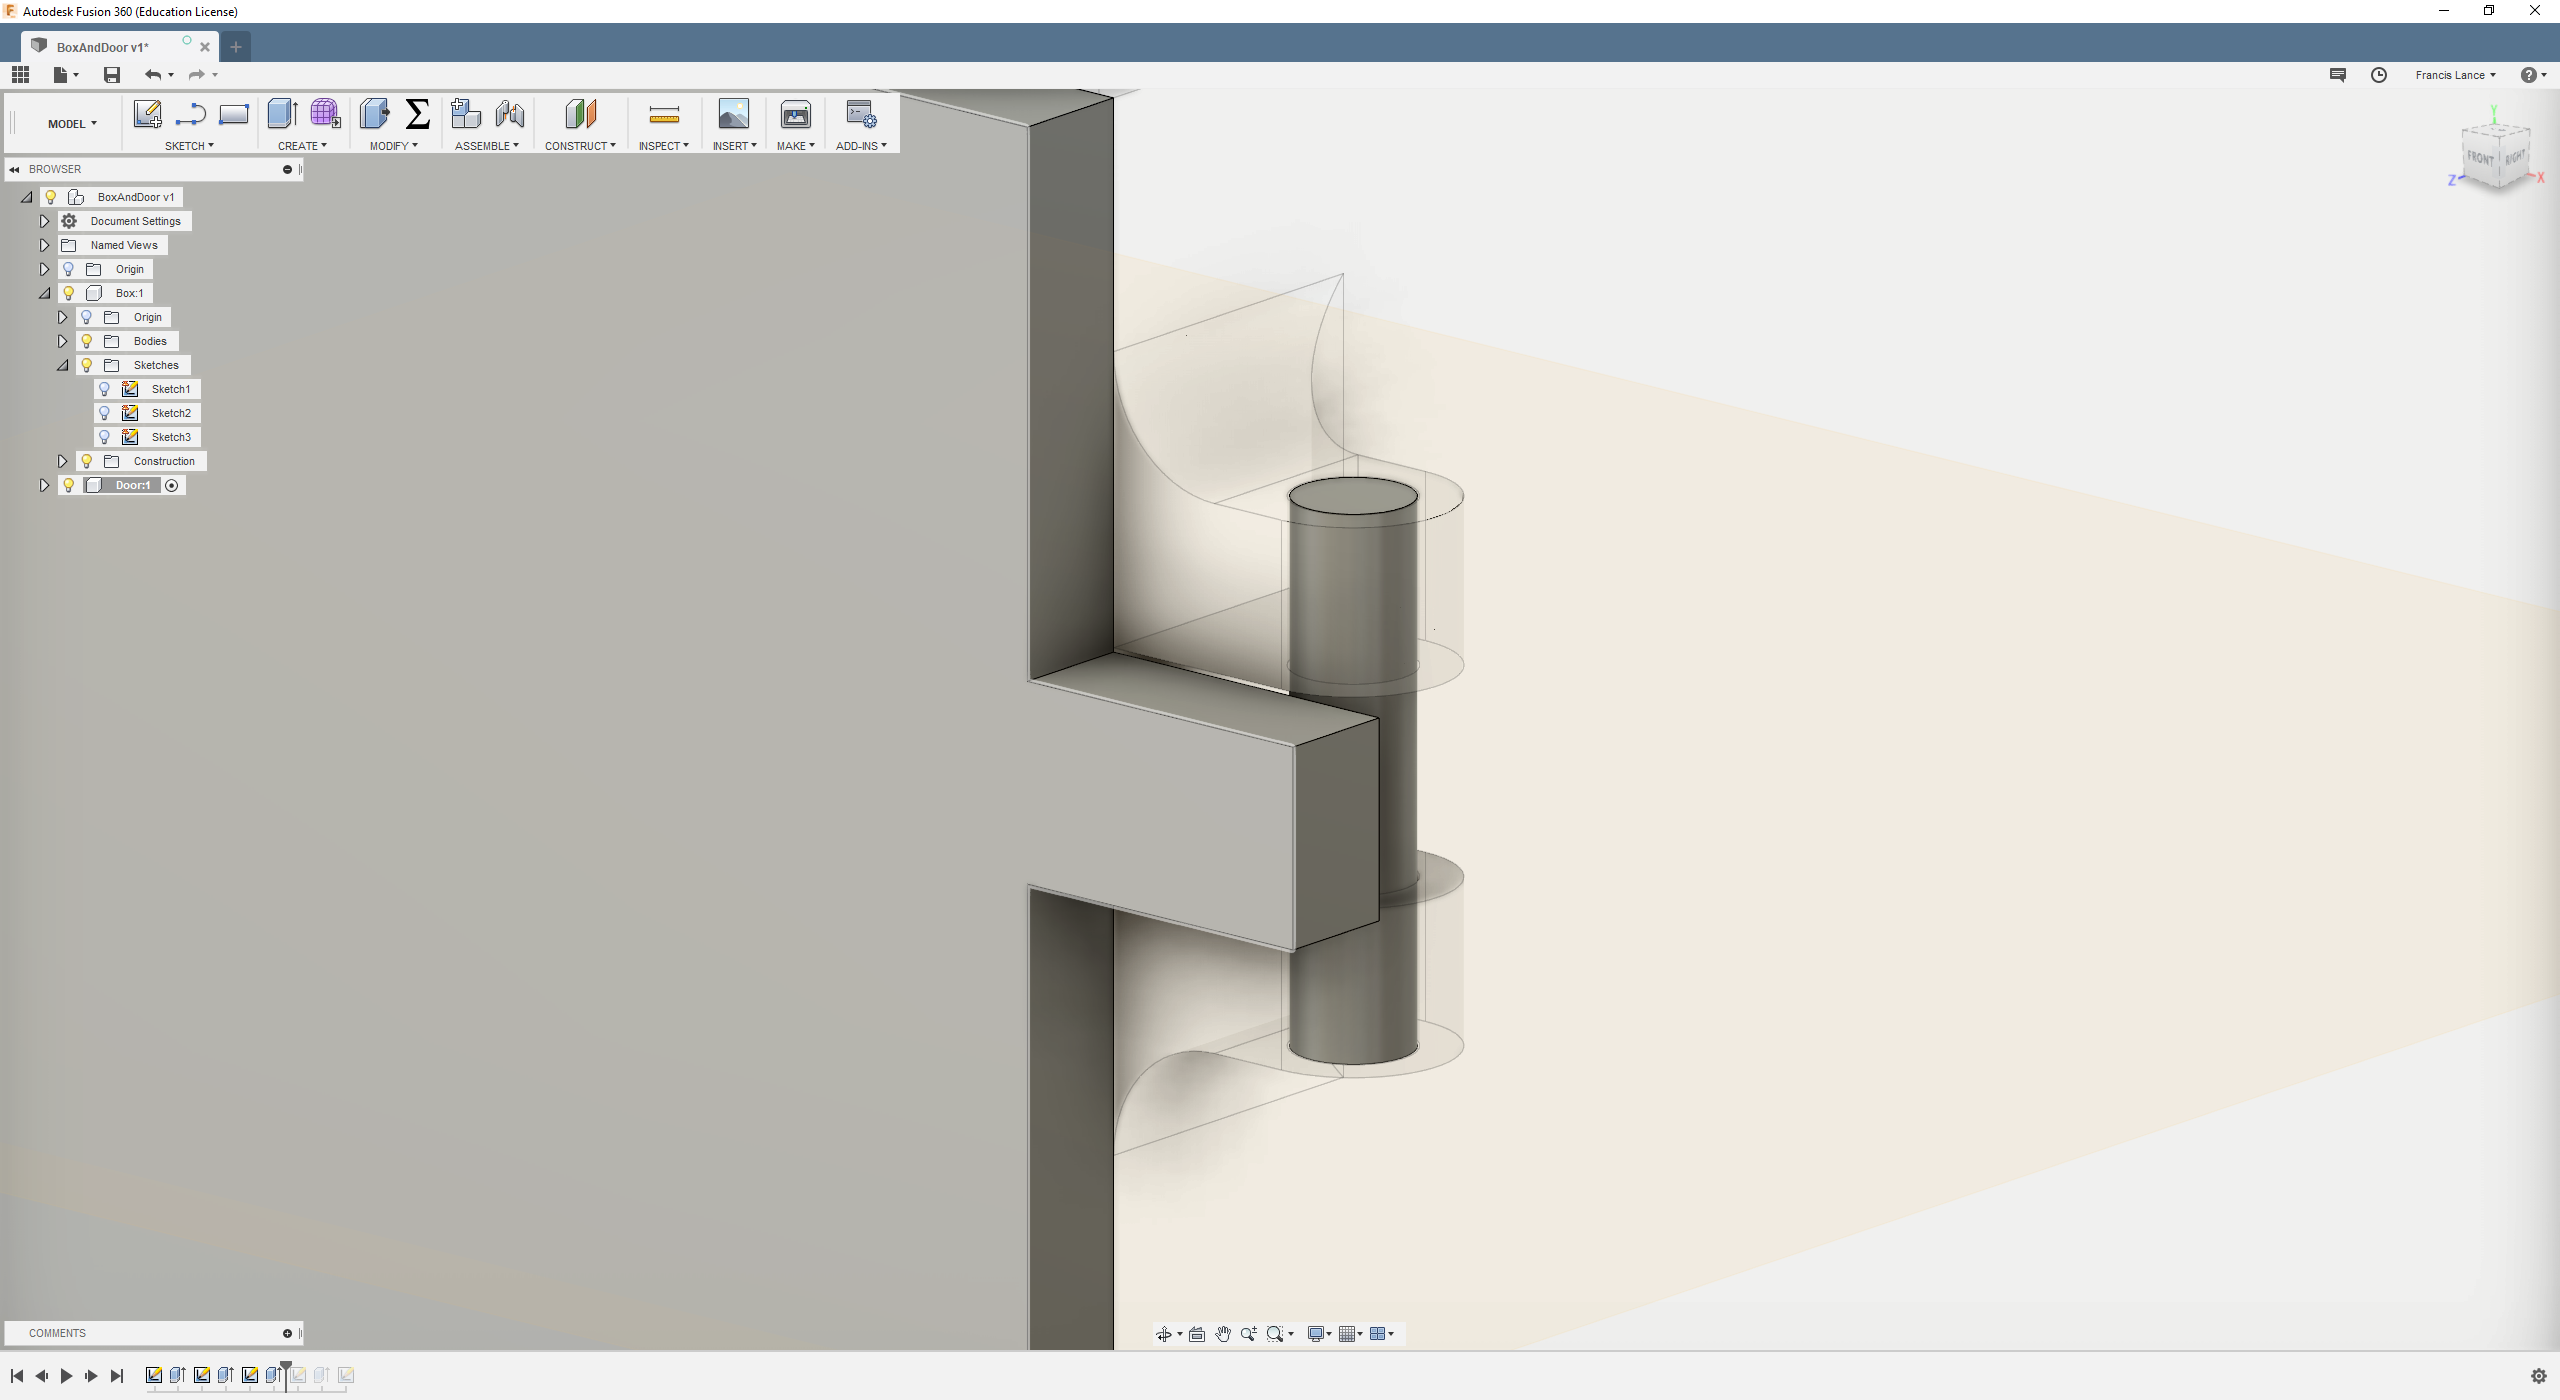
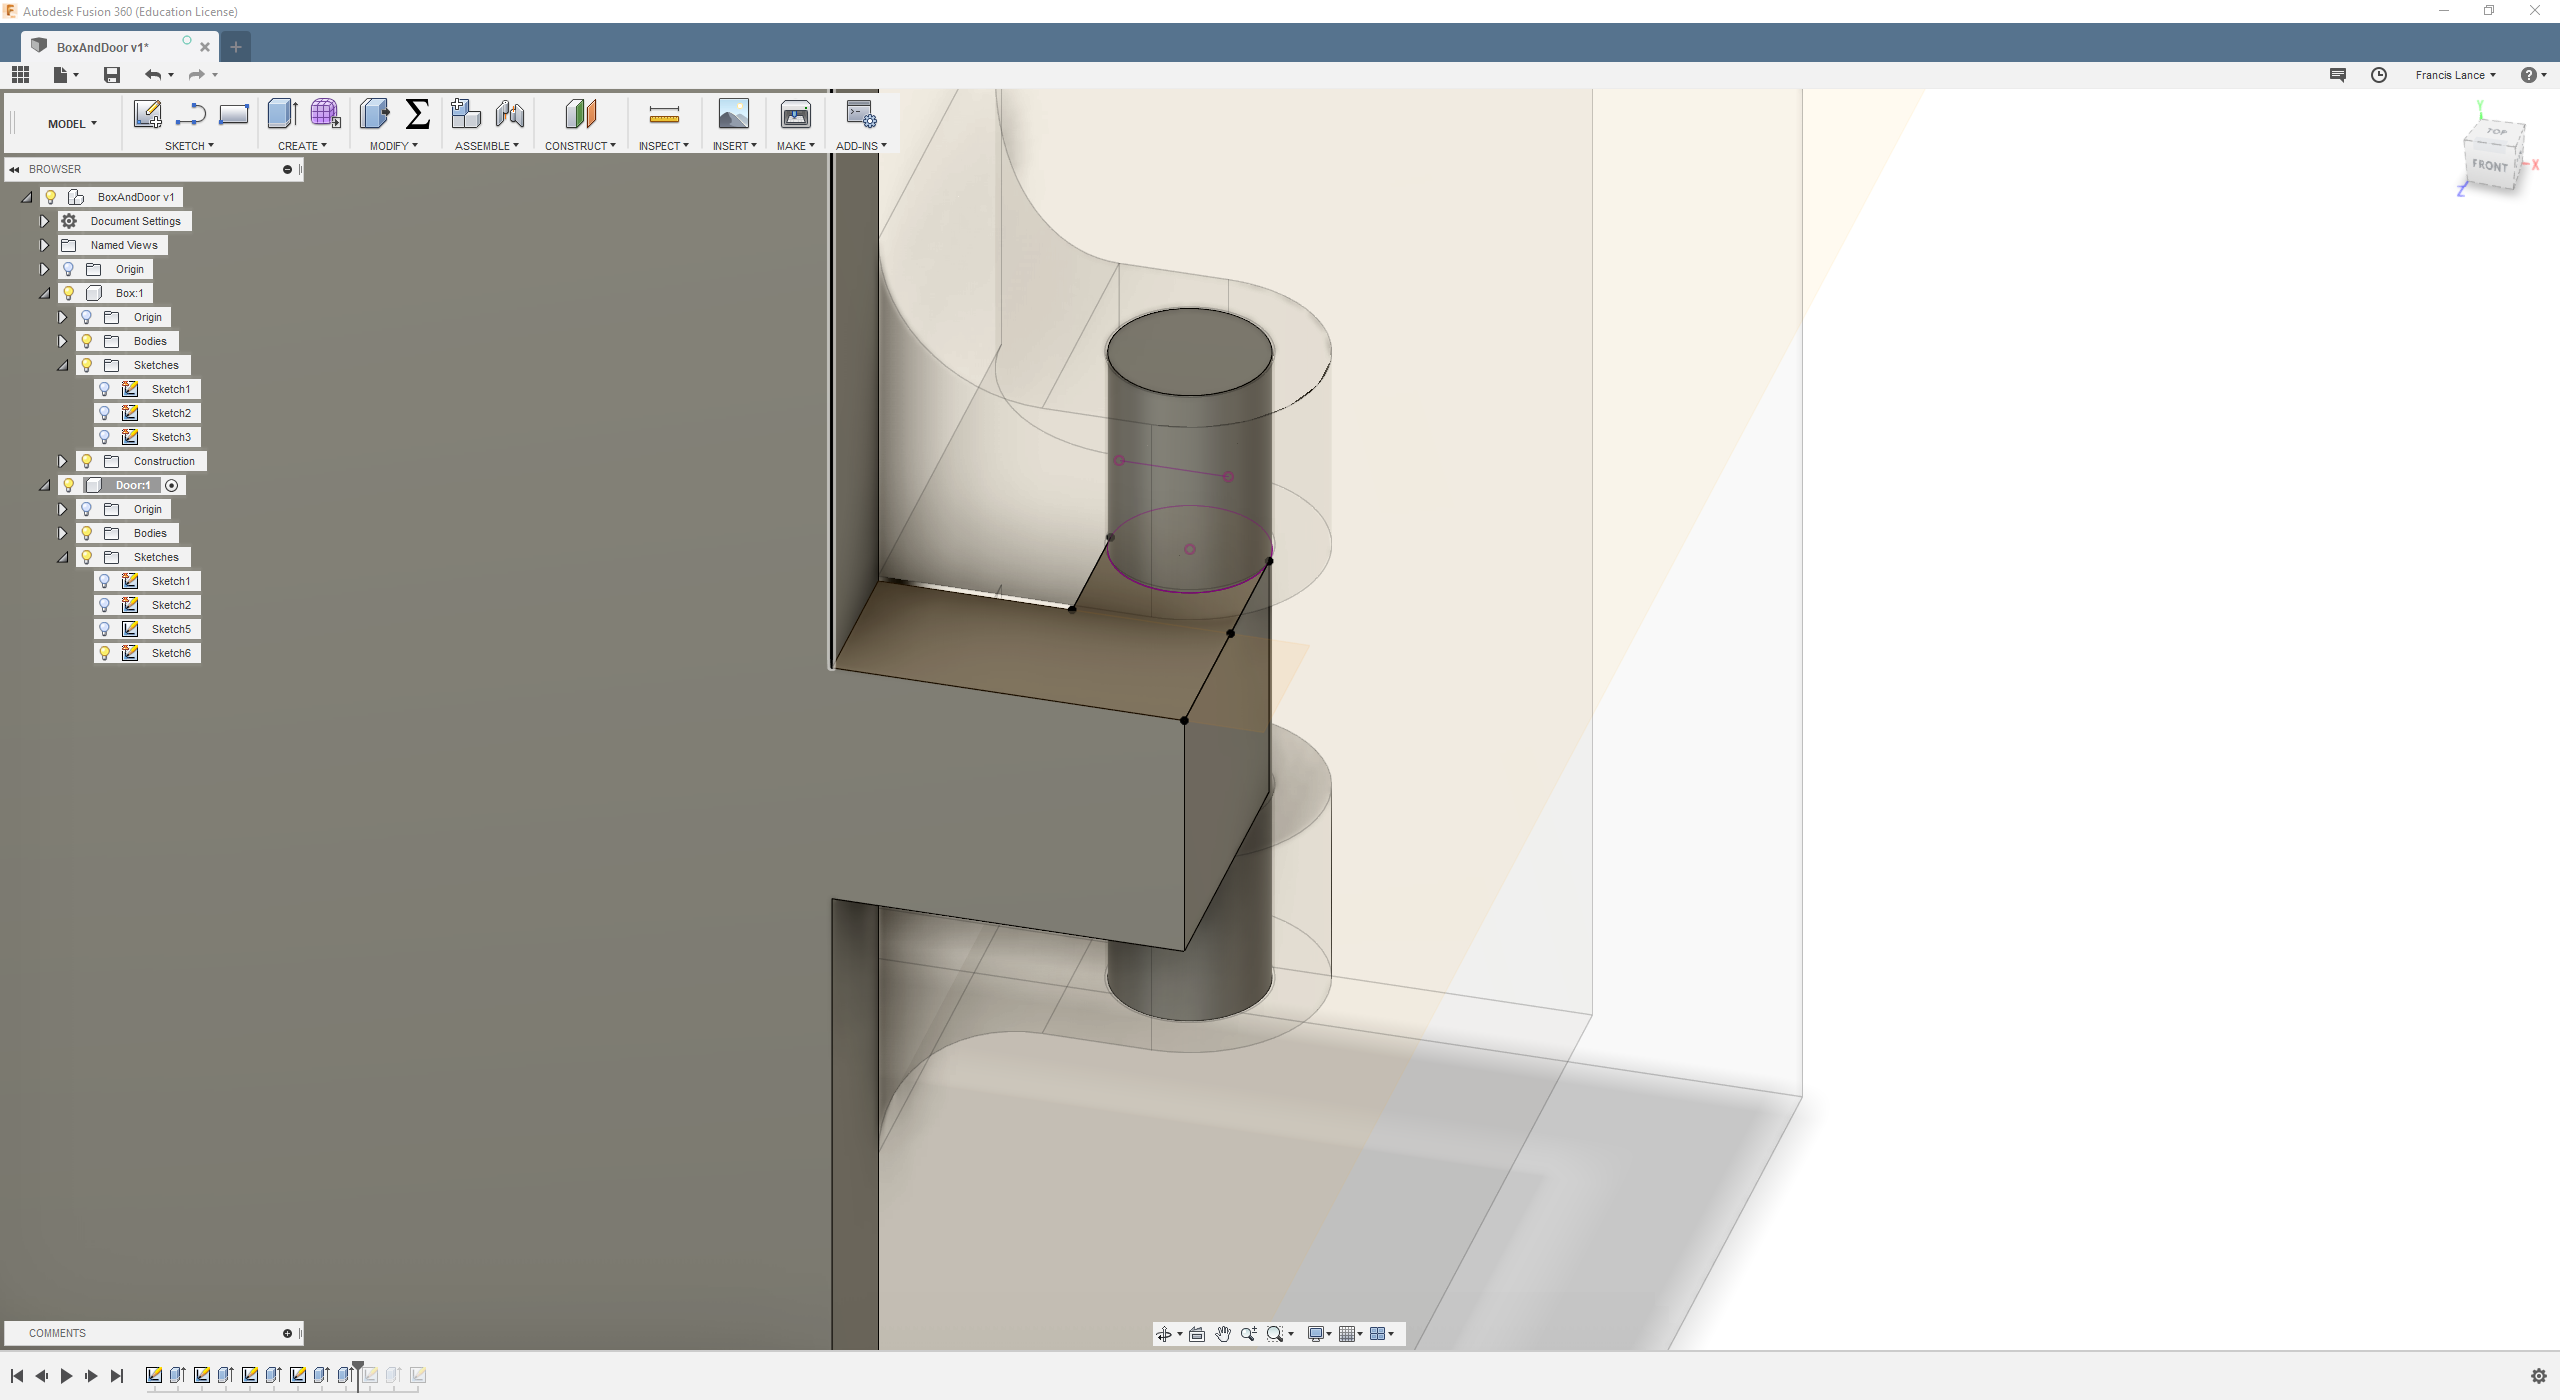
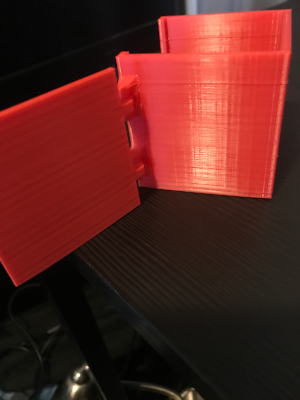
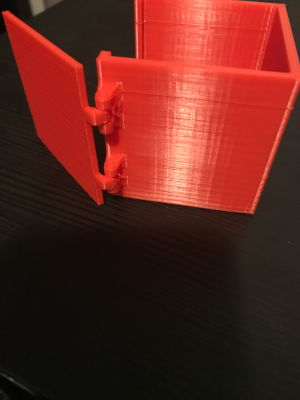
I decide to design a door with hinges because in my final project I will have a very similar to that. Since I still do not have all the dimensions of the final project at the moment, I'm going to design one with approximate measurements. My design can not be made with a substractive method because the door has hinges that are movable and can not be removed. The movable part is made in one piece.
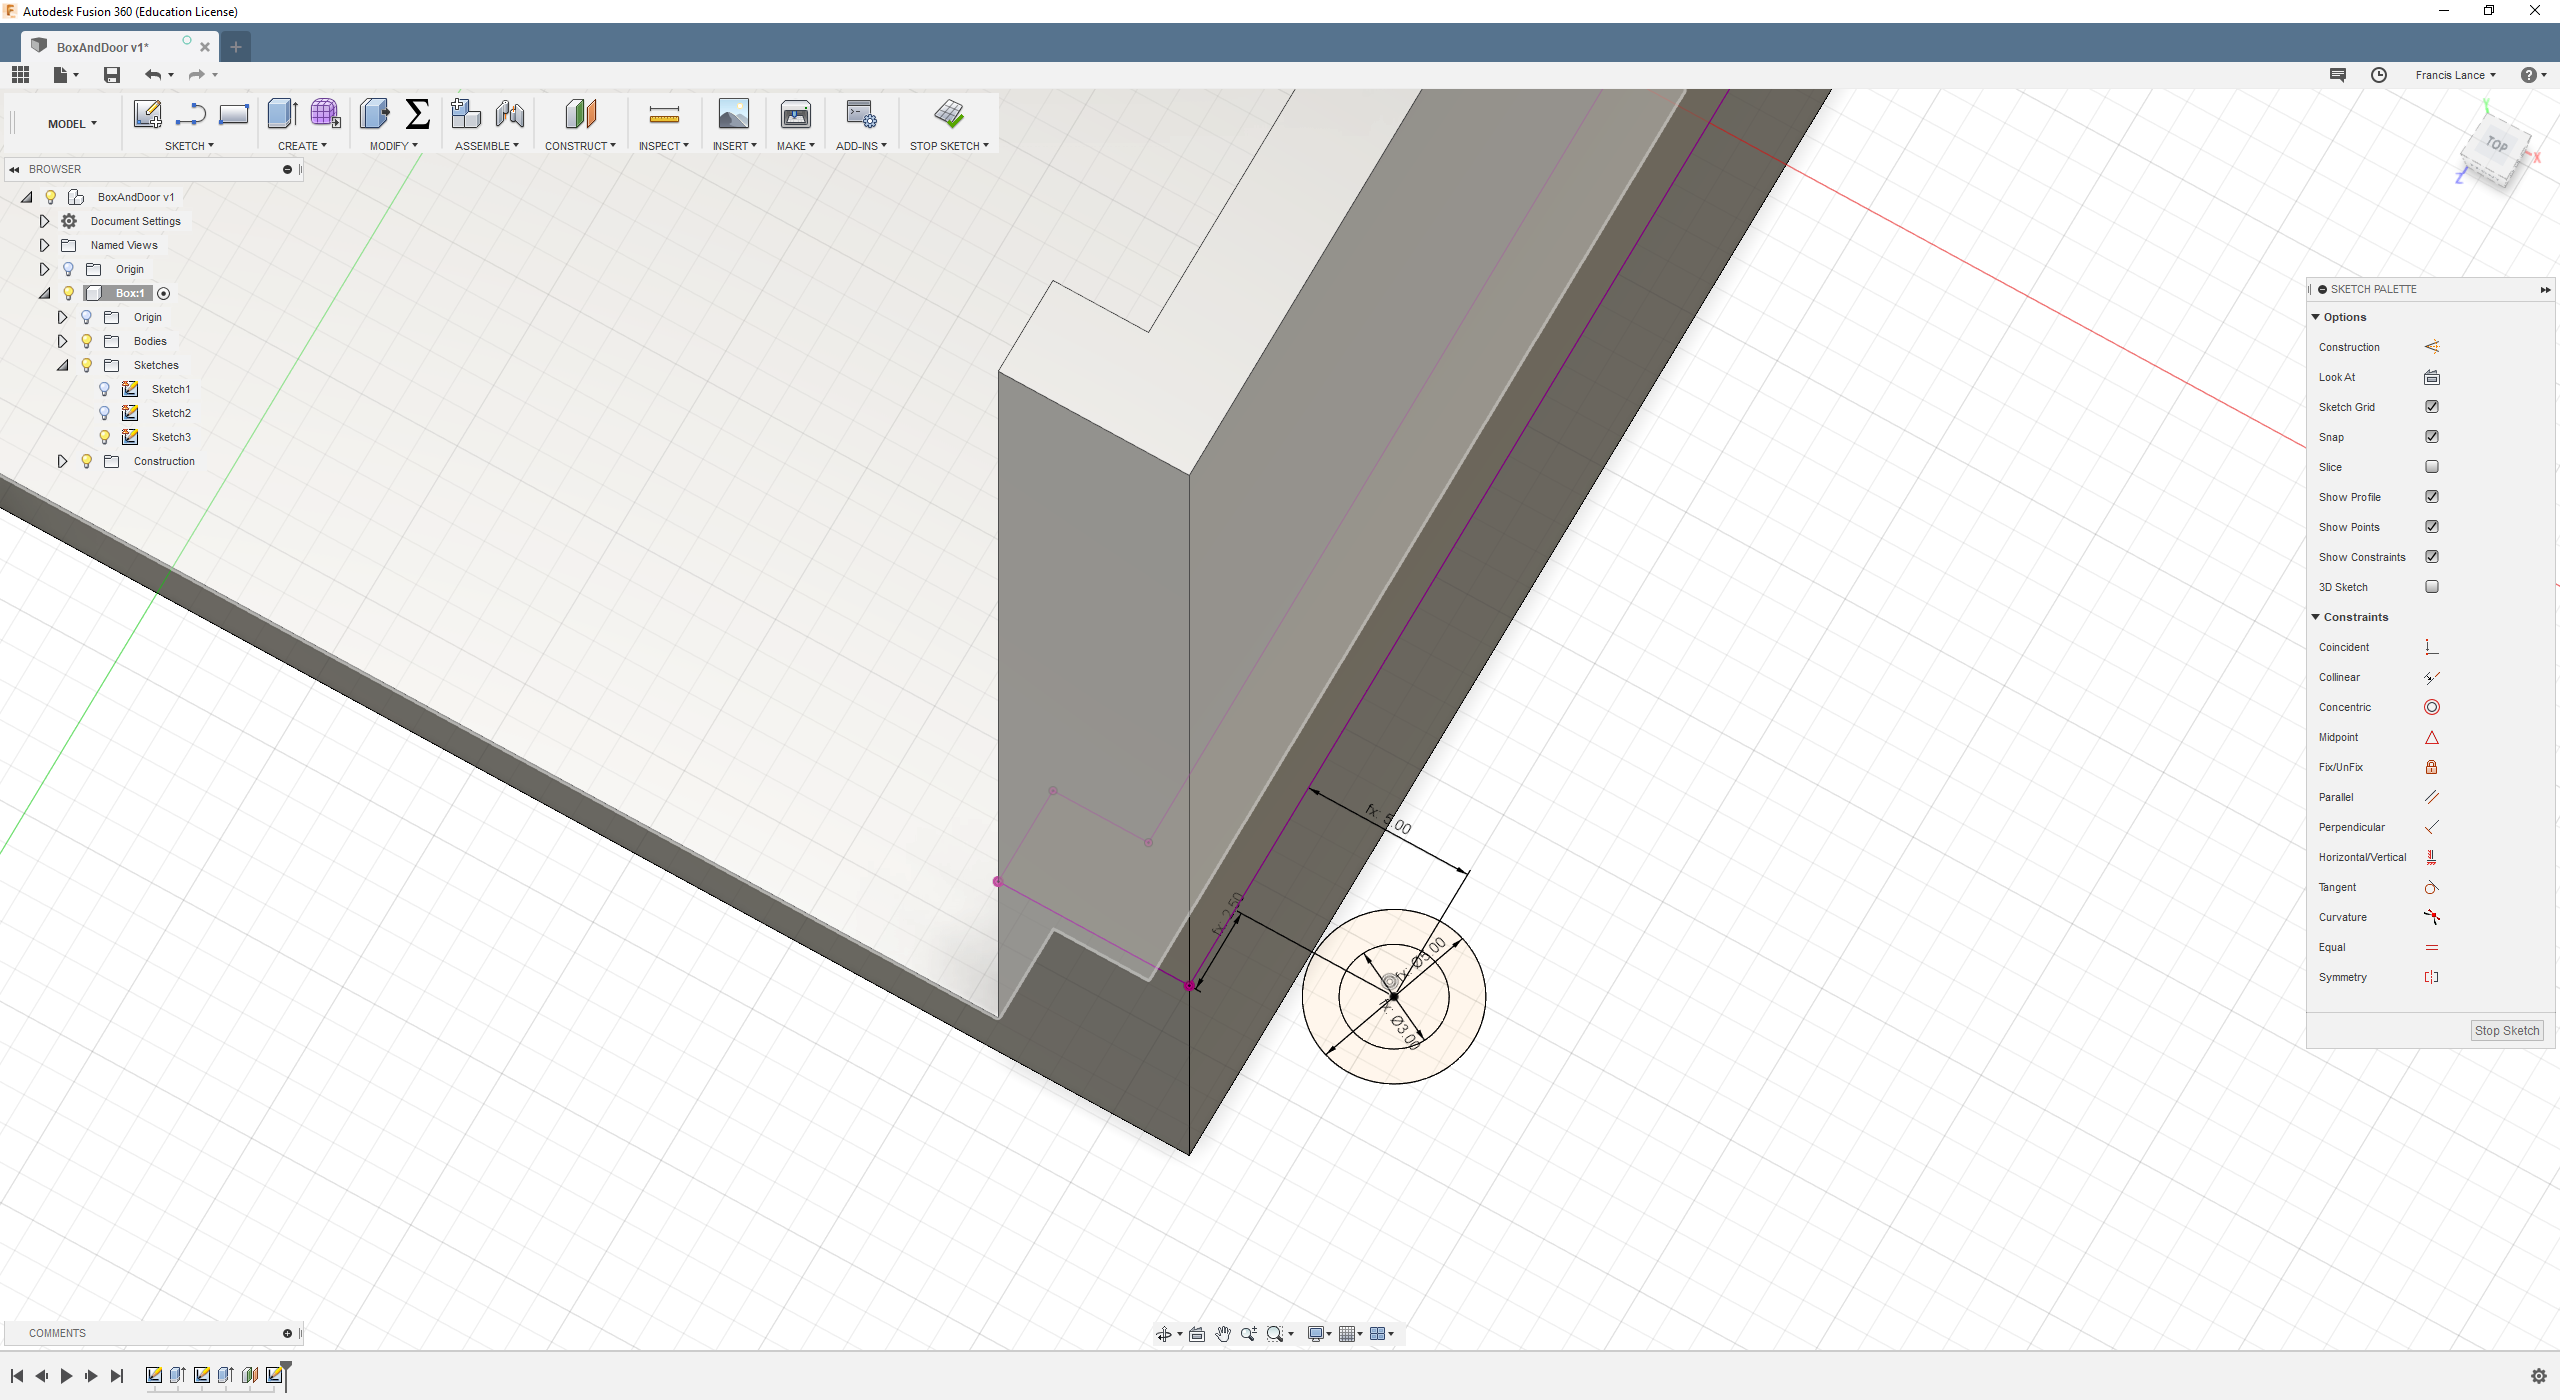
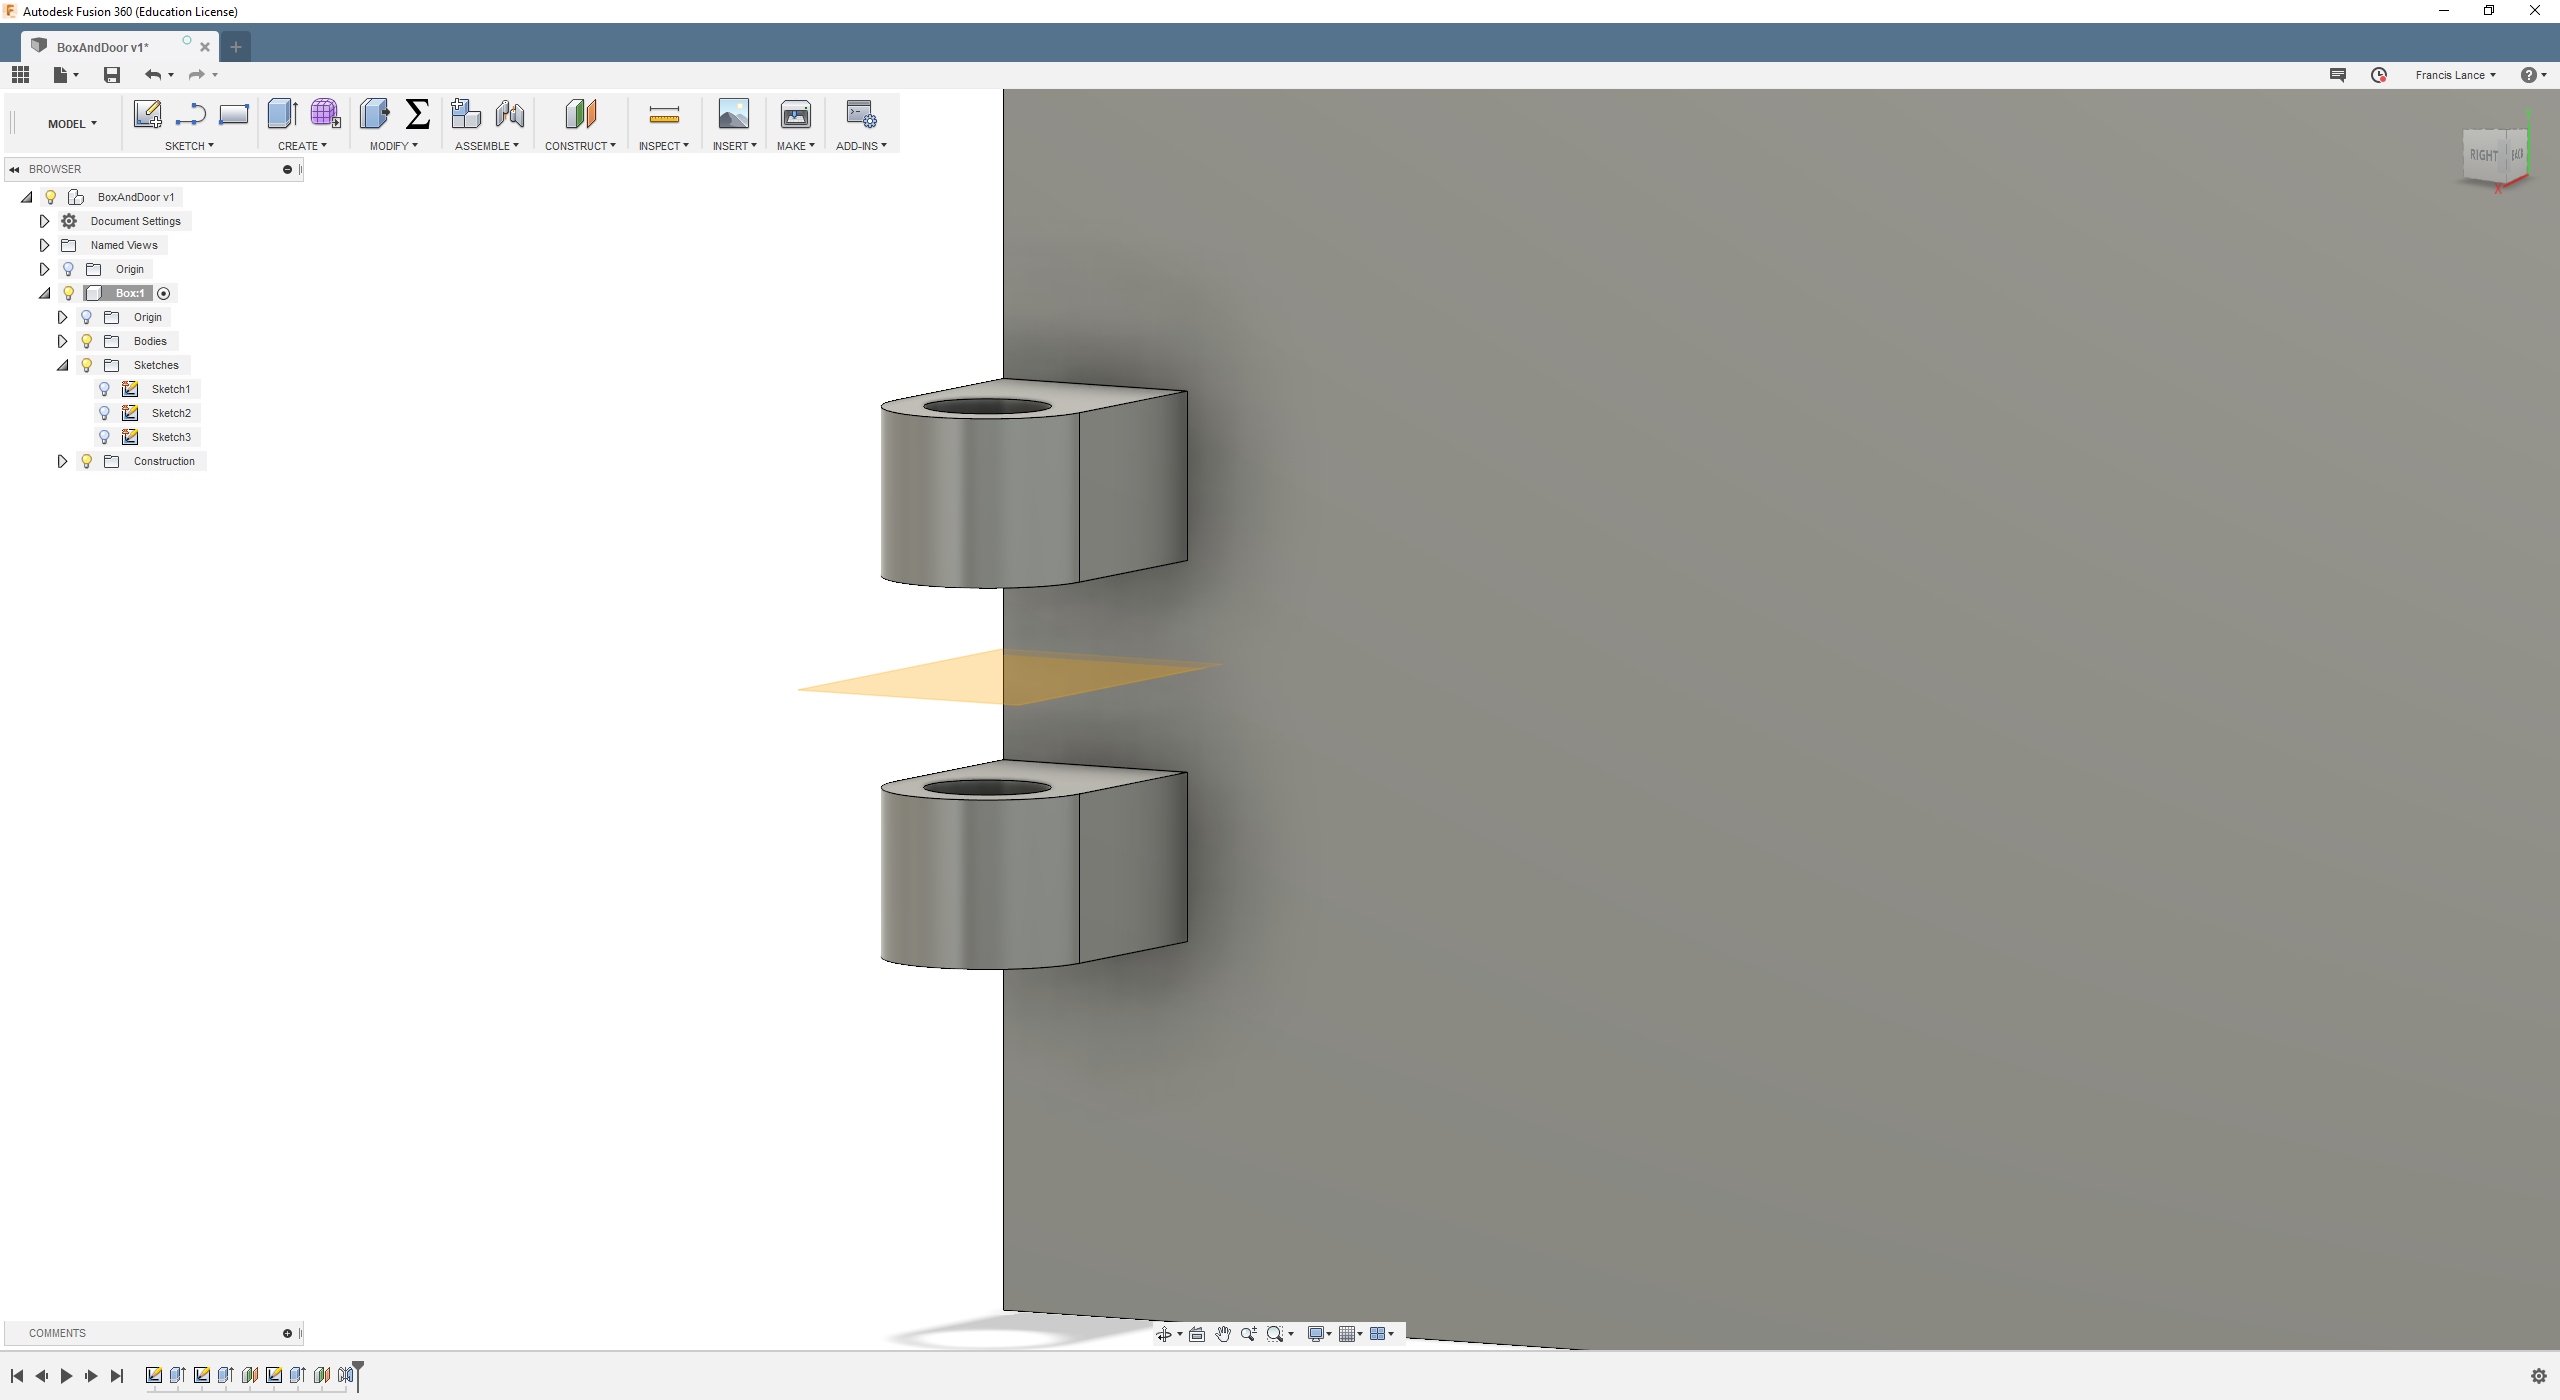
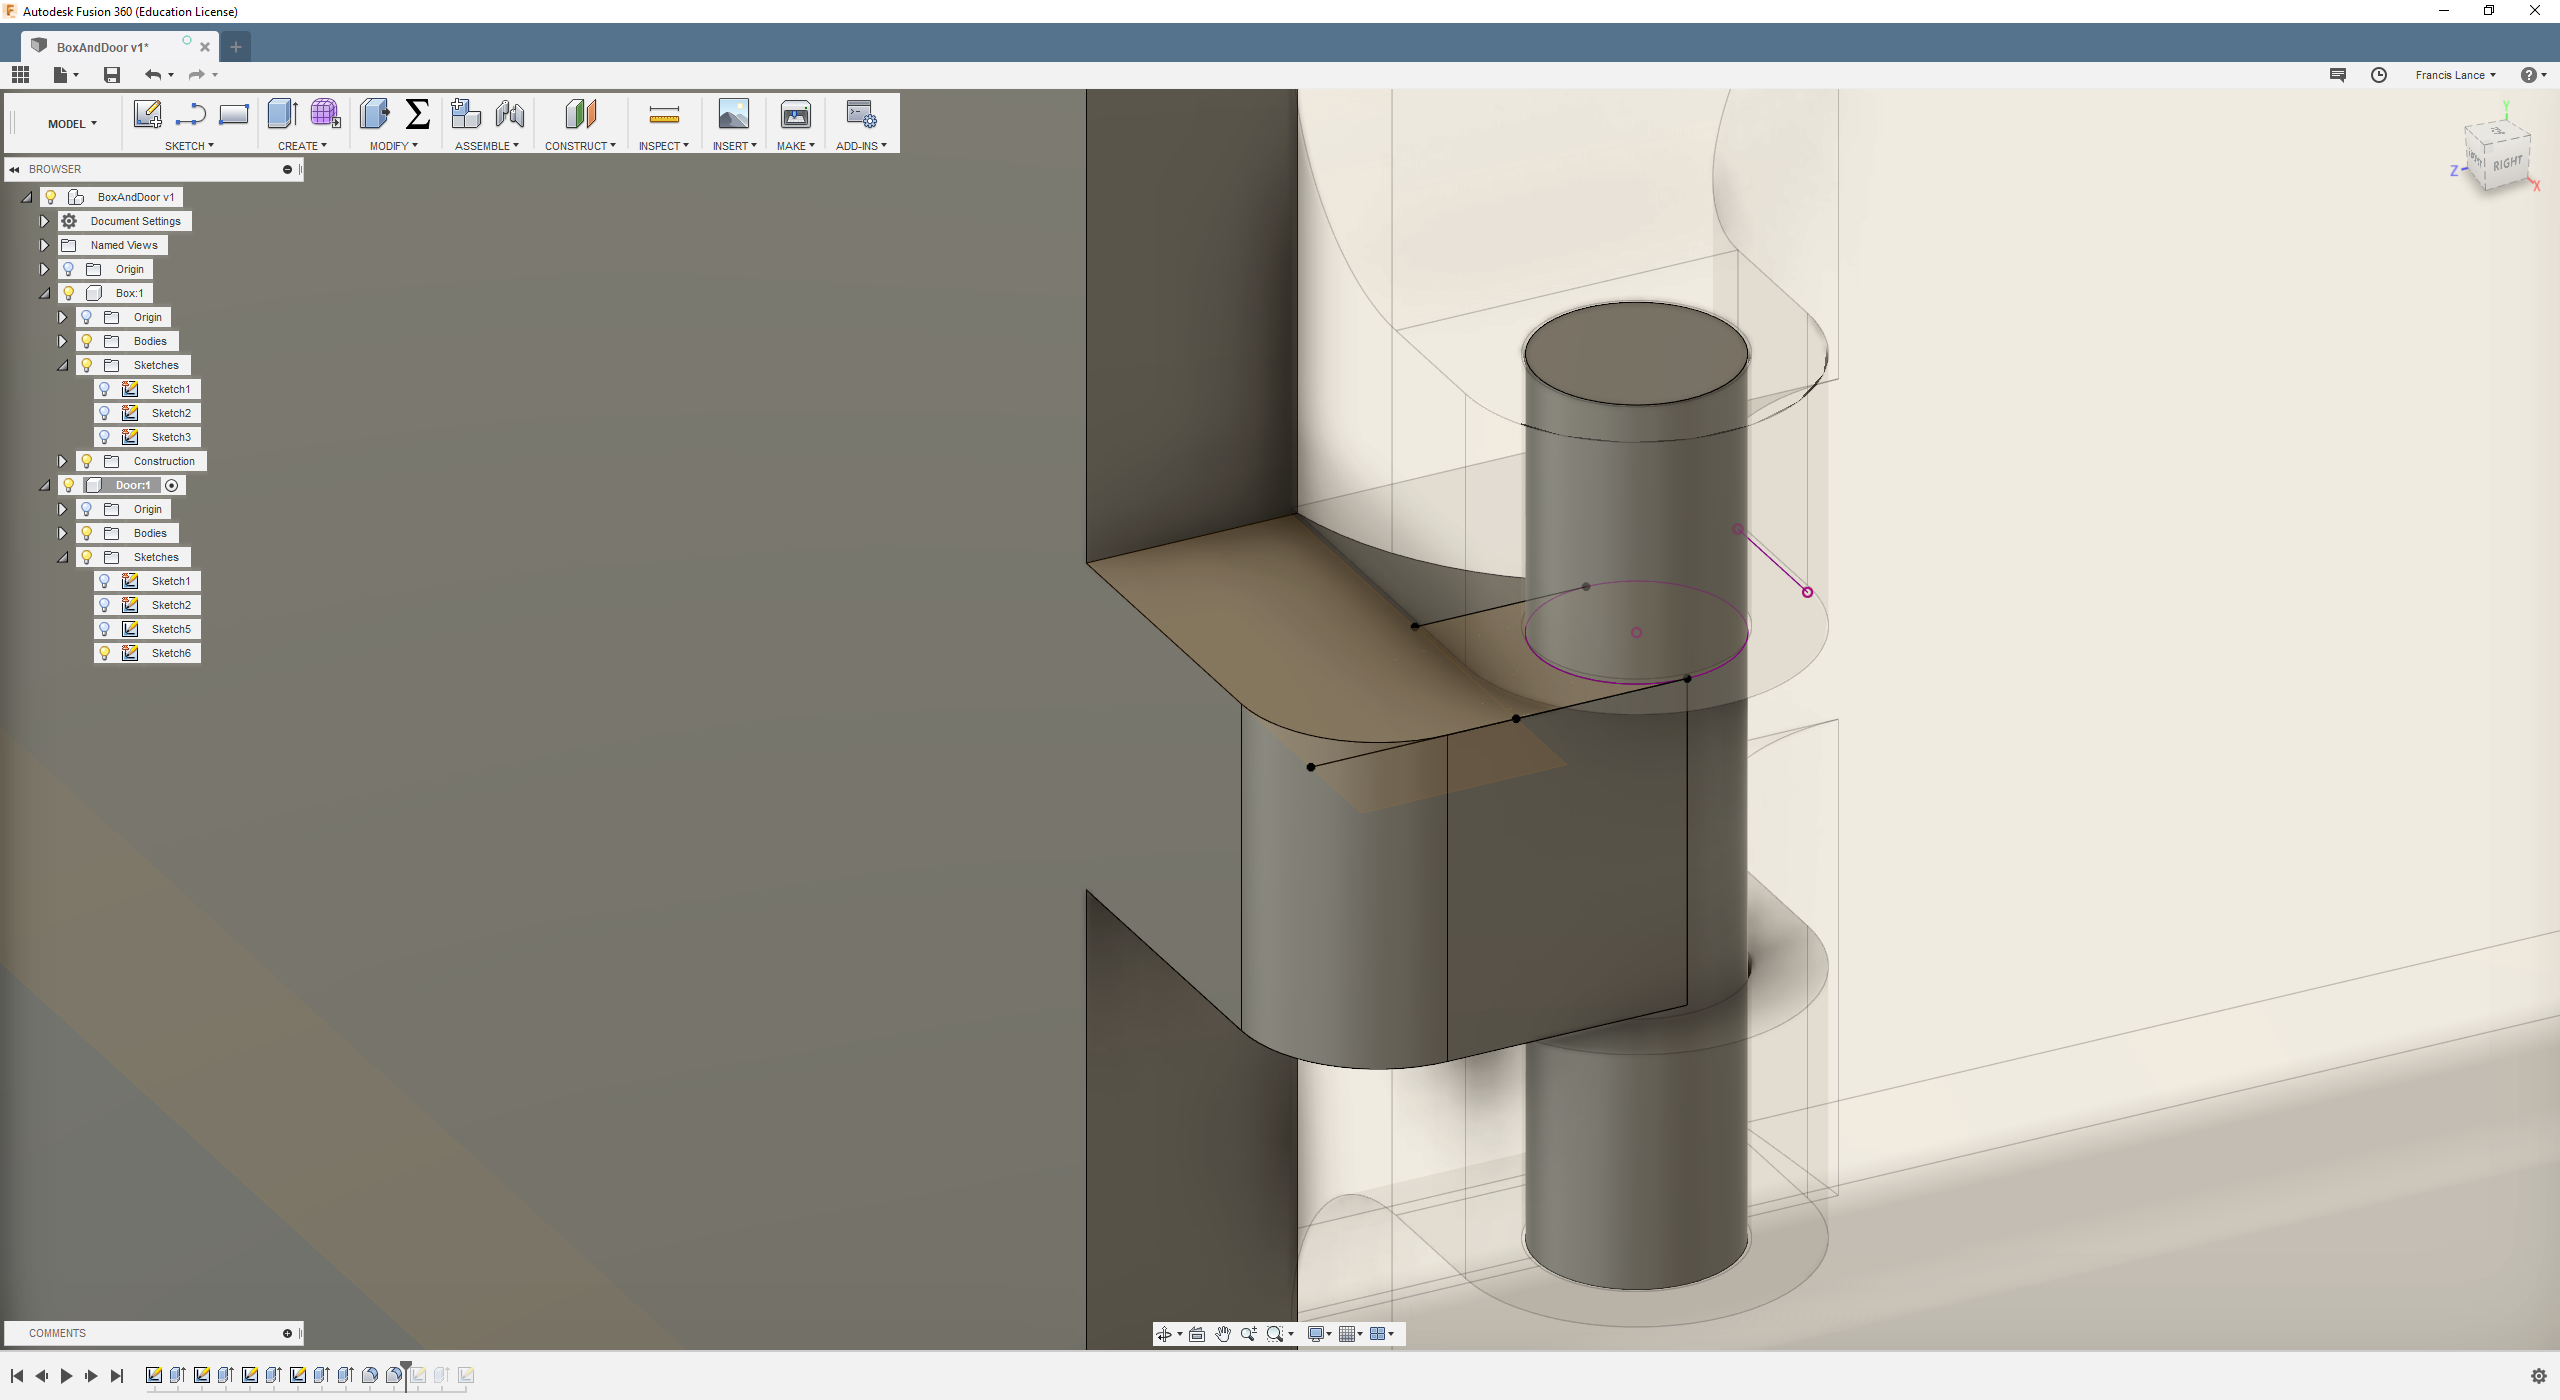
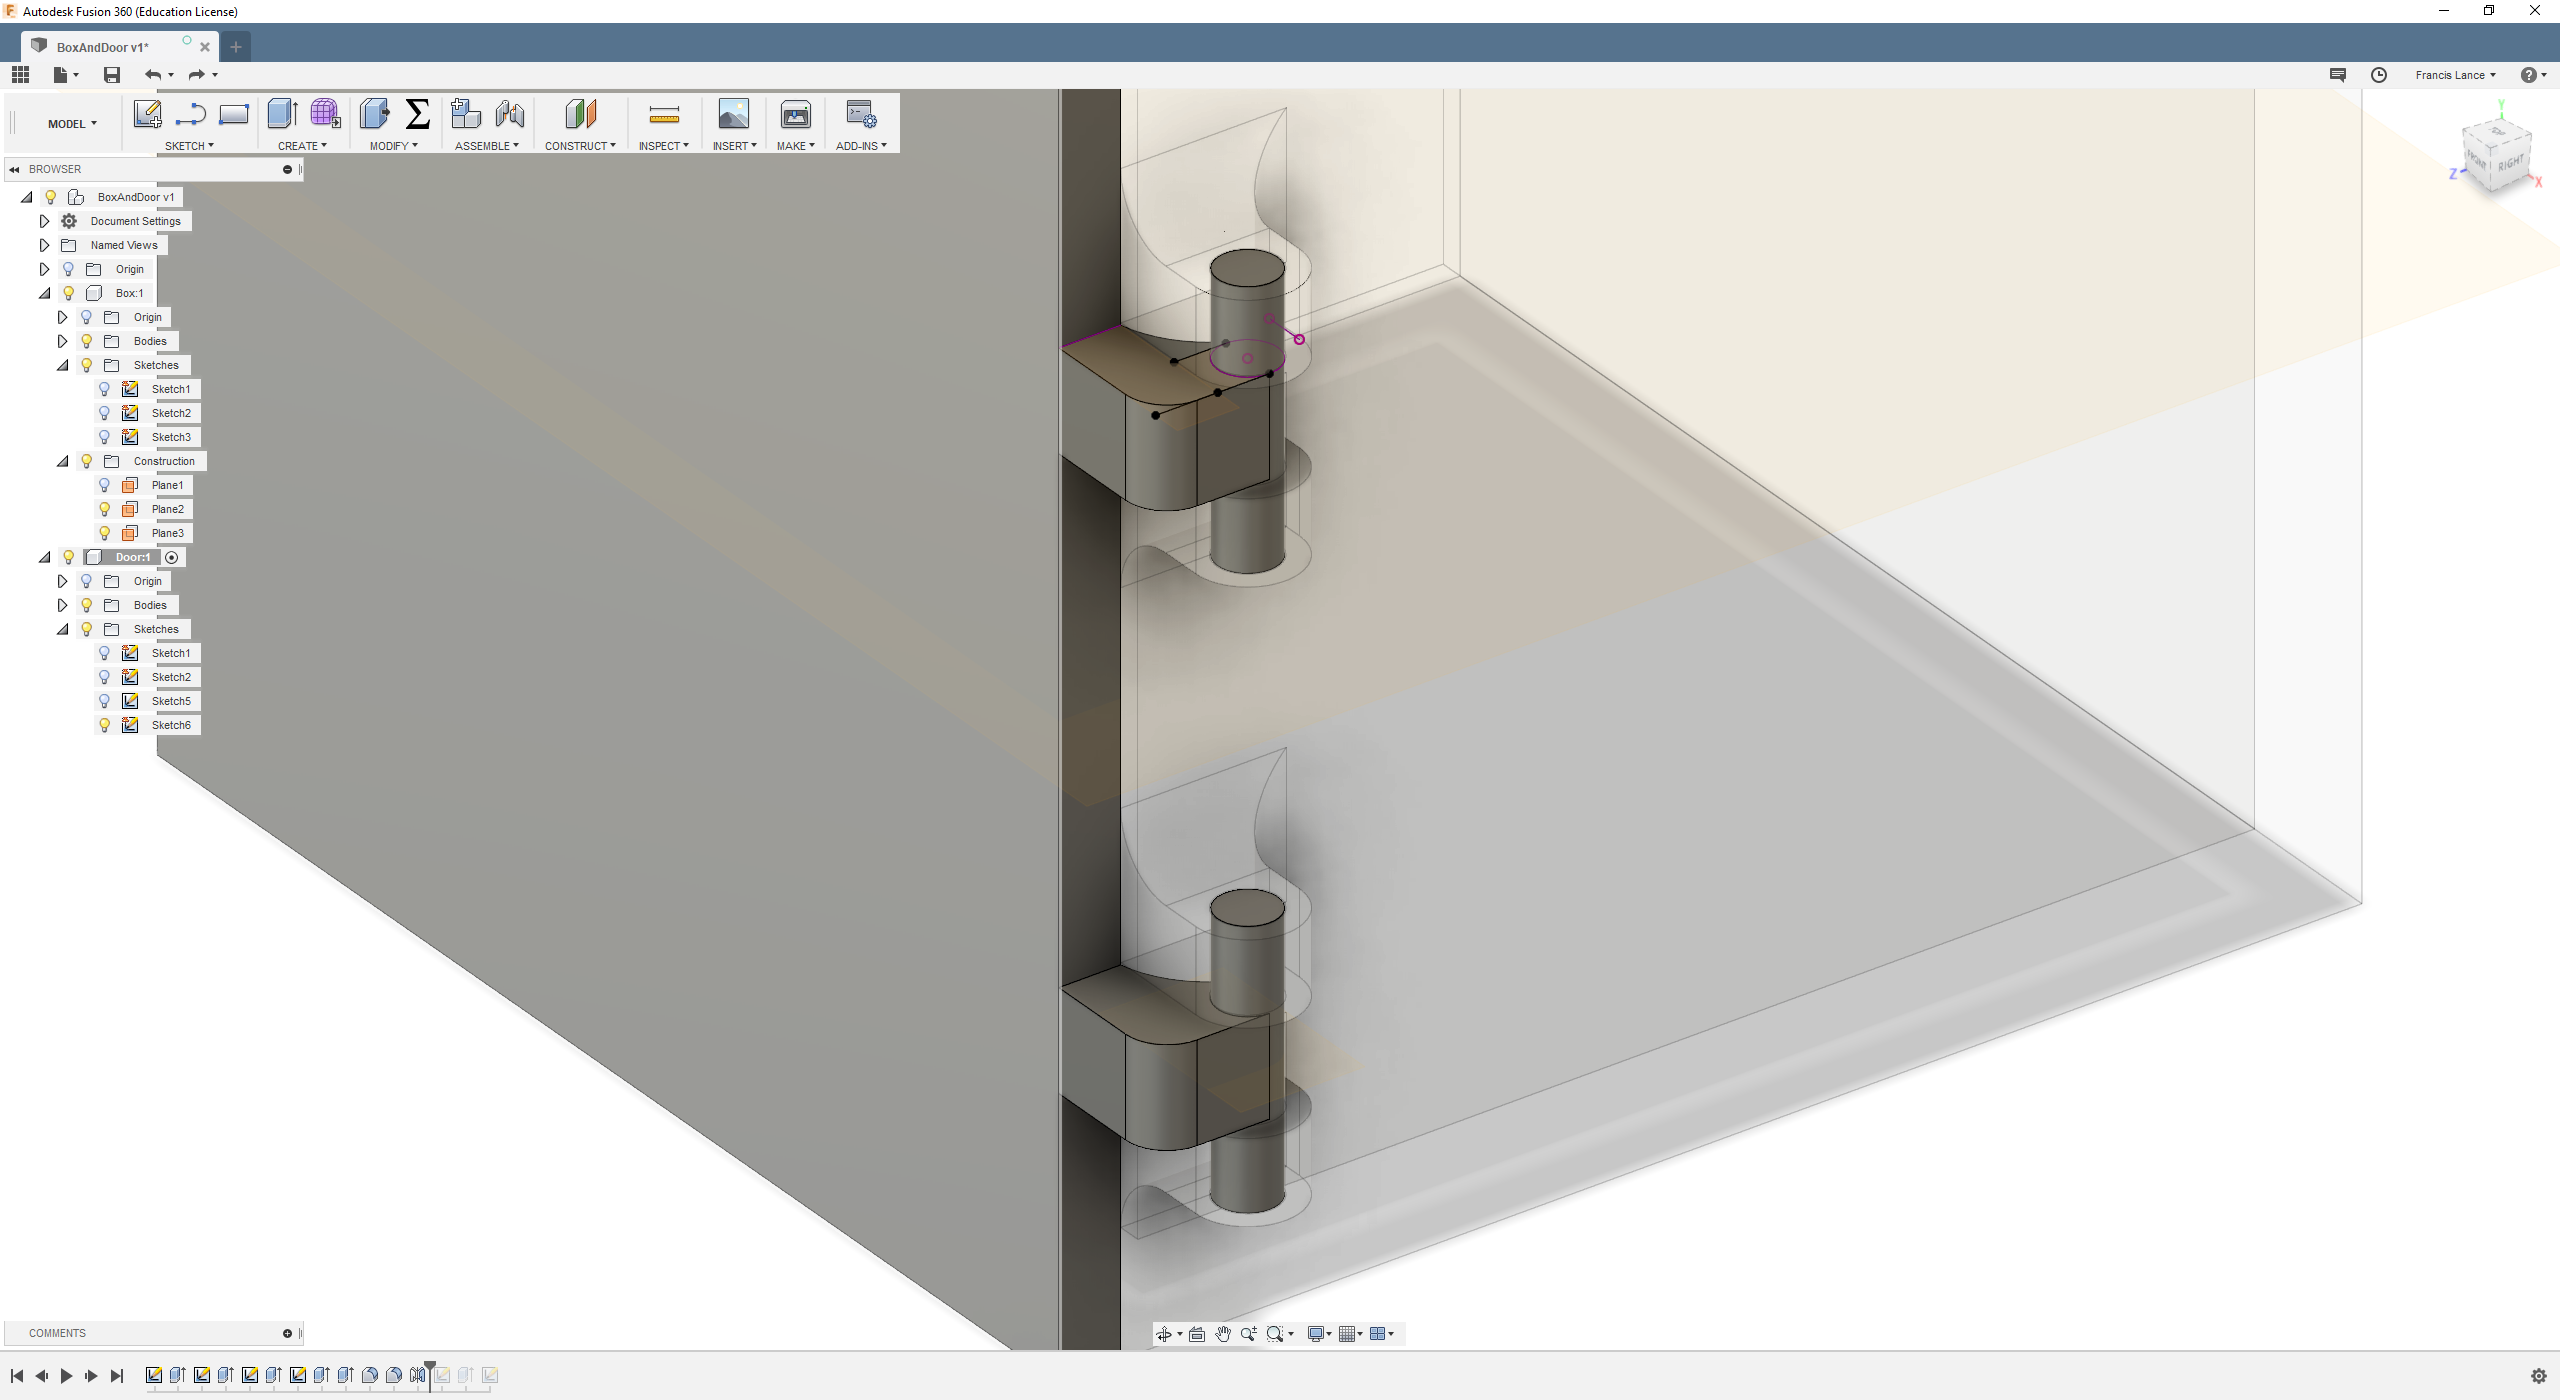
Here are all steps of the design.
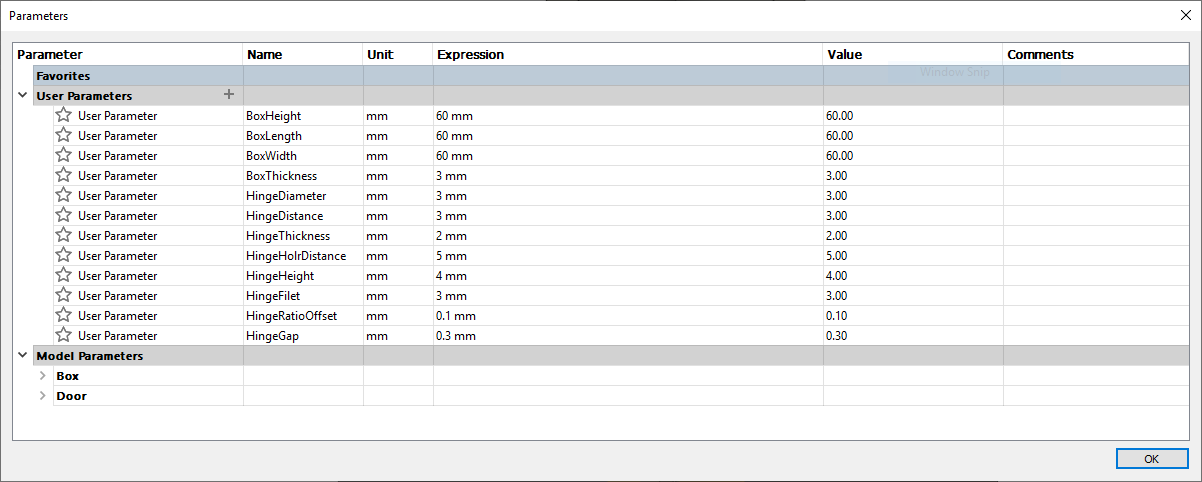
Here are all the parameters. The only important parameter is the hingeGap which represents the space between the two parts of the hinge. I chose to put 0.3 mm because I do not want a large space because the door will be lower when it is printed. I only want a little space so the plastic does not stick together.
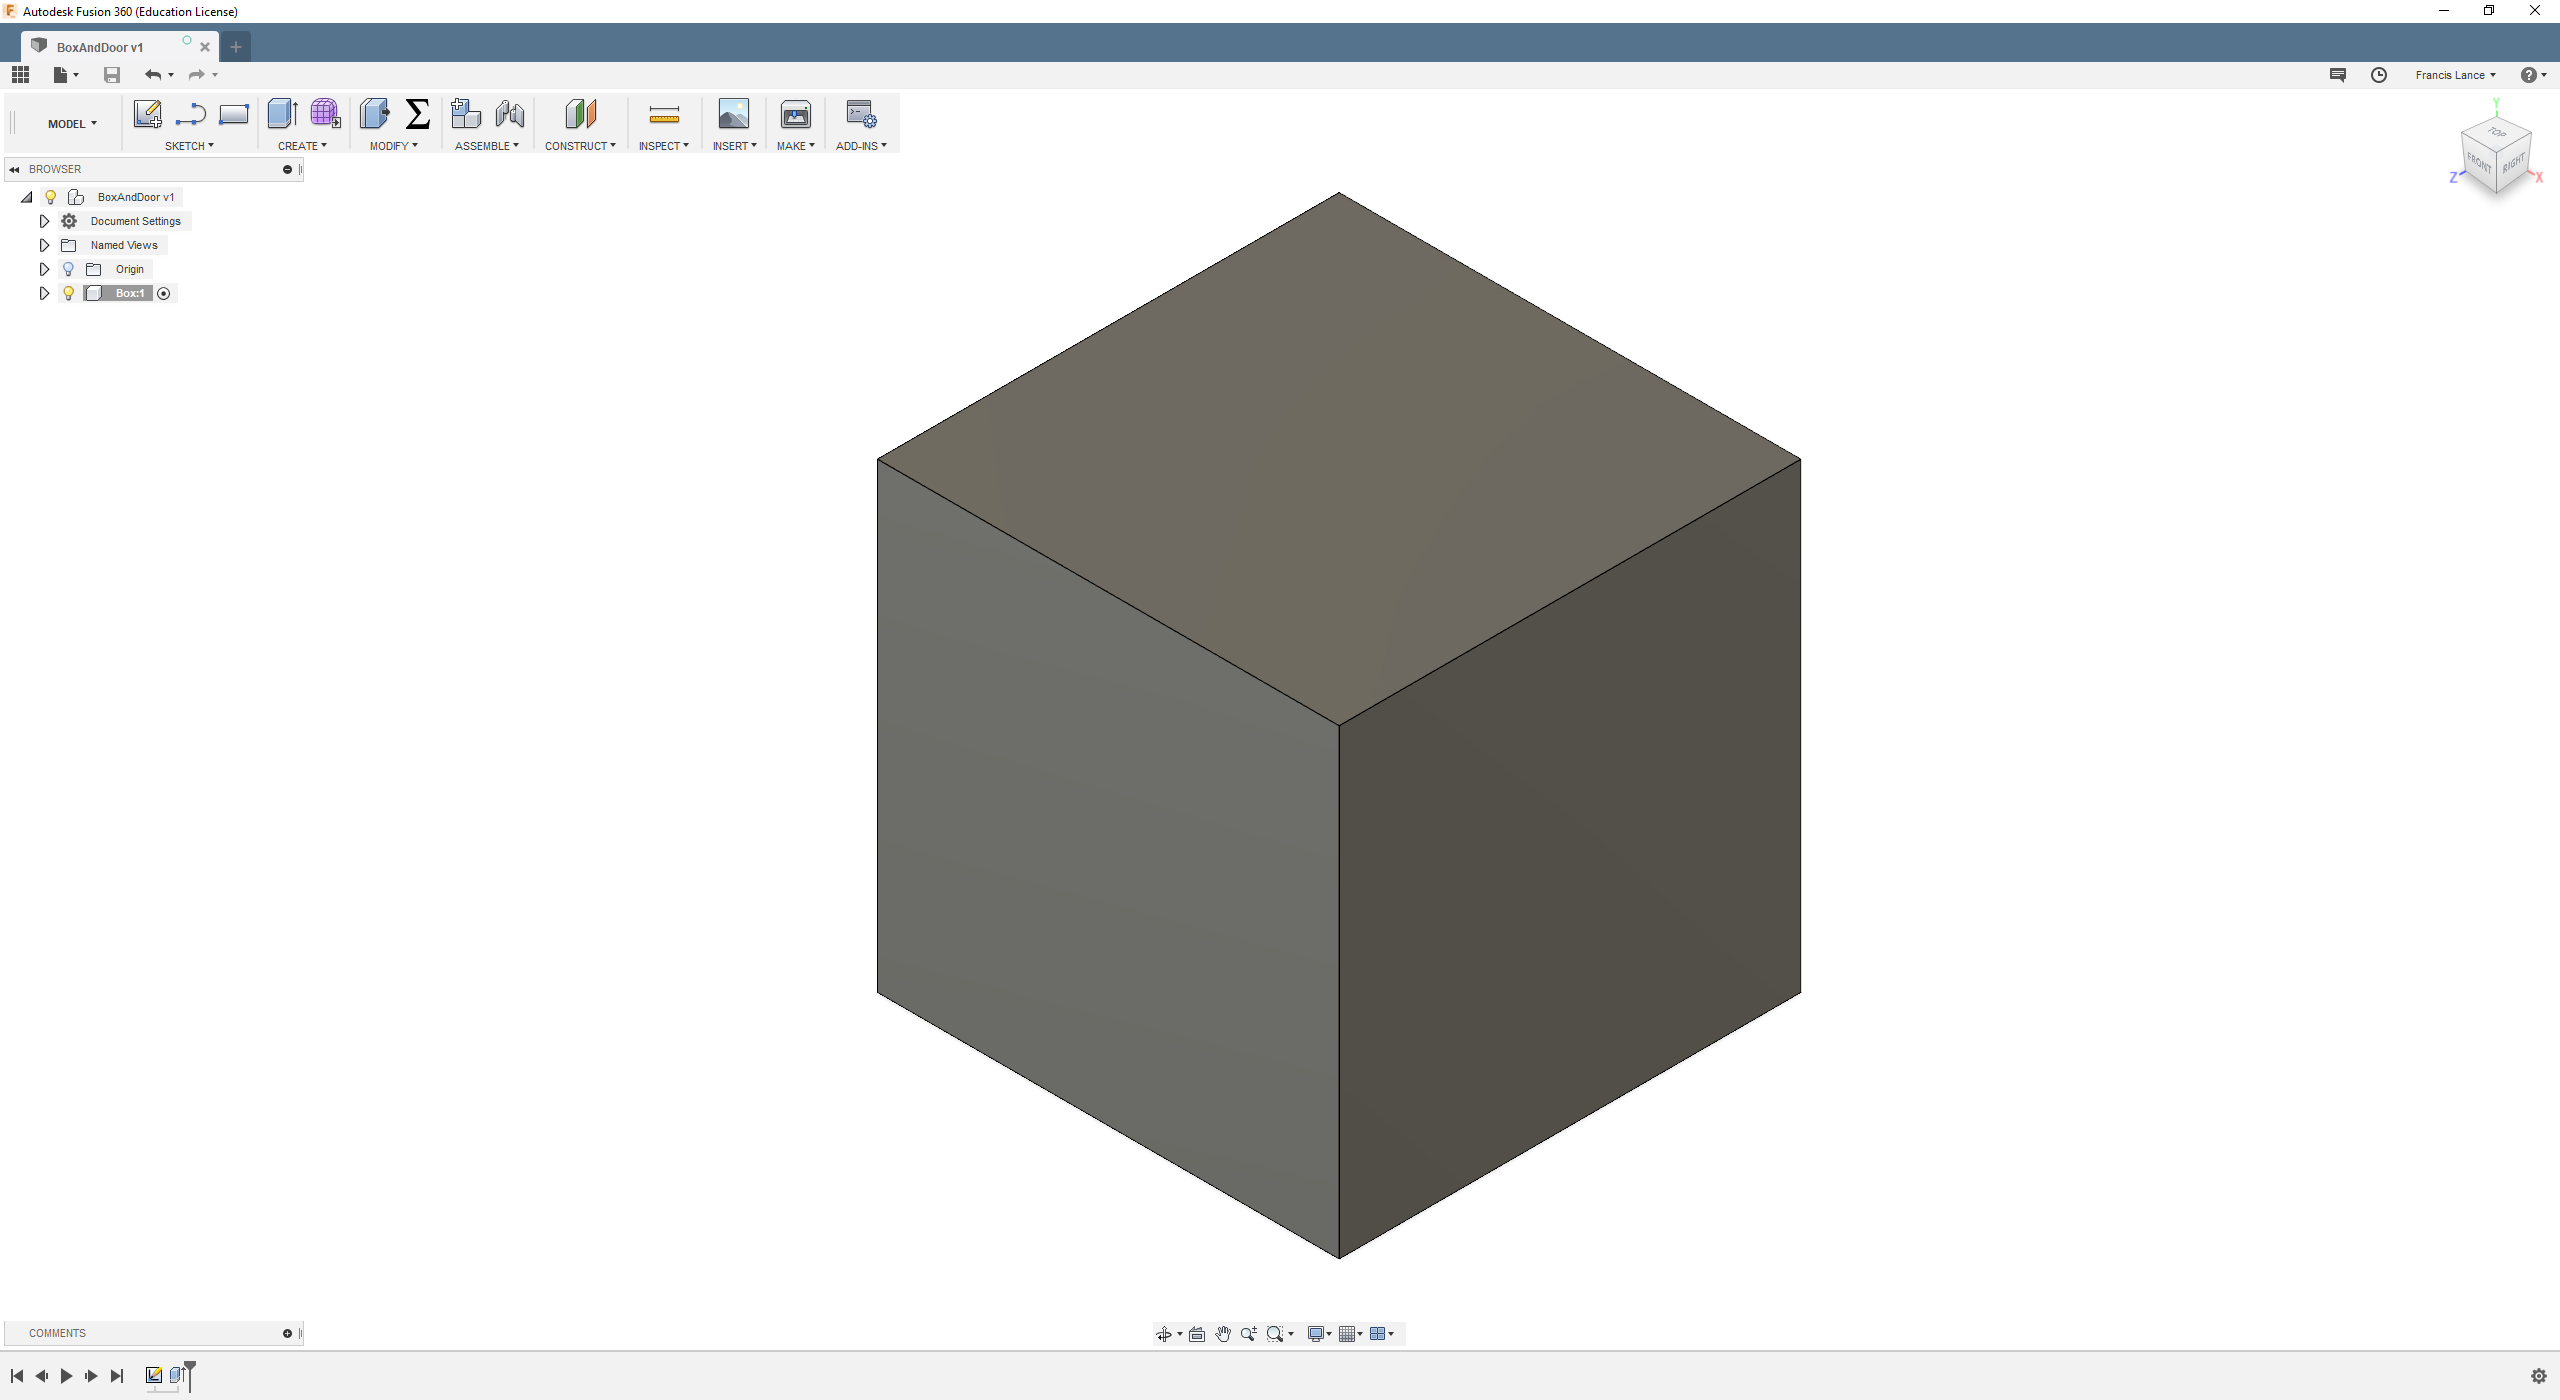
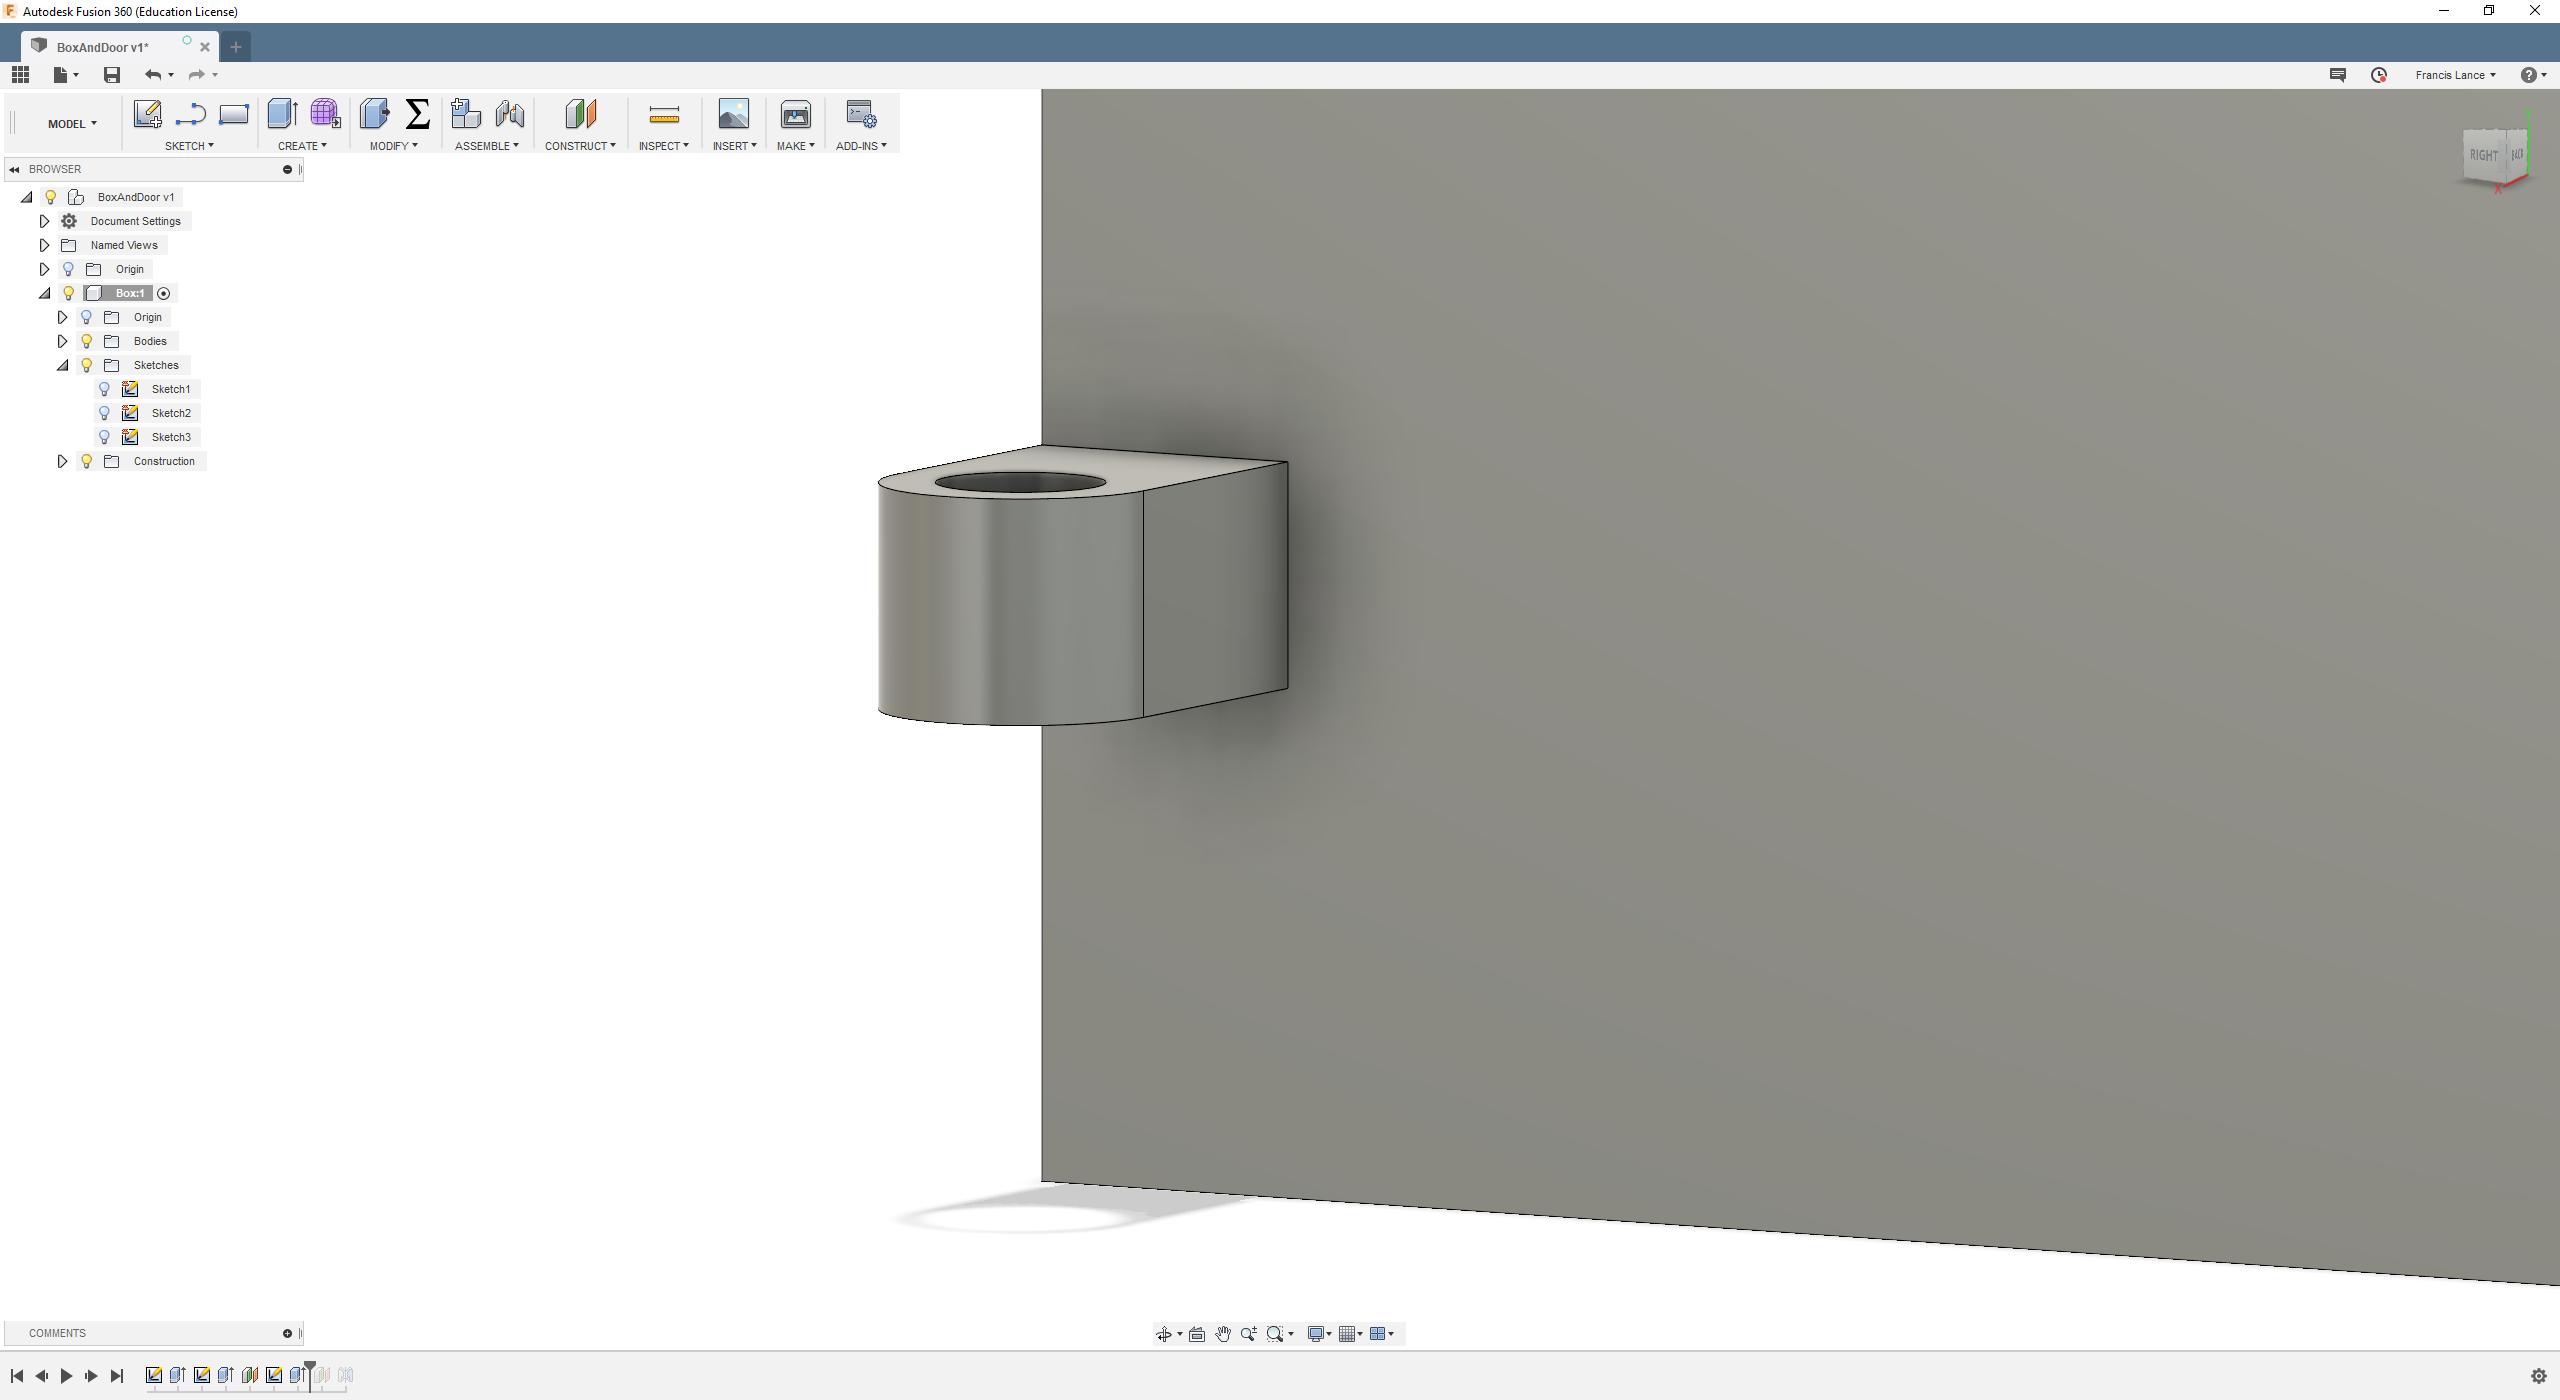
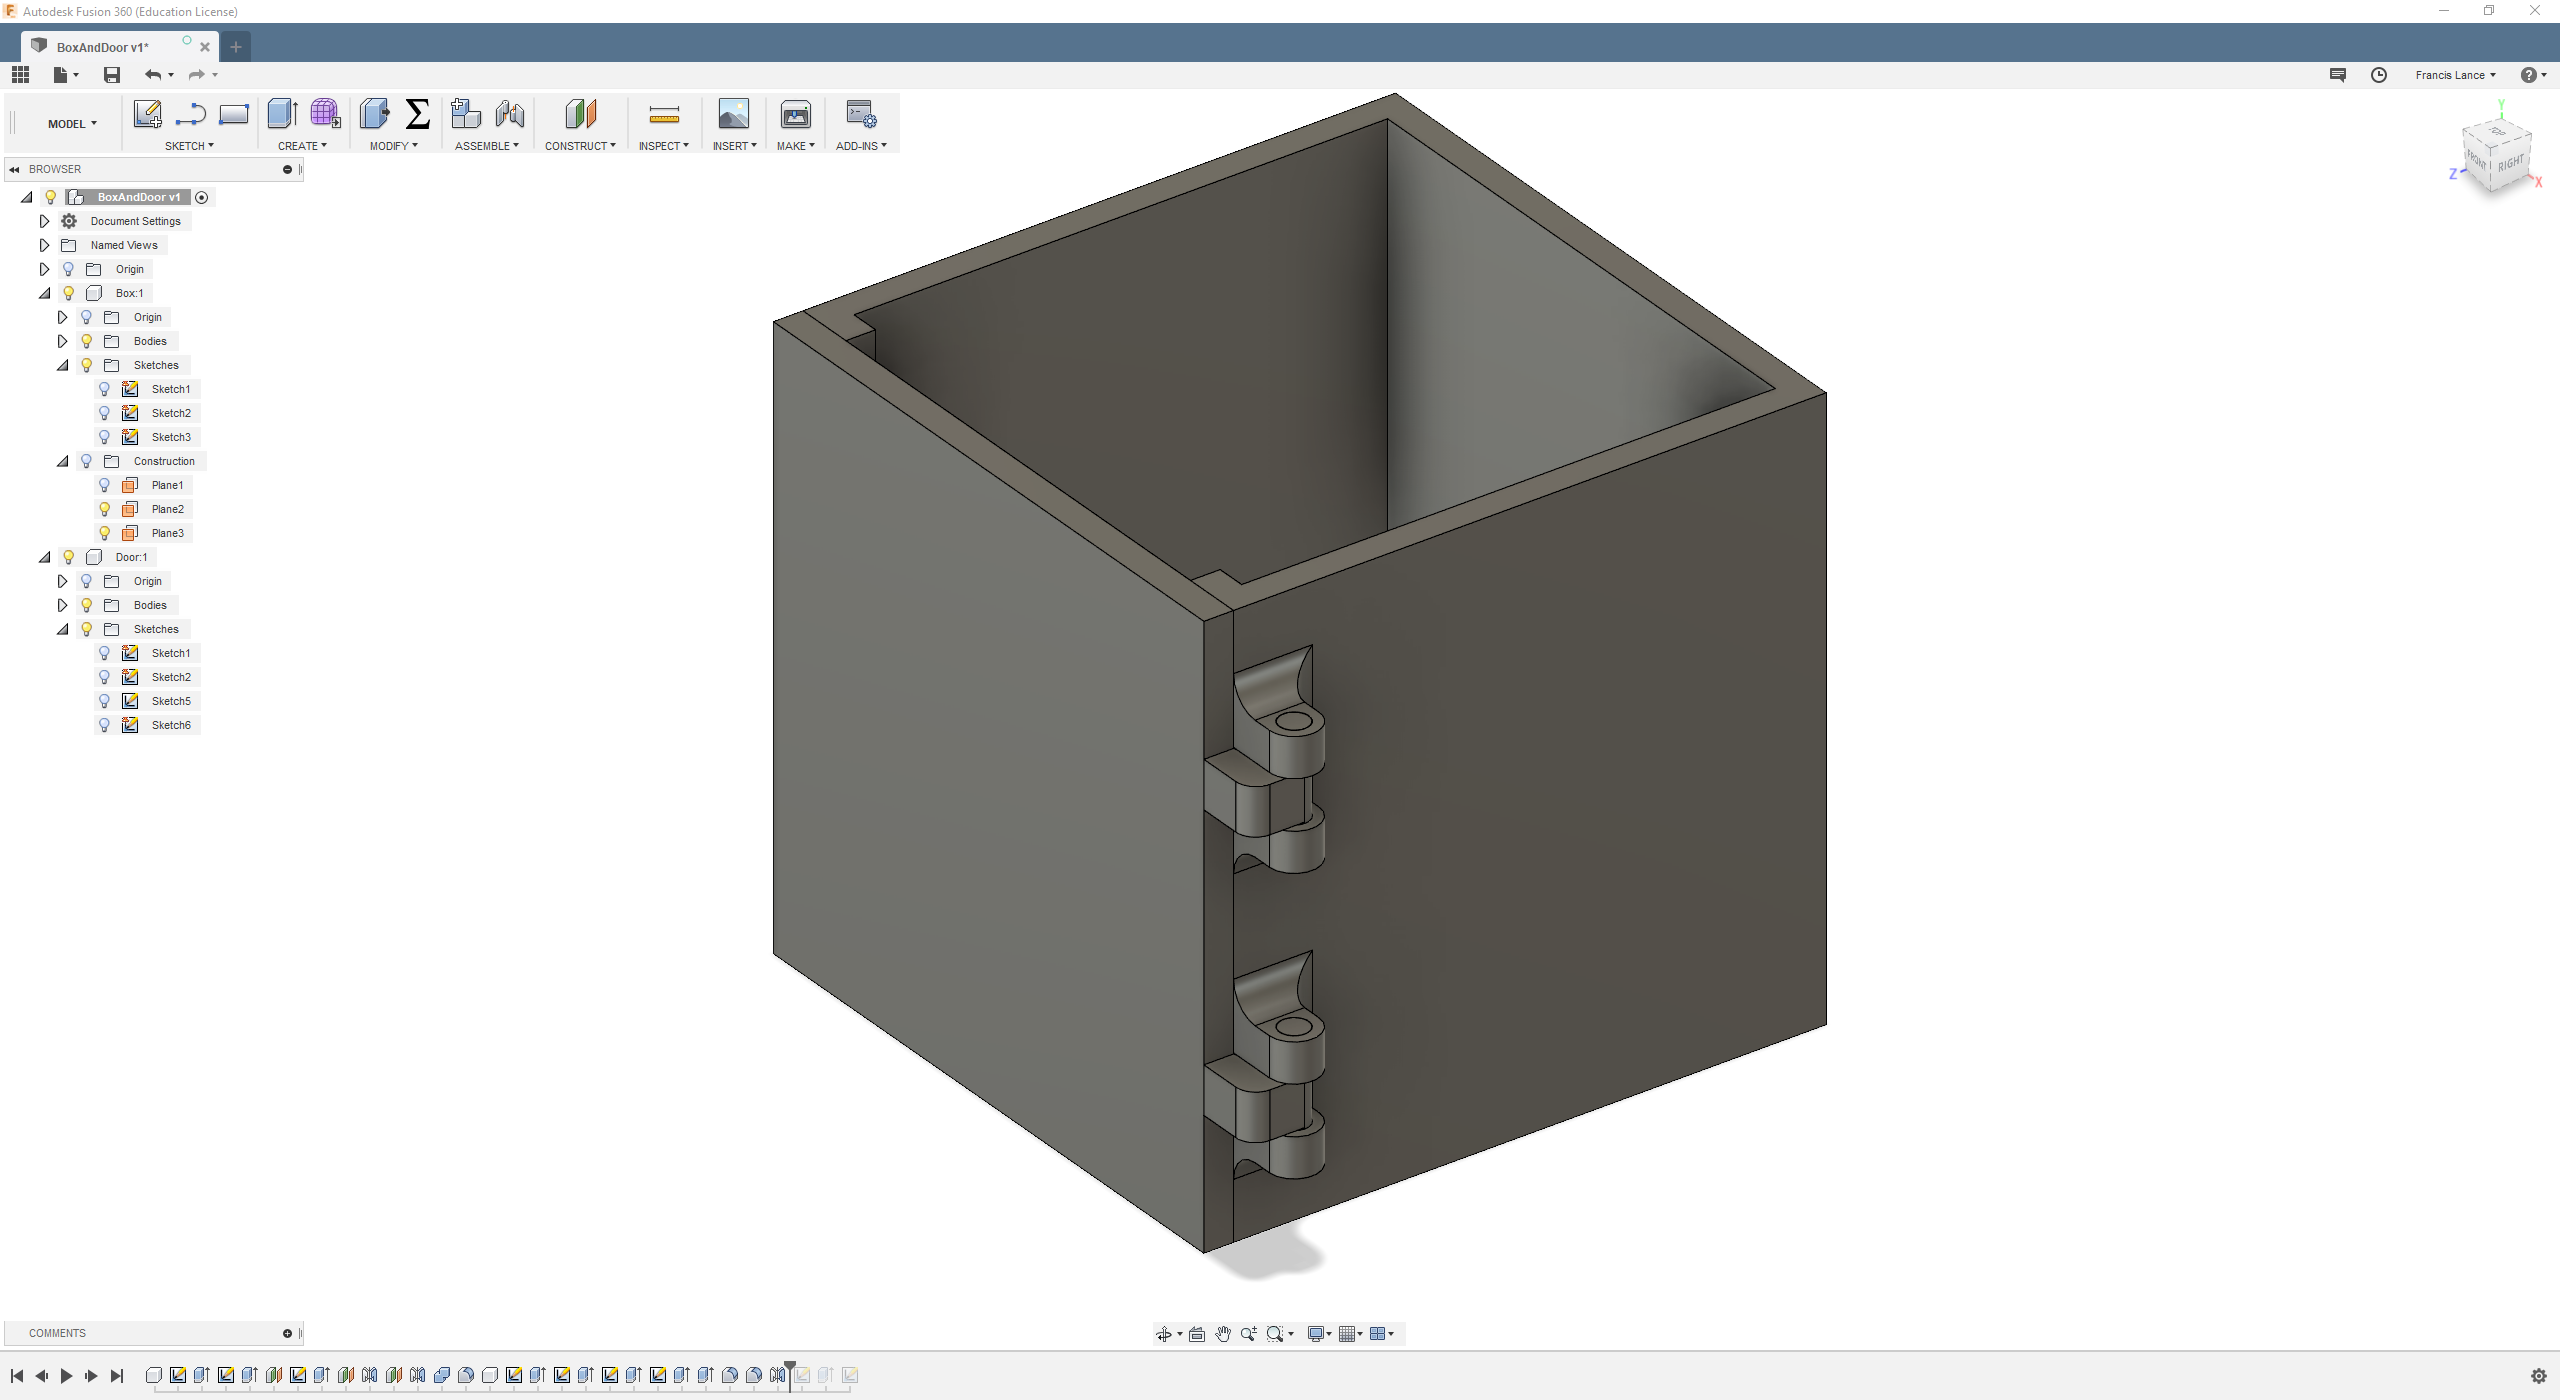
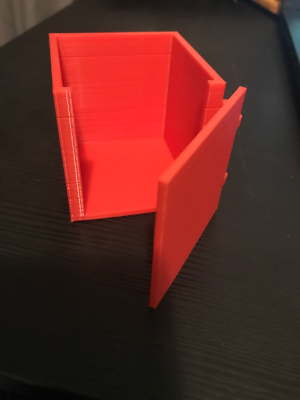
Here is the final result of my design.
Print my design
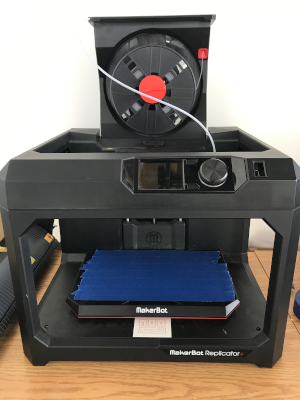
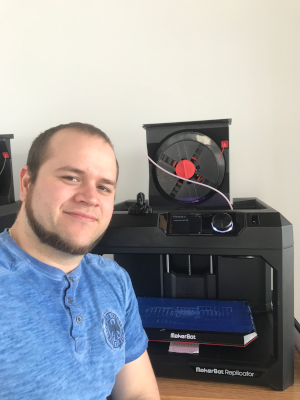
The printer that I use is the Makerbot replicator +.This is a FDM printer that means fused deposition modeling. This printer prints by adding melted material layer by layer, in this case plastic.
One of the big limitations of this printer is that it does not have a heated bed. This makes it impossible to print all types of plastic as most require a heated bed. For example, the ABS needs a heated bed because when the plastic cooled too quickly, it contracts and warps. The heating bed keeps the plastic warm so that it does not cool too fast. This prevents the contraction of plastics. The heated bed helps a lot in adhering the room to the bed The PLA is possible to print without a heating bed but must have a base so that it adheres well to the bed so that it does not take off during the printing and that it does not warp.
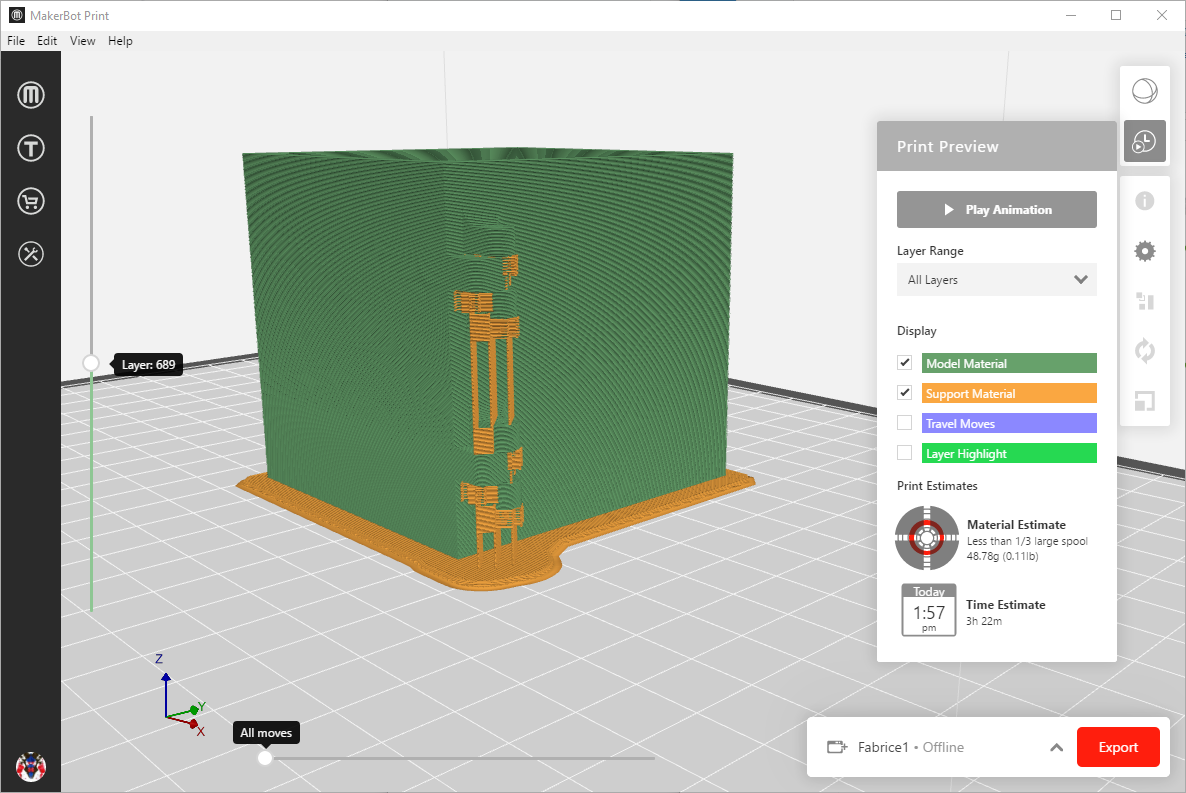
Here is the preview before printing. I used the settings recommended by the software for PLA printing.The recommended temperature for our PLA is 215 and I chose to put 20% infill for more solidity.degrees celcius.
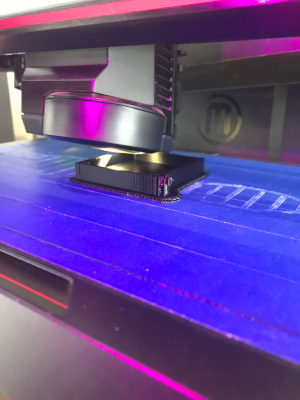
Here is the box during printing.
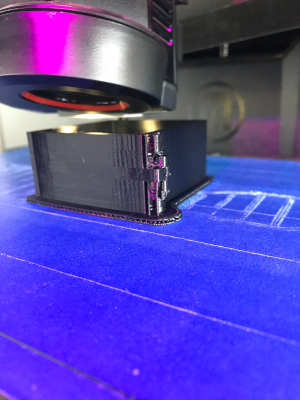
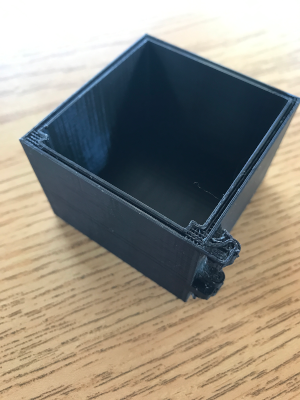
Here is the result at 75% progression because I stopped printing. I noticed that the printing software fussed the door with the box because it was too close.
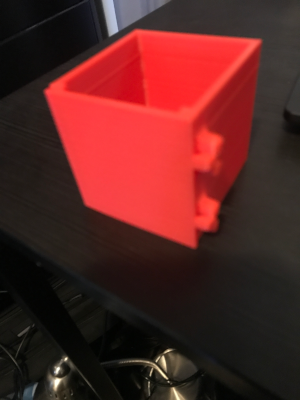
I started printing again but adding a space of 3 mm between the door and the box. It worked very well. On the other hand, after several opening and closing, the hinges broke because the filling was not high enough. Here is the final result.
I did a research and one way to improve the strength is to increase the number of shell. The standard is 2 but it is good to increase it if you want more rigidity. The shell is the number of layers on the outer surface of our part like the shell of an egg.
Group assignment
The person who documents the group assignment this week is Annie Ferlatte but I did not use the printer FabLab because it was easier to use the one I have in my lab because I live far from the lab.
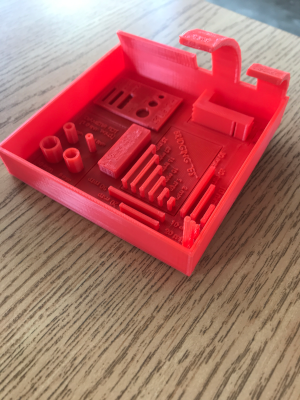
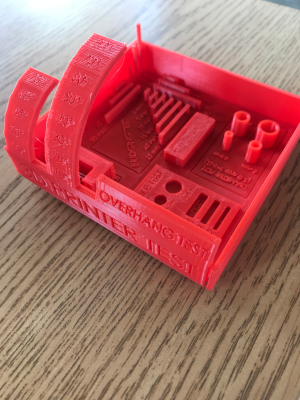
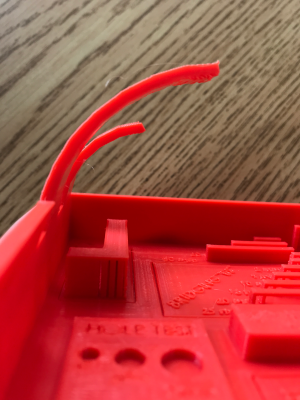
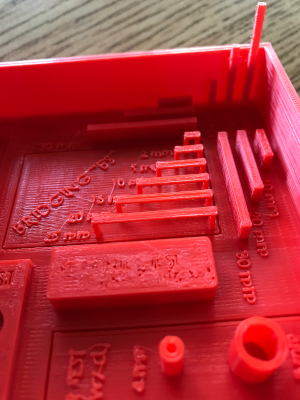
The group project of this week is to test the design rules for our 3D printer. I print on a different printer than the one available at ÉchoFab because I have easier access to it. I had already found in the past a test for 3D printers. So I decided to try it on the Makerbot to see. The result is surprising. I learn that it is able to print bridges of at least 25 mm and a 70 degree angle without problems. The angle of 80 degrees is still very successful. Here is the result of the test.
Hero shot
You can download all the files of this week right here.