9. EMBEDDED PROGRAMMING
Goal
Read a microcontroller data sheet. Program your board to do something, with as many different programming languages and programming environments as possible. Optionally, experiment with other architectures.
INVESTIGATING
I researched a microcontroller, in this case the ATmega328p,you can download the datasheet here
The main features of ATmega328p are:
- Data EEPROM: 1024bytes
- General Purpose I/O Lines: 23
- SPI: 2
- I2C: 1
- Flash: 32KBytes
- Pin count: 32
- CPU Speed : 20 Mhz
- SRAM : 2Kbytes
- USART: 1
- ADC: 10 bit
- ADC channels: 8
- 8 bit timer/counts: 2
- 16 bit timer/counts: 1
- PWM channels: 6
- Temp. Range (deg C): -40 to 125 ºC
- I/O Supply Class: 1.8 to 5.5
- Operating Voltage (Vcc): 2.7 to 5.5V
- Speed grade: 0 to 8 Mhz at 2.7 to 5.5V 0 to 16 Mhz at 4.5 to 5.5V
Low power consumption
- Active mode: 1.5 mA at 3V . 4Mhz
- Power-down mode: 1 uA at 3V
- Watchdog: Yes
- Debug Interface: debugWIRE
The pinout of this microcontroller is presented in the next Figure. The port B, C and D are programmable with multipurpose.
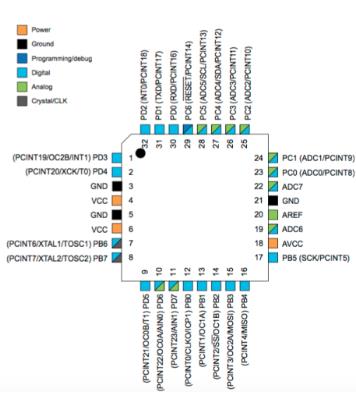
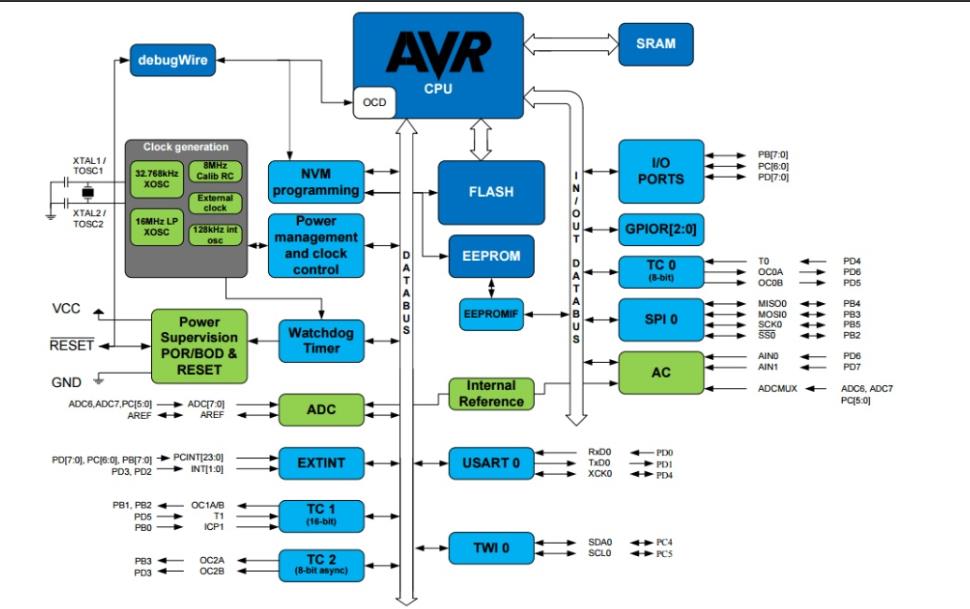
Atmega328 architecture is based on the RISC architecture.
PROGRAMMING
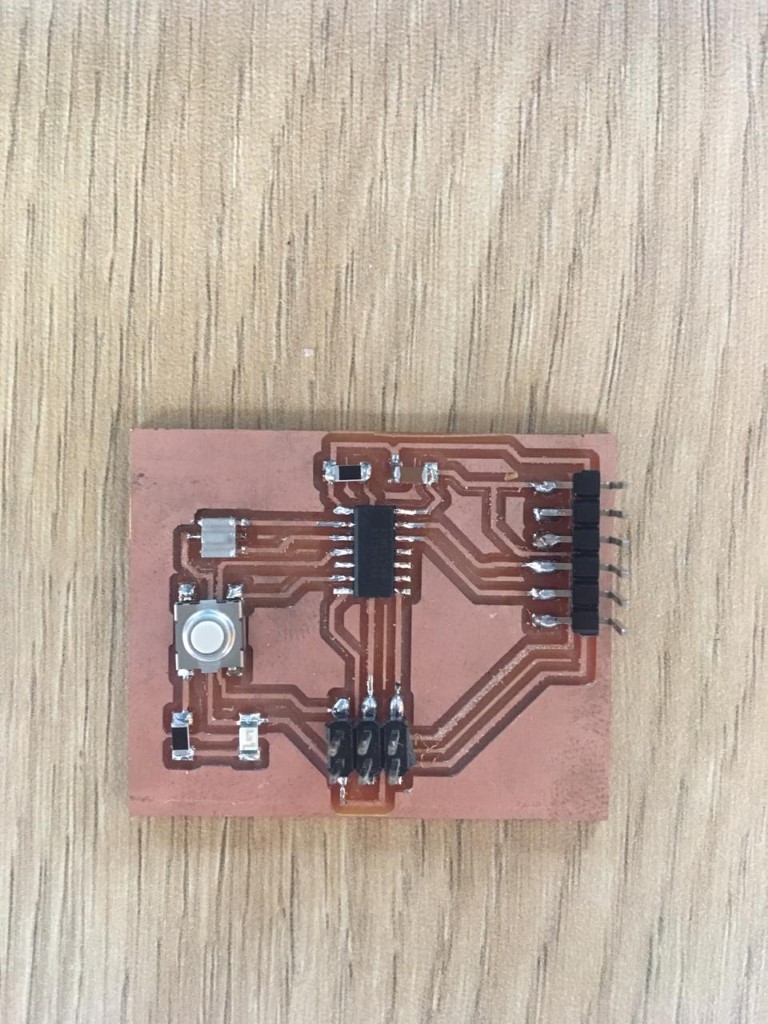
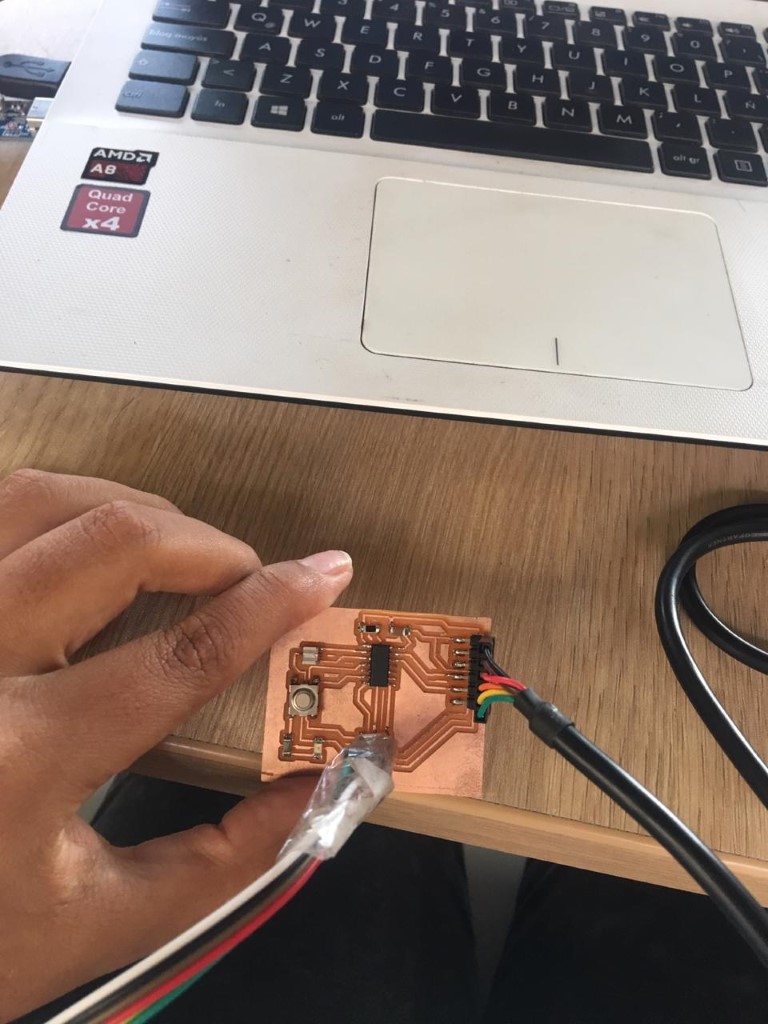
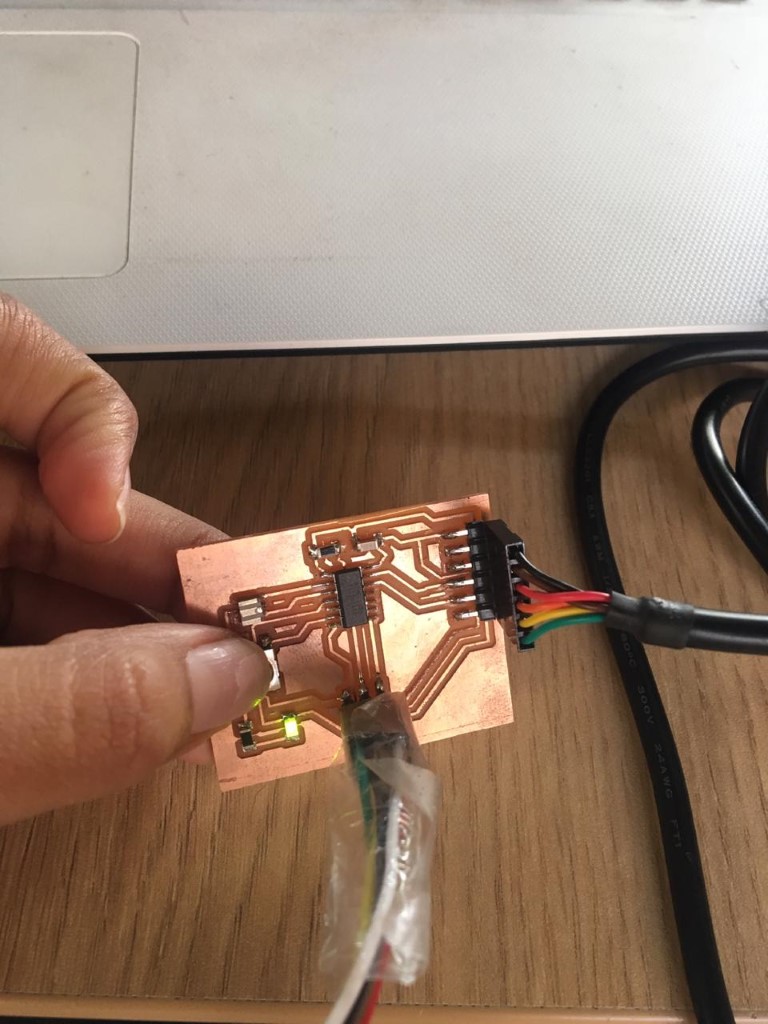
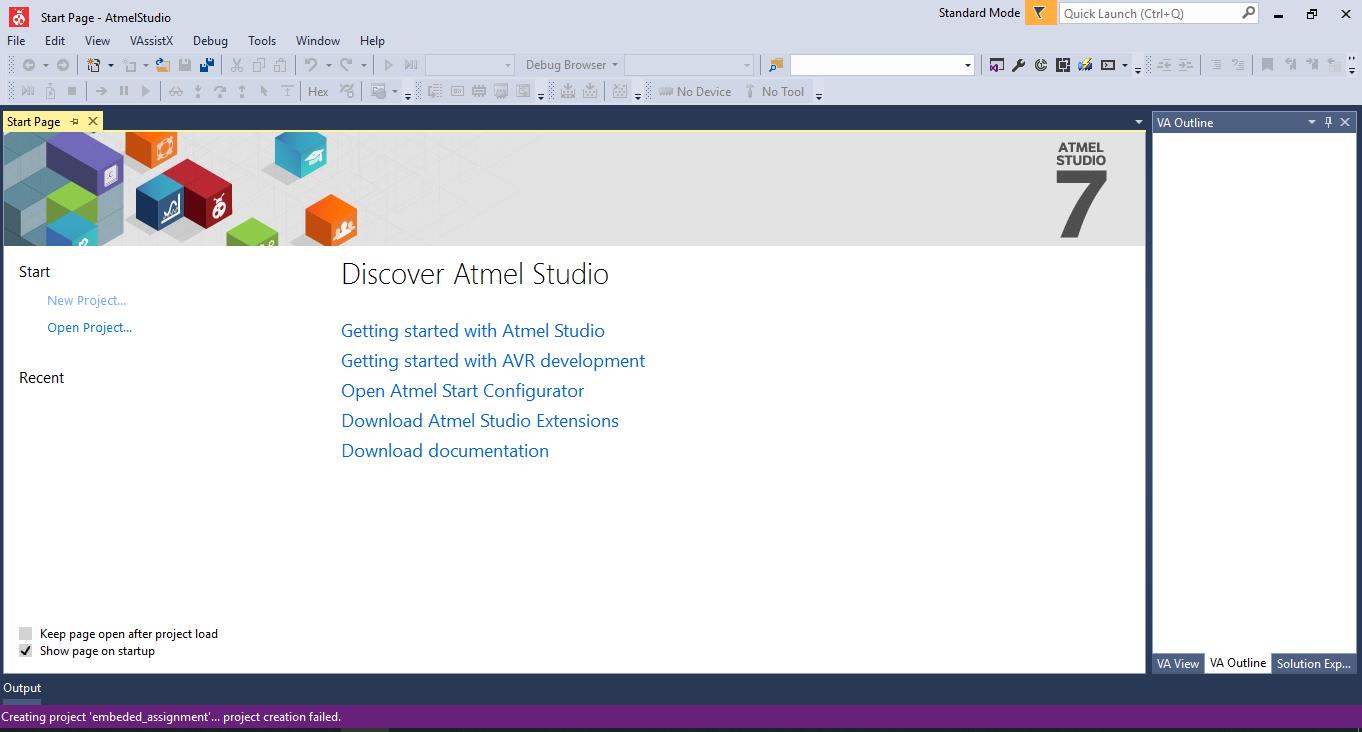
For this assignment I used my plate that I made in the assignment 7,in which I used an ATtiny 44 microcontroller.
LANGUAGE C++
I identified the port in wich the FTDI cable was pluged,
then in the tool tab, begin to set the information, board, processor, port.
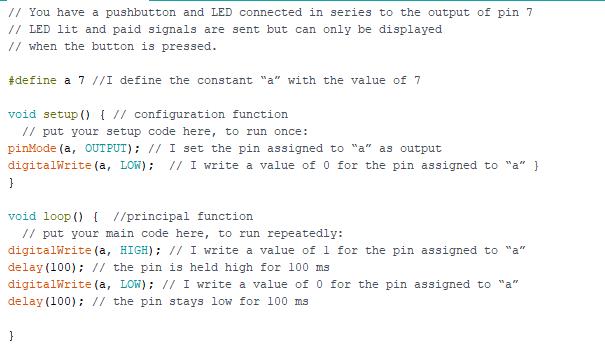
Then I did the programming, which consists of the LED light turning on every time I press the button, also For that I looked for the table of equivalences between the ATtiny 44 and the Arduino,so I can choose the right pins.
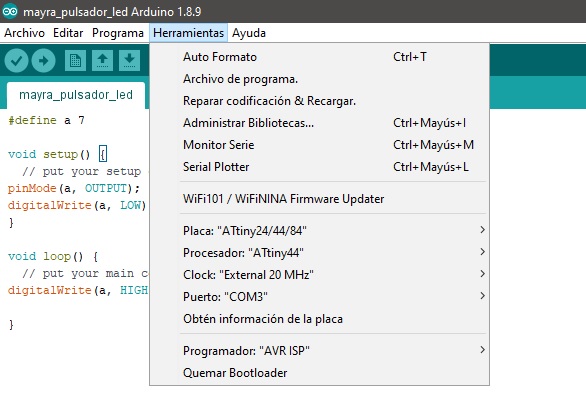
After that I made the code on the Arduin IDE,the arduino programming language is based on LANGUAGE C ++ and test the board. Finally, I clicked on Tools->Burn Bootloader and waited until it finished
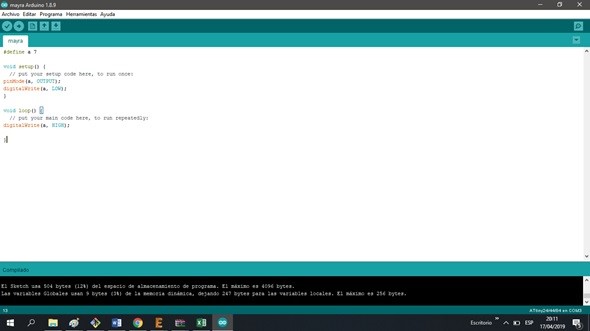
Explain the code
LANGUAGE AVR ASSEMBLER
- The only language that microcontrollers understand is the code machine formed by zeros and ones of the binary system.
- The assembly language expresses the instructions in a more natural to the man while very close to the microcontroller, since each one of those instructions corresponds to another one in machine code.
- Assembly language works with mnemonics, which are groups of alphanumeric characters that symbolize the orders or tasks to perform.
- The translation of the mnemonics into machine code understandable by the The microcontroller is carried out by an assembly program.
- The program written in assembly language is called source code (* .asm). The assembler program provides from this file the corresponding machine code, which usually has the extension * .hex.
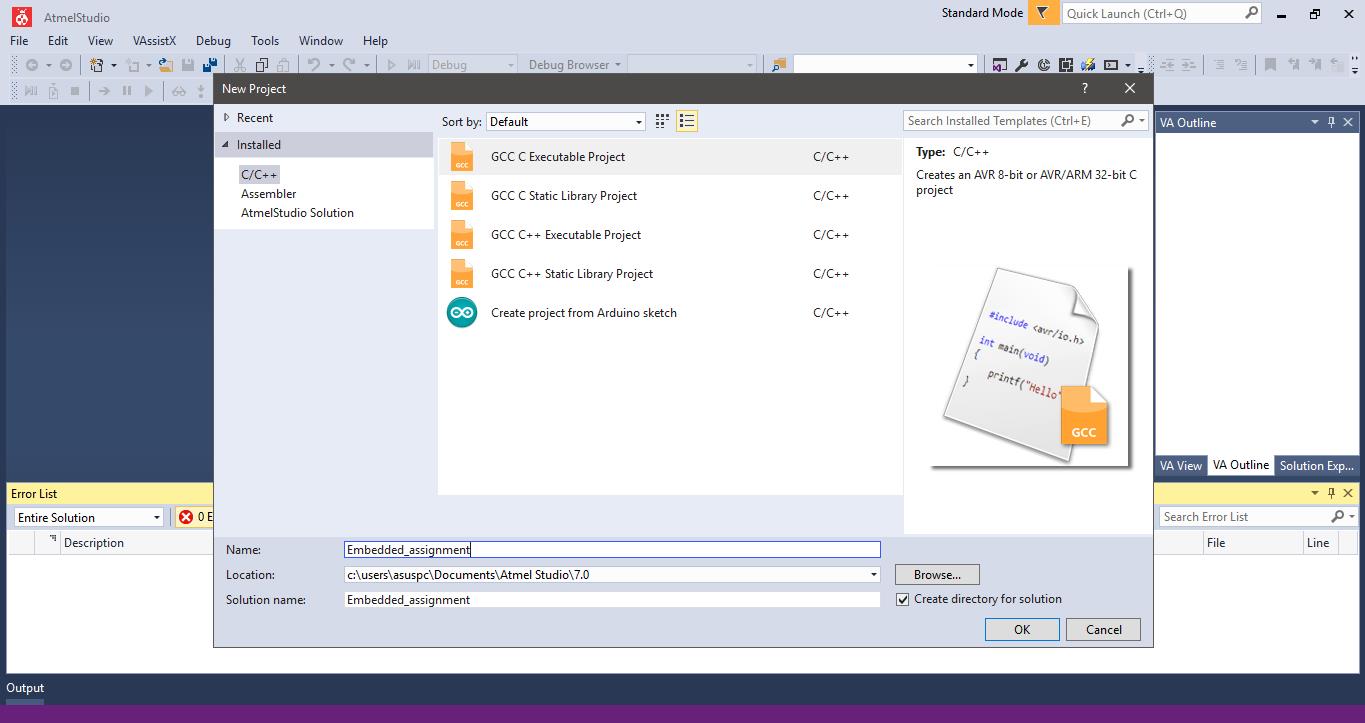
In this case I used LANGUAGE AVR ASSEMBLER, I used AtmelStudio Program Also, I did a programming which consists of the LED light turning on every time I press the button,
I selected GCC C Executable Project
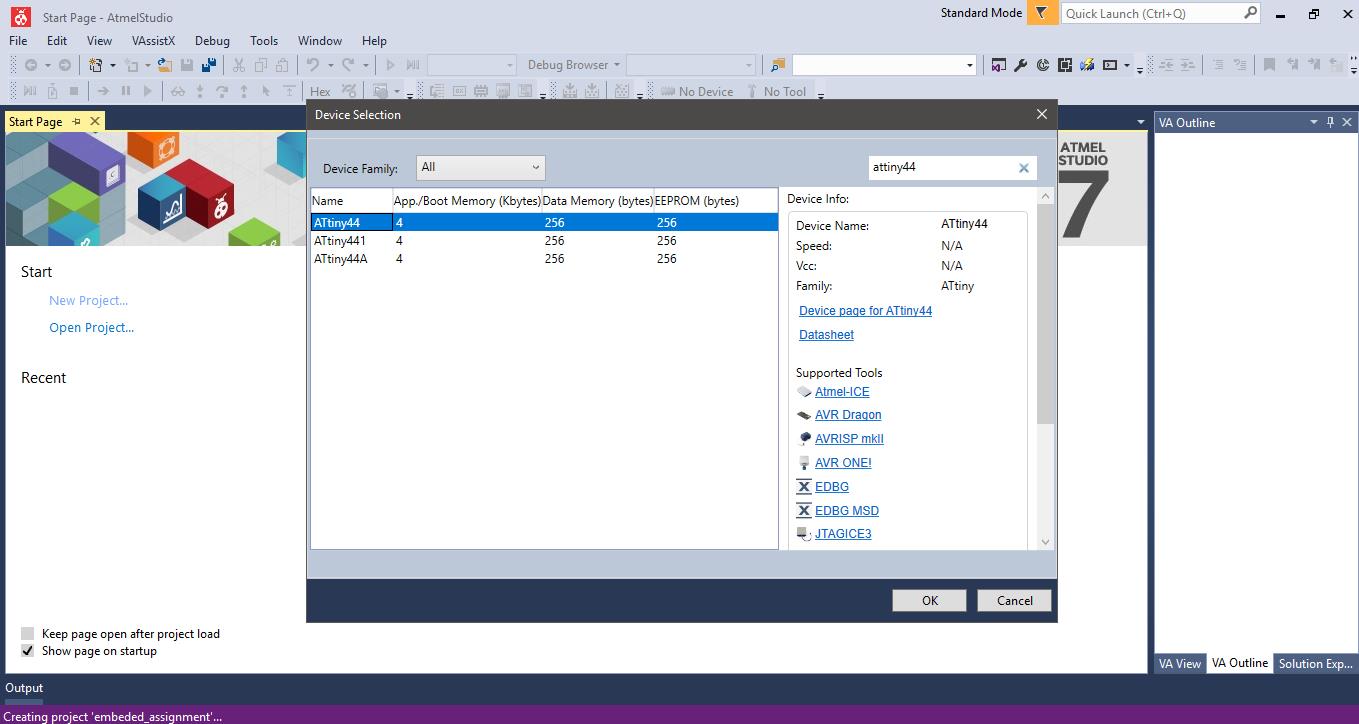
I selected ATtiny44
I wrote the programming in avr assembler language.

I recorded the board successfully.
Explain the code

Flash the chip
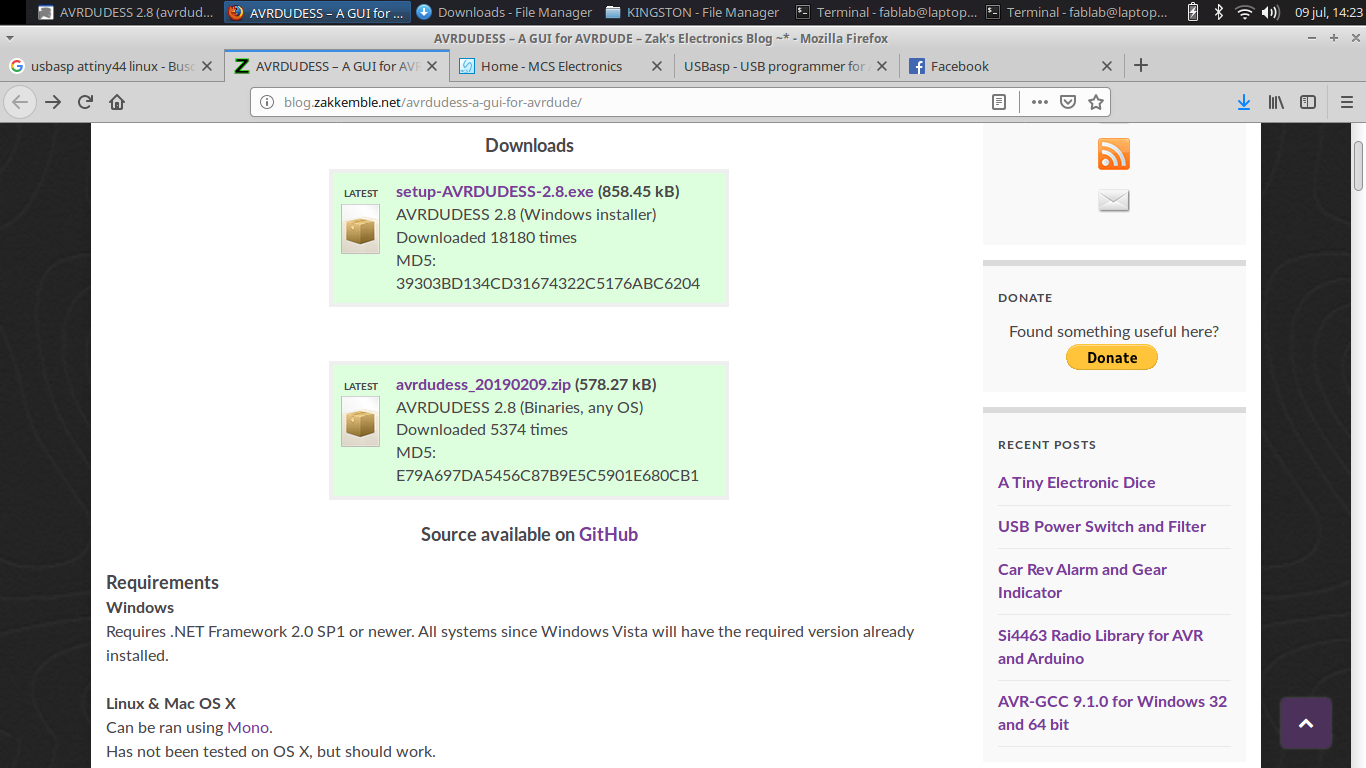
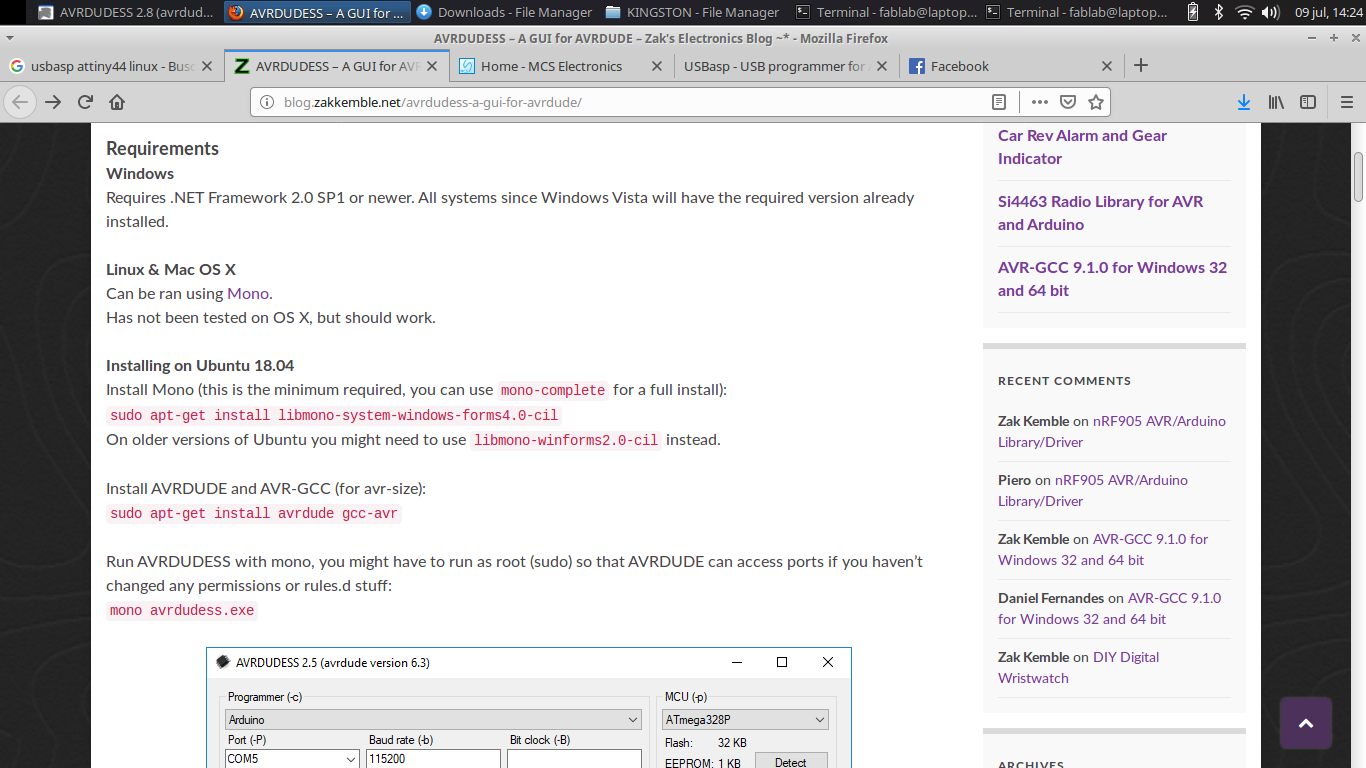
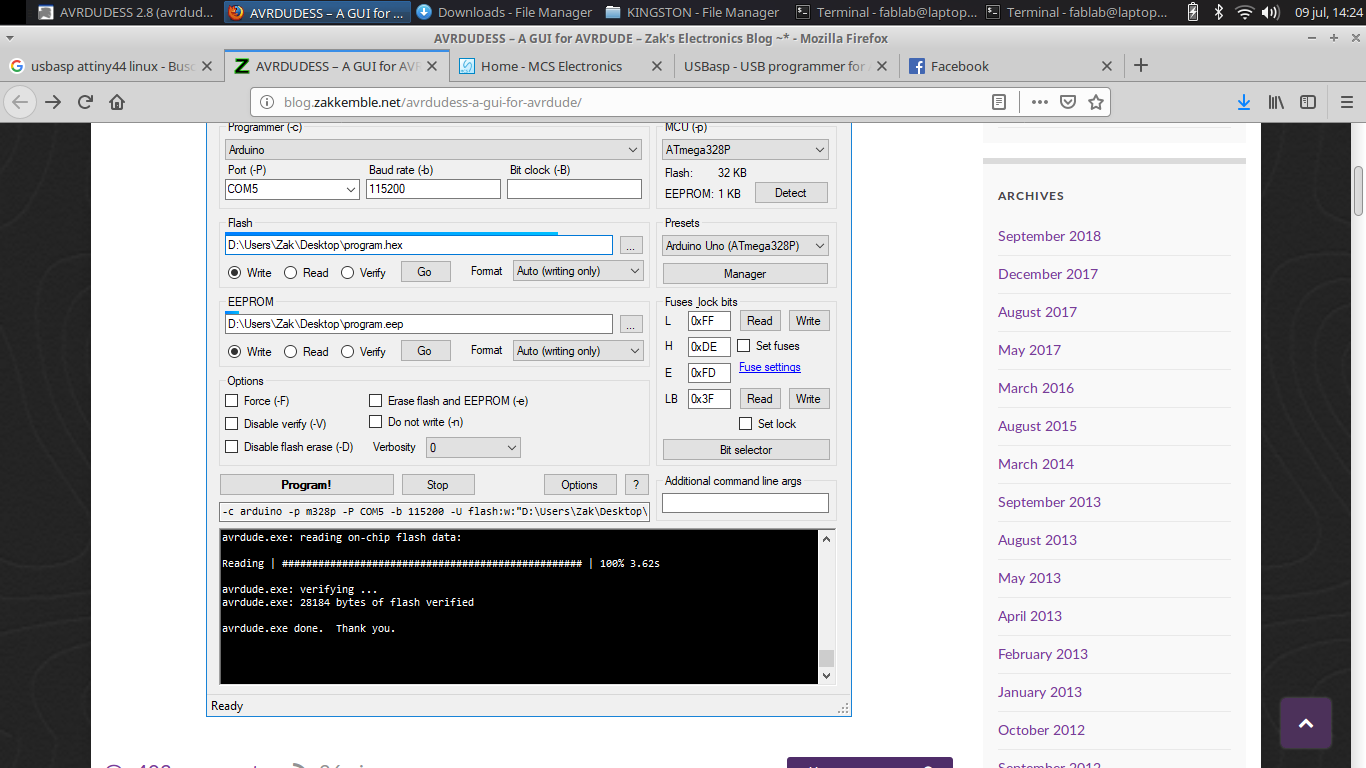
First, I guided myself on this web site, please click on the bullet
I downloaded and entered the folder avrdudess_20190209.zip(578.27 kB)
Then I unzipped the file
I followed the installation steps in Linux
I Installed the Mono
Then I installed the avrdude recorder
Also I executed AVRDUDESS with Mono
Steps:
- I chose the USBasap programmer
- I chose the ATtiny44 chip
- I chose /dev/tty50 port
- I chose the baud rate :115200
- I chose my file in format hex, which was generated with the avr studio
- I chose the option Write
- I did click on Programa!
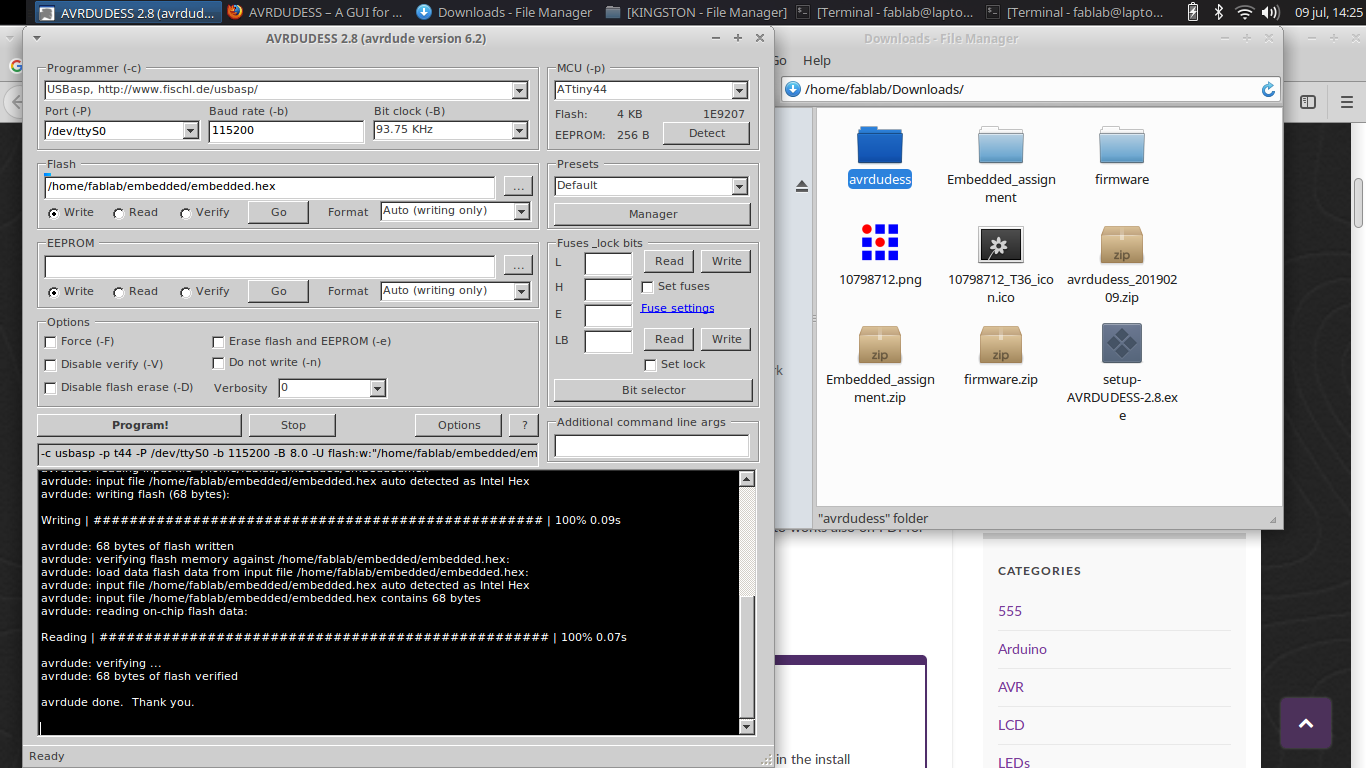
We can see the confirmation that the recording was successful.
You can download the files by clicking on the bullets.