
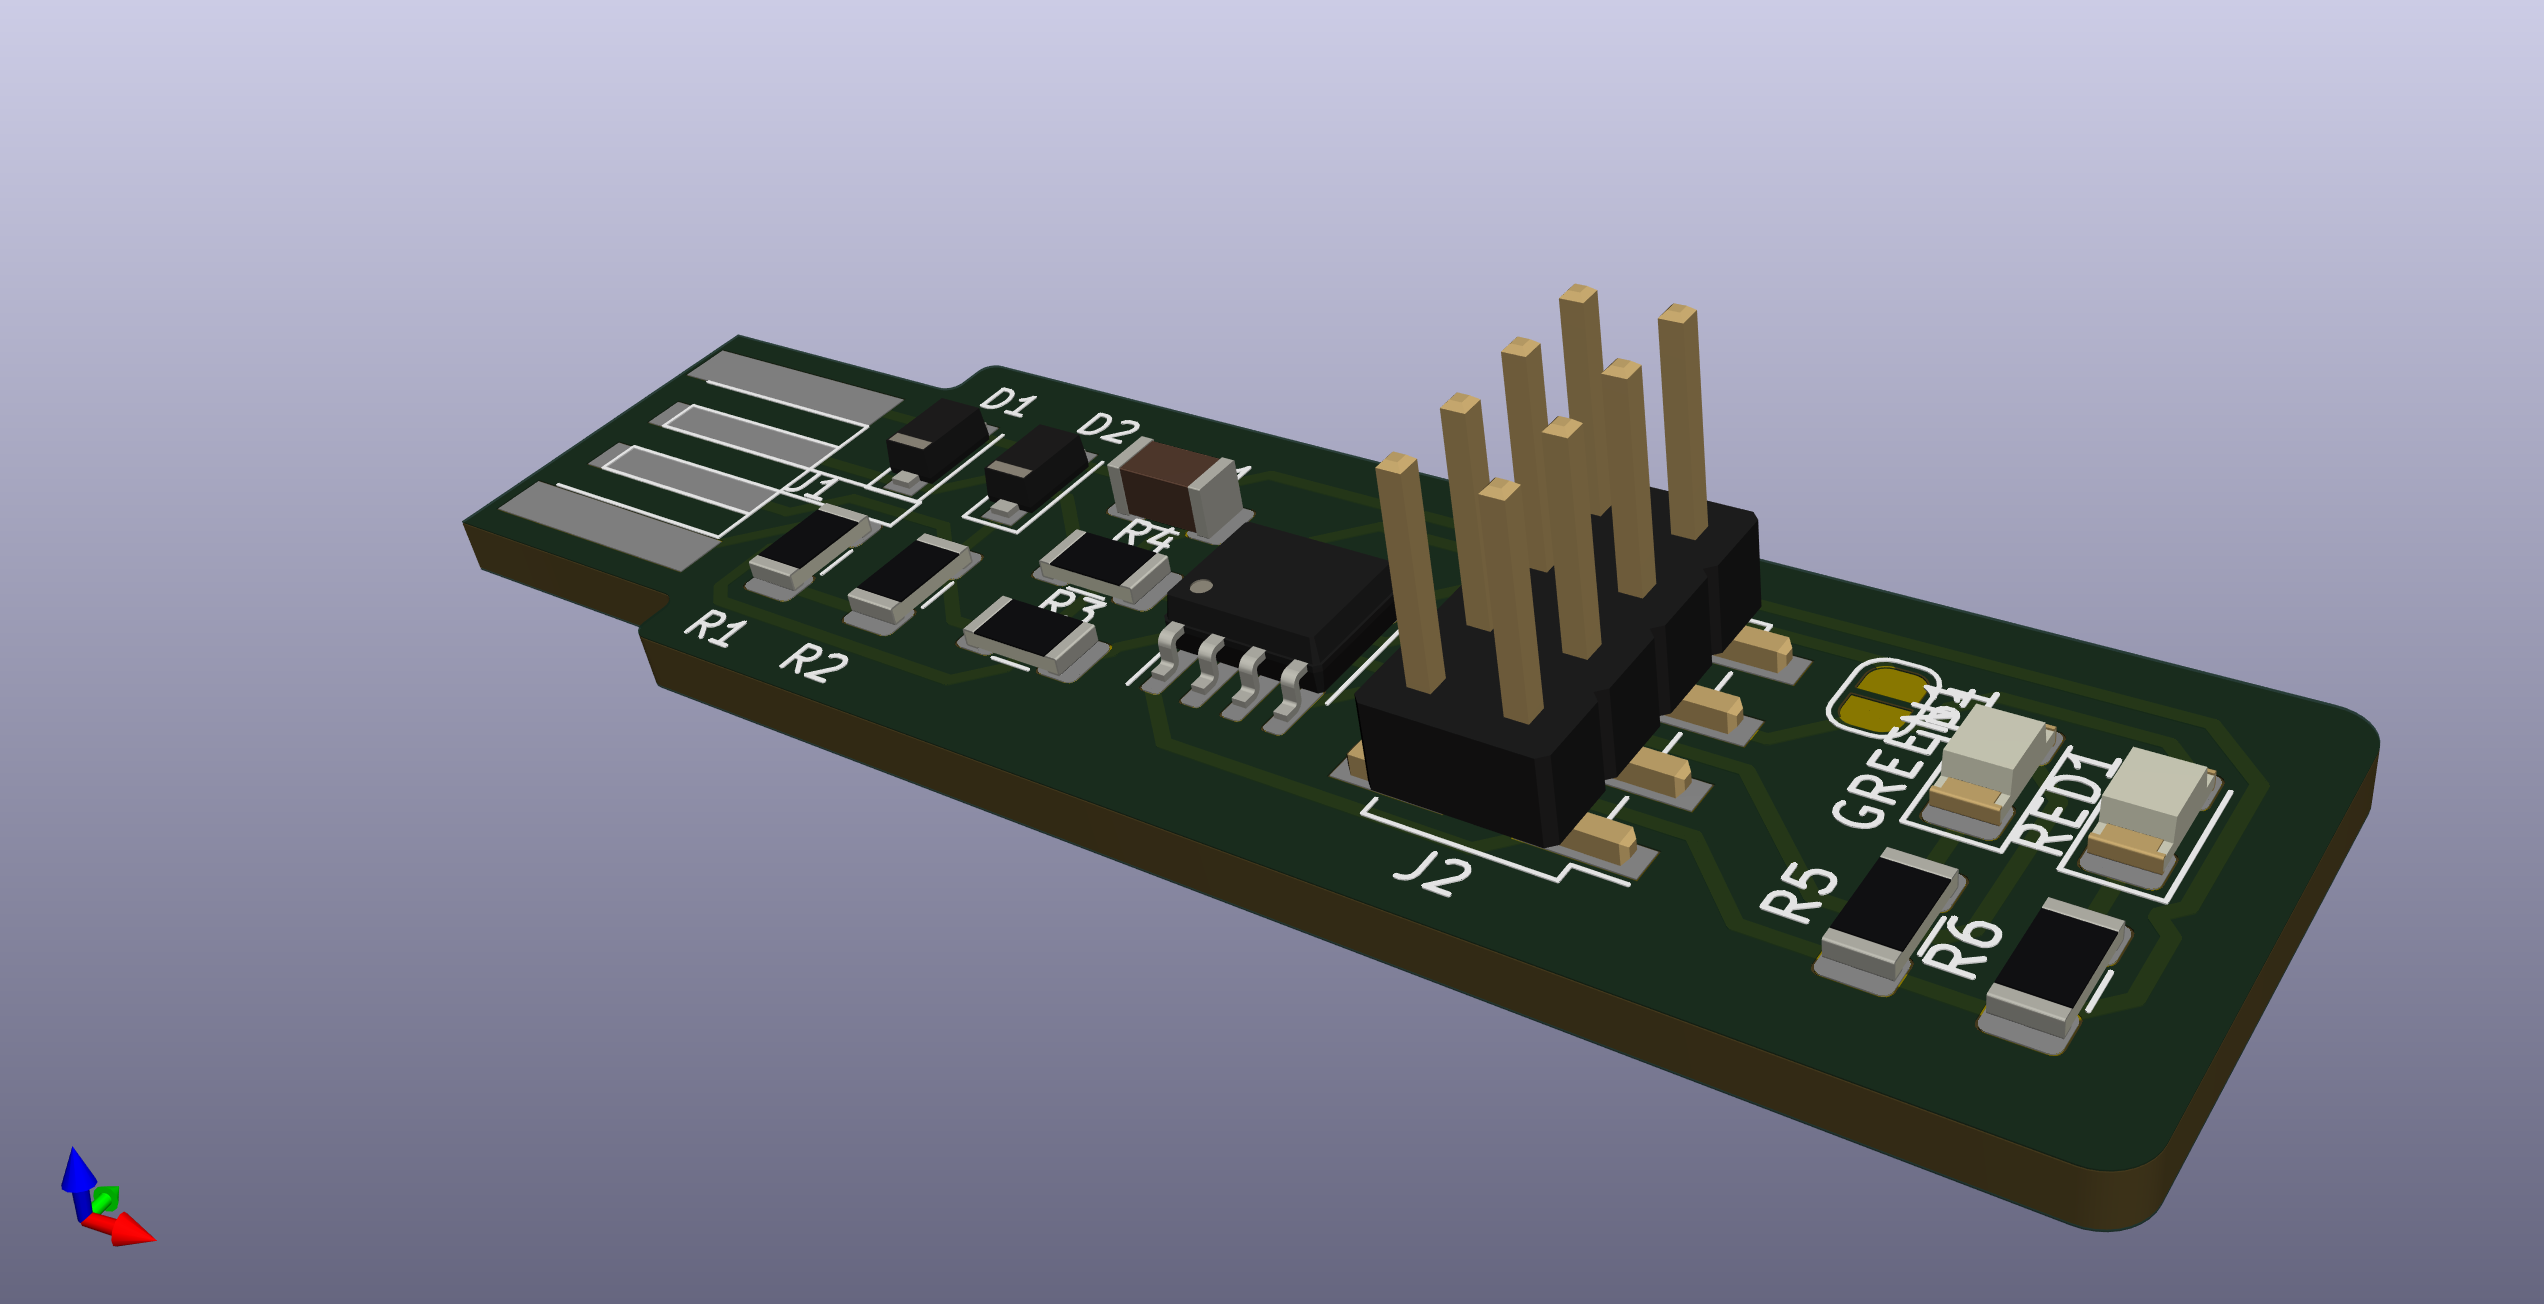
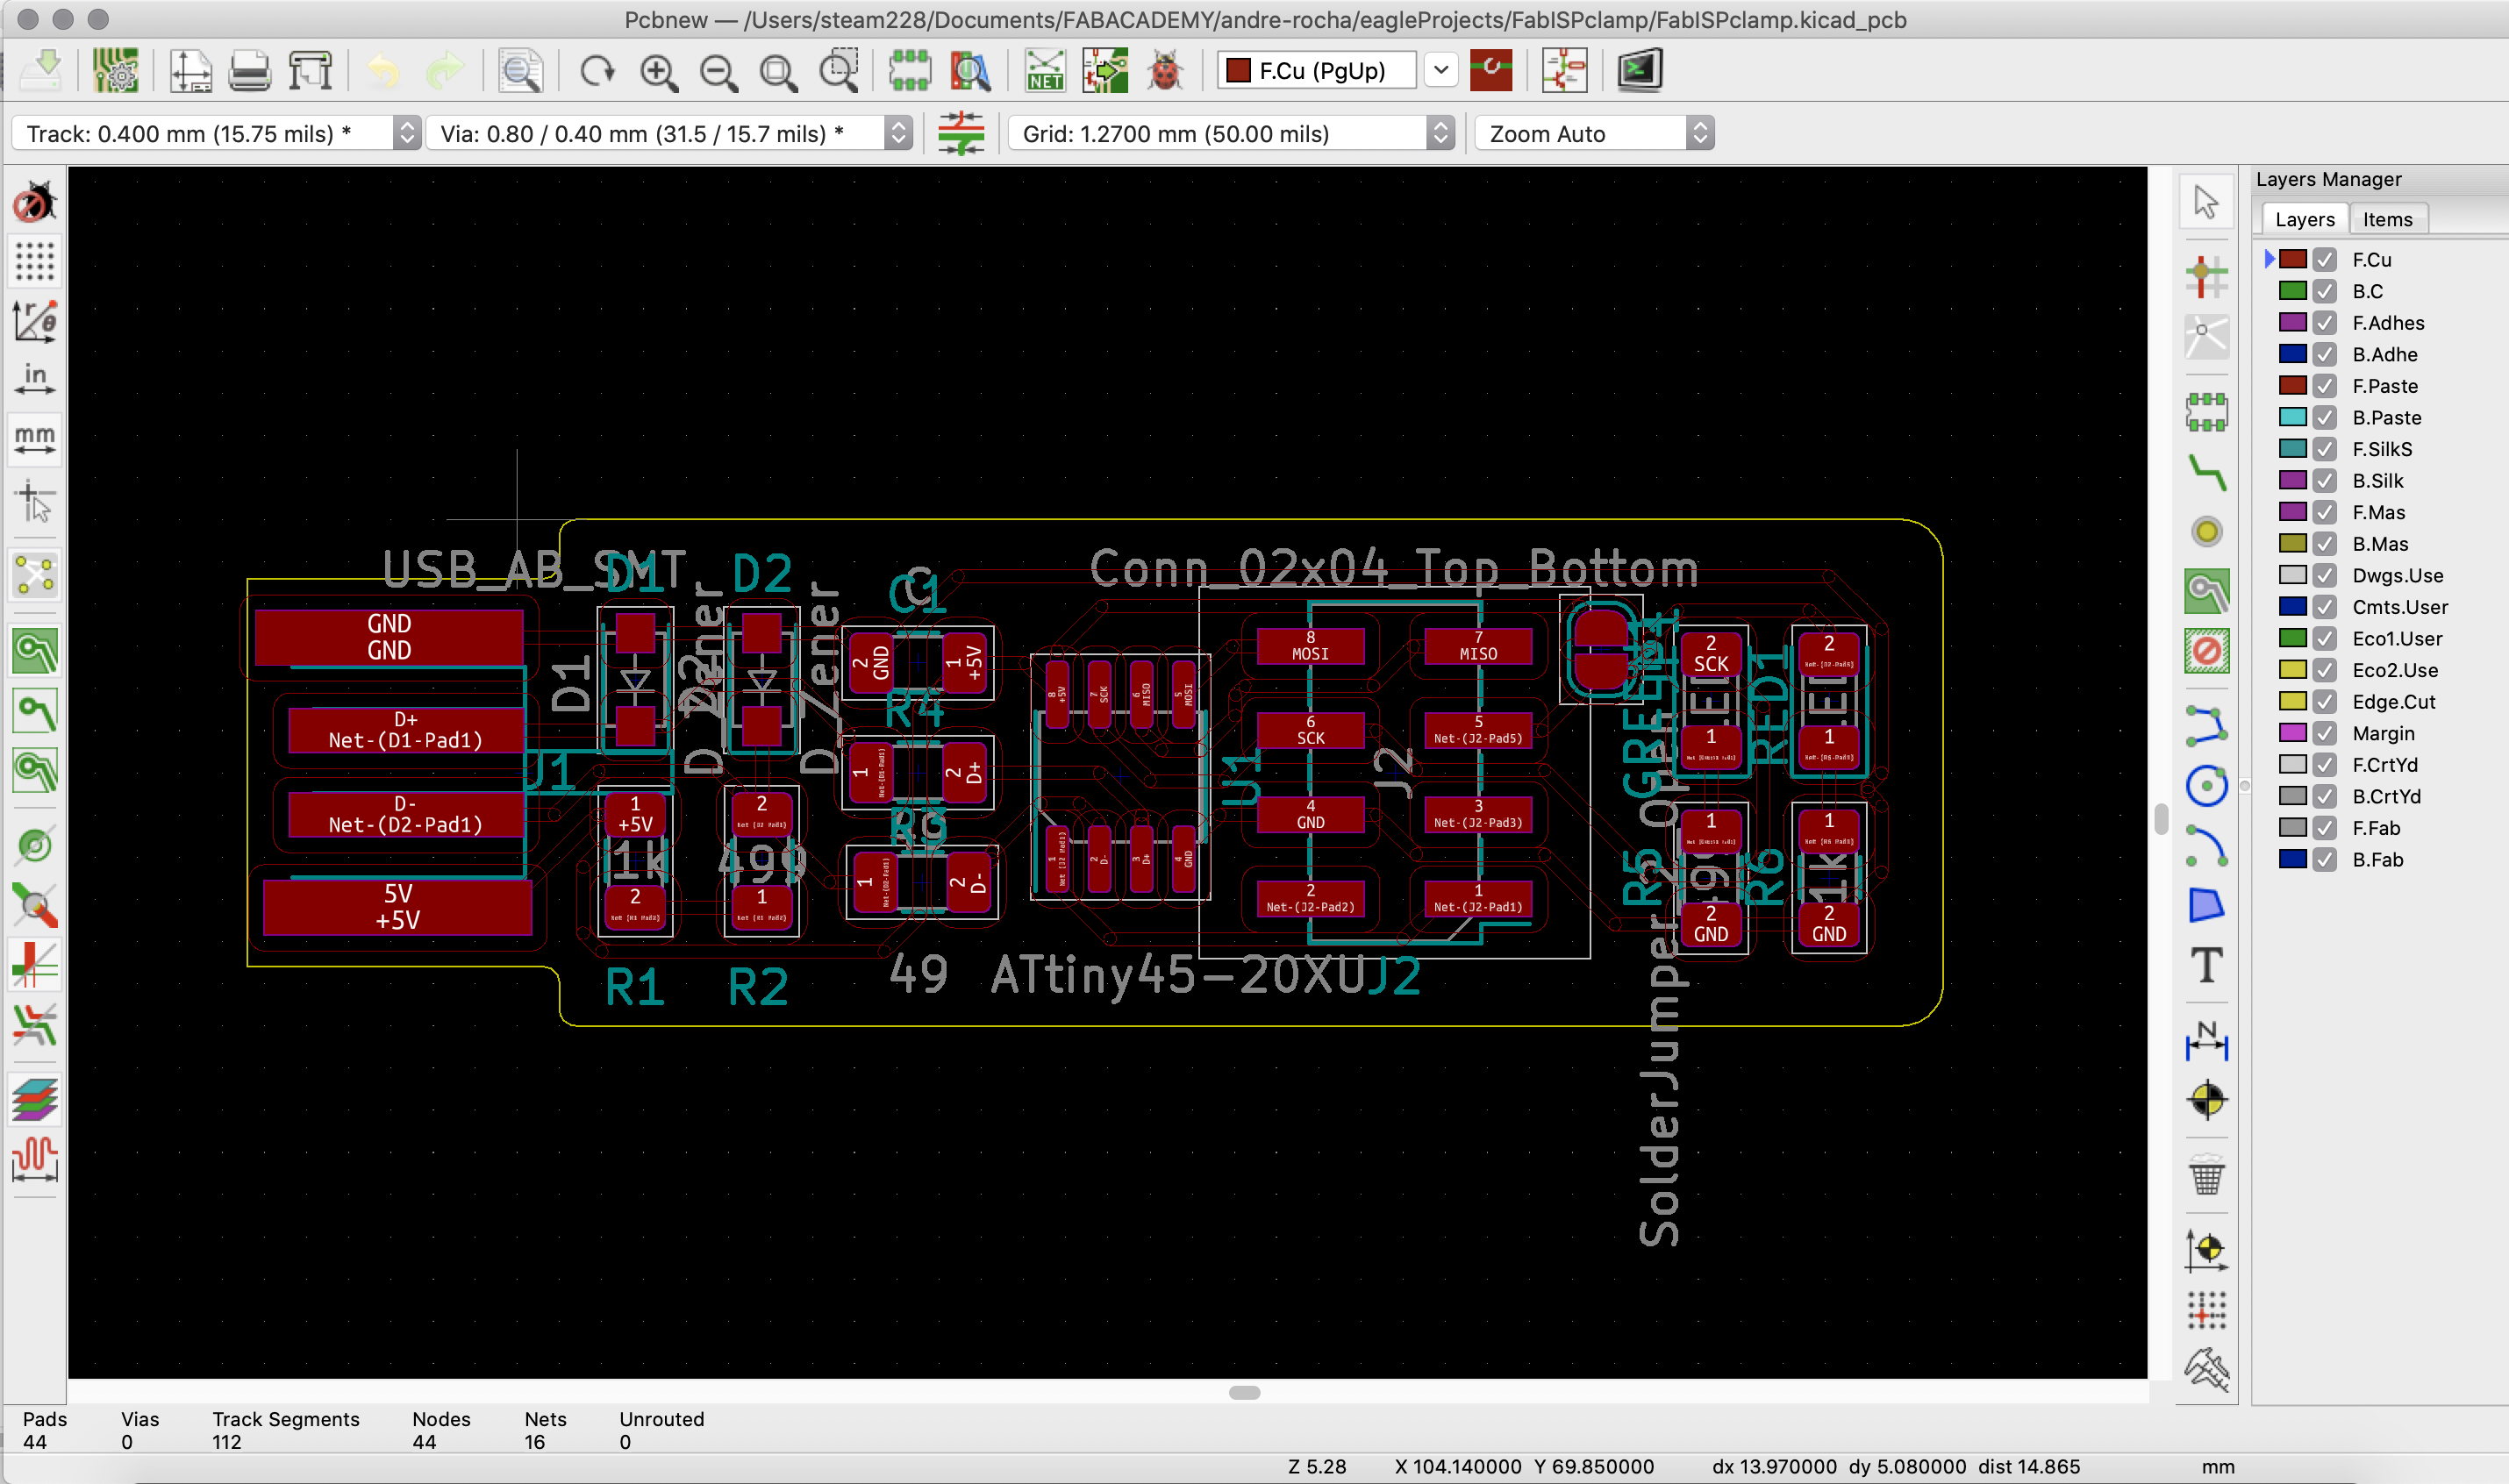
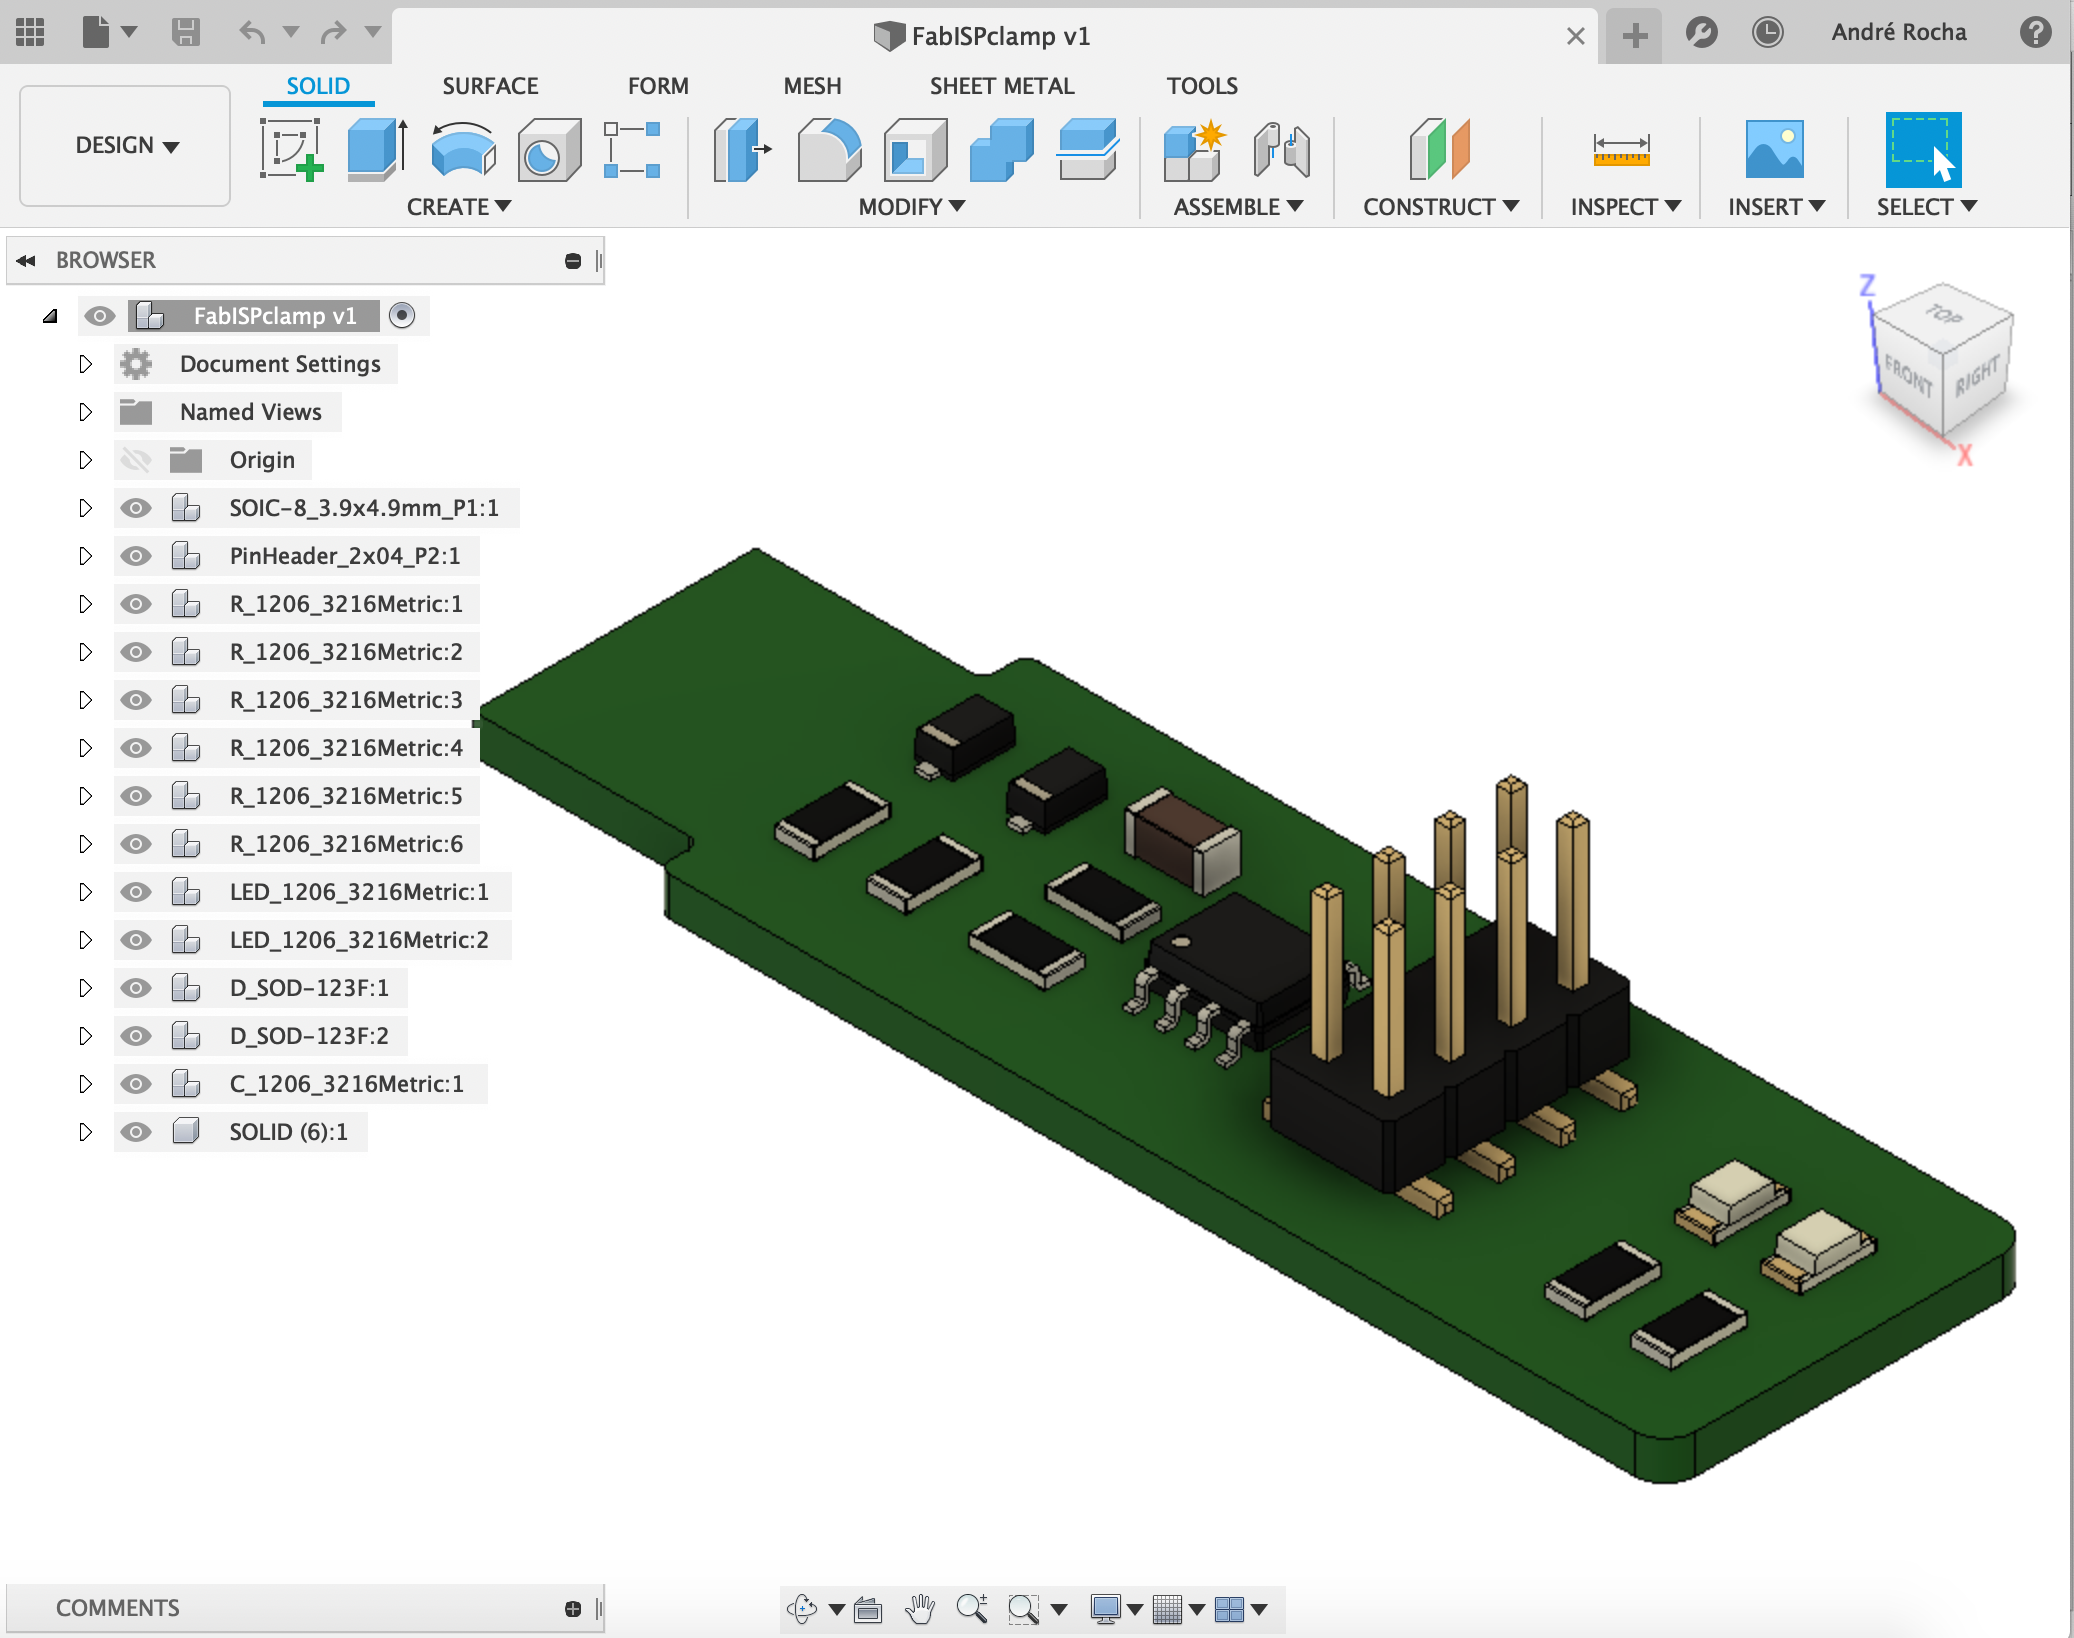
Even tough the aim of this week was to produce electronics and not to design, I ended up a few weeks ago exploring KiCAD (as you can see from all my assignments I've been using Eagle all the way) The funny thing is that it was quicker to learn KiCAD, I'm happier cause it is open, and I even designed a FabISP aimed at the use of this clamps for AttinyX4 I bought in AliExpress.
 Everyone at the Lab wanted a FabISP!!!!
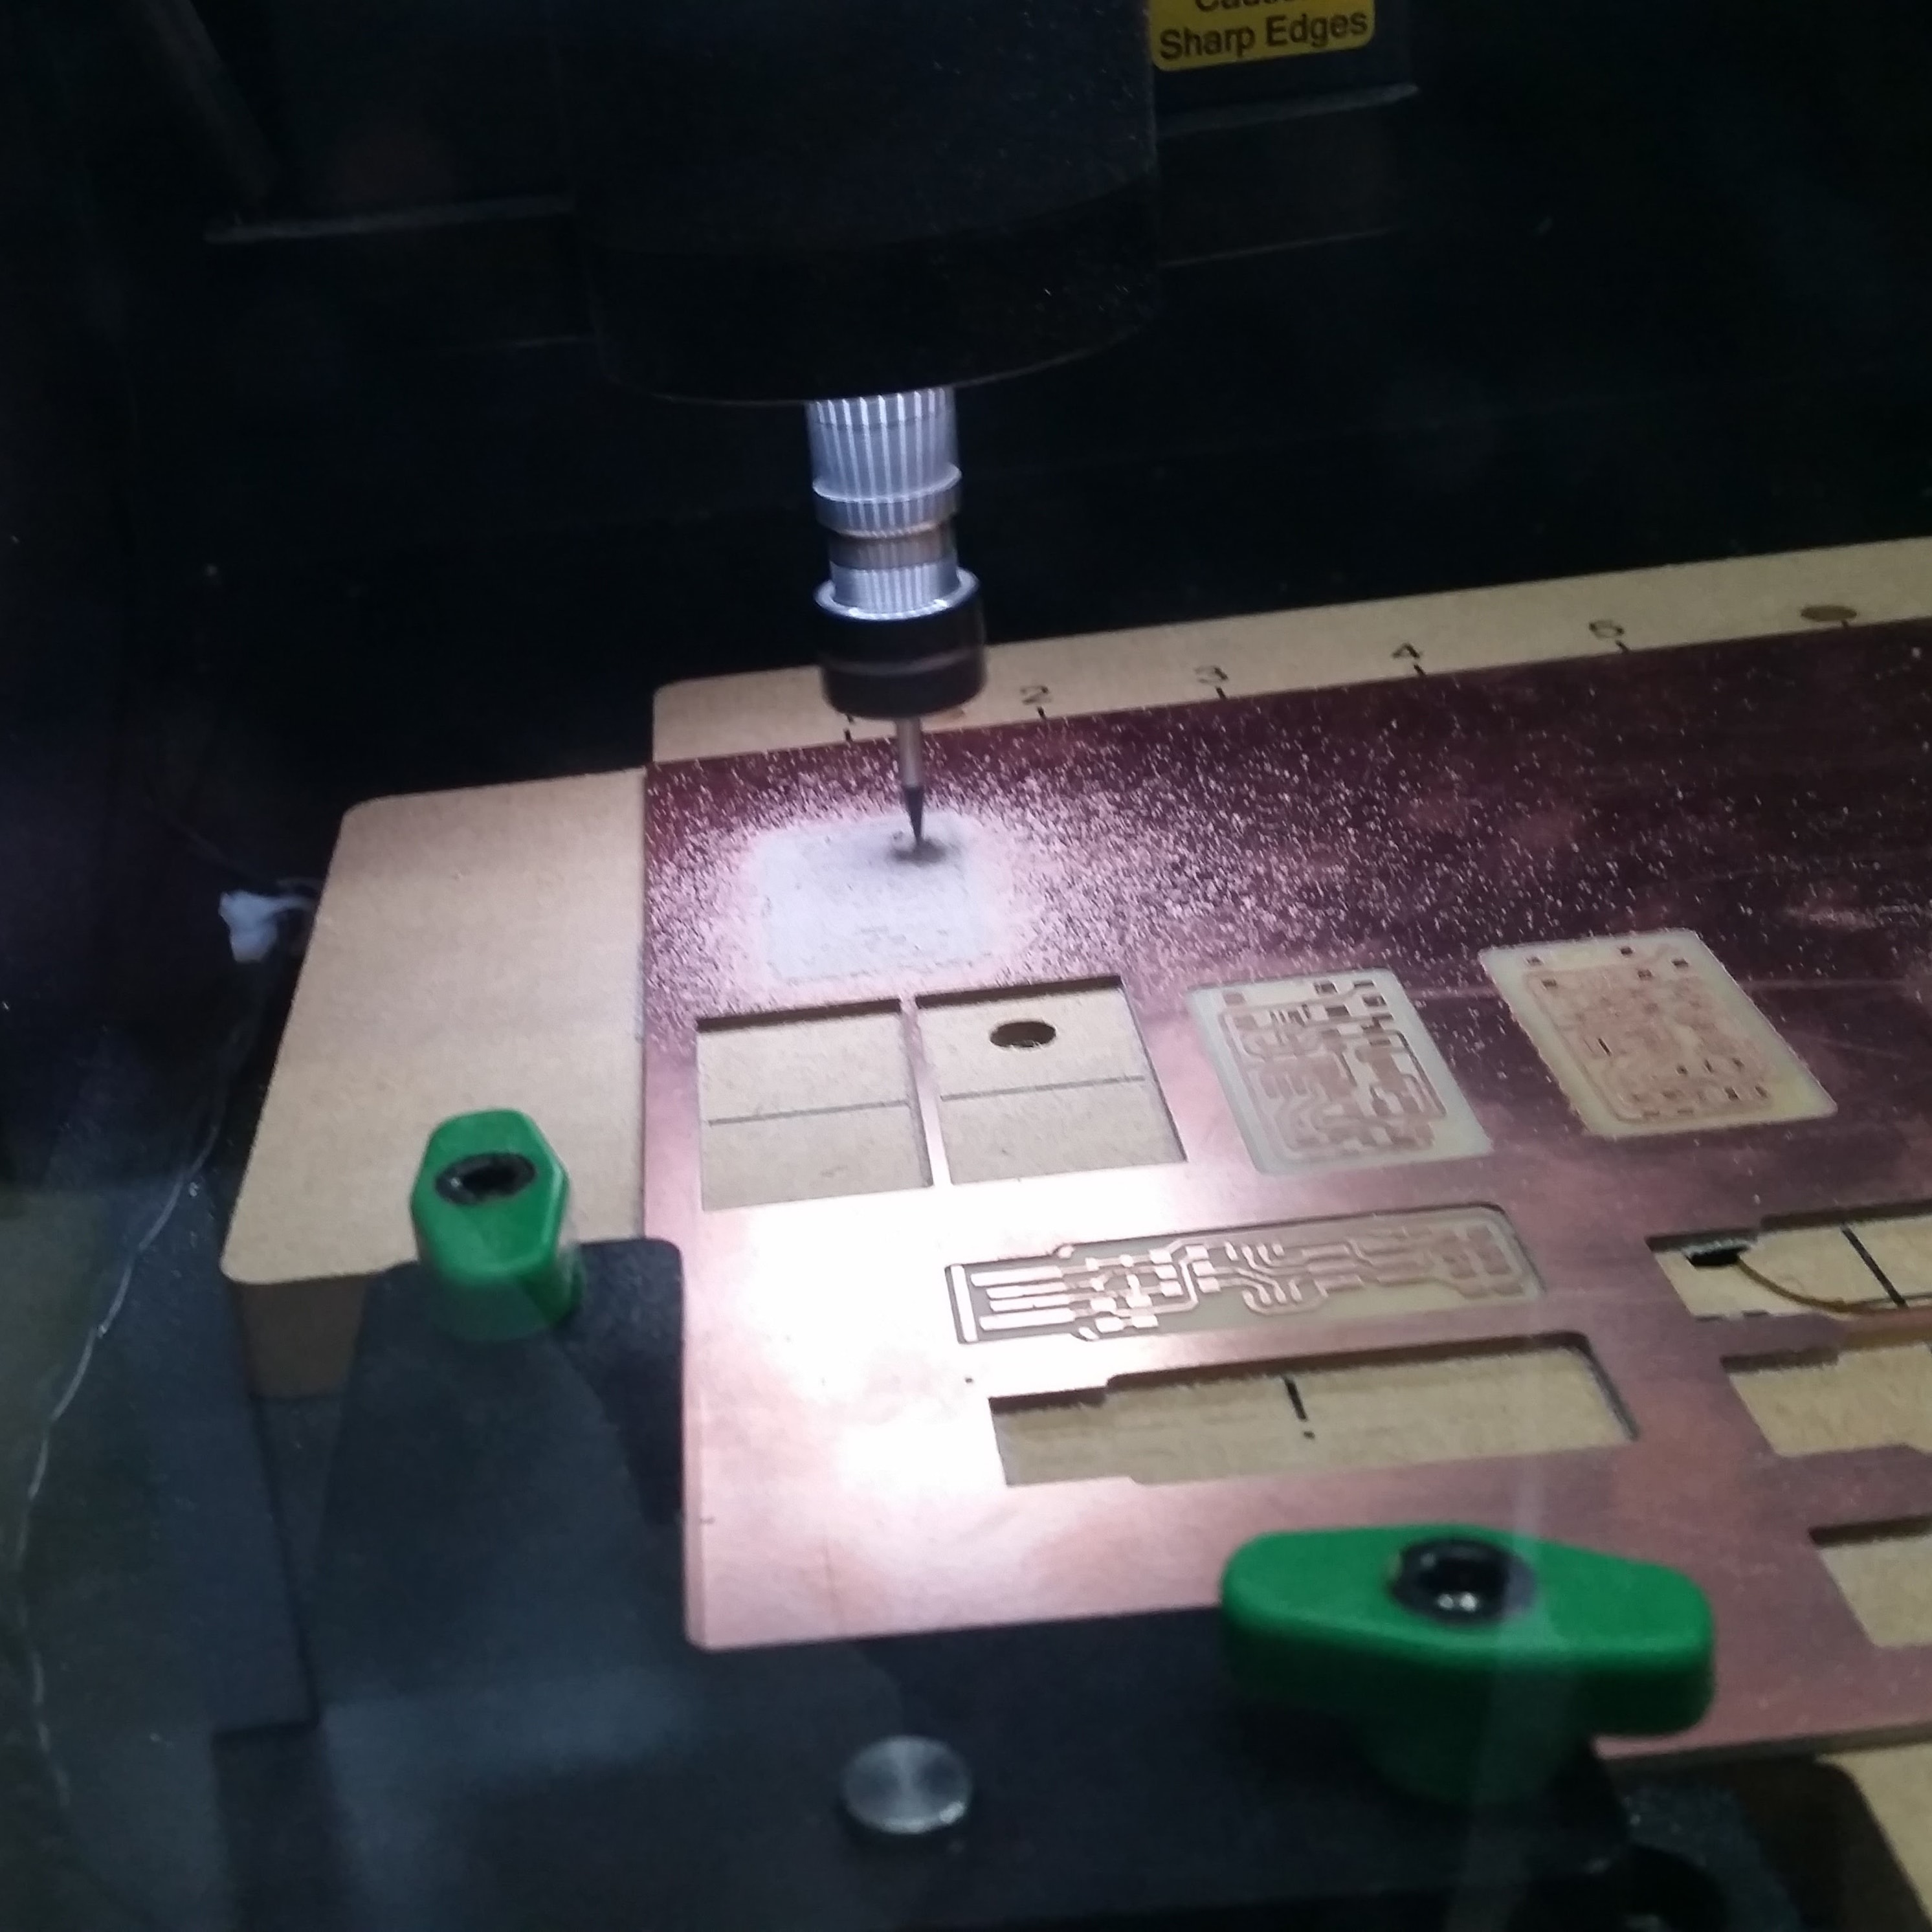
… Electronics production was a fight I took until the very end. We were producing our electronics on a semi-closed/proprietary CNC called Carvey. As an educational tool it carves wonders, and we managed to come up with a very simple workaround, which for simple boards like these, works very well.
That workaround, which I will describe first, allowed most of my colleagues to finish the course right there in 2017. In my case I was very unlucky using it and running against callibration problems.
At the lab, we thought that by having a small and precise milling machine available - in this case, the CARVEY - we would easily follow Fab Academy repositories steps and produce electronics would easily become a “walk in the park”. That wasn’t the case. Carvey revealed itself as a pretense open but quite close environment.
As a workaround and since Easel accepted SVG files, we were exporting Eagles boards as an High Resolution PNG, tracing it on Illustrator or Inkscape and after that saving the resulting file as SVG.
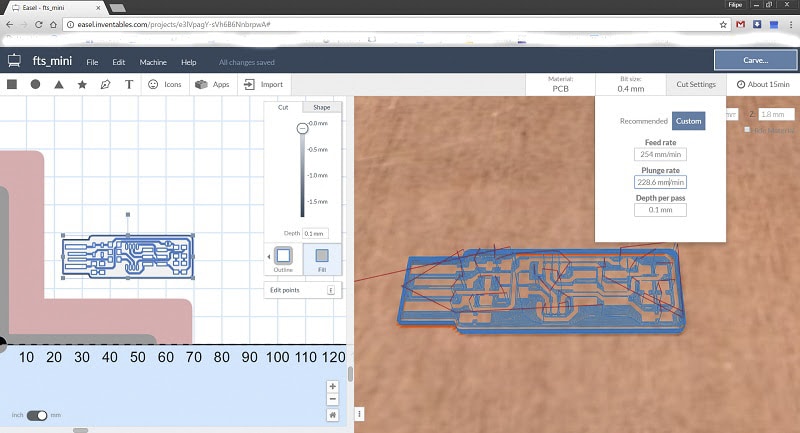 Easel - A very comprehensive and simple software the comes along in a free version
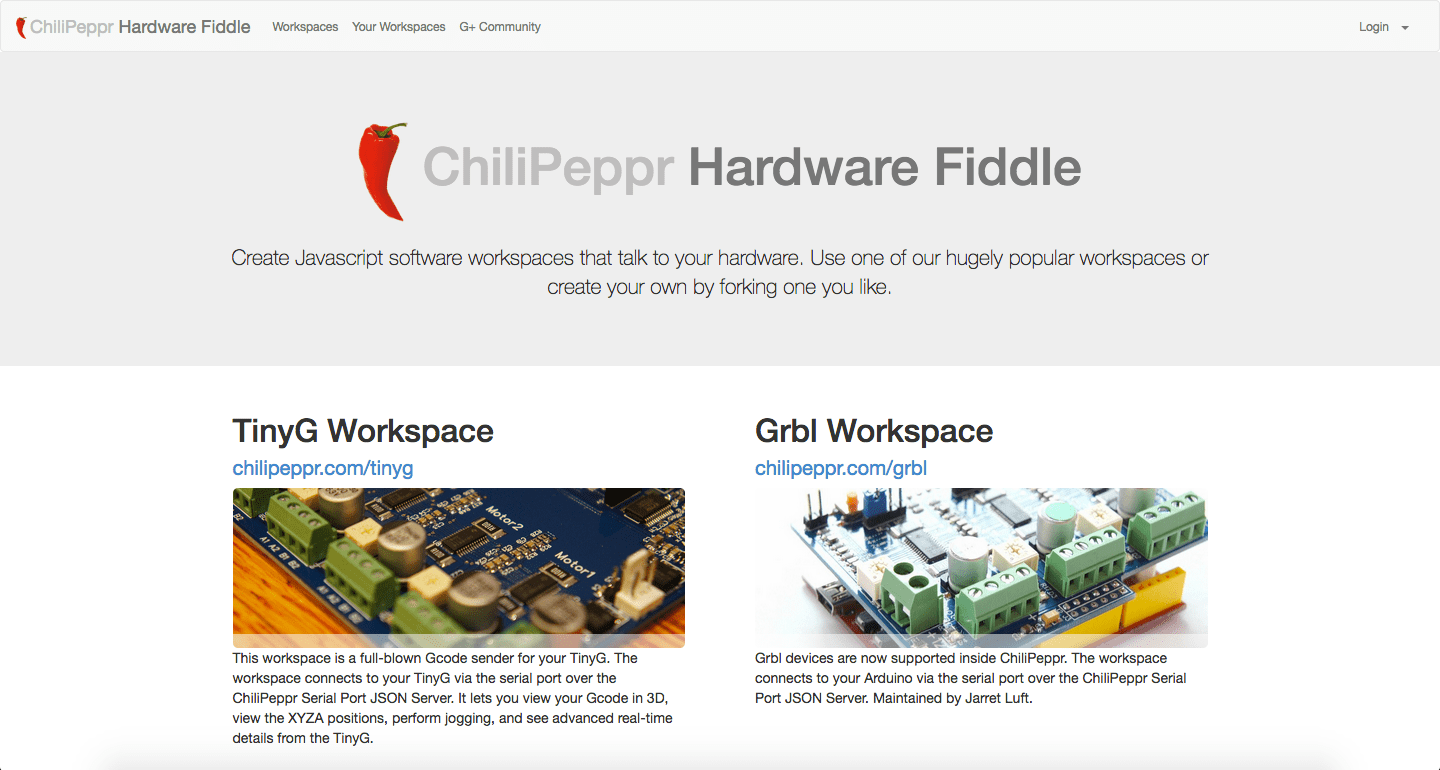 In this case we were using the Grbl Workspace
"EagleCAD -> ChilliPeppr -> CARVEY" Workflow
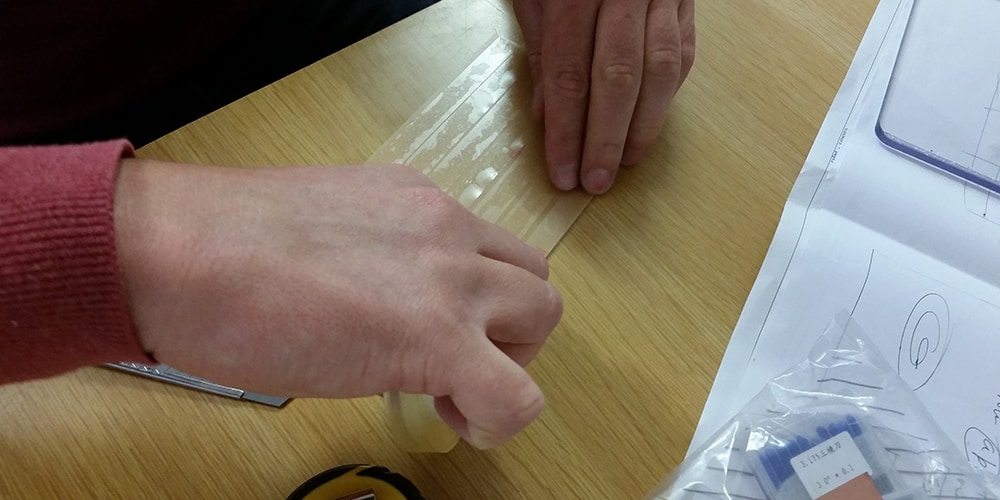
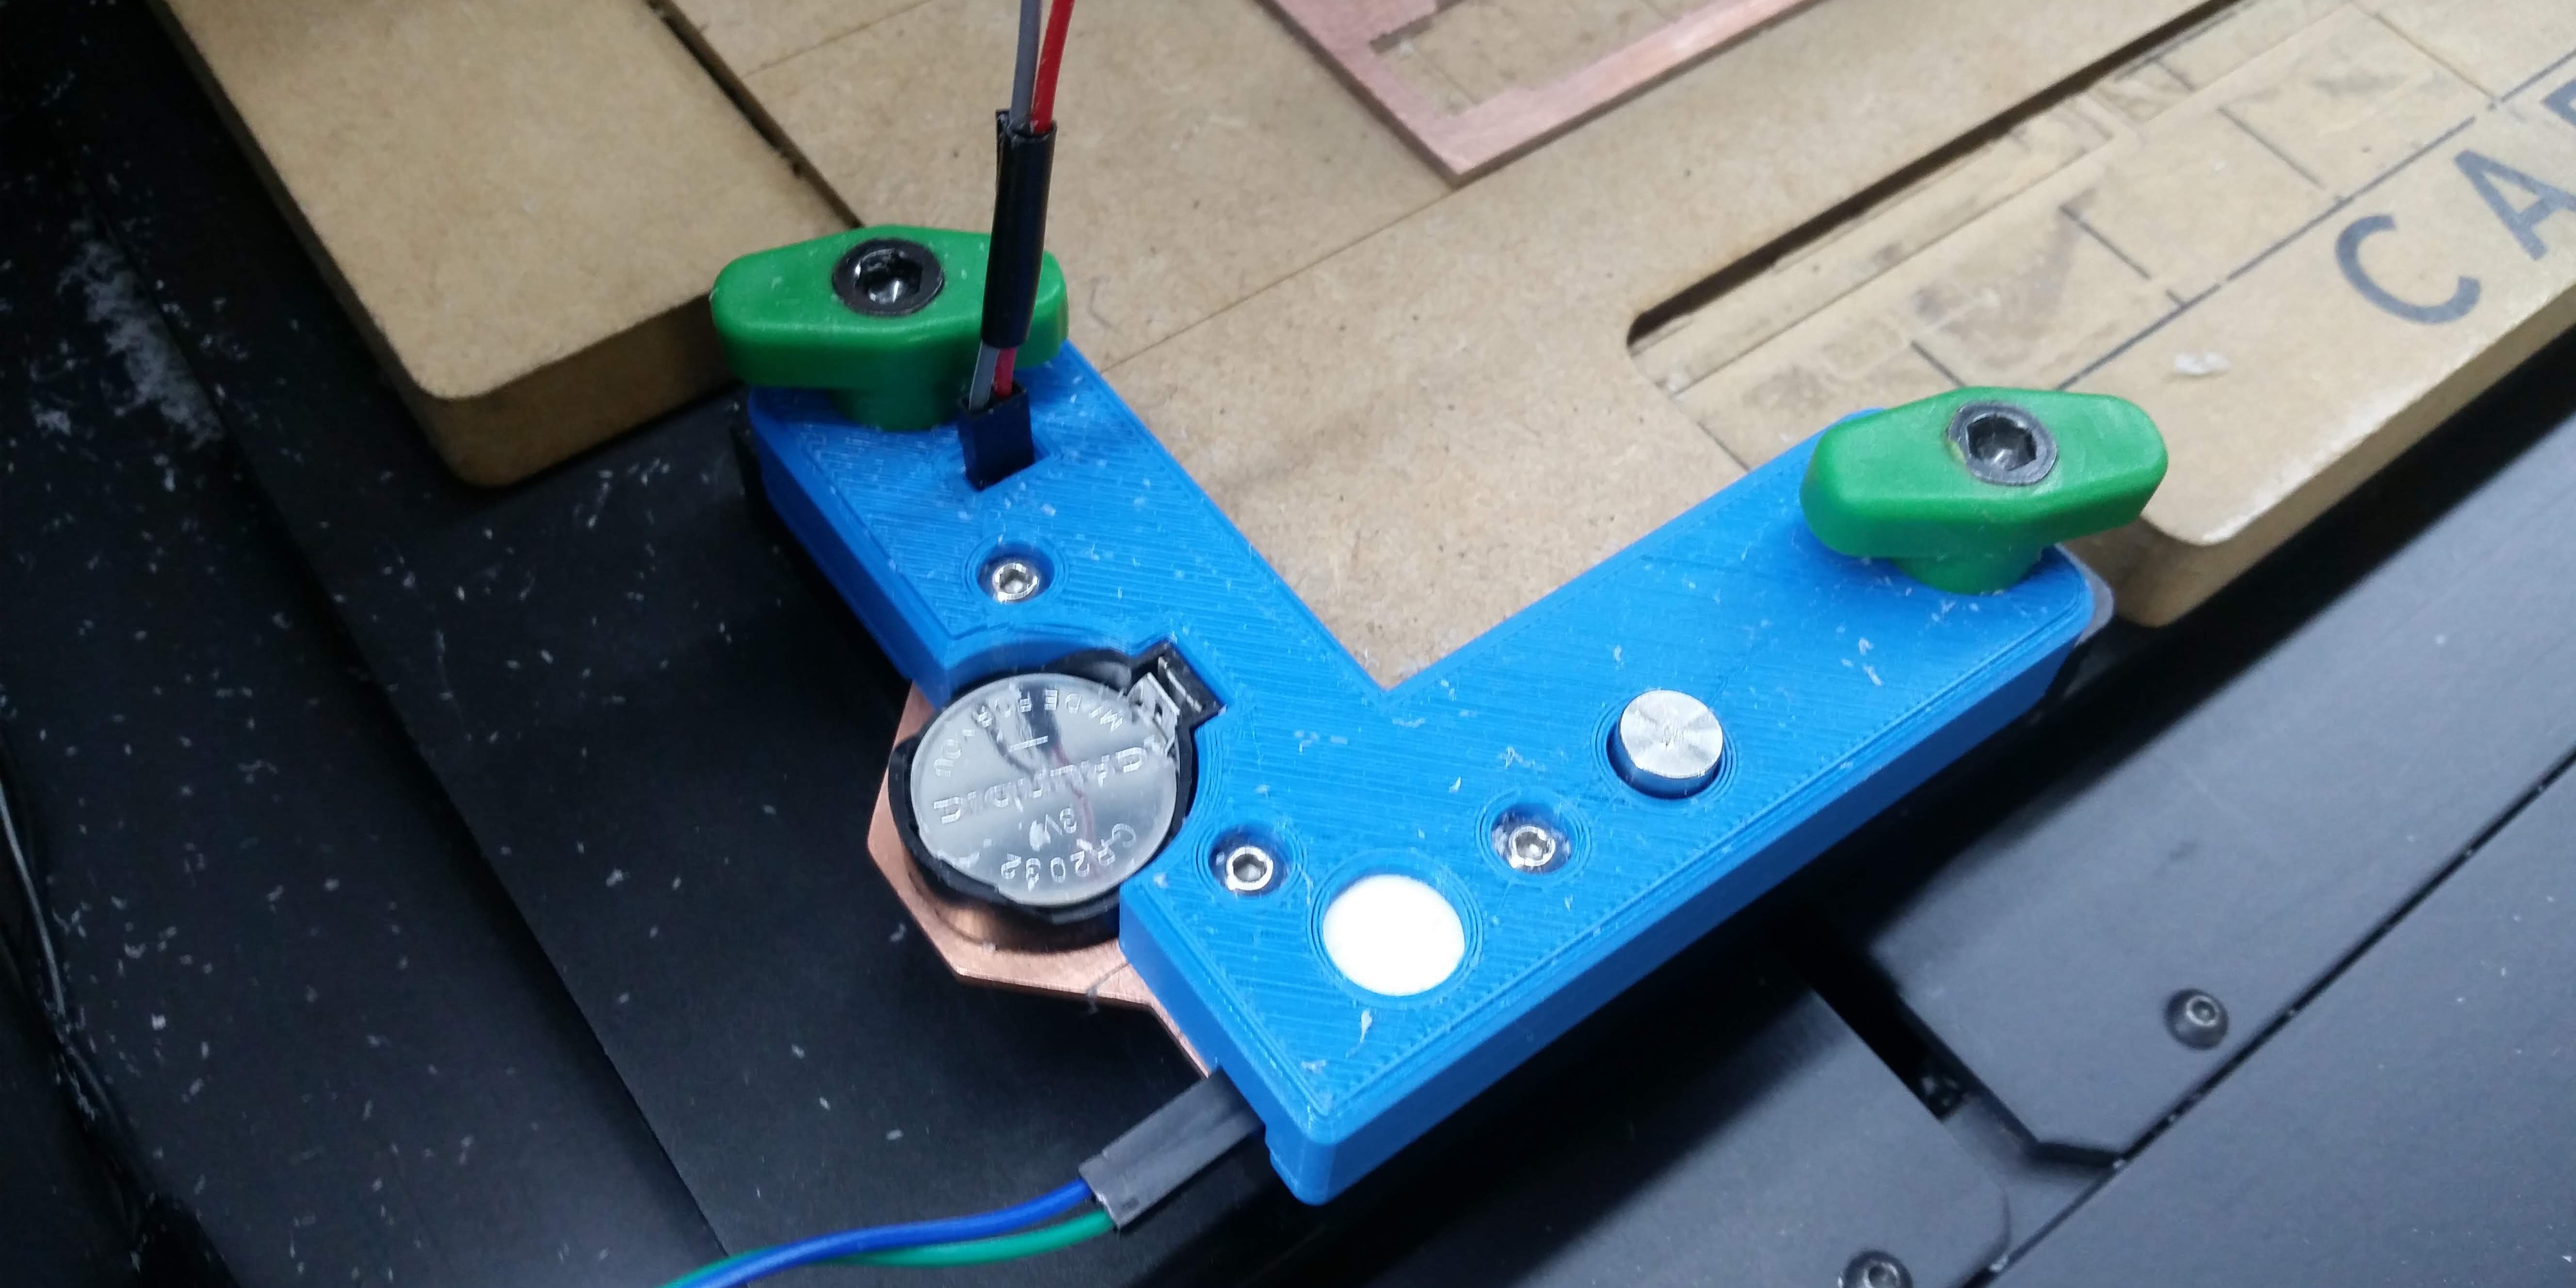 Filipe Silvestre designer and prototyped a new custom block and circuit to allow to use the PCB itself as a Surface Block
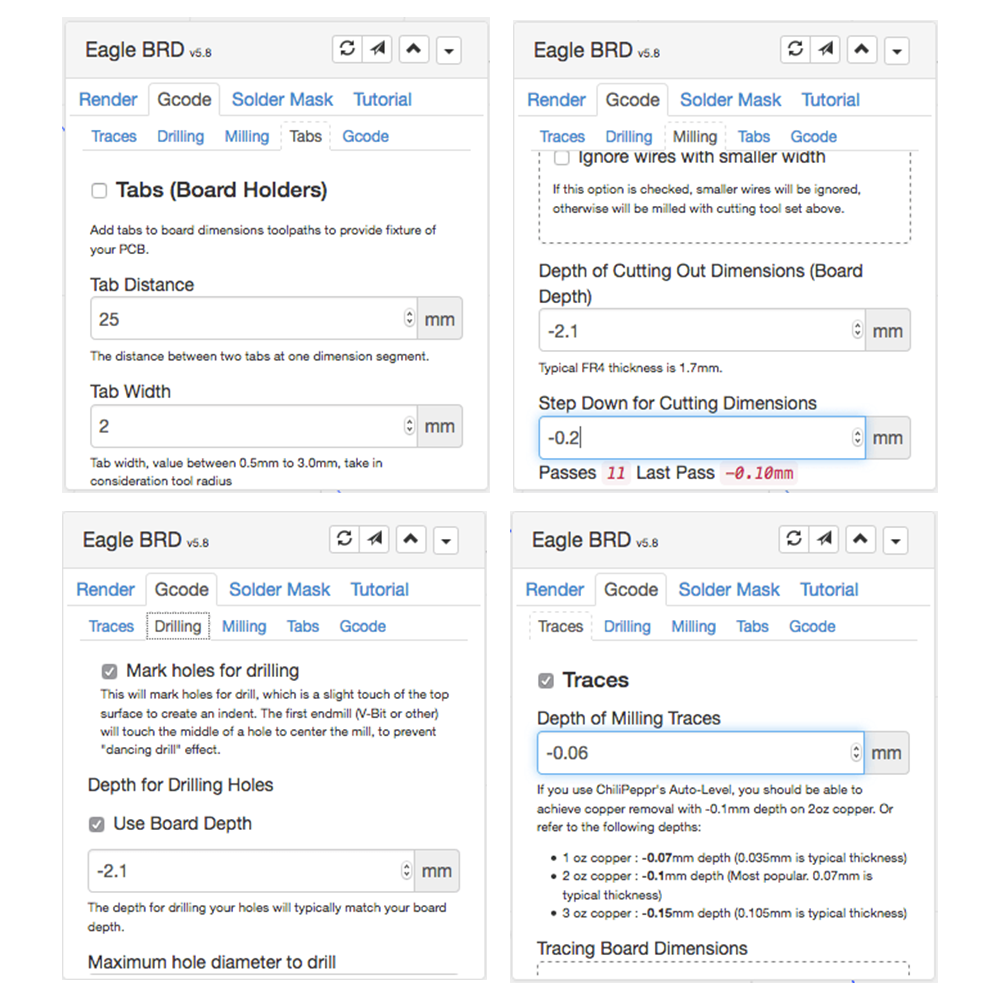 some important settings
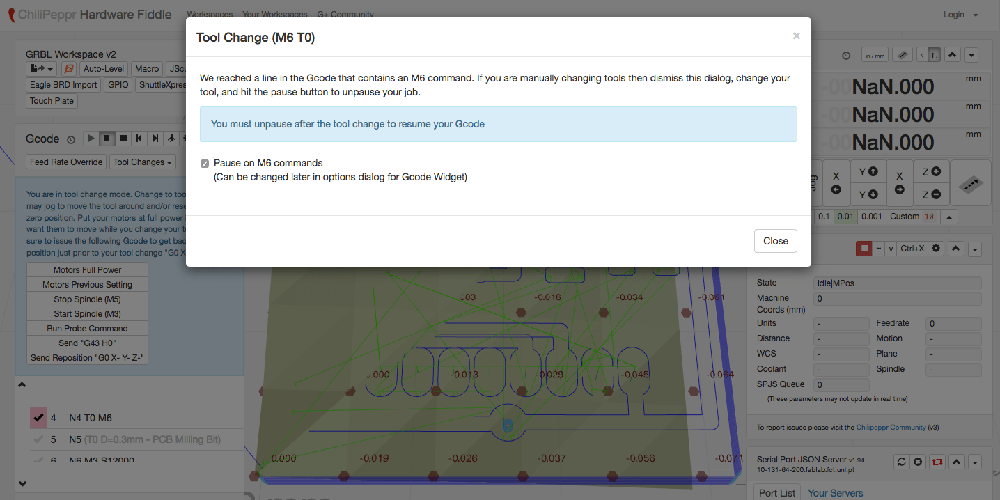 Then the machine will pause...
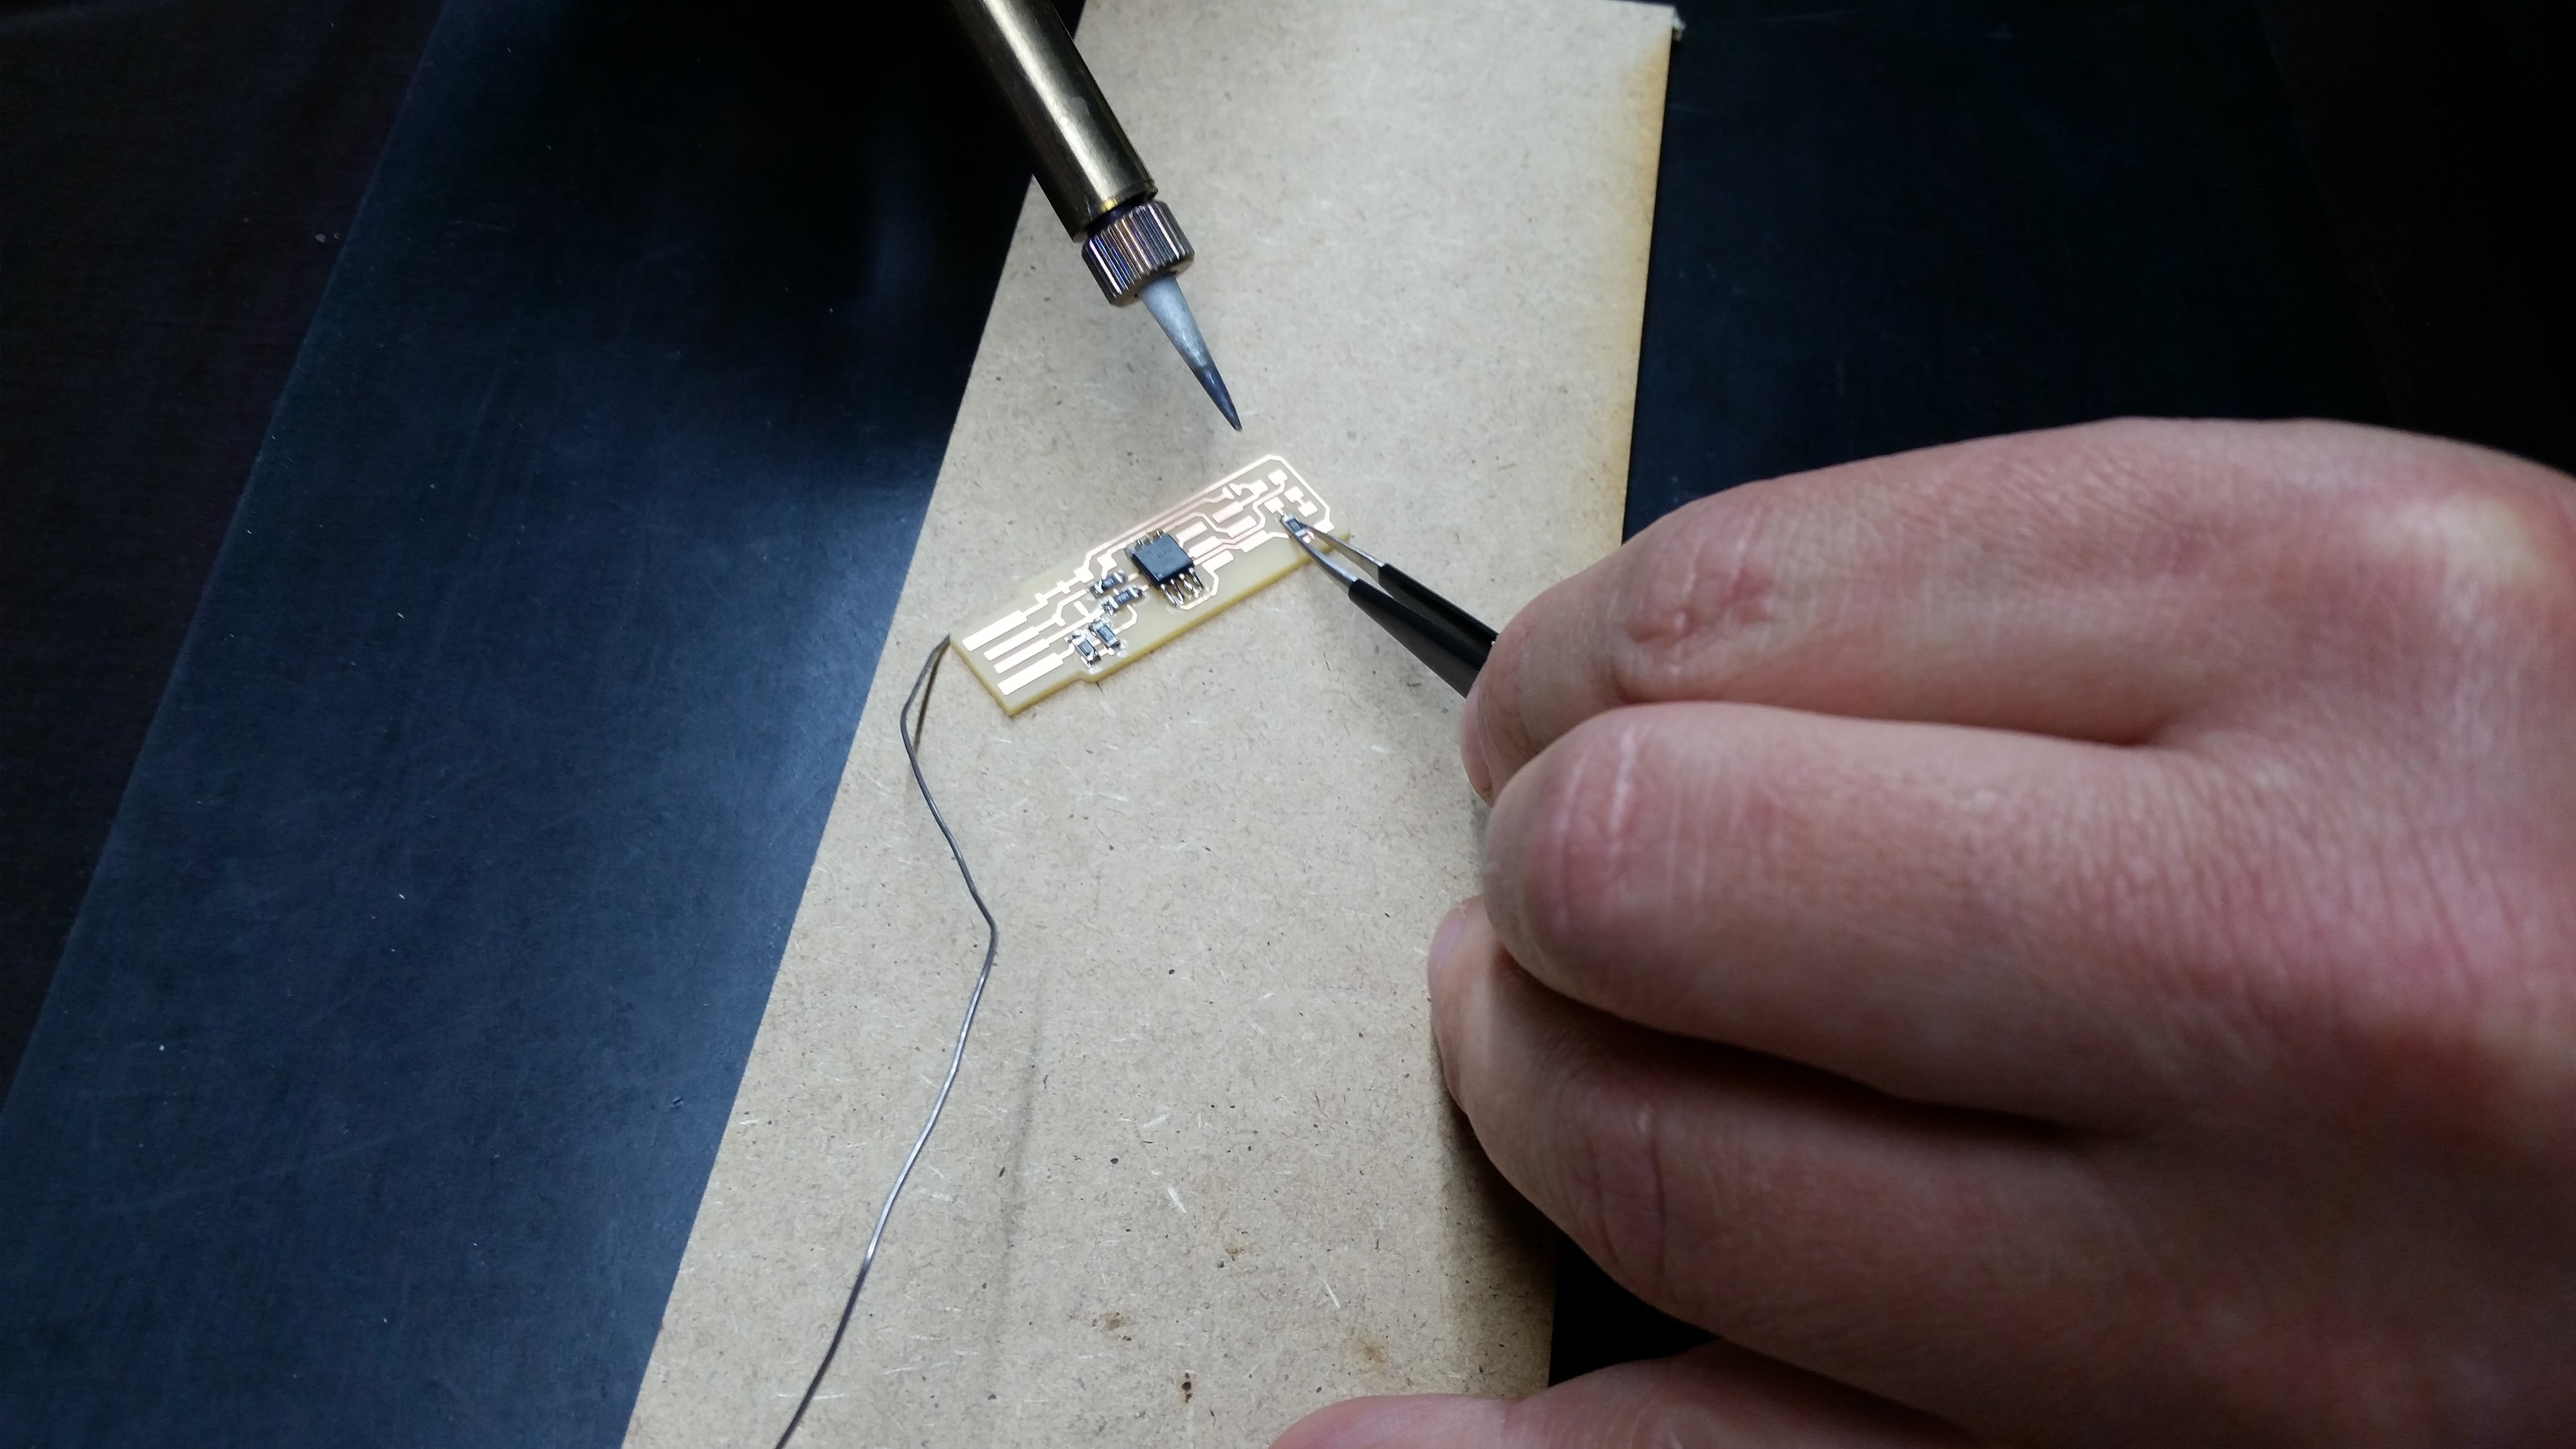
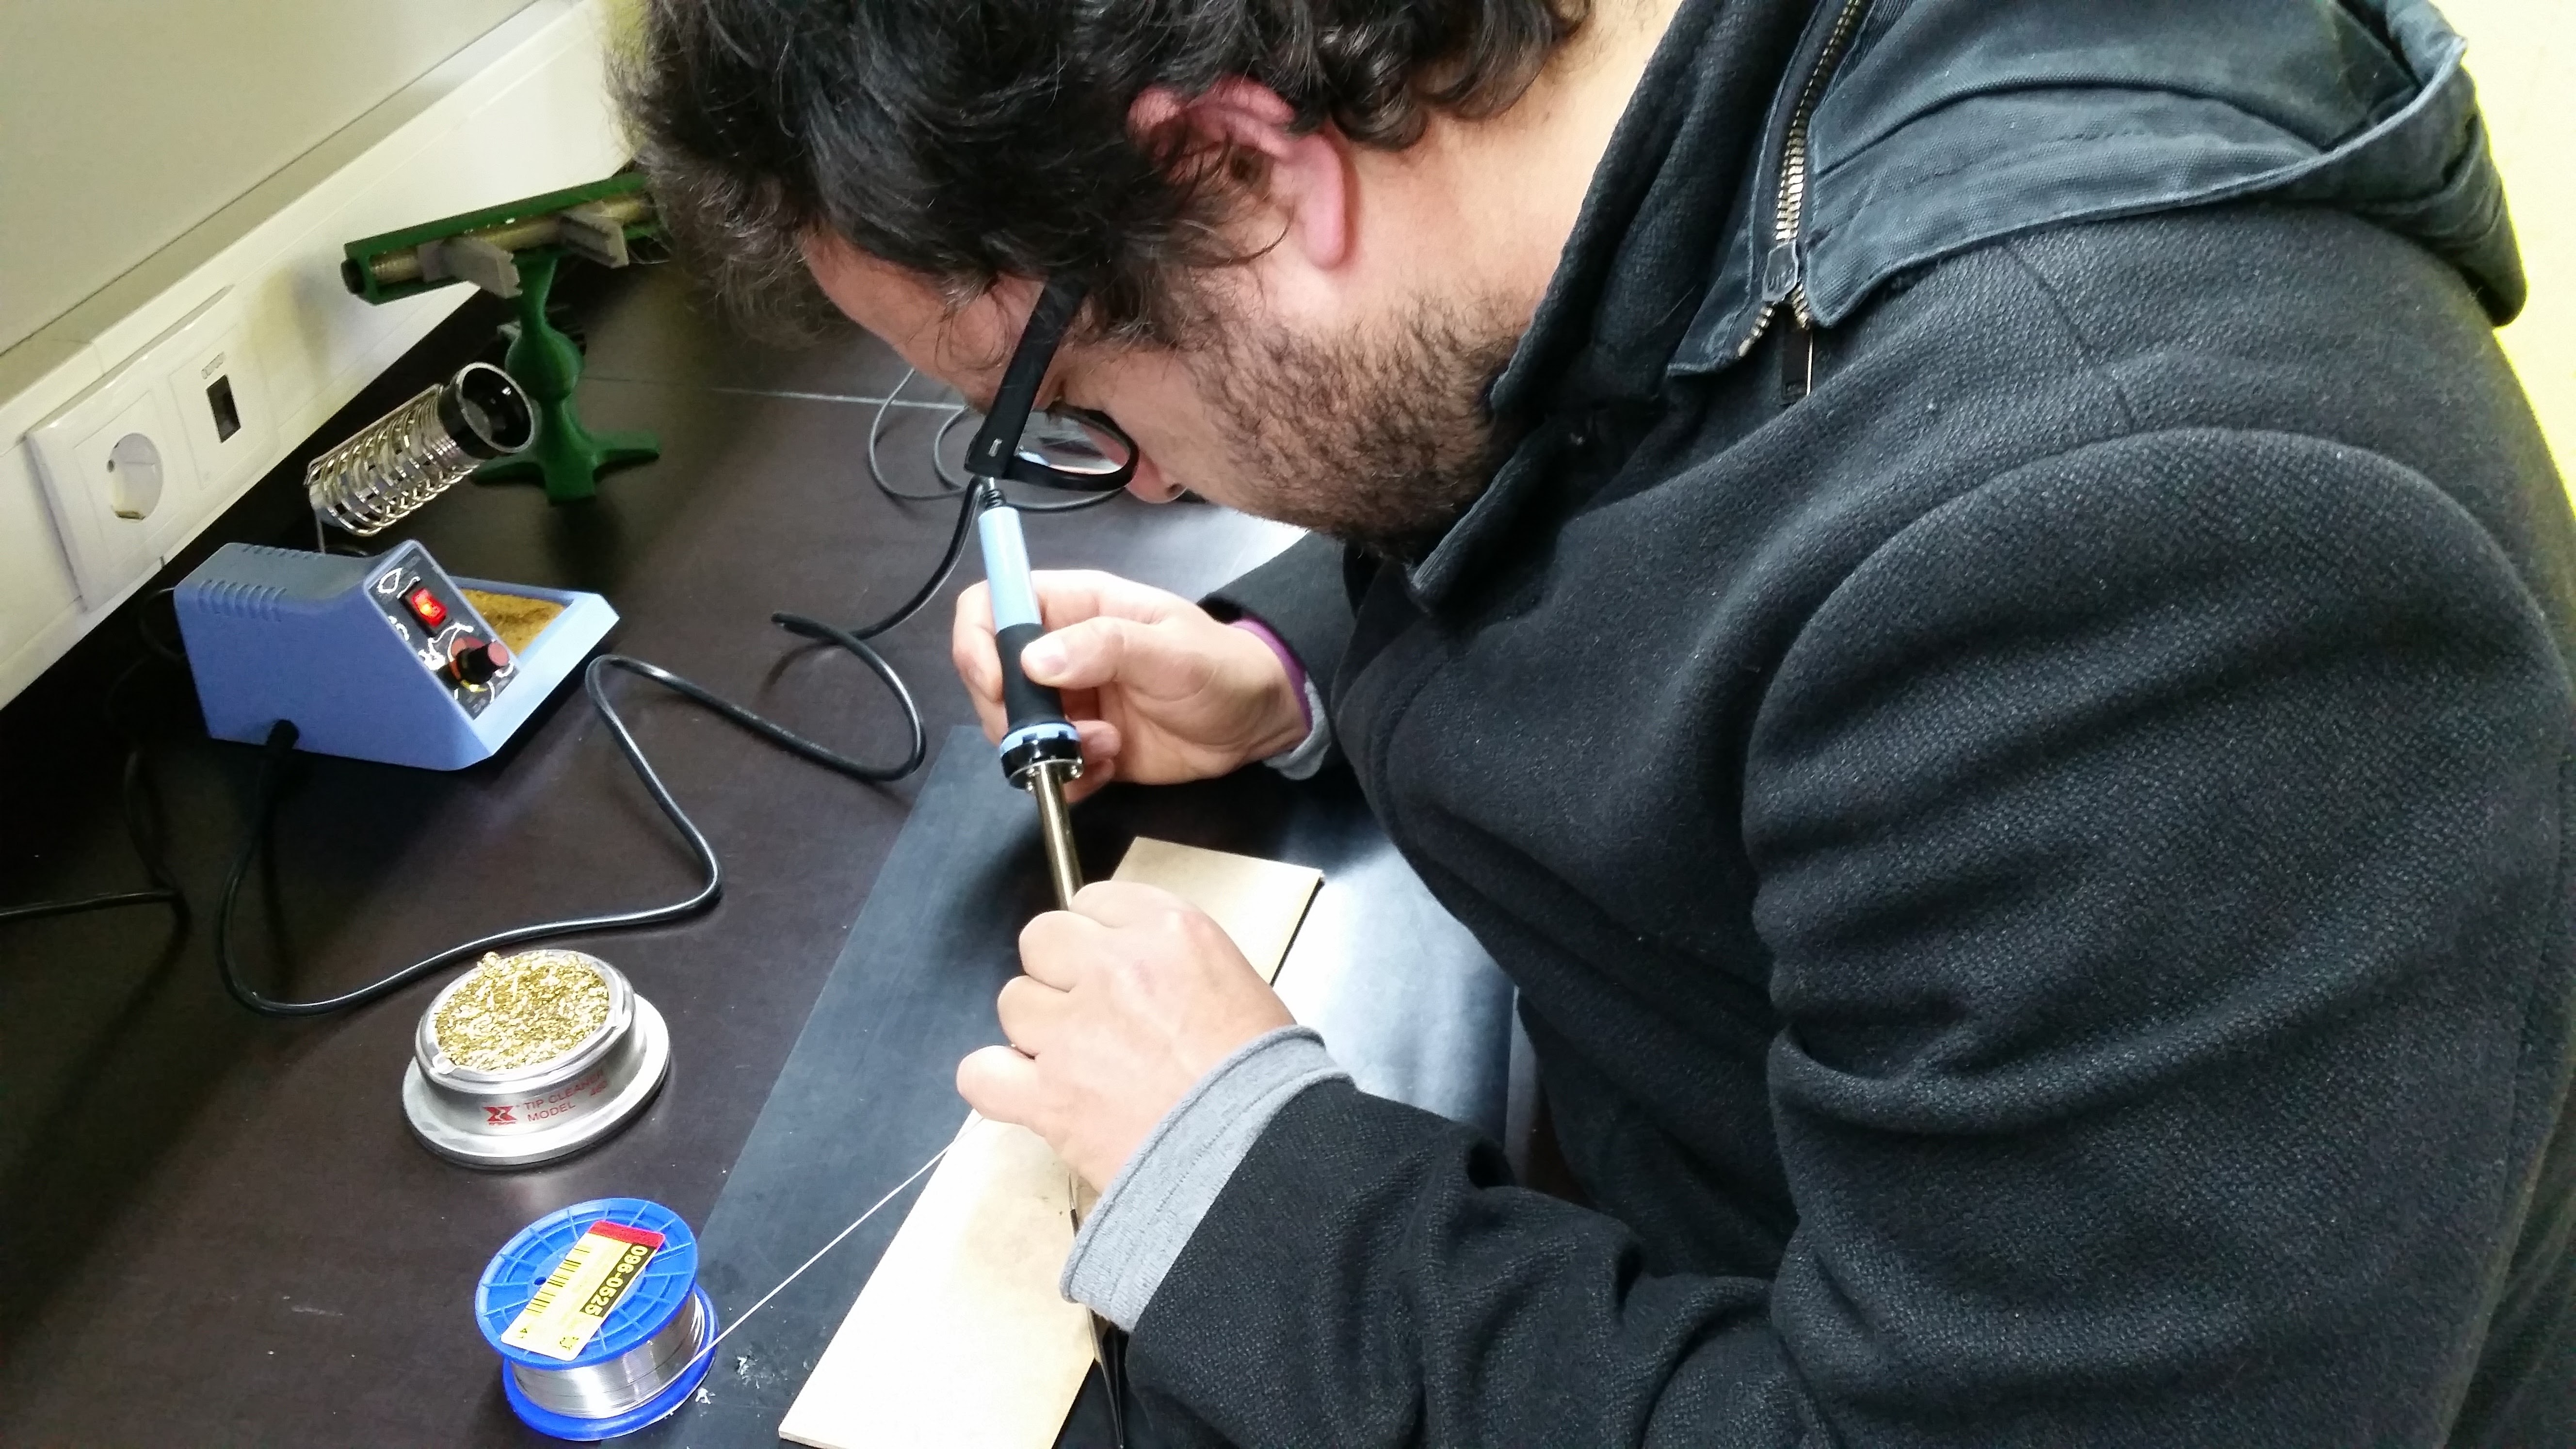
Since I suffer from myopia, which qualifies me as a nearsighted, welding a small SMD component is not a big issue. I usually apply a minimal amount of solder on top of the pads (really to color it). After holding the component tight to the board with tweezers, I apply heat with the iron, and when fixed, I use a little extra, allowing it to flow around and beneath gently.
My process follows this FabTinyISP programmer.
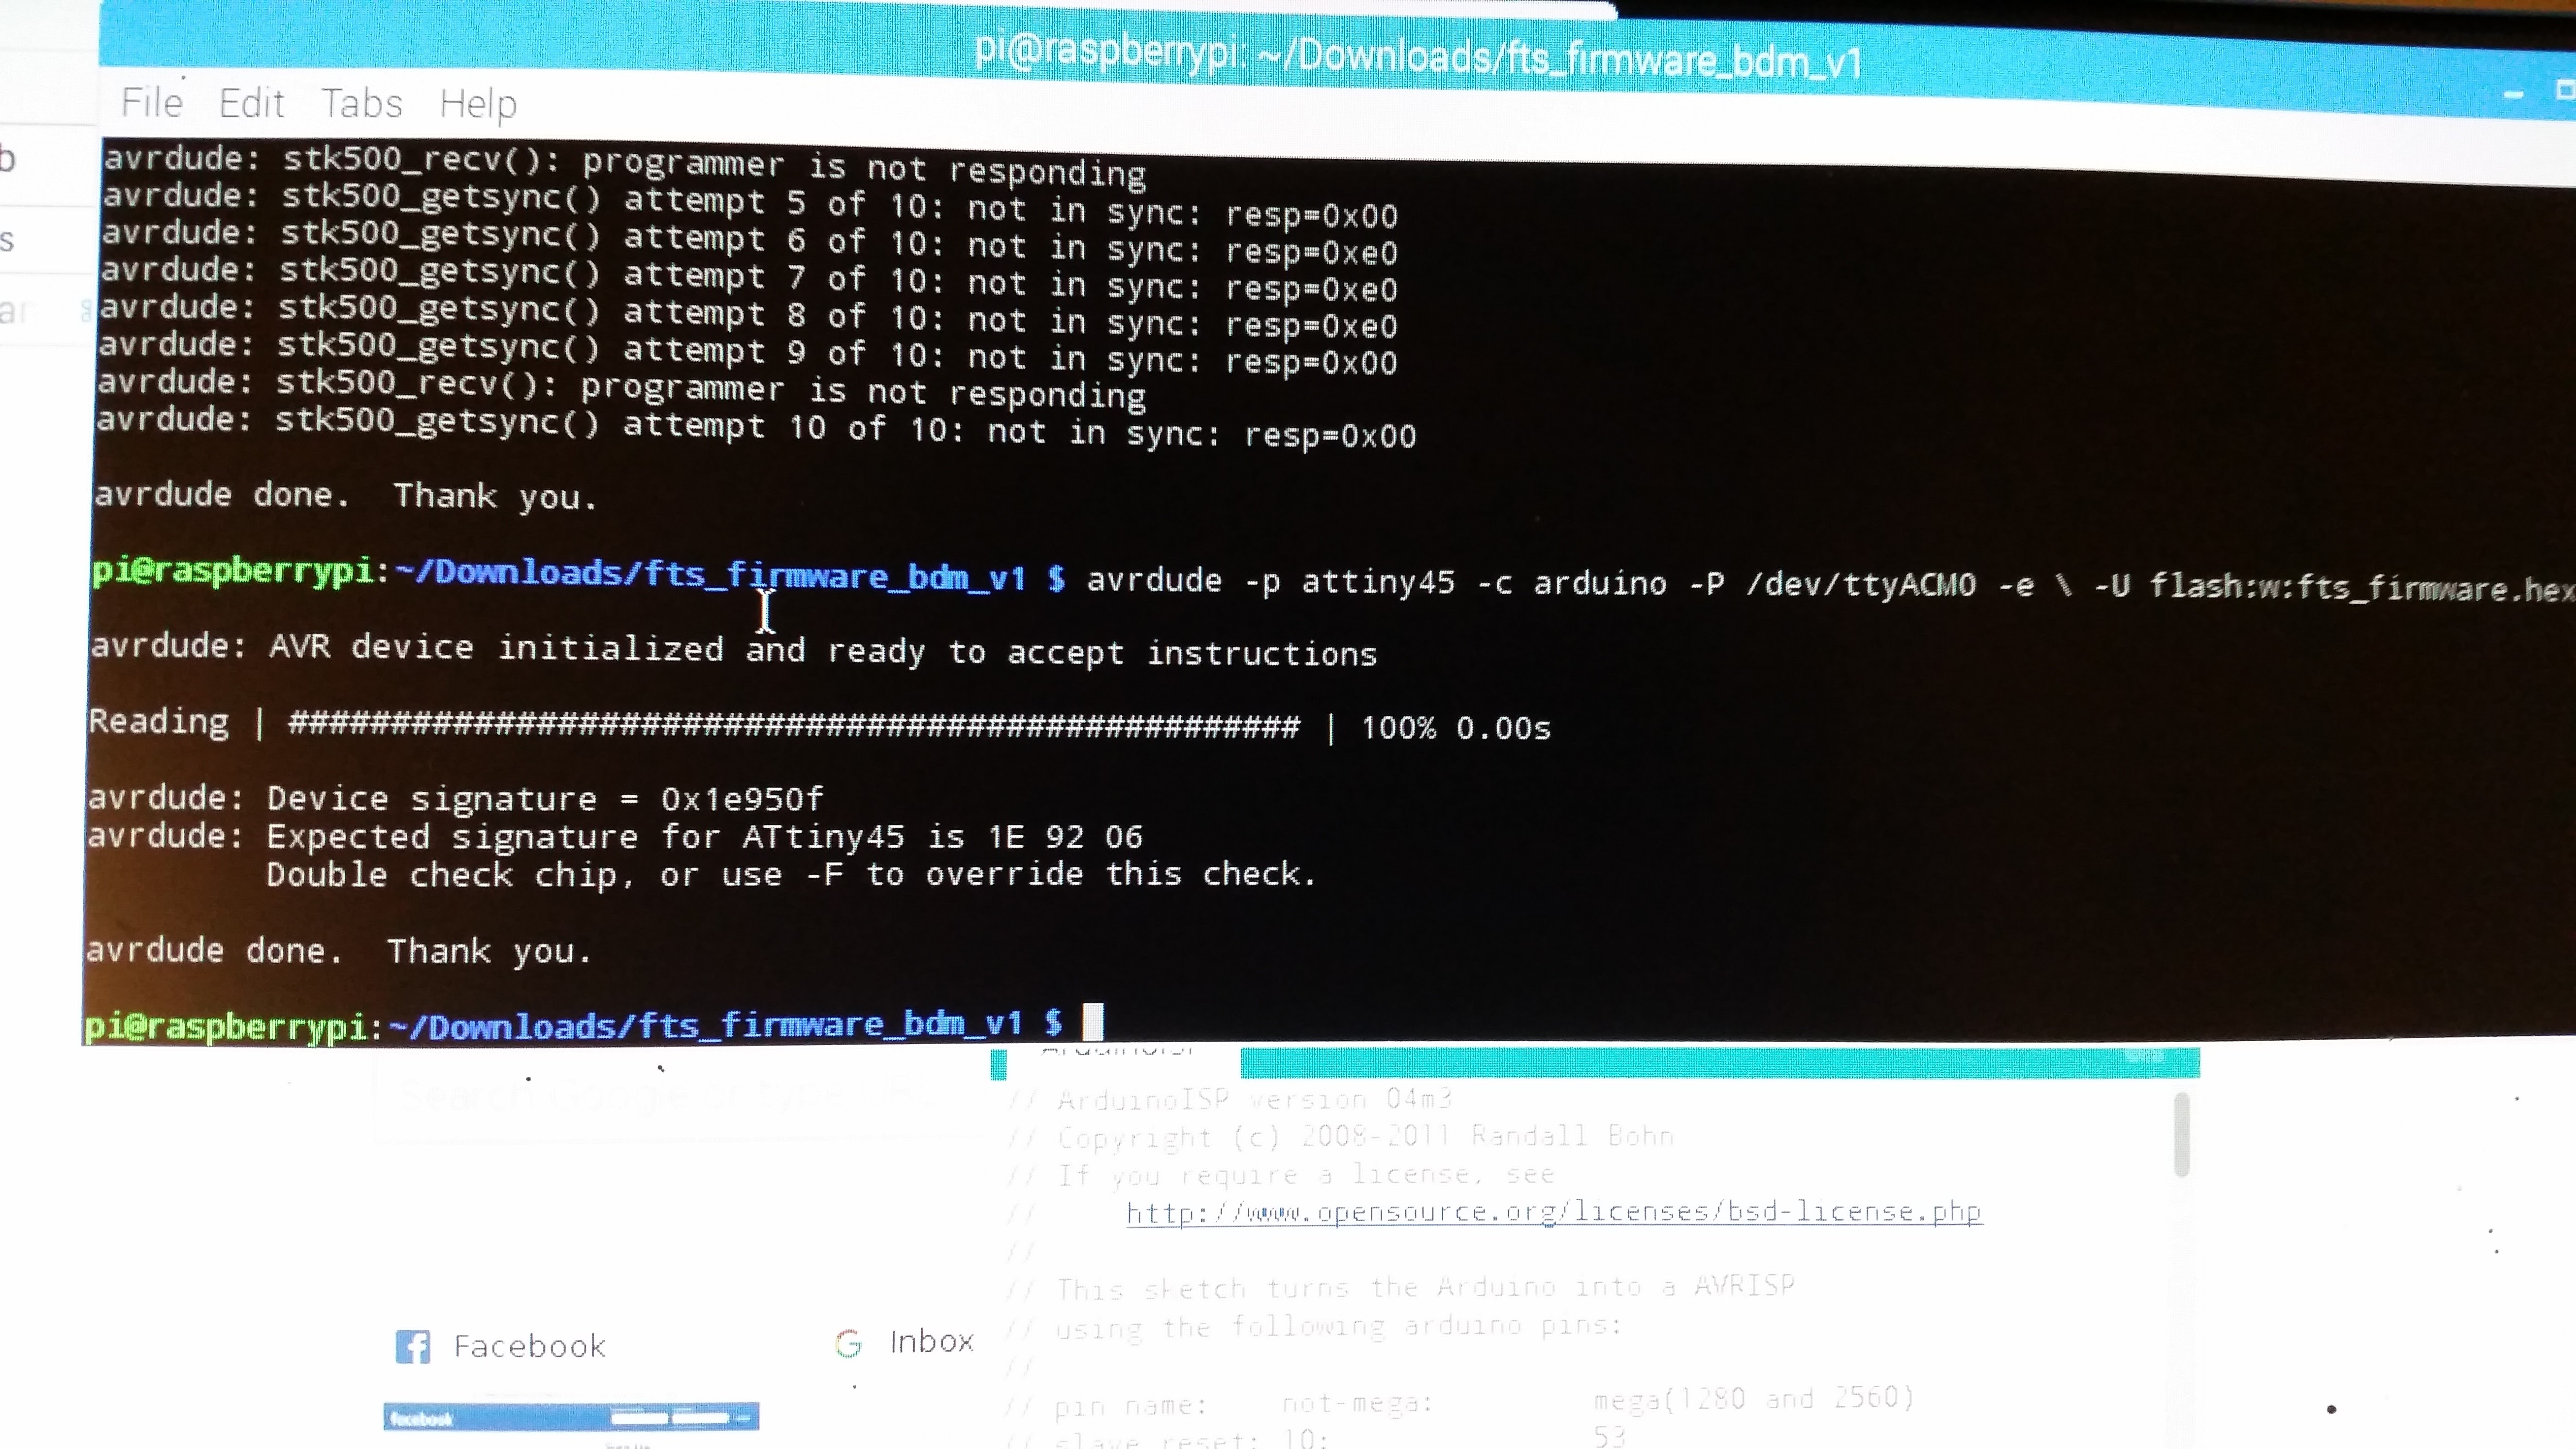 kept getting an unrecongized signature from the chip. In the end, after destroying one of the boards trying to fix it, I noticed that I was calling the wrong ISP programmer
I had a tough time starting translating the programming tutorial to the Mac. I tried it a lot of different ways, ending up with an Arduino as ISP formula that, also not working on Mac, I ended up using it on a Linux Computer (Raspbian to be more precise, on a raspberry pi. The process was then straightforward to follow.
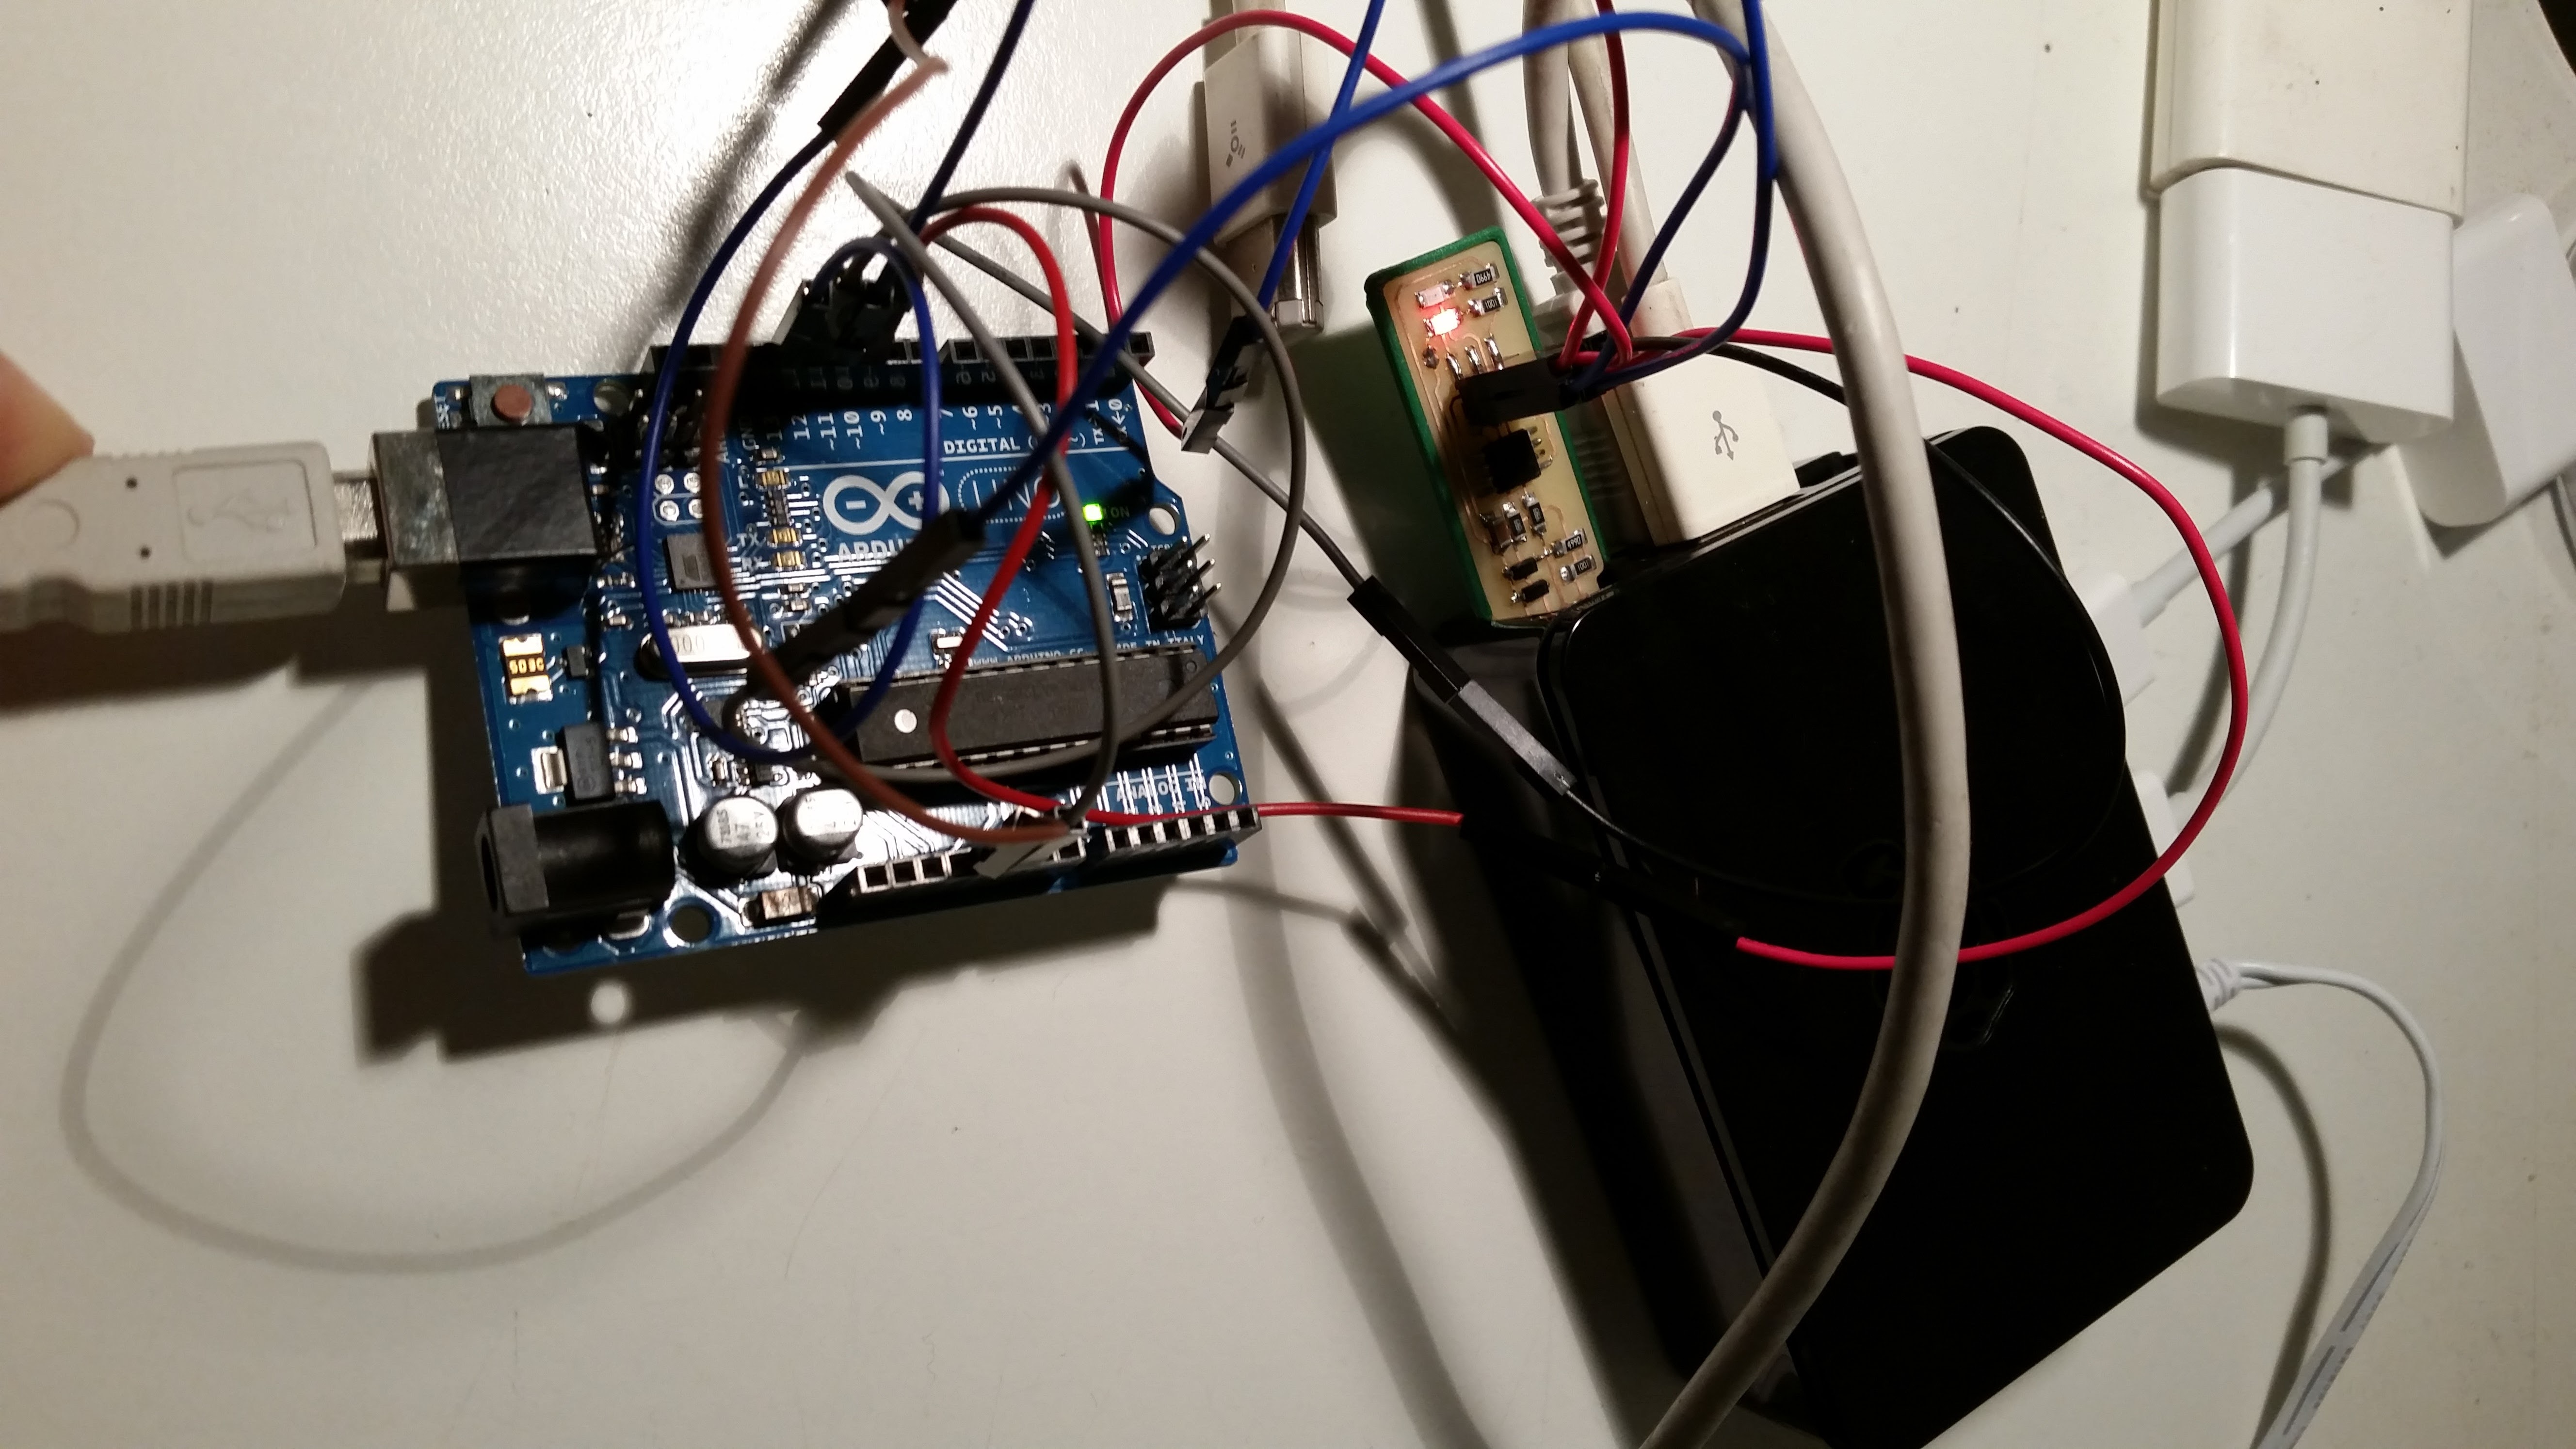 Arduino as ISP example
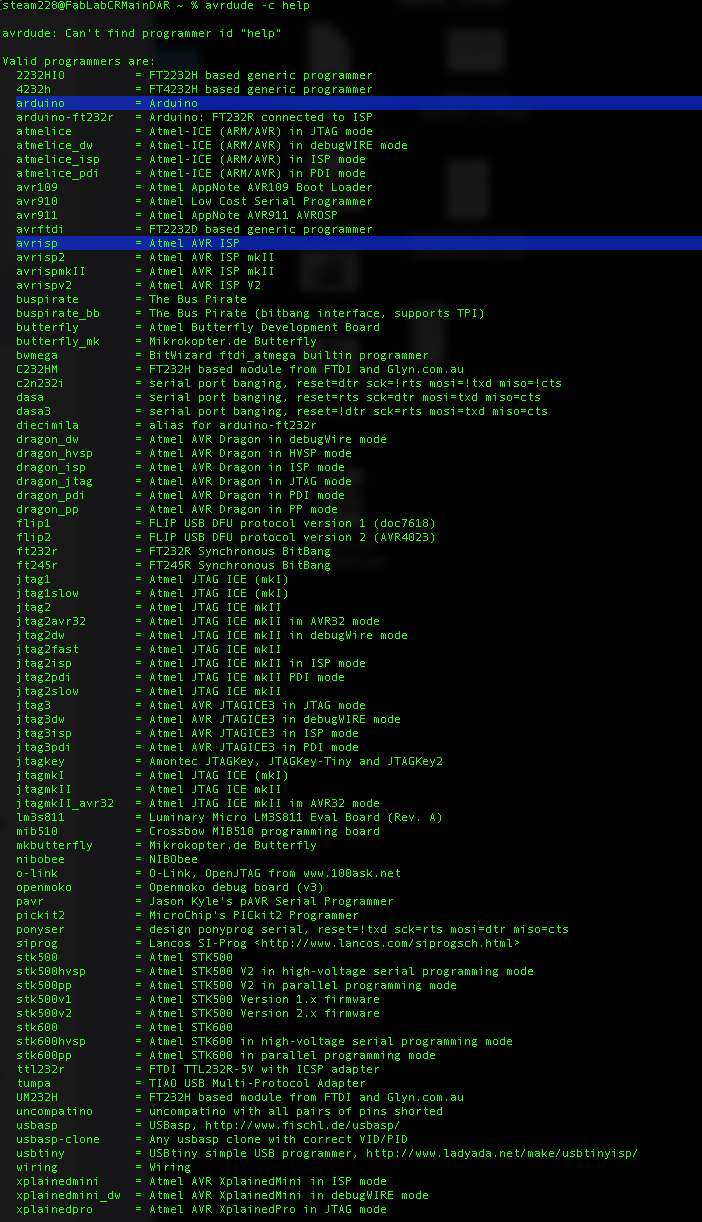
Since kept getting an unrecognized signature from the chip. In the end, after destroying one of the boards trying to fix it, I noticed that I was calling the wrong ISP programmer.
Turned out not being a Mac or Linux issue, but a minor confusion between assuming arduinoISP or Arduino as ISP.
in order to understand, I didn't use the makefile and instead I input all the needed commands, following the procedure
When indicating the programmer $ avrdude -c instead of arduino, I used avrisp and it run smoothly.
the formula would be something like this example: $ avrdude -p attiny45 -c avrisp -P /dev/ttyACM0 -e \ -U flash:w:fileWithFirmware.hex
all the rest, worked file by following Bas tutorial.