Molding and castimg
Reviewing the safety datasheet for the casting material:
This week I made use of Easyl 3520 and its catalyser, Easycat 20. Since both substances where purchased from the company Feroca, so I headed over to their site and I acquired the safety sheet for both products. As it turns out, both products have the same general safety specifications. Generally speaking:
-
One should not handle the material without some form of safety equipment to avoid contact with the skin (gloves, goggles, breathing mask).
-
Under no circumstances should the substance be snorted, ingested or allowed to make contact with person’s eyes.
-
Both substances have the same safety requirements, however it is emphasised that Easycat 20 is by far more caustic that Easyl 3520.
Making the Mould:
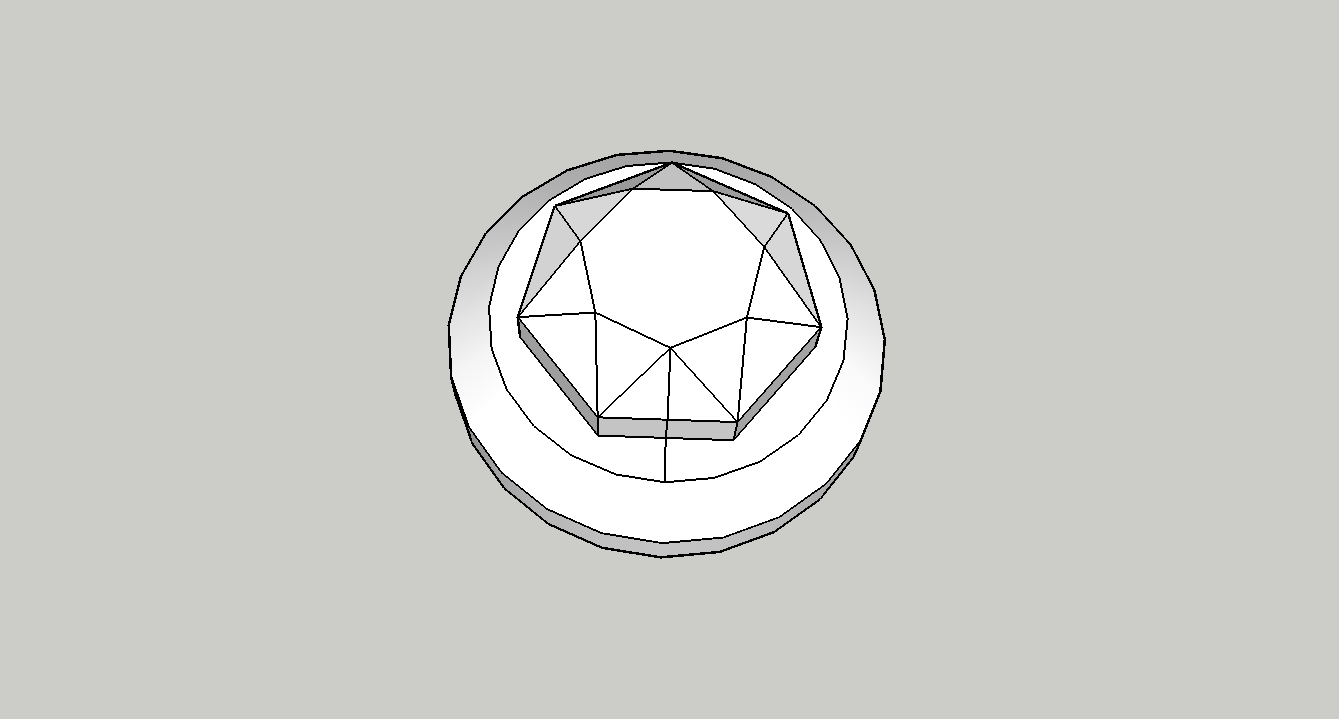
In order to make the mould I first created an STL of my design. Once more I used sketch up as I was working on a laptop away from my main CPU and I find fusion requires a level of hardware that my laptop cannot quite deal with. Sketch up on the other hand (be it by virtue of better optimisation or simpler design) runs effortlessly. Thus, I set out to created another heptagonal shape, ensuring that it had sloped faces to make true 3d, instead of what is usually refered to as 2.5D, an object that is 3 dimensional in theory, but that only requires two axis to machine, rather than three.
Once my file was ready I exported it into STL format, making sure to set it as a binary STL rather than ASCCI, as Fab modules can only read Binary STL files. Then I loaded the file into Fab Modules and used that to generate the Gcode for the Roland Mill which I would use to cut out the shape from a block of wax. The cut is done is two parts: Rough and precise. First I calculated the rough path and milled it out, which generates the rough shape of the mould.
Then I generated the precise cut, which finished the rought cut by adding the various details to the mould.
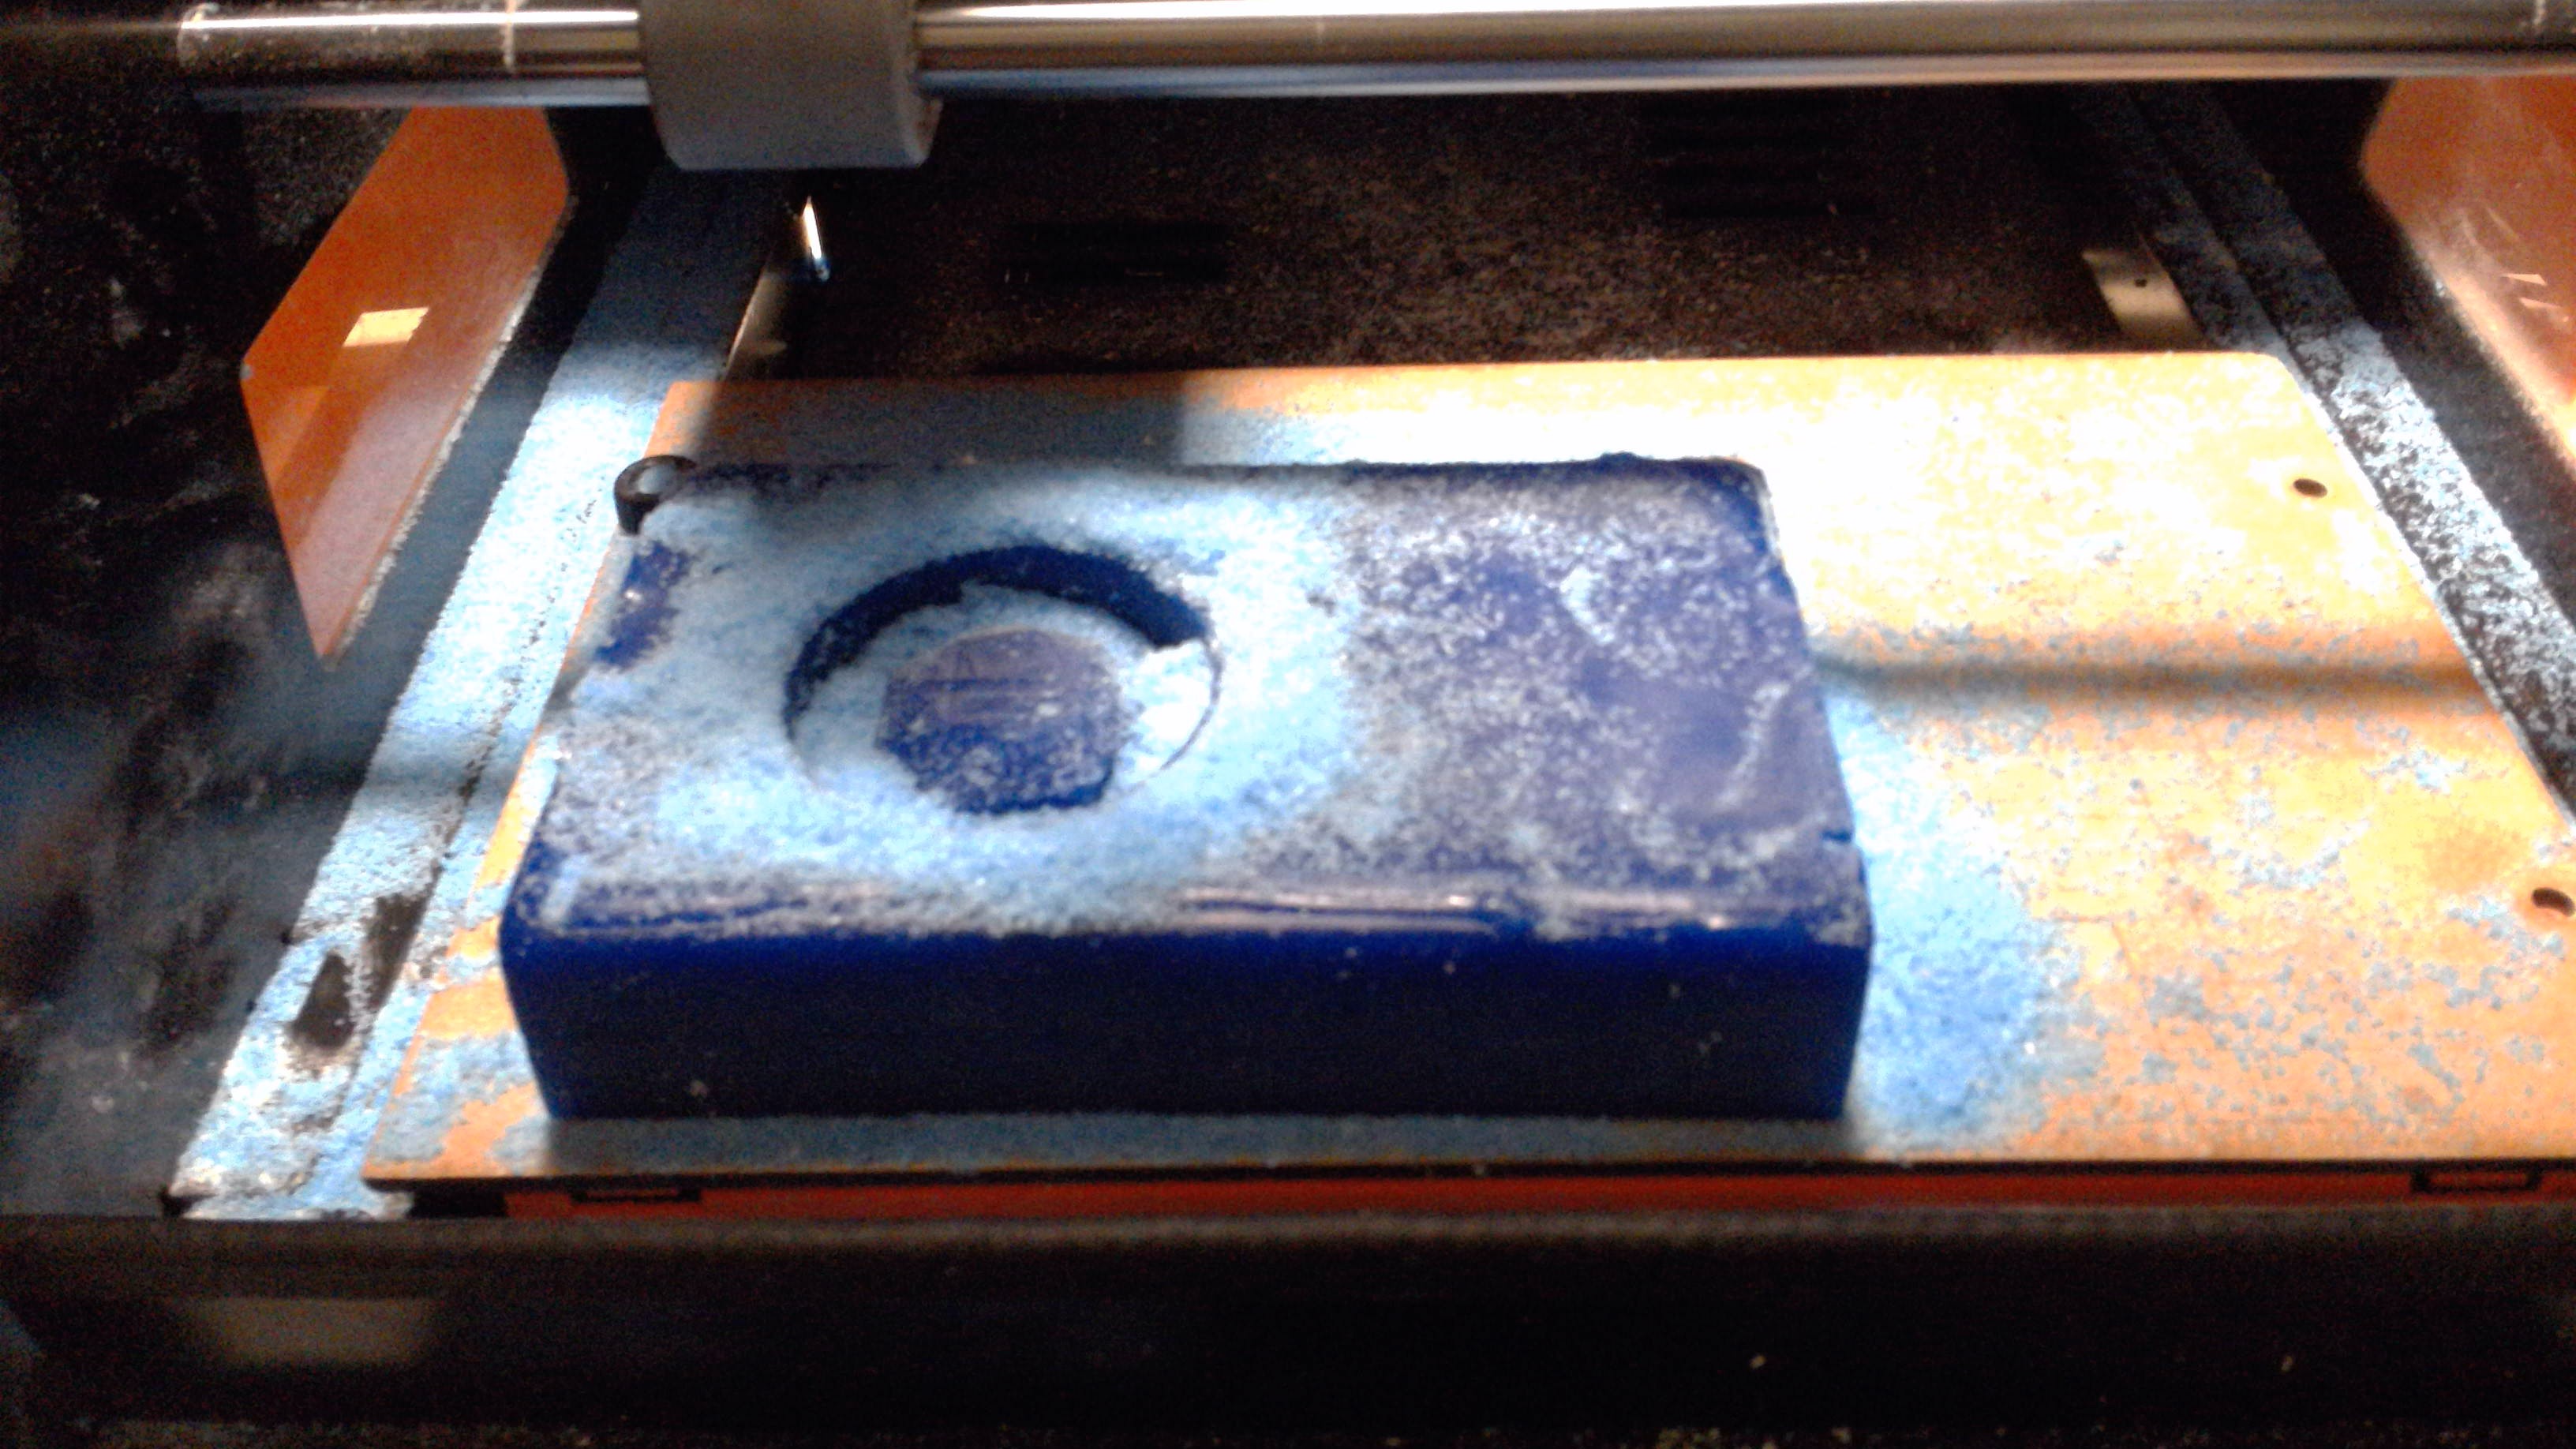
Once I had my gcode, I proceeded to prepare the mill. I secured the wax to the board with a hefty ammount of double sided tape. Then I set the X, Y and Z, loaded the 1/8 mill and proceeded to cut.
Once the wax mould was created it was time to fill it with silicone. I mixed the Easyl with the Aasycat at a 20:1 ratio, stirred the solution for around a minute, and then poured it into the mould. I then waited 24h before removing the silicone and trimming the overflow.
Once I had my mould finished, it was time to test it. I considered various materials, but in the end decided on using candle wax (it seemed to be poetic, considering the mould had also come from wax.
I placed wax in a hot pan and melted it, making sure not to burn it. The wax melted rather quickly and I was surprised to see it become almost transparent
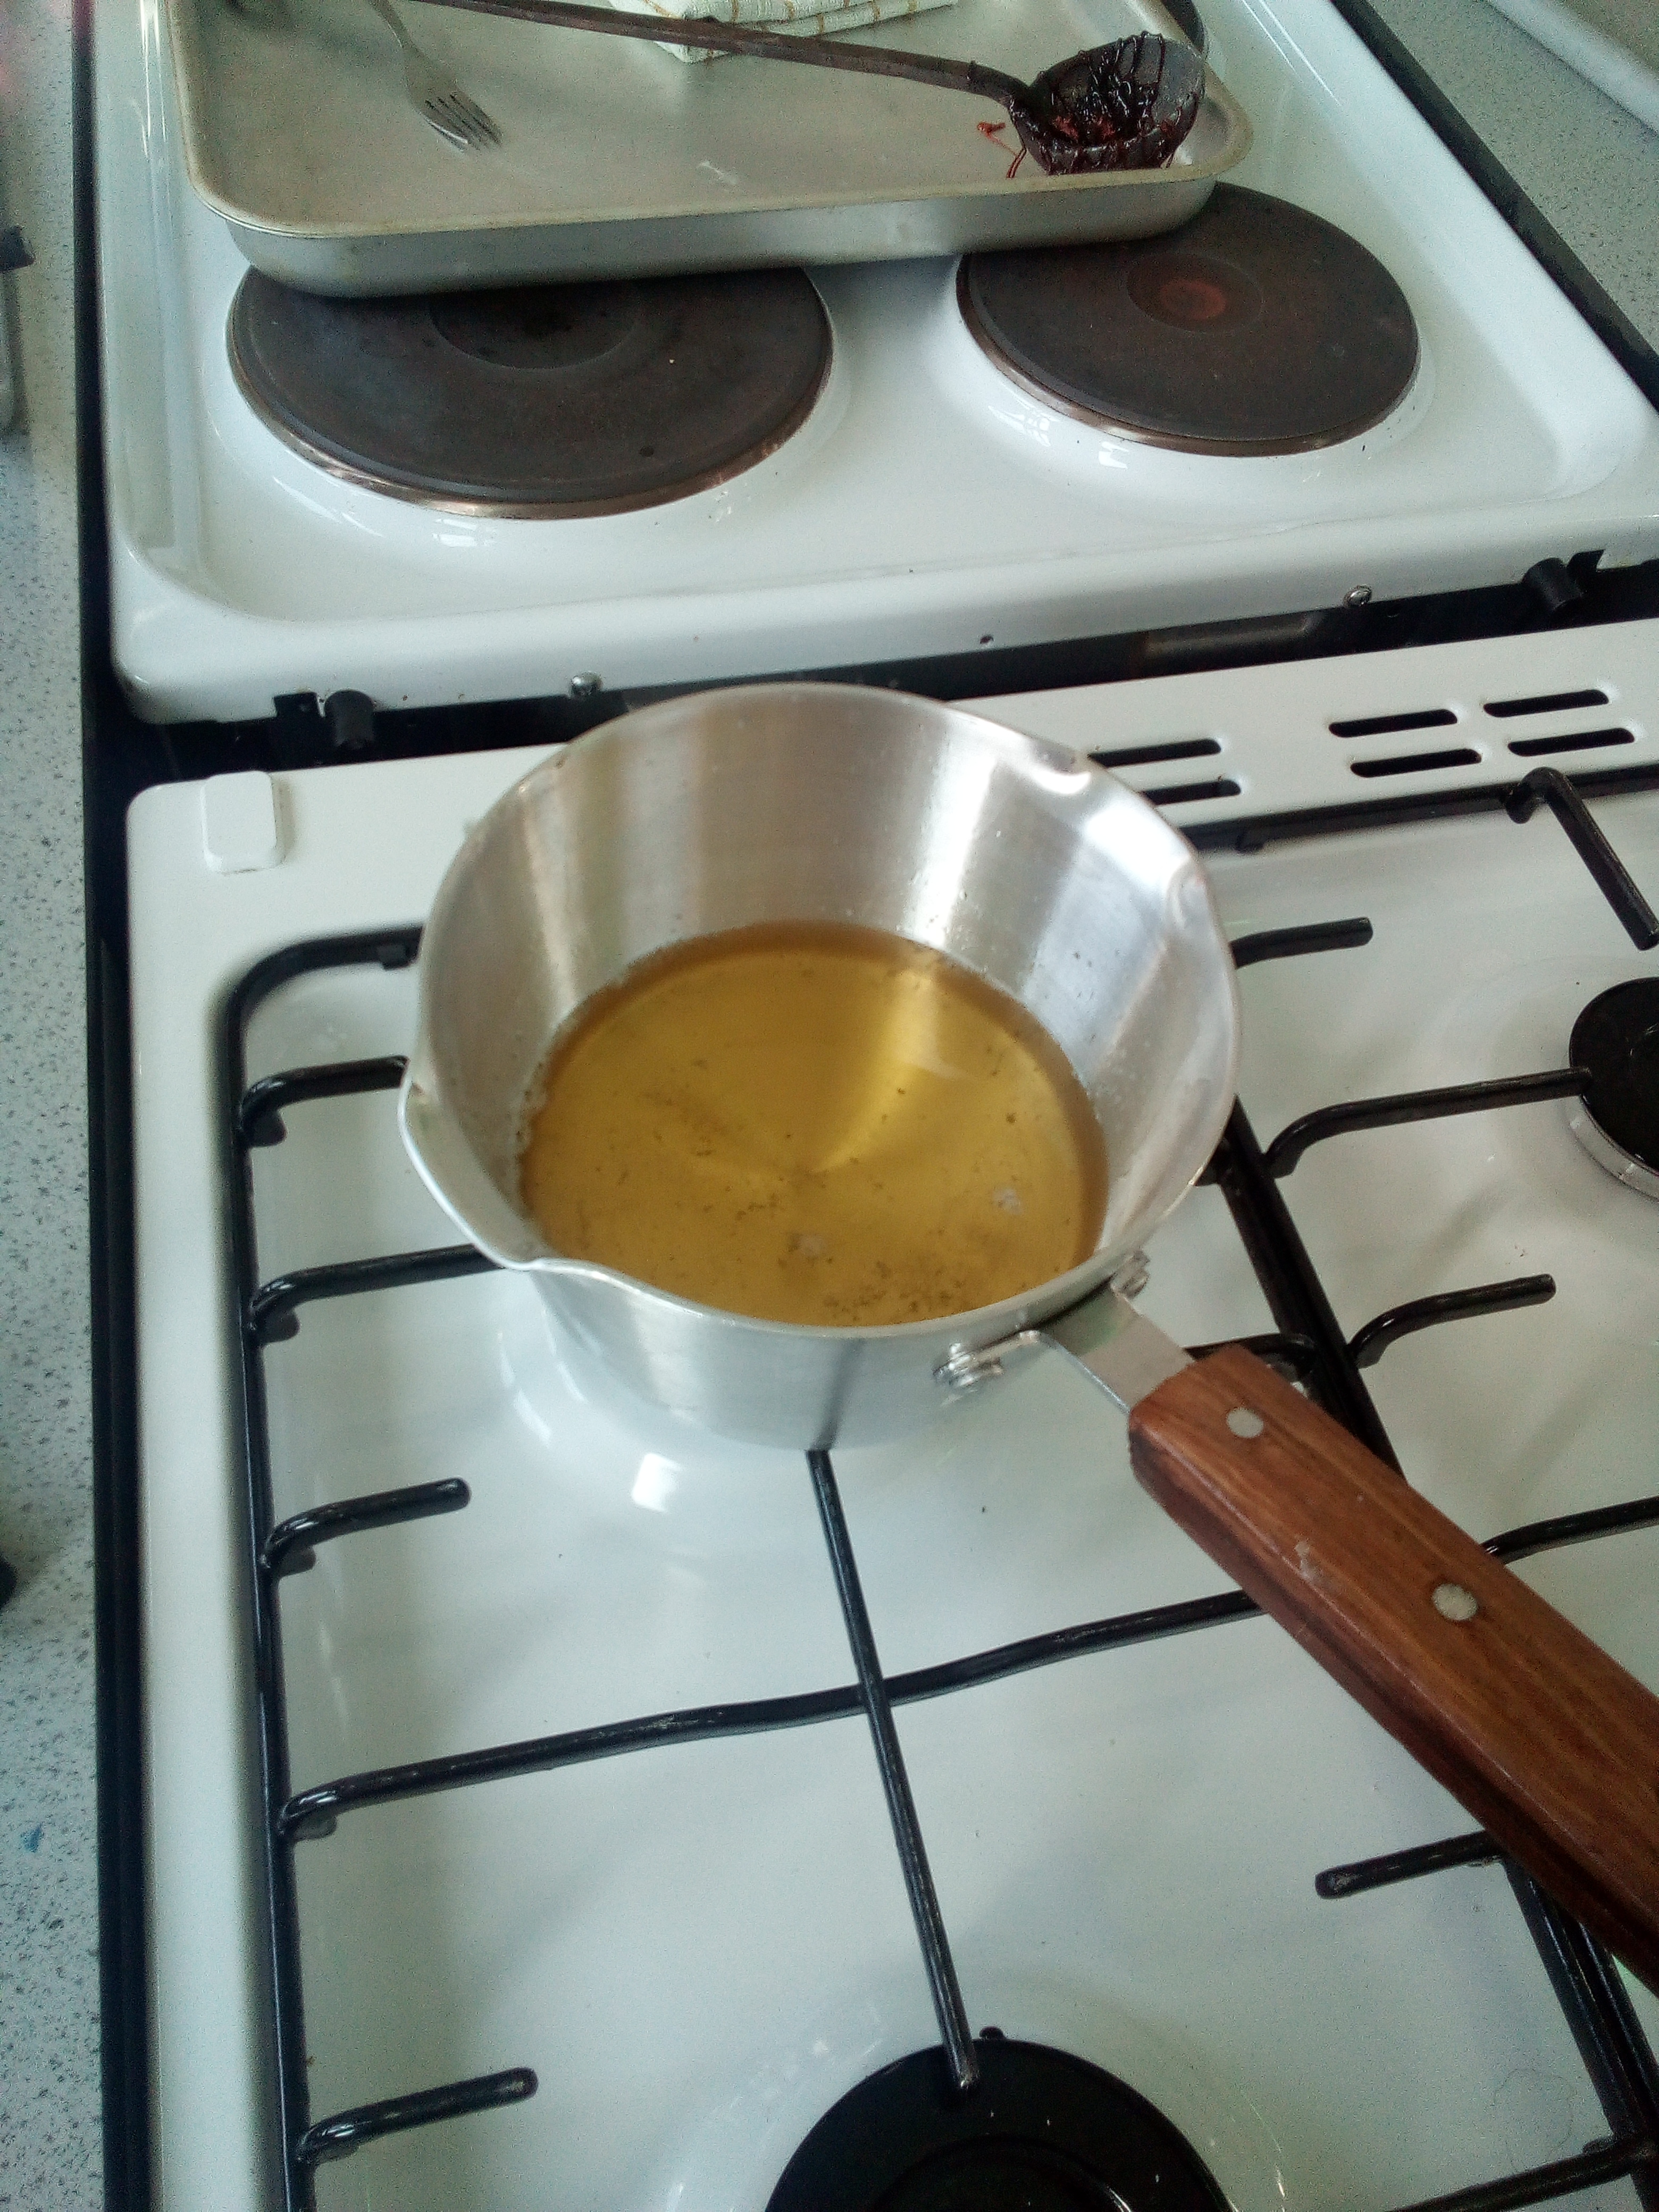
Once the wax appeared to be appropriately melted, I poured the solution into my mould. I went a little bit overboard with the ammount I poured, but I thought it would be better to pour more rather than less.
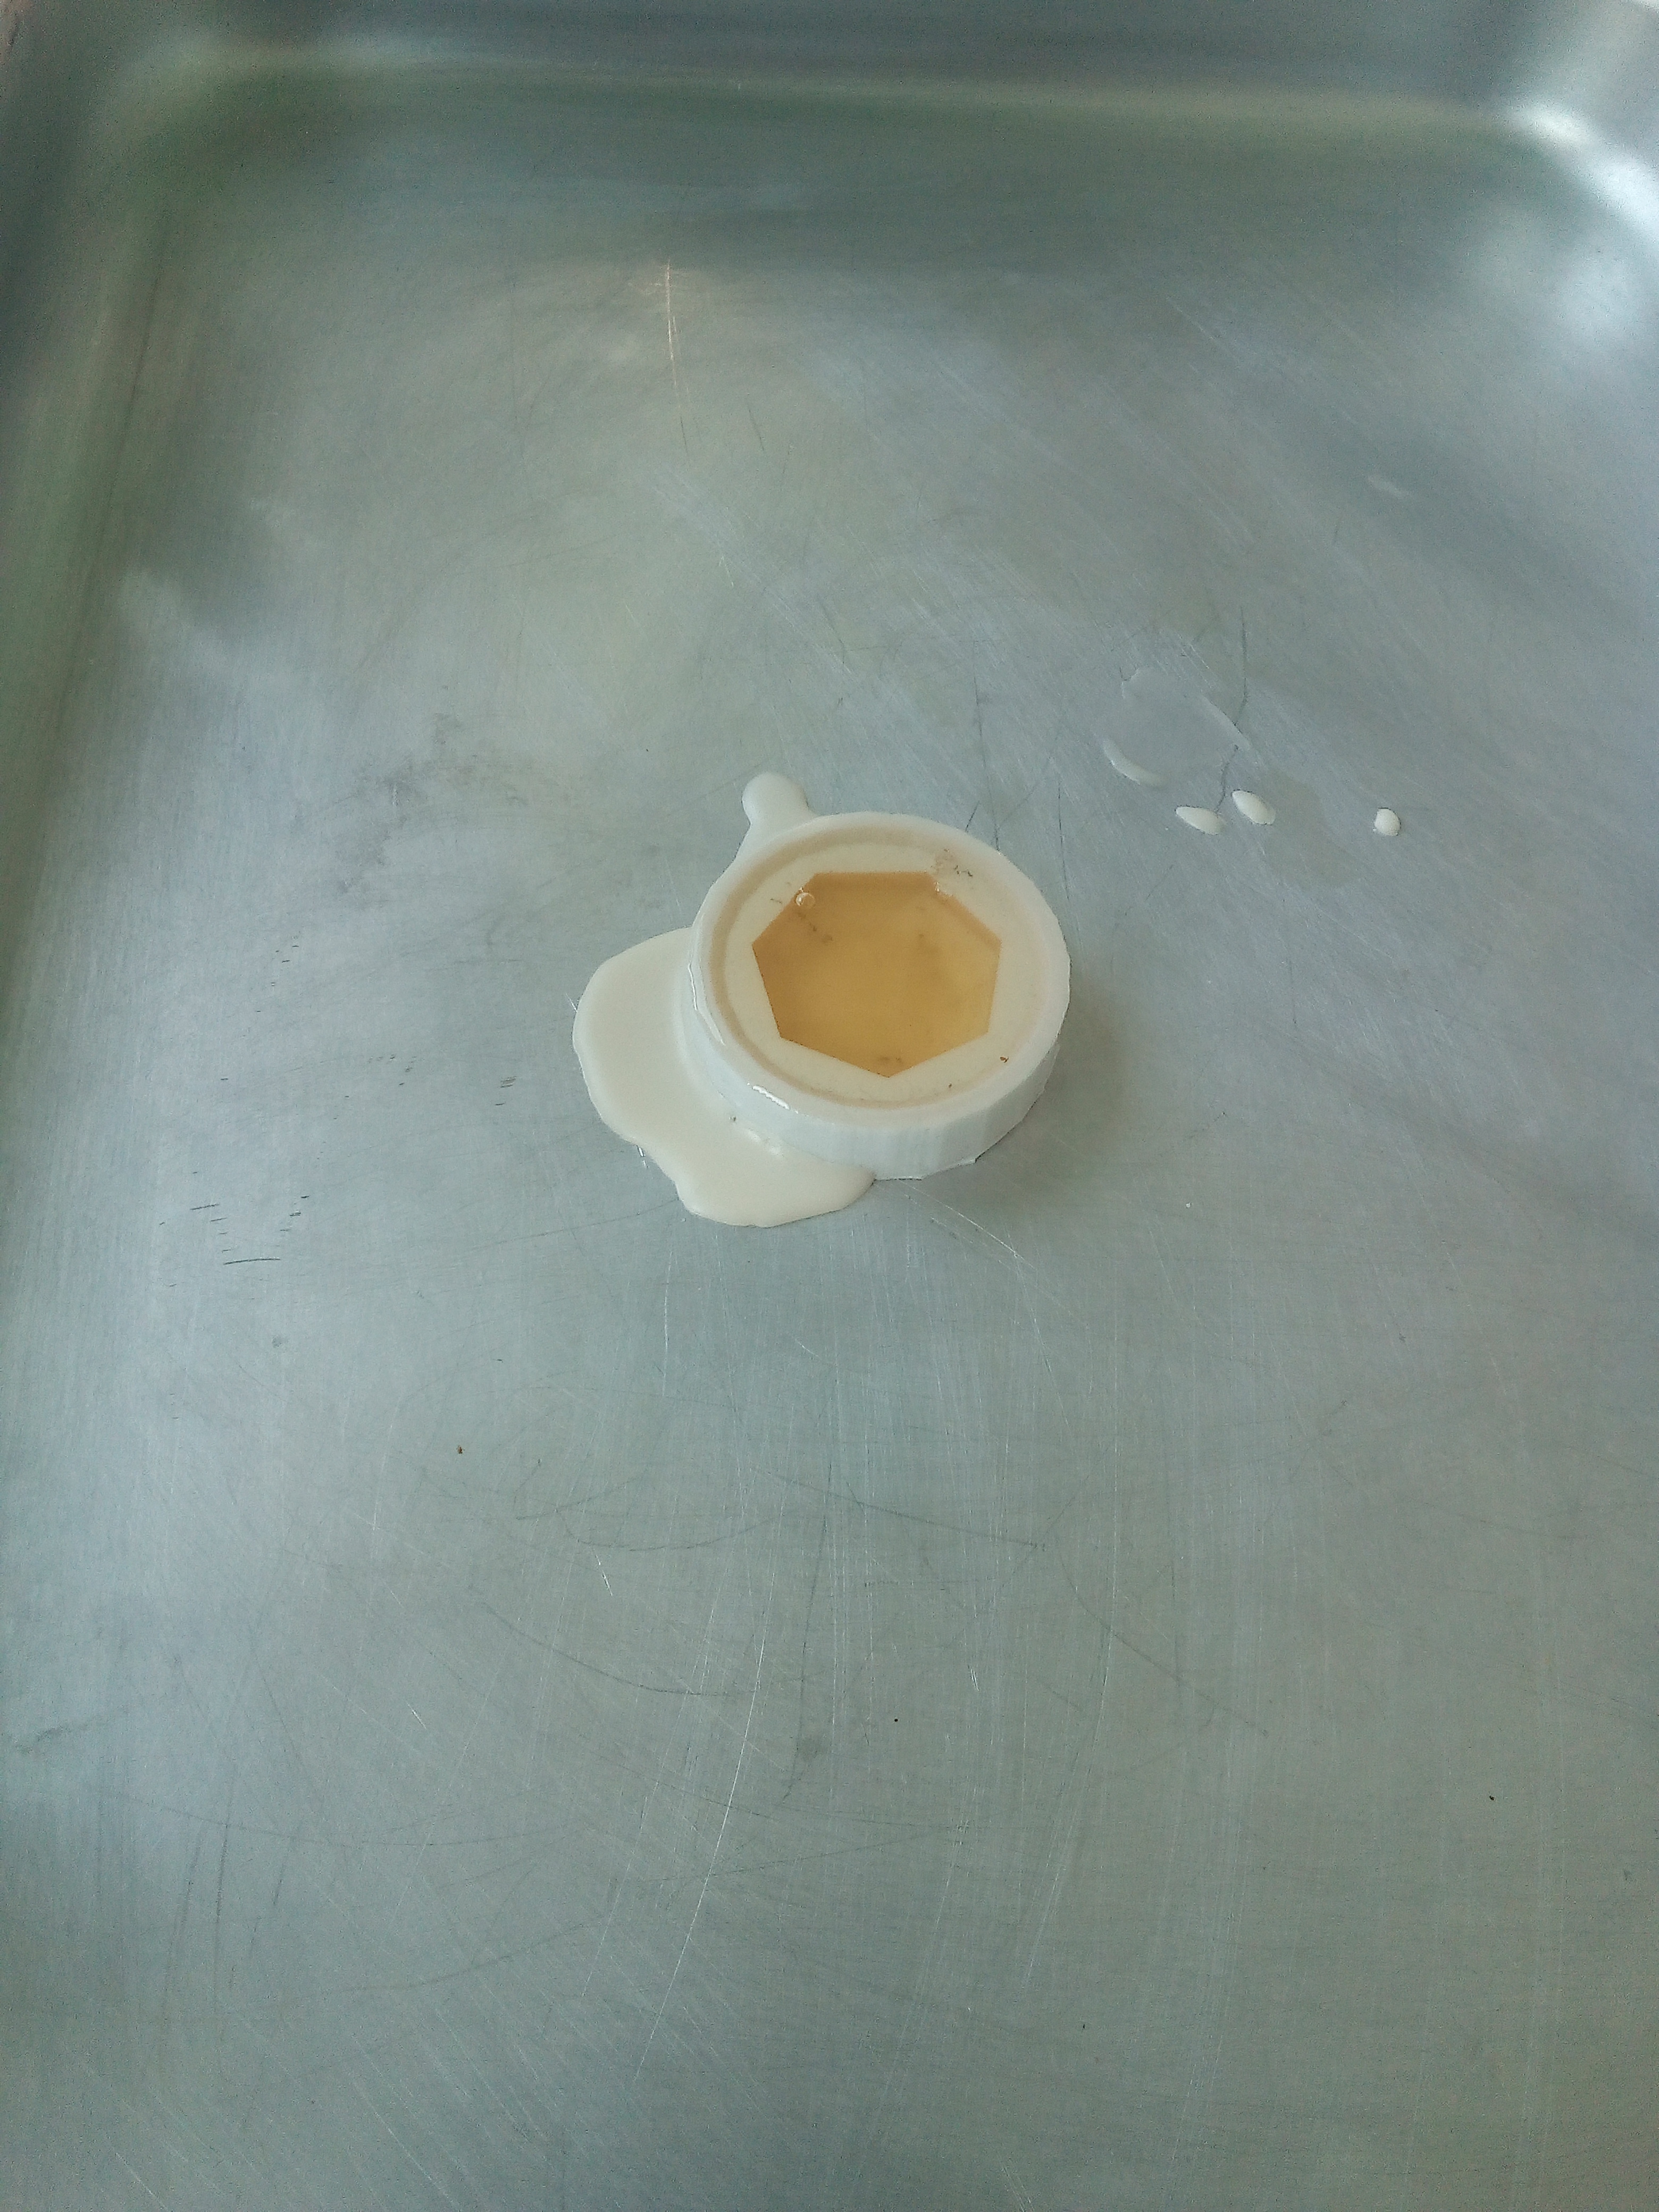
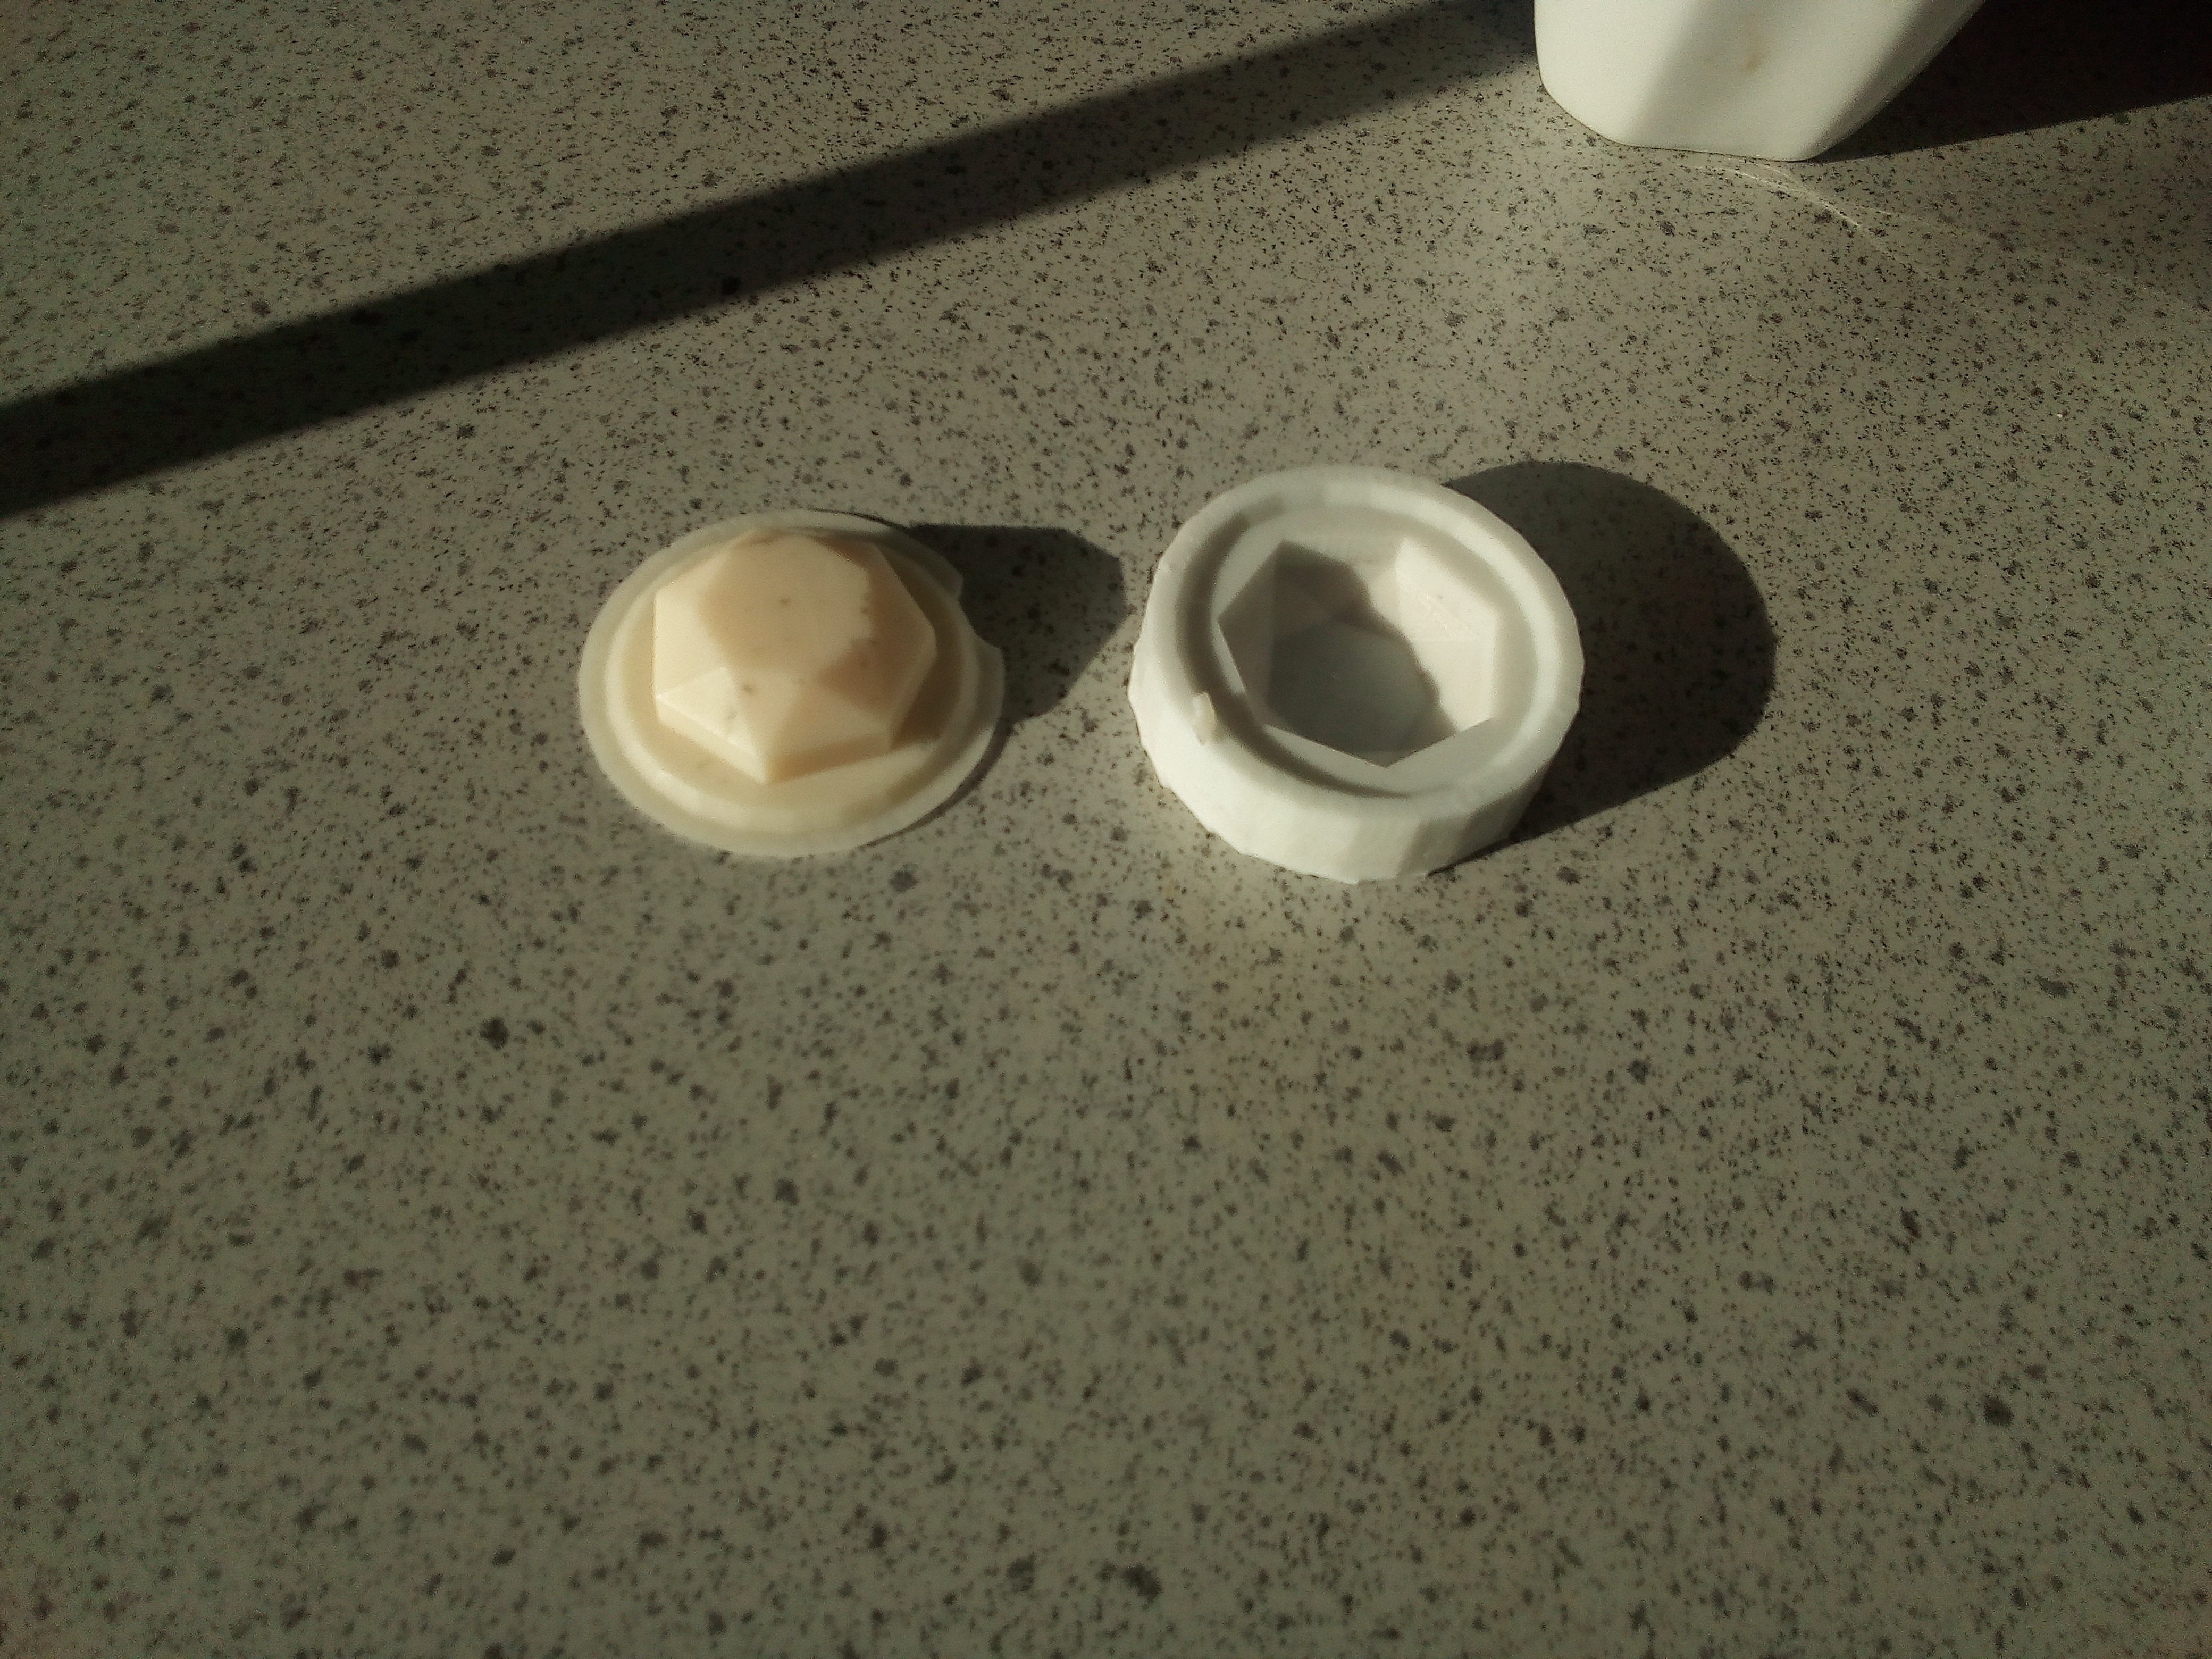
I then only had to wait a short time before the wax settled. When it was proprerly dried I then peeled off the silicone from the wax, which turned out to come out rather easily. I then proceeded to break off the excess from where I had spilled extra was. Again this proved to be far easier than I expected. In the end, it the whole process only took slightly longer than an hour.