


Vinyl Cutter
A machine used to cut and print on a roll of paper, given the directions using a computer.
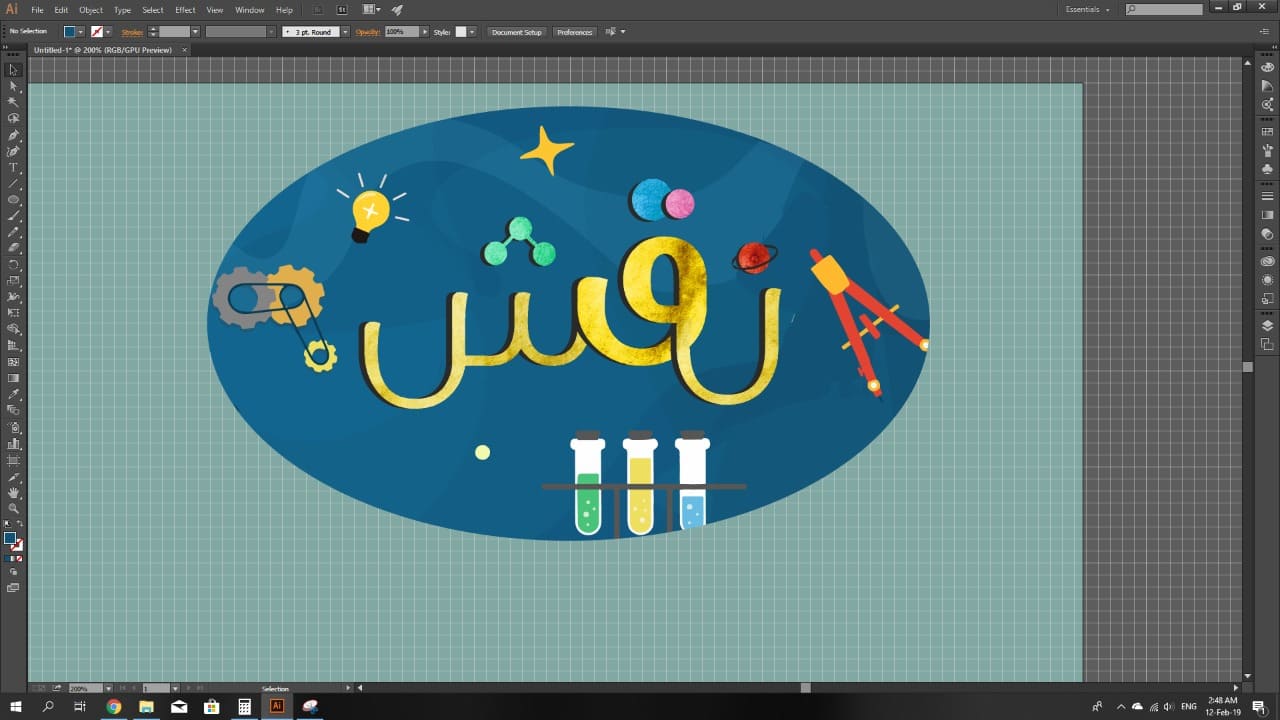
the designed logo of Naqsh (from last week' assignment) was first open via Corel Draw to add an outline for cutting (the outline is in colour red, and "hairline" thickness.)
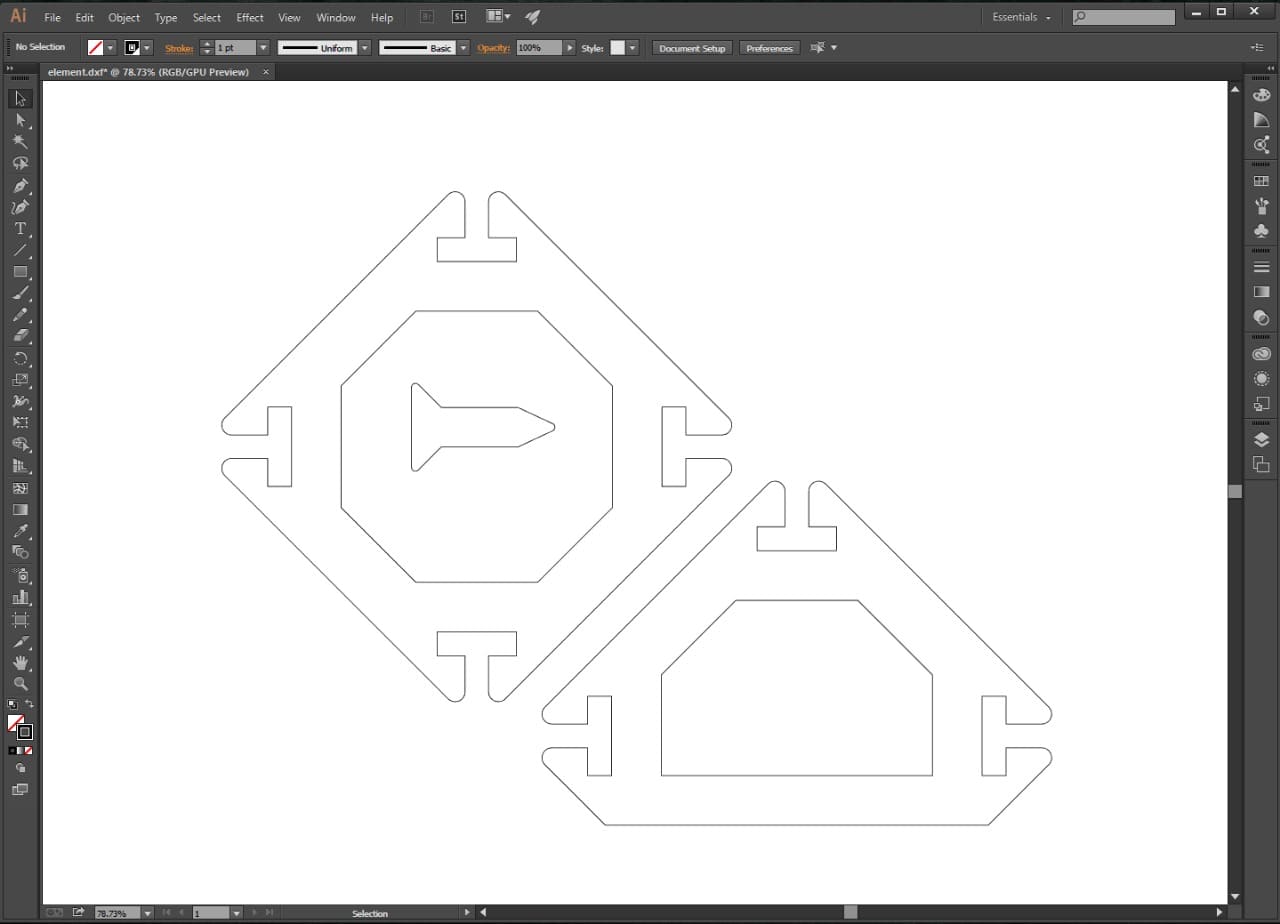
After that, the design was uploaded to the software of the machine as shown in the picture
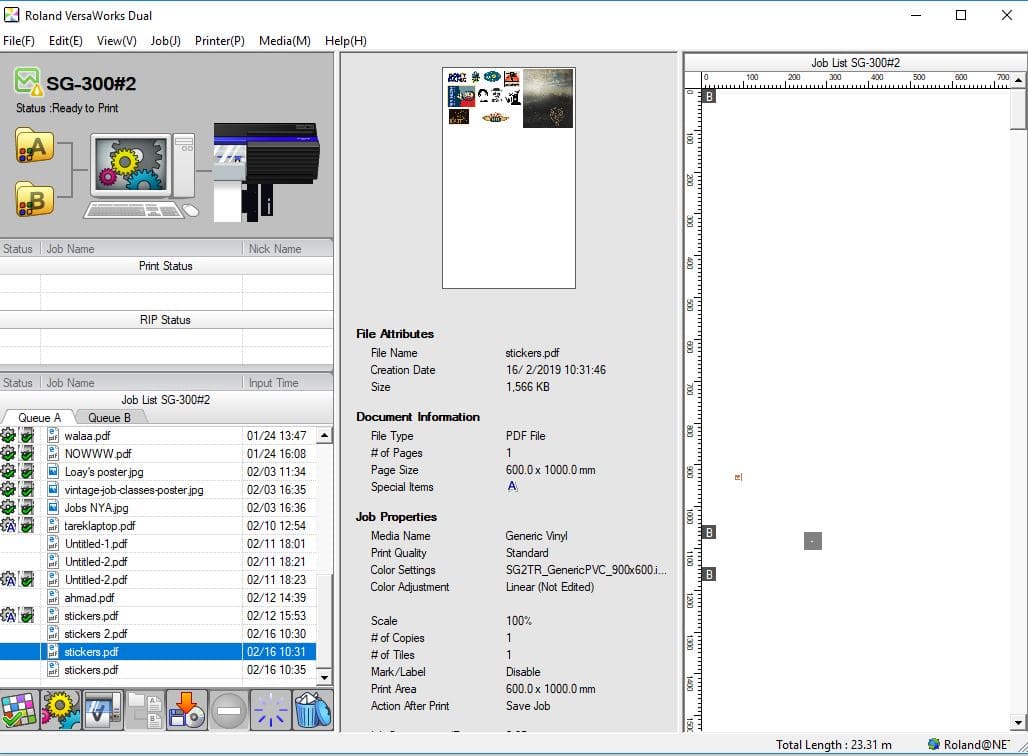
On the settings, I assigned the machine to do three turns on each line to guarantee the cut and adjusted the sheet area.

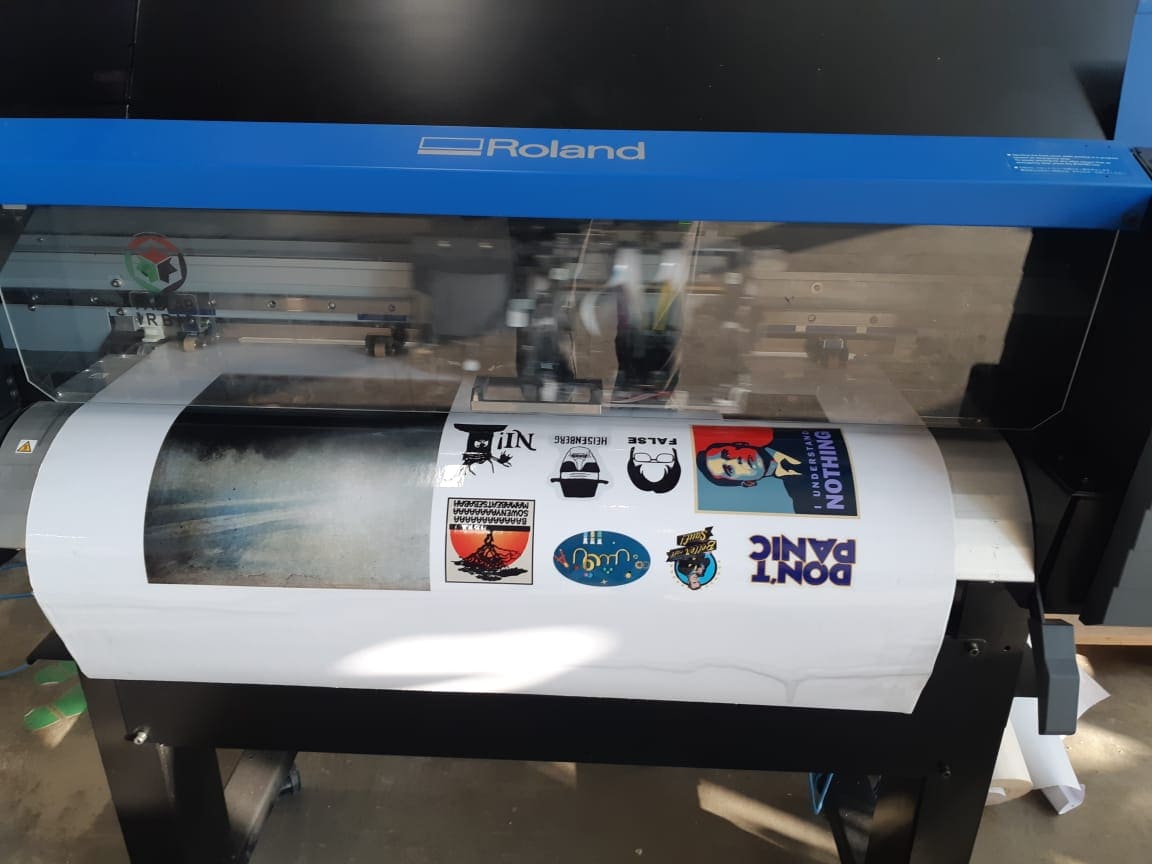
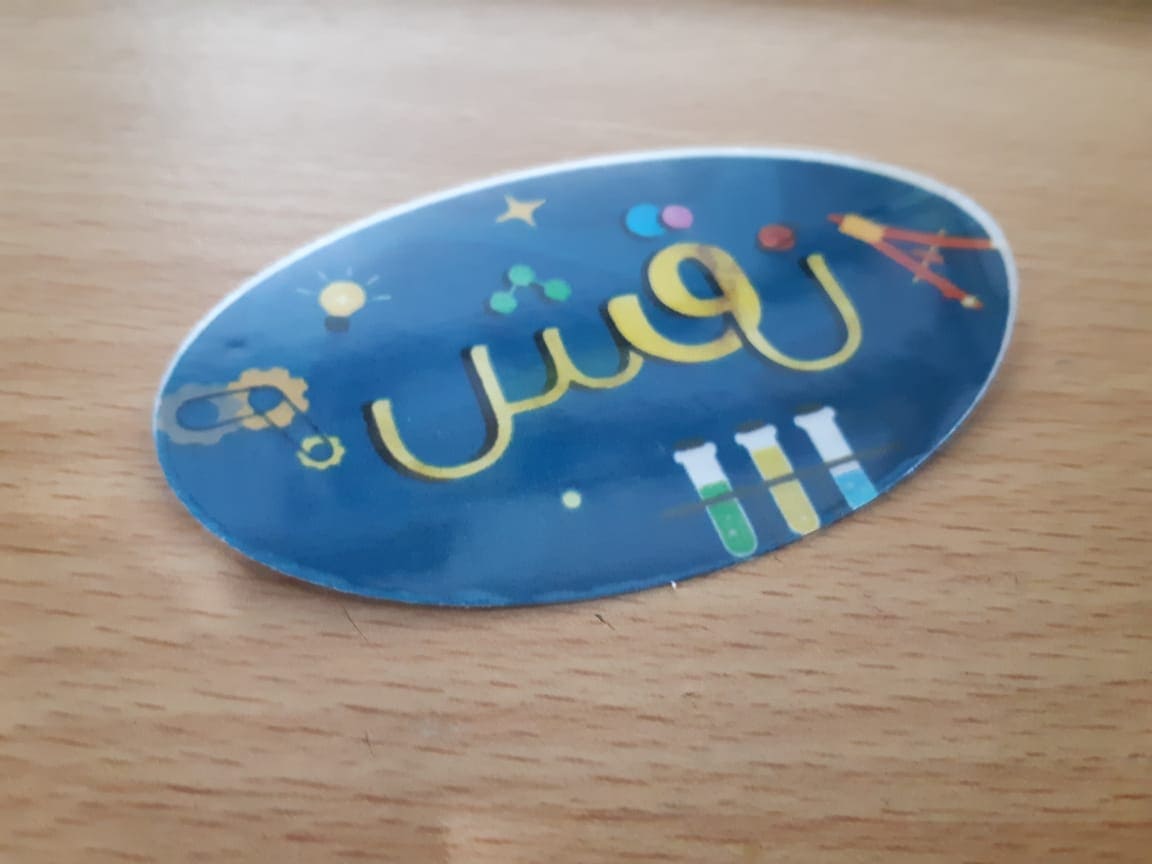
after clicking the print button, the machine would start the job, and the final result would be as follows:
After heating up, the machine started printing then cutting.
Obstacle:
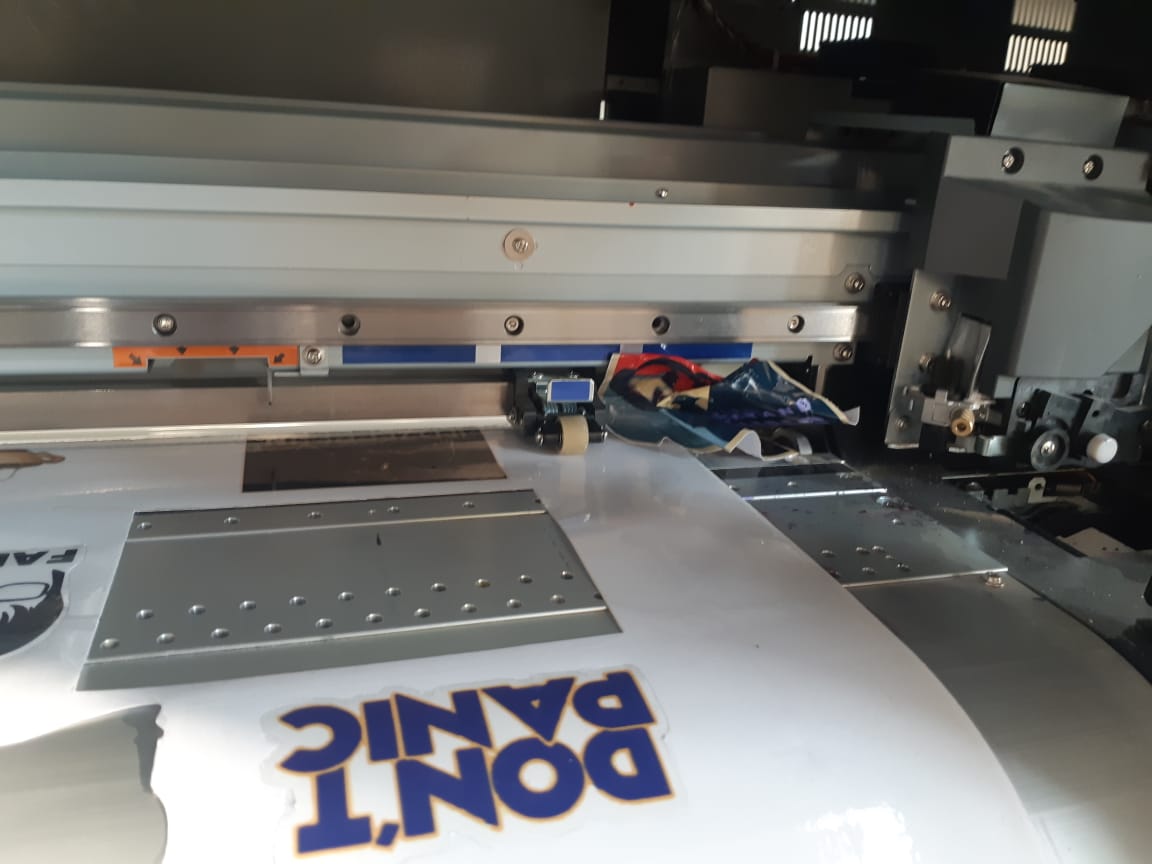
After one of the posters was cut, it got dragged in the mechanics work of the machine, causing the motors to malfunction then stop. Which caused the whole job to break. We had to uncover the motors section and remove the corrupt part. The machine was automatically set to clean itself.
___
Laser Cutters
Laser Cutters are machines that use laser to cut through or engrave on different types of sheets (wood, glass, paper...).
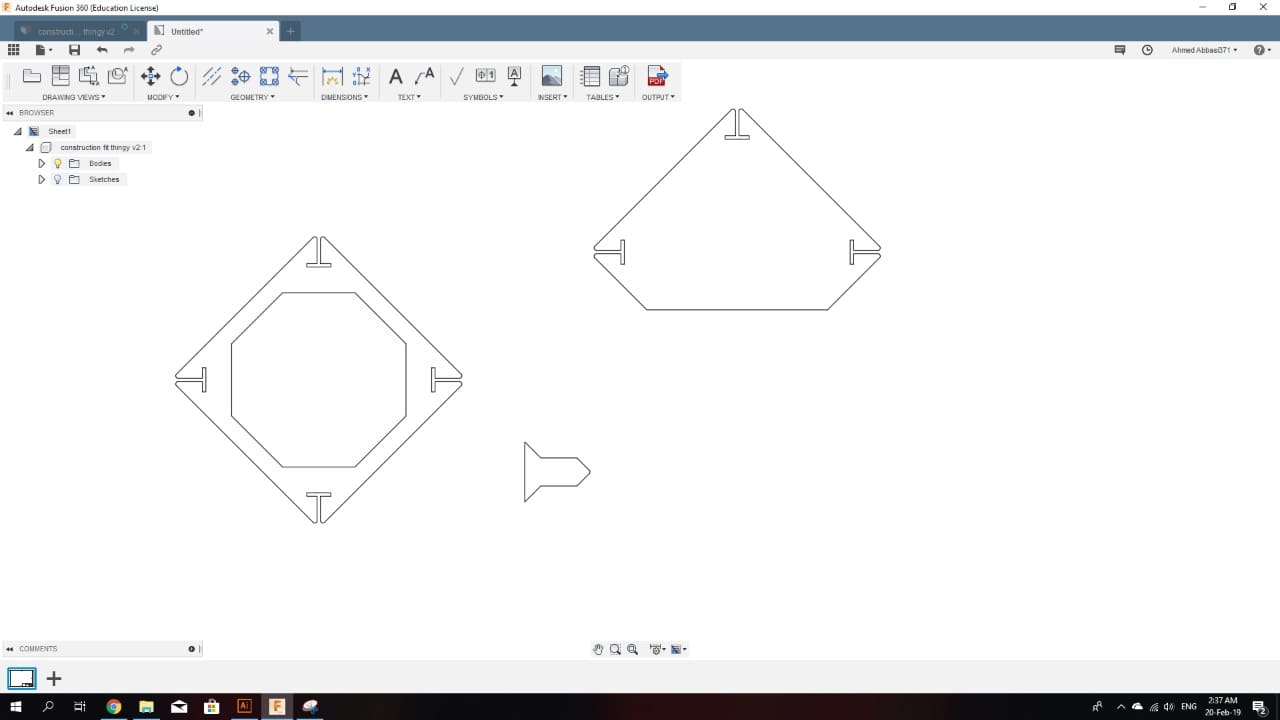
In this assignment, we are required to create a parametric design for a construction kit that could be assembled in multiple ways. Then manufacture it on the laser cutter. I have got my design from an open source then openned it with Fusion 360 to modify it.
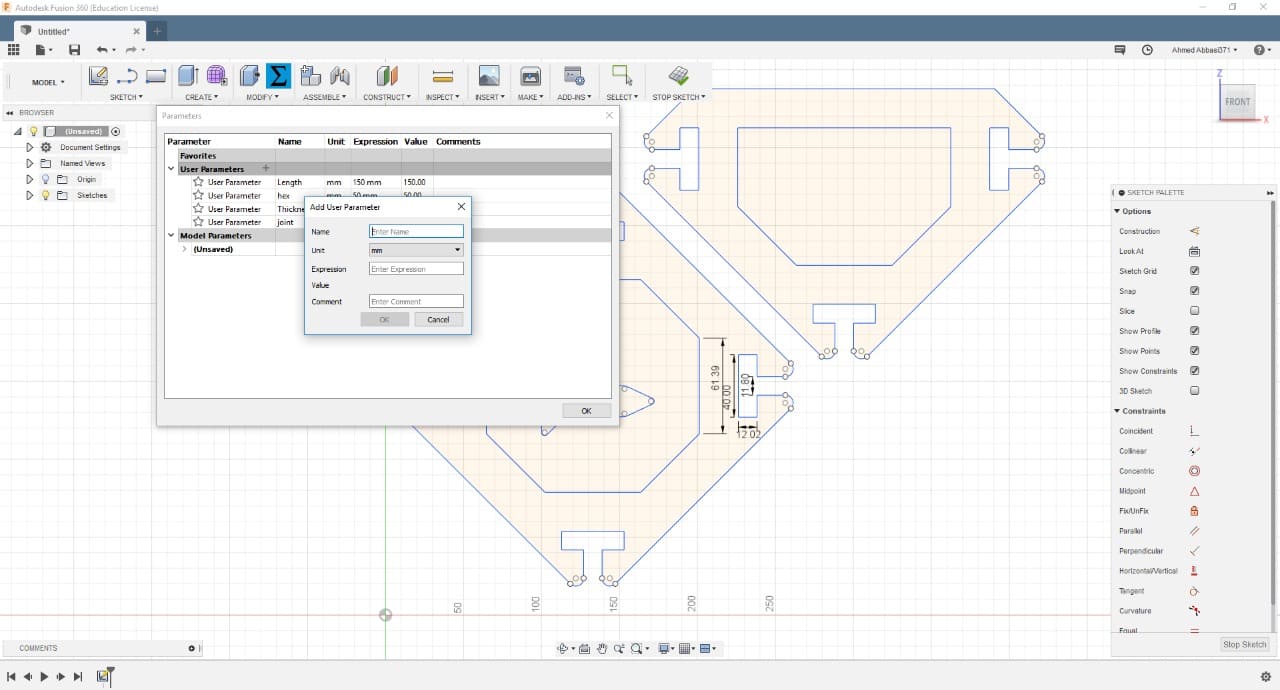
First thing, I added the parameters that I will be using:
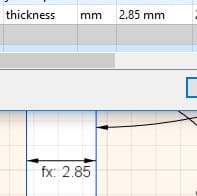
Then on the sketch, I added all the constraints that will keep my design tied up however the dimensions were modified.
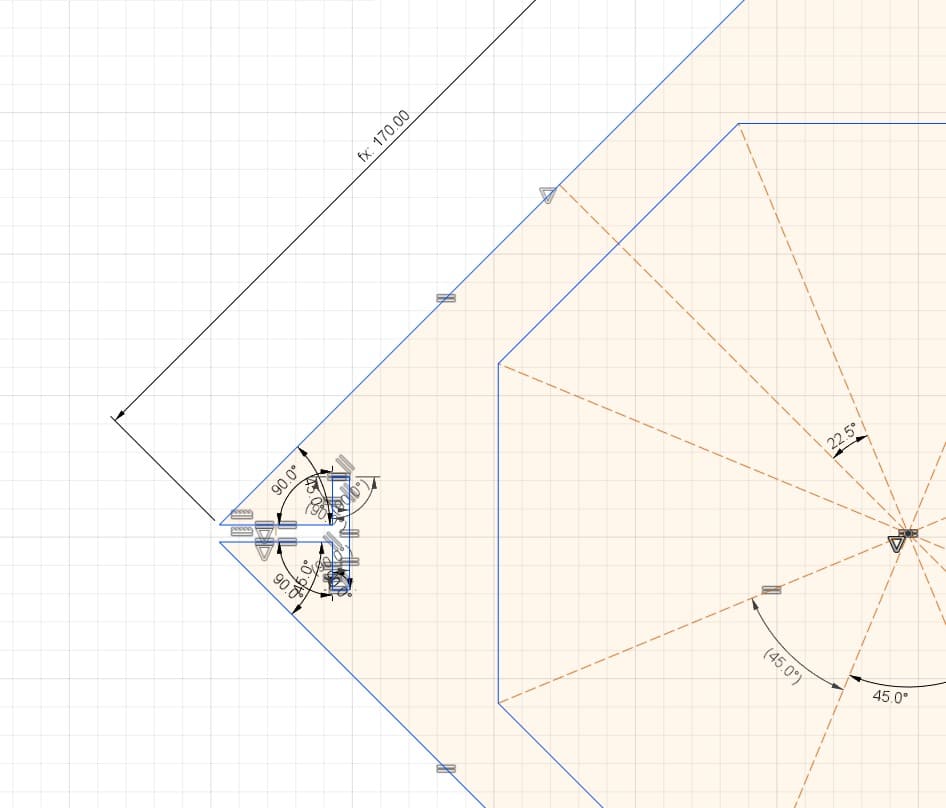
When selecting the value of the joint's clearence, I took into consideration the kerf we calculated in the group assignment.
After finishing with the sketch, I extruded it into parts, then I created a Draw file for the design.
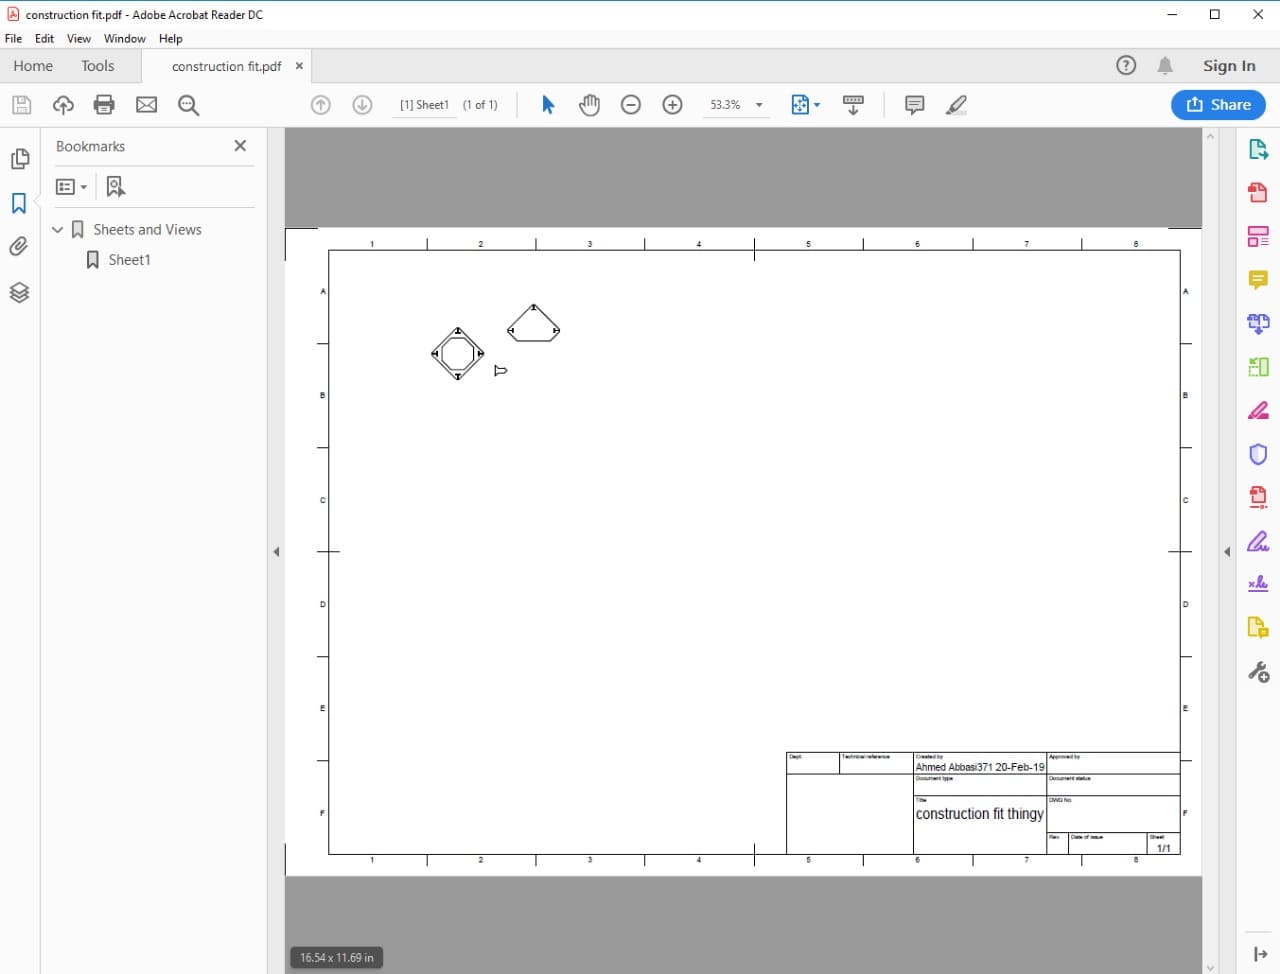
Last step on Fusion was to save the drawing as a PDF file, so I can open it later on CorelDraw then to the machine's software.
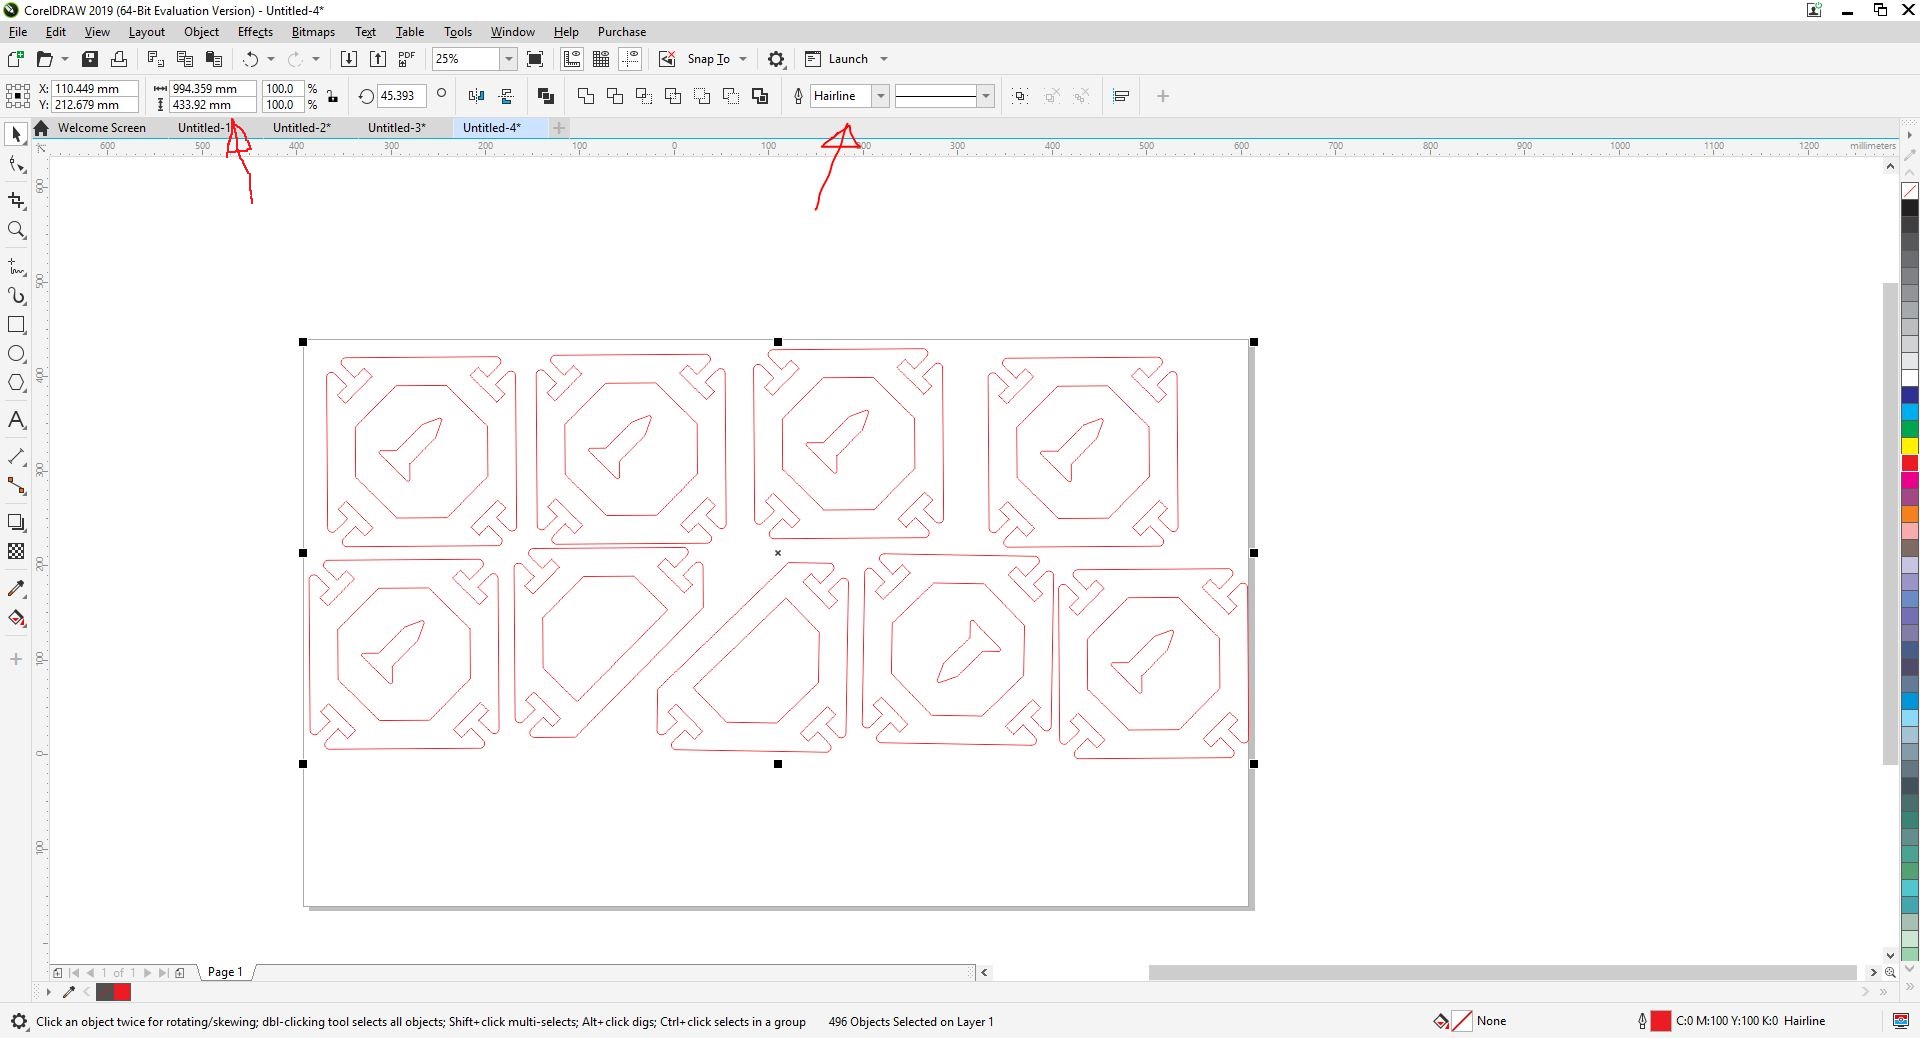
On CorrelDraw, I multiplied and arranged the sketches so a 1000x600 mm cardboard sheet could fit as many parts as possible. I changed the lines thickness to Hairline and their colour to red (those setting should be selected for cutting.)
Afterthat, I commanded it to print to the Tortec Software. Then after selecting the printer, clicked on the setting button next to it to select prefrences.
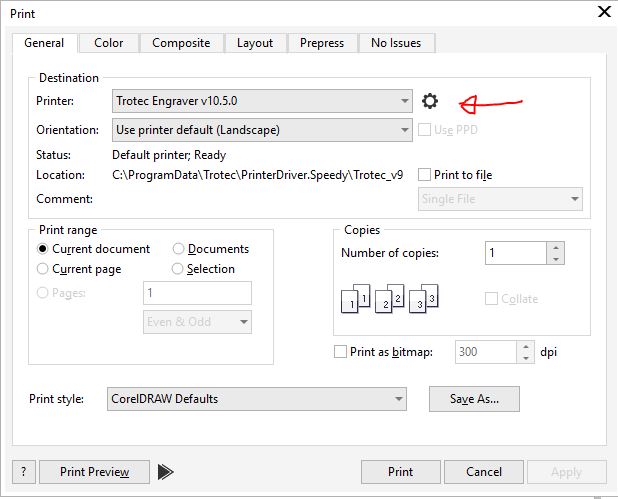
There, I made sure the size of the printing platform is equals to the size of my cardboard sheet, which is 1000x600mm.
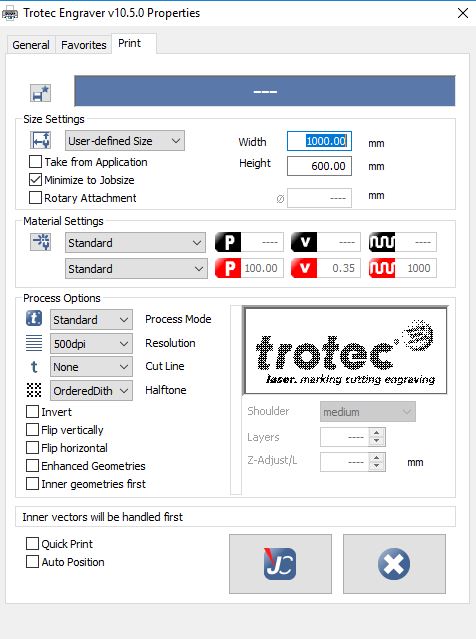
Then I clicked on the logo in the bottom of the window to return to the printing screen, and went to Layout tab. On Layout I selected the position to Fit to page.

After adjusting the settings and clicking on Print, I moved to the Trotec software. The steps to take there are as mentioned below according to the numbers on the picture.
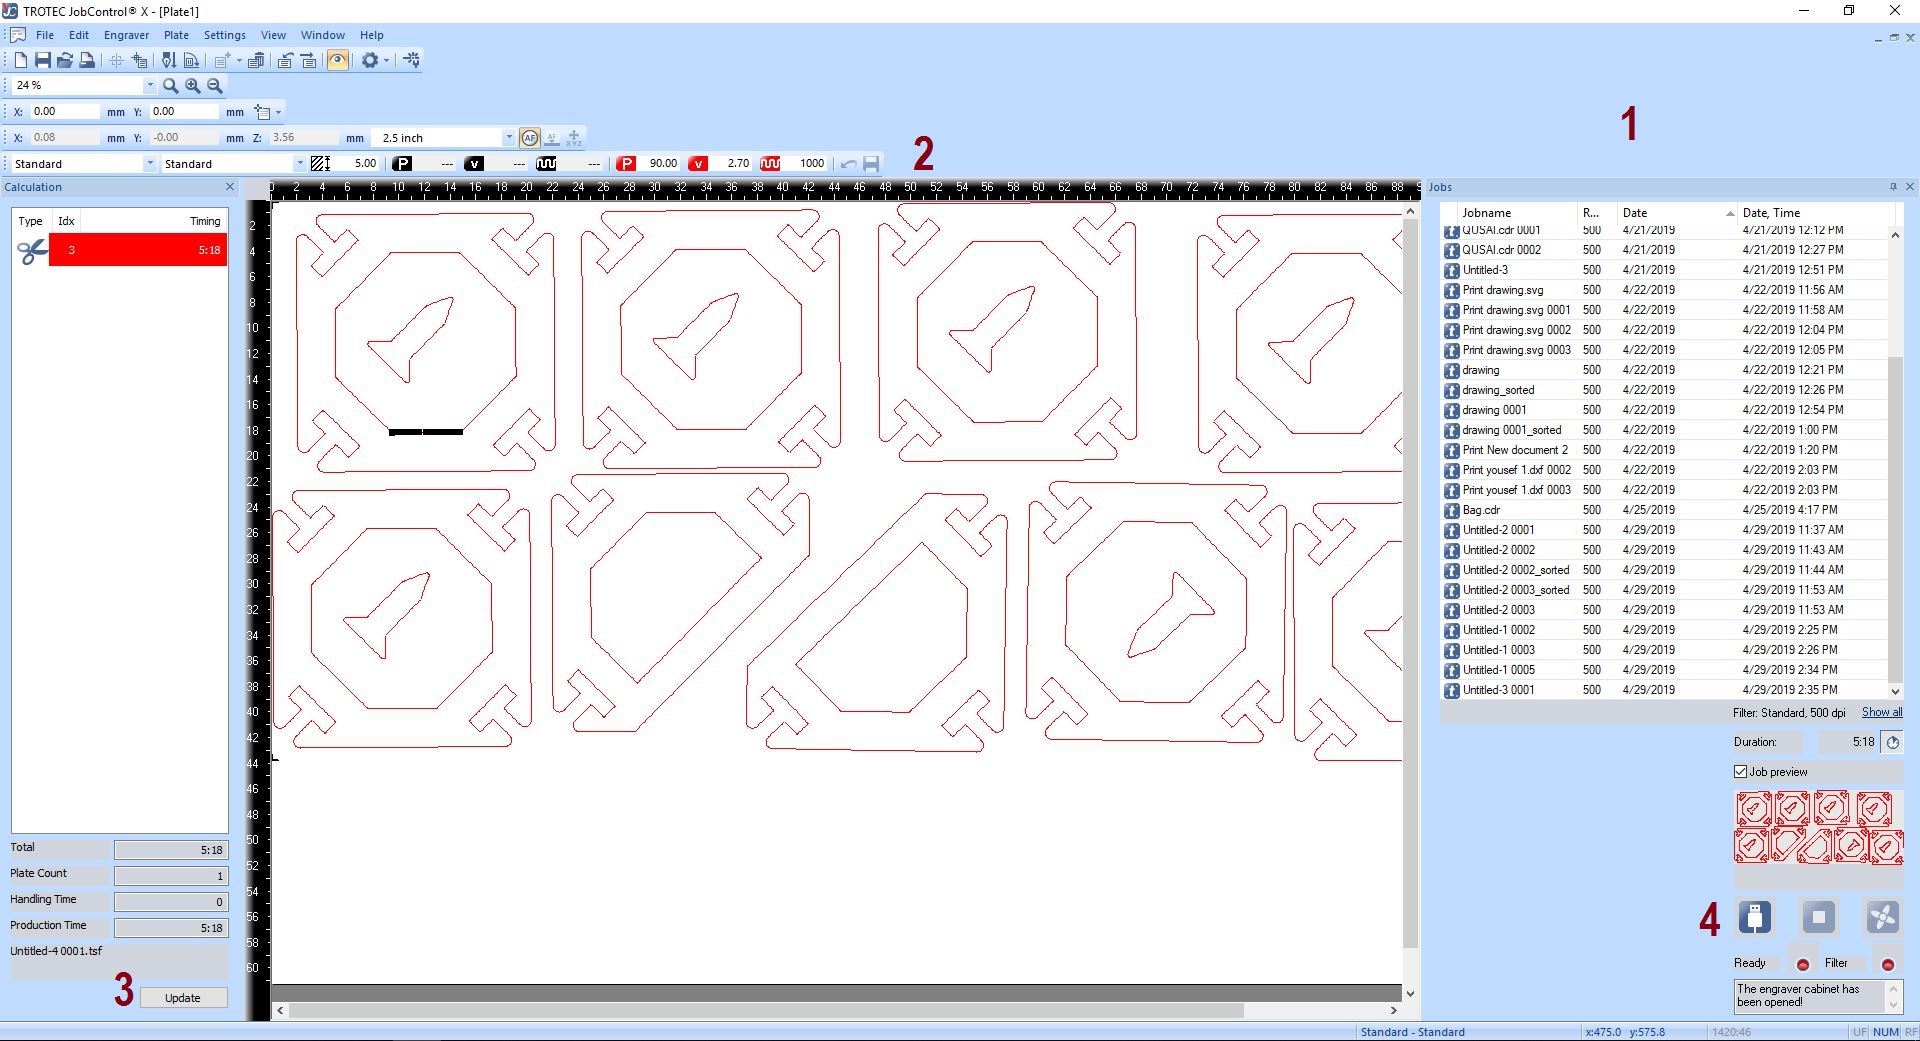
1. The list on the right contains all the designs that had been printed to Trotec software. I found my design between them then dragged it to the cutting platform shown in the middle of the page. (in the cutting platform you can make sure of the position of your design and track it on the machine.)
2. After that I selected the parameters (cutting speed, laser frequency and power) according to a table that shows the proper values for each material and thickness. Notice here that the red icons are meant for cutting and the black icons are for engraving (which I did not use in this specific job). Also I have to select the thickness of my sheet. Although the cardboard sheet I used was 3mm in thickness, I selected 5mm for saftey reasons, because the cardboard could be a little curved at some points, making it higher, closer to the lens. And if it was very close, it might damage the lens. Last thing, the save button must be clicked.
3. When everything is set, we can click update to give us an estimation of the time the job will take. A good trick we can use is, right-click on the job > vectors ordering. This will organize the movement of the cutting lens so the job would take less time to finish.
4. Finally, I clicked start. (if the machine is not connected to computer as in the picture, make sure the cable is plugged then click Ready). Remember before starting the jo, it is important to make sure that the vintelator is connected and working, because the fumes of laser cutting could be highly toxic.
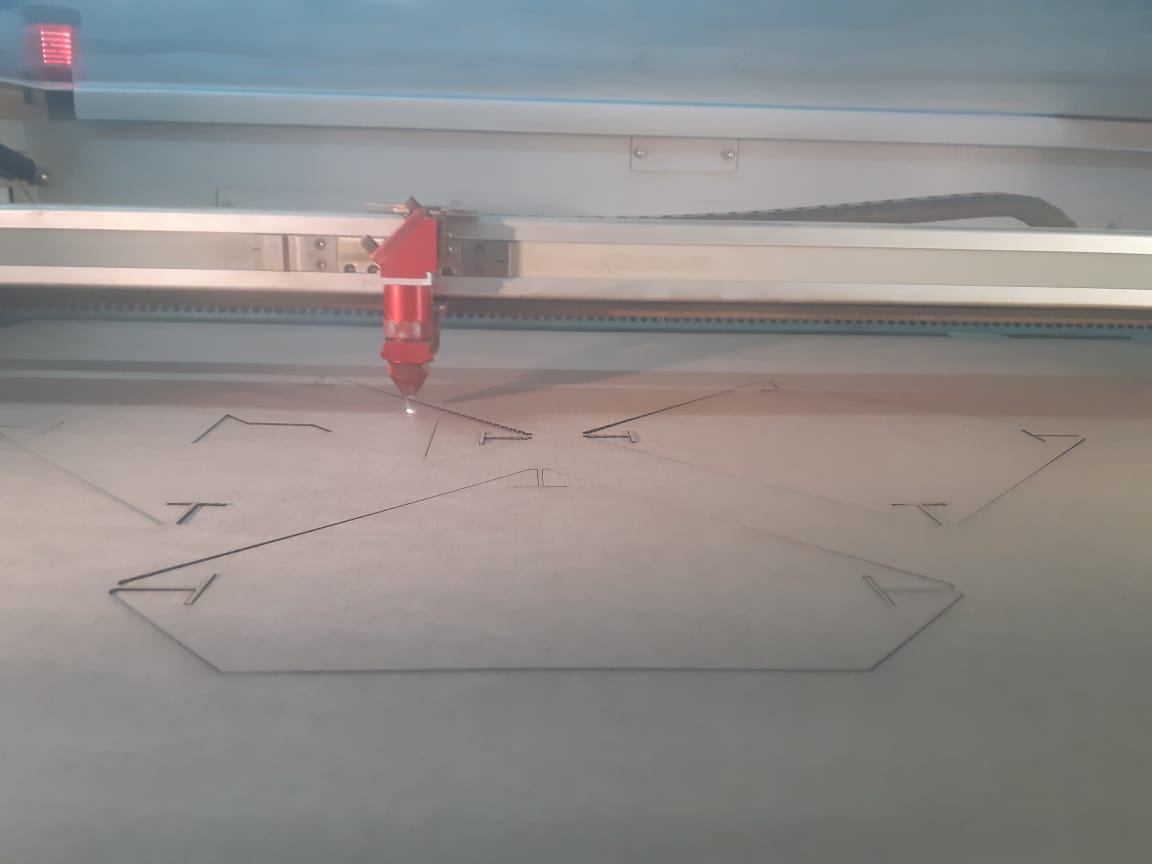
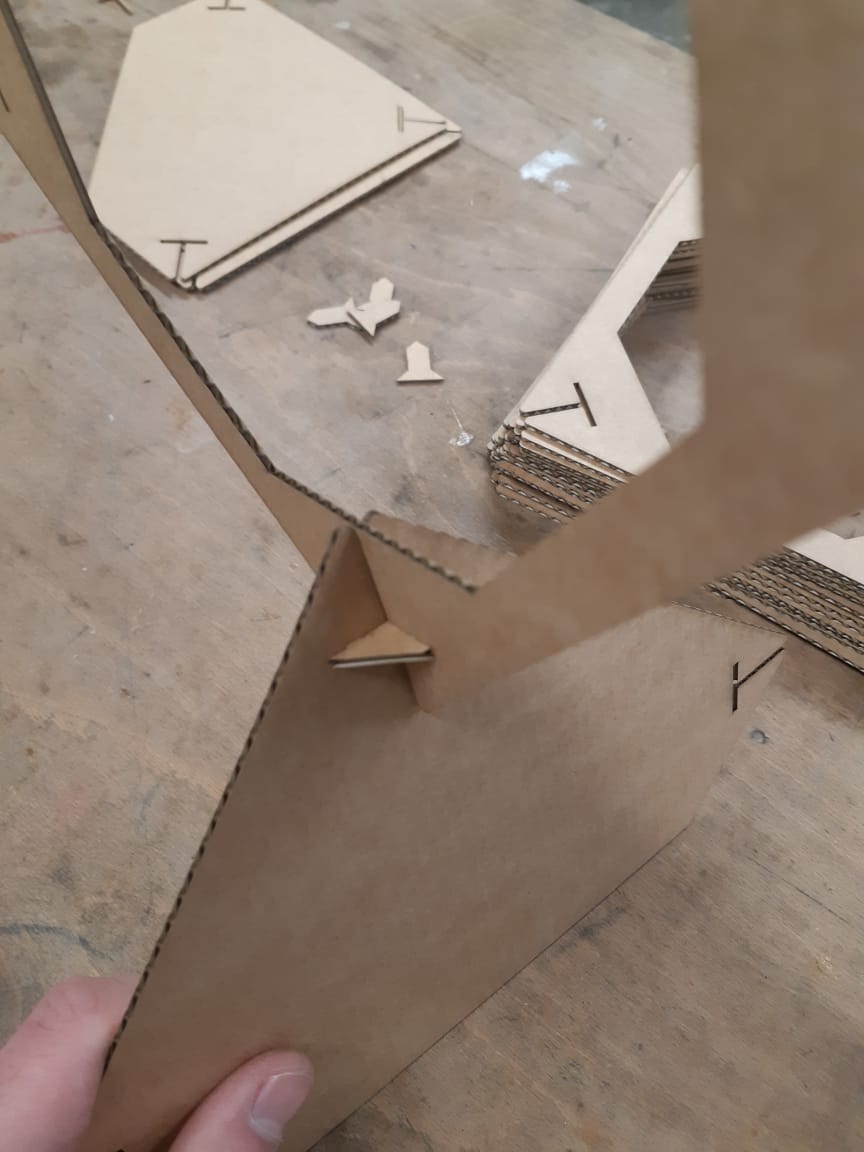
After the job was finished, it was time for assembling the outcome. As the kerf was calculated and considered in the design, the fit was perfect.
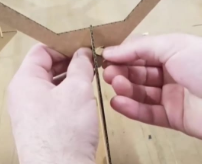
The locks for the joints worked perfectly:
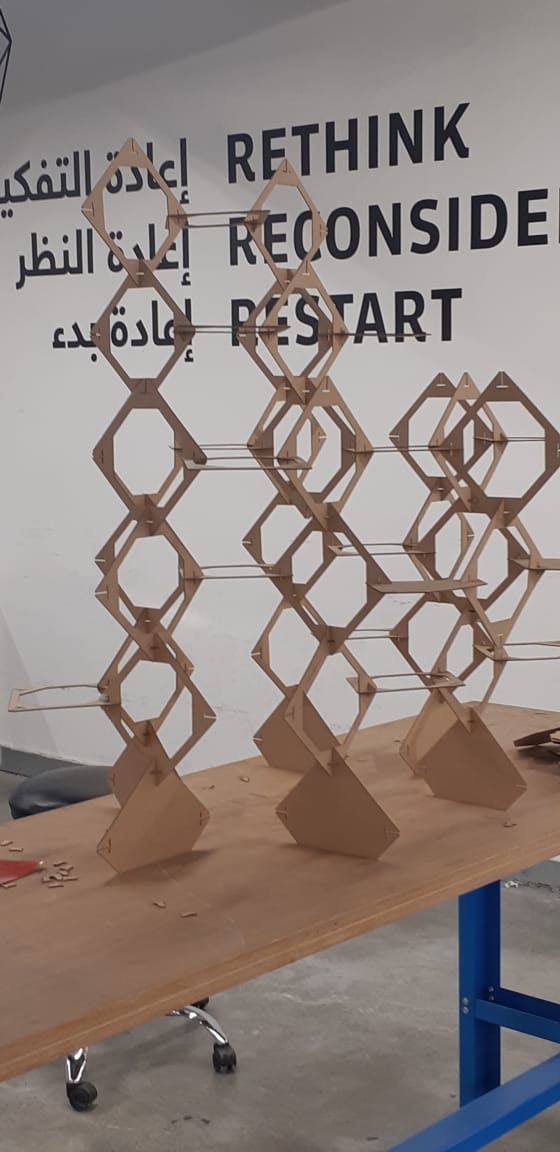
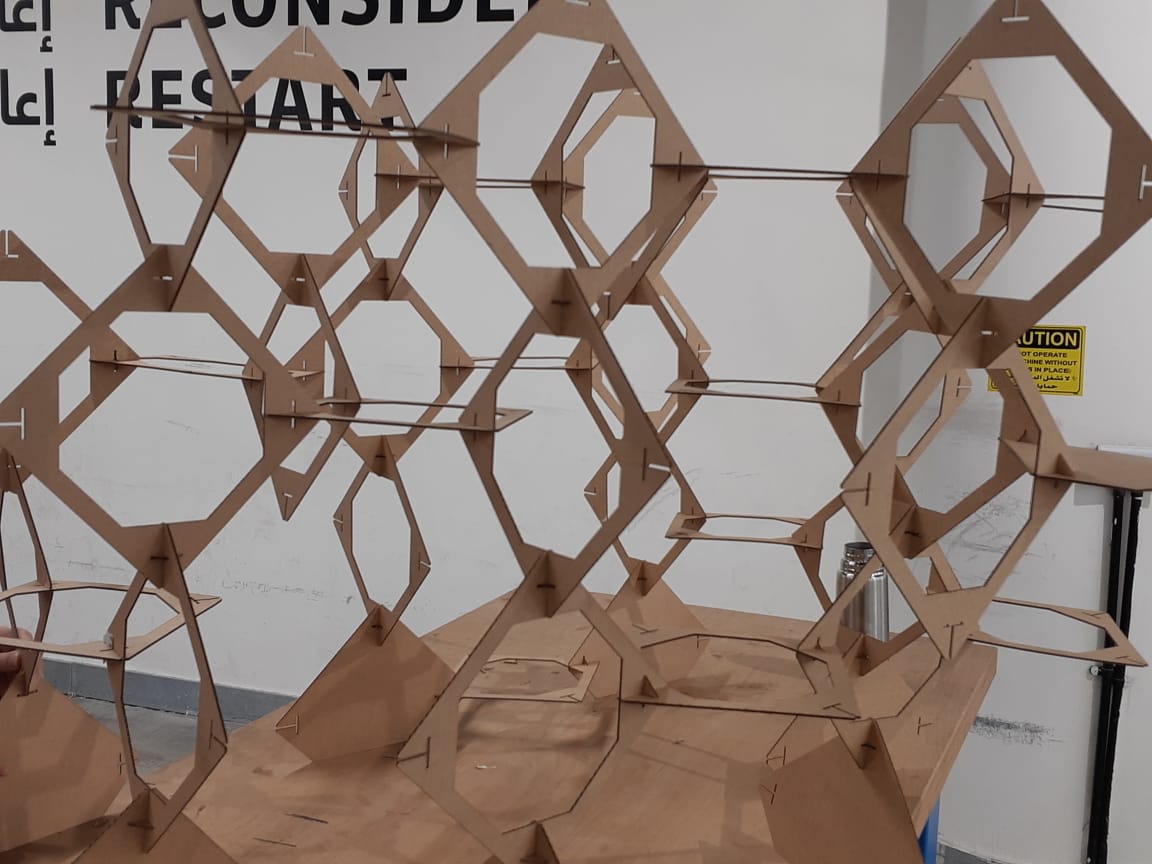
The model could be build as a room devider, and arch or just a random aesthetic shape.
___
Files:
