Group Assignment: 3D Scanning and Printing
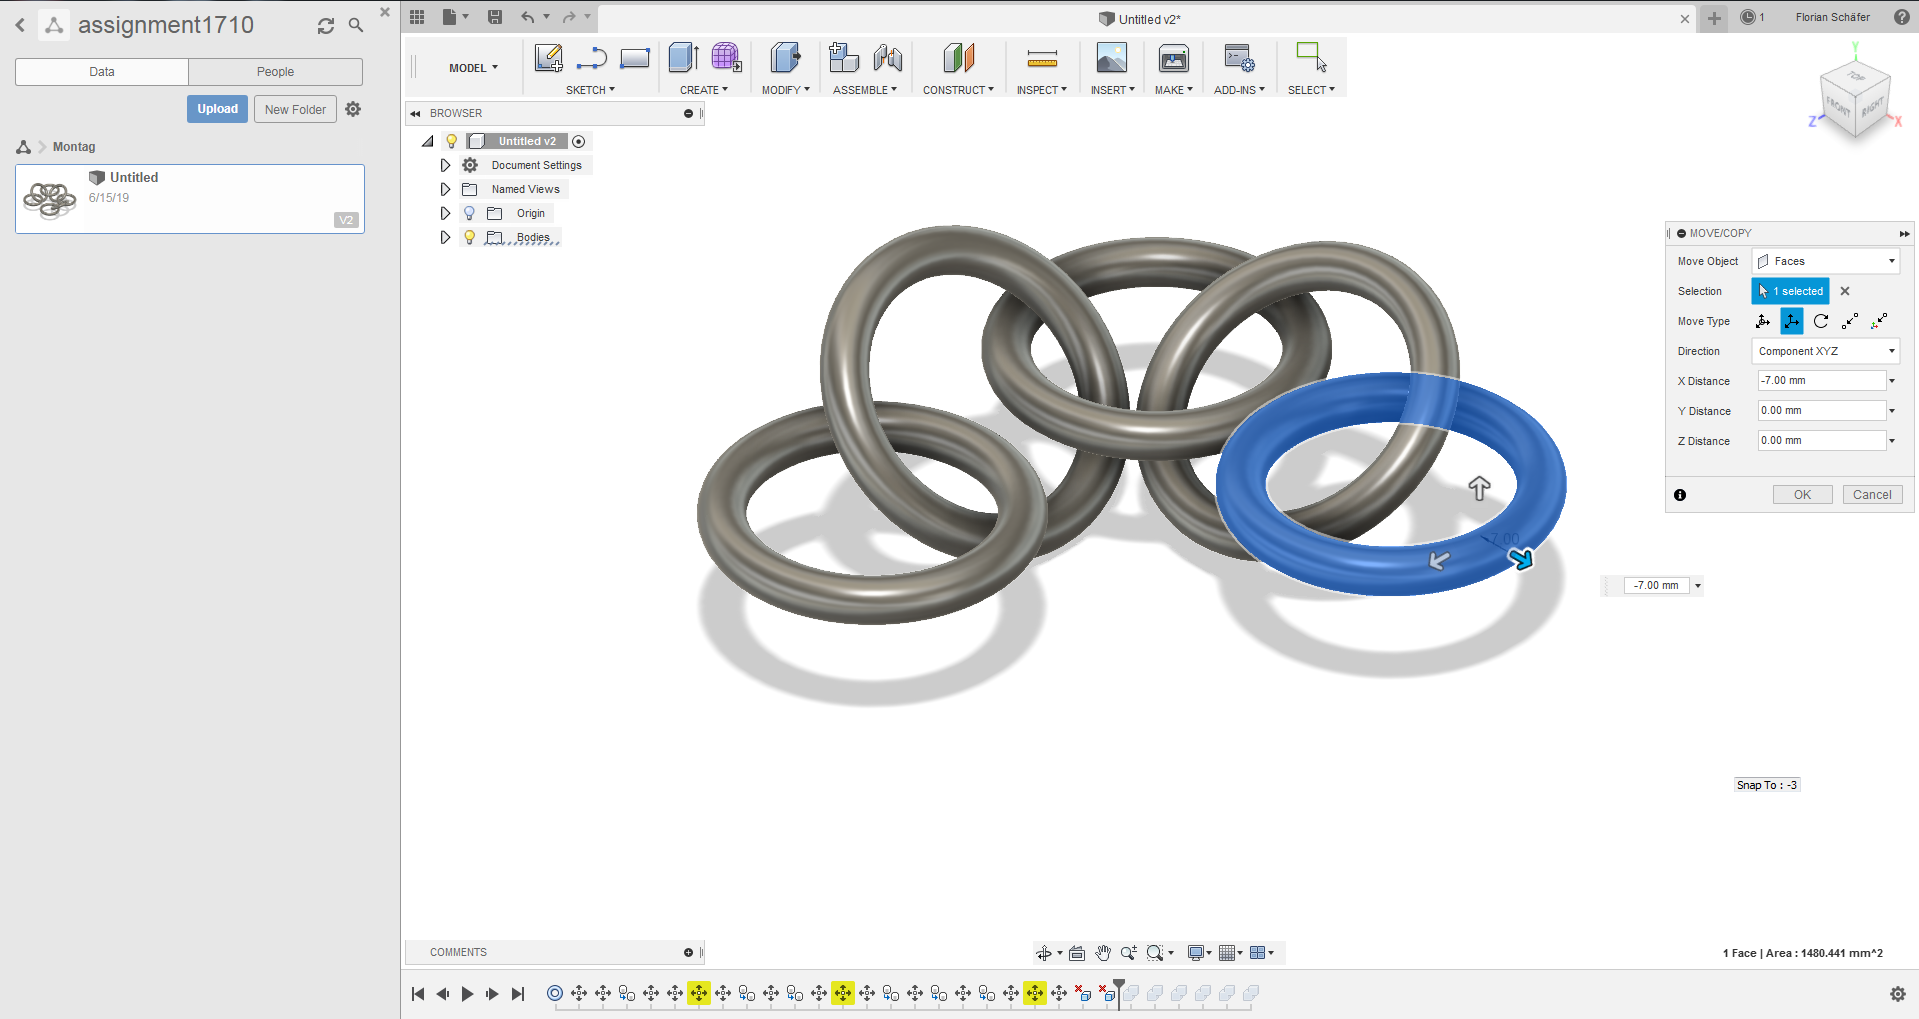
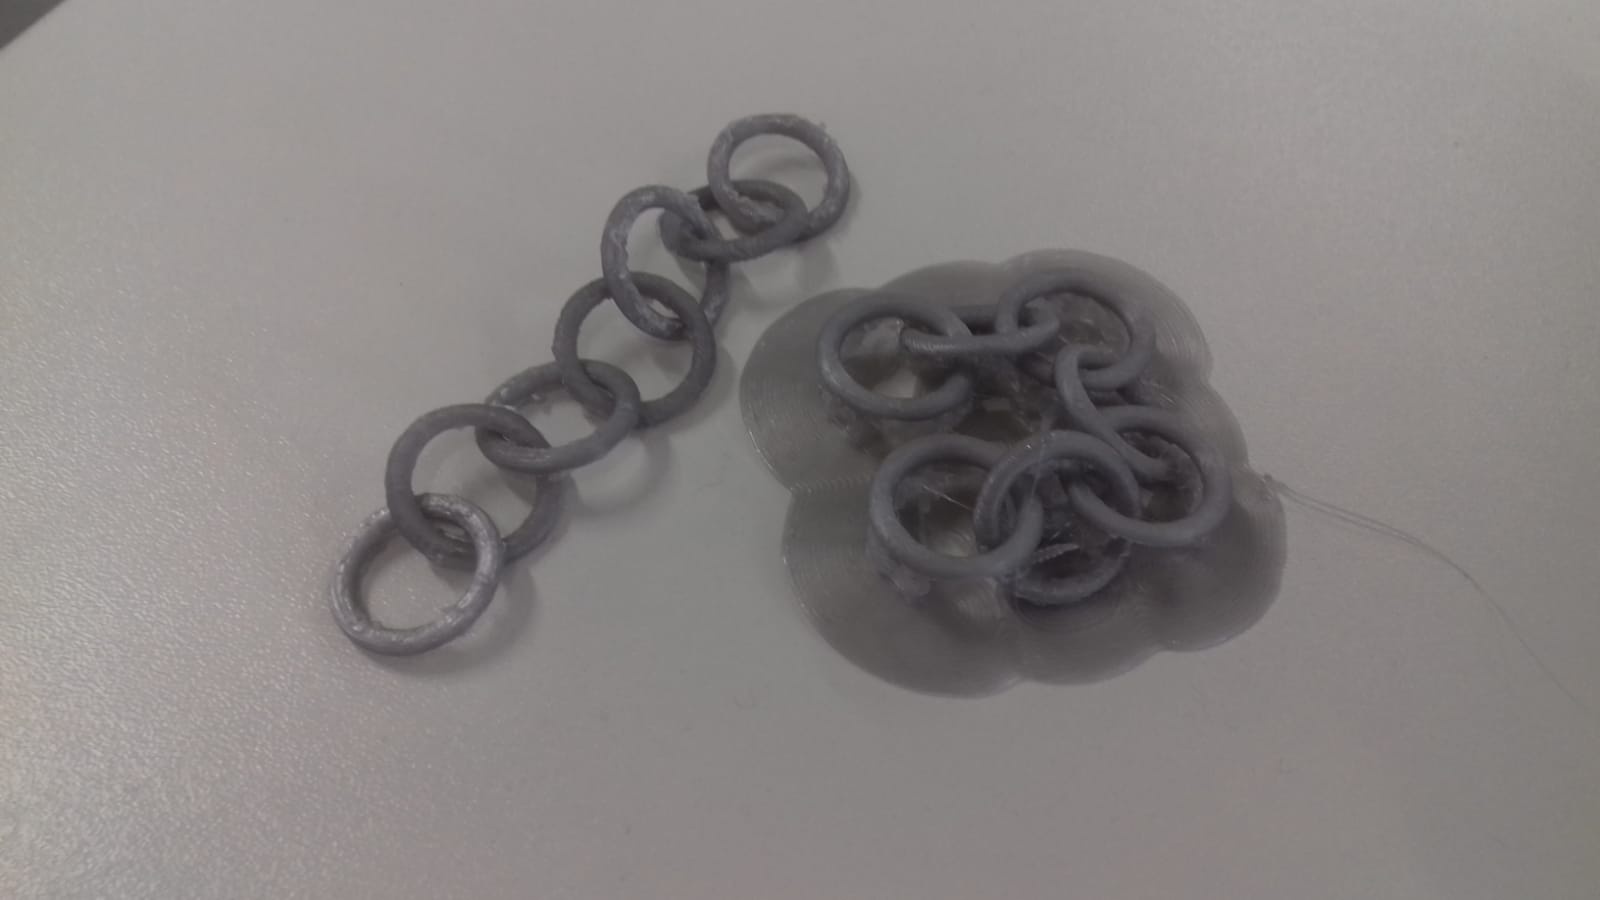
For the printing exercise I created a small chain out of seven interlinked toruses in Fusion 360. For this I first created one torus in the desired size, copied it, rotaed it by 45° and moved it sideways by the same length of it's own radius. The next element was rotated in the opposite direction again and moved even further. I repeated this until I had a small chain.
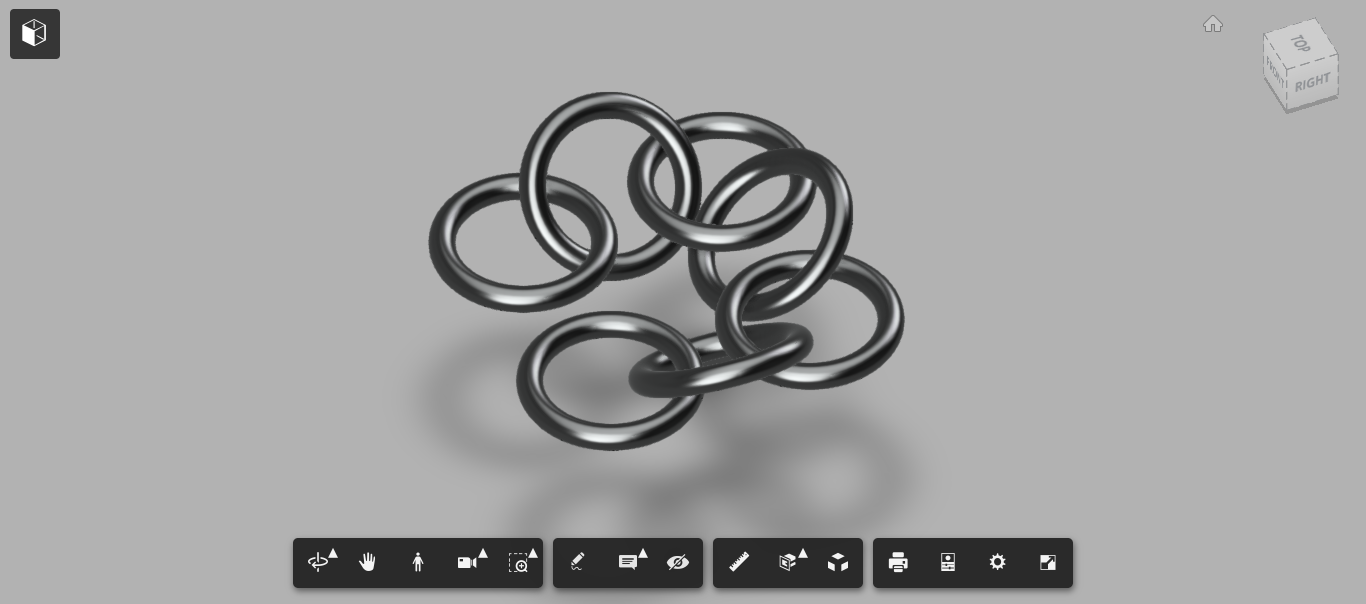
It would not be possible to make this subtractively, as the links would have to be milled in way that the head of a CNC mill could never reach, because it's movement is limited and the other parts of the chain are blocking the reach.
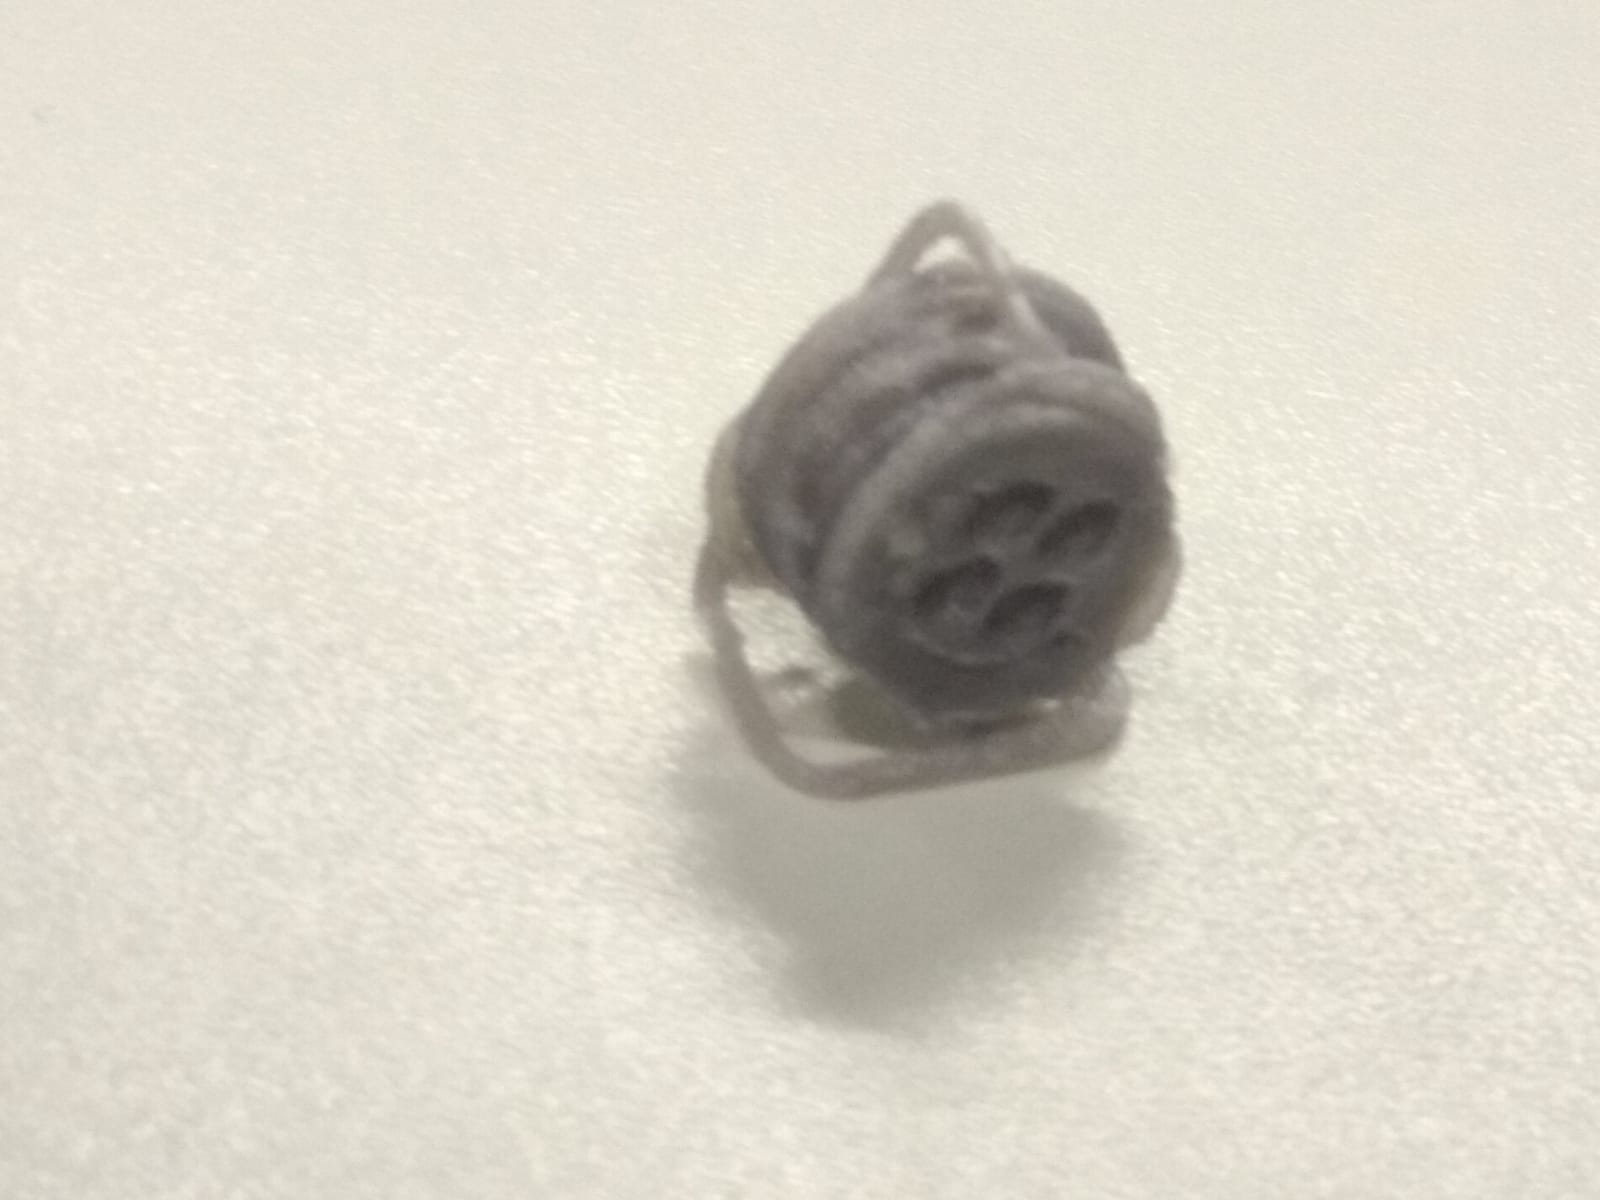
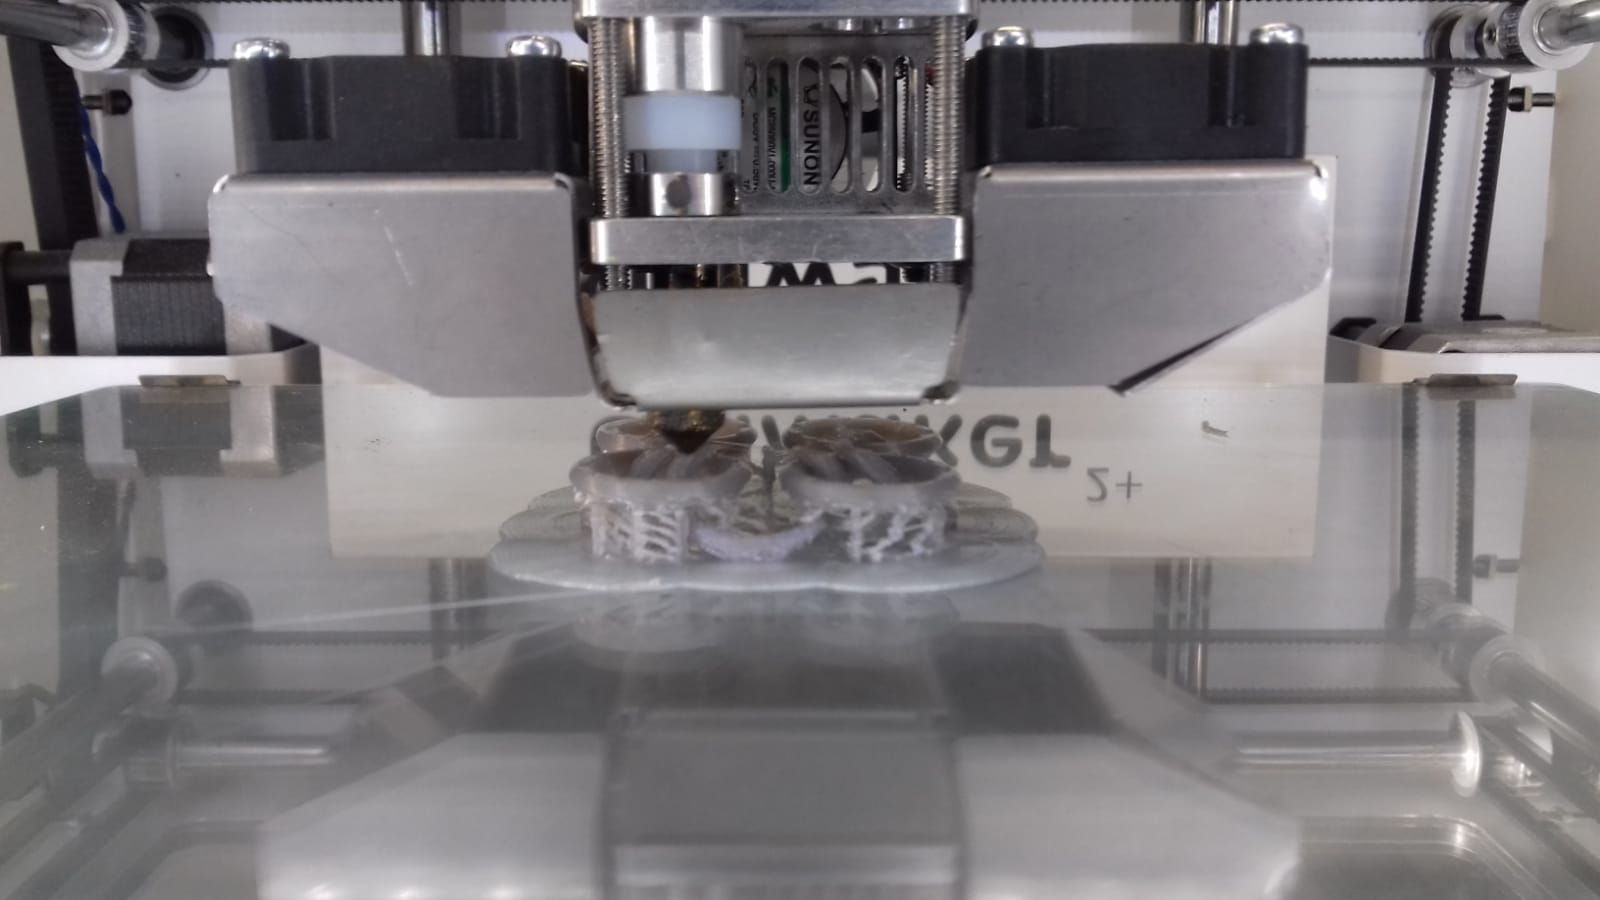
The printer I used is the Ultimaker 2+. The model was exported from Fusion, loaded into Cura, scaled down by 50%, layed flat down on the printing bed and supports generated. The settings I used where the following: Print speed 50mm/s, travel speed 100mm/s, initial layer speed 10mm/s. That resulted in a printing time of arround 34:00 minutes.
This printing technique is working with only one material, which is why support structures had to be generated and manually removed. With other printing techniques it would have been possible to print the support using a material with a much lower melting point than the main material, letting it melt out of the print afterwards. The filament I used was PLA, which is preferred for rapid prototyping purposes as it is easier to print, but it also is a little less flexible. Especially when making a decorative chain this makes no big difference.

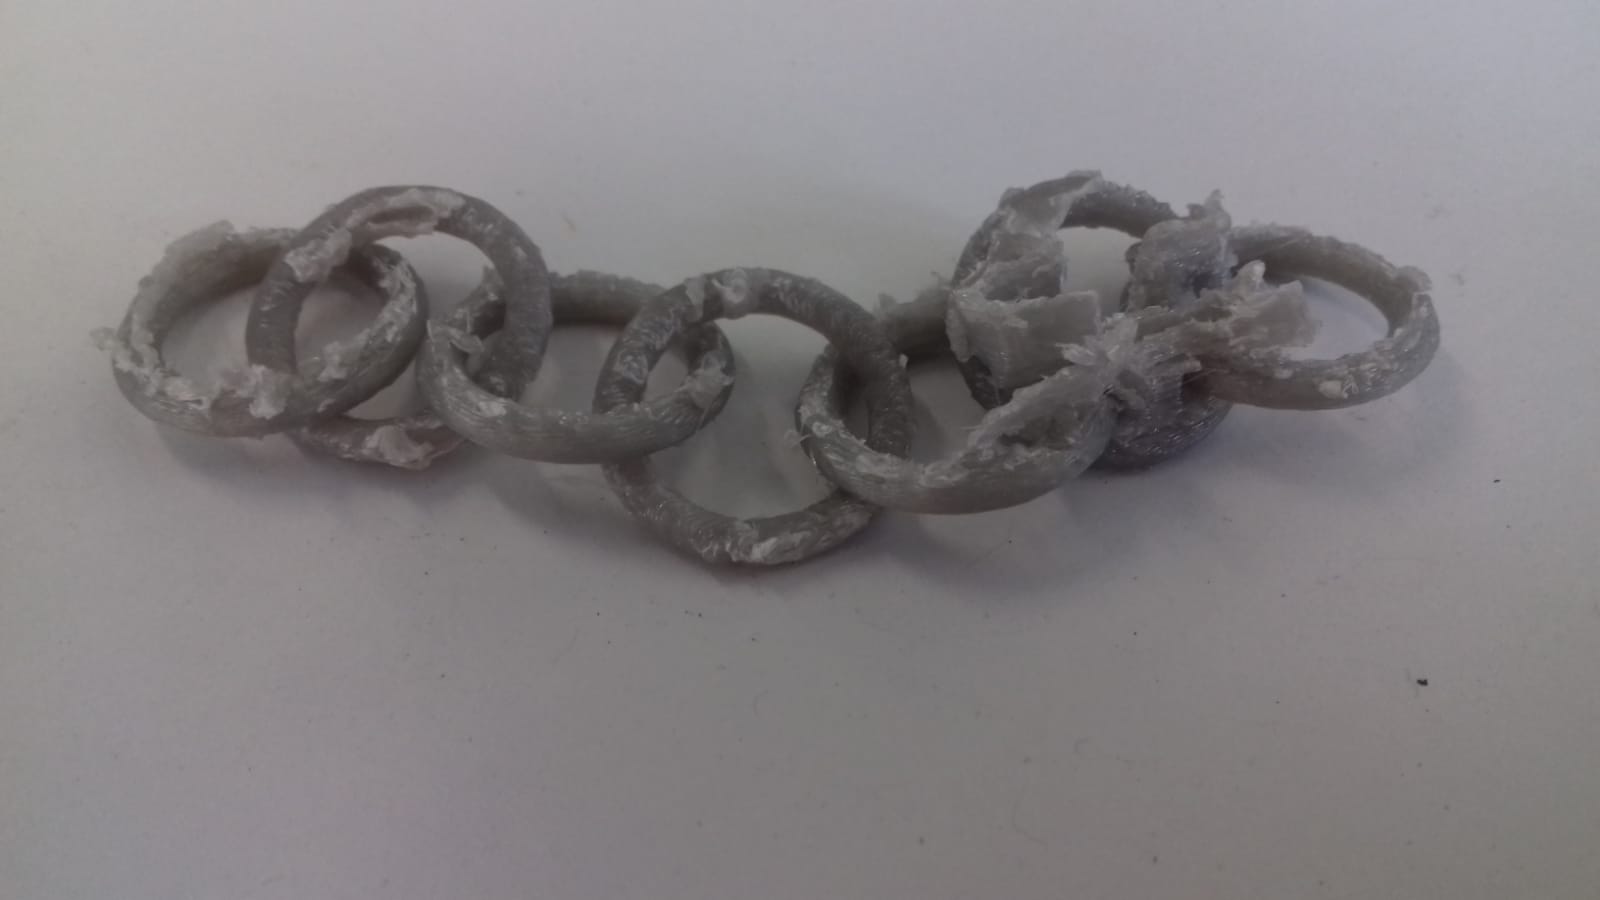
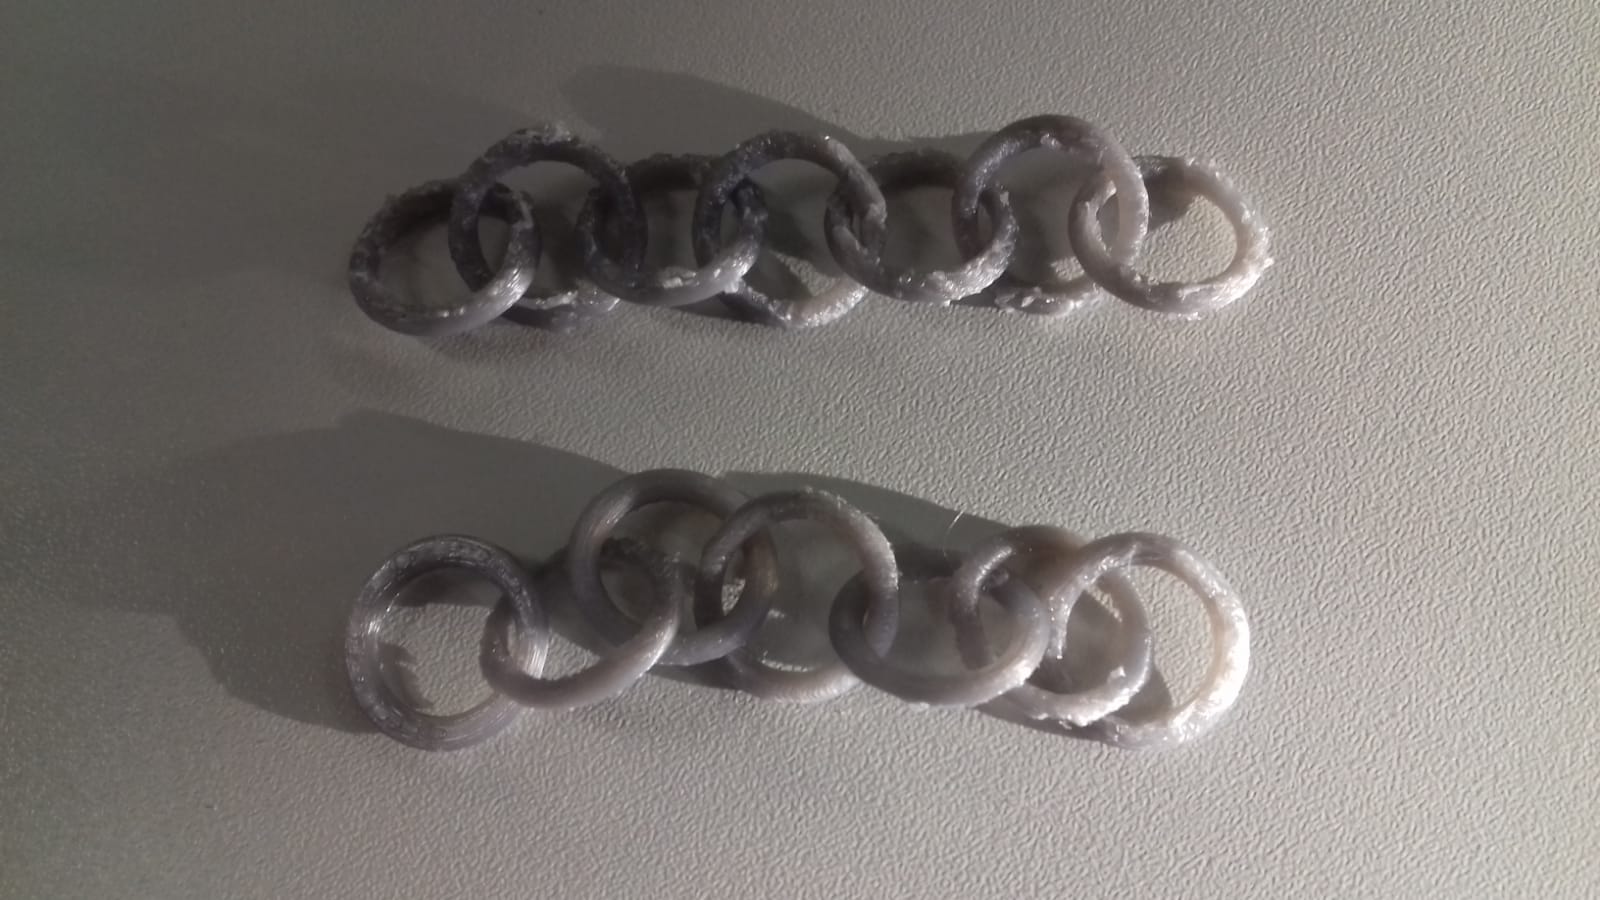
It was very hard to remove the support material after the print, so I tried to do a second print with a different support pattern, less suport density (10%) and a higher spacing on the z-axis (two times the layer height). The second try gave slightly better results.
For this part of the assignment I used a Sense 3D scanner. I had a lot of problems to find an object that could be scanned using this device. These are the criteria that worked for me:
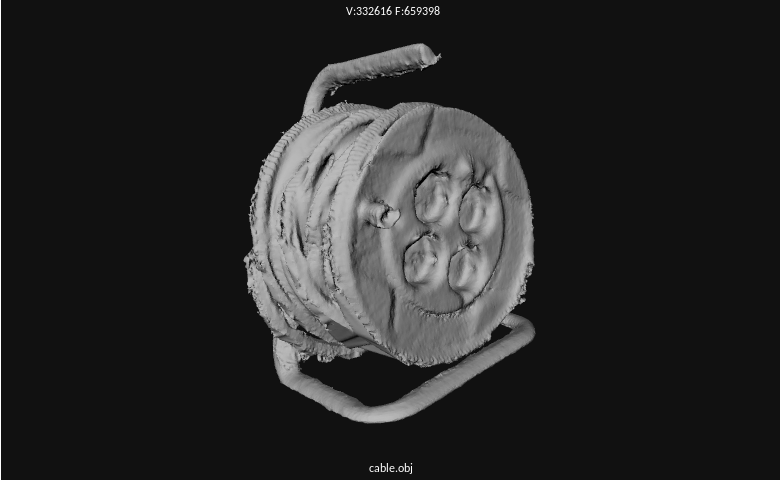
Some failed attempts happened with a 3D printed optical illusion, a pair of pliers, a fire extinguisher, a round chair, a pocket knife and a smartphone. Finally I managed to make a succesful scan of a cable drum.
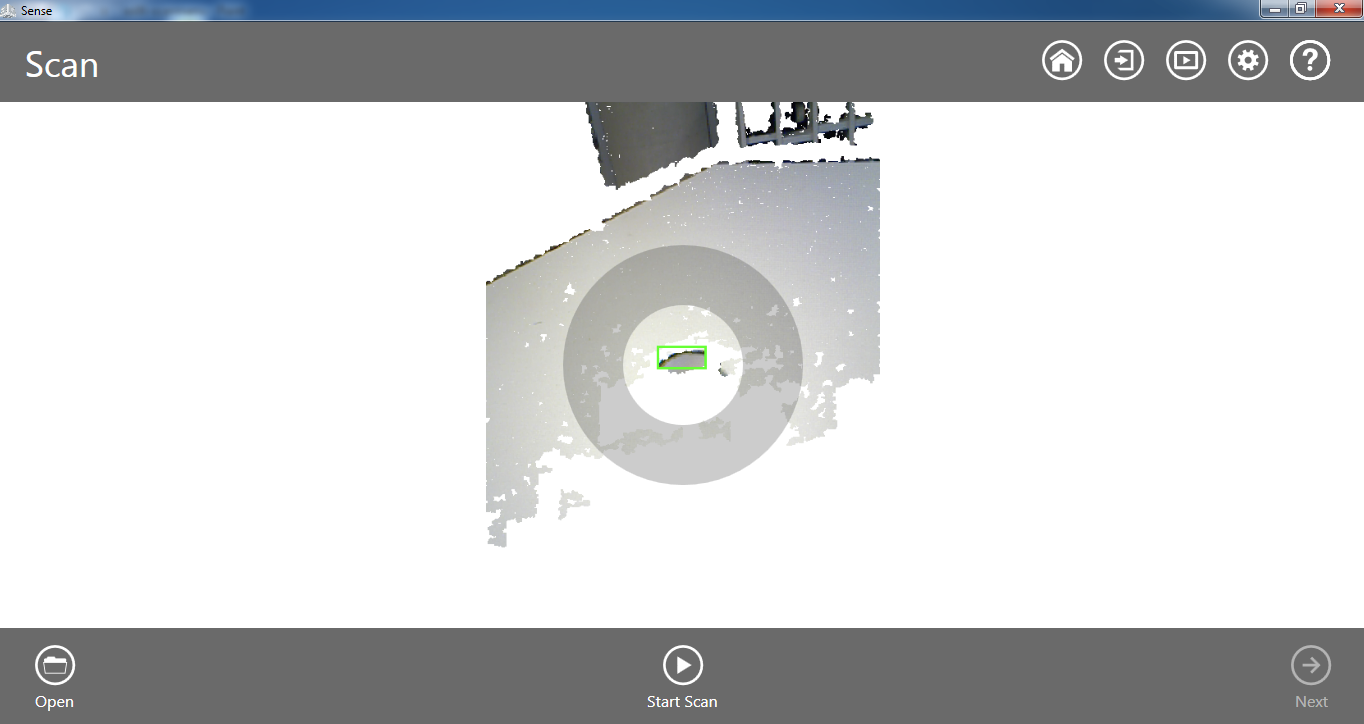
To start the scan I first had to select if I want to scan a person or an object and specifiy the size of the object.

After that the device has to be adjusted until the object is in focus, this will be shown by a green rectangle around the object.
To get a somewhat clean scan I held the scanner with one hand letting my arm hang down losely and moved slowly but steadily around the object. Whenever the software lost tracking I stopped moving first and then moved back slightly until it detected the object again.
![]()
When the scan is completed it can be exported as an OBJ file.